The last time I upgraded my router, it was a nightmare to manage my smart system.
Everything was just so hectic, and I had no success with setting up the Google Nest Mini, especially.
It took me days to figure out how to change Wi-Fi on the Google Nest Mini, and all those “quick” guides weren’t so quick.
The mistake that I made was that I forgot to set up the new Wi-Fi network at 2.4 GHz before trying to change the configurations on my Google Nest Mini.
Luckily, the setup was fairly simple after I updated my router settings, and it took me a few minutes of troubleshooting after realizing this mistake.
If you’re thinking of getting a new router or have already upgraded the router, then let me help you save some of your time, especially when it comes to changing the Wi-Fi on Google Nest Mini.
So, follow through with the details here.
How To Change Wi-Fi On Google Nest Mini
You can change the Wi-Fi on Google Nest Mini pretty easily by forgetting the current network within the Google Home application.
As long as the application is working perfectly on your mobile device or tablet, there is not all that much that you’re expected to do.
Step 1 — Access Device Information
To start, you will have to launch the Google Home application on your mobile device and then go to the device section.
From there, you will have to browse the list of connected devices (if you have more than one) and then choose the Google Nest Mini.
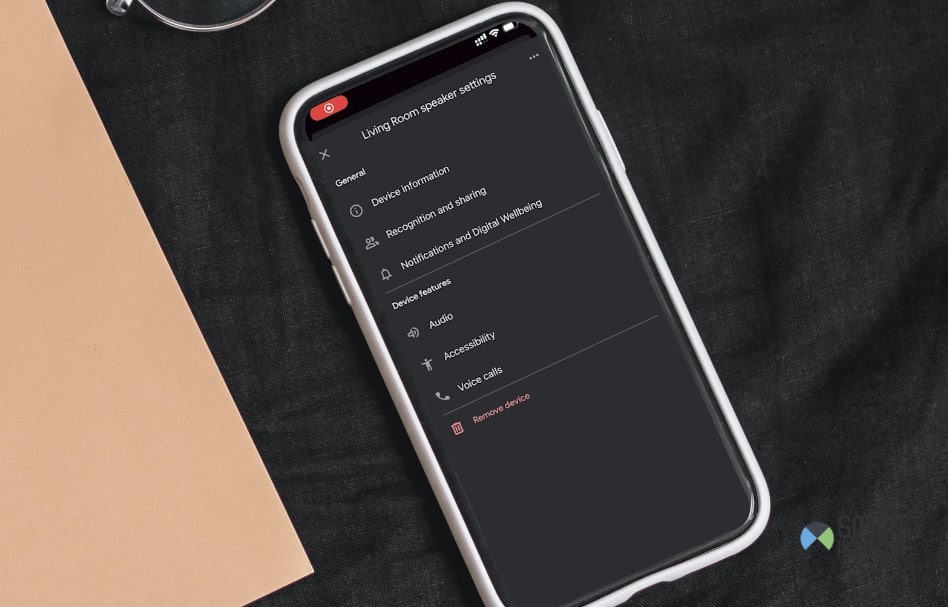
After selecting the Google Nest Mini, you can access the settings icon and then proceed to the device information. You’ll find all the details relevant to the device on this menu, including the current Wi-Fi network.
Step 2 — Modify Wi-Fi Settings
From the “device information” section, you’ll be able to find the Wi-Fi settings. Open up these settings, and tap on the “forget this network” button.
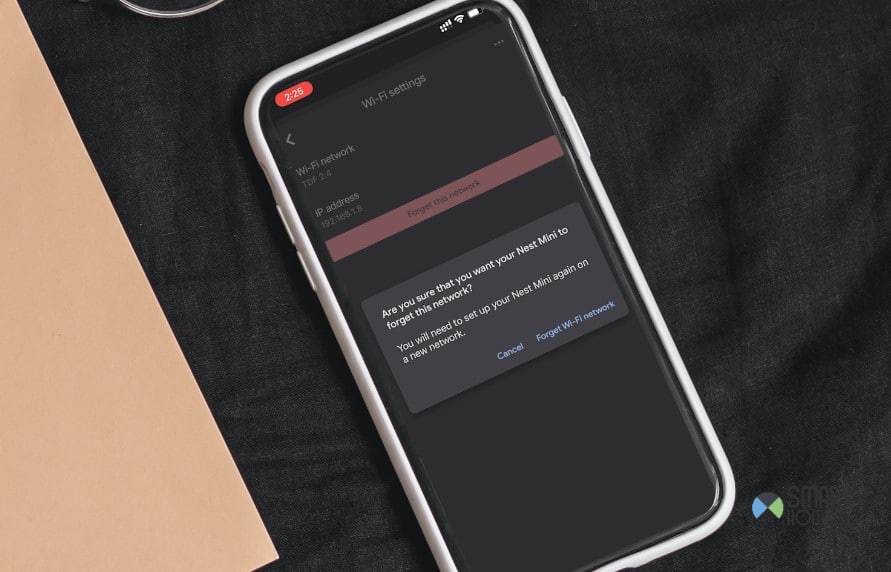
It will be highlighted in red, and you can then confirm your selection by selecting “yes” from the pop-up menu.
This will remove the current Wi-Fi network from the Google Nest Mini device, and you’ll be ready to pair up a new network with your unit.
So, be sure to first remove the existing Wi-Fi network before you attempt to pair up a new network with your Google Nest Mini.
Step 3 — Configure New Network
At this stage, you gotta look at the new router and make sure that all the configurations are managed properly.
These configurations will include being on the 2.4 GHz network and having different passwords and usernames for the 2.4 GHz and the 5.0 GHz networks (if you have a dual-band router).
Once you’re done with the basics, make sure to limit the interferences from other wireless devices, reduce the distance between the Google System and your router, and lastly, check the power supply to both devices to isolate any possible errors.
Step 4 — Connect To The New Wi-Fi
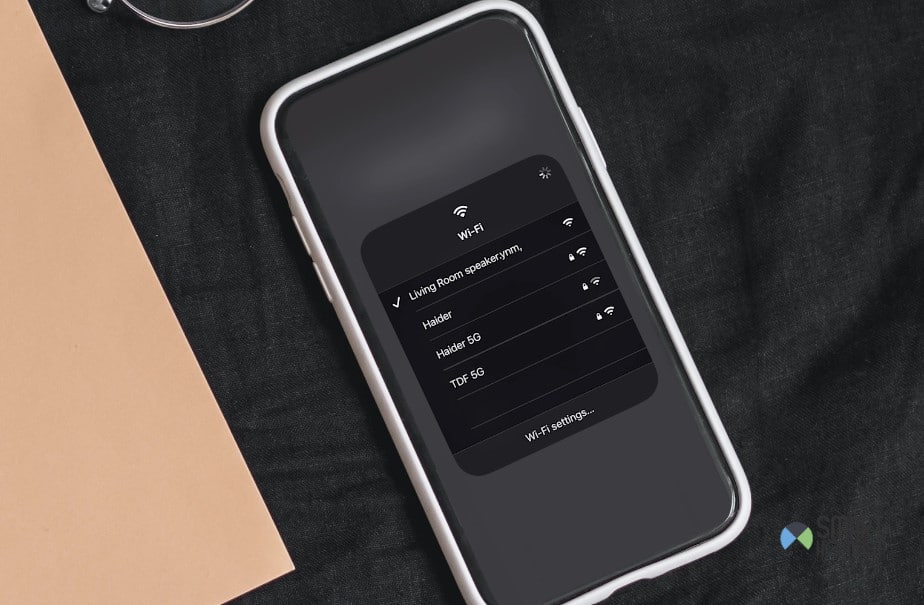
After configuring the new router, you can then use your mobile device and open up the Wi-Fi settings to connect to the new Wi-Fi. Input all the credentials and then secure the connection with the Wi-Fi.
From there, you can proceed with connecting the Google Nest Mini through the Google Home app.
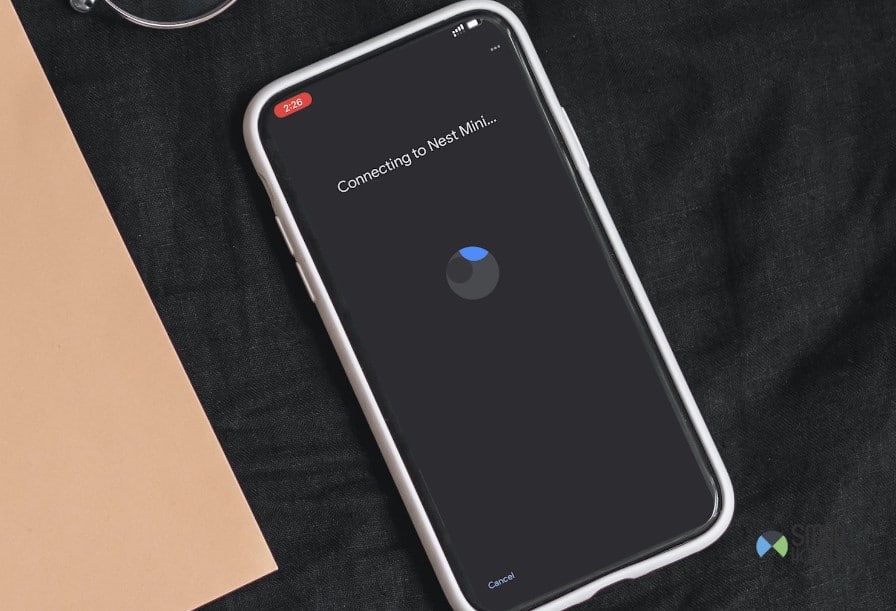
So, launch the Google Home app, go to the connected devices section, and input the Wi-Fi credentials for the new network when configuring the Google Nest Mini.
Make sure that you don’t make any mistakes when it comes to adding new credentials.
Step 5 — Finishing Up
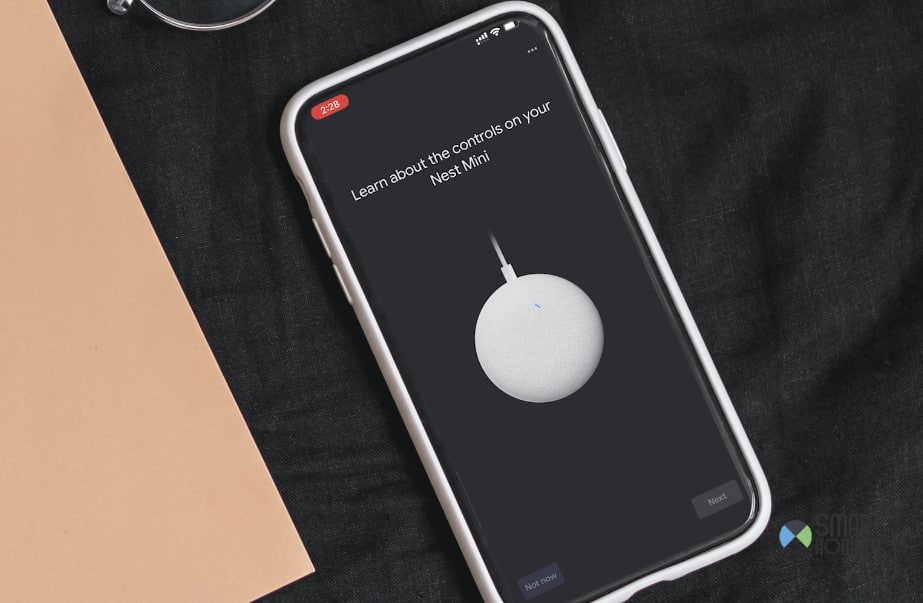
After adding new credentials, your Wi-Fi device will be connected to the Google Nest Mini (assuming that there is nothing wrong with the initial settings).
Just make sure to go through all of the settings one by one, do some trial and error, and then finish up the connection.
The application will guide you through the rest, and you don’t gotta worry about any performance inconsistencies. Make sure to always have your focus on reducing the interferences and maintaining the signal strength.
Alternate Method
Now, this method to connect a new Wi-Fi device to your Google Nest Mini might sound complex. Well, that’s because it is. Still, it does hold some perks, like you won’t be losing on any personalization settings on the Google Nest Mini.
However, if you just think that the hassle is too much, then relying on the alternate method — Resetting the Google Nest Mini is the better idea.
To do that, you can just mute the device, push the button on the top of the panel and keep it held down for about seconds, and then let the device reboot.
This should wipe away all the settings from the Google Nest Mini and bring it back to factory defaults. Now, you can just open up the Google Home app and then configure the Google Nest Mini as if it is a new device.
This time around, you can add the new router and the new credentials to help you with the setup.
Ideally, this method should be quicker, but if you’re afraid of losing all the personalization settings and don’t want the hassle, then the method mentioned before is decent as well.
Everything boils down to how much hassle you’re willing to go through.
If you’re aiming for a quicker turnaround, then the reset is a better idea. On the other hand, if you wish to retain all the settings, then updating the Wi-Fi settings through the application is better.
The Takeaway
Changing the Wi-Fi on Google Nest Mini can be annoying, but it isn’t impossible.
Just make sure that you’re connecting to a 2.4 GHz network, the credentials for the 2.4 GHz and the 5.0 GHz are different, and the signal strength is decent.
From there, you can launch the Google Home app, access the Google Nest Mini, and then go to the device information to access the Wi-Fi settings.
Here, you gotta click the big red button to forget the Wi-Fi network and then add the new network to your mobile device.
If you’re not that sold on this method, then you always have the option of plainly resetting the Google Nest Mini and starting everything from scratch.
So, have that in mind if the configurations are getting a bit too annoying for you. Otherwise, you will remain stuck in these errors long term.
Lastly, the Google support team is only one email away. There is no need to go through all of the hassle alone and you gotta engage the official support team when it comes to fixing these errors.
From managing the hardware to adjusting the programming, the Google team will help you with everything.