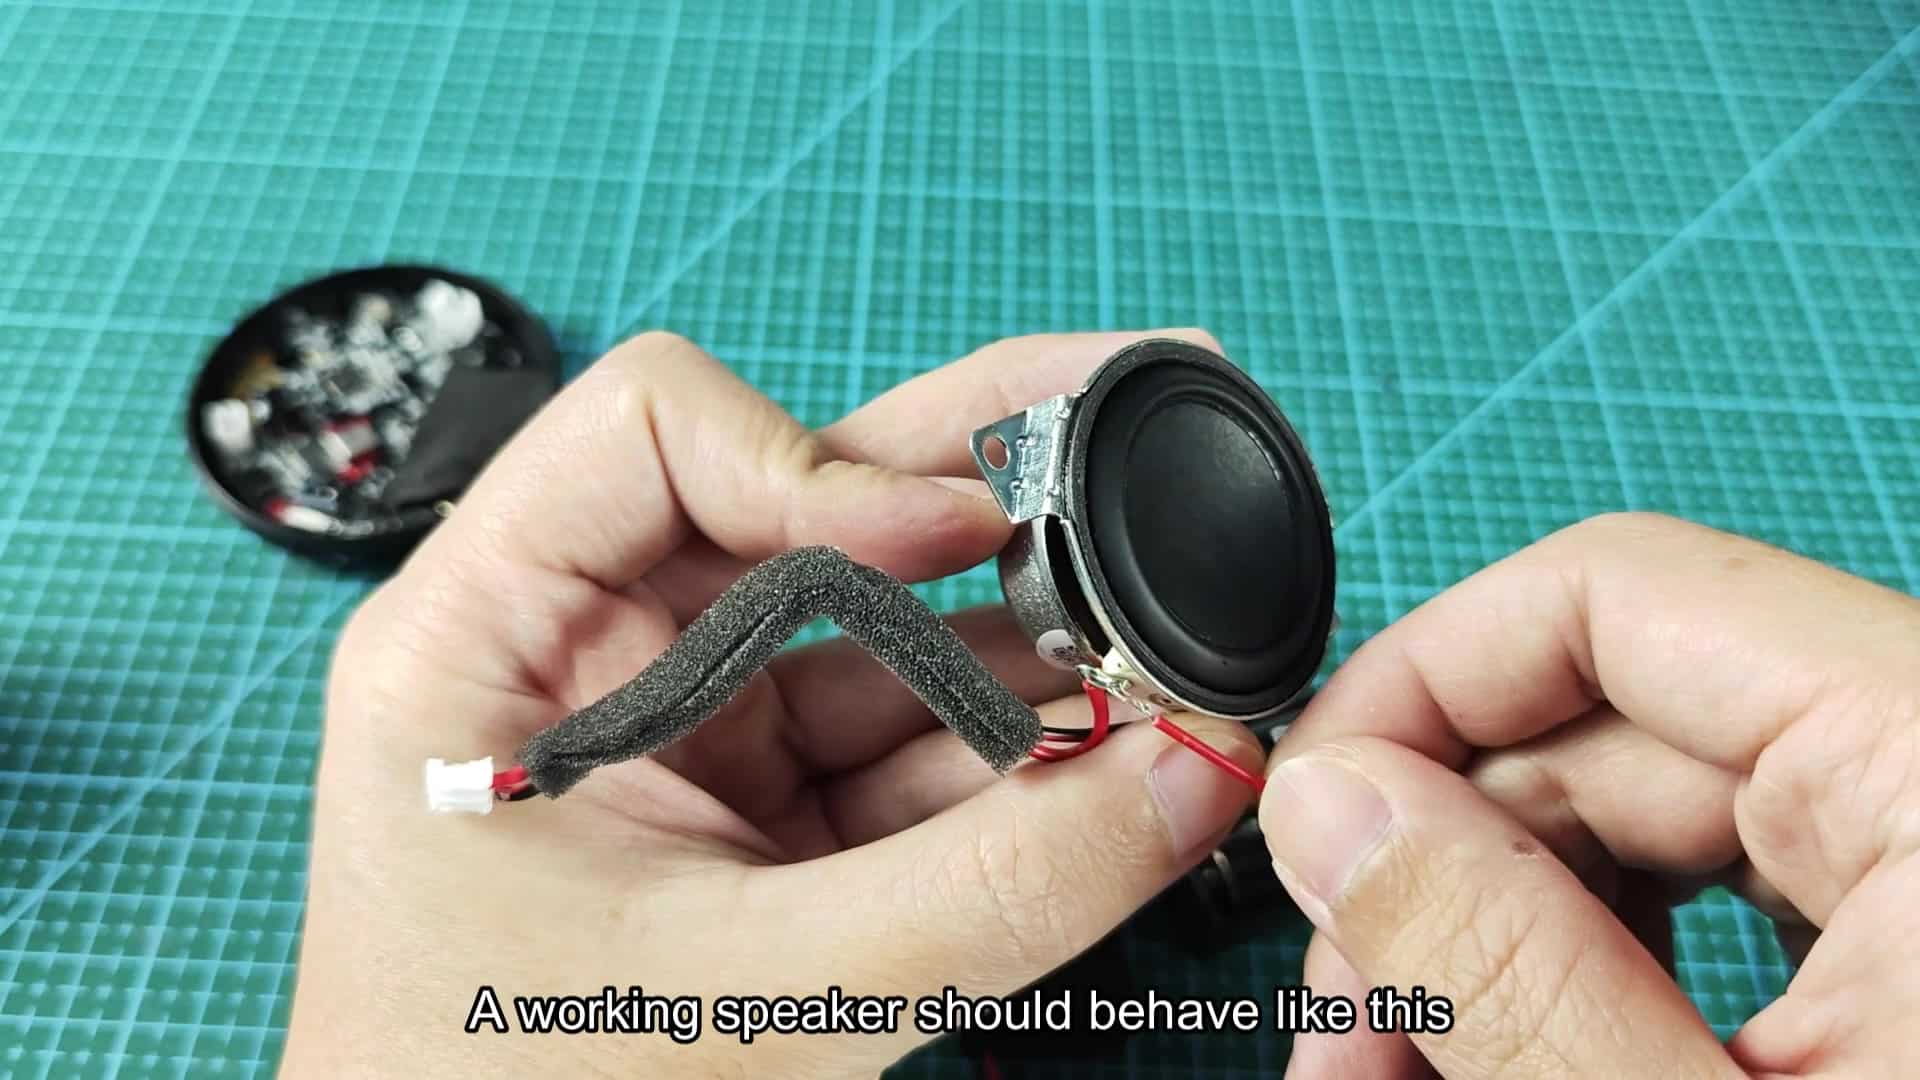
If your Anker Soundcore Mini suddenly refuses to turn on, you might want to have a look inside. And by that I mean take it apart to see what’s wrong with it yourself.
After all, nothing happen when you press the button over and over, so it might just be the battery. Swapping out the cable doesn’t do the trick either. It simply won’t budge.
Testing the speaker driver directly
The device may refuse to power up even when you press the button repeatedly.
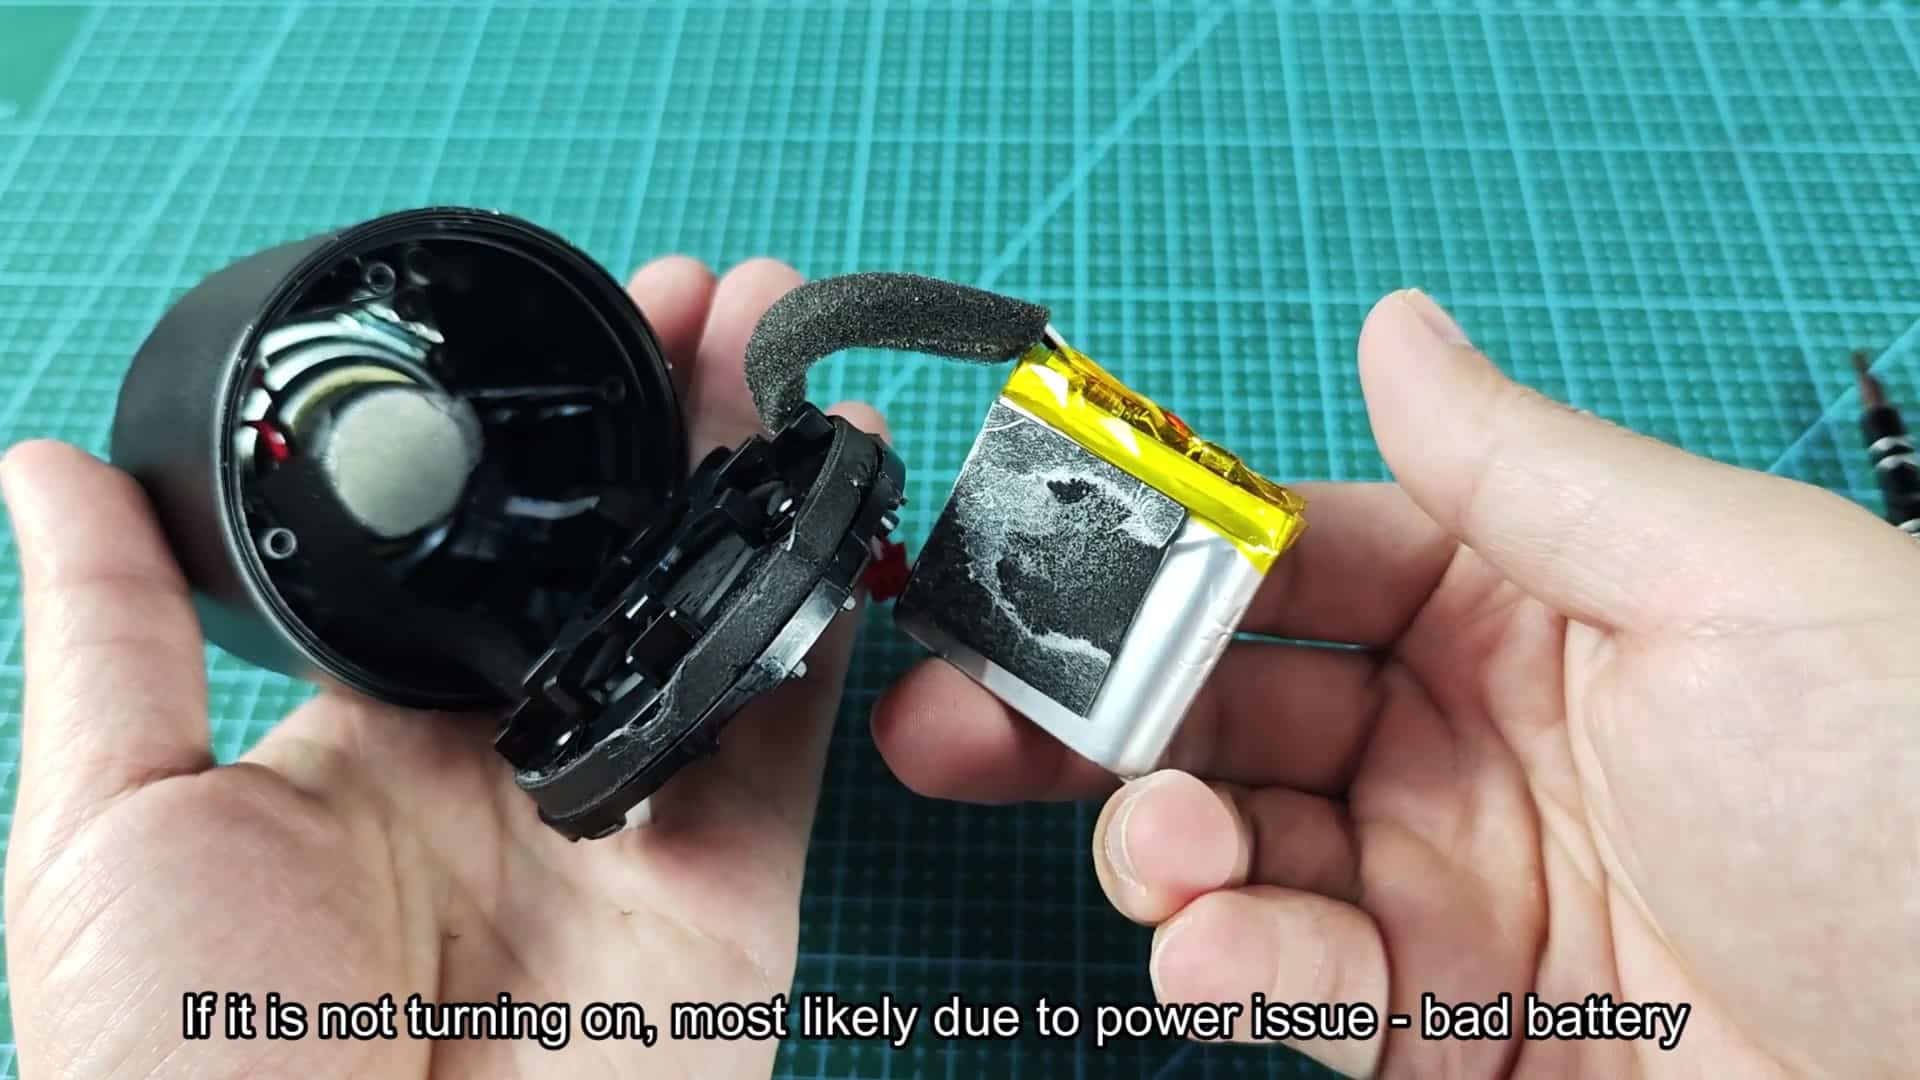
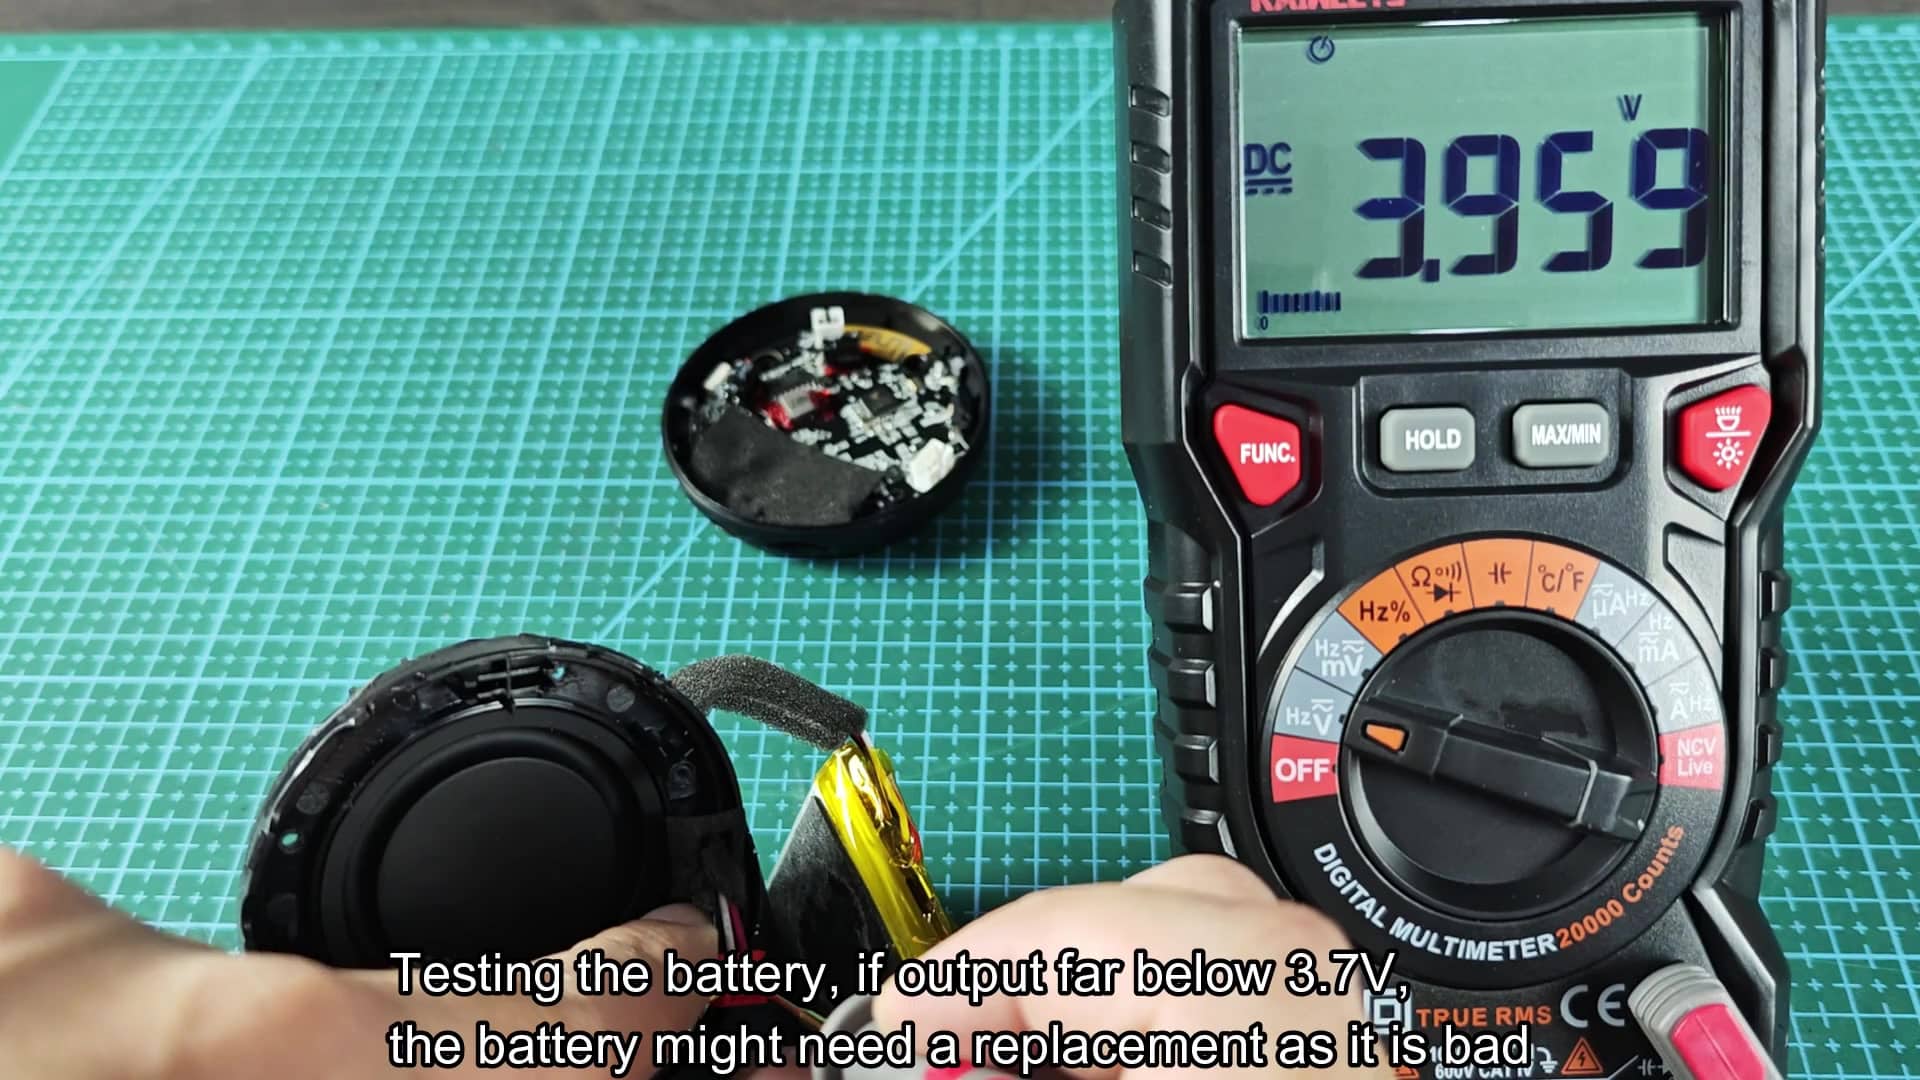
Removing the side panel, we see a small lithium-ion battery stamped with the details on it. This is a 103450 cell which has an output of 3.7 volts under normal conditions.
This means checking whether or not the battery retains some sort of charge. At this point, a digital multimeter are necessary for diagnosis. Using it in the DC voltage mode will allow you to read actual output straight from the terminals.
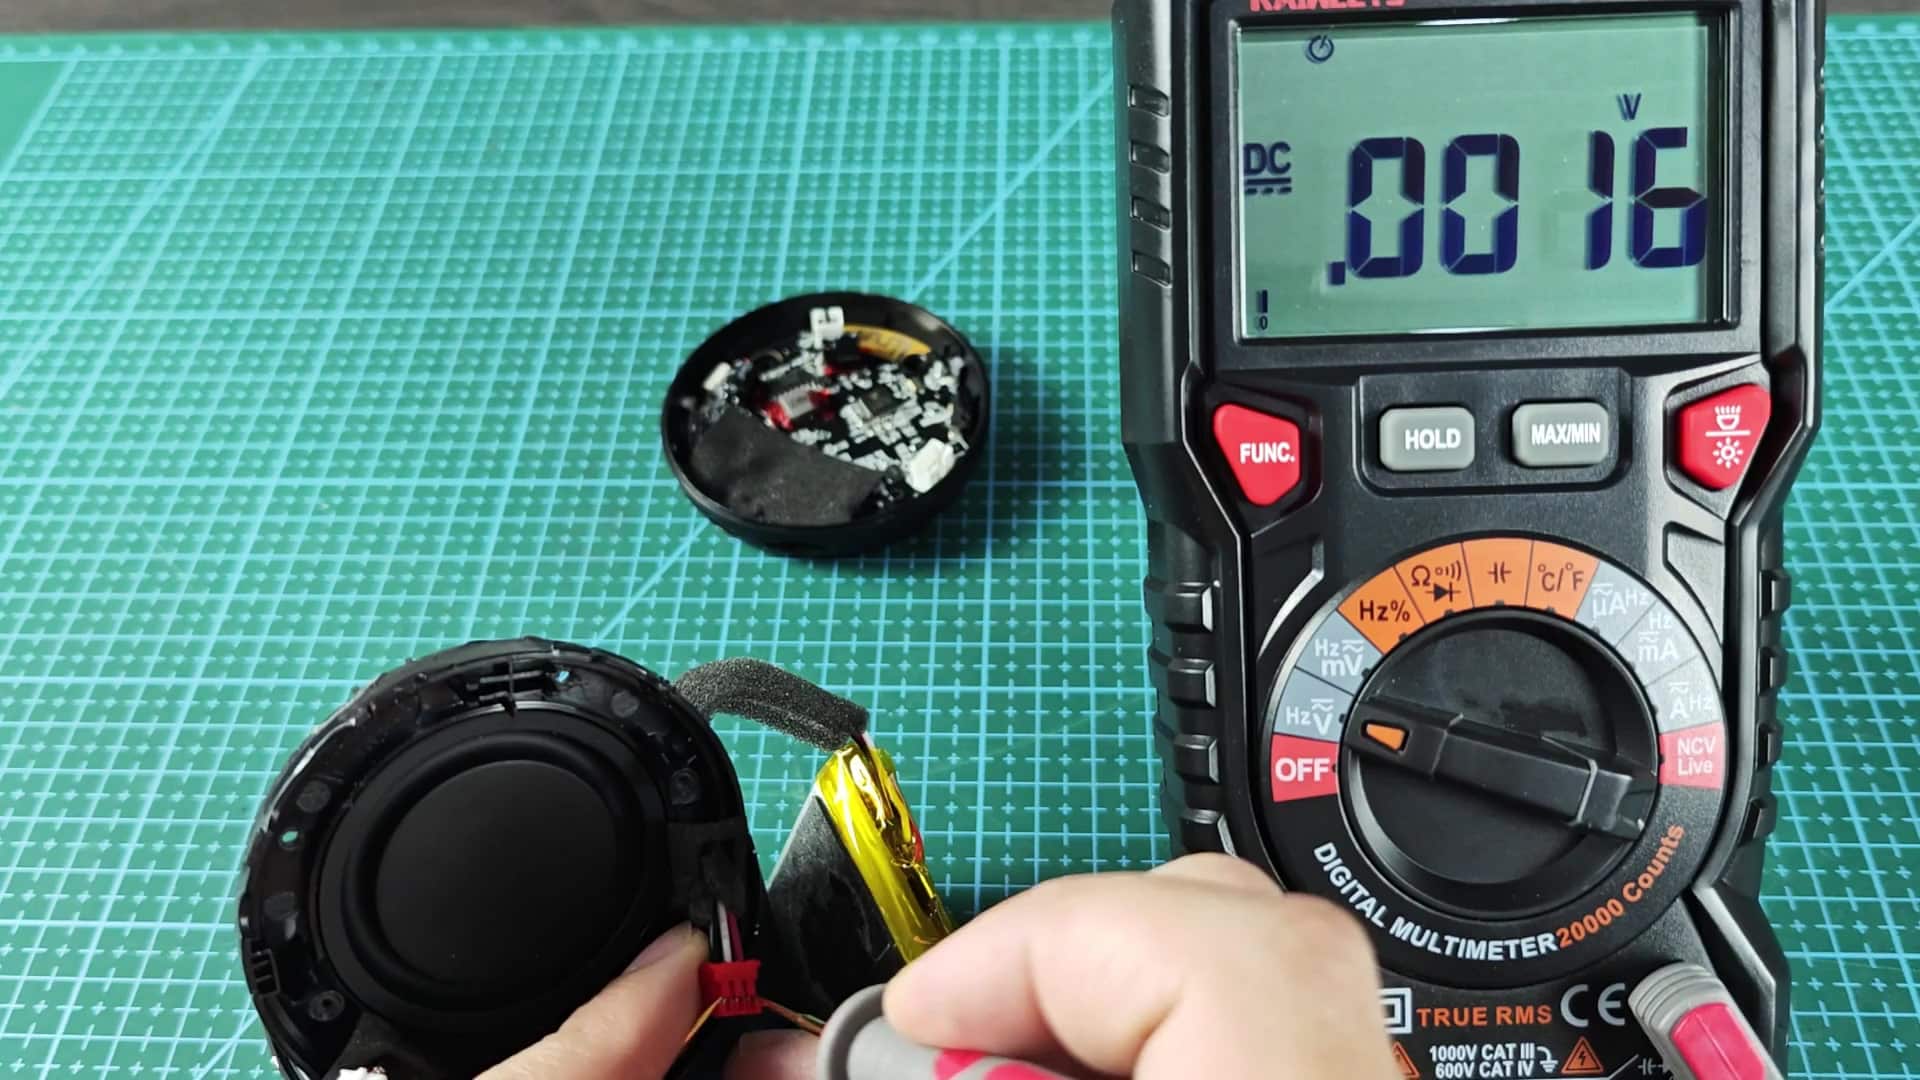
So far I have seen mixed results with these initial tests. Some test at closer to 3.9 volts. That appears healthy on paper.
Others are way off the mark. There is barely anything there, then a few times you get nothing at all. If it’s much lower than the normal 3.7V cutoff point then your battery probably sucks and should of been replaced.
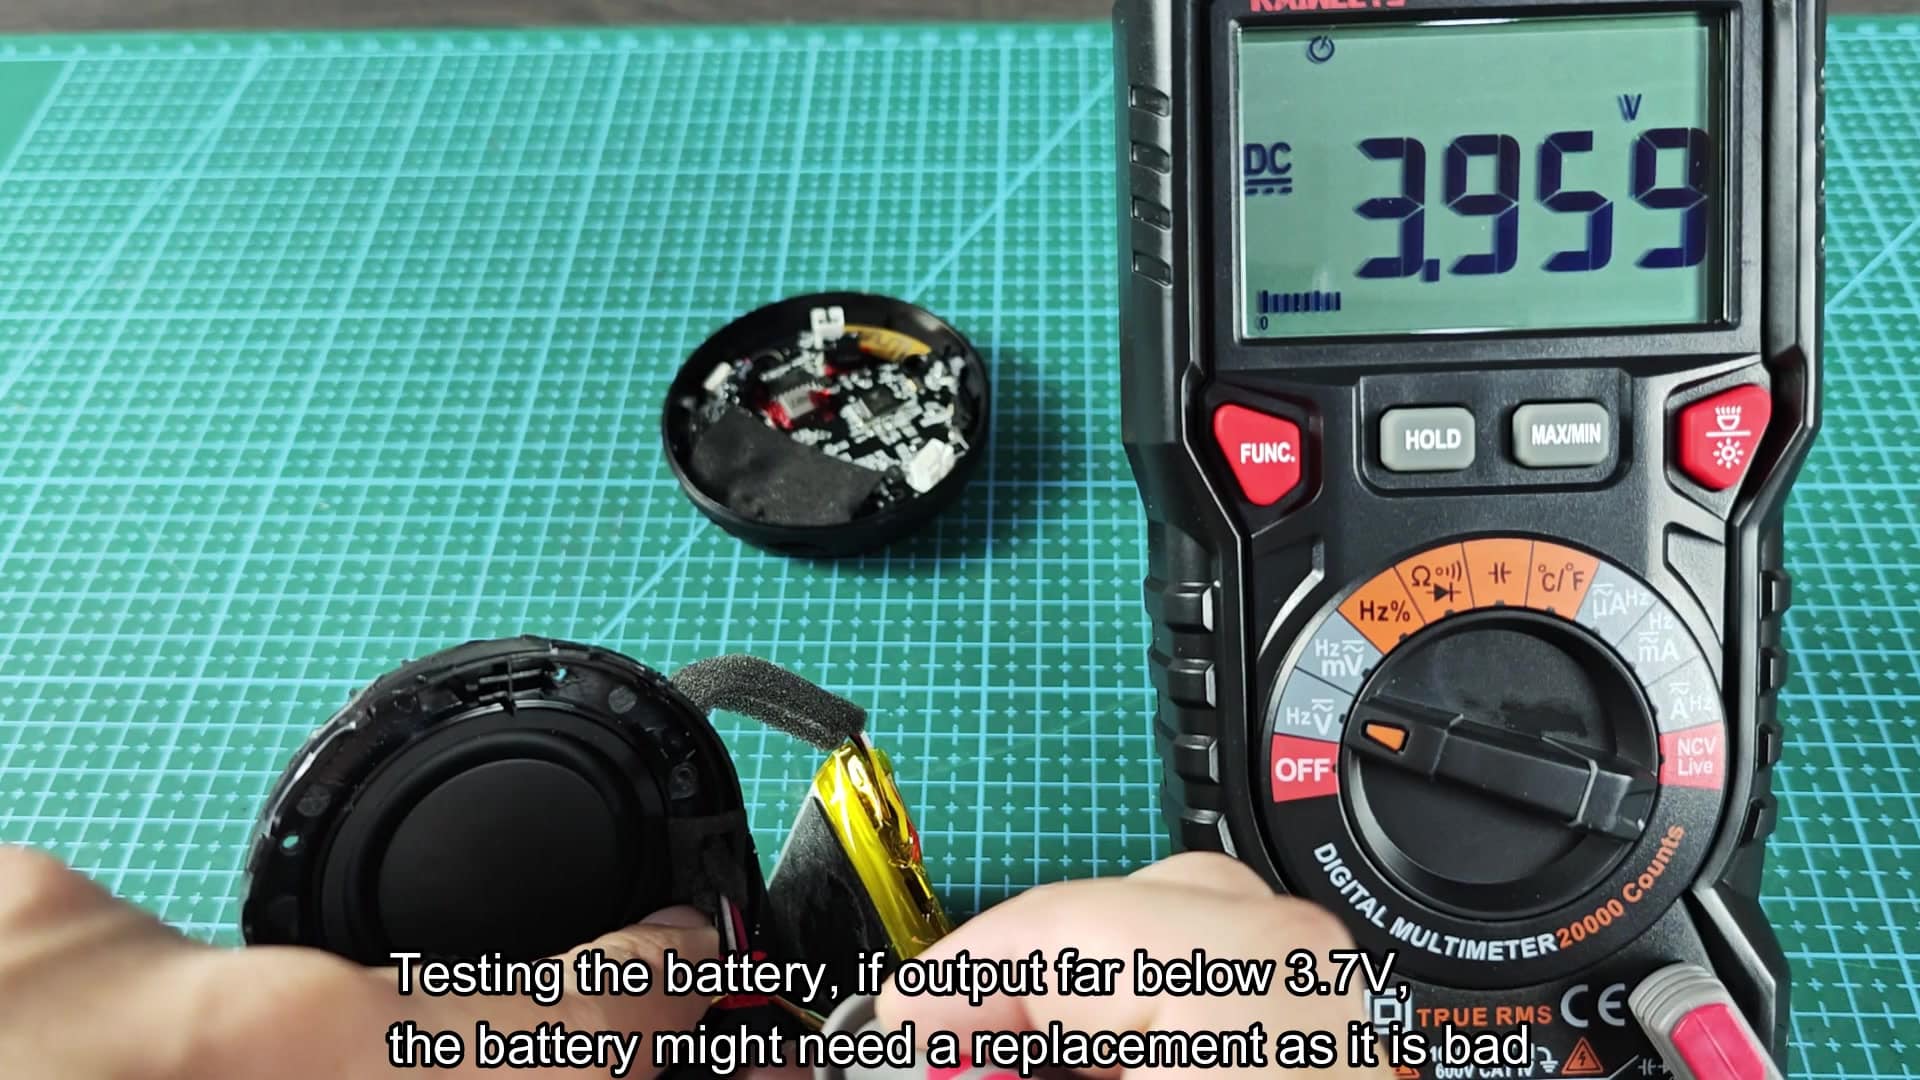
So more than battery health, check your speaker driver. The audio part can fails inside while the power side is OK.
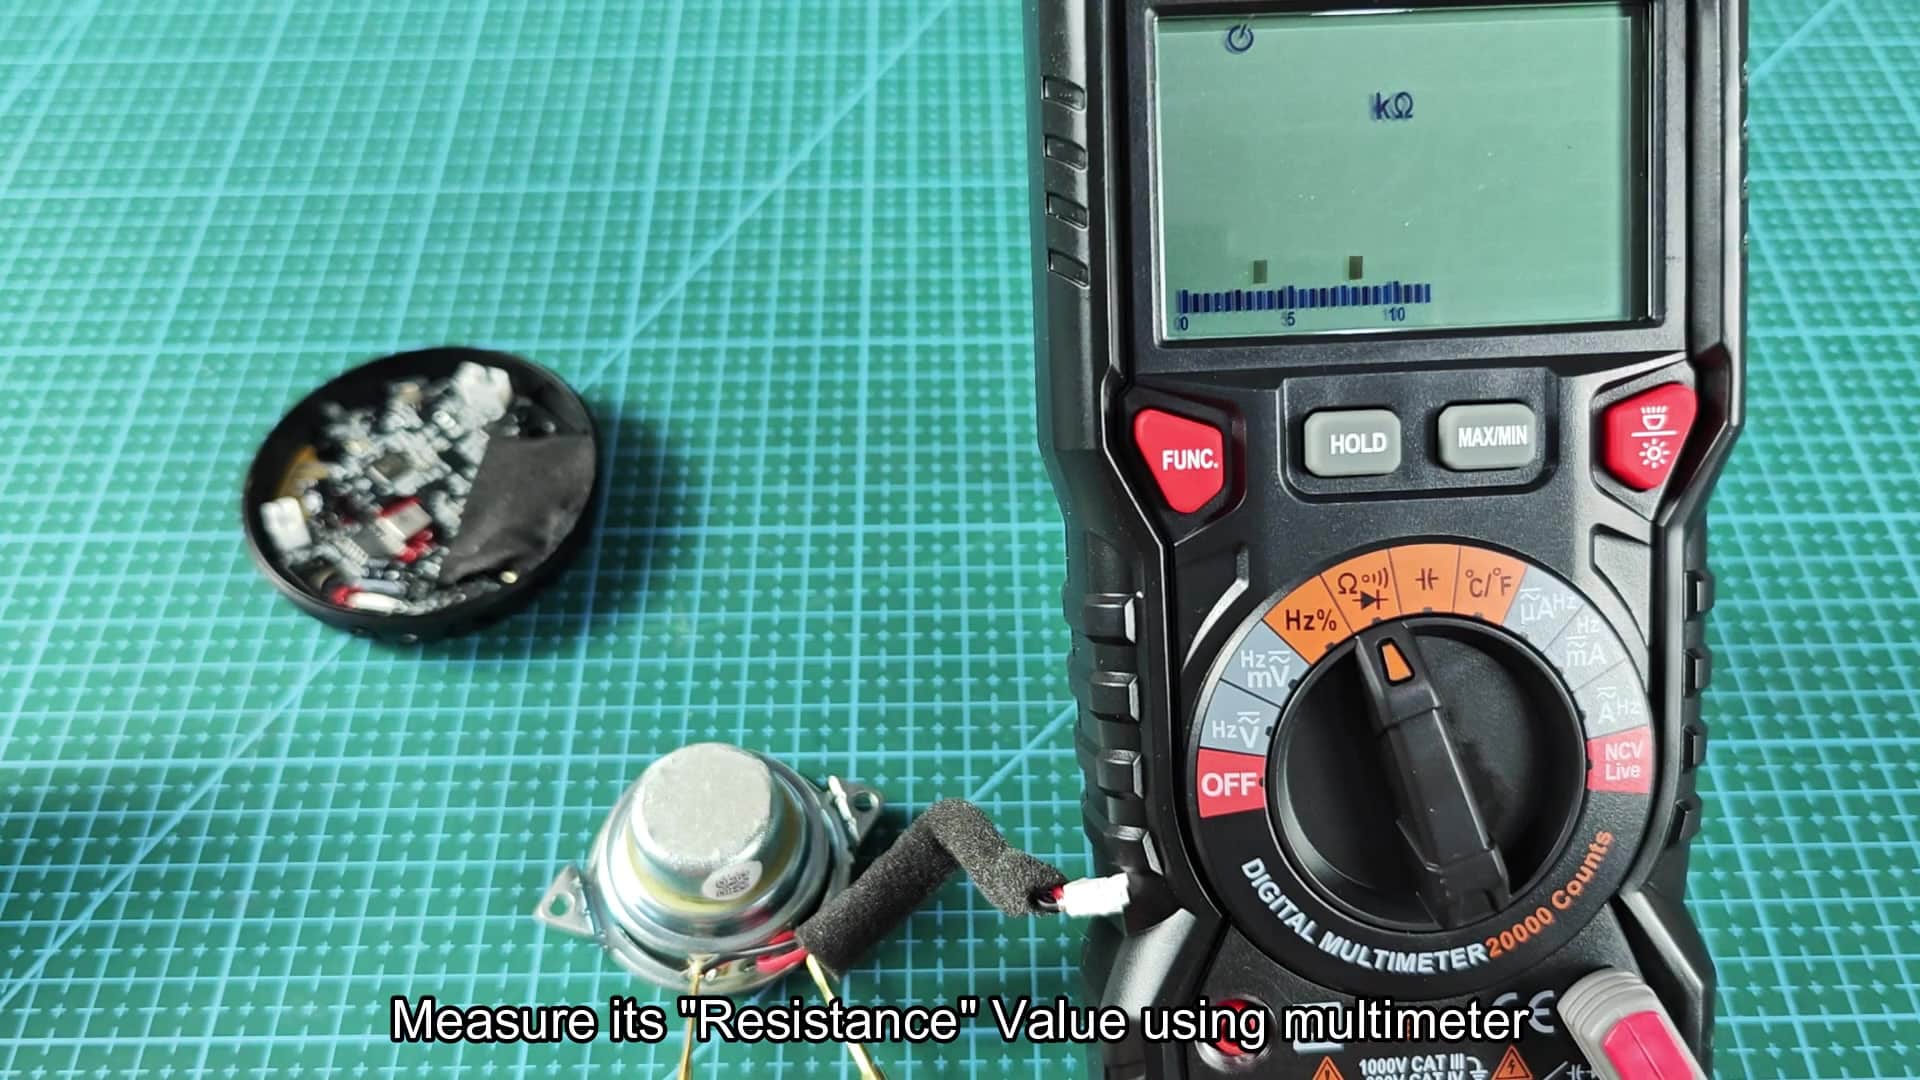
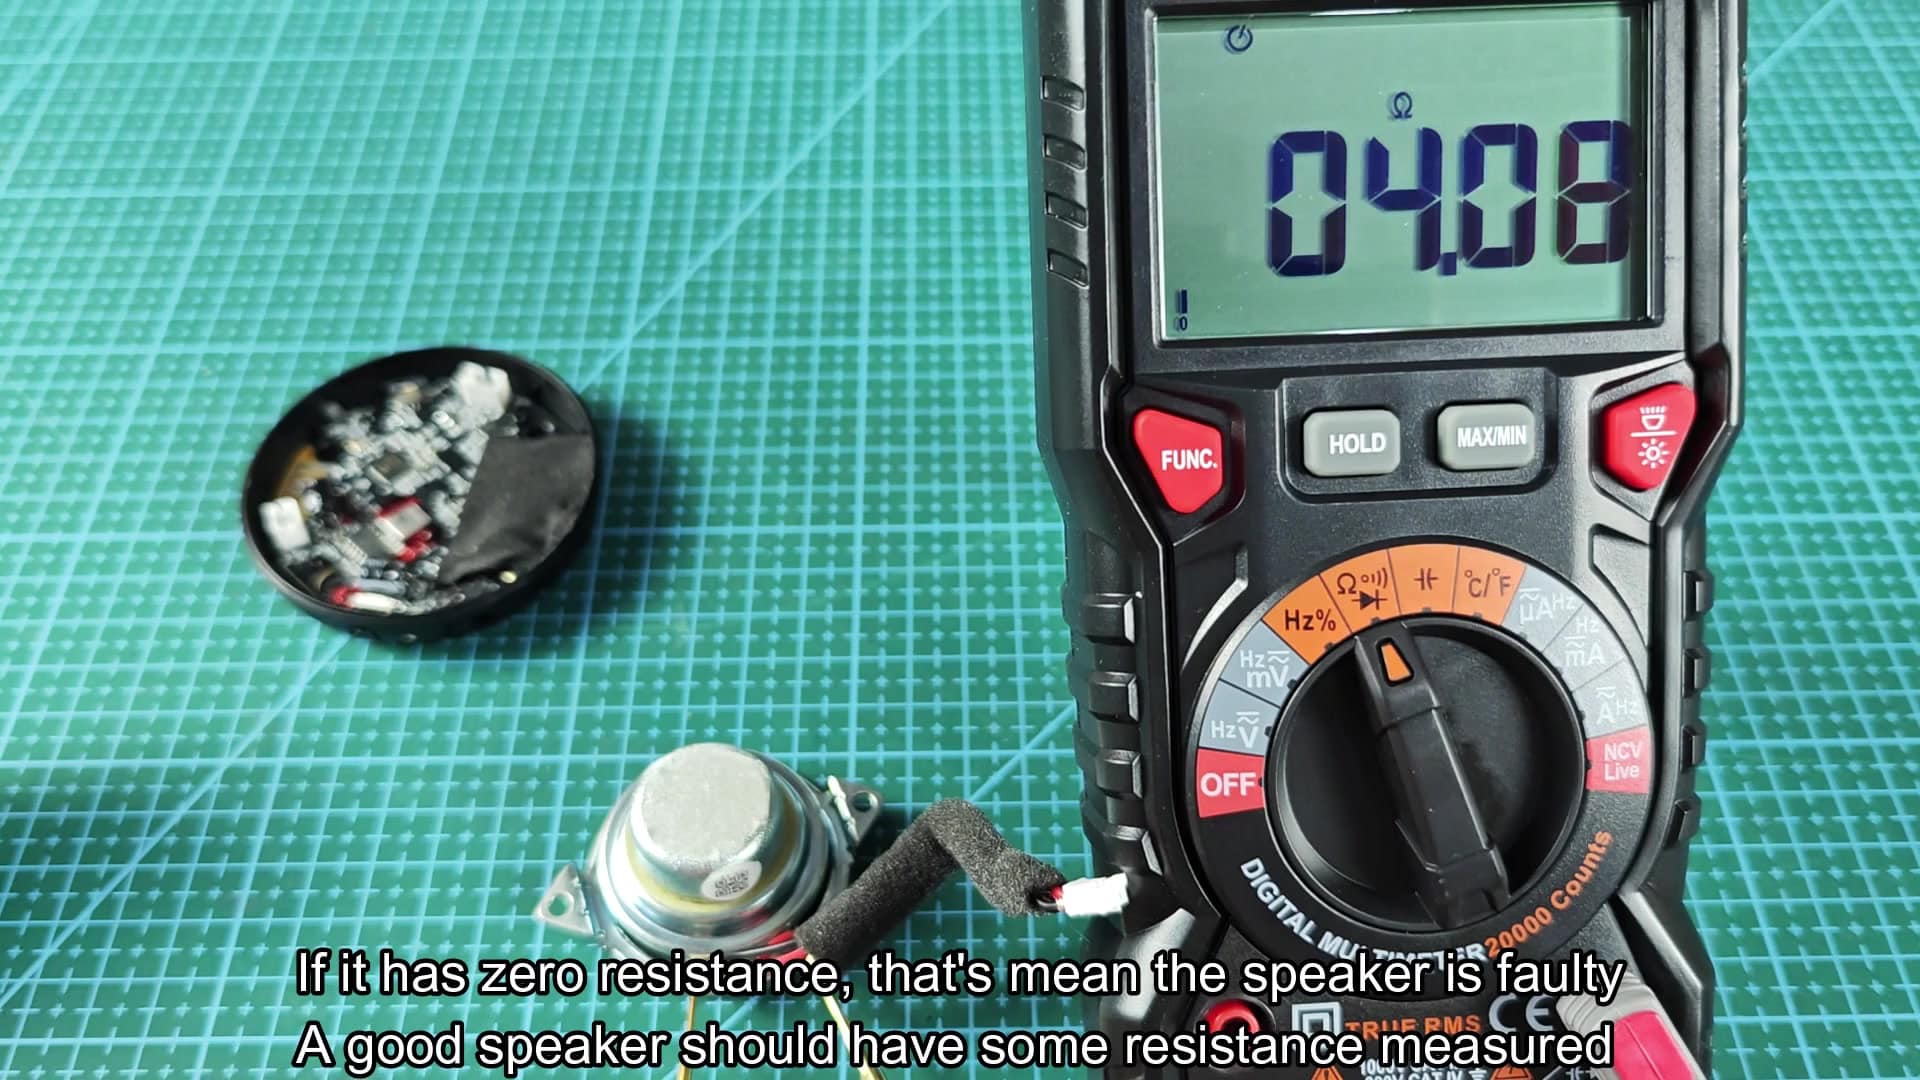
Simply testing for resistance between the speaker terminals will tell you where it stands. If you measure nothing at all or open circuit, it’s bad. Good speakers should have a small amount of resistance that can be measured.
The multimeter may display an “OL” reading initially, suggesting no continuity.
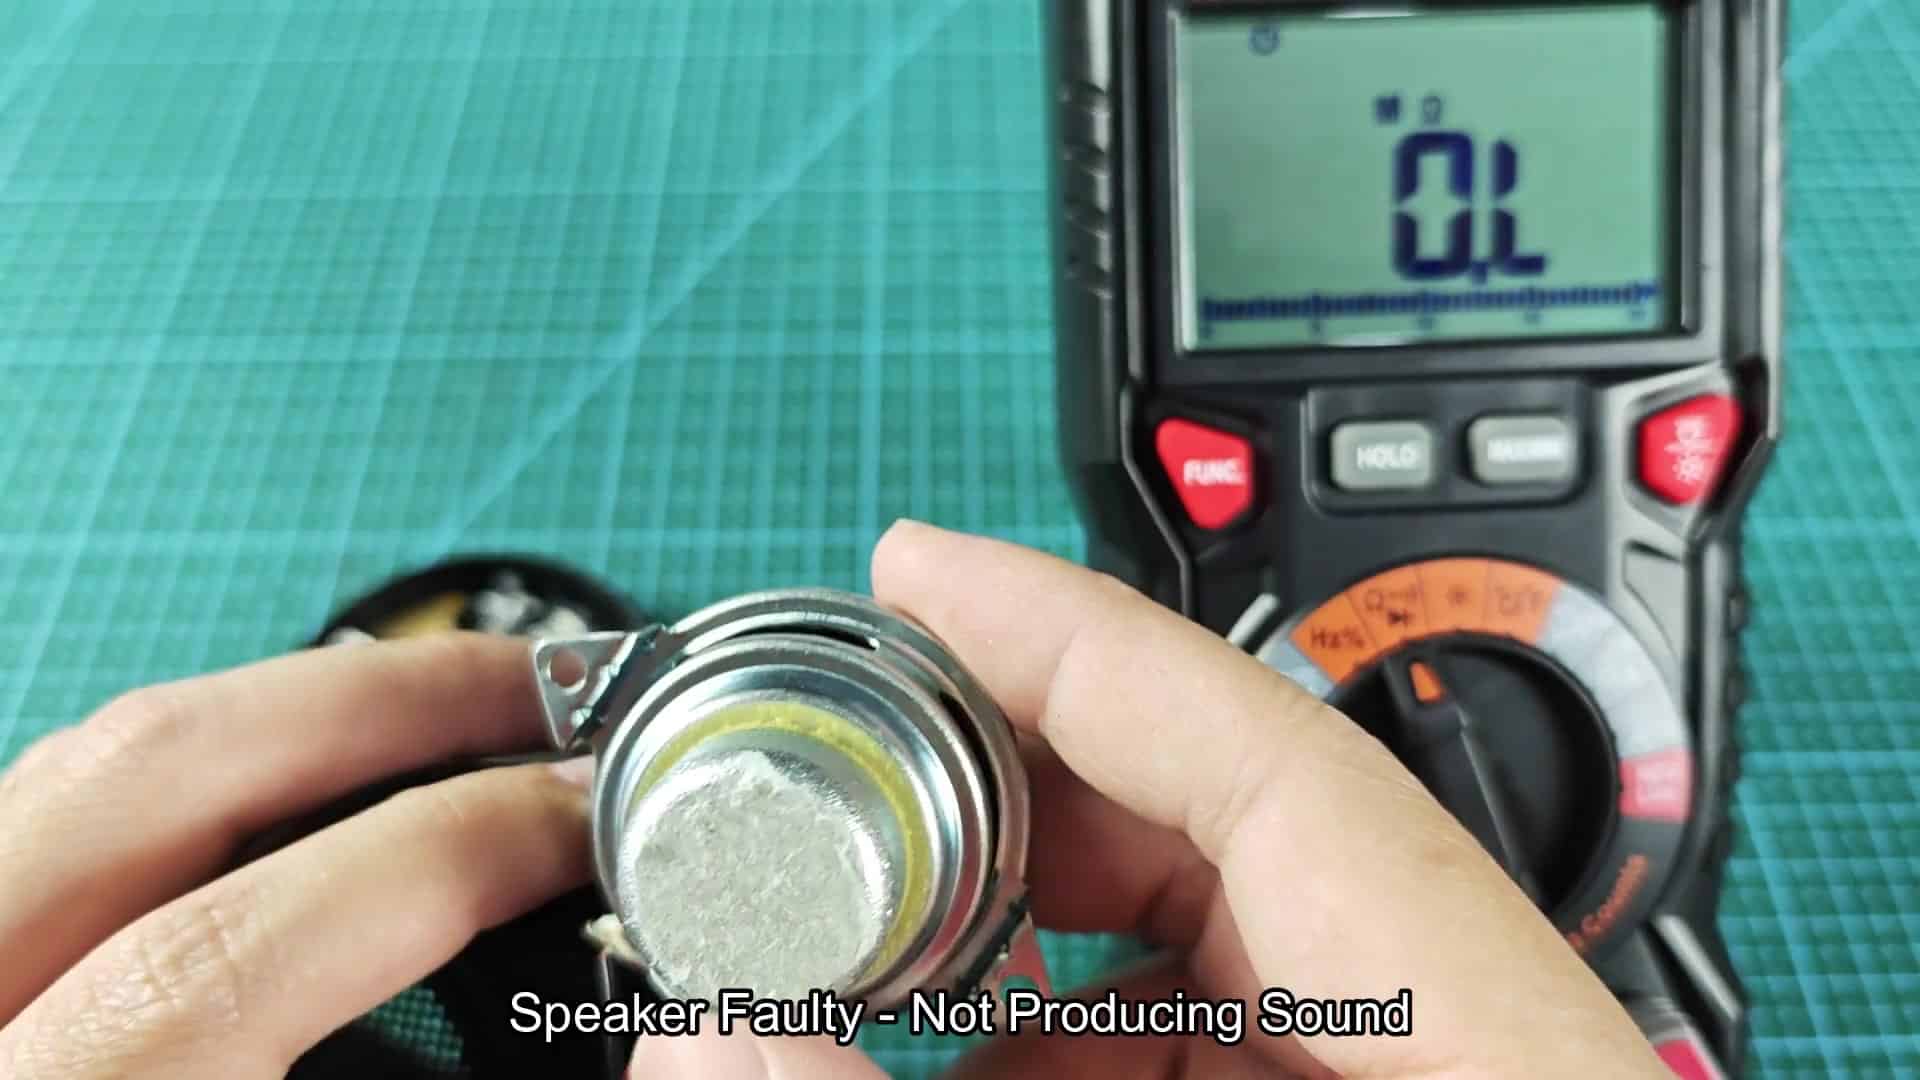
At first glance, the multimeter might read “OL” (no continuity). That doesn’t make much sense since it looks physically undamaged.
If you probe further, you get varying results when testing for resistance. On one test, it reads 4.15 ohms, that’s in the ballpark for what you’d expect from this style driver. A reading of zero would mean it has a shorted coil or is otherwise damaged.
Next you want to take the speaker off the main board. This will tell you whether it’s an audio output problem or something with the main board.
By plugging it straight into the power, you get around any regulators or switches that is on the board. Just plug it in and see if it makes sound and moves the diaphragm.
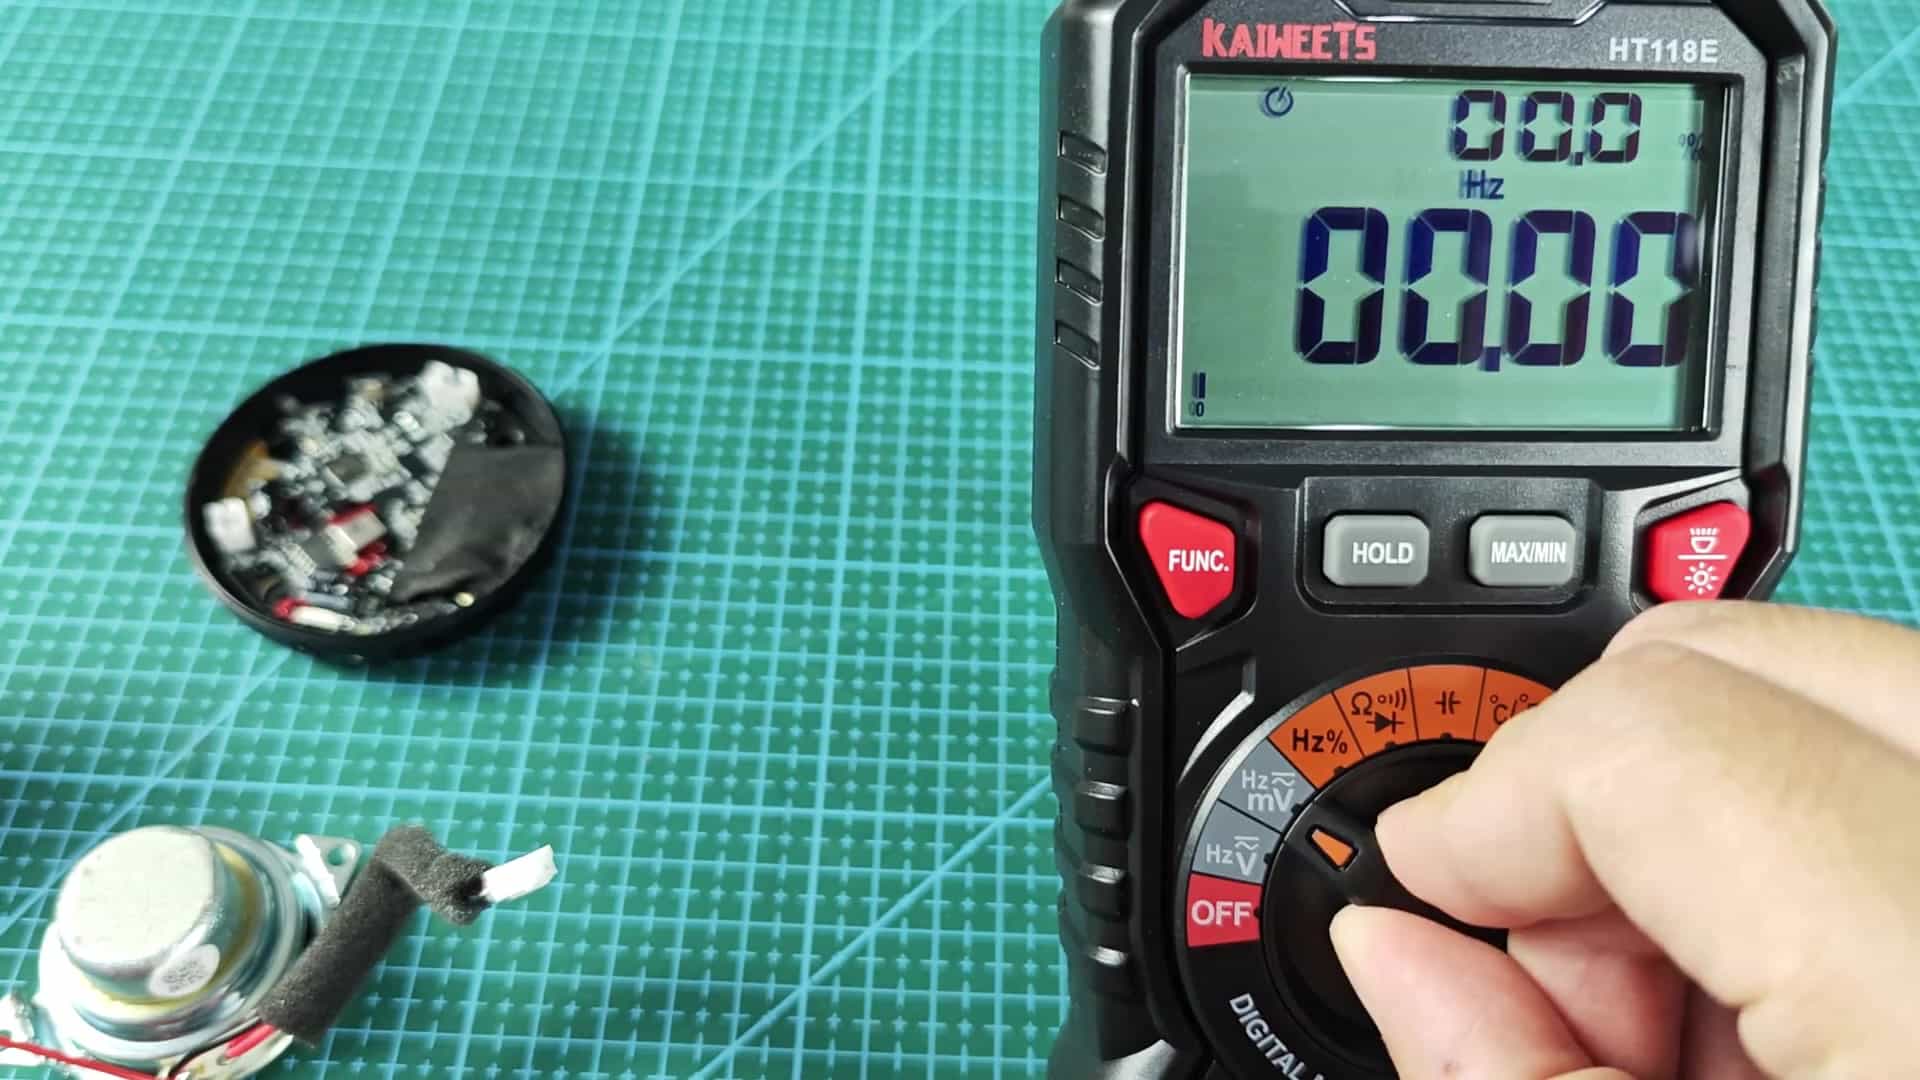
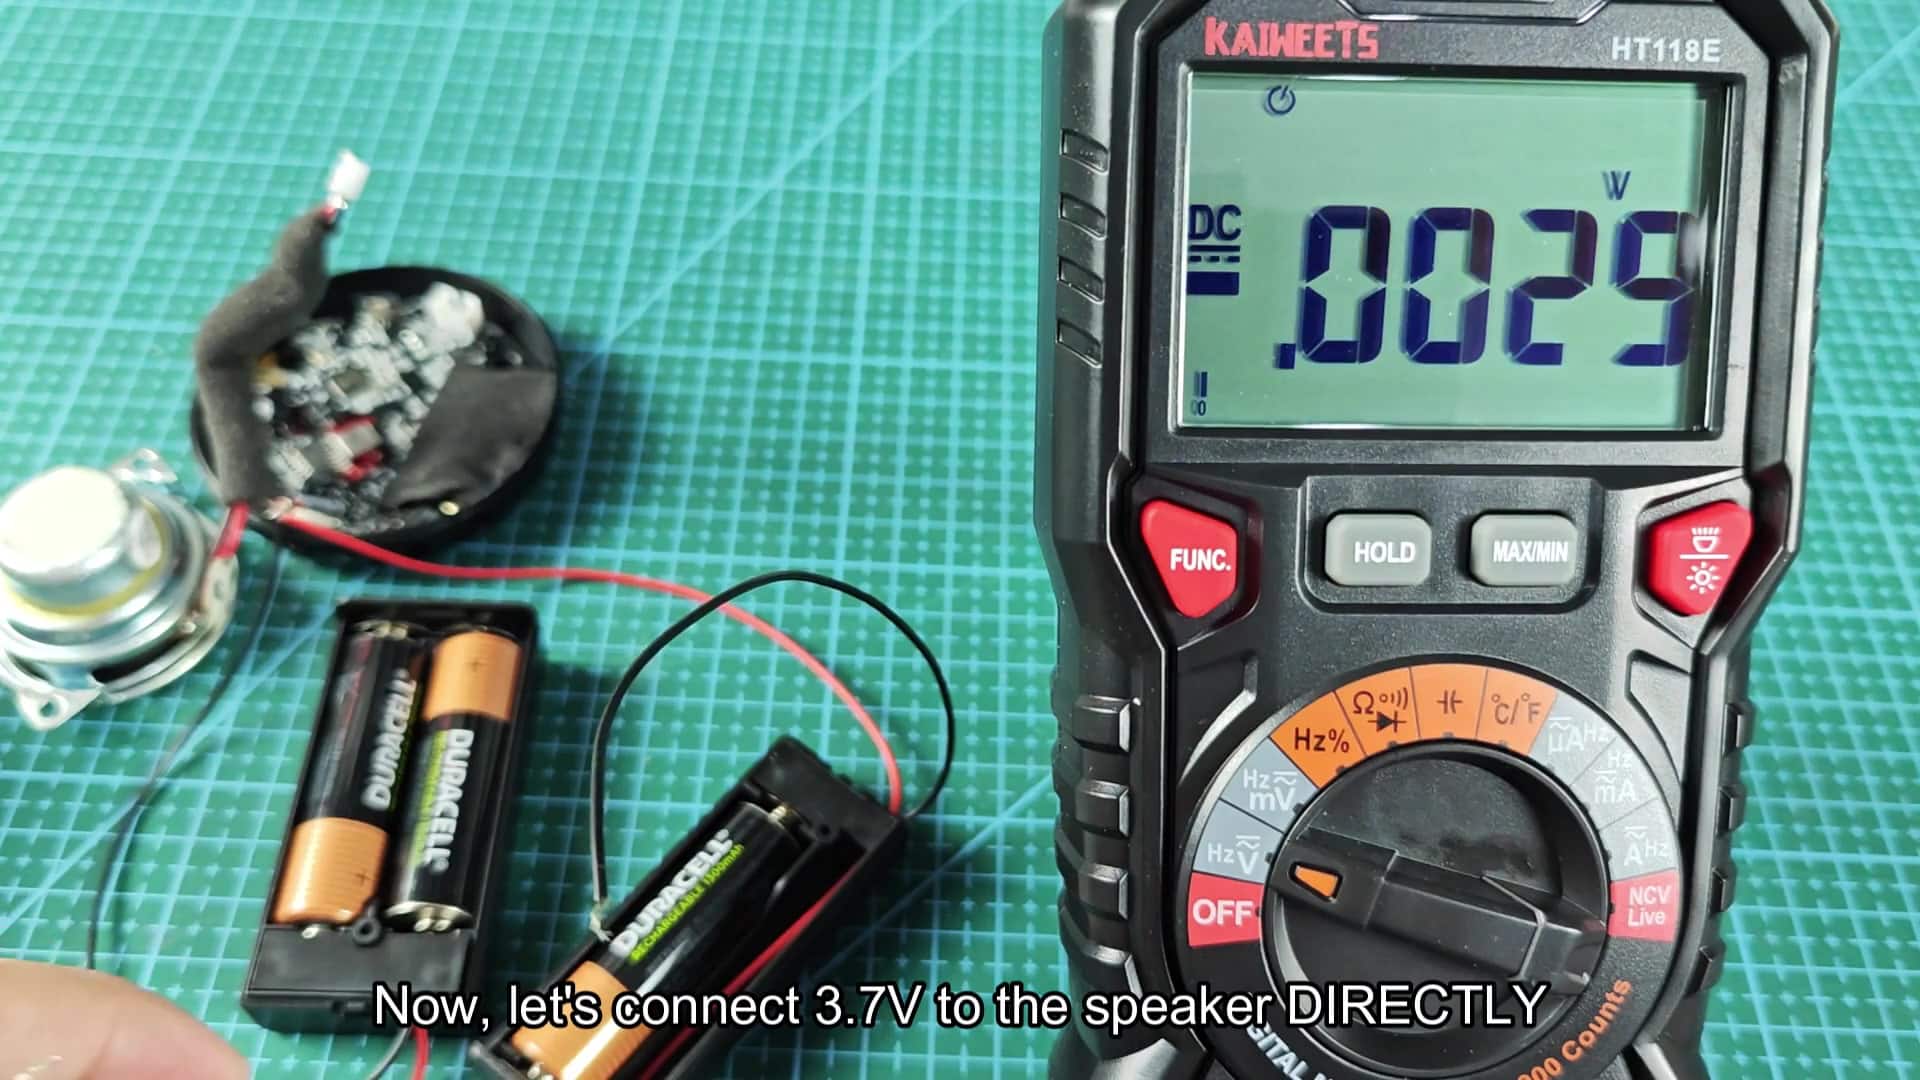
To get consistent current from a 3.7V supply, I used some battery holders with regular old cells. That’s close enough to what the device was providing. There’s no need to hook up anything that may have gotten fried on phone side of things.
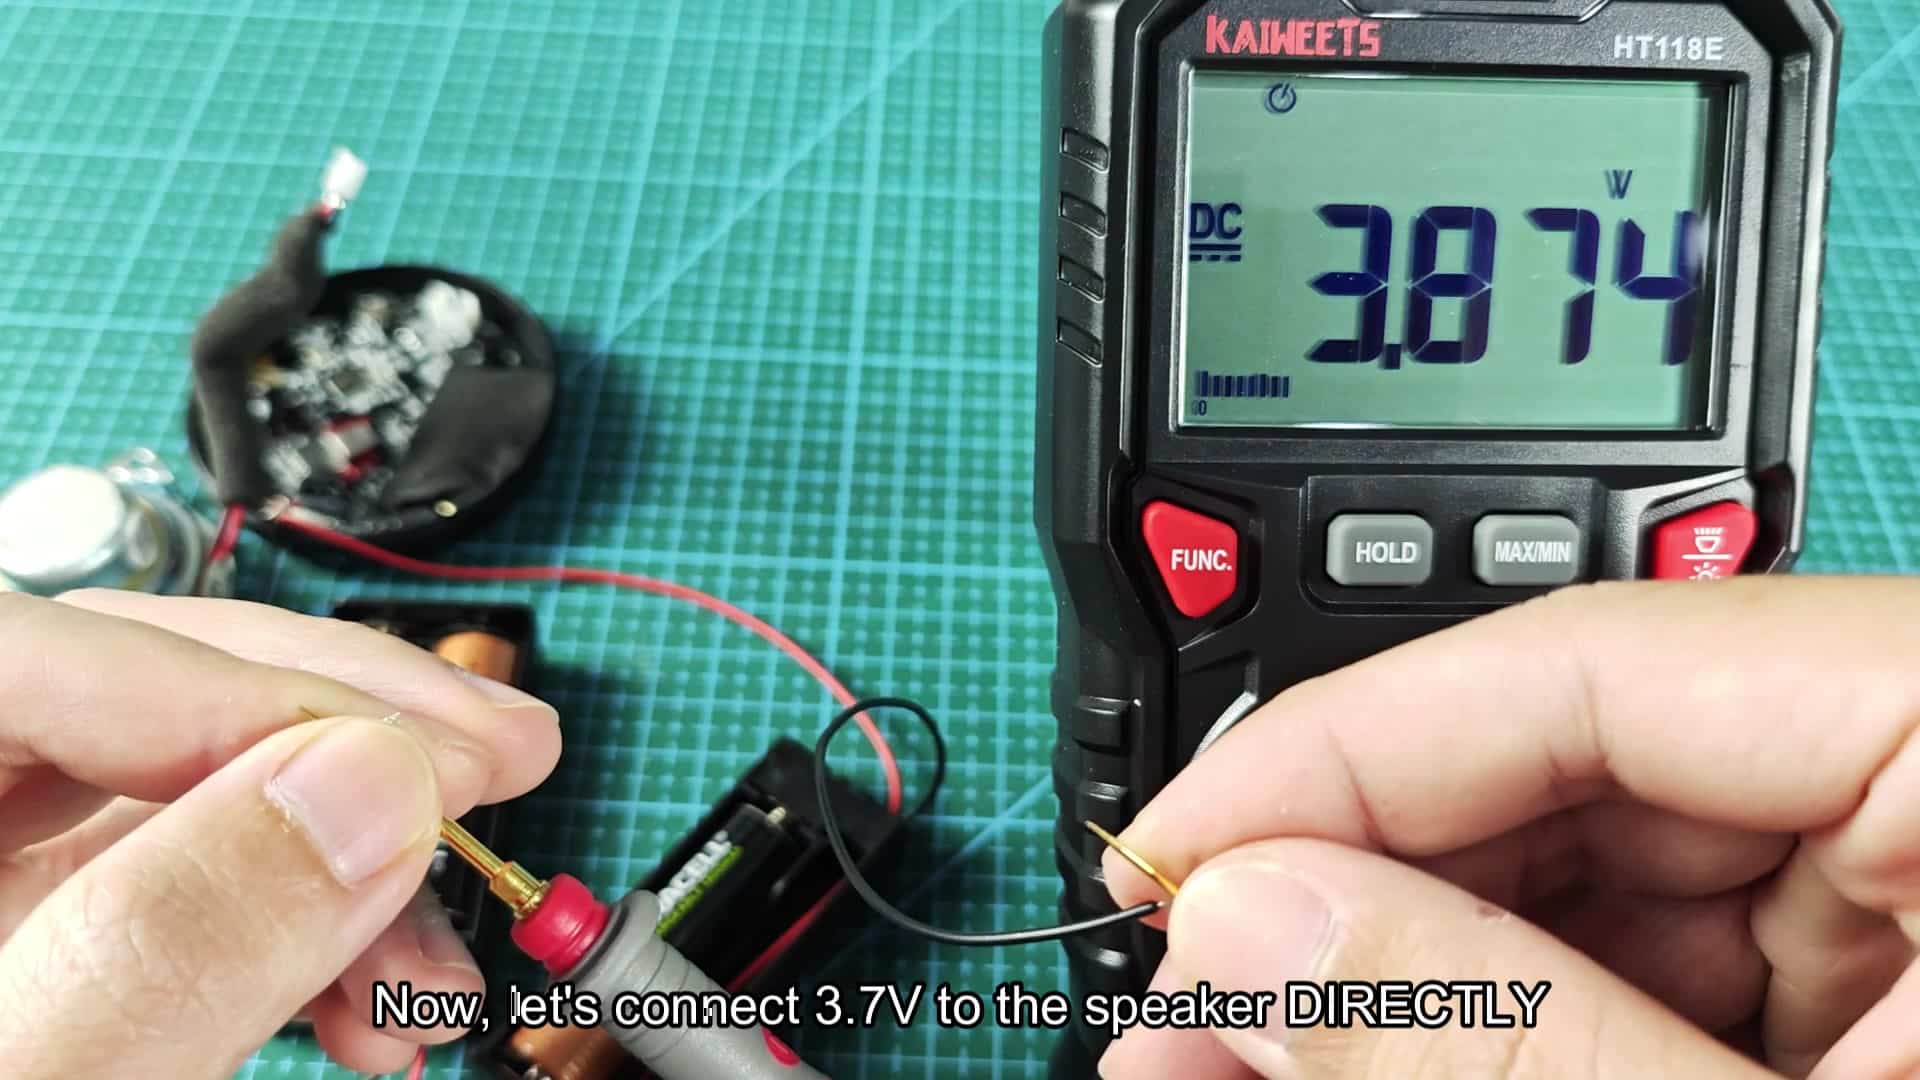
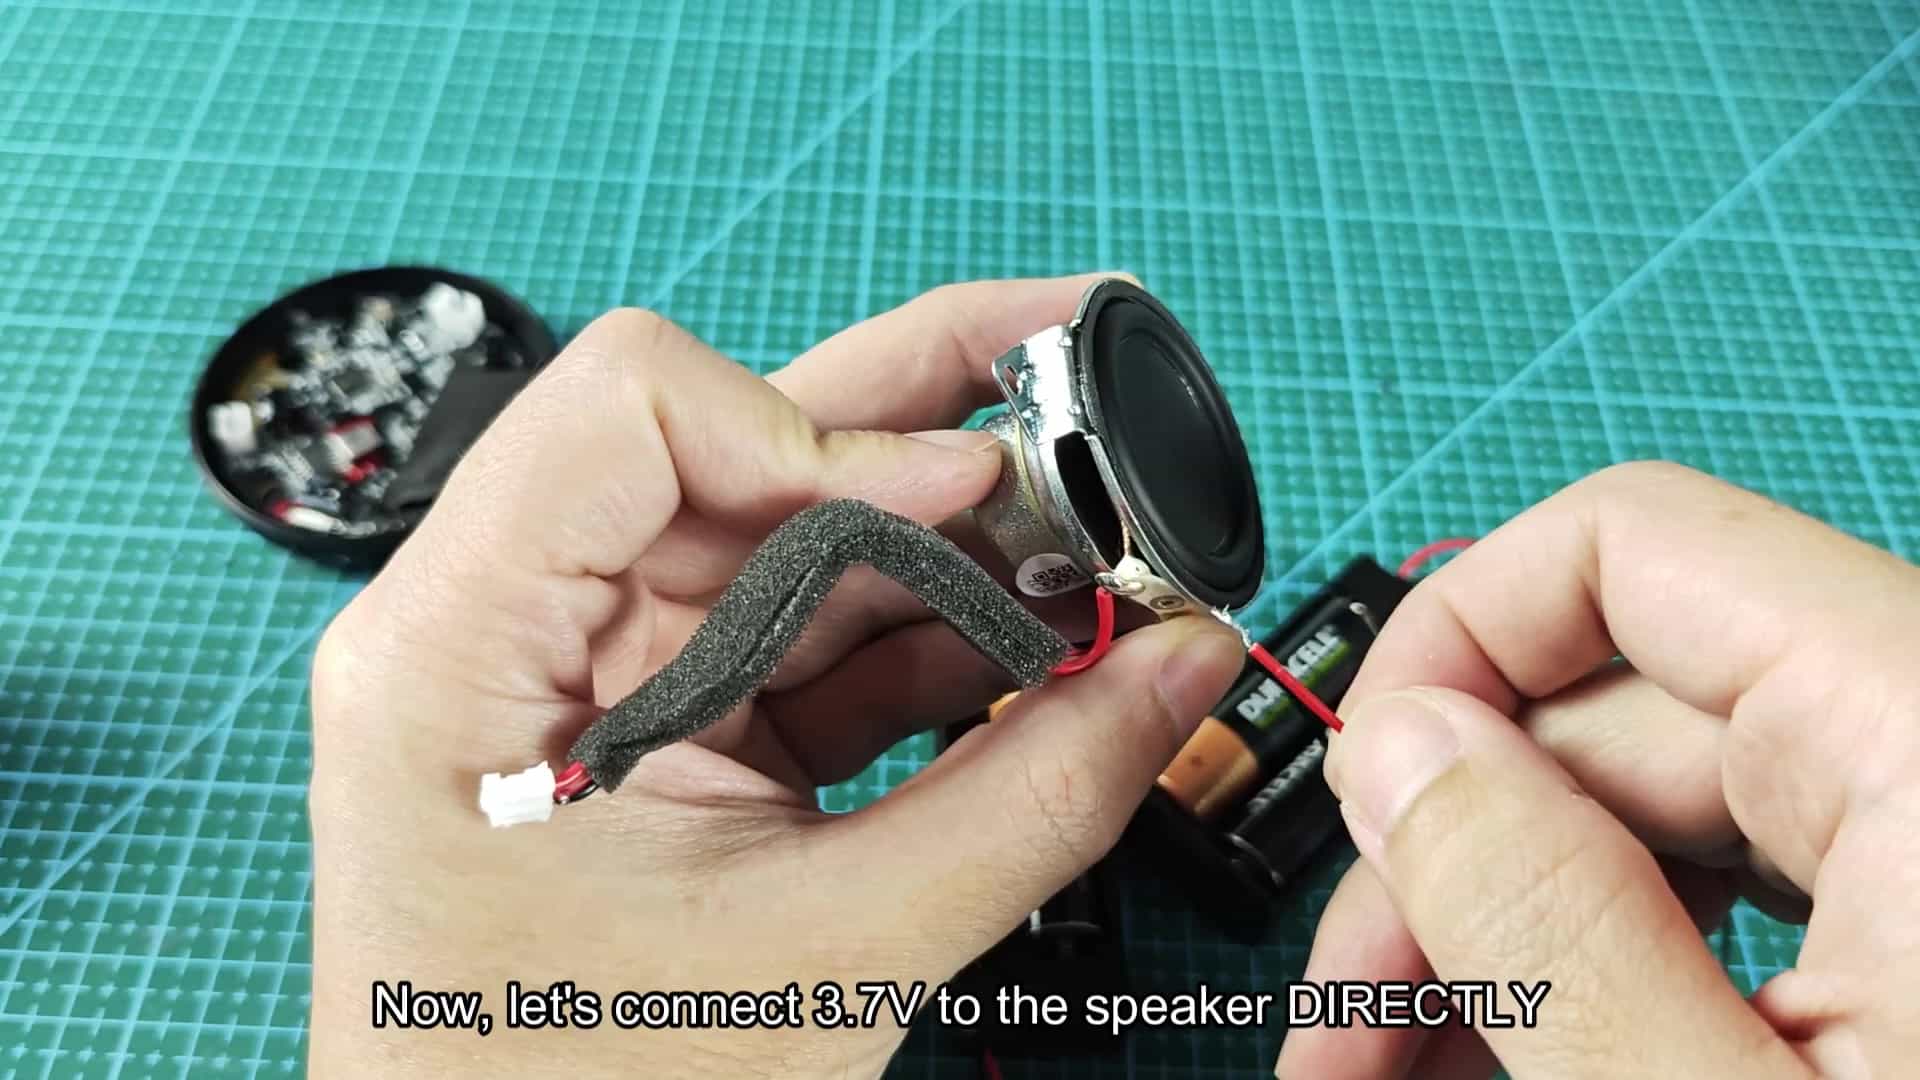
Just run the leads straight into the speaker terminals and you’re in business. Listen for a click, or look for the driver to move. If it did, then it lives!
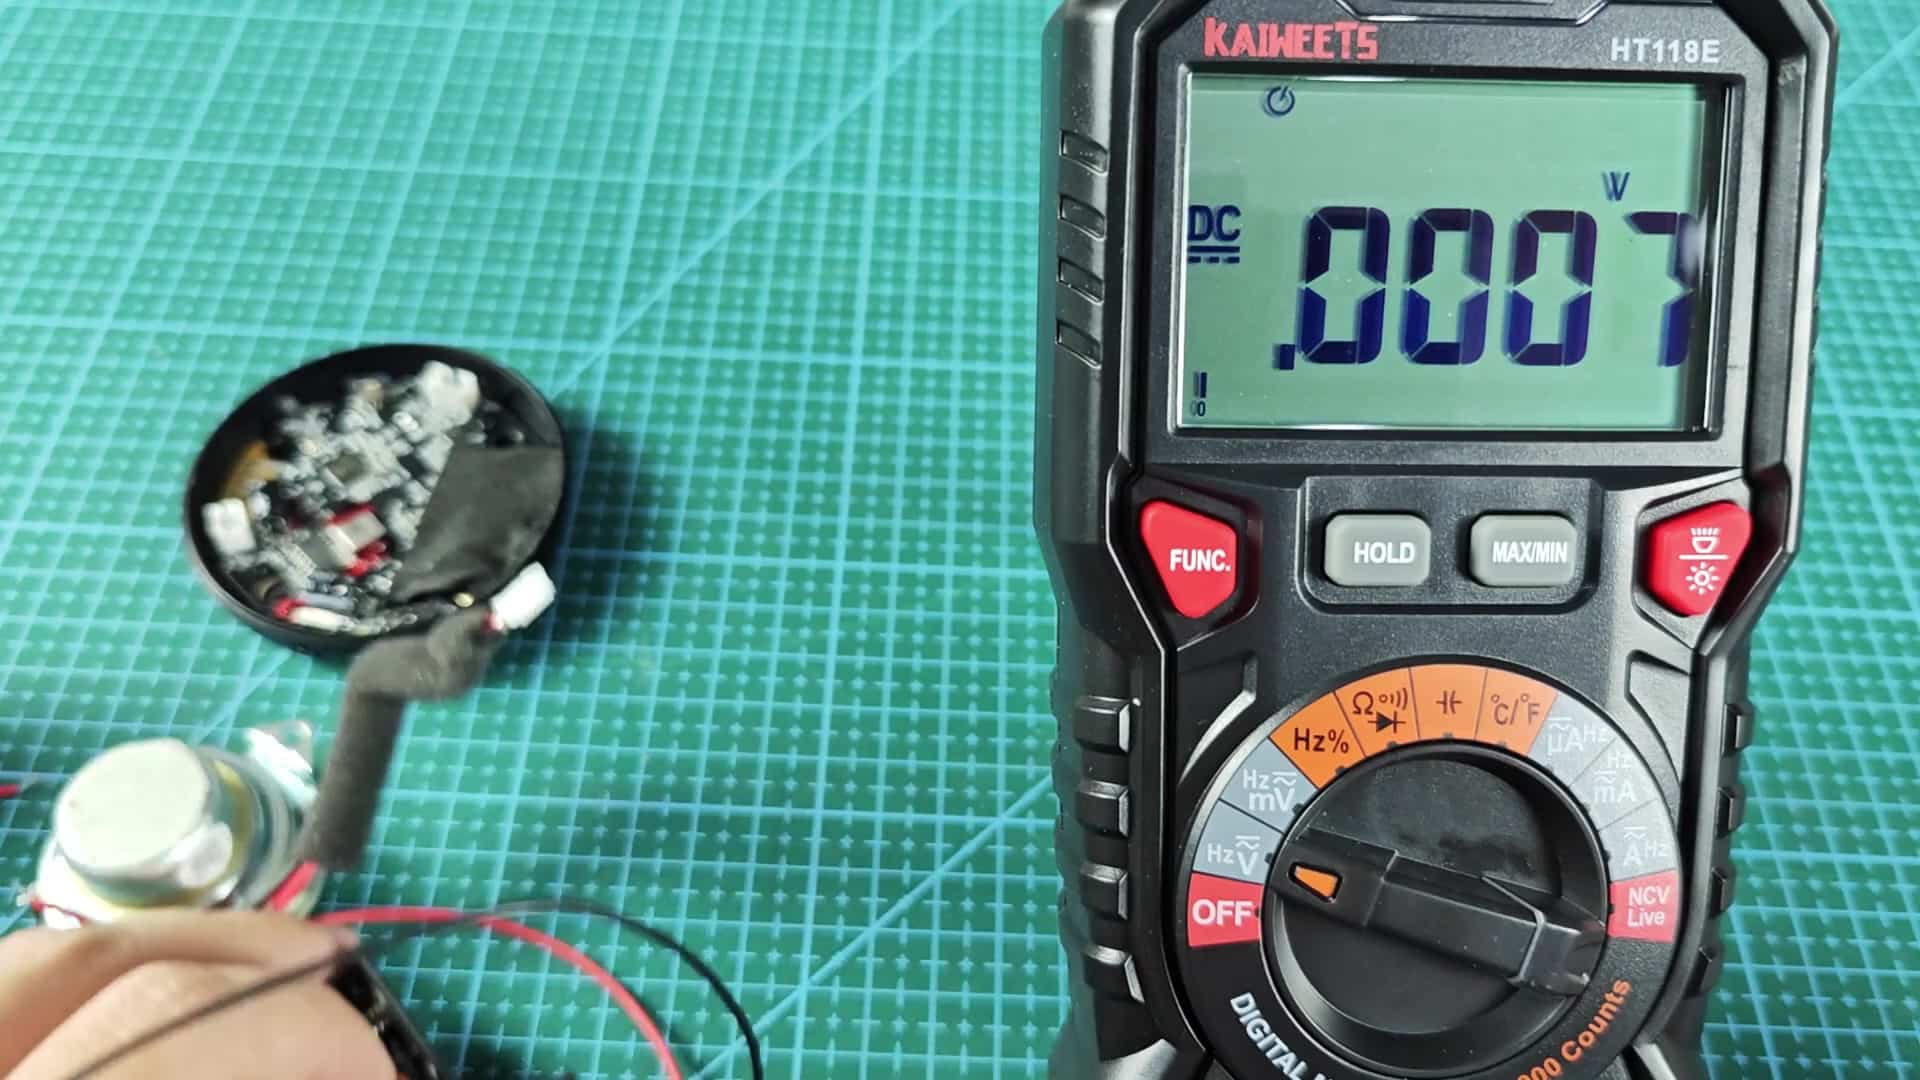
With the direct connection test, I’m getting roughly 3.8 volts. Throughout the test, I keep my multimeter steady to make sure any lack of response isn’t caused by changing power levels. Internal wiring and charge port factors is taken out with a direct test.
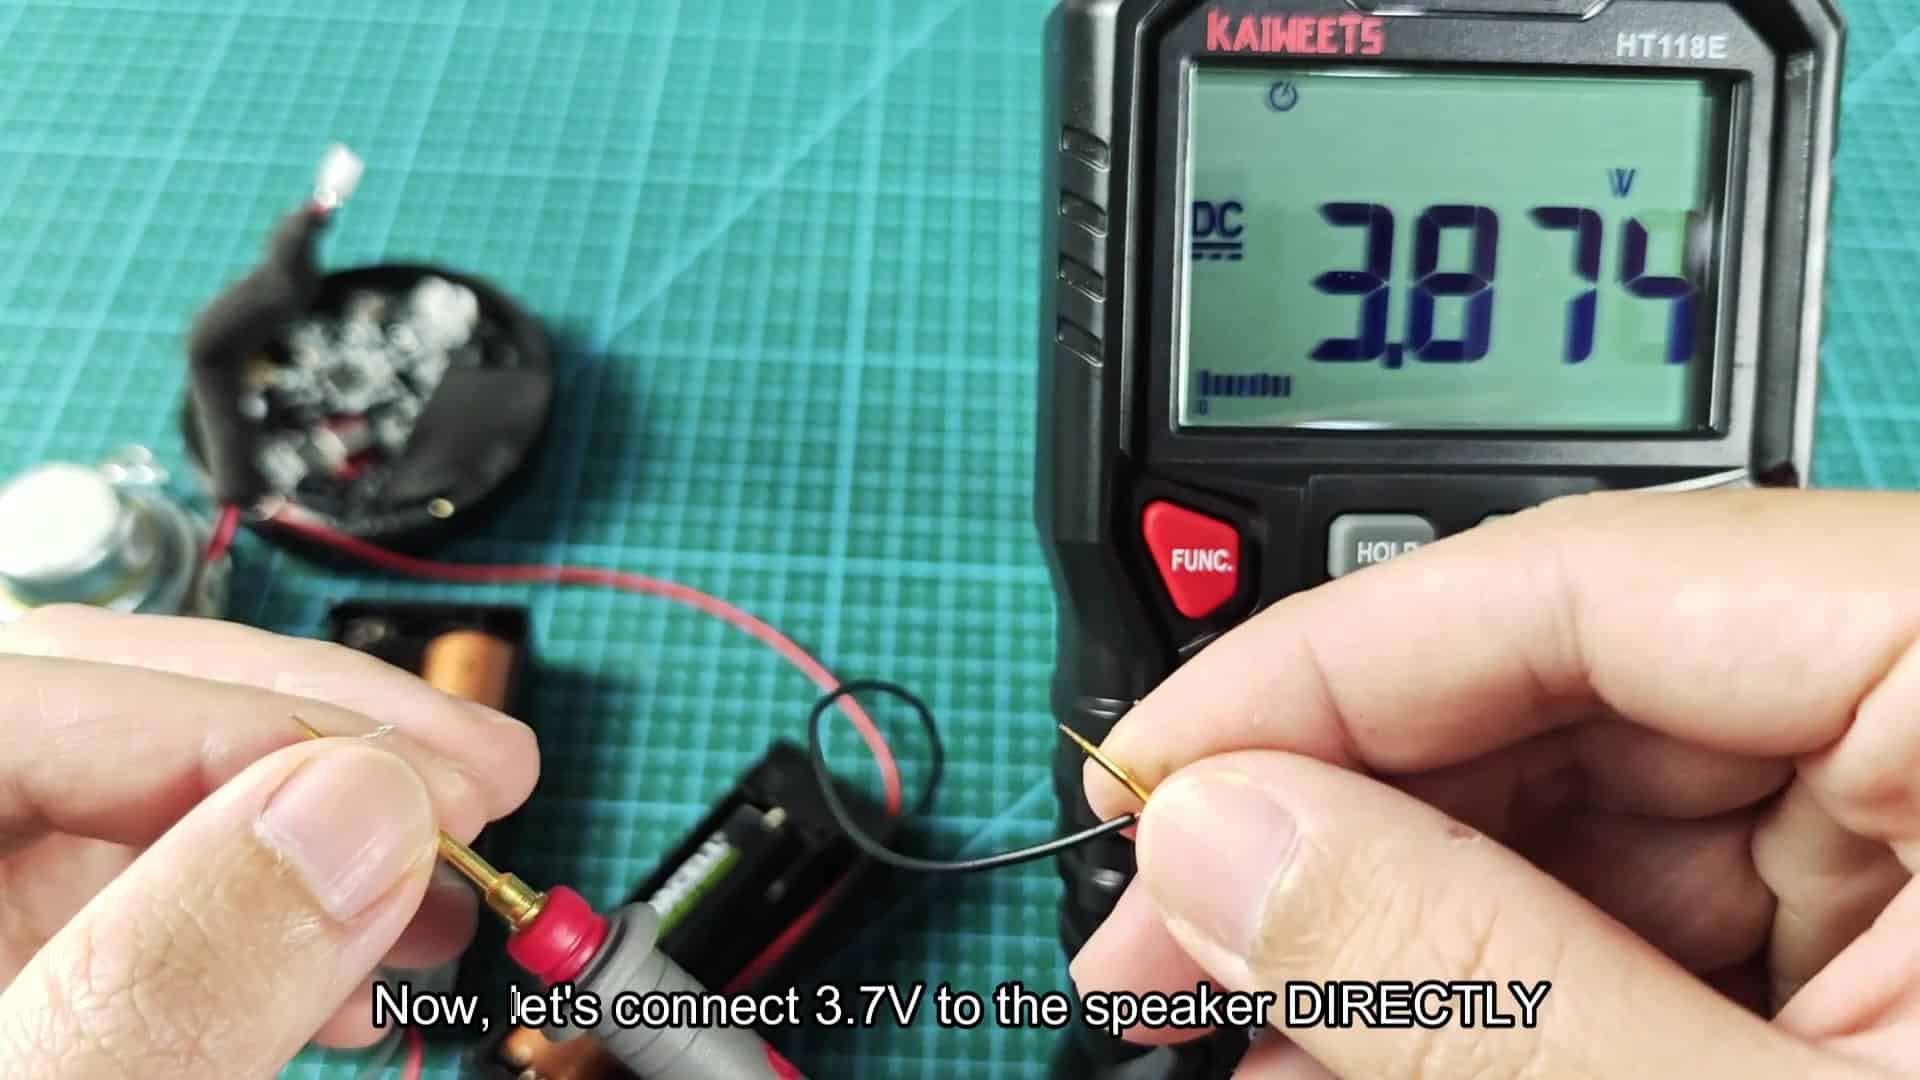
As soon as the leads come in contact with the terminals, you’re watching for an immediate reaction. While it’s making contact, the voltage stays constant around 3.7 volts.
Under those circumstances, a good speaker will act normally. You may notice slight movement of its diaphragm or hear a small pop. This basic test rules out complicated board failures.
Holding the small round driver steady while applying power requires some care. The red wire connects to one terminal while the black completes the circuit. This manual approach gives you total control over testing environment. You can observe the component’s behavior without interference from other electronics.
To use it, you have to be careful as you apply power and hold the little round driver in place. One end goes to one terminal and the black wire completes the circuit.
It’s a hand method that puts you completely in control of what is happening during your test. There are no other electronics interfering with how the component behaves.
You make the connection carefully to avoid damaging the delicate terminals.
Carefully make the connection so as not to damage the delicate terminals. When you apply voltage the speaker should react immediately.
If you have the correct resistance but it does nothing there’s a possibility that the driver has mechanically failed. It’s a definite yes/no test with this direct approach.
To be sure it’s consistent, you do it again. Every time there is electrical power going to it, it does the exact same thing.
So this way you have limited your troubleshooting possibilities because you know where to look for the problem (right at the faulty component). A lot better to swap out one driver than try and find some unknown problem on a board somewhere!