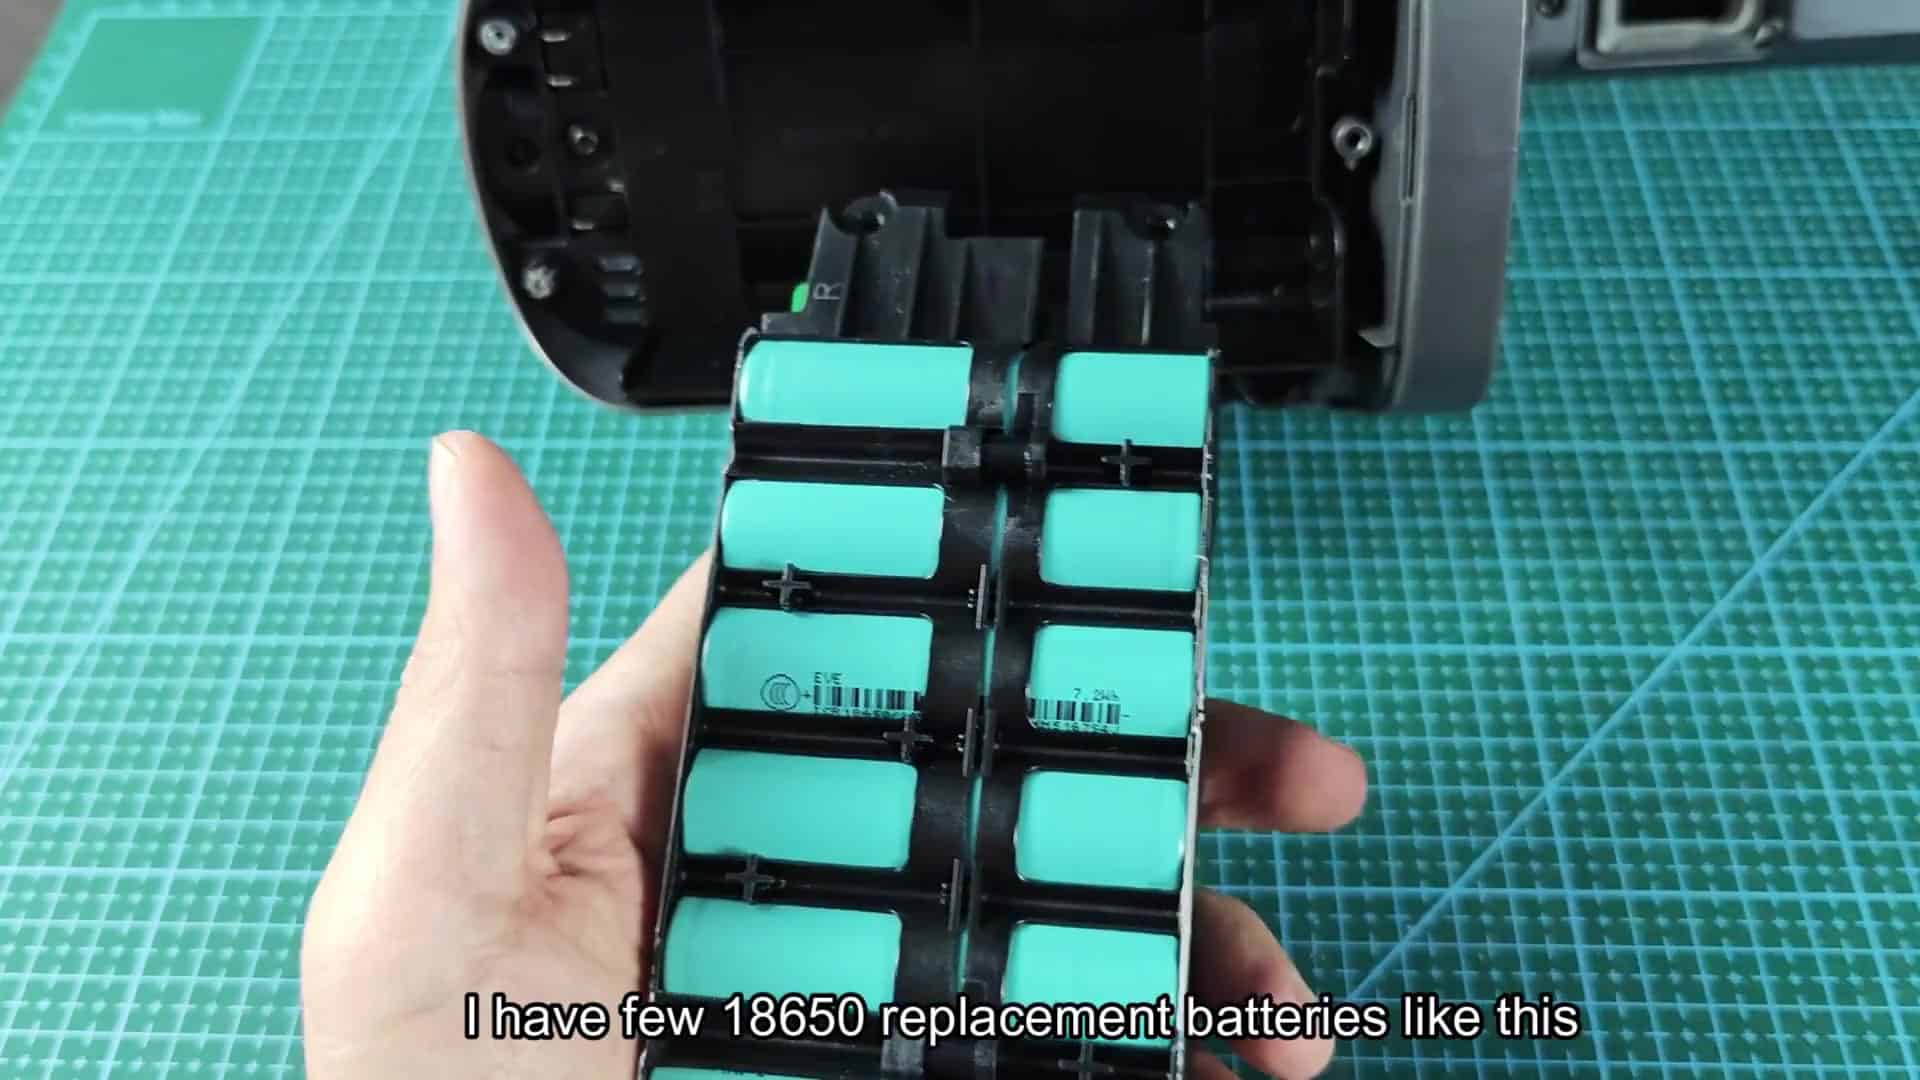
You’re finding your Shark Rocket cordless vacuum isn’t picking up as well as it used to, especially on carpet. It isnt as strong as it used to be. What’s wrong? How did something in there change?
The fact is losing suction in a vacuum cleaner are typically due to just a handful of issues. Let’s take a closer look at each of them. This way we can break down the issue step-by-step until we figure out why the vacuum acting up.
Check for Blockages and Leaks
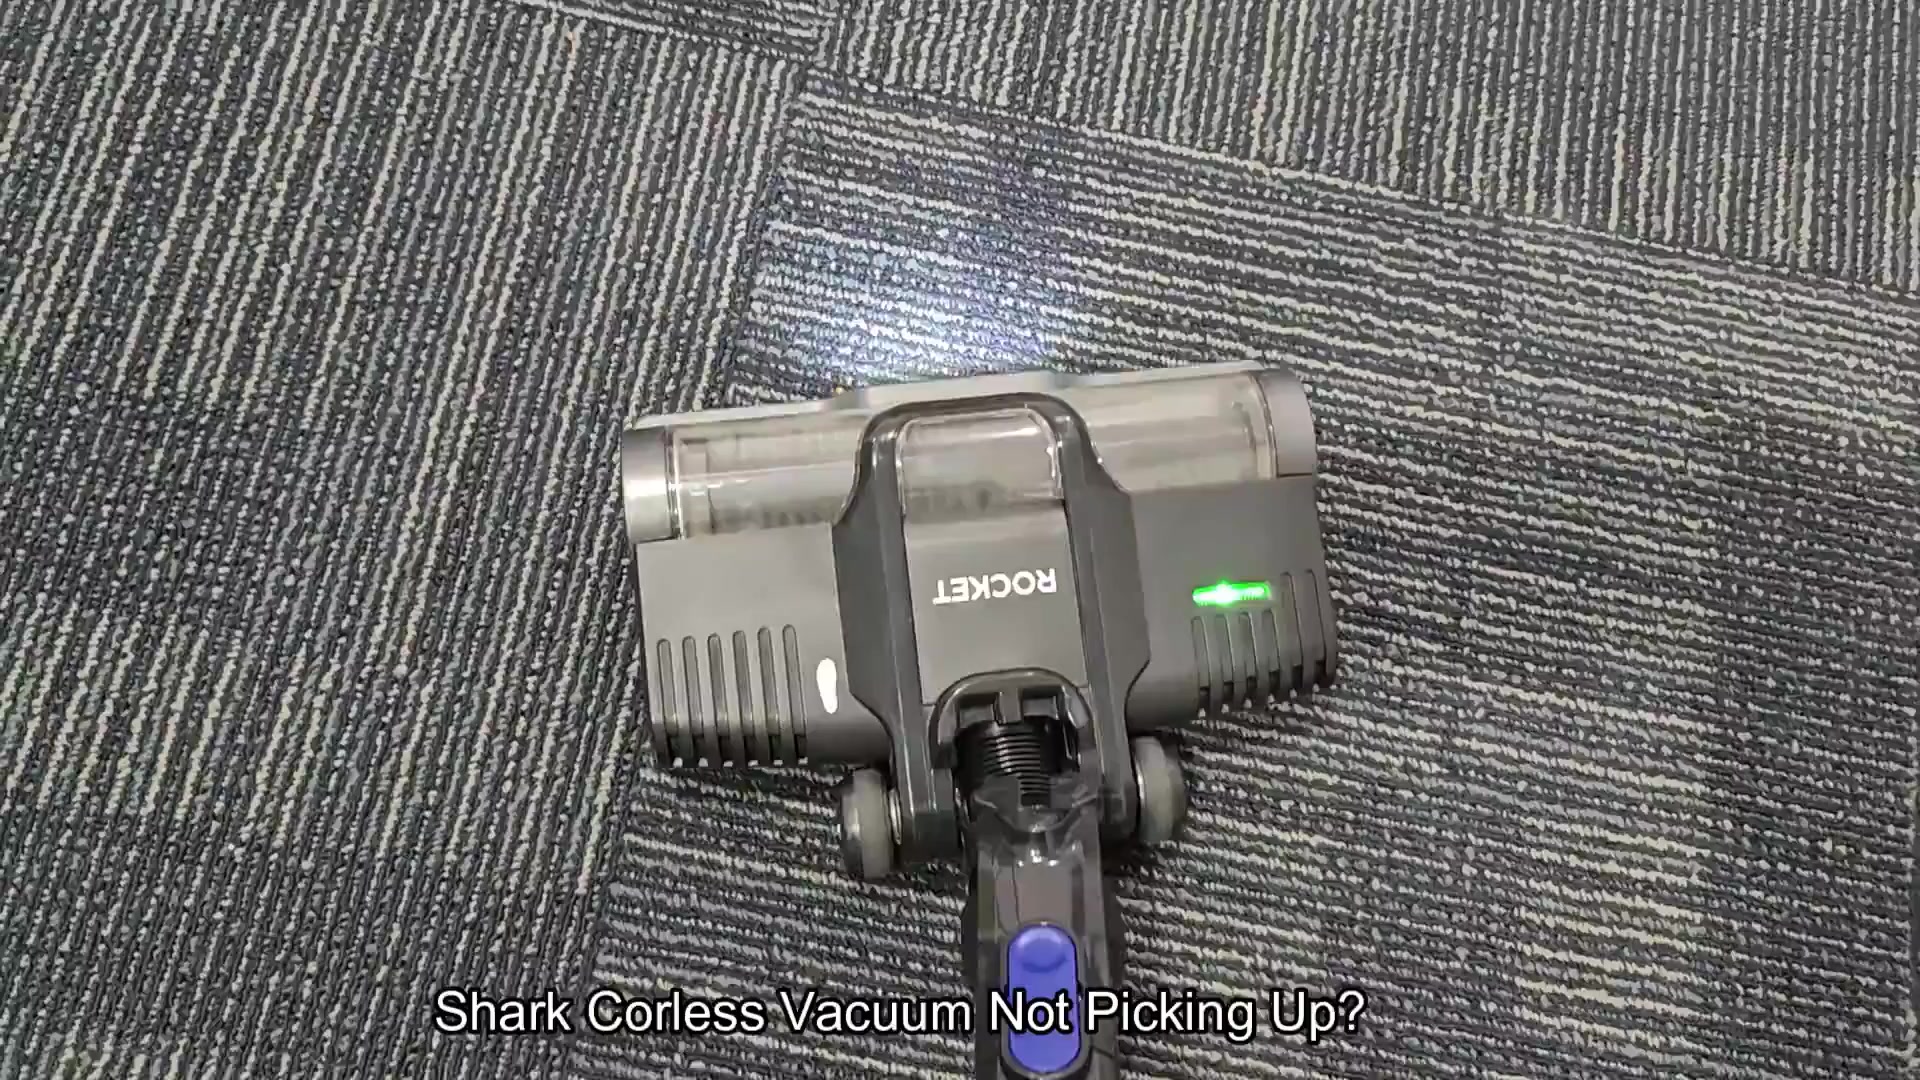
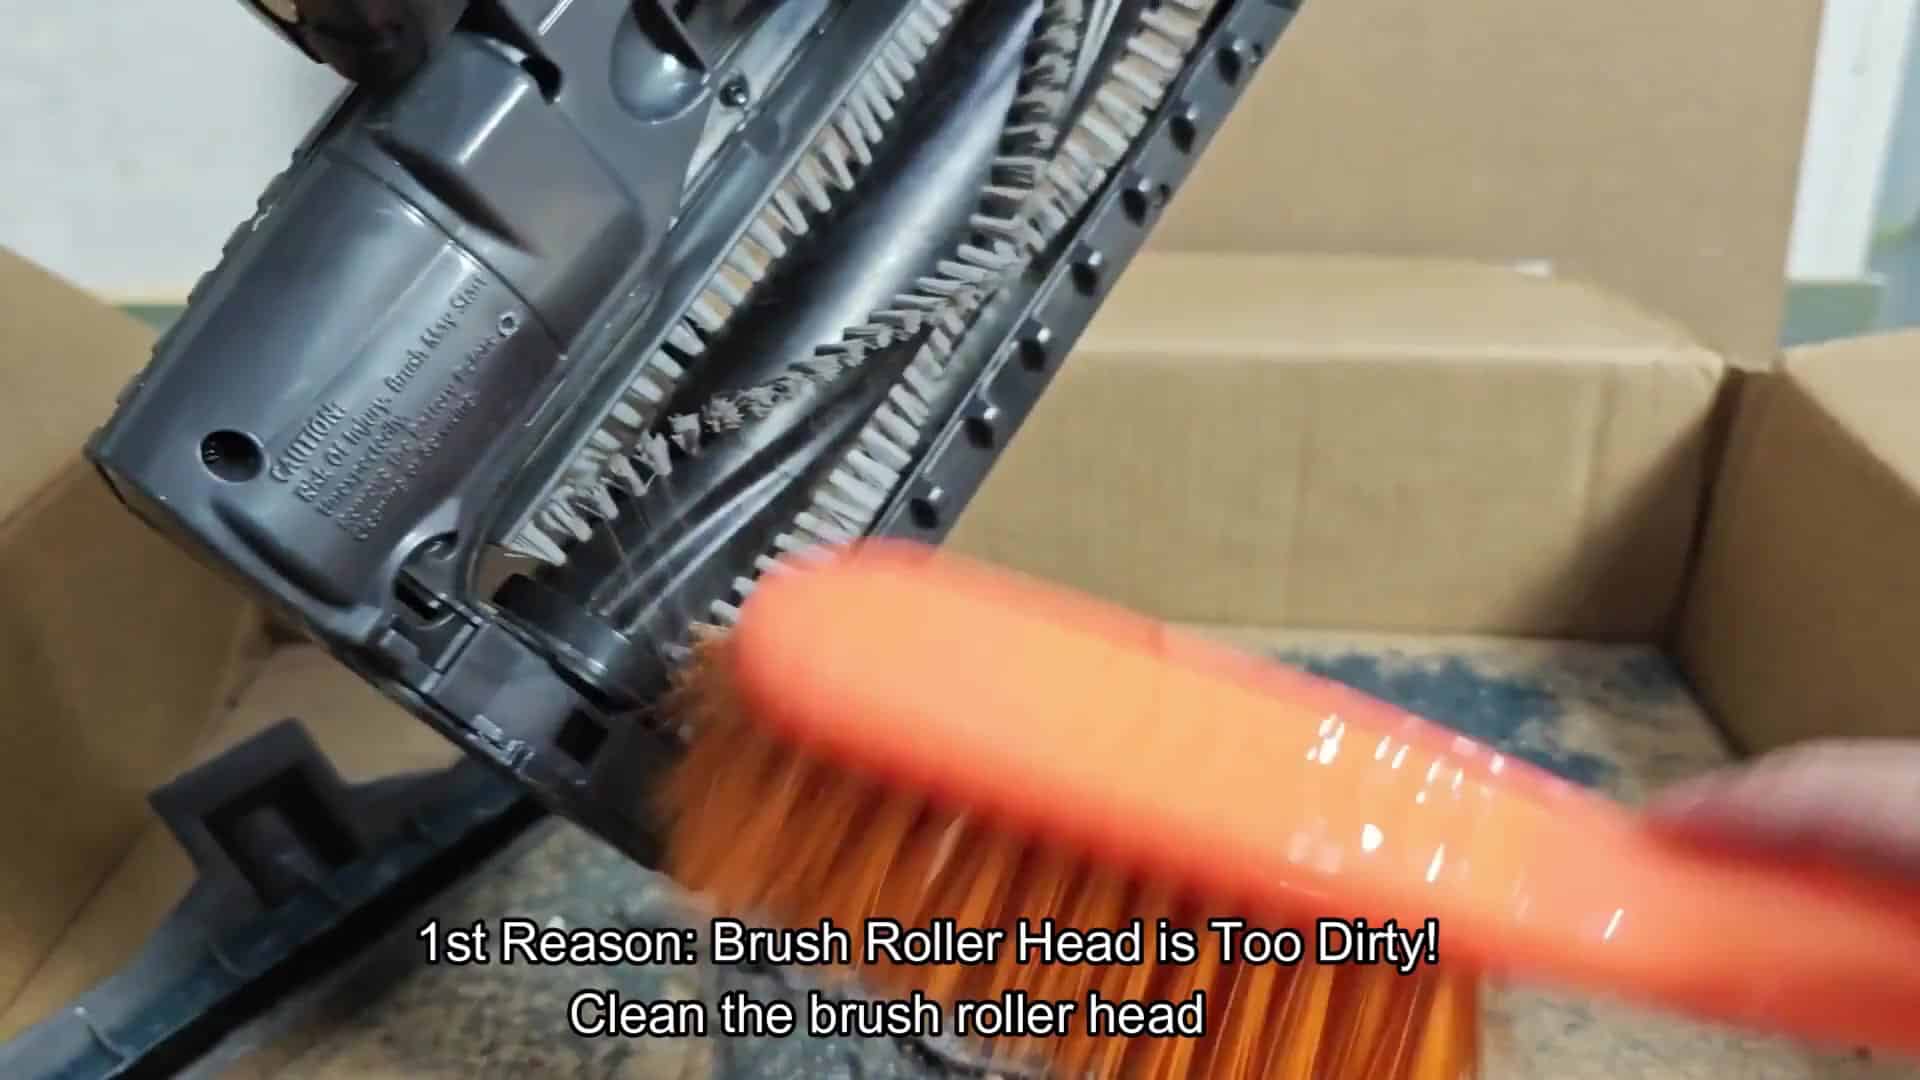
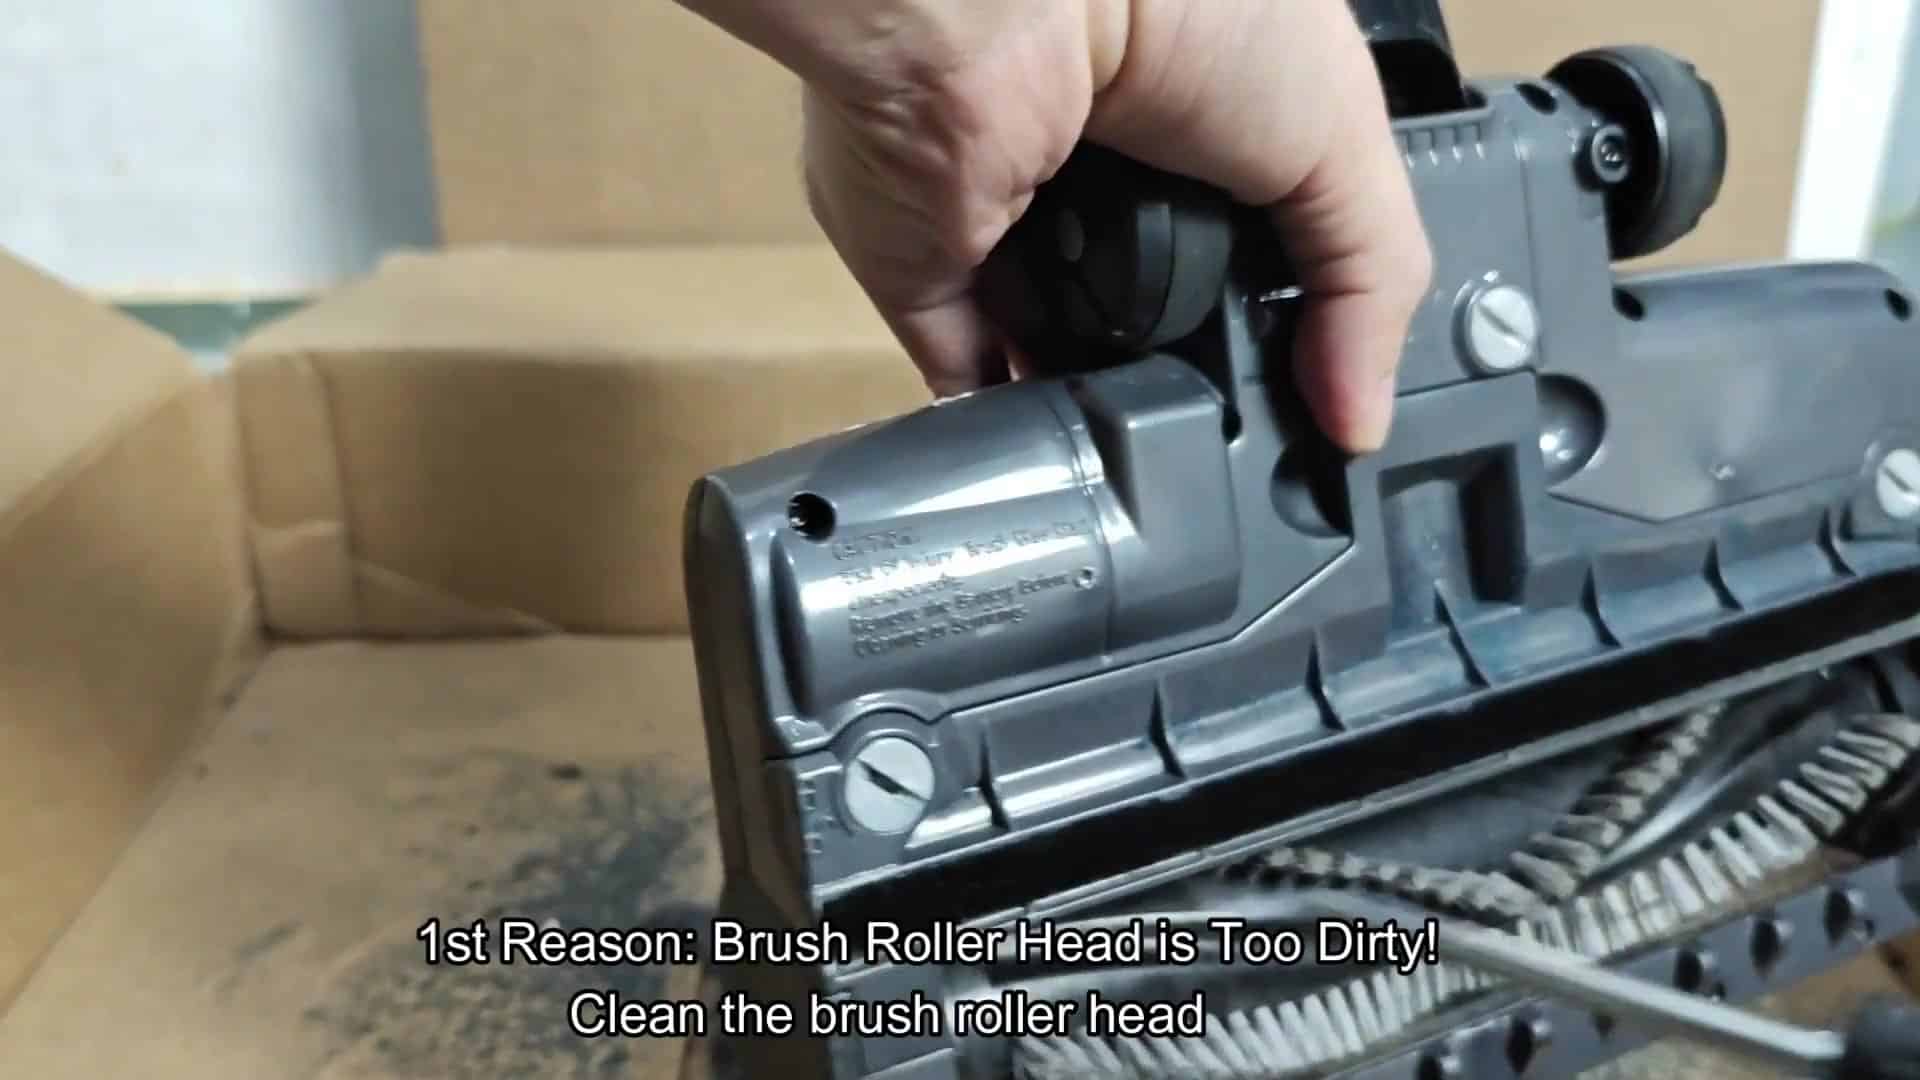
First, look at the brush roller head. Debris like hair and dust can really cling on tightly to bristles of this head, obstructing air flow and causing the roller to spin erratically. With your fingers, carefully pull the debris off by hand. If you find any that’s still tangled, grab a small tool and cut it loose. It requires a bit of work but you’ll get it all.
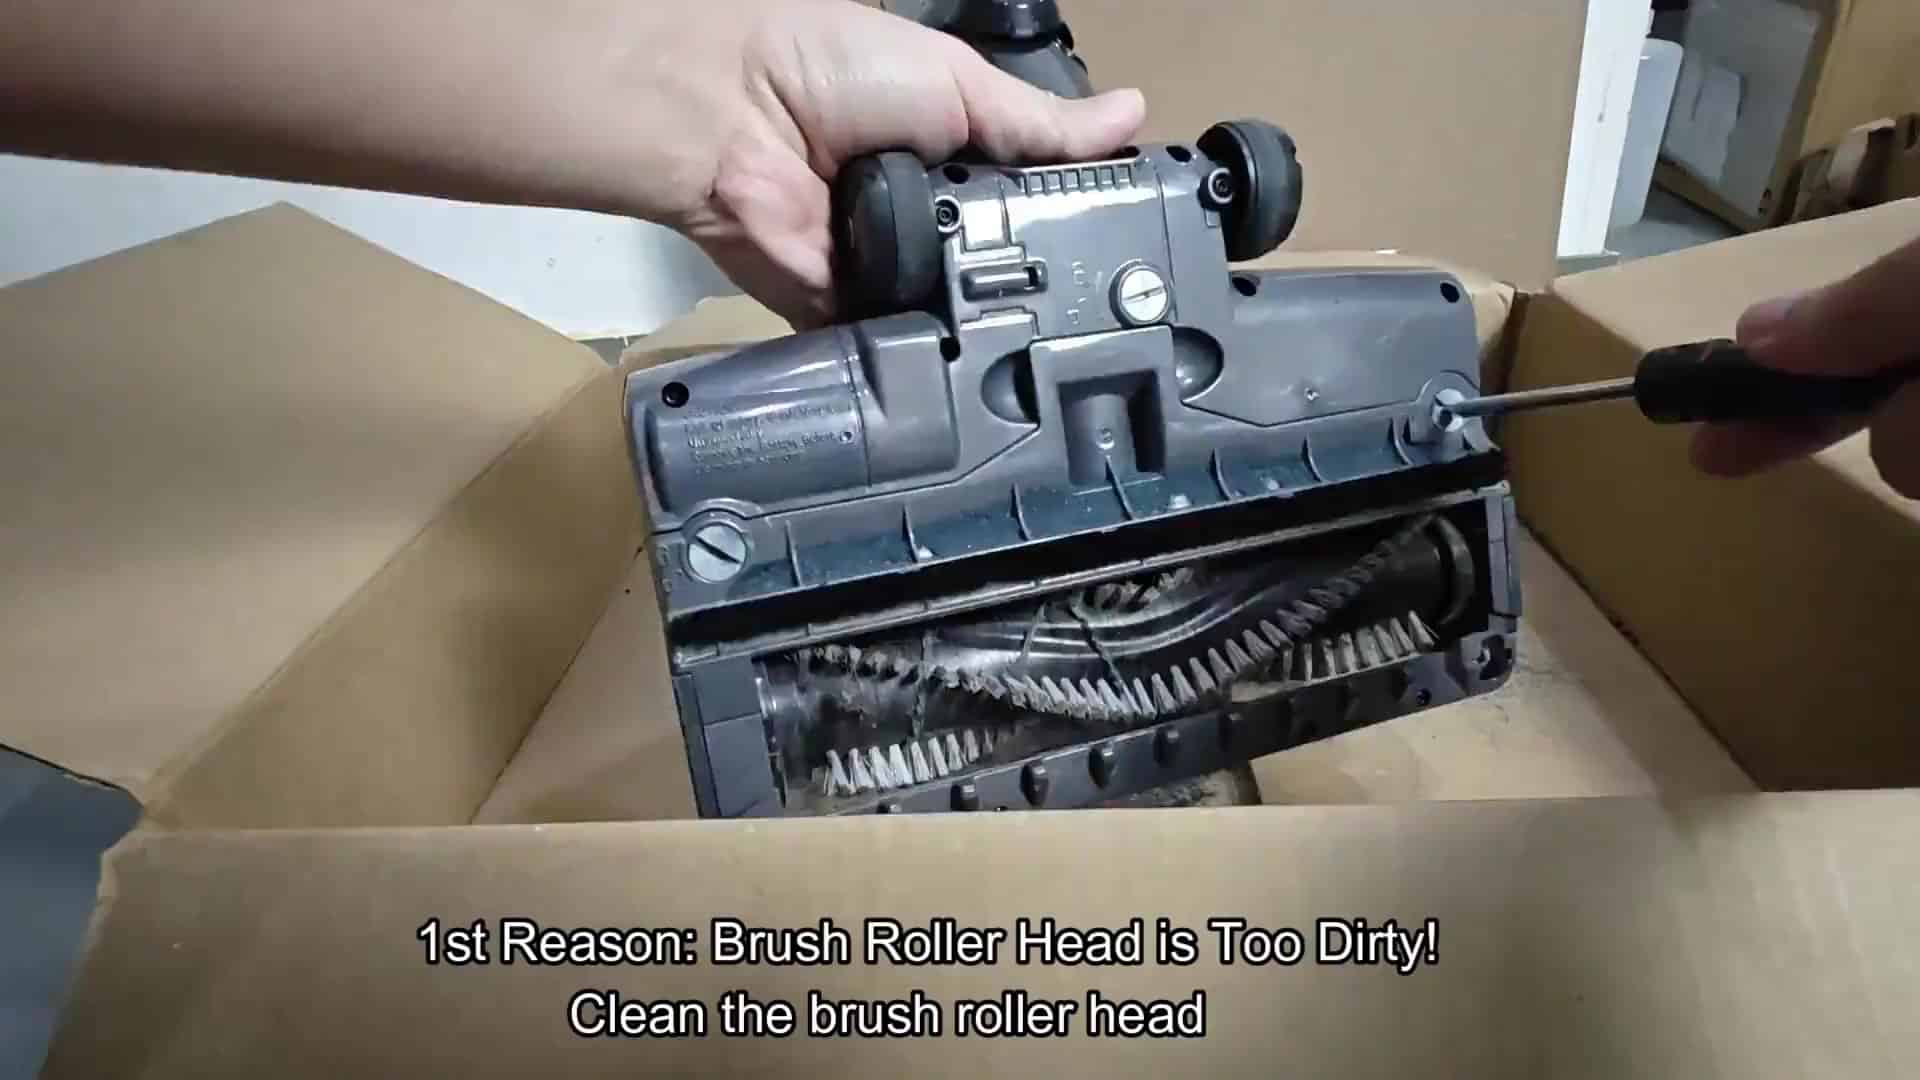
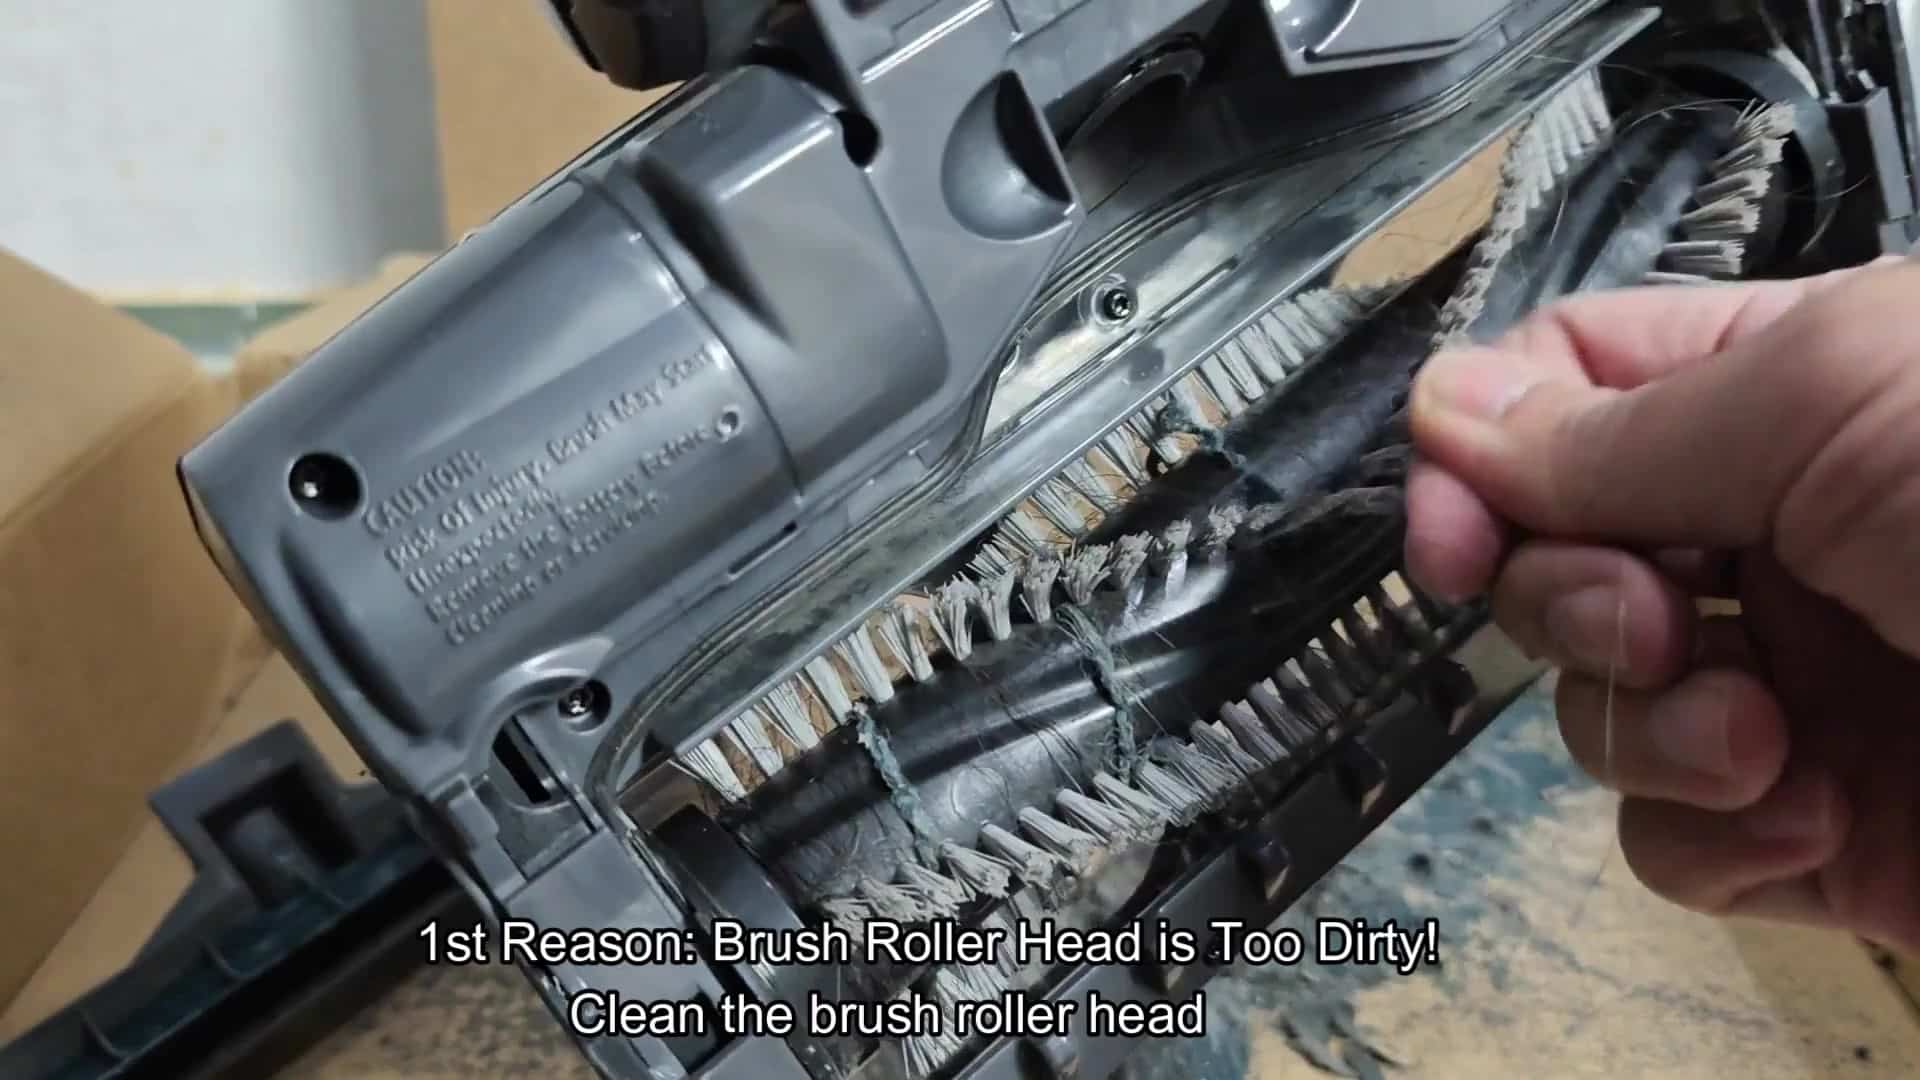
After removing hair, take a cleaning brush (orange) and scrub the roller’s head. If you don’t remove the buildup of fine dust that collects on the head, then the weight of all that dust will weigh down the bristles.
A clean roller spin better. And when it spins, there’s nothing to resist airflow through the intake.
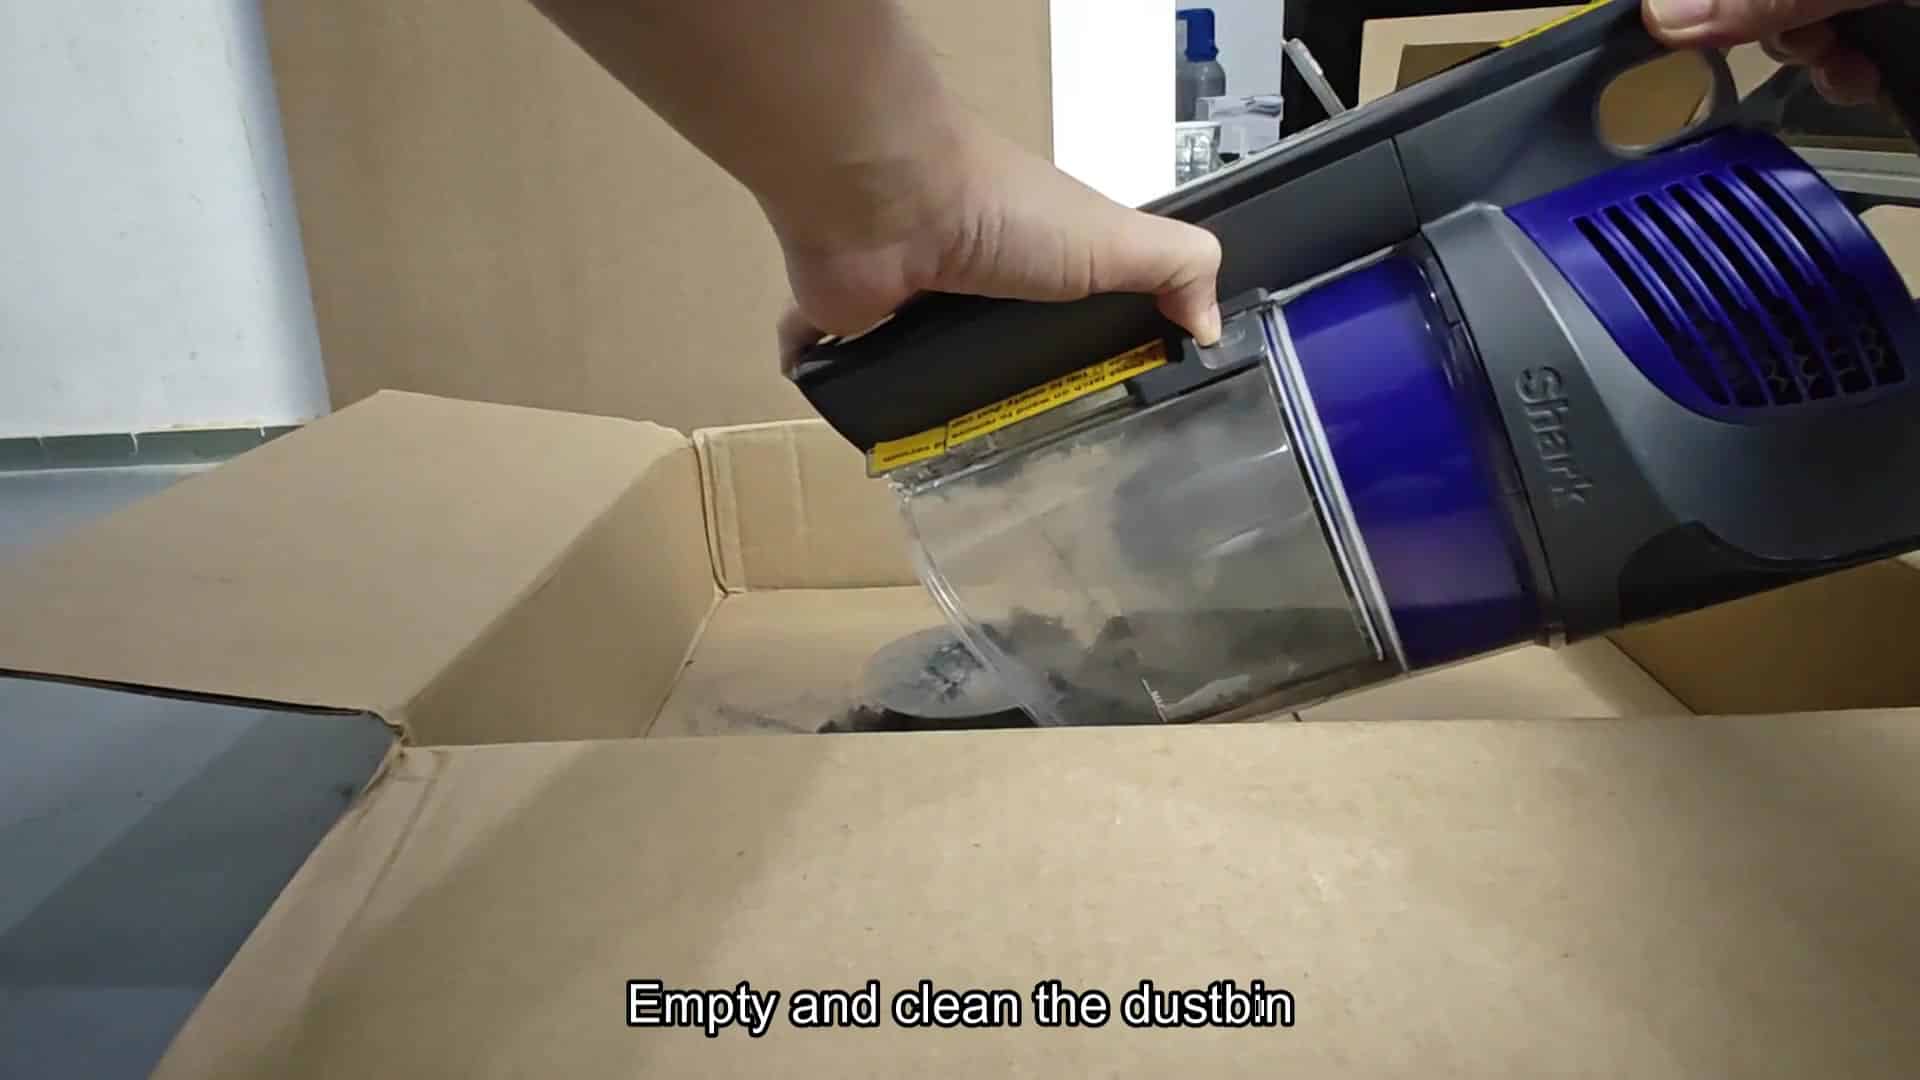
Second, examine the filters and dustbin. The bin is often filled with dust, which reduces suction power when people forget to empty it regularily. Completely empty the canister by tipping it up and over onto a box. If all that’s inside the bin is simply dust, then emptying it will make it work normally right away.
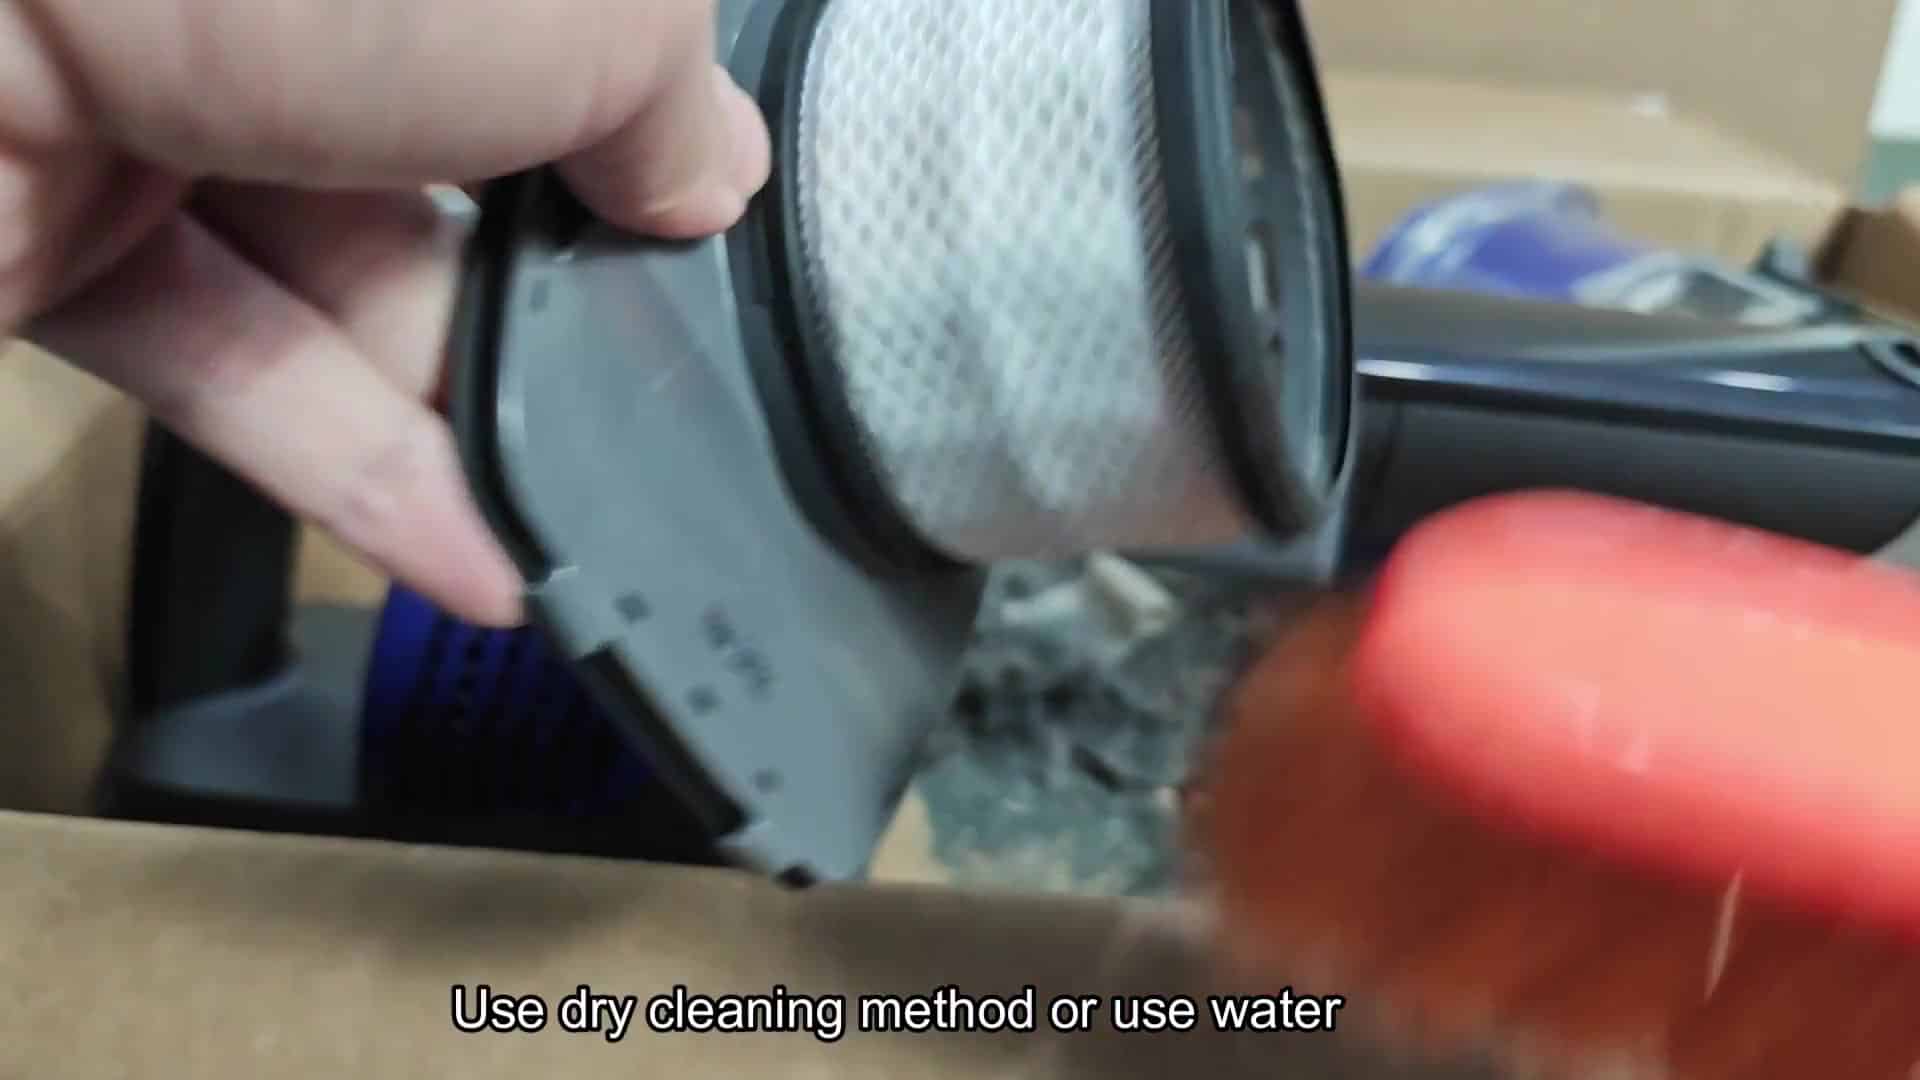
Two filters catch fine particles inside the bin assembly. The first one is a round pad that’s sitting directly where you pour the contents into the canister. Remove this filter and see whether it’s covered with gray dust. If so, they’re clogged up and preventing air from getting to the motor properley.
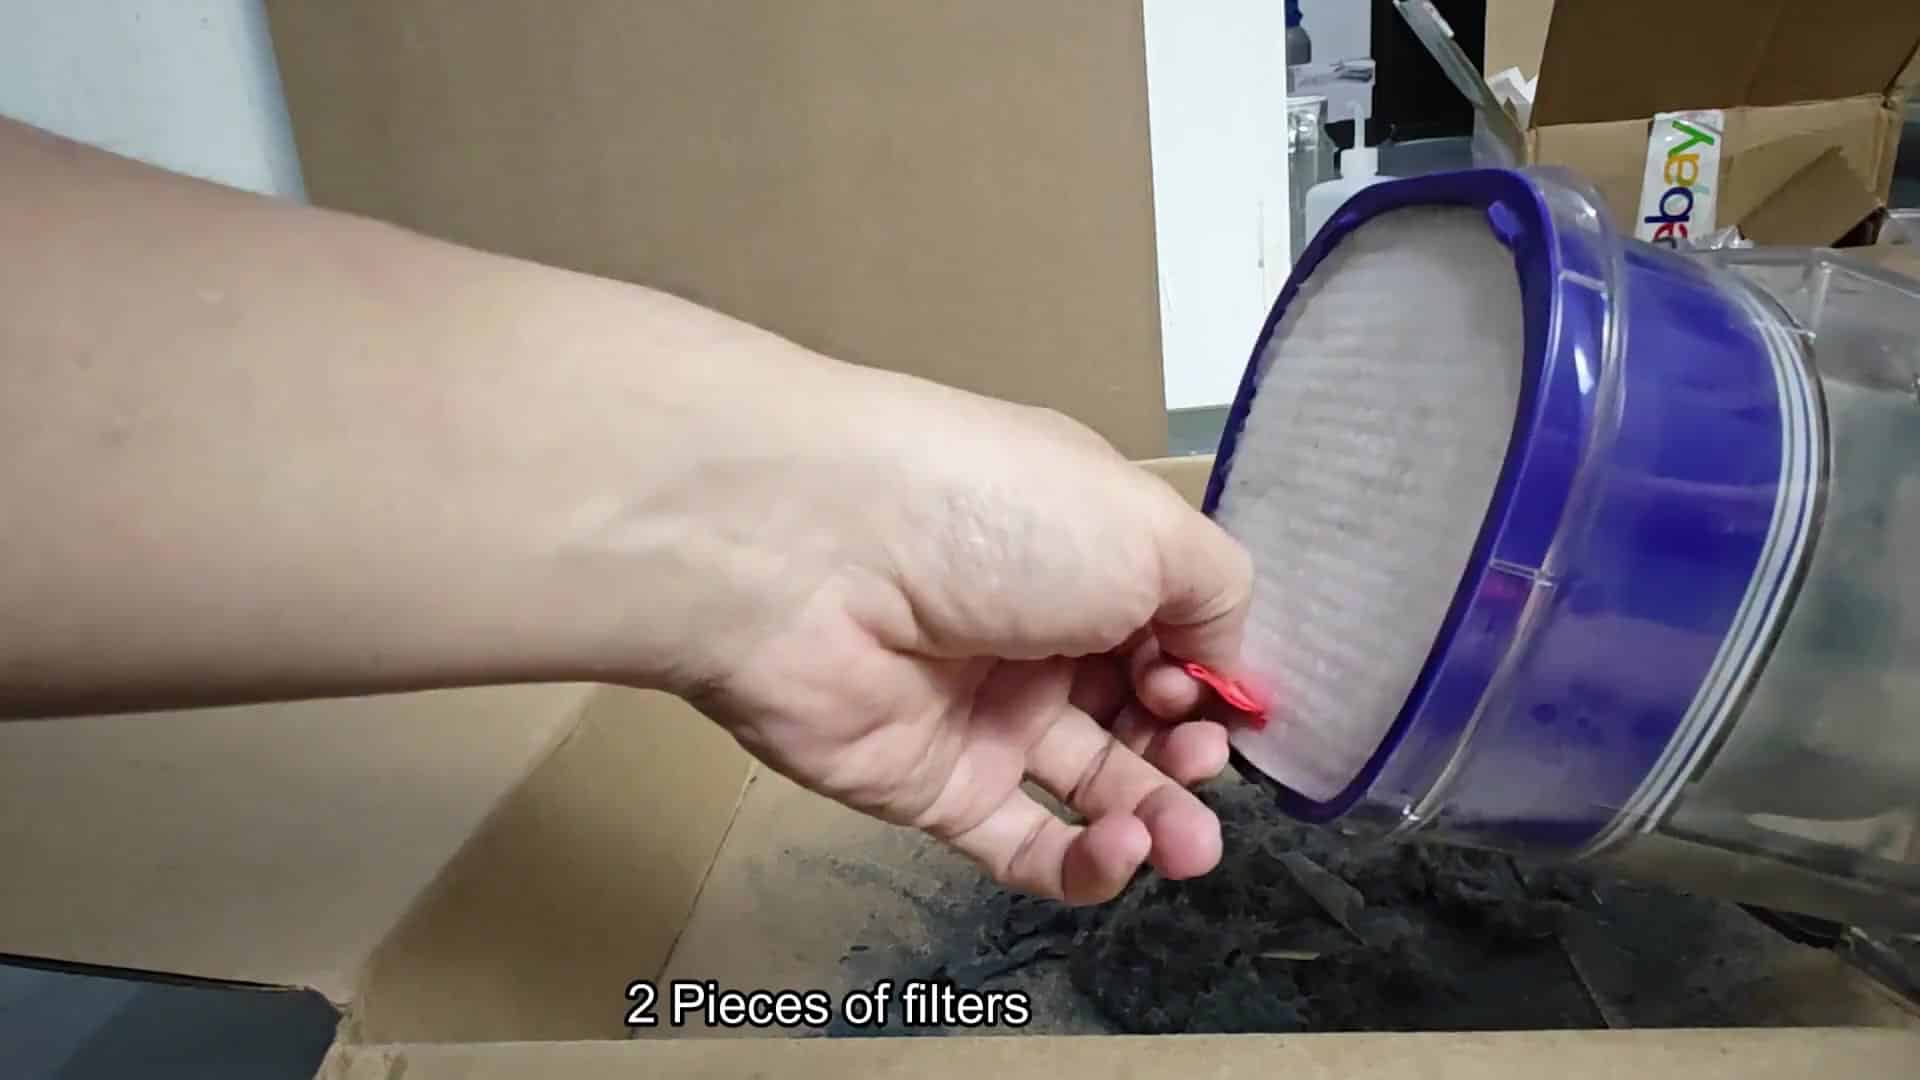
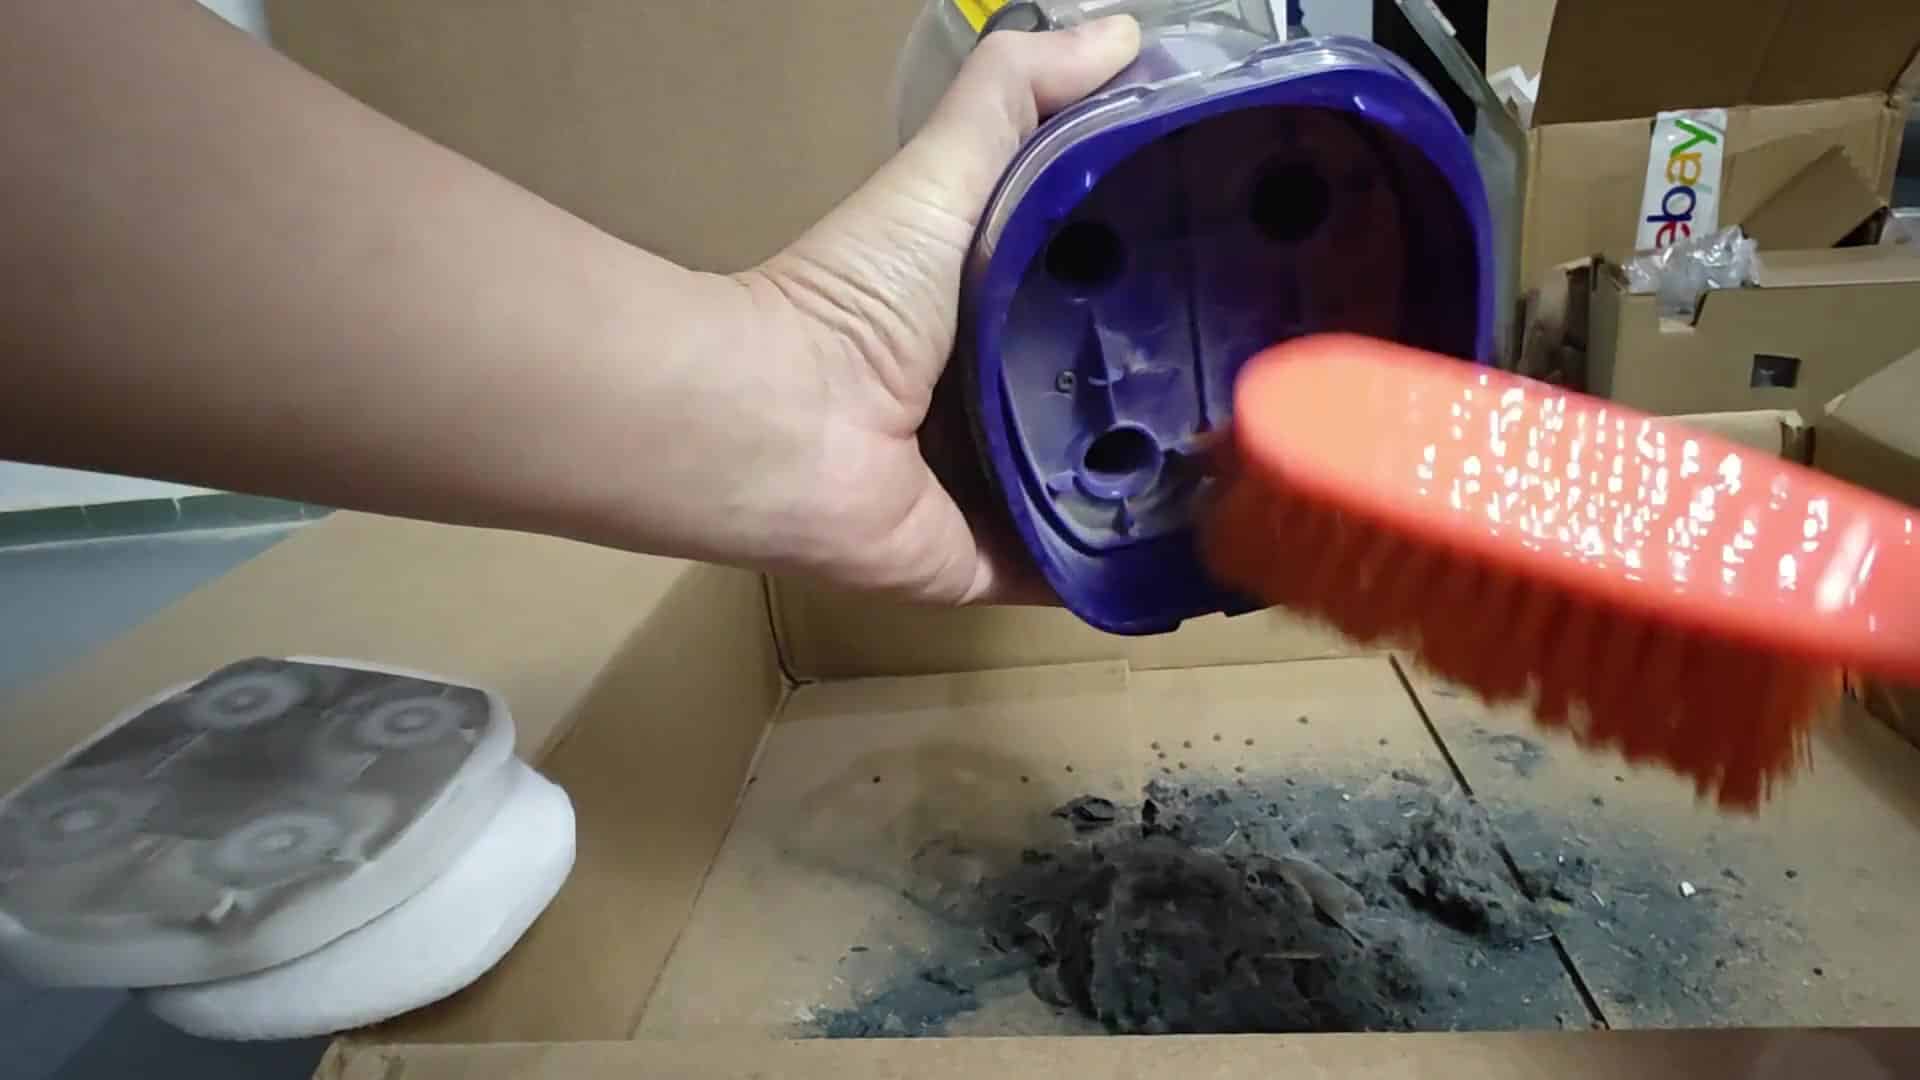
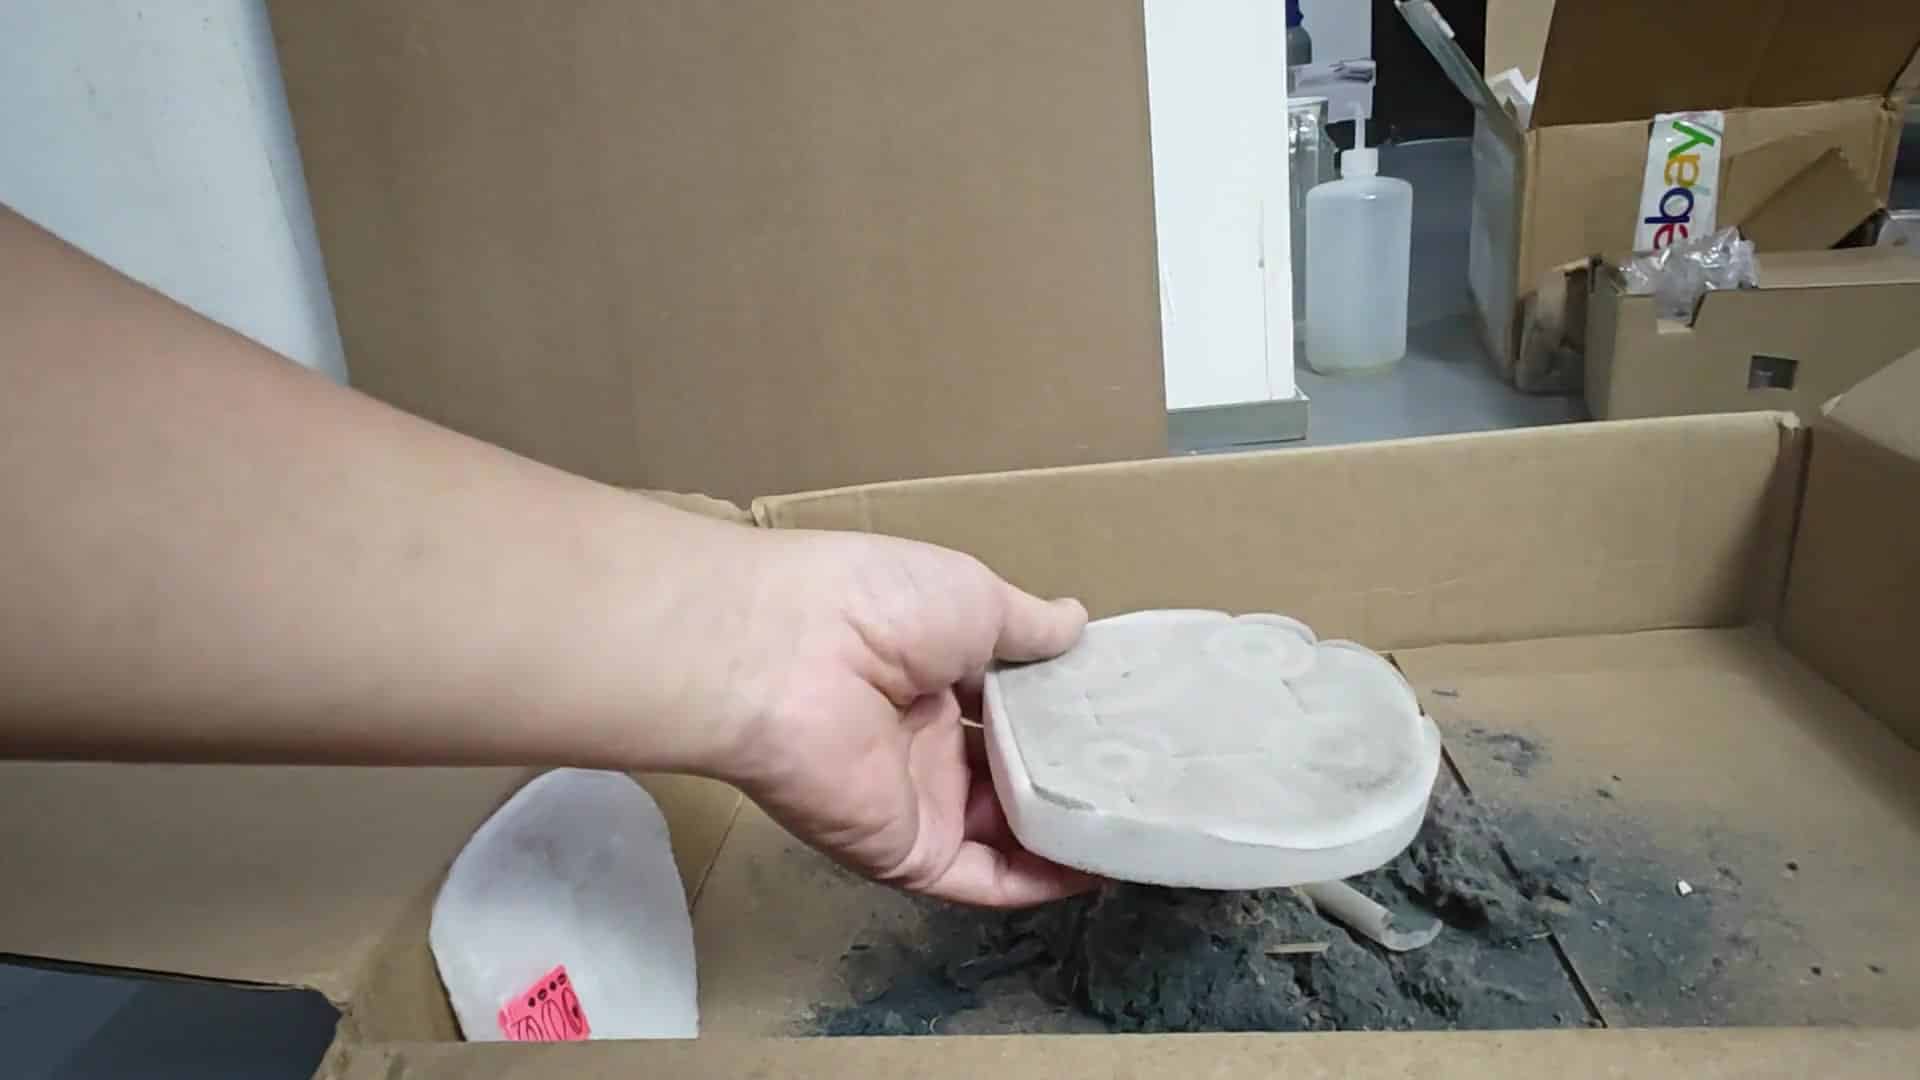
Scrape off top of your filter pads with a brush over a cardboard box. If there’s really gunky stuff stuck on there, you may also be able to rinse it off while holding the filter in the sink under running water. Be sure to allow them to dry thoroughally before reassembly. Wet filters will ruin the motor and create an environment for mold to grow eventually.
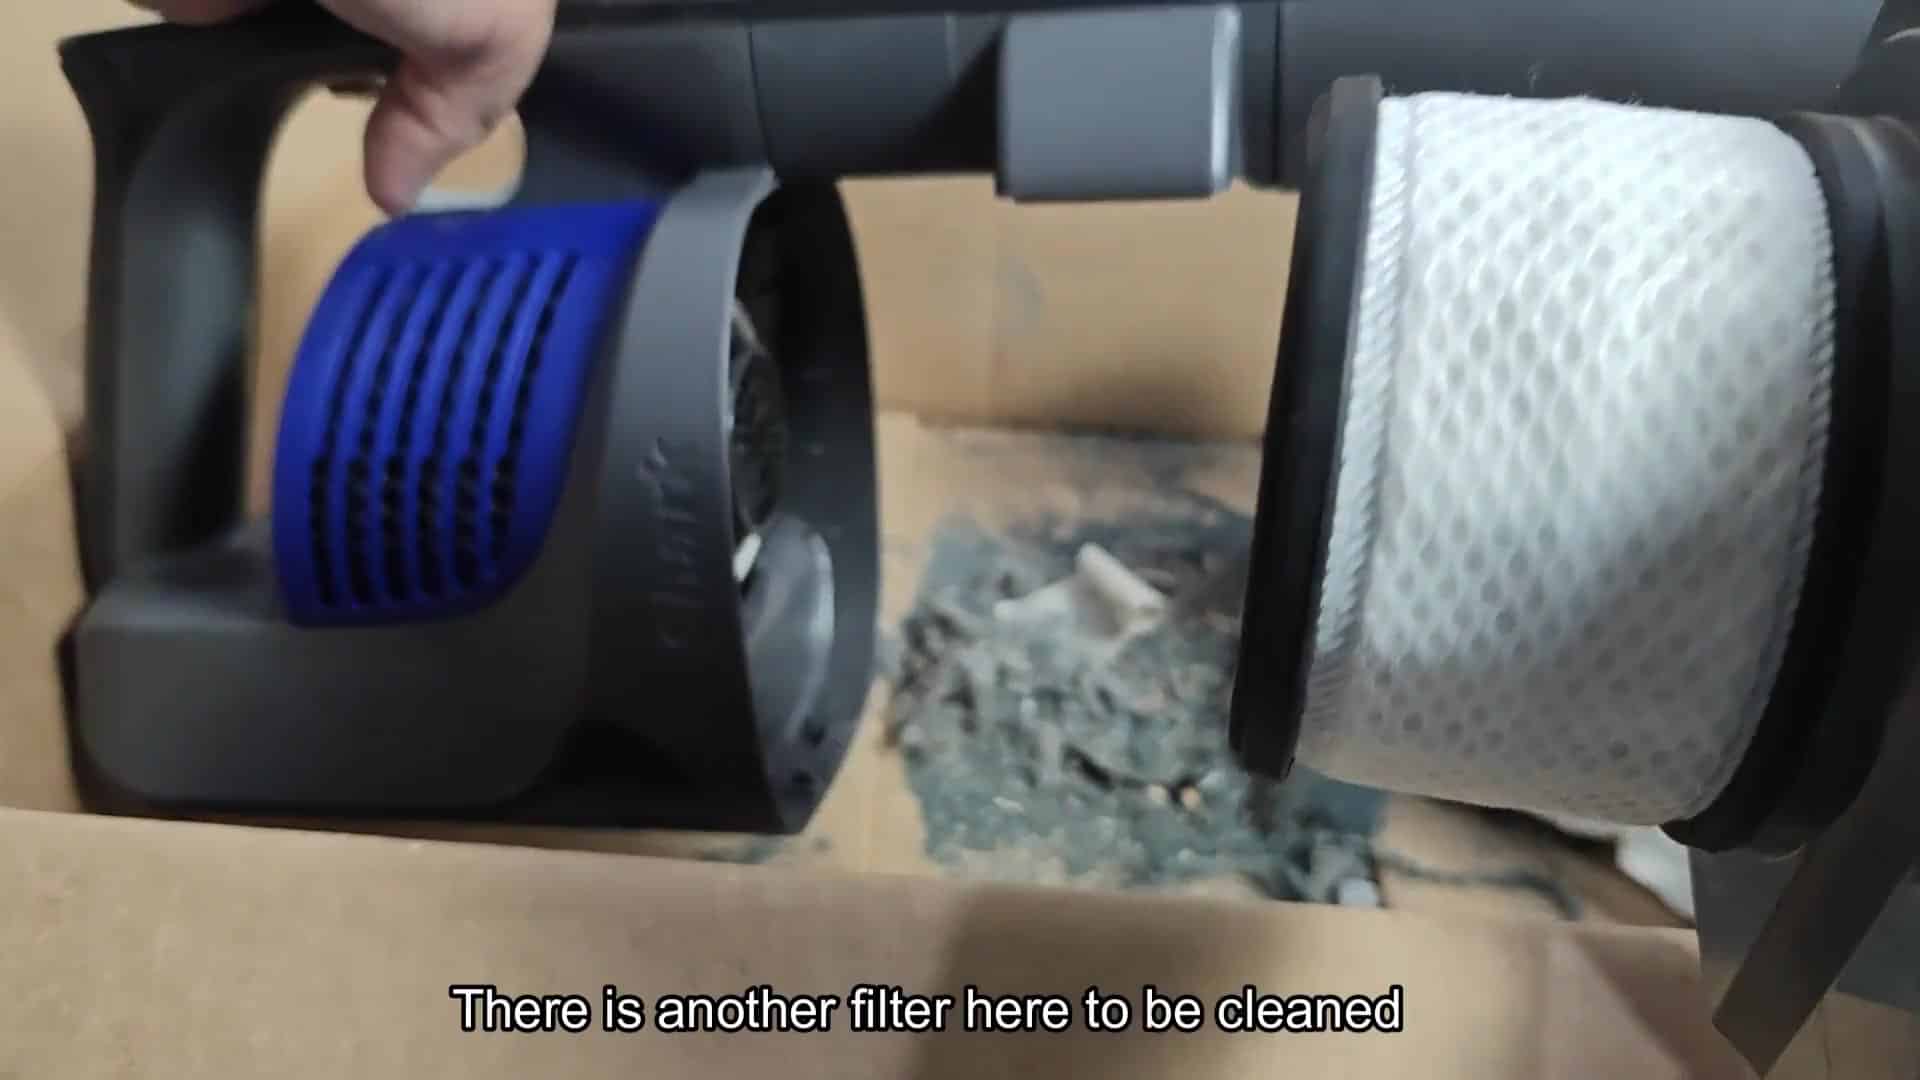
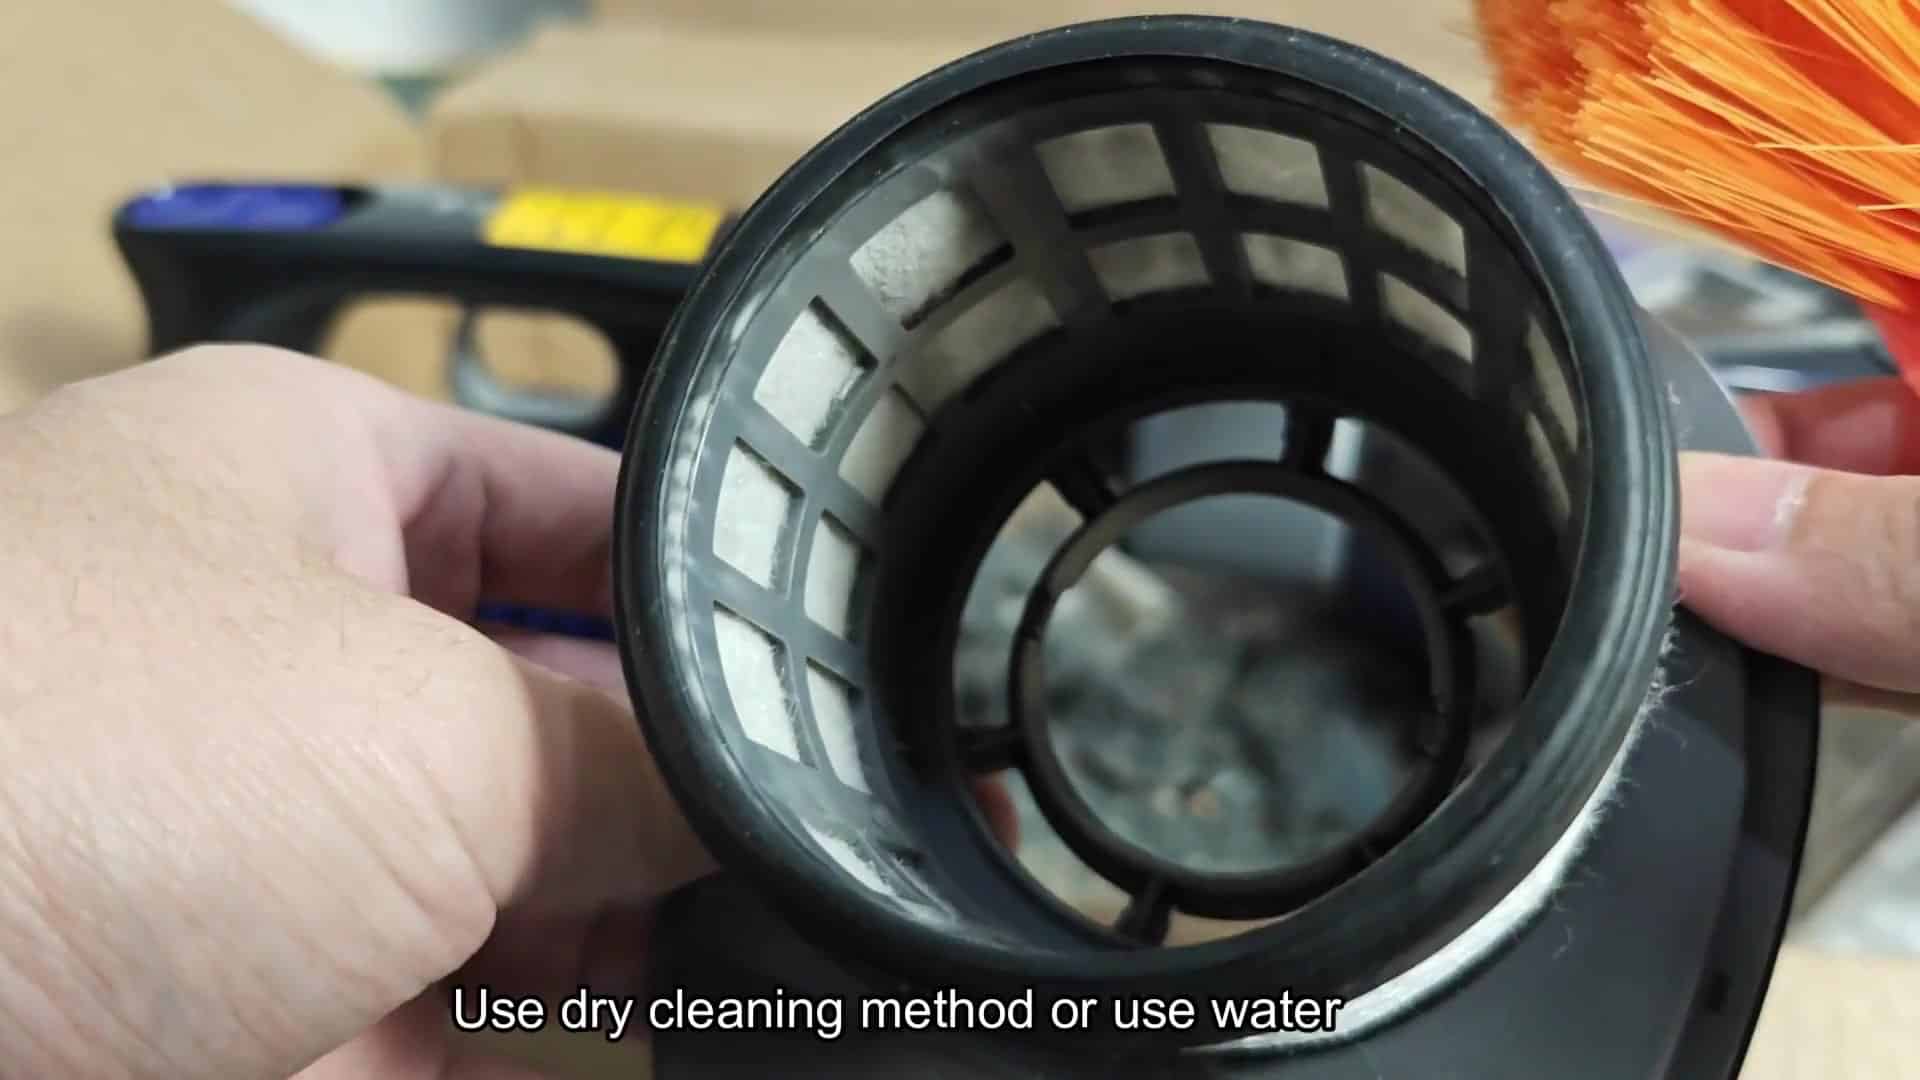
The other filter further back in the body of the vacuum is frequently a cylinder-shaped mesh part. That’s just as important to keep clean so that air can flow freely through it. Check this area too and use water to wash it out if necessary, or just clean it dry. It’s very important to maintain good pressure by keeping these two areas free from buildup.
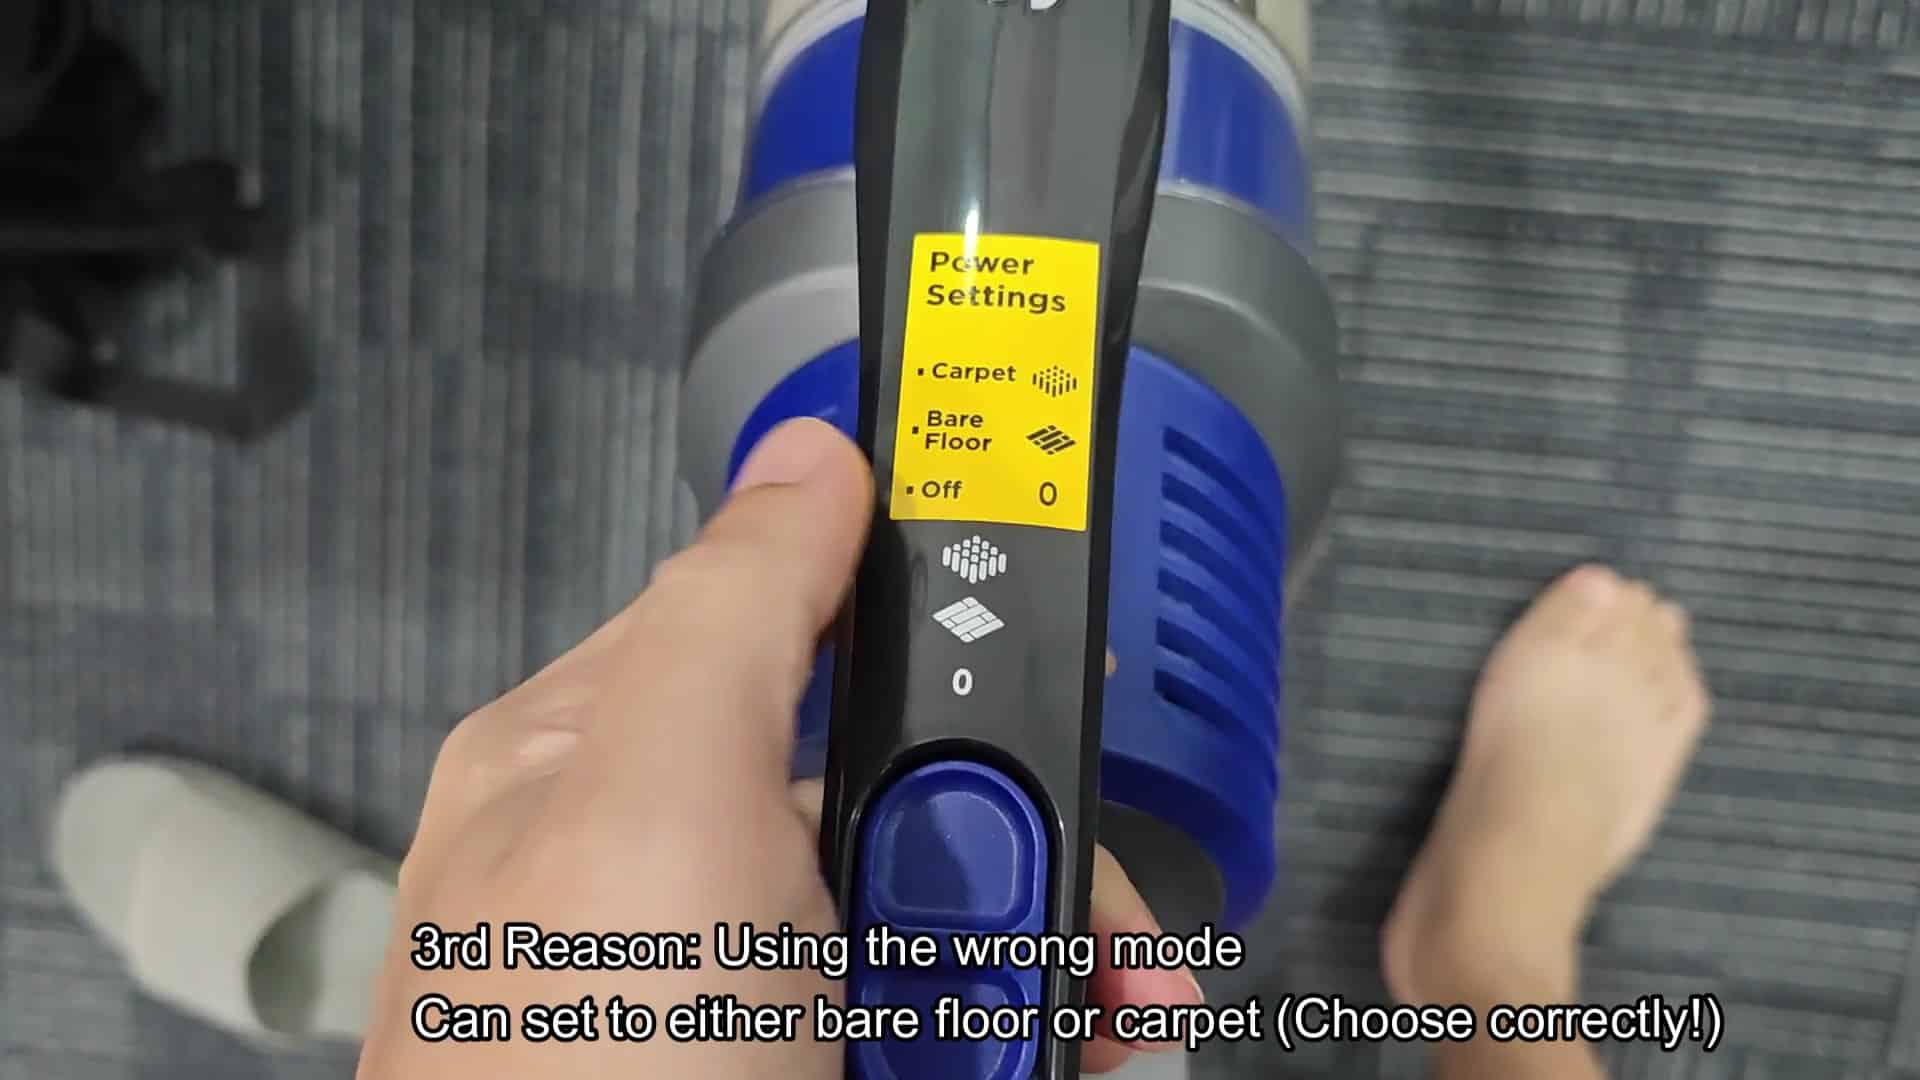
But it could also just be that you’re on the wrong power mode. For instance there’s an “off” mode, one for bare floors and one for carpets. If you have thick carpet and you’re set on hard floor mode, the motor will only put out as much as necessary to save battery life. This makes it feel like there’s not enough suction. Getting the right mode for whatever surface you’re cleaning make a huge difference in performance.
Engage the MAX mode by completely pulling the trigger. It greatly ups the suction power for difficult-to-clean carpet messes. The problem might not be a broken vacuum; it could also just be the wrong setting for the task. That one’s simple.
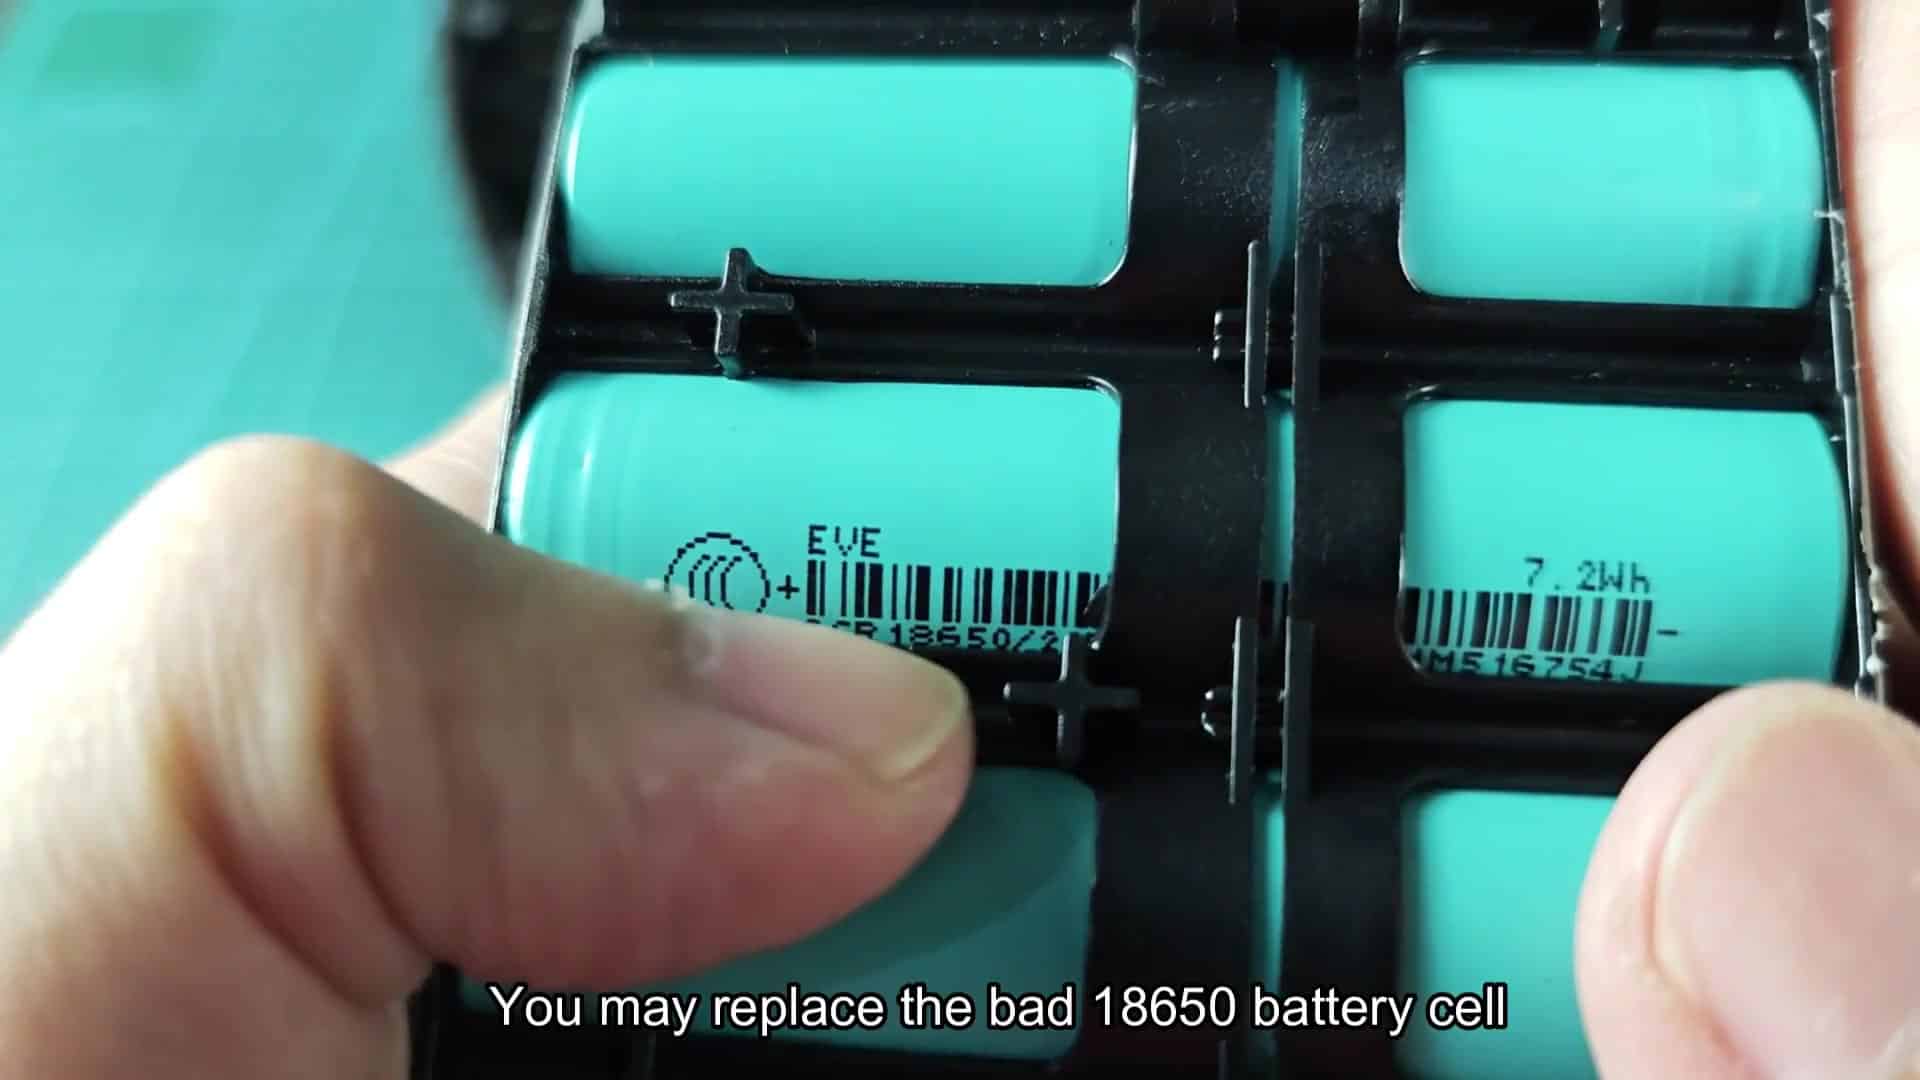
You can replace just the faulty 18650 battery cell if you have the tools and knowledge to do so safely.
Common causes of suction loss
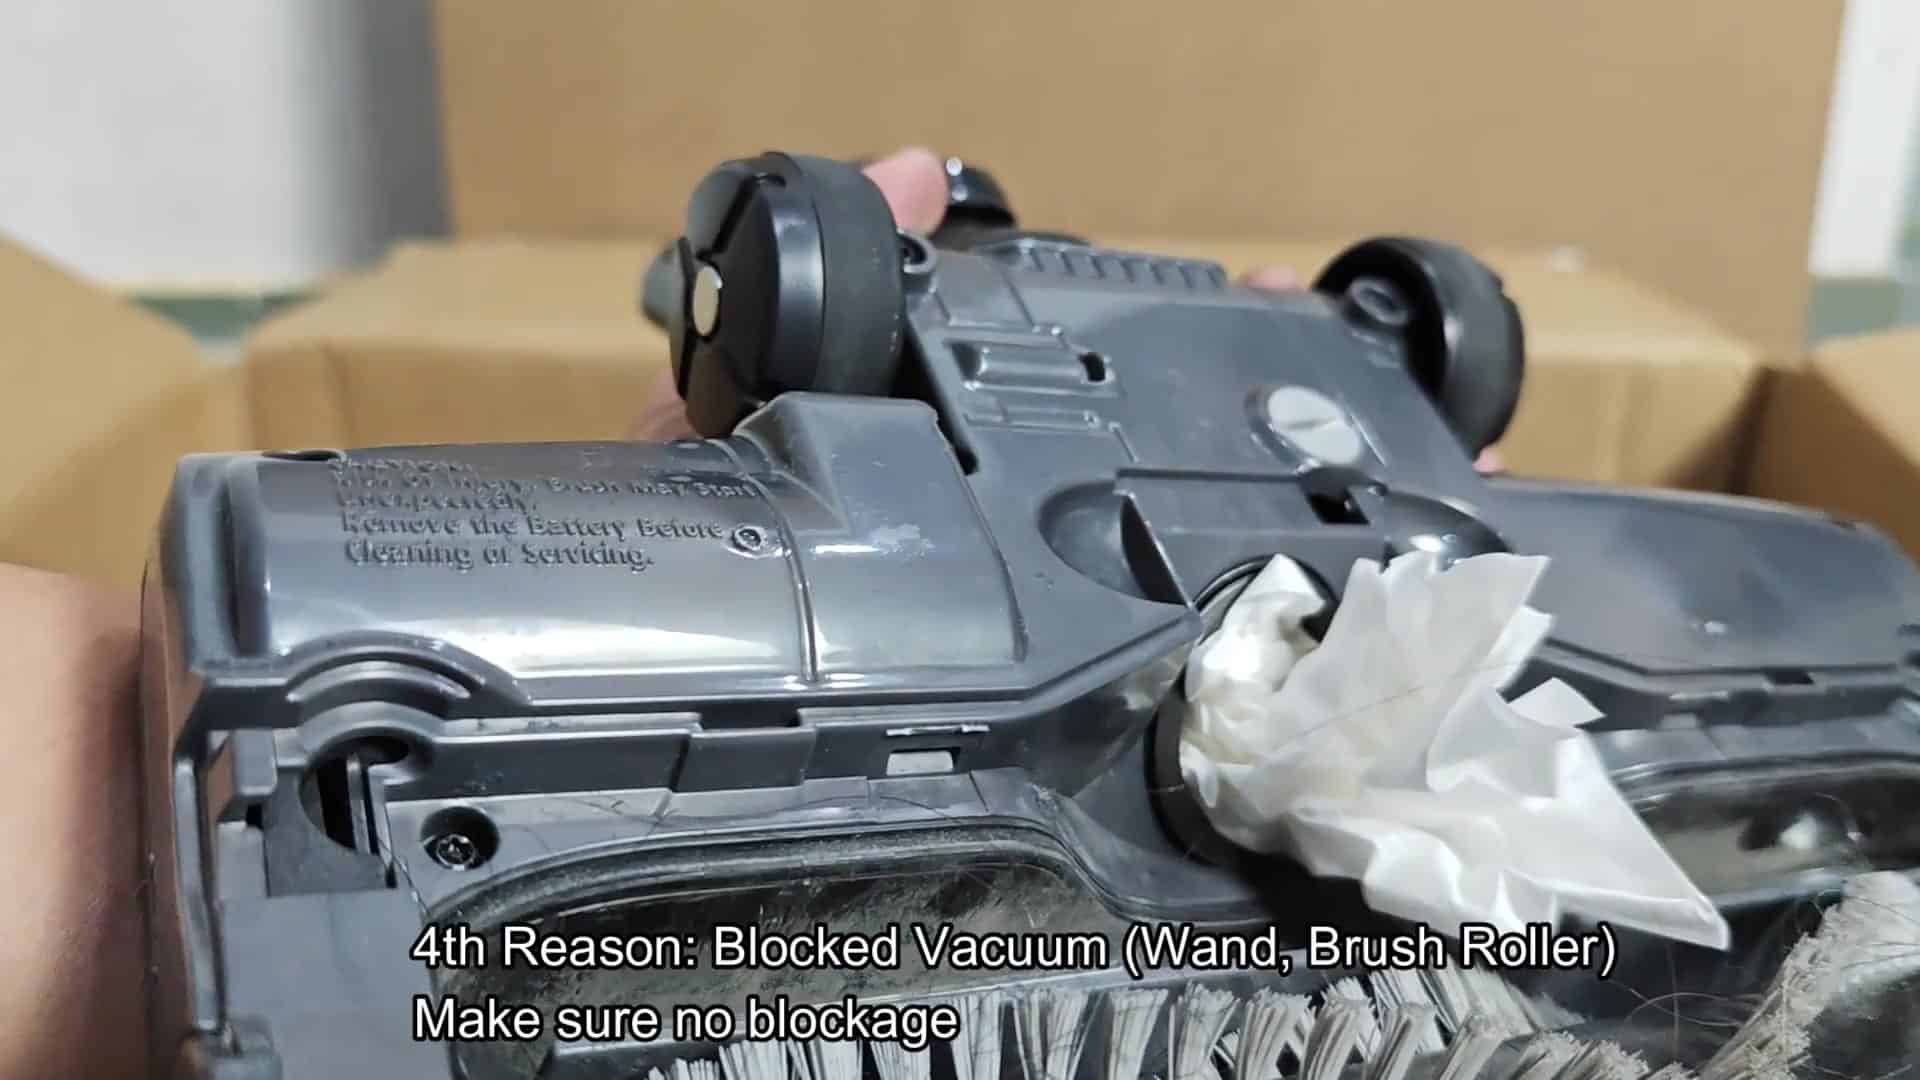
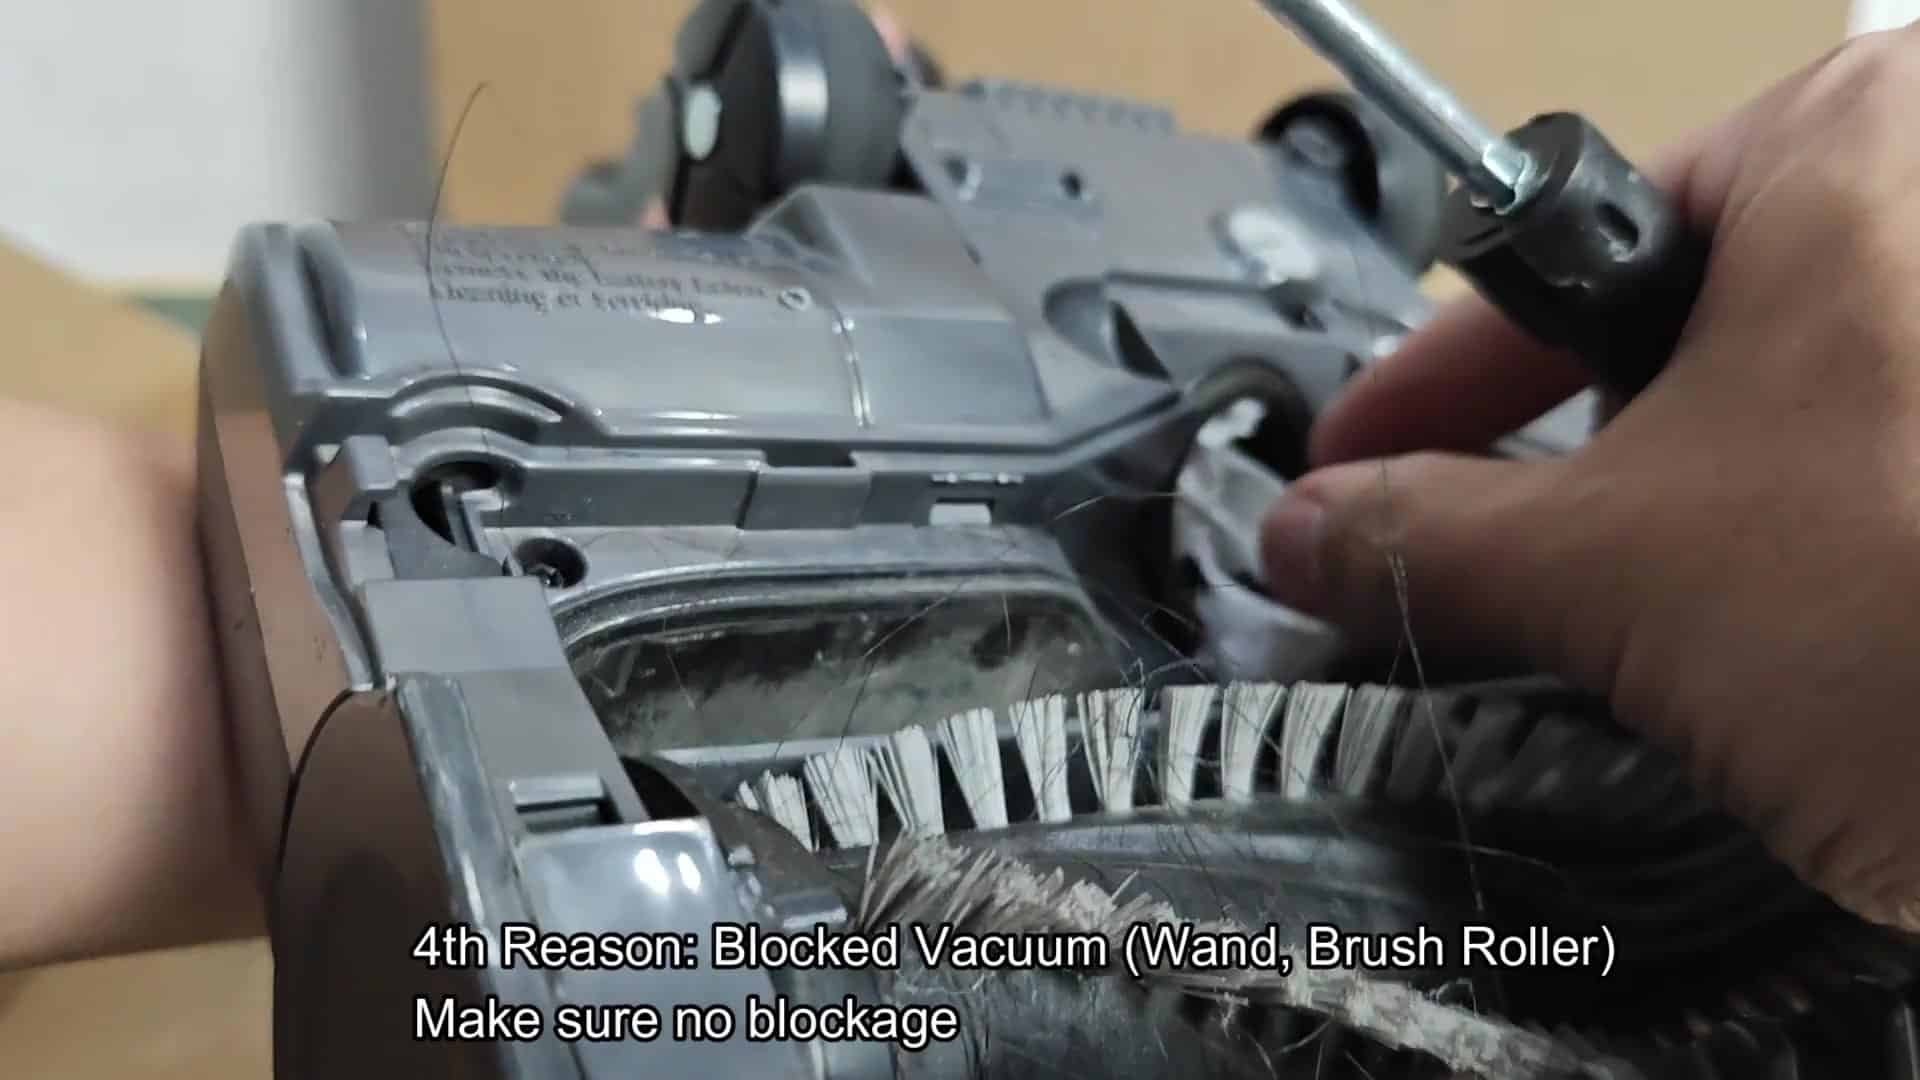
Another common culprit is blockages. Sudden suction loss is often caused by debris that gets caught up inside the wand tube or around the intake of the brush roller, completely choking off air flow. Check underneath the vacuum head and also through the clear plastic wand for any blockages. If you catch it early, it will prevent more damage to the internal components.
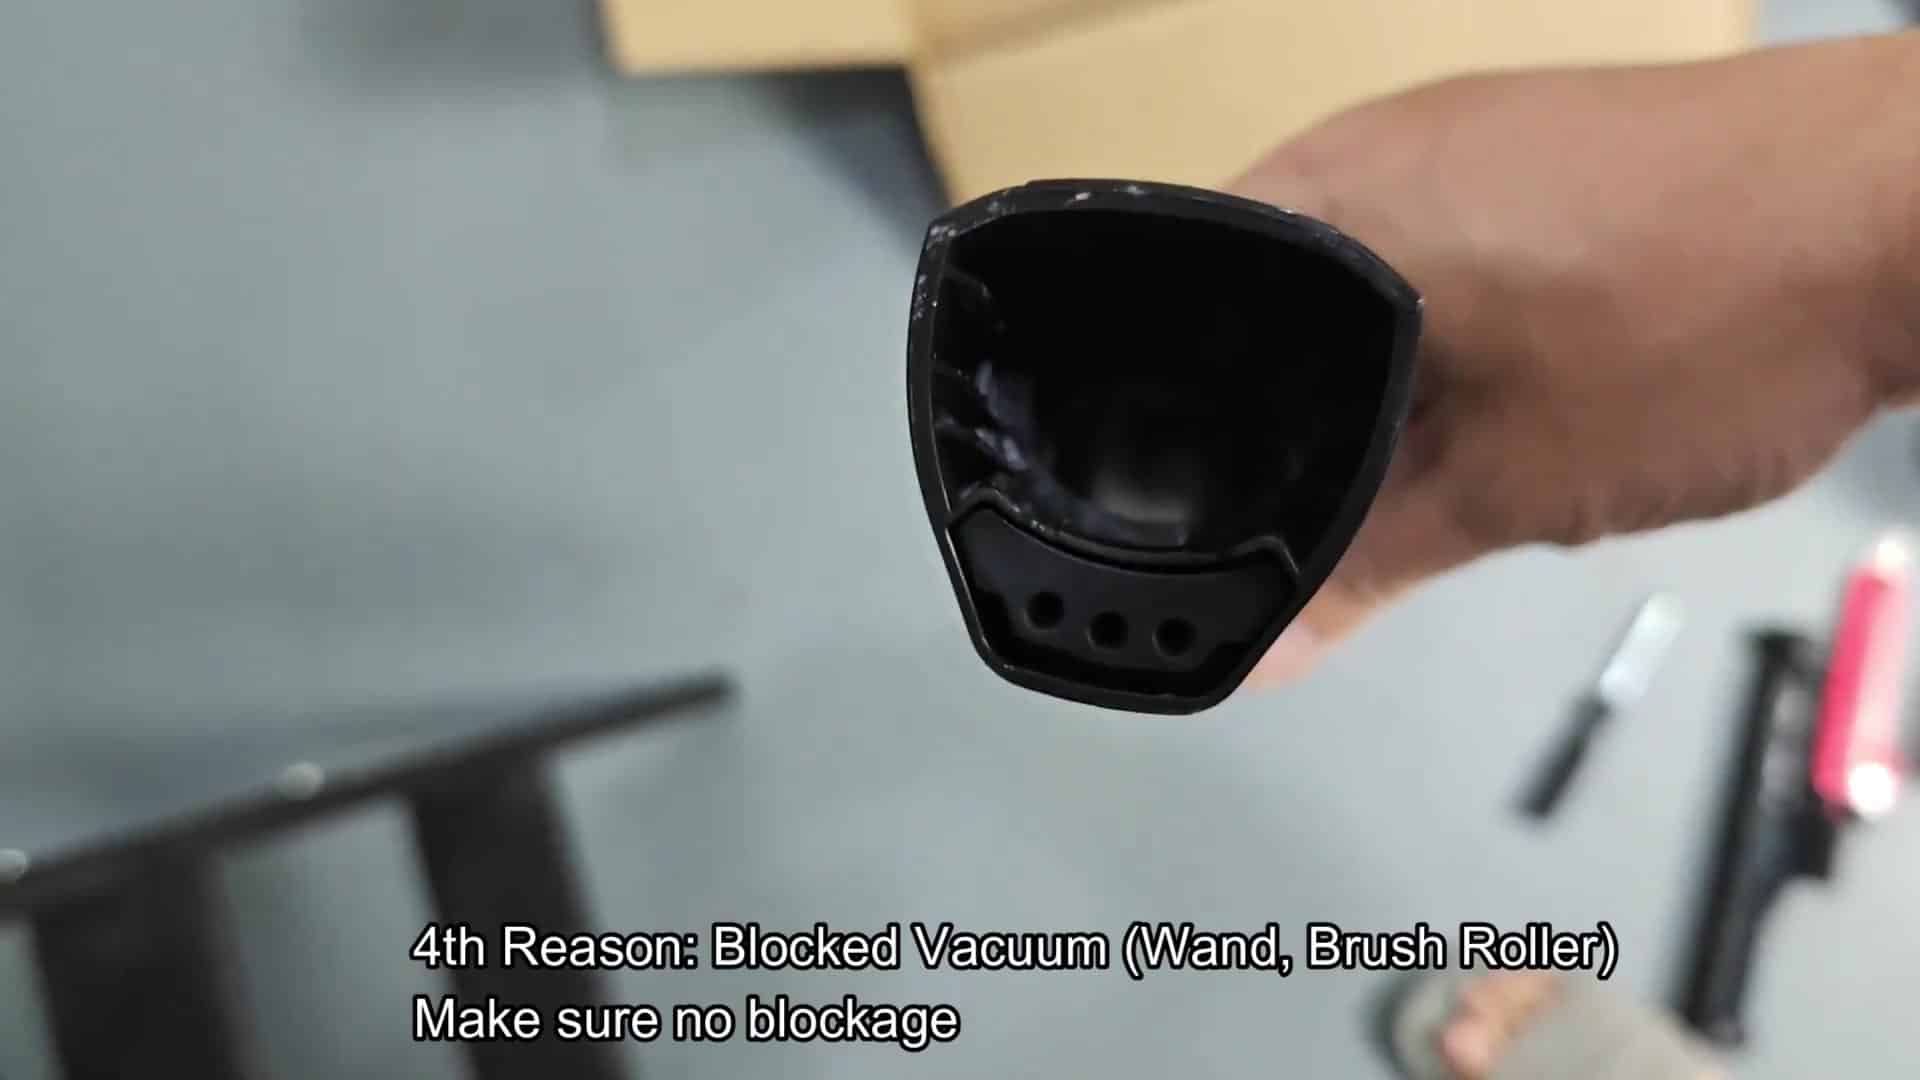
Gently poke with a screwdriver around the screws under the head. Hair (and other small stuff) sometimes jams itself right against the seams of the housing where you can’t see it well. Remove whatever’s stuck up in there (including anything that might be blocking its pathway). It is good enough.
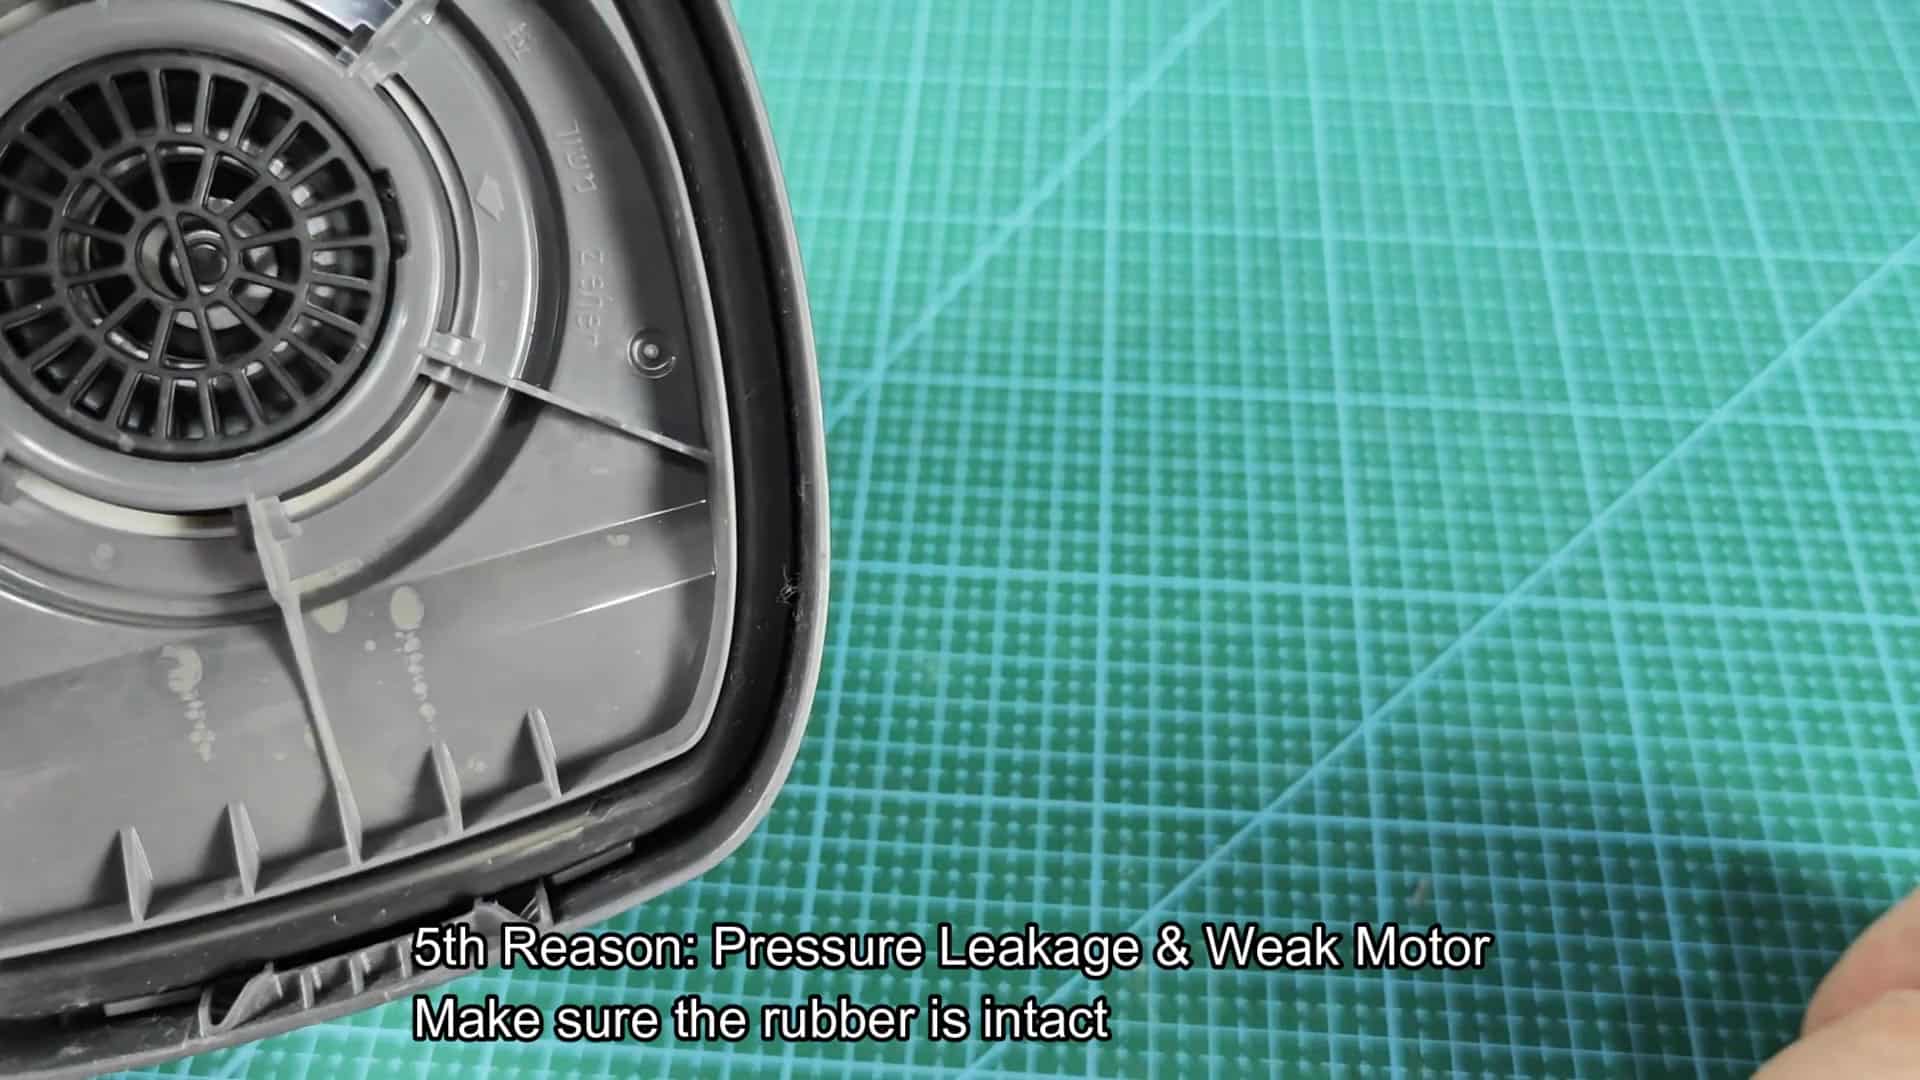
Vacuum strength can also be reduced due to pressure leaking at the motor. Gaskets and rubber seals on the intake housing should all be in place and seated correctly. The suction power becomes dramatically reduced if air is allowed to escape through gaps rather than pull it through the head of the floor. This check is important for overall efficiency.
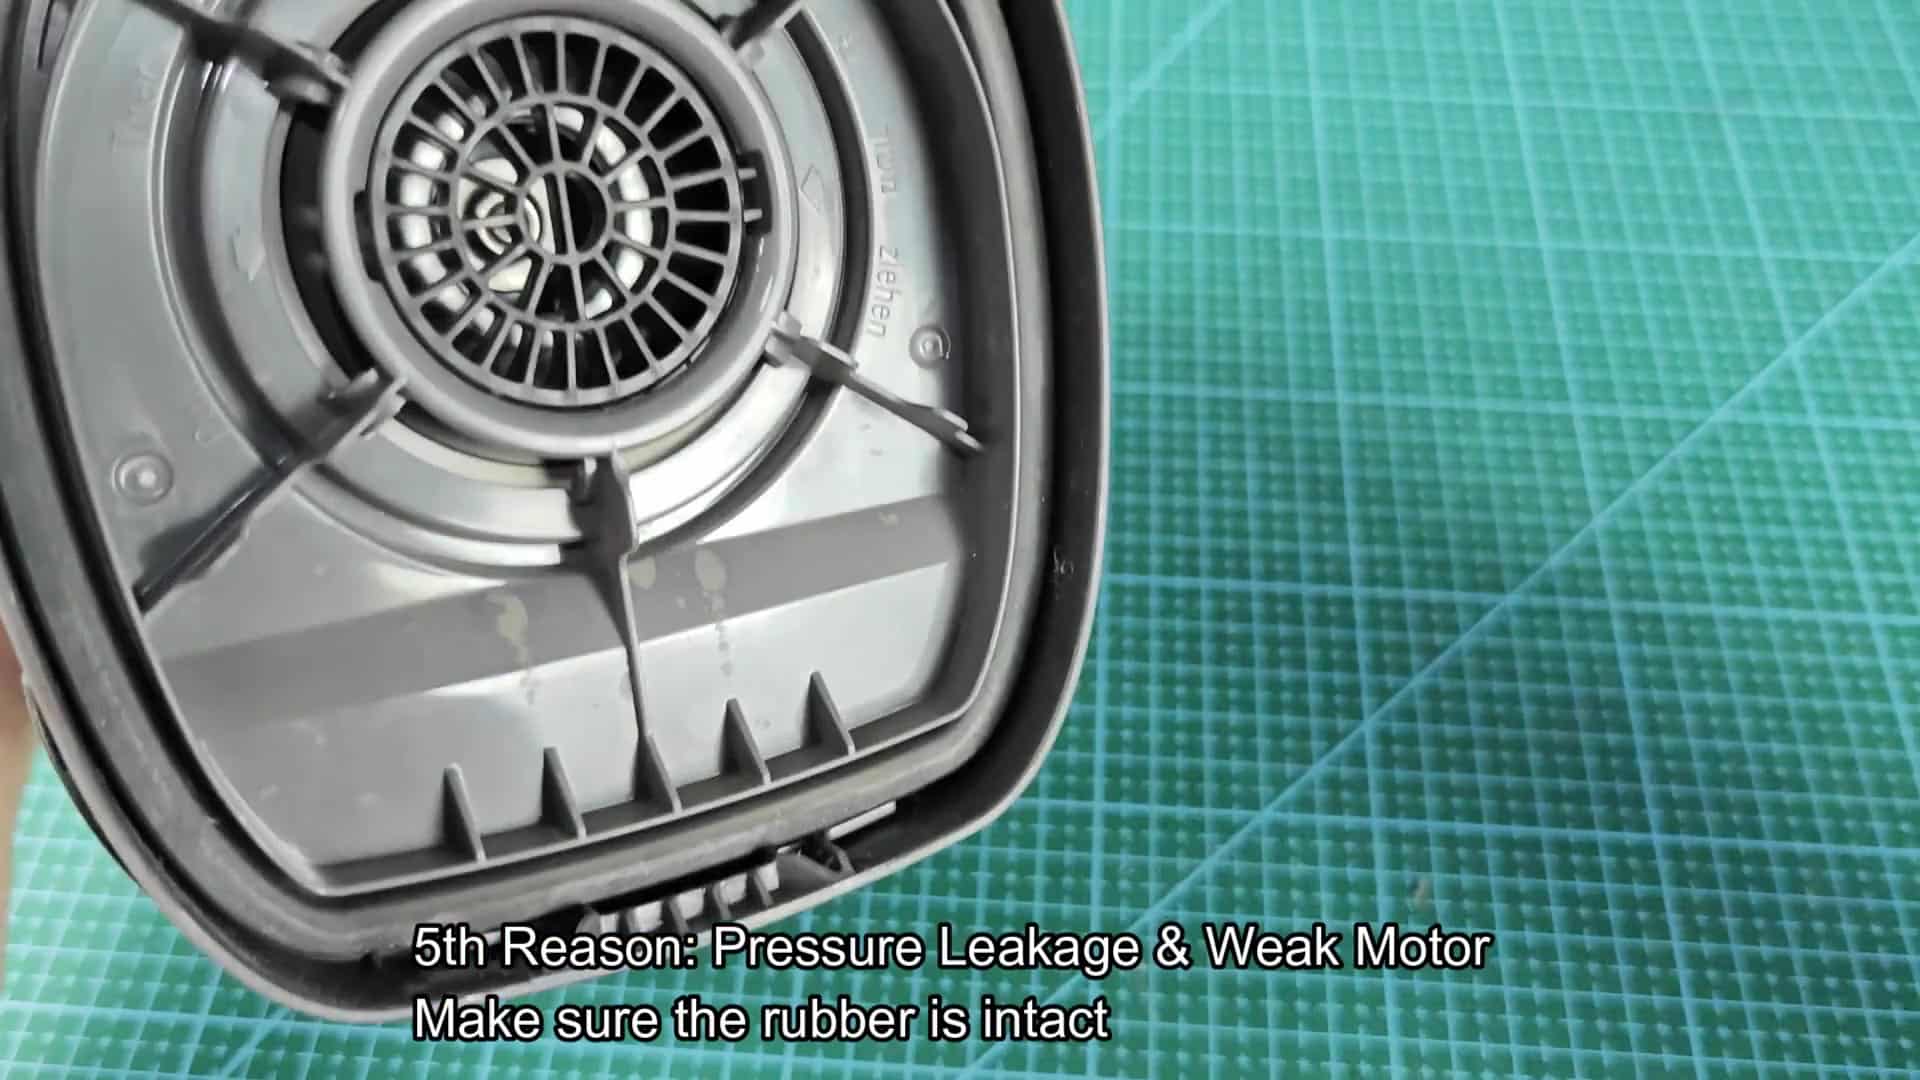
Of course, cleaning can’t help a weak or worn-out motor. Replacing it may be necessary. In that case, the repair is a bit bigger but it’s likely due to years of use. It is well worth it.
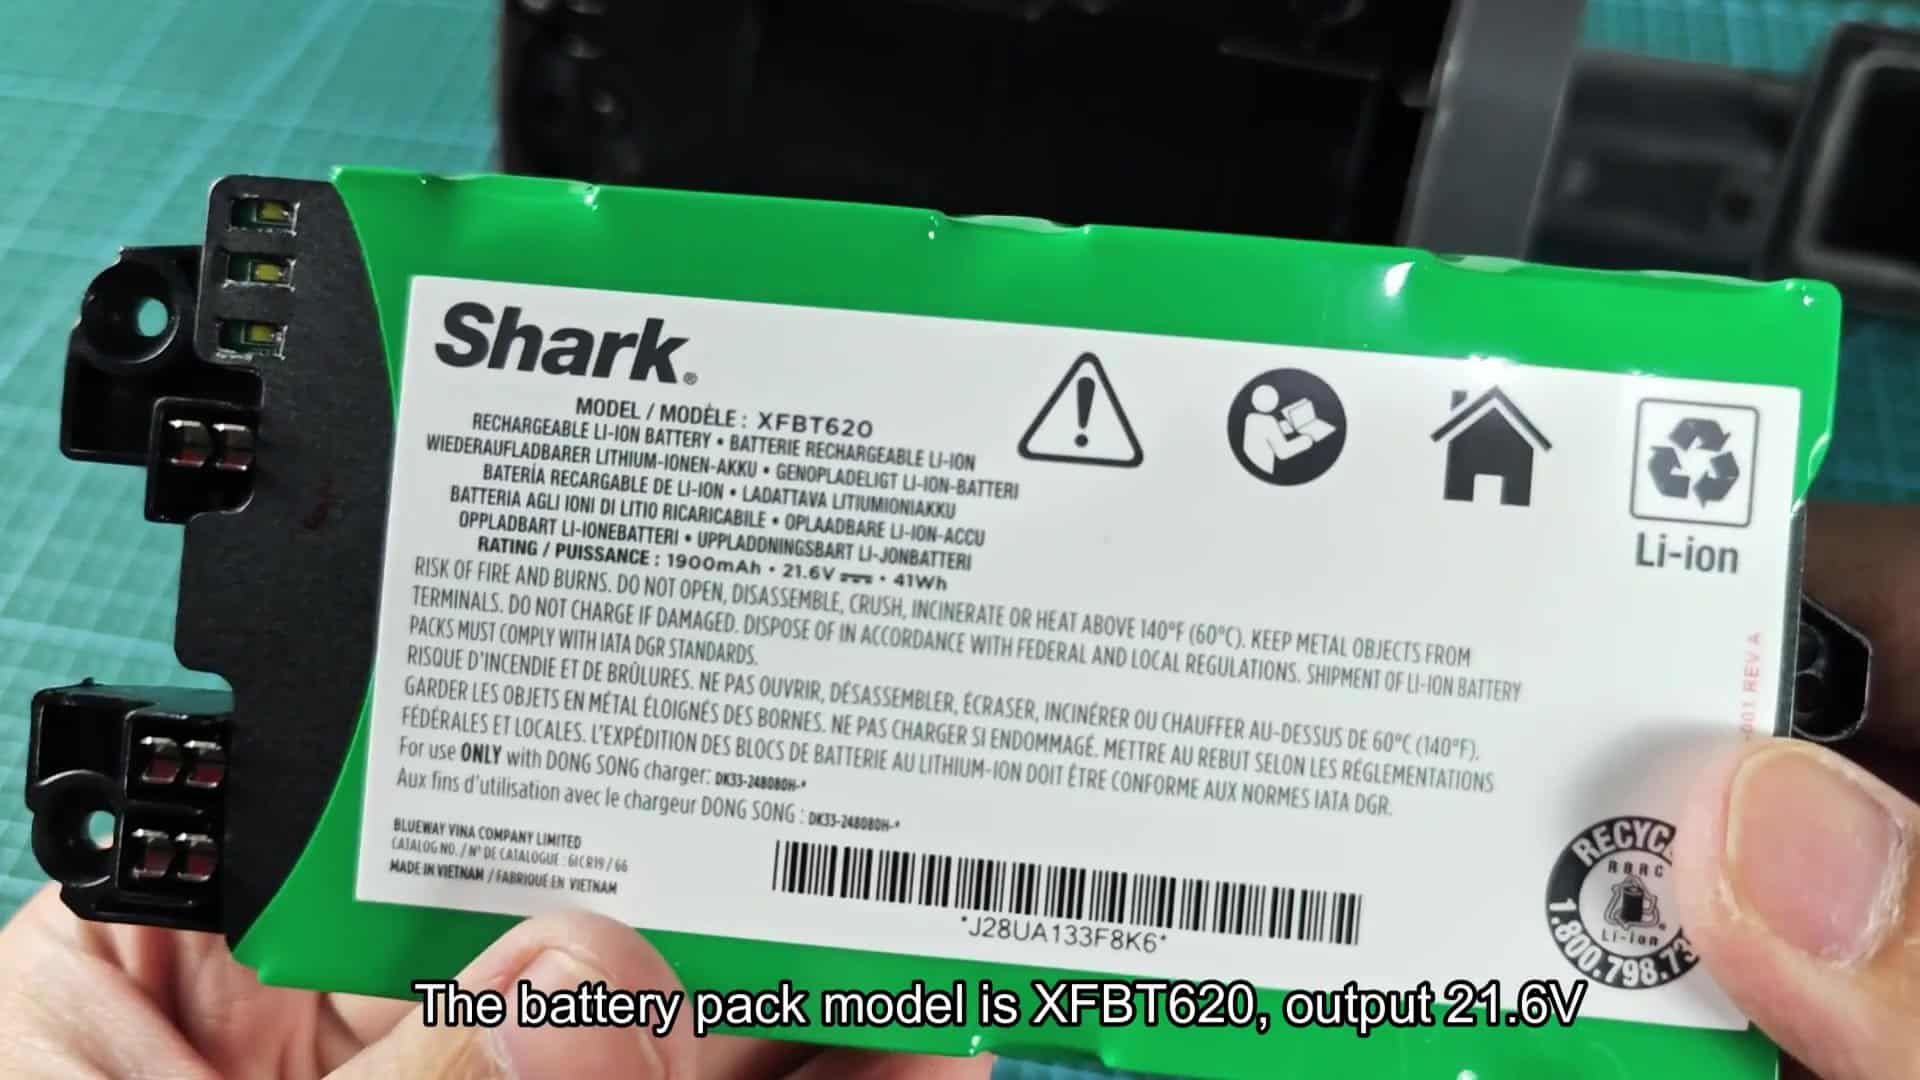
Finally, test the battery pack to see if voltage issues are affecting performance. Your model uses an XFBT620 battery that should output around 21.6 volts. If the voltage is far below this number, it means the battery cells are failing, and they cannot deliver enough power to the motor. A weak battery results in weak suction regardless of how clean the filters is.
Last but not least, check the battery pack for any voltage related problems.
The XFBT620 battery used on your model outputs roughly 21.6 volts. So if you find the voltage is significantly lower than that then the battery has dead cells and will not be able to provide enough power to the motor. No matter what shape the filters are in, a weak battery = weak suction.
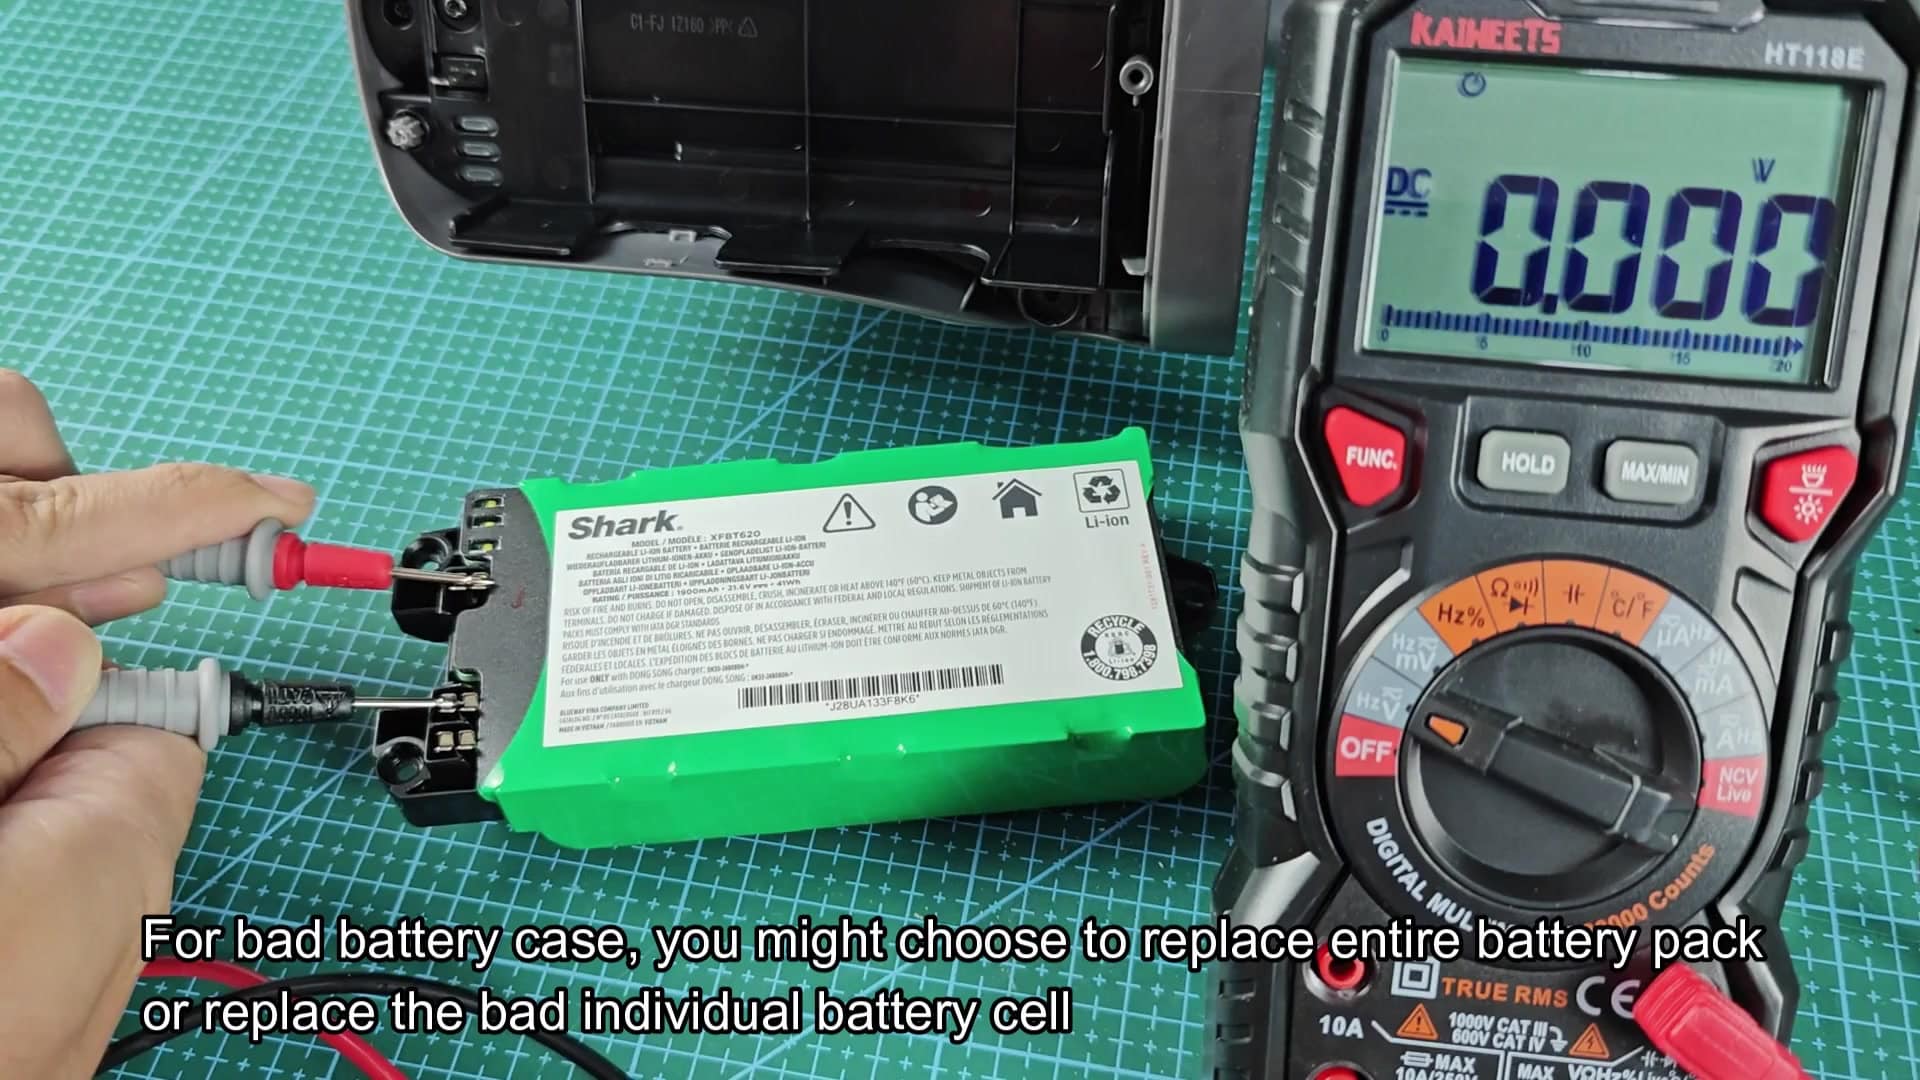
Tested the voltage on the green battery pack with a multimeter and found it actualy producing very little voltage, meaning it was depleted or had a bad cell. This is what we saw when the battery wouldn’t hold a charge and the vacuum lost its performance. This meant that part of the issue was a power source. Classic mistake.
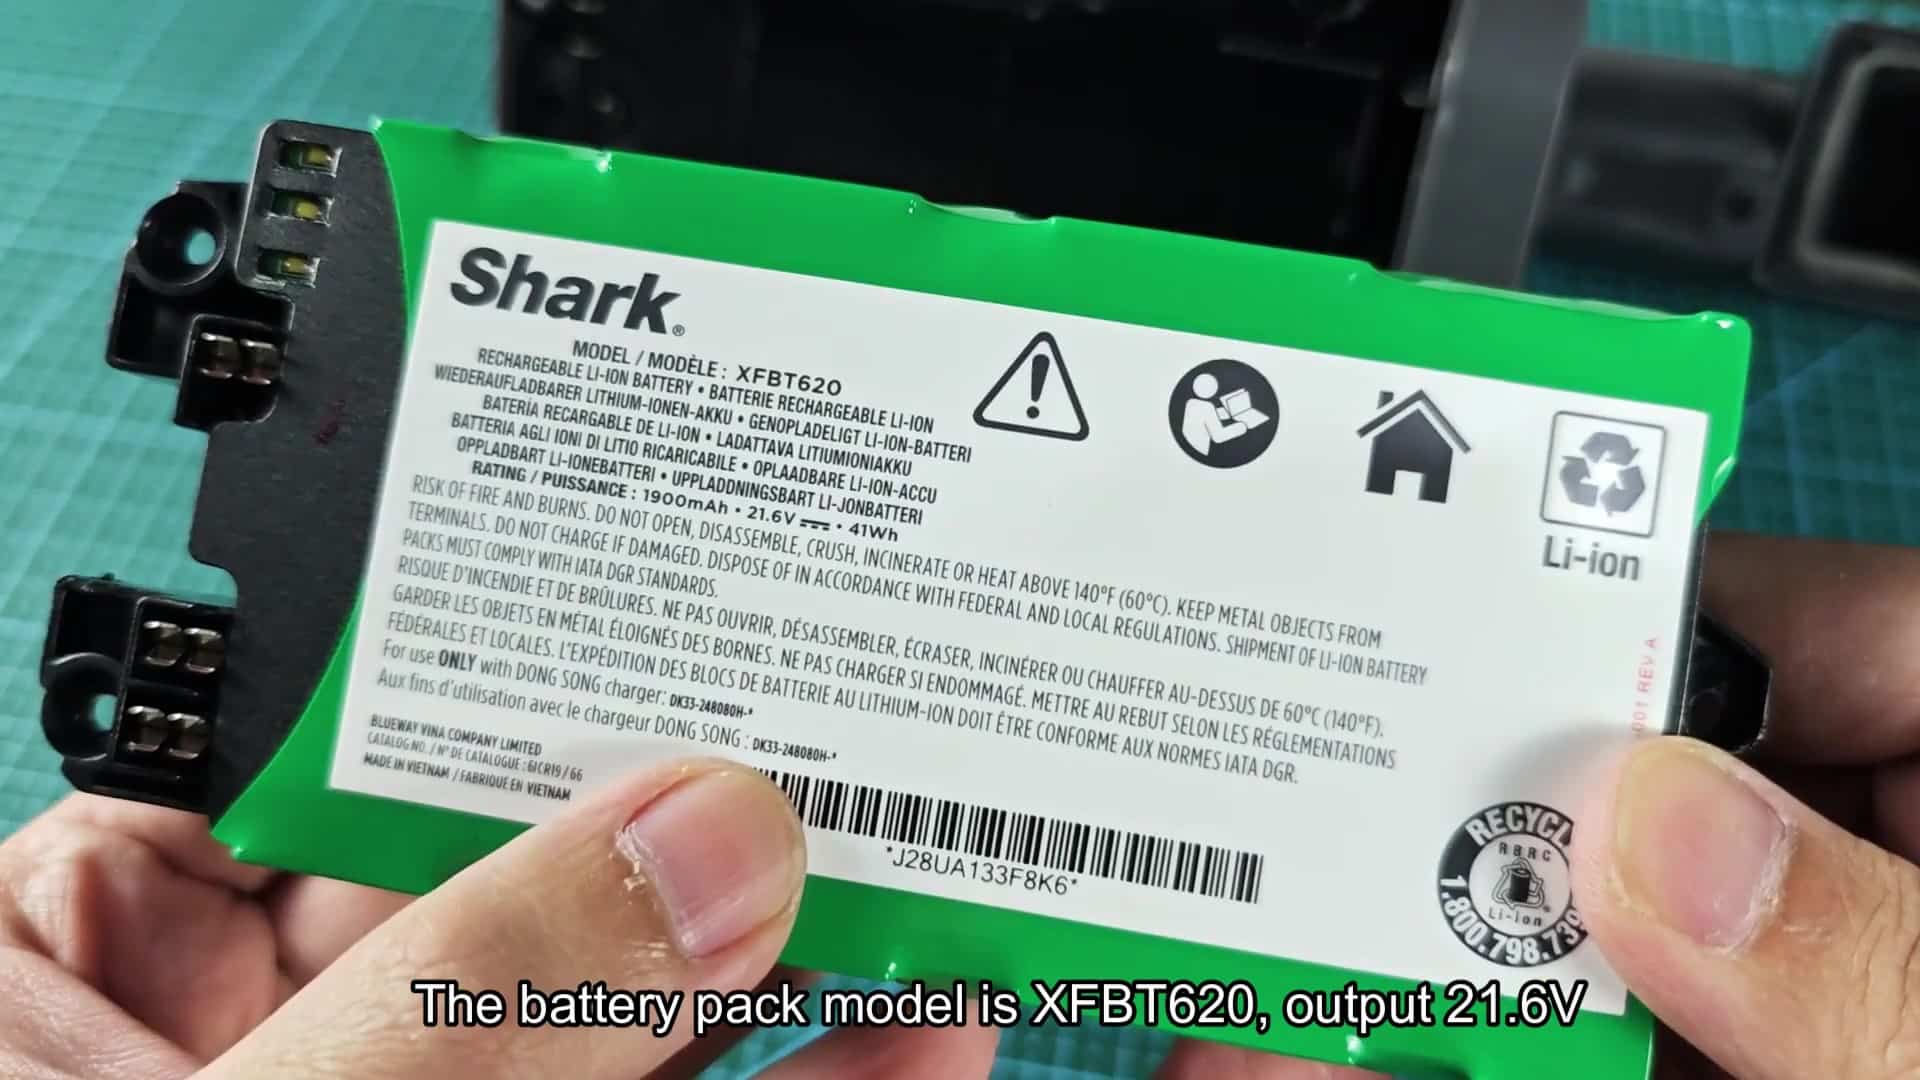
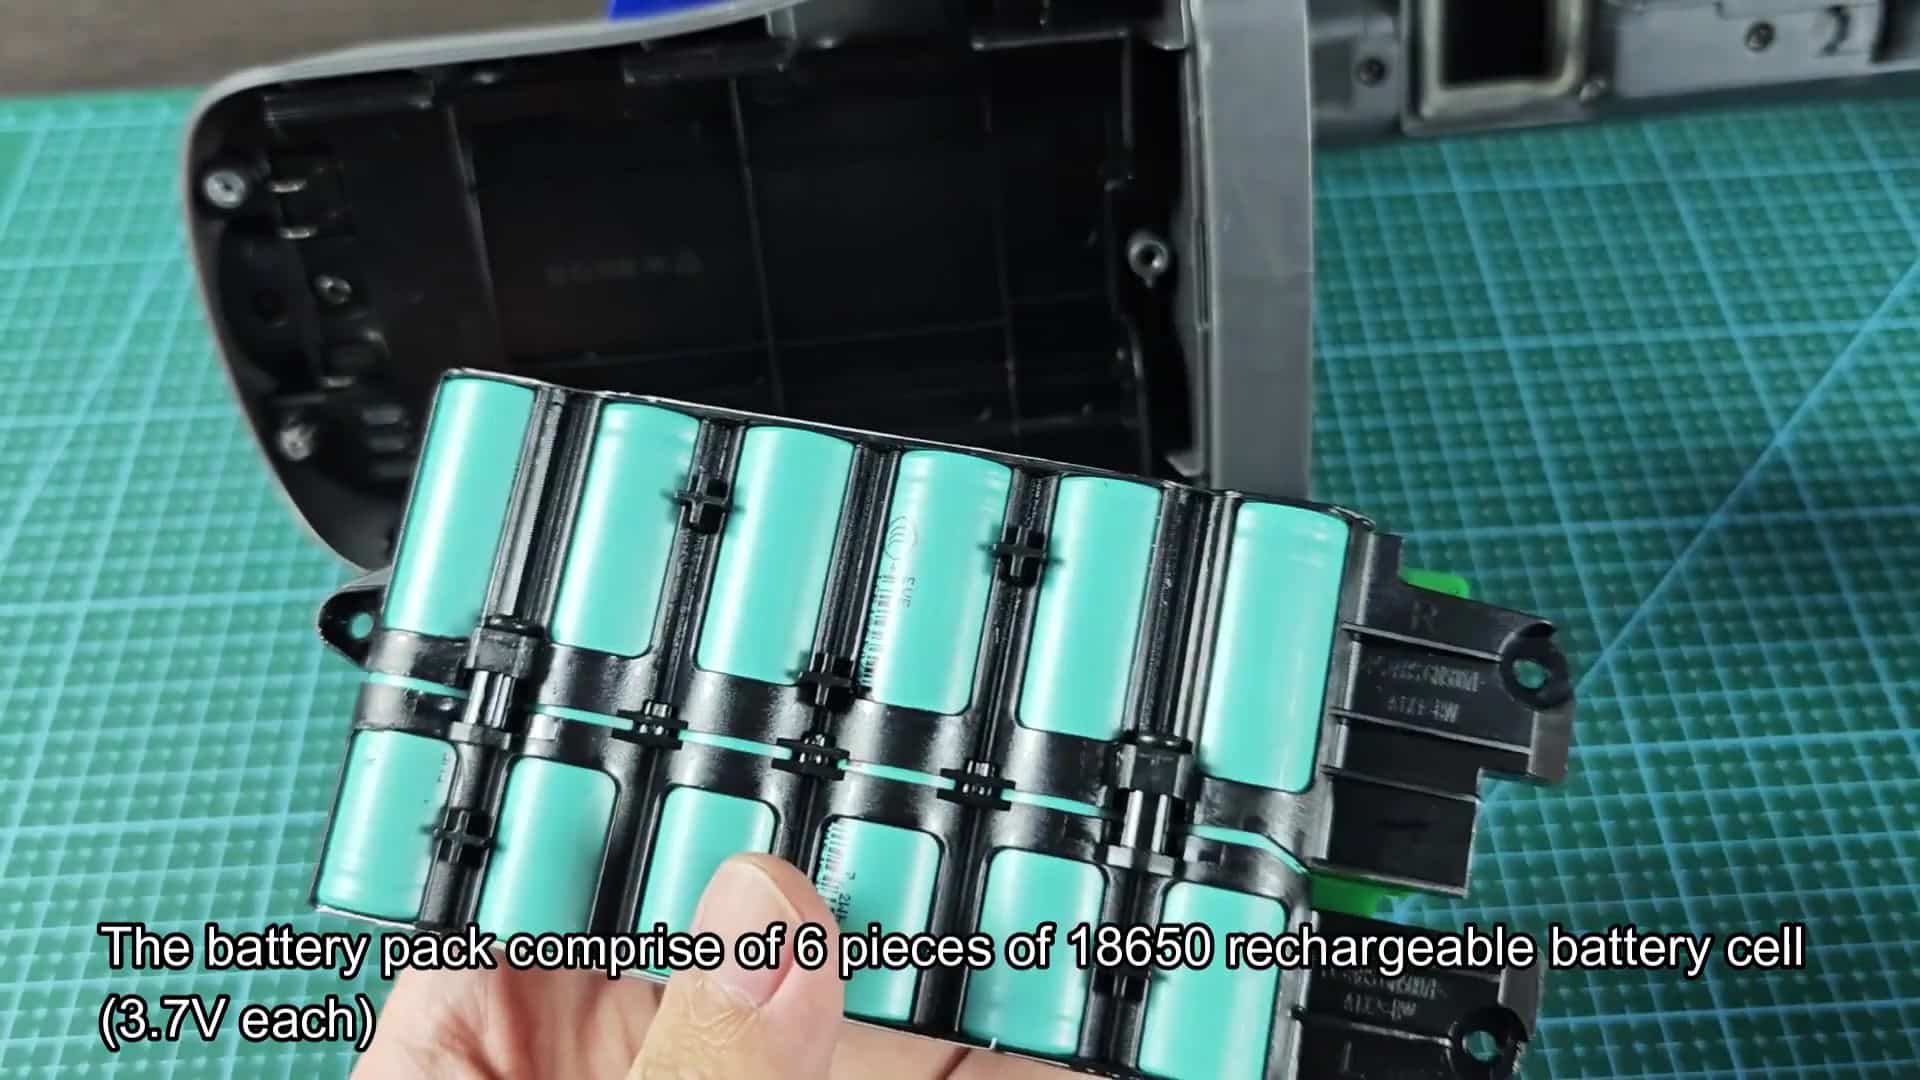
If you test your batteries after disconnecting them individually, you’ll notice that some will read about 21.5 volts which means they have a weak spot or are starting to die in the pack. That’s because the battery is made up of six 18650 rechargeable cells. They should each puts out 3.7 volts. A single failure takes the whole thing down noticeably in performance.
Look inside the open battery pack to inspect the individual teal cylindrical cells.
Open up the battery pack and take a look at the teal cylinders, each one being an individual cell in that battery pack. That way you know exactly what cell is bad (and not waste money by replacing entire battery pack). If you’re savvy and know your way around a soldering iron, you could even swap out only the failing 18650 battery cell.
Look inside the open battery pack to inspect the individual teal cylindrical cells.
Have some replacement batteries ready to test against the old ones. Almost instantly after swapping in a fresh cell, the pack returned to life. That told me it was one bad component that was keeping the whole thing in check. It was done.