
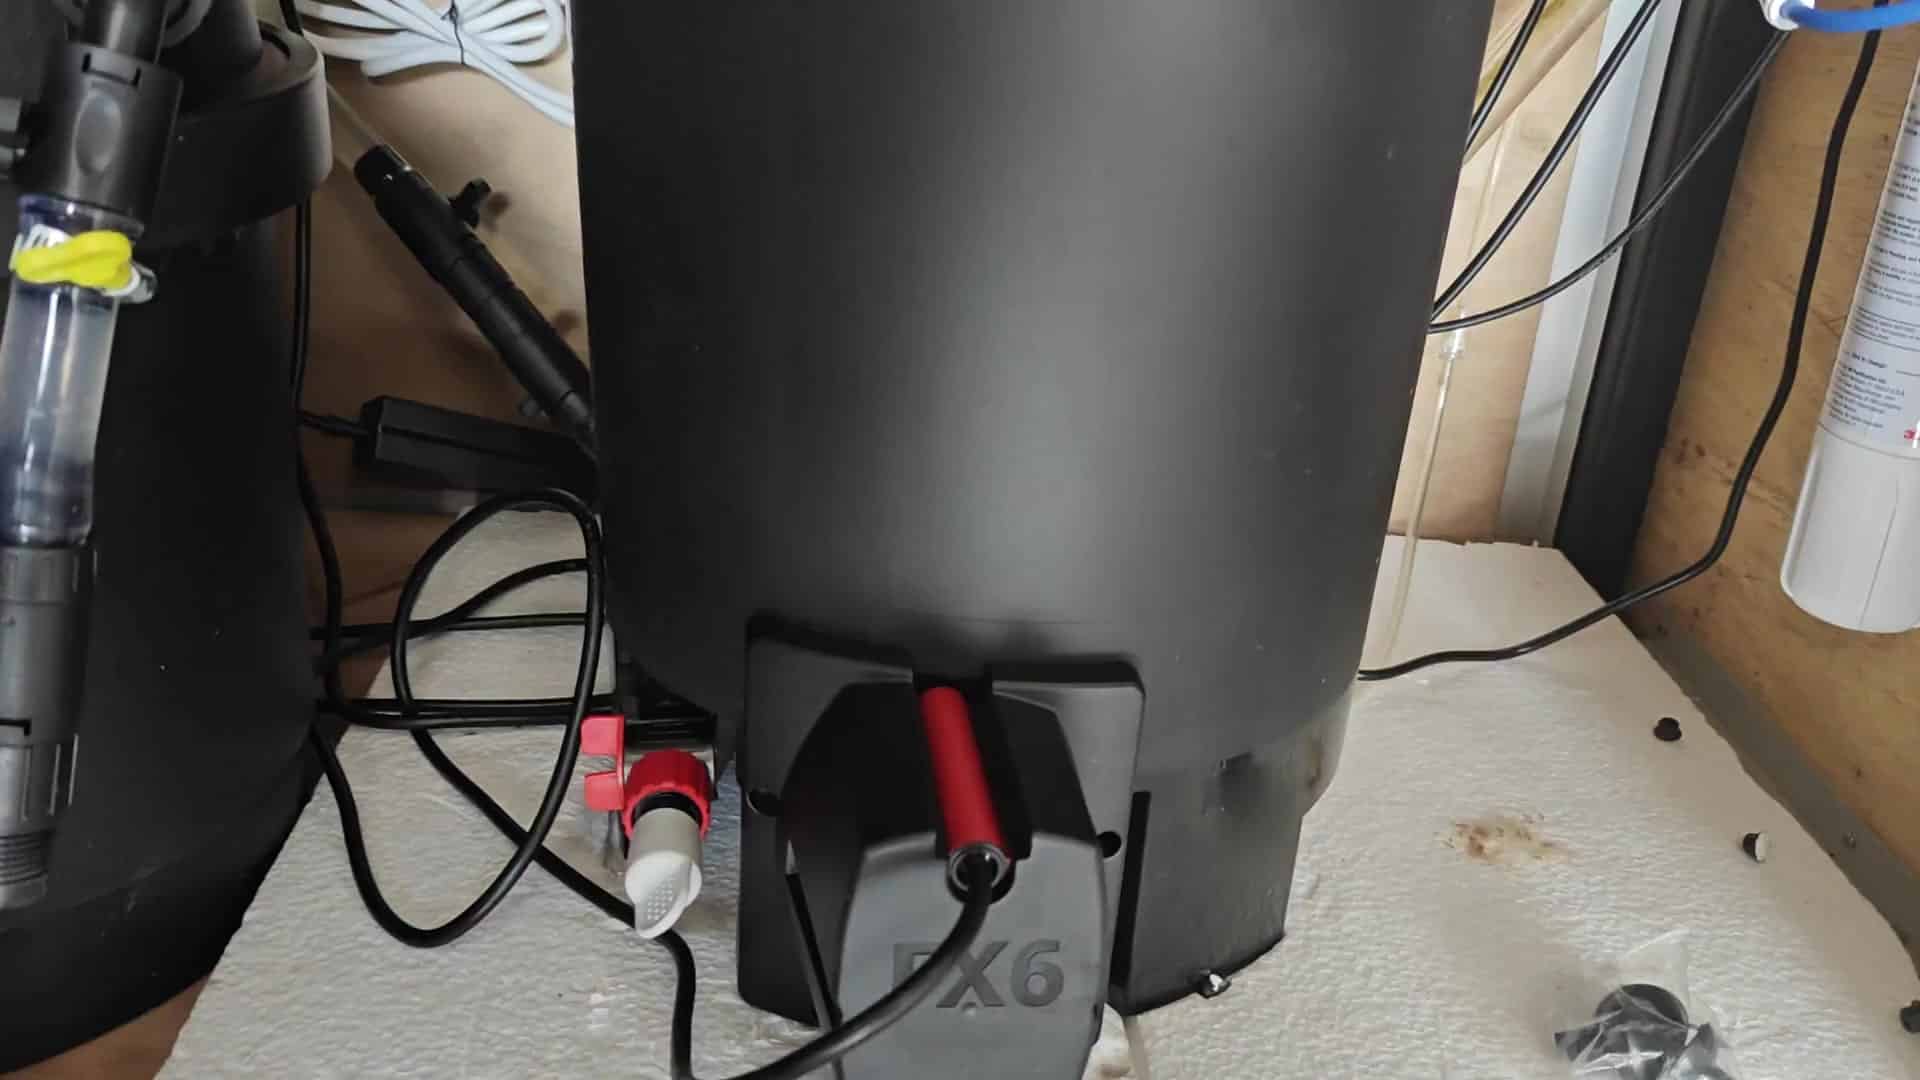
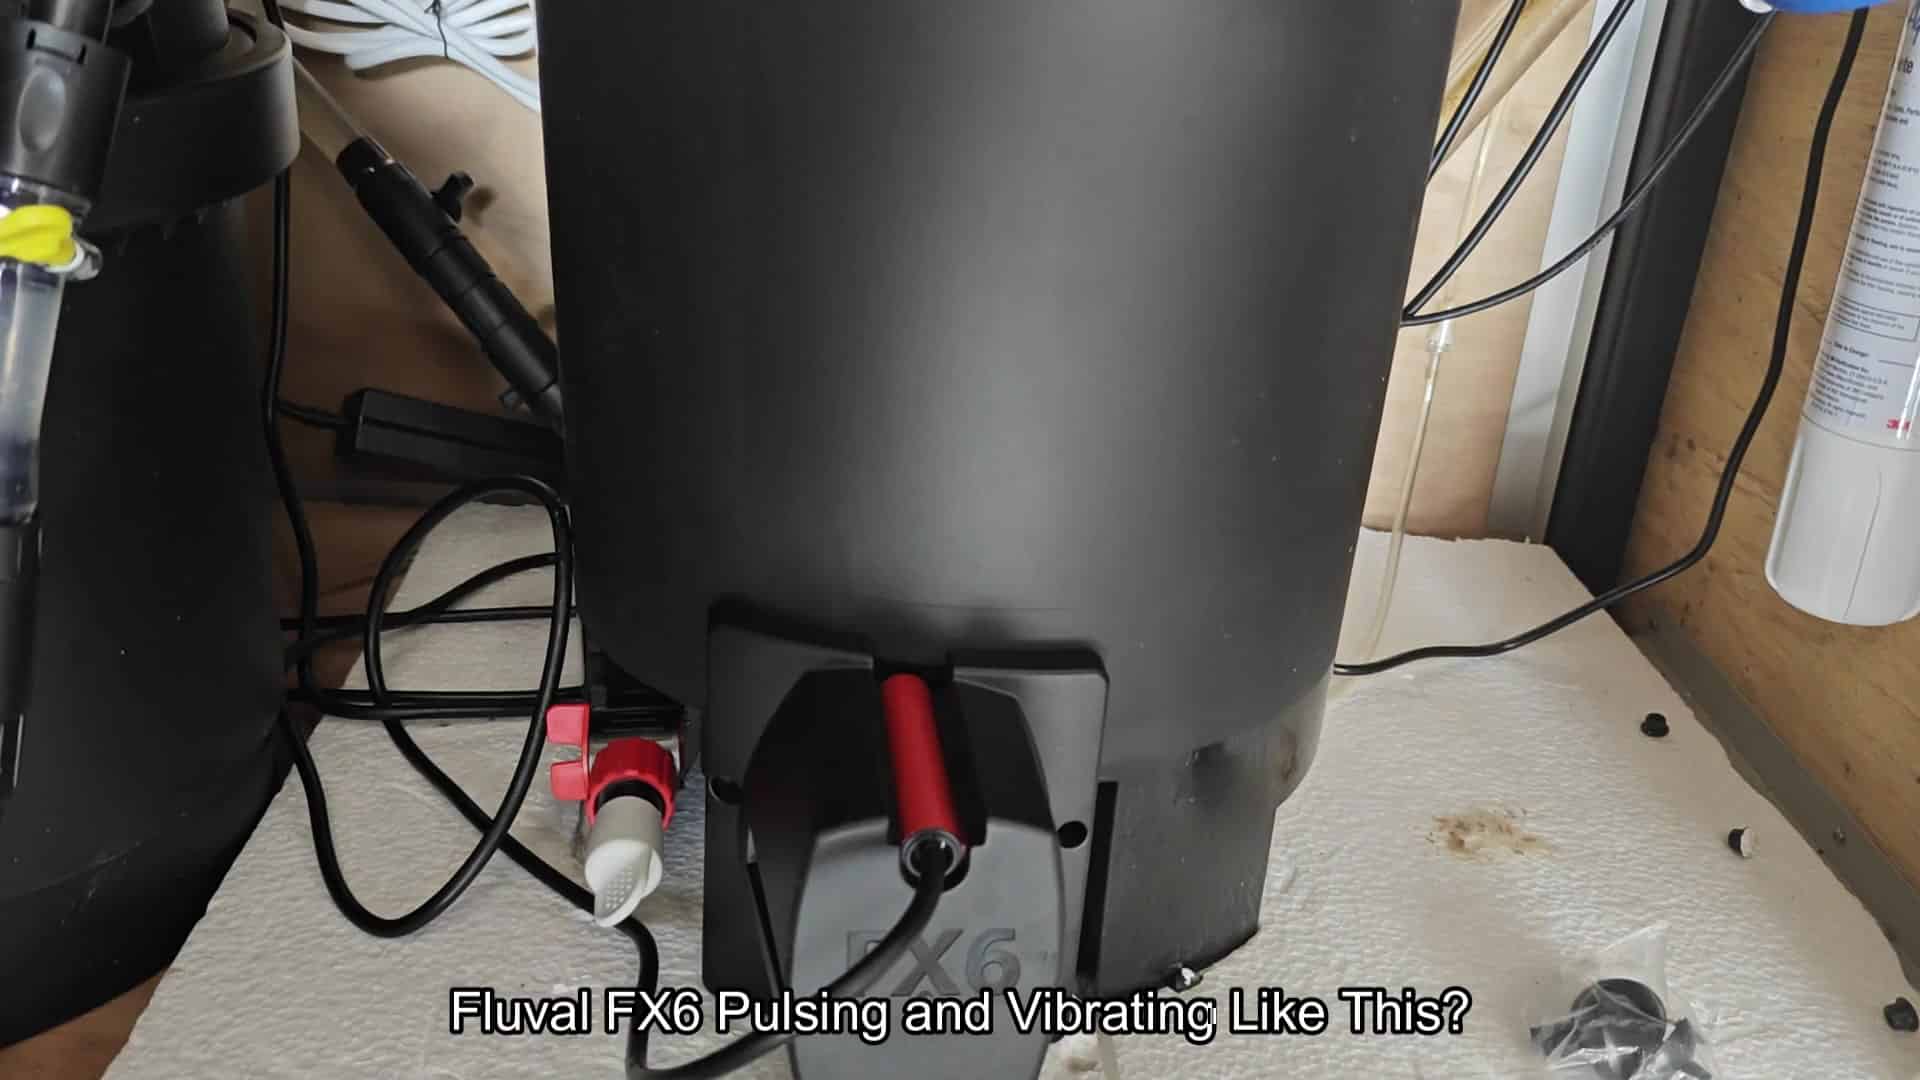
Eventually, the Fluval FX6 filter quit humming smoothly. Instead, it started vibrating in a rhythmic pulse. This vibration shake the cabinet slightly.
This can happen when you’re doing regular maintenance. At some point, if you listen closely, it will get louder and louder. It’s a common problem with filters like this.
Inspecting the Internal Components
People tend to assume it’s just built up crud. Sometimes cleaning it does help for a while, but the root cause is usually not that. Typically, the impeller are worn out first. That particular sound pattern is created by a worn component, and makes everything feel unsteady.
The next thing we do is disconnect the hoses from the unit. The first task is draining water. After that, you’re opening up the canister.
At first glance, everything appear fairly clean inside. On second look, however, you see sediment on the shaft. Plastic begins degrading with time and the impeller does appeared aged.
Wear happens due to friction between the housing and the impeller. That wear result in an imbalanced rotation. An imbalanced rotor creates a lot of vibration. And that vibration become very loud knocking noises. Don’t try to ignore early clues. When things are quiet, there’s often a big problem down the road.
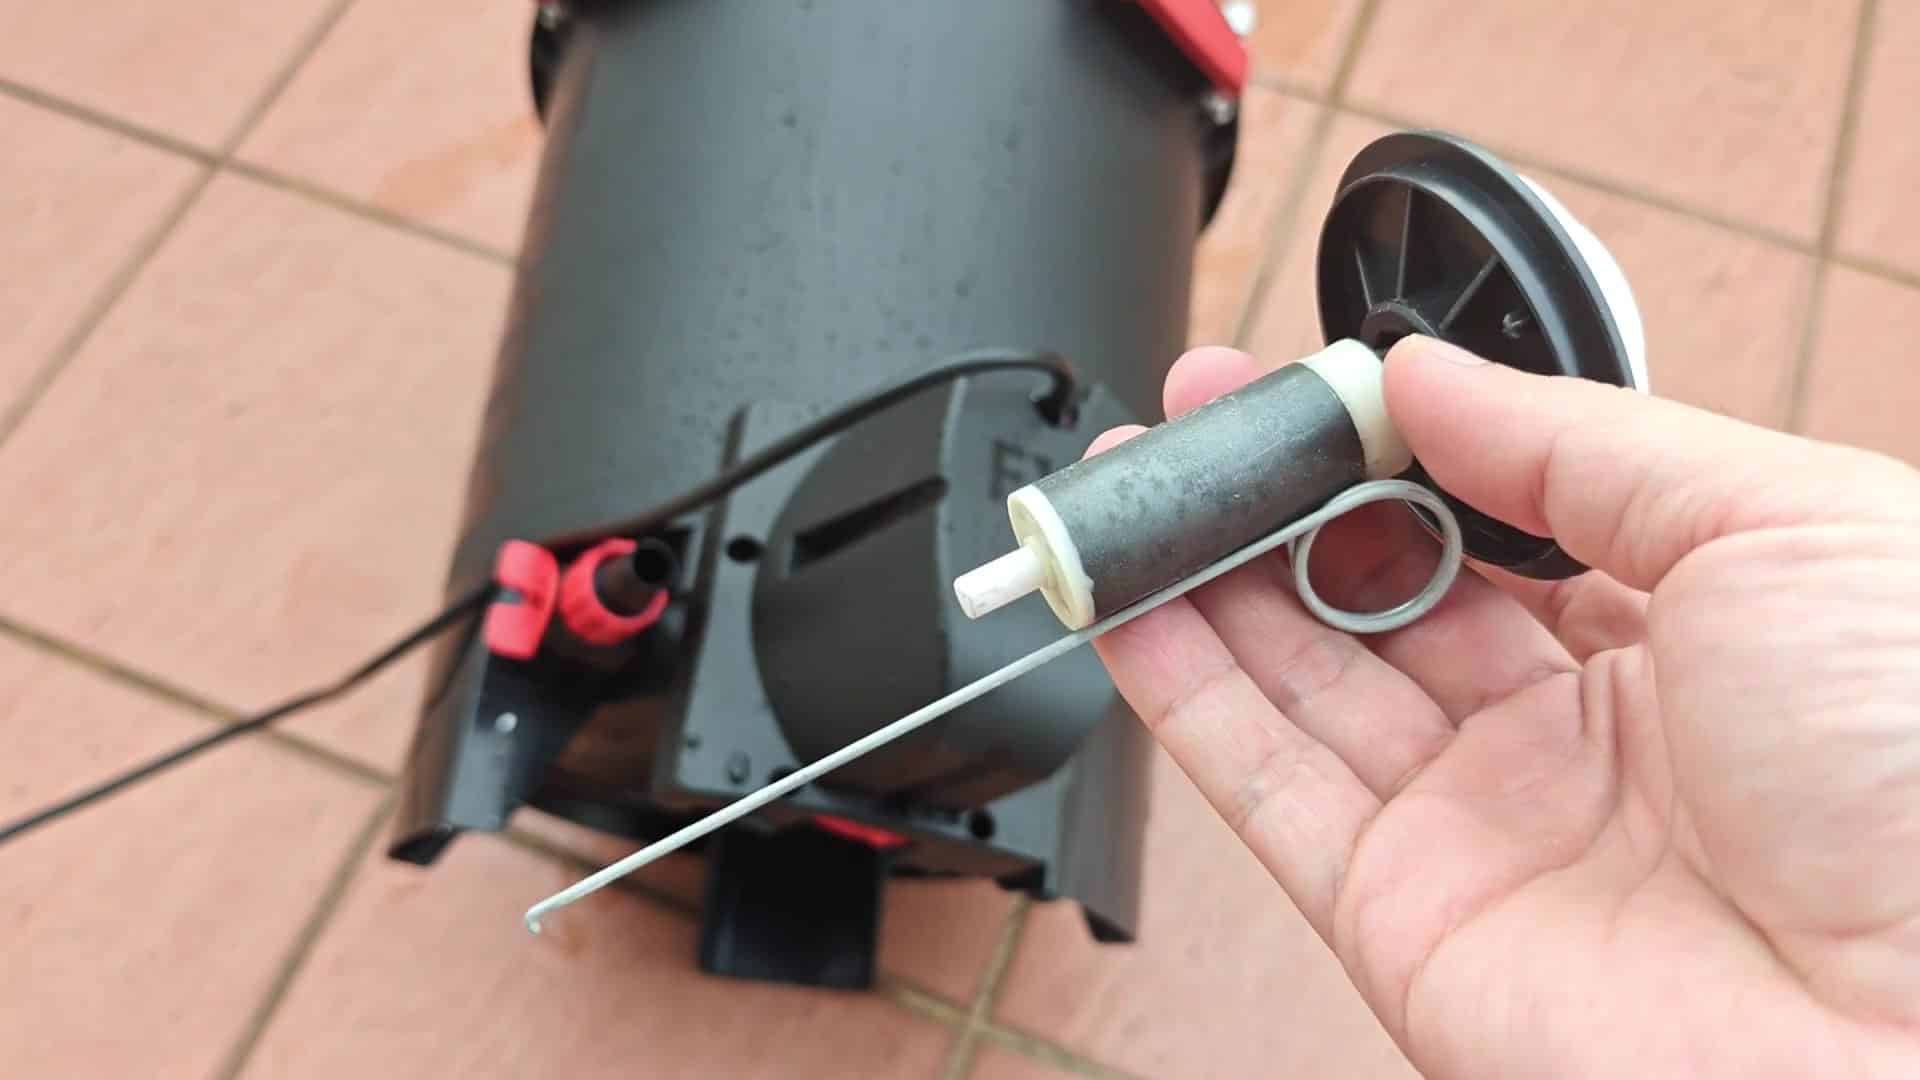
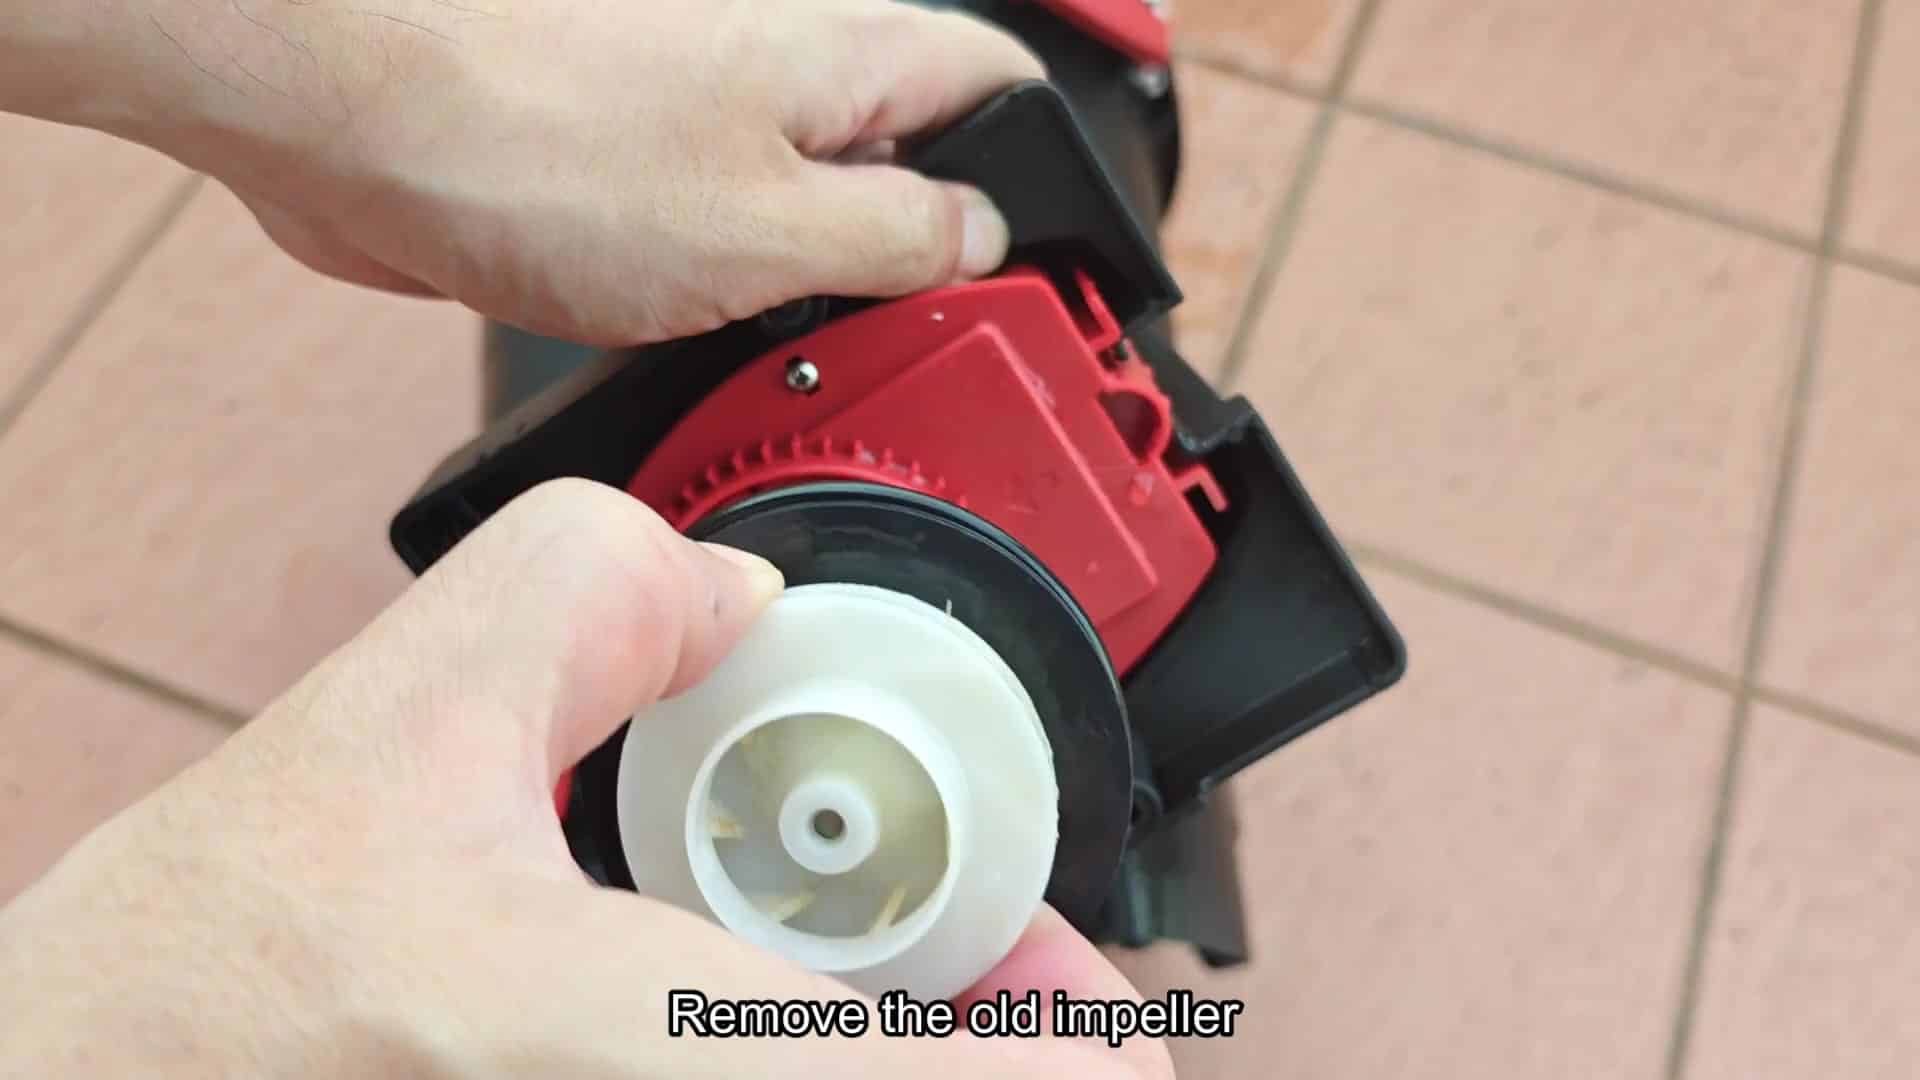
You remove the old impeller carefully by twisting the housing loose. Compare that to your new one. The difference is huge. The new one is shiny, fresh. The old one is all brittle and yellowed.
Place them next to each other. The deterioration is obvious. Scratches ruined surface of the disc. These scratches mess with efficient flow of water.
Efficiency require smooth rotation. Roughness causes trouble. That force the motor to do more work. More work results in heat. Too much and it will overheat. Is it better to fix it than to replace it? No. Replace.
This is about cleaning.
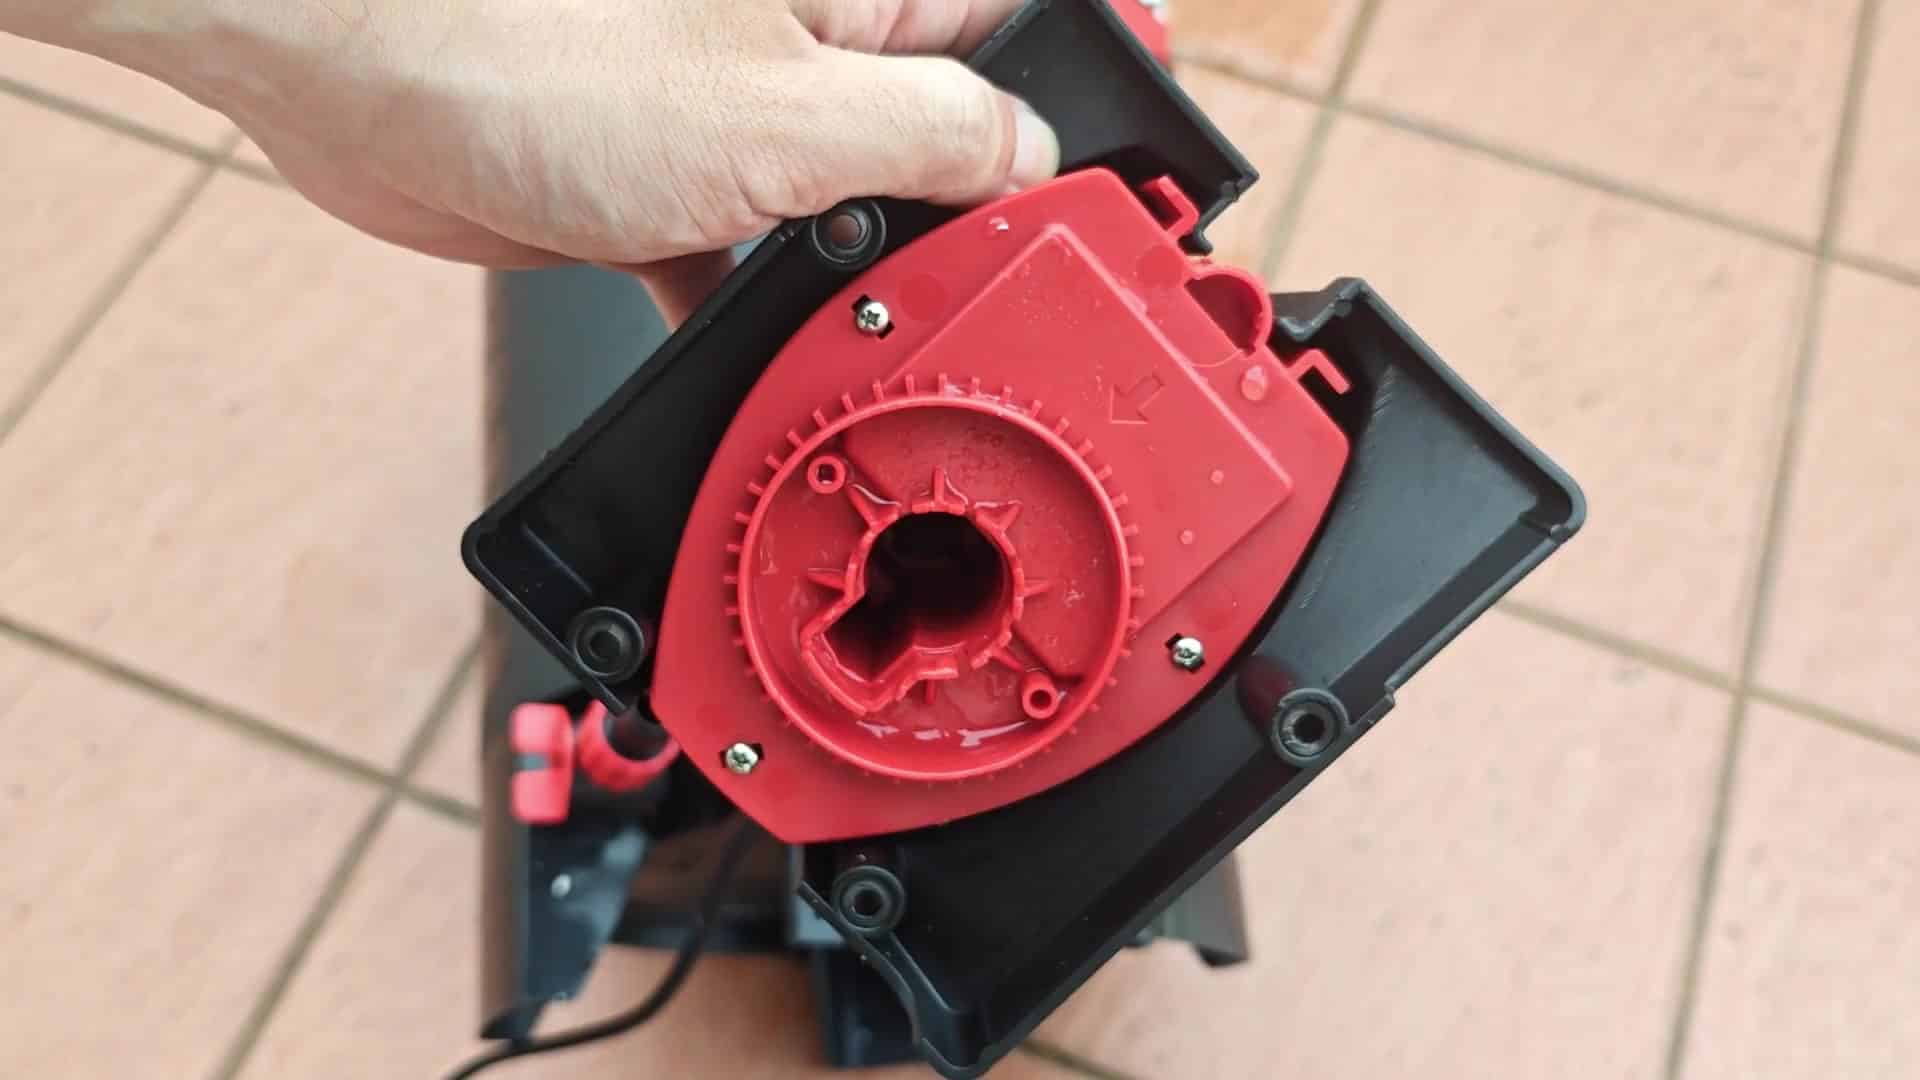
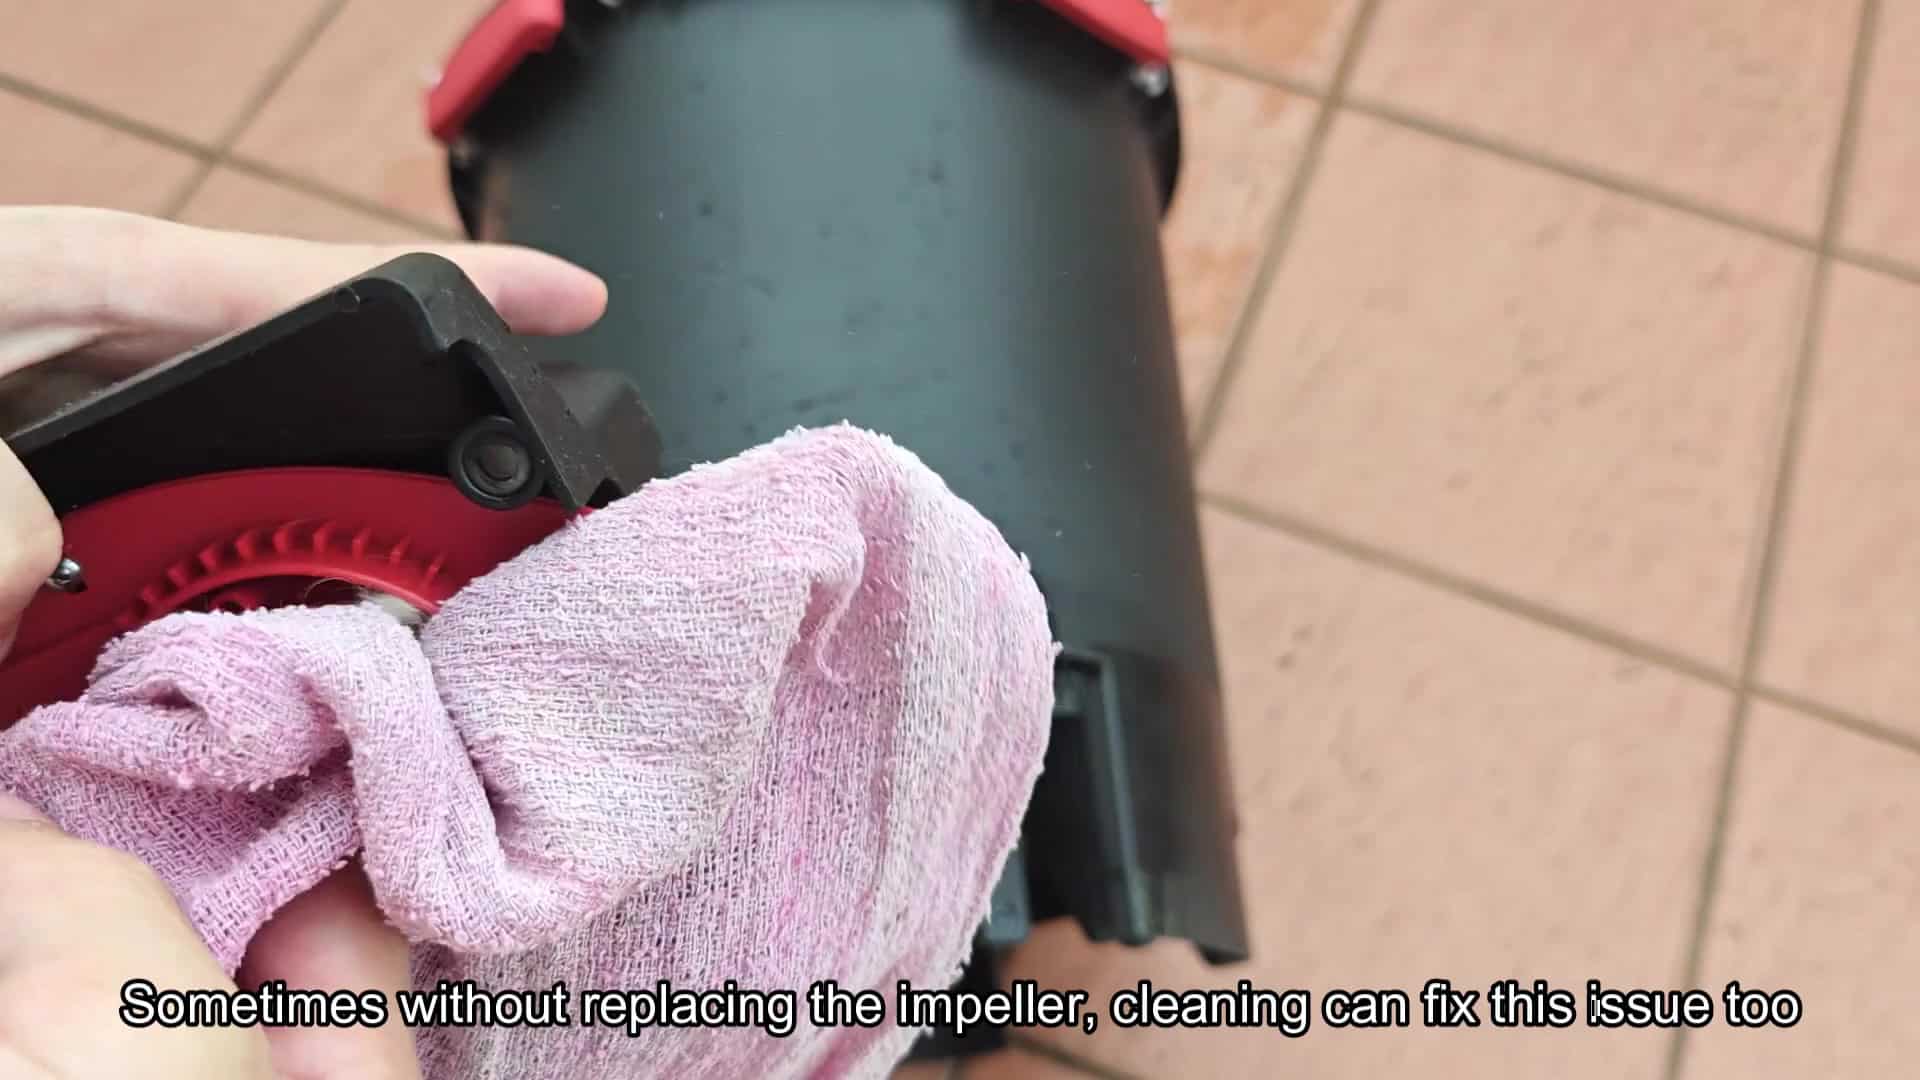
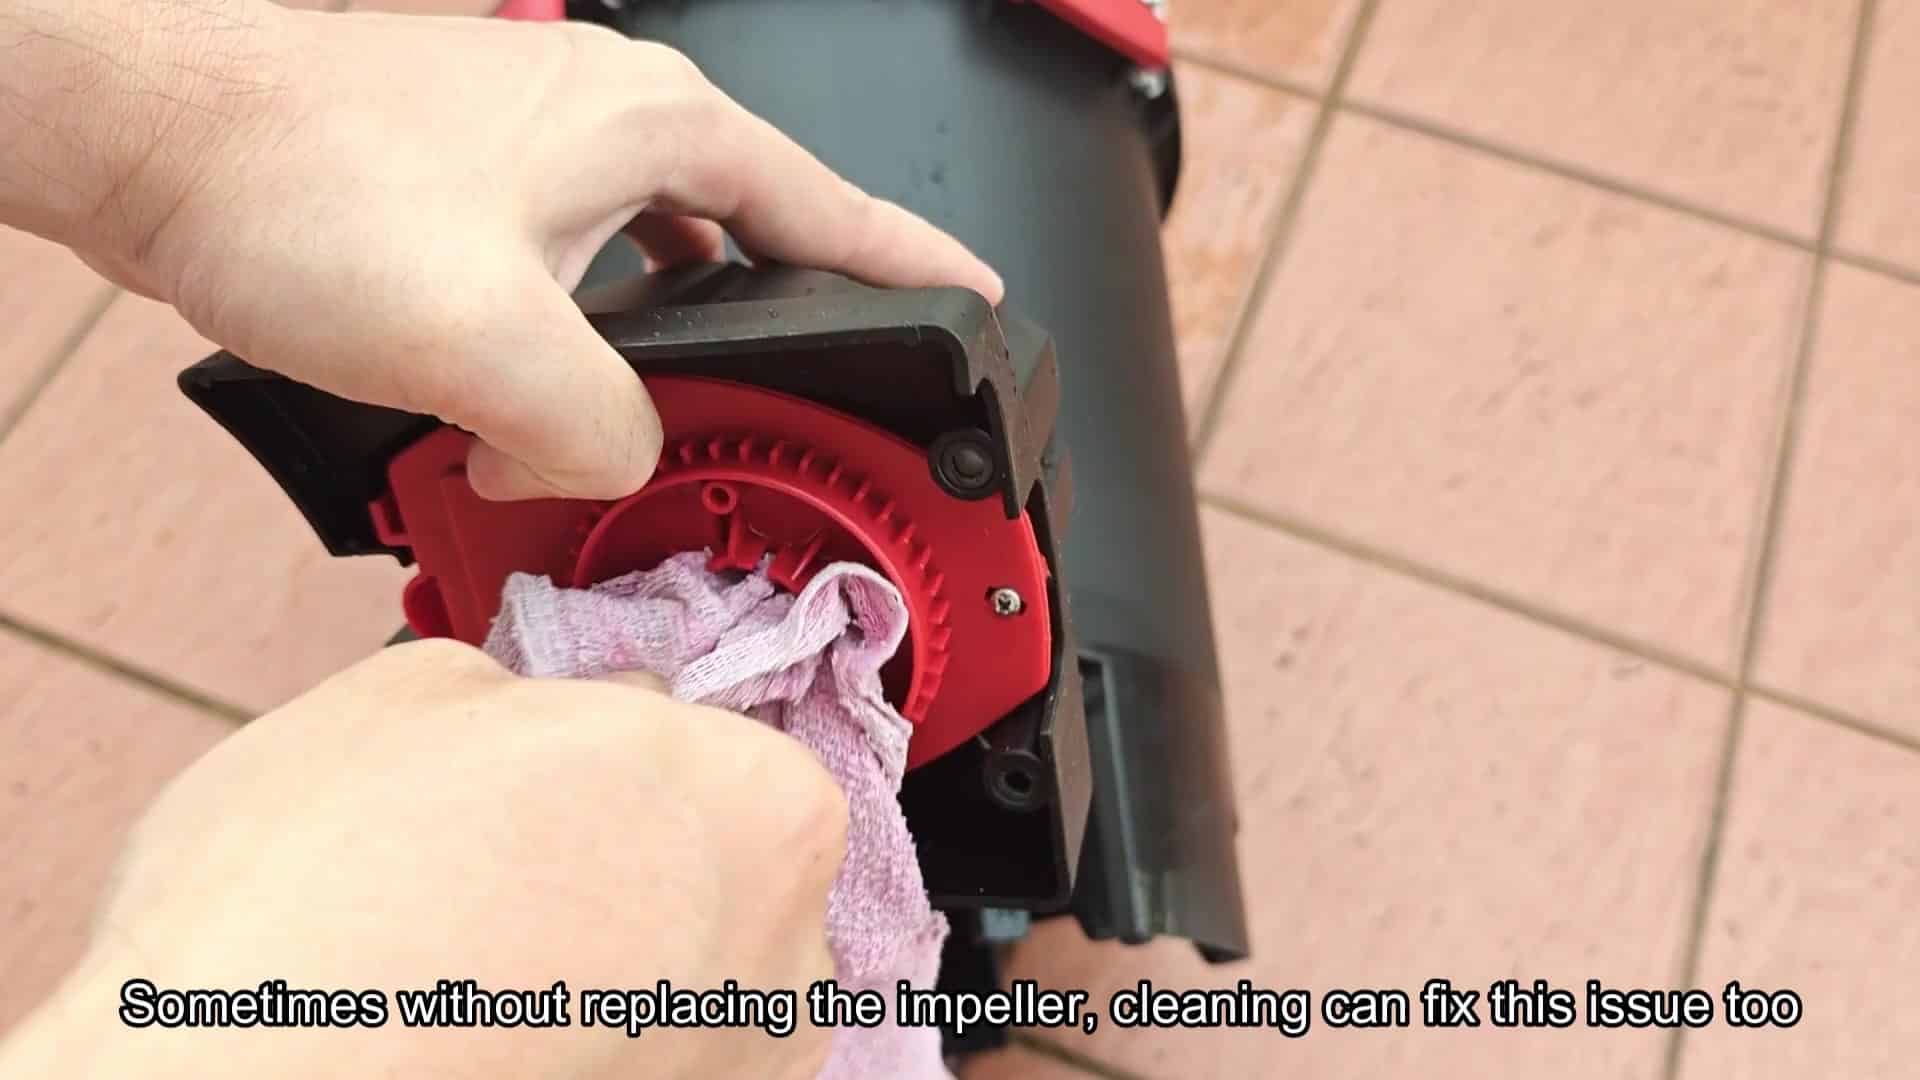
Before swapping out parts, you think about cleaning. A simple wipe down works sometimes. Clean out area around the housing with a cloth. Removing gunk can restore some functionality. Don’t forget to clean the red plastic part on the inside as well.
Debris collects in small crevices. When you don’t clean it off, flow will get restricted. Restricted flow builds up pressure inside. Pressure builds up… then you have pulsing noises again. Cleaning is always a good start. It may buy you a little more time. But it rarely fixes severe wear issues.
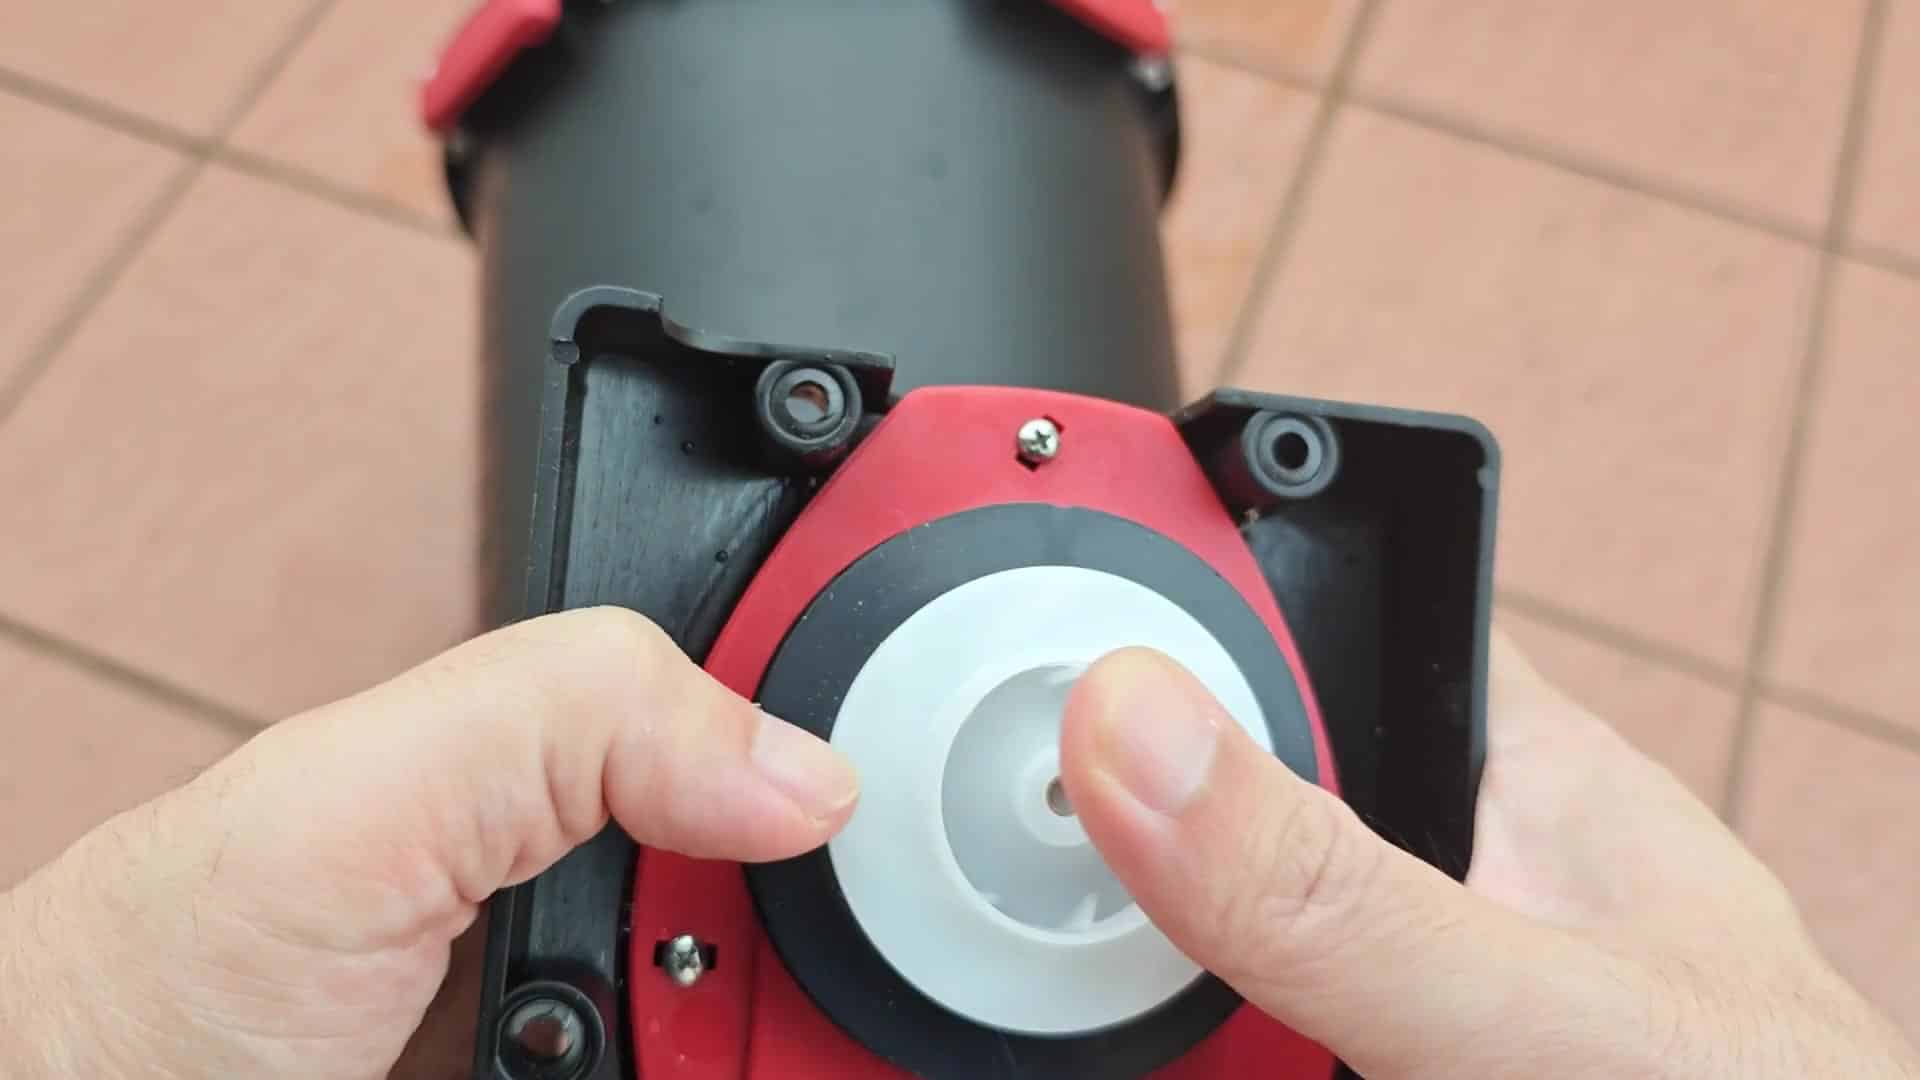
The housing is clean. The appearance is much improved. Obstructions have been removed from the round hole. Now you’re checking the rotor cavity. Nothing is left behind. Just smooth sailing on assembly later. Anything still in place will cause additional damage during assembly.
Clean is key, and that means a squeaky clean inside. That ensure it works properly. A good base promote a good fit of the replacement piece. Good fitting keeps the new part seated properly. And a good seat mean no more leaks. Leaks around the impeller shaft are not uncommon. Tight seals are crucial for performance.
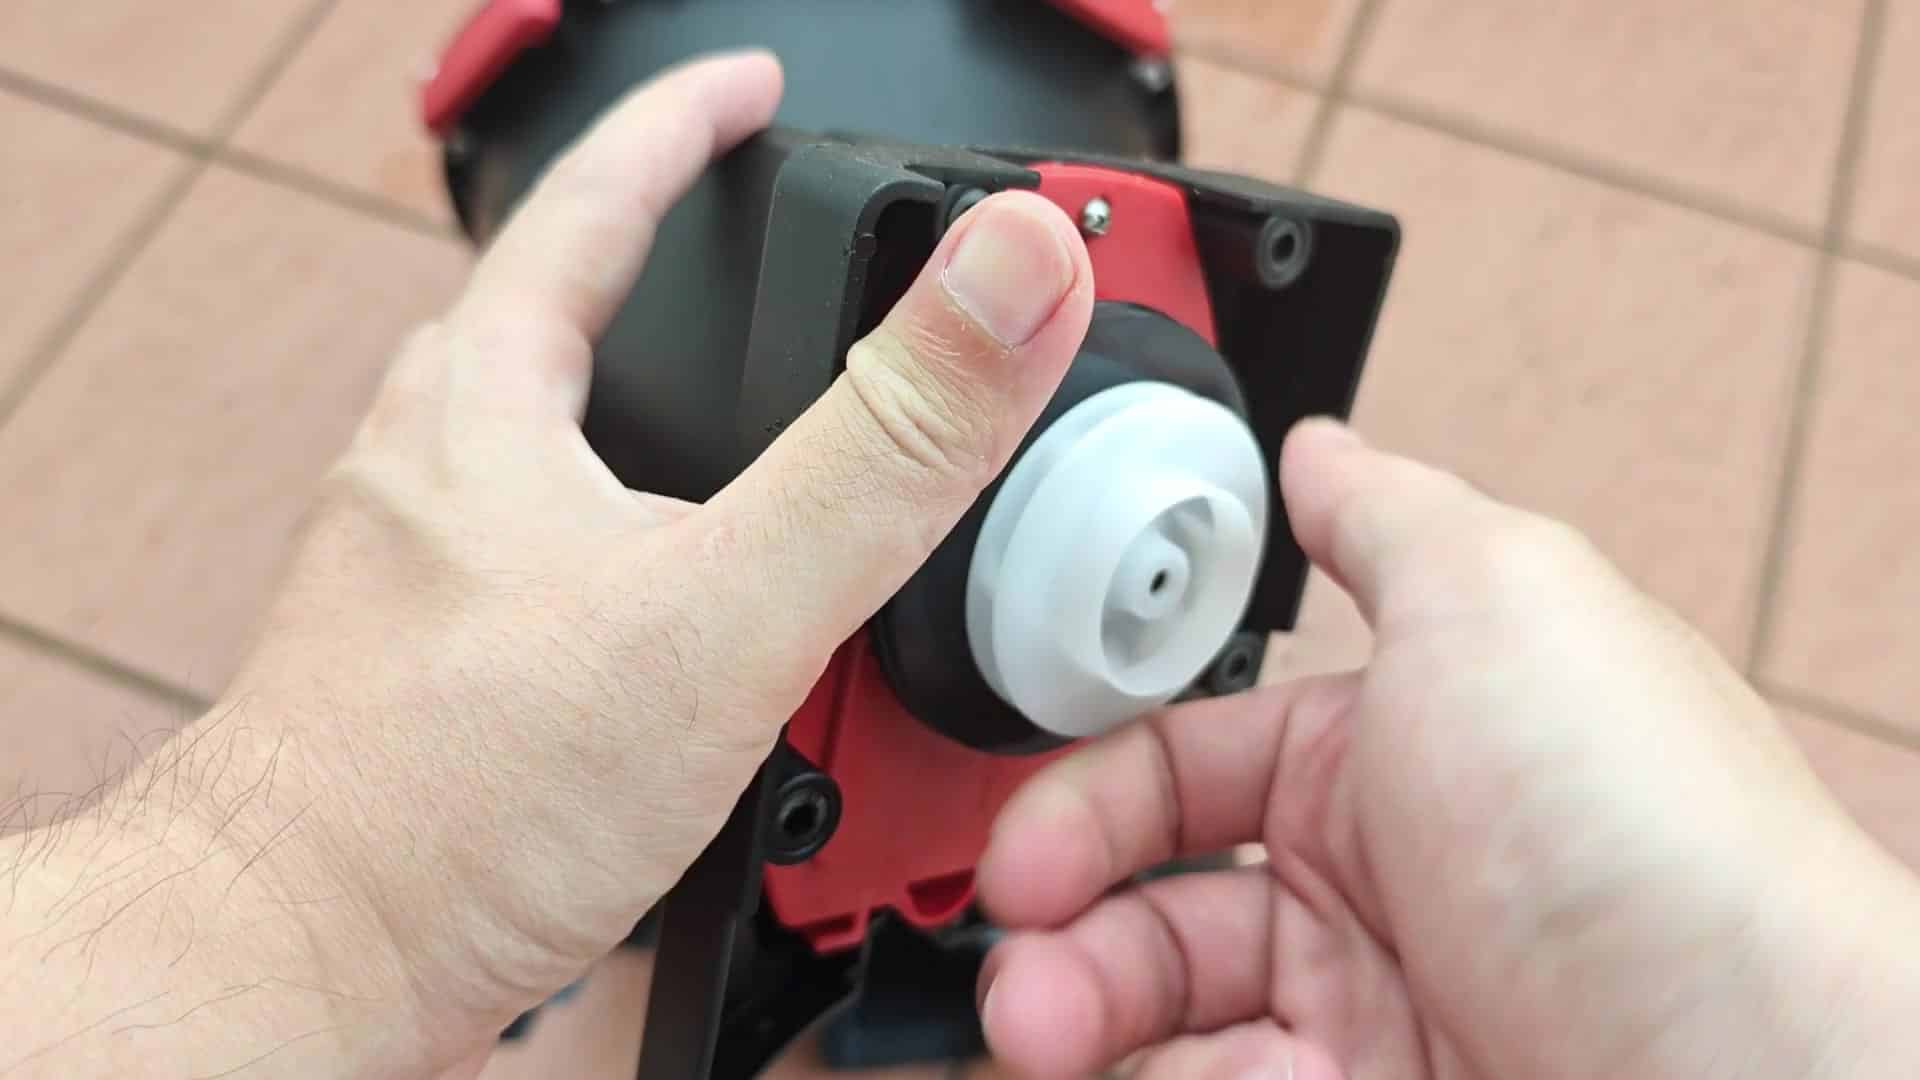
Then you set the new impeller assembly in place. Use firm pressure when pressing it on. It should be flush against the white round piece. Carefully make sure it’s lined up with your fingers. Make it fit snugly so it won’t wiggle around and create noise later. If any of that stuff is loose, then the knocking noise will return fast.
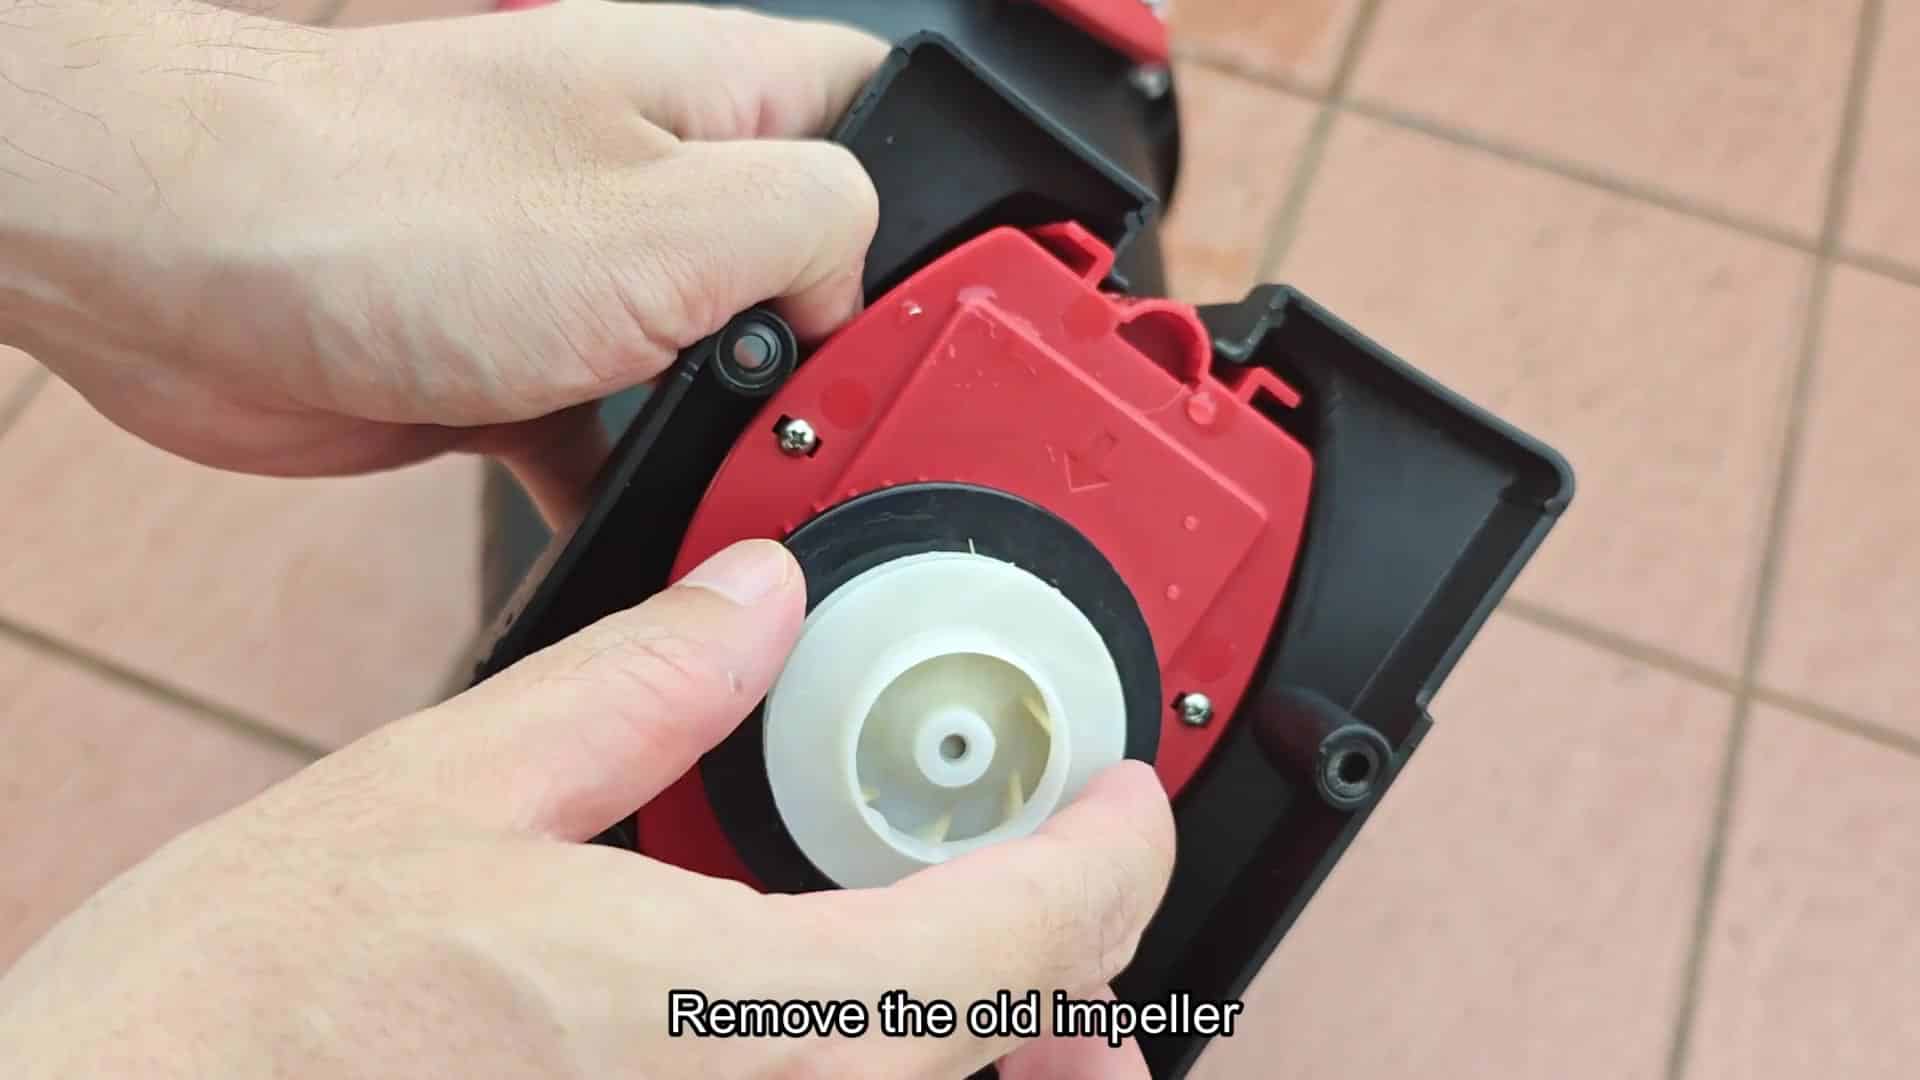
You verify everything feel secure before closing. Then the red and black parts click together. Again, you want a good fit here because weak spots fail too soon.
Putting it back together is a process that requires patience. Slowly reassemble the canister body. Drops from recent water cleaning are visible on the outside of the unit. Make certain all ports line up correctly.
Stressing plastic threads lead to eventual cracking. When you have cracked tanks, you need full replacements. Preventing the cracks will save you money in the long run.
Screws must also be tightened carefully. If you torque them too hard, they strip out entirely. A few good turns assure a watertight seal.
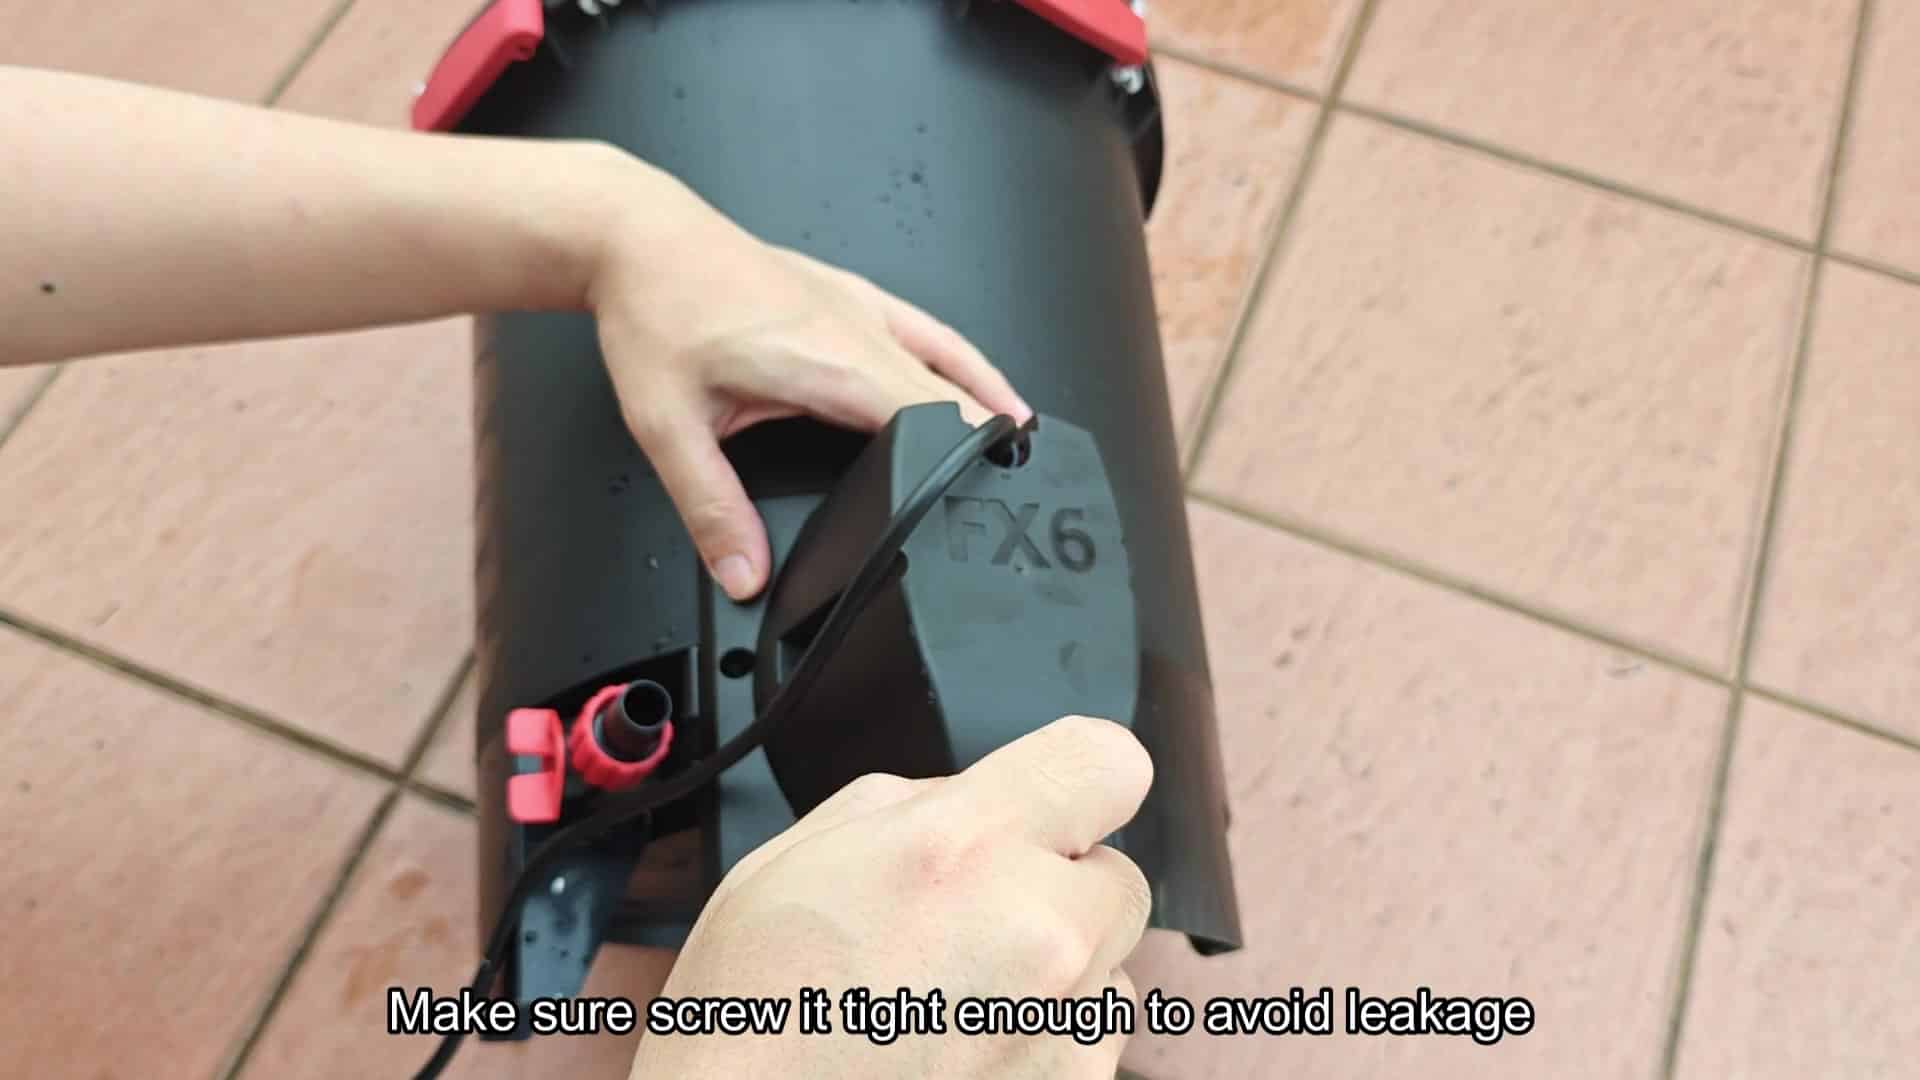
Now the final tightening is key. Tighten it down gently, but firmly. Don’t want any leaking later and have fun with that. Dripping water in a cabinet will ruin your furnitures quick. Preventing leaks starts with proper assembly technique.
Each screw should be tightened enough. Too much or too little pressure can cause uneven sealing, which creates weak spots. Under the constant stress of operating it, weak spots fails. Top side label is nice and snug. Looks good and feels good. Ready to go back out in service.
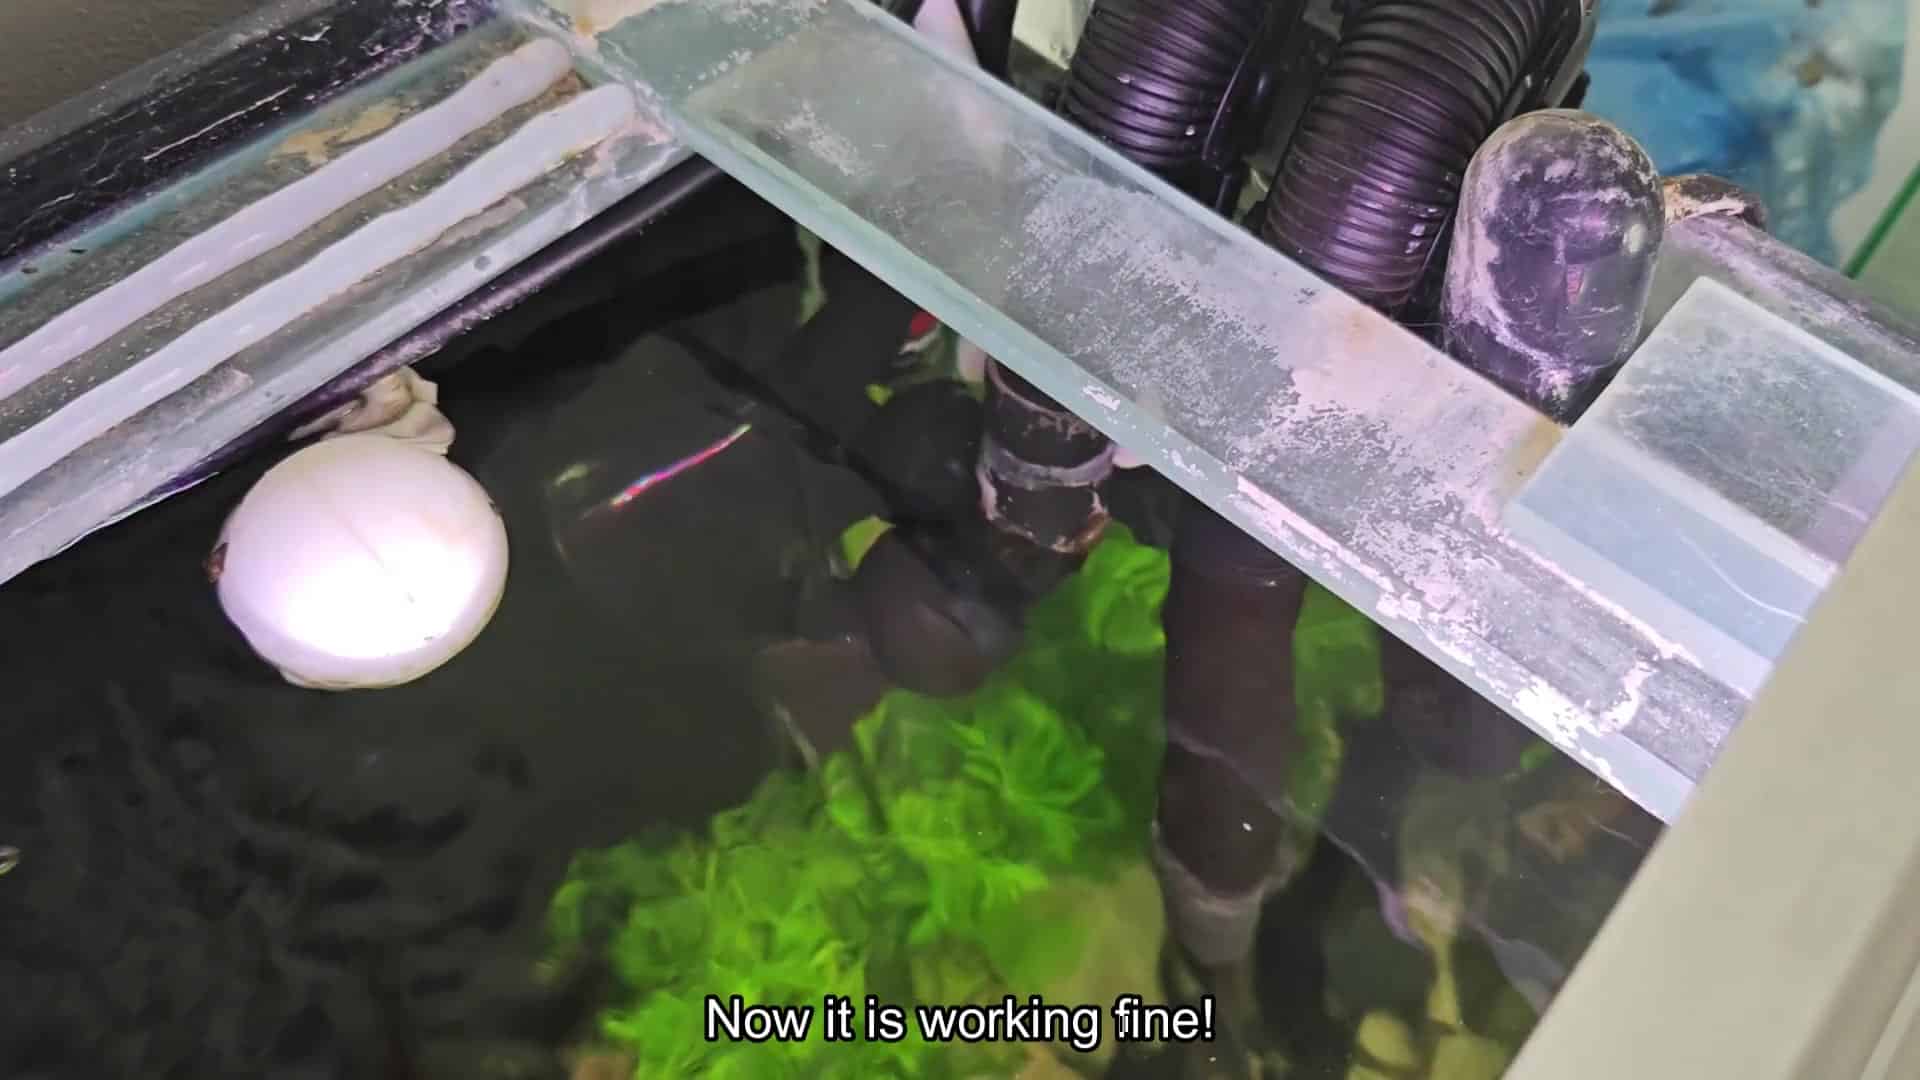
I turned it on and the filter started working instantly. This time priming the system was not a problem at all. There were no air bubbles in any of the tubing. The pulsing noise had dissapears completely. The vibration decreased to almost nothing.
Your aquarium was once again operating quietly. The ball floats indicating that the pressure is fine. Everything in the tubing is now still. The tubing remains steady without shaking movements.
The solution was exactly what I thought it would be. The constant annoying knock knock knock is gone. It was totally worth it. It was an easy solution to a stubborn issue.
