You are cleaning your house and then suddeny your Shark cordless vacuum won’t work anymore. There are no sounds or lights. You push the power button and nothing happens.
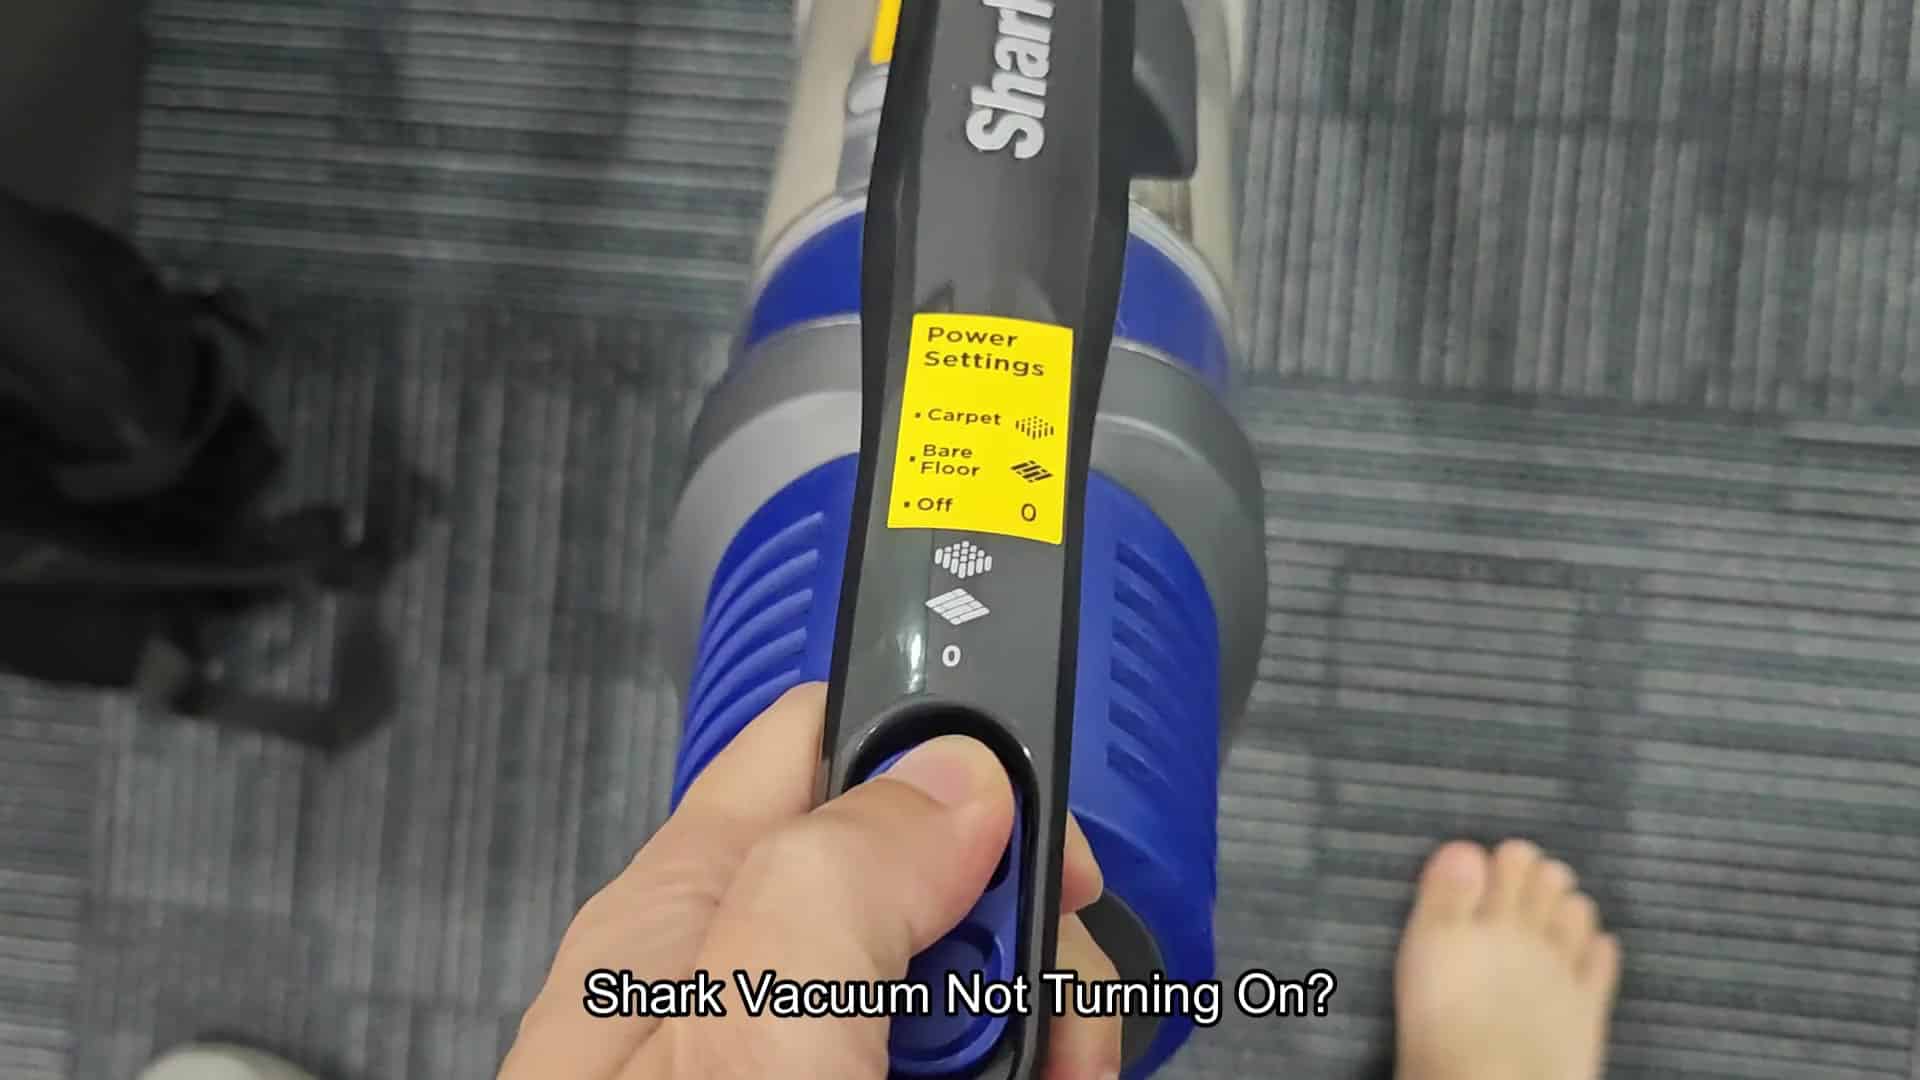
After sitting dormant for a few days it’s probably out of juice right? Most times that’s true, but there are also other thing that can make your cordless vacuum act like it’s dead.
You should test the power source.
Diagnosing Power and Motor Issues
This is your first step. If the unit won’t turn on then you’ll want to start with the power source: the battery pack. Since a weak or bad battery will stop the unit from coming on, you’ll want to take a closer look at that.
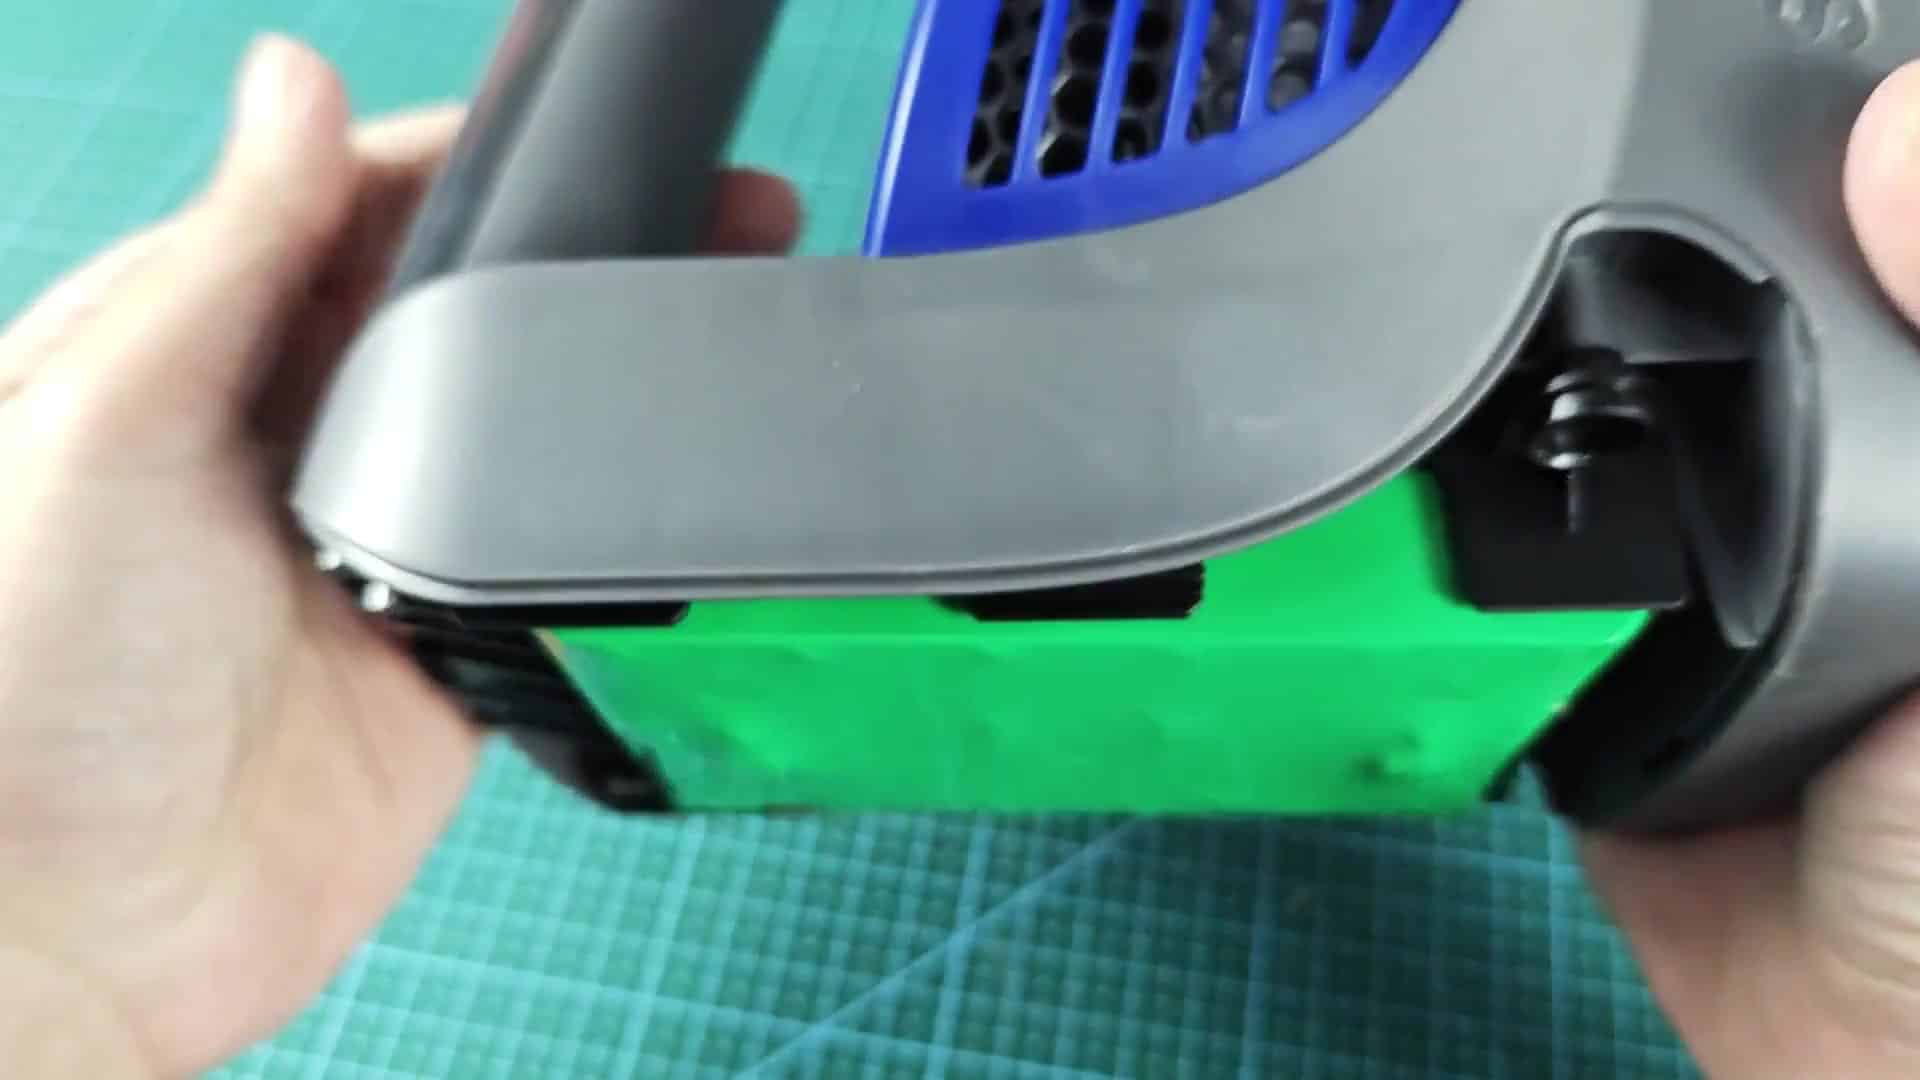
When testing lithium-ion batteries, it’s important to note that they can give a false impression of their current state based off what they look like. To know for sure how healthy your cell is, you need to test it. A damaged casing can be seen by eye, but voltage levels inside is not visible.
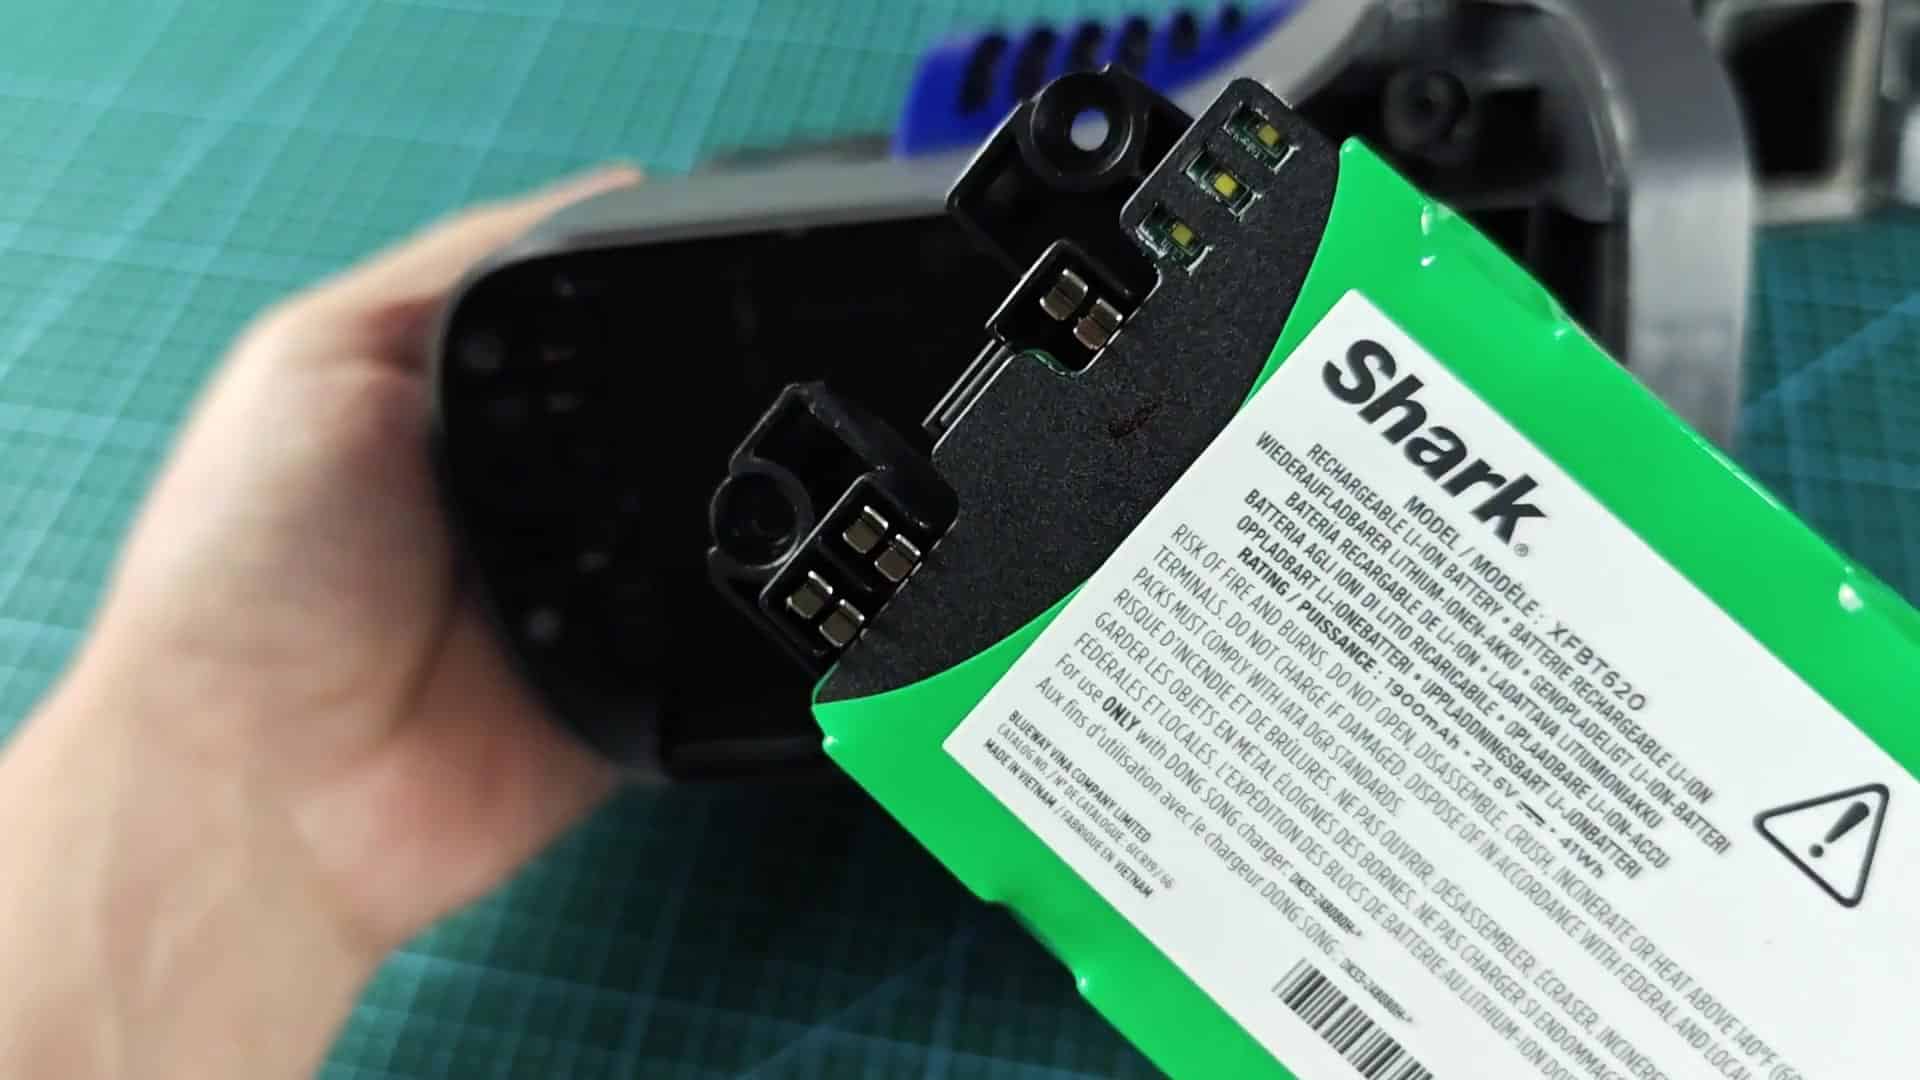
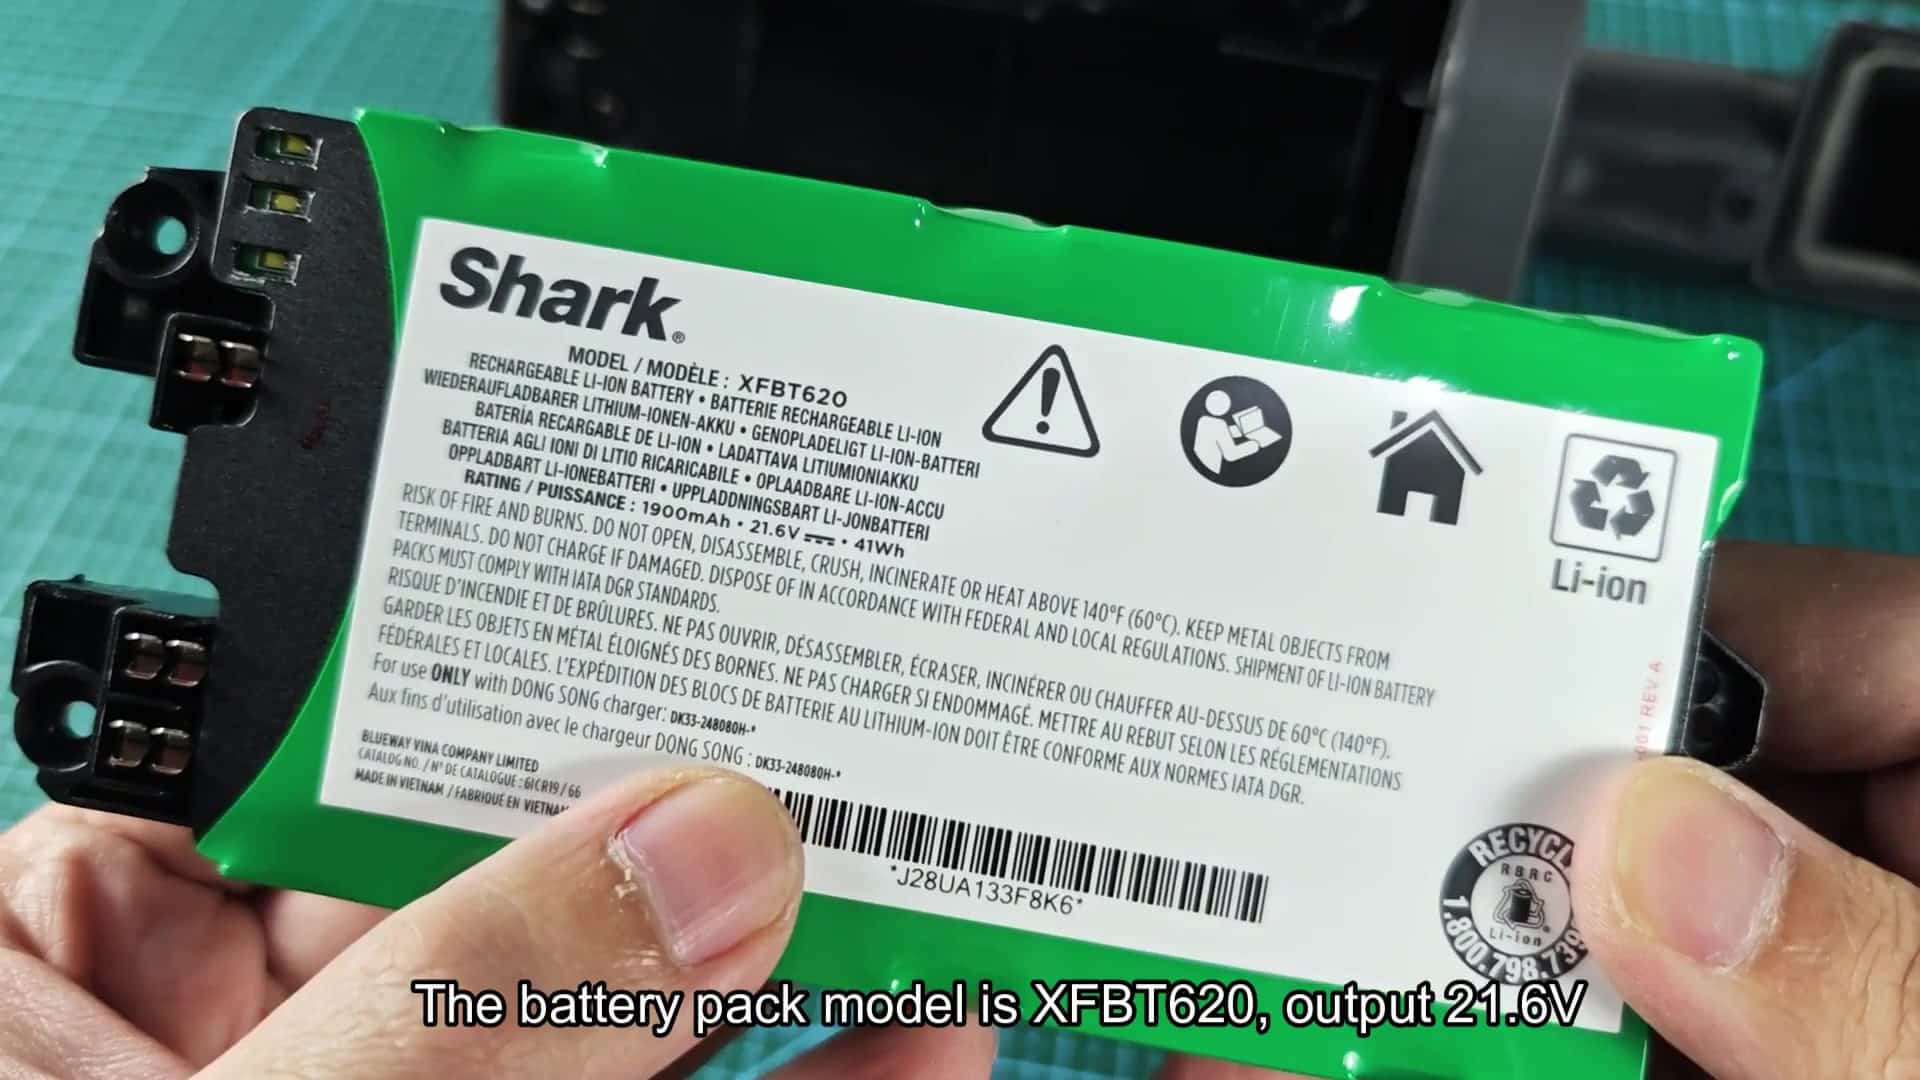
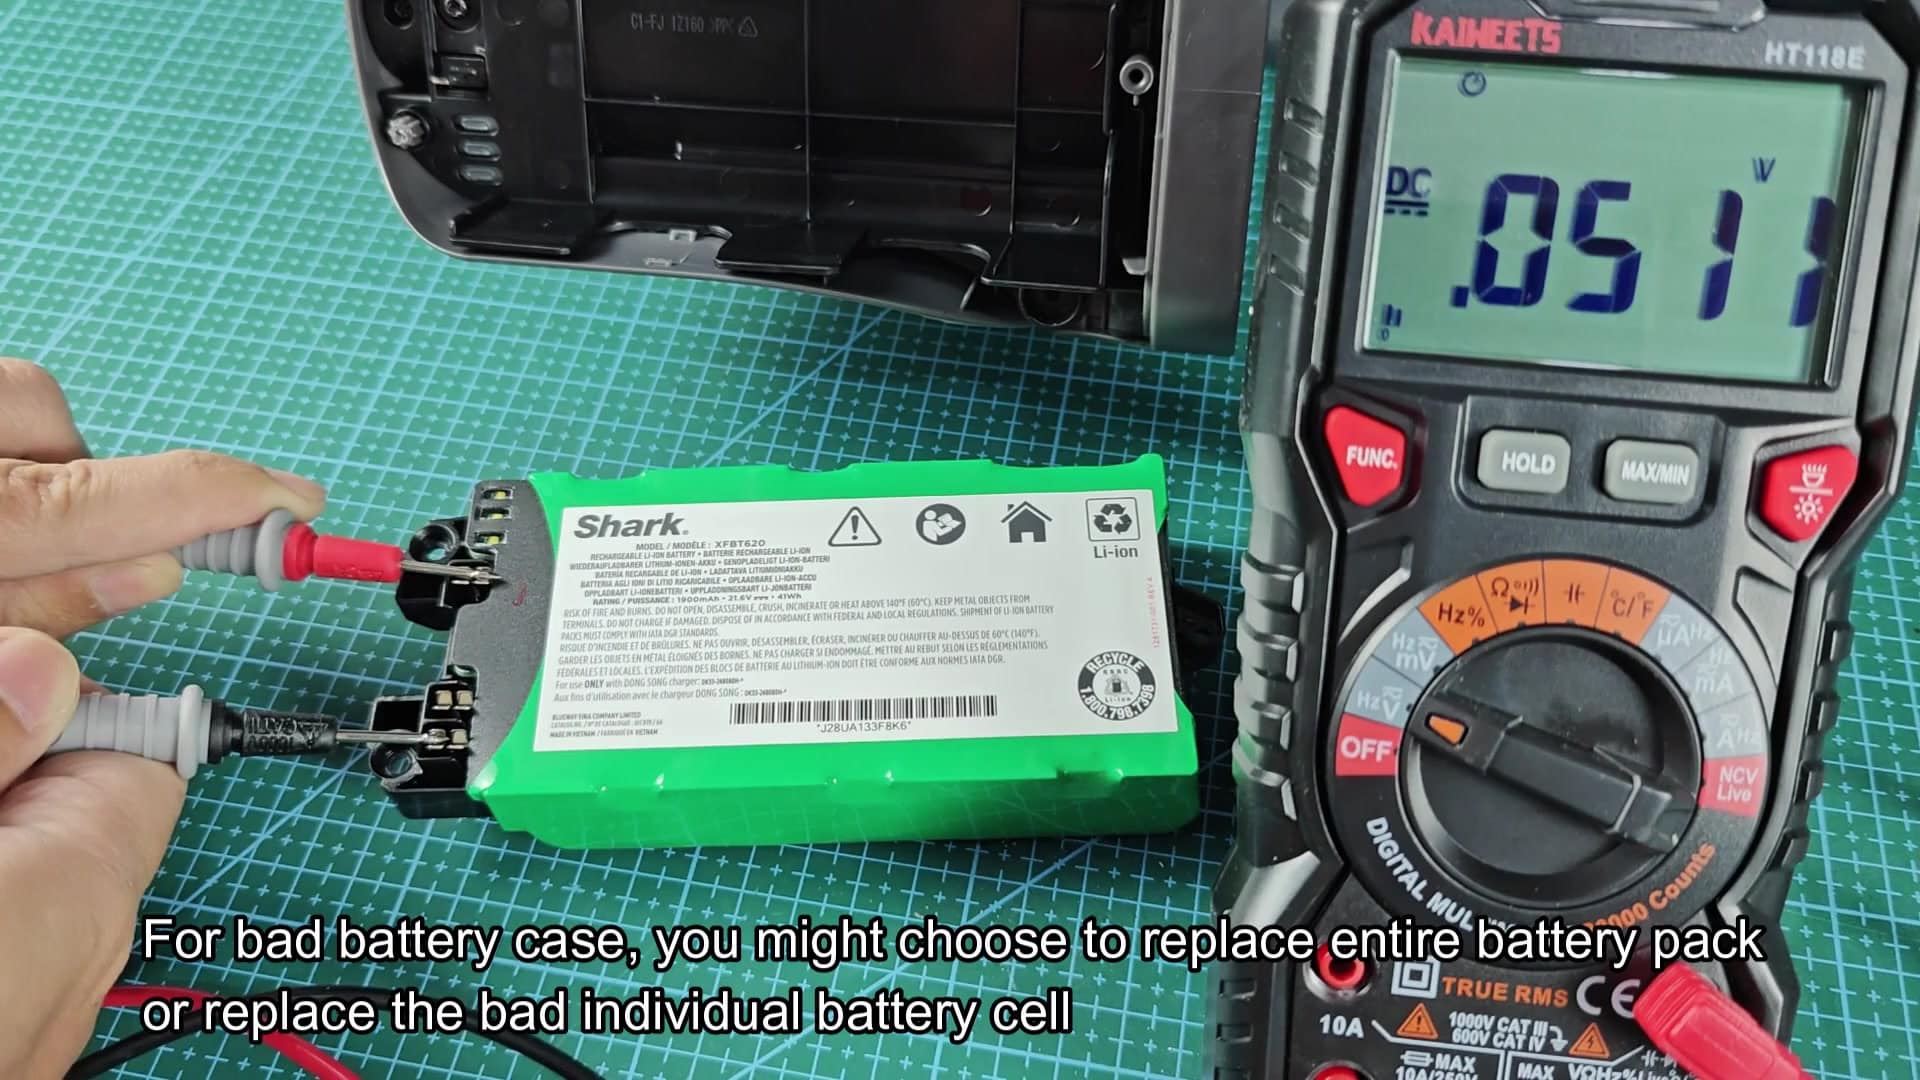
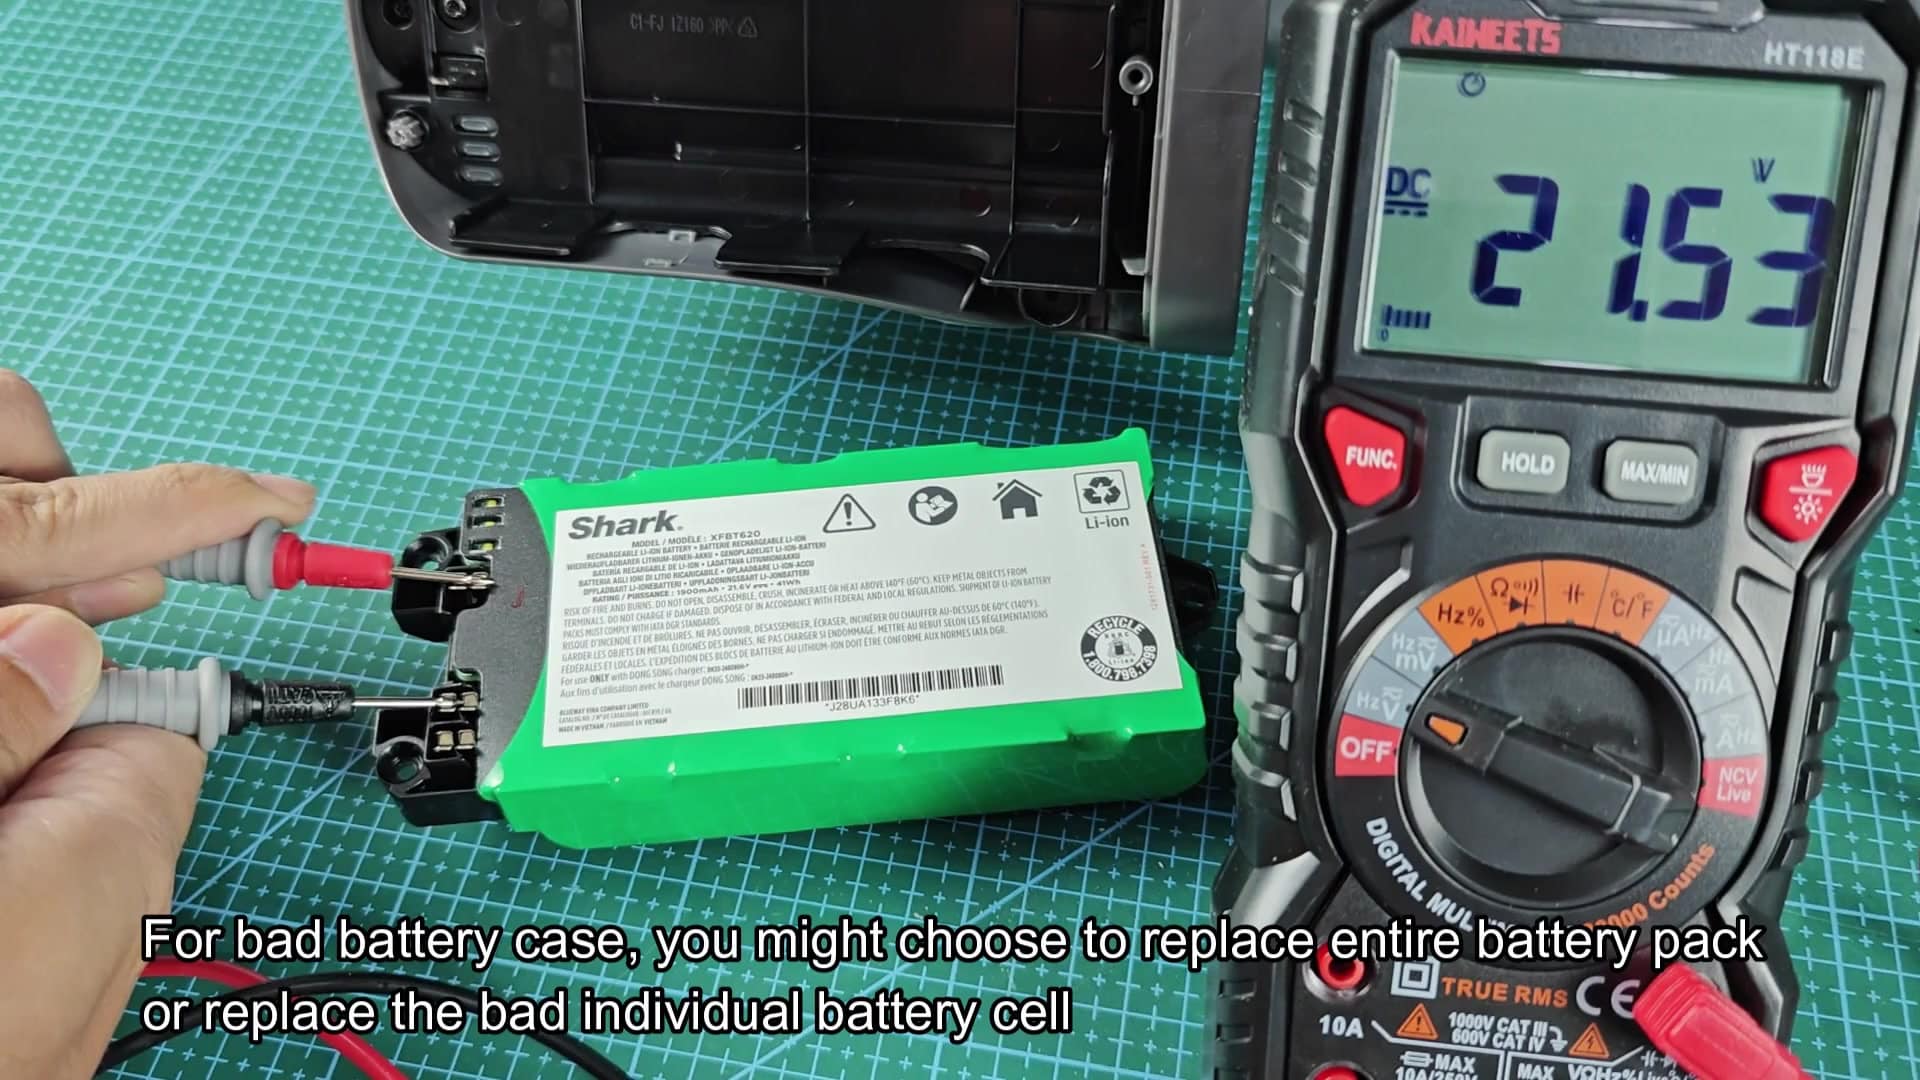
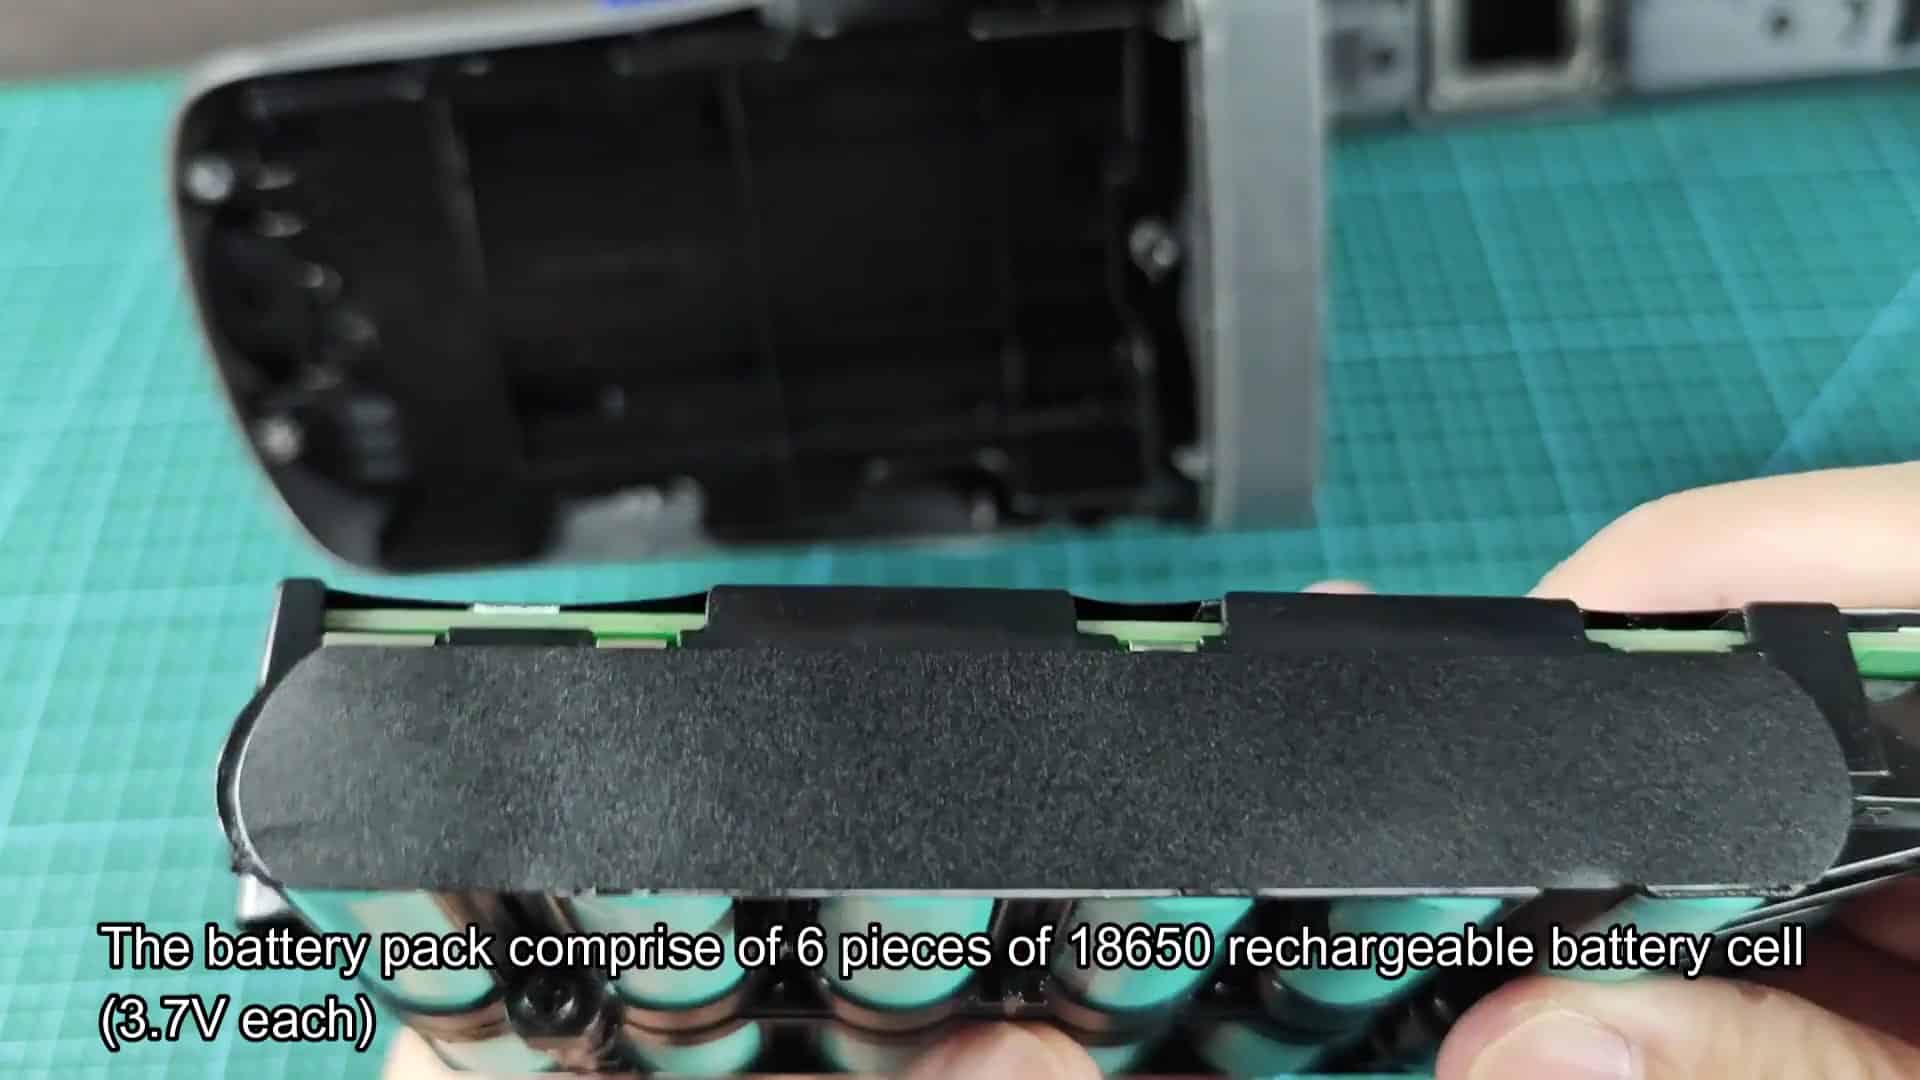
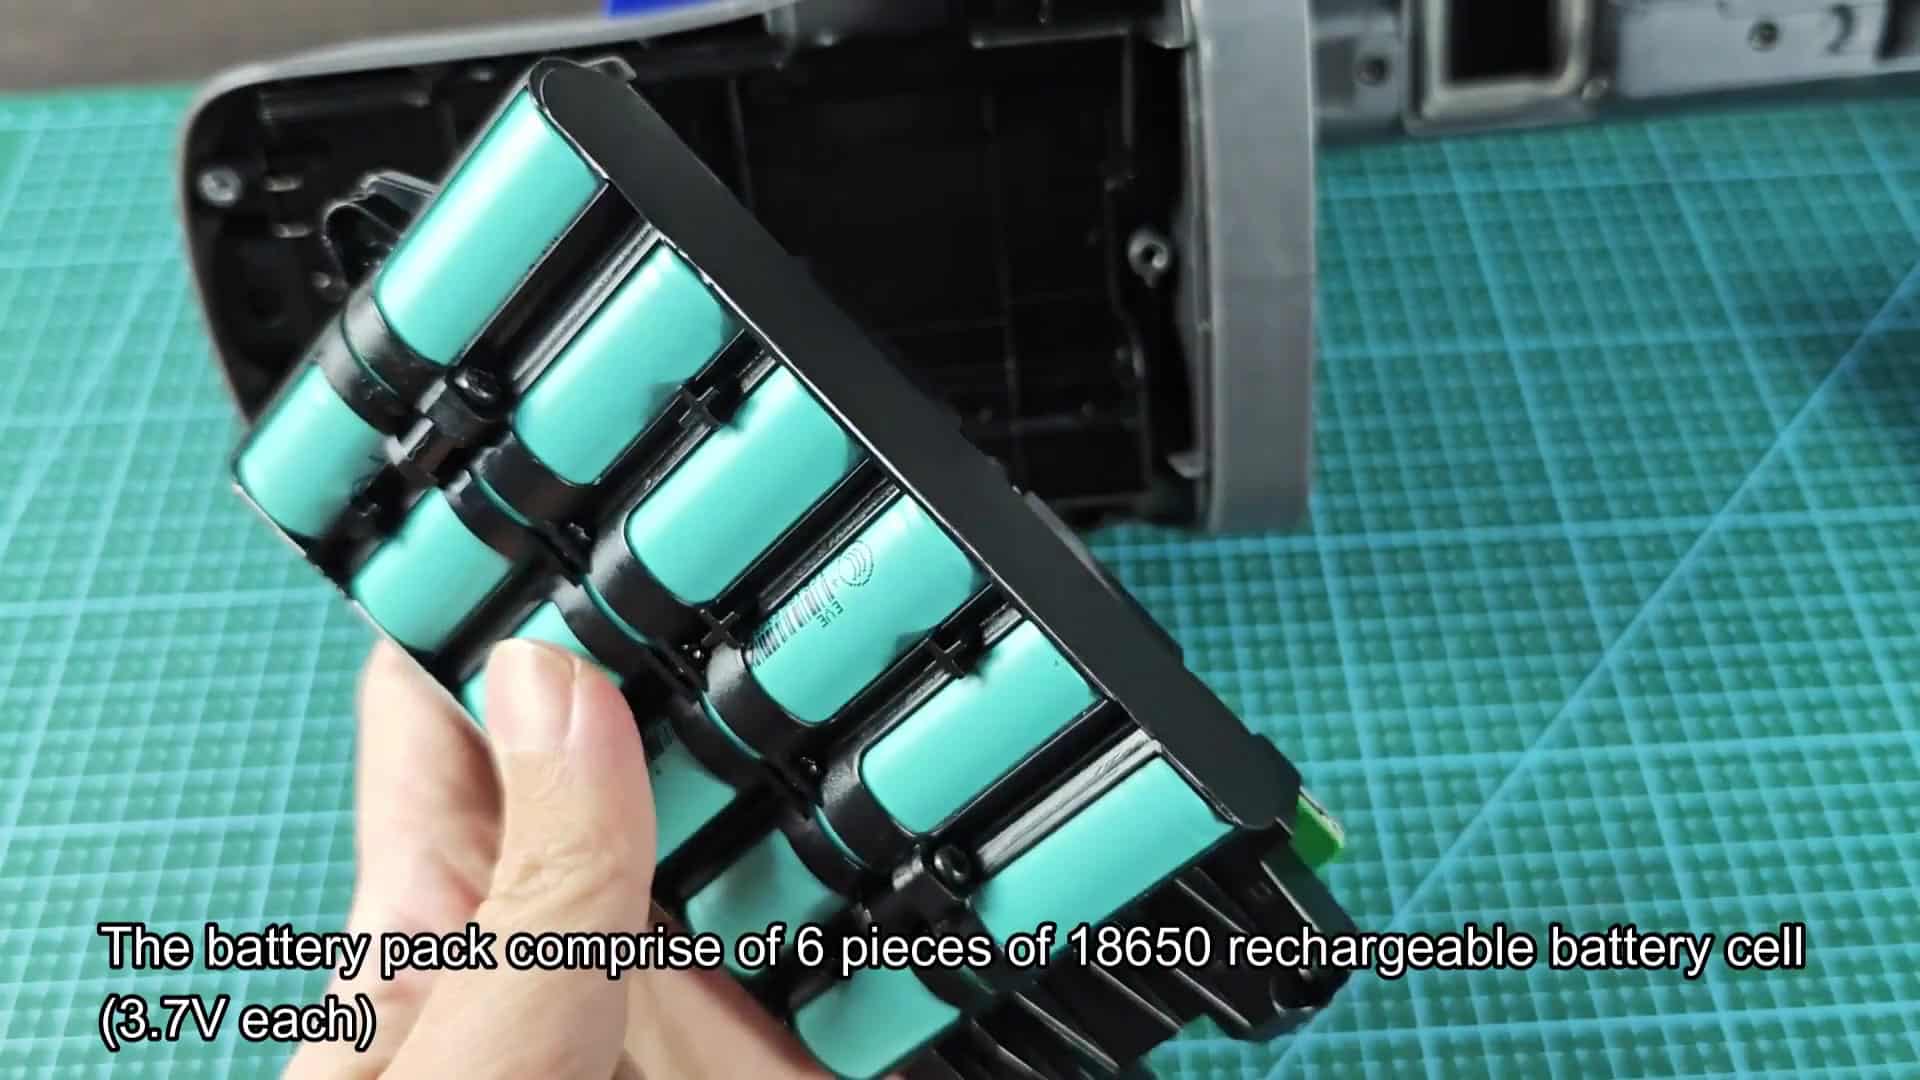
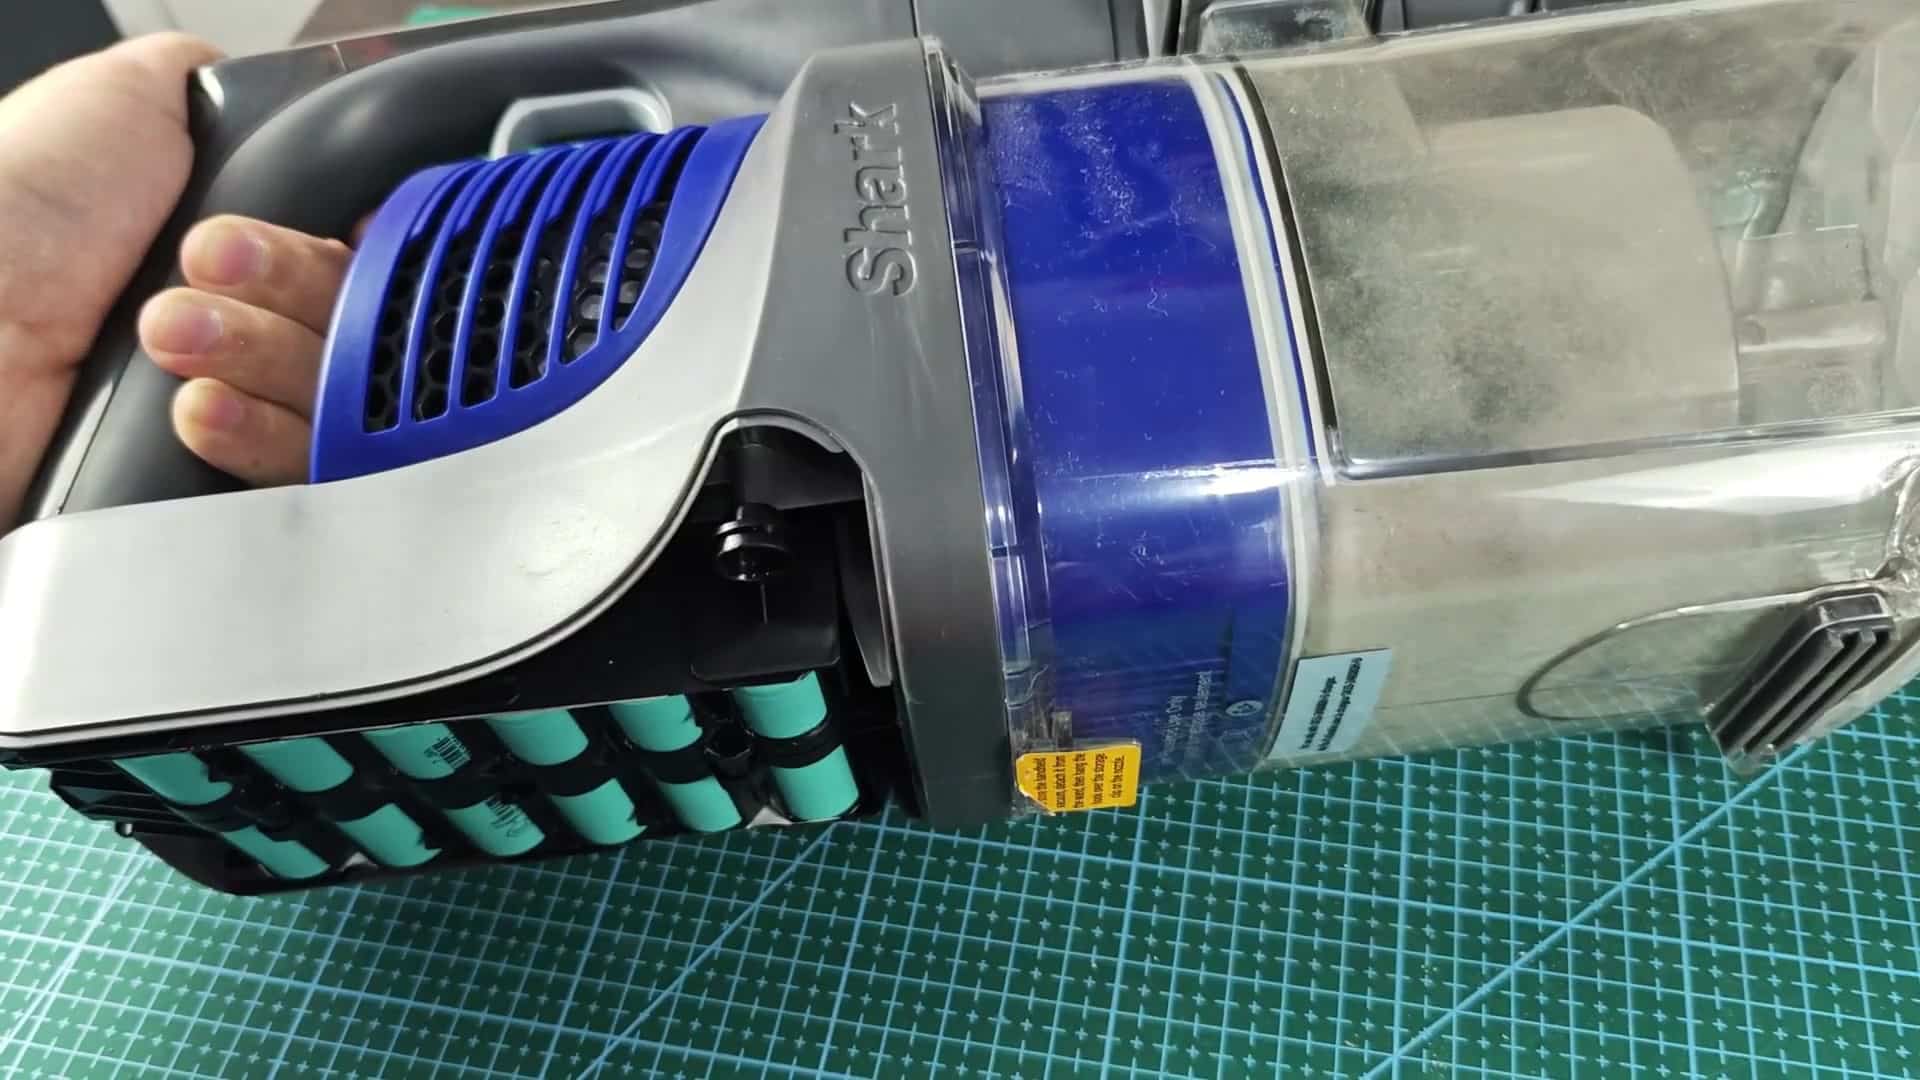
To test the battery open up the pack and look for yourself. Inside are six 18650 rechargeable cells. Each have a rating of 3.7 volts. So if the pack is full it should be putting out about 21.6 volts.
Use your digital multimeter to check the terminals. If the battery is going bad you’ll see a reading far less than that. Some cells in the pack will probably have almost no voltage on them (meaning a big problem).
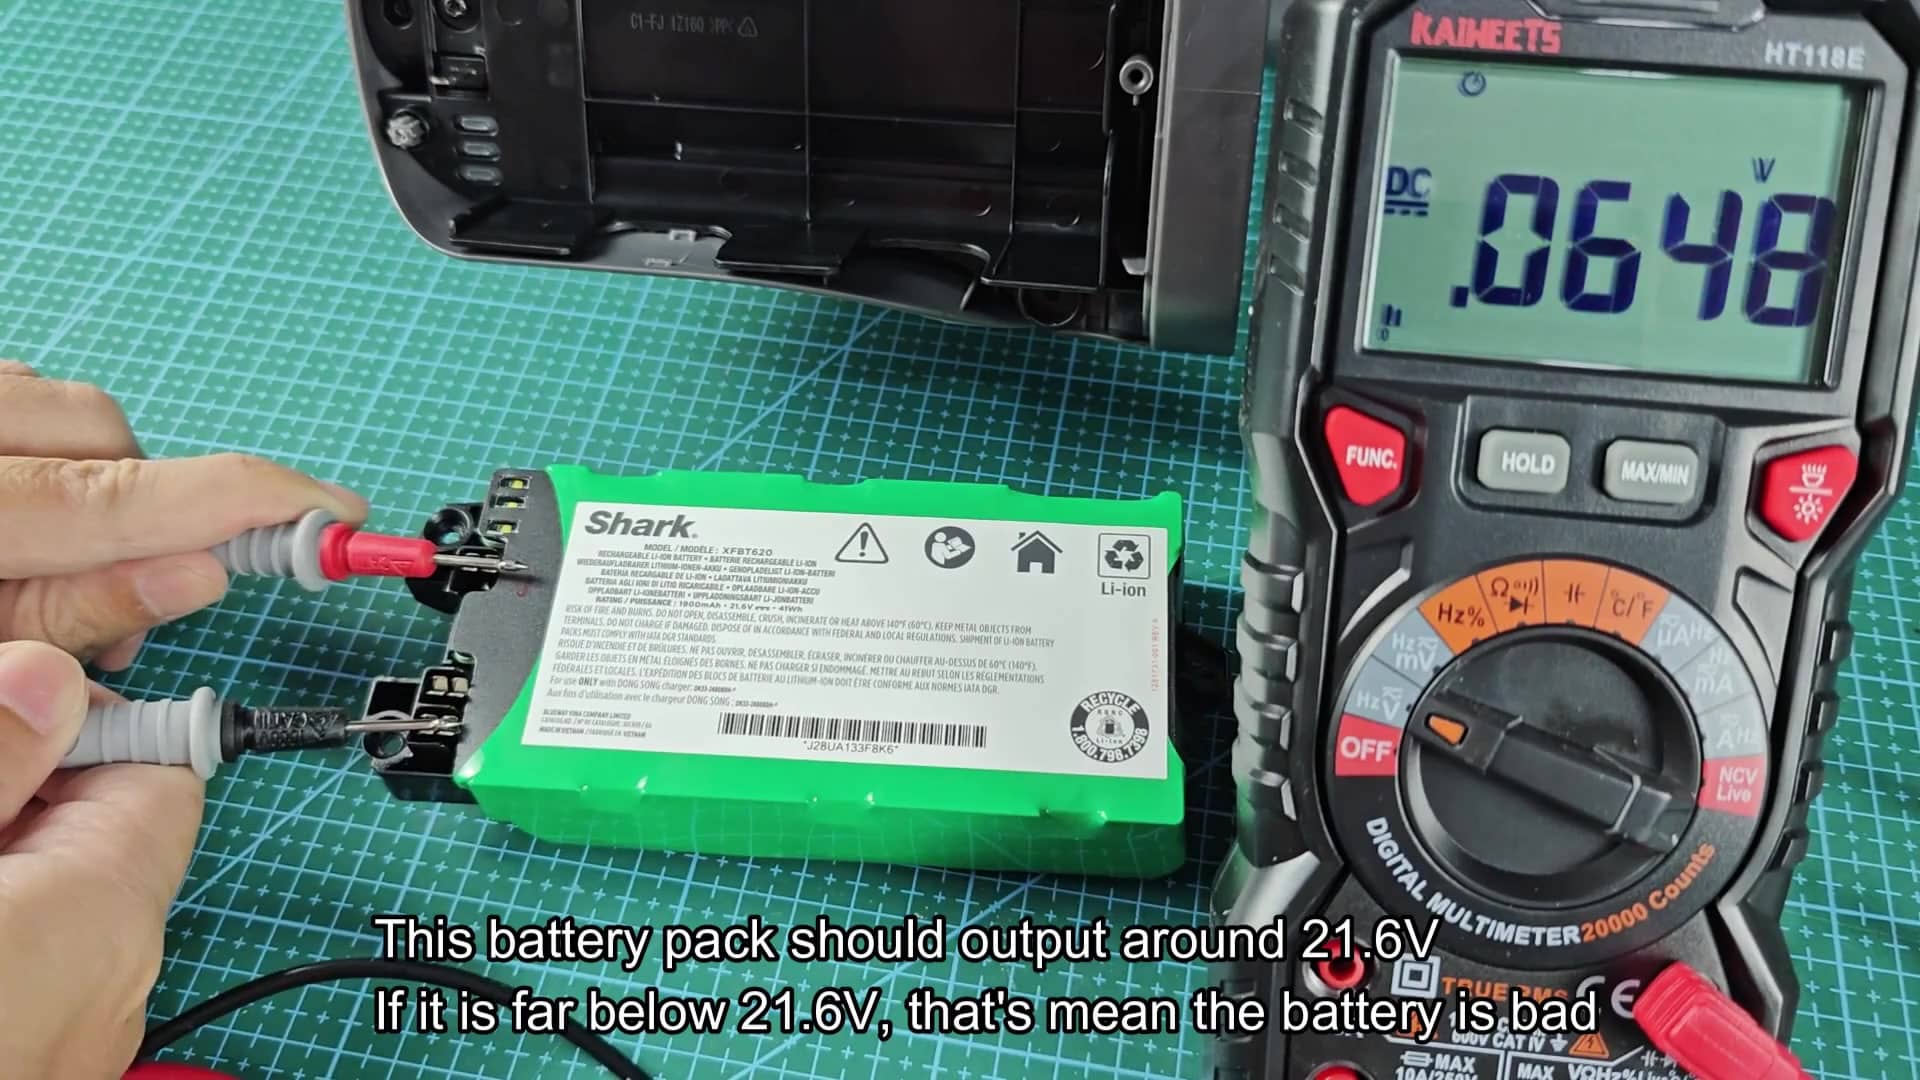
This allows you to pick up on problems with individual cells. You’ll see maybe one cell reads 21.48 volts (close enough for business) while others has really dropped. It’s possible another reading would be 8.114 volts, while another is almost non-functional at 0.098 volts.
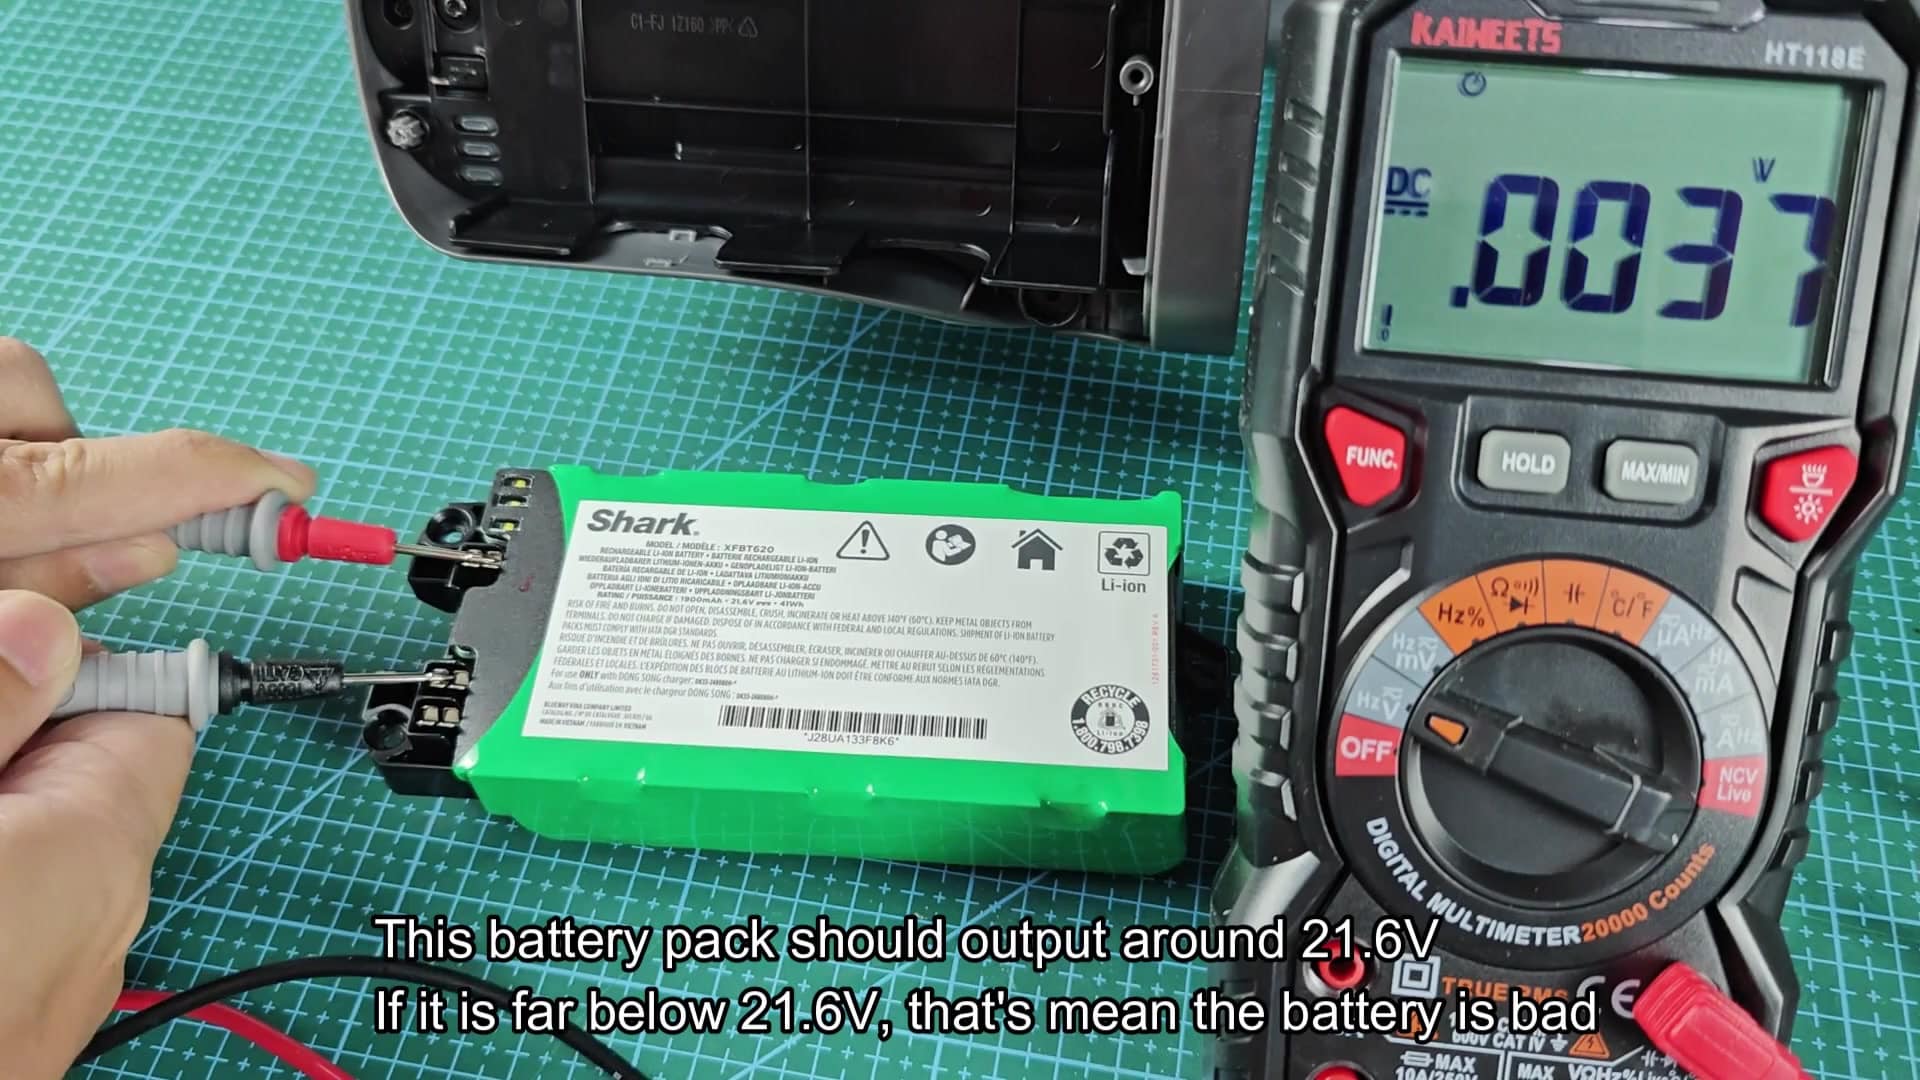
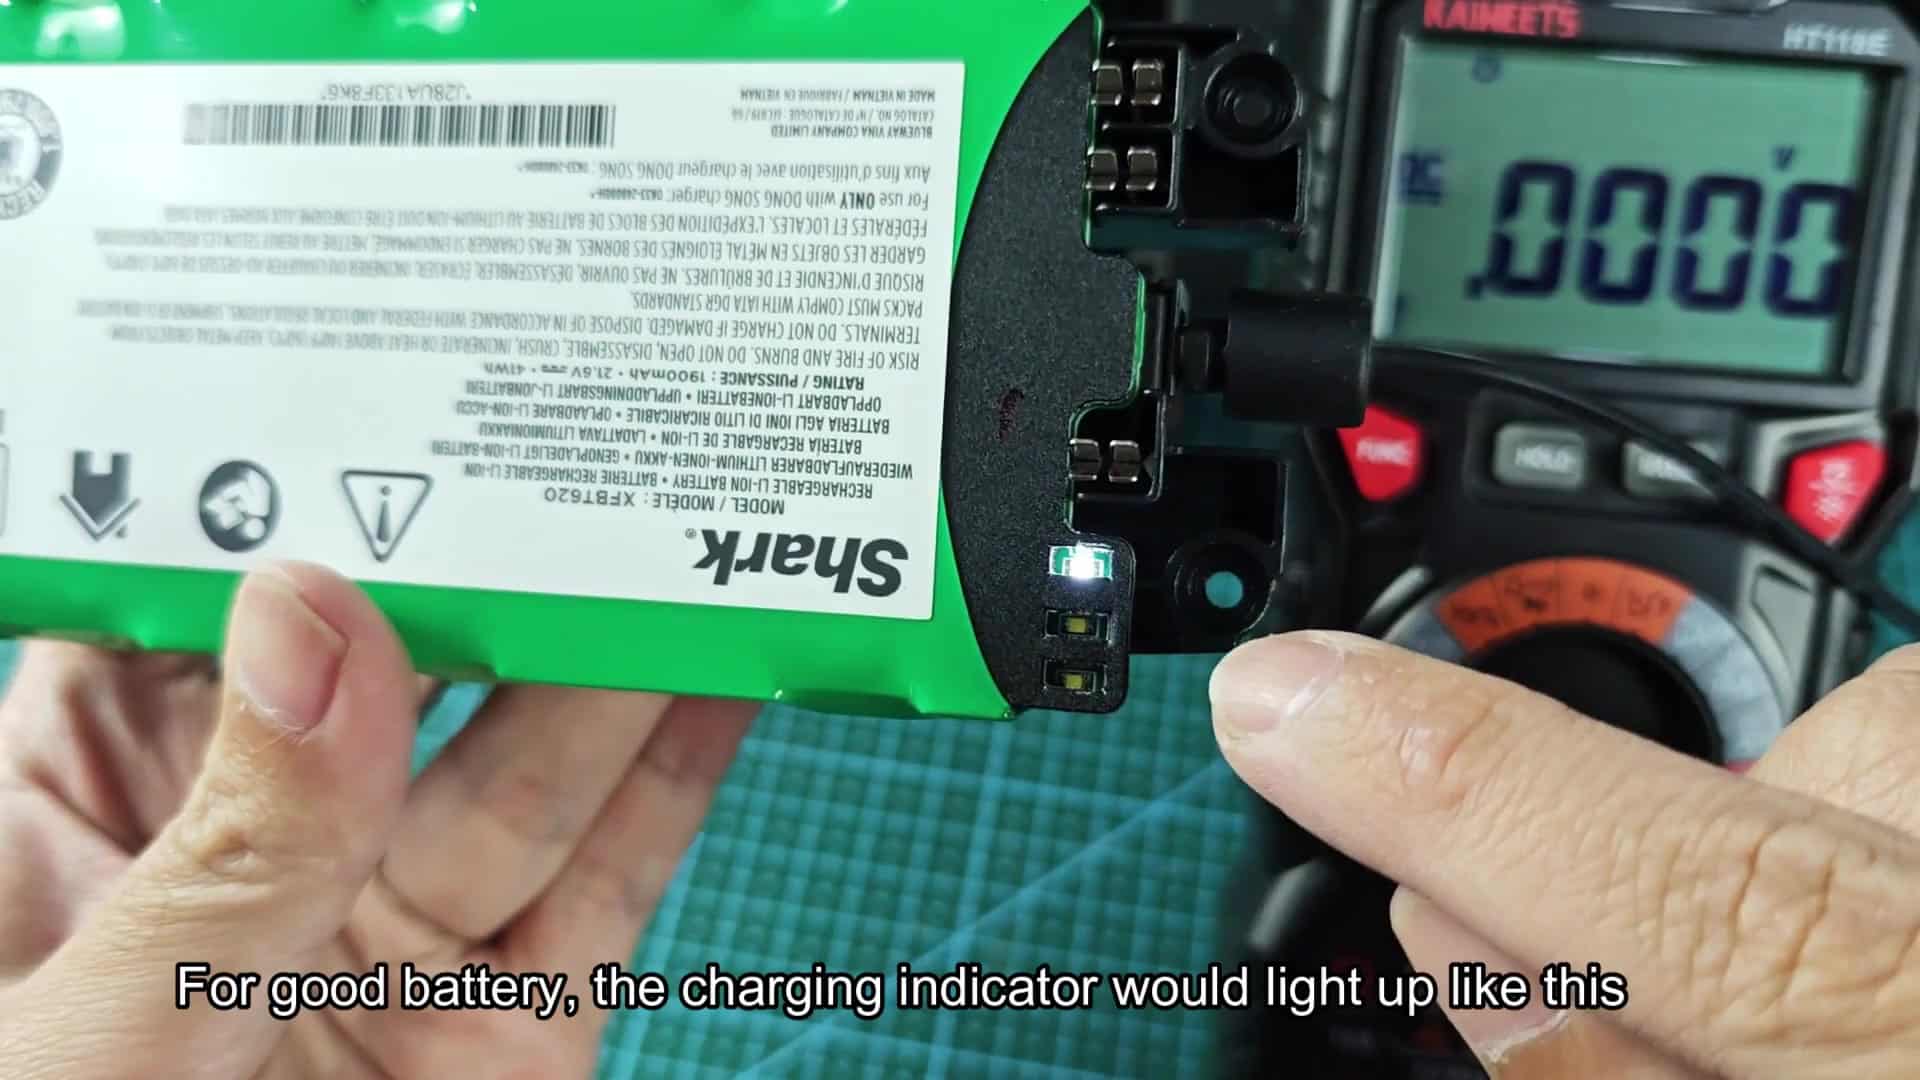
Those lower numbers tell you the batteries are bad since a good battery will drive your charge indicator solidly. If the cells aren’t charged up, though, your unit might not act like this.
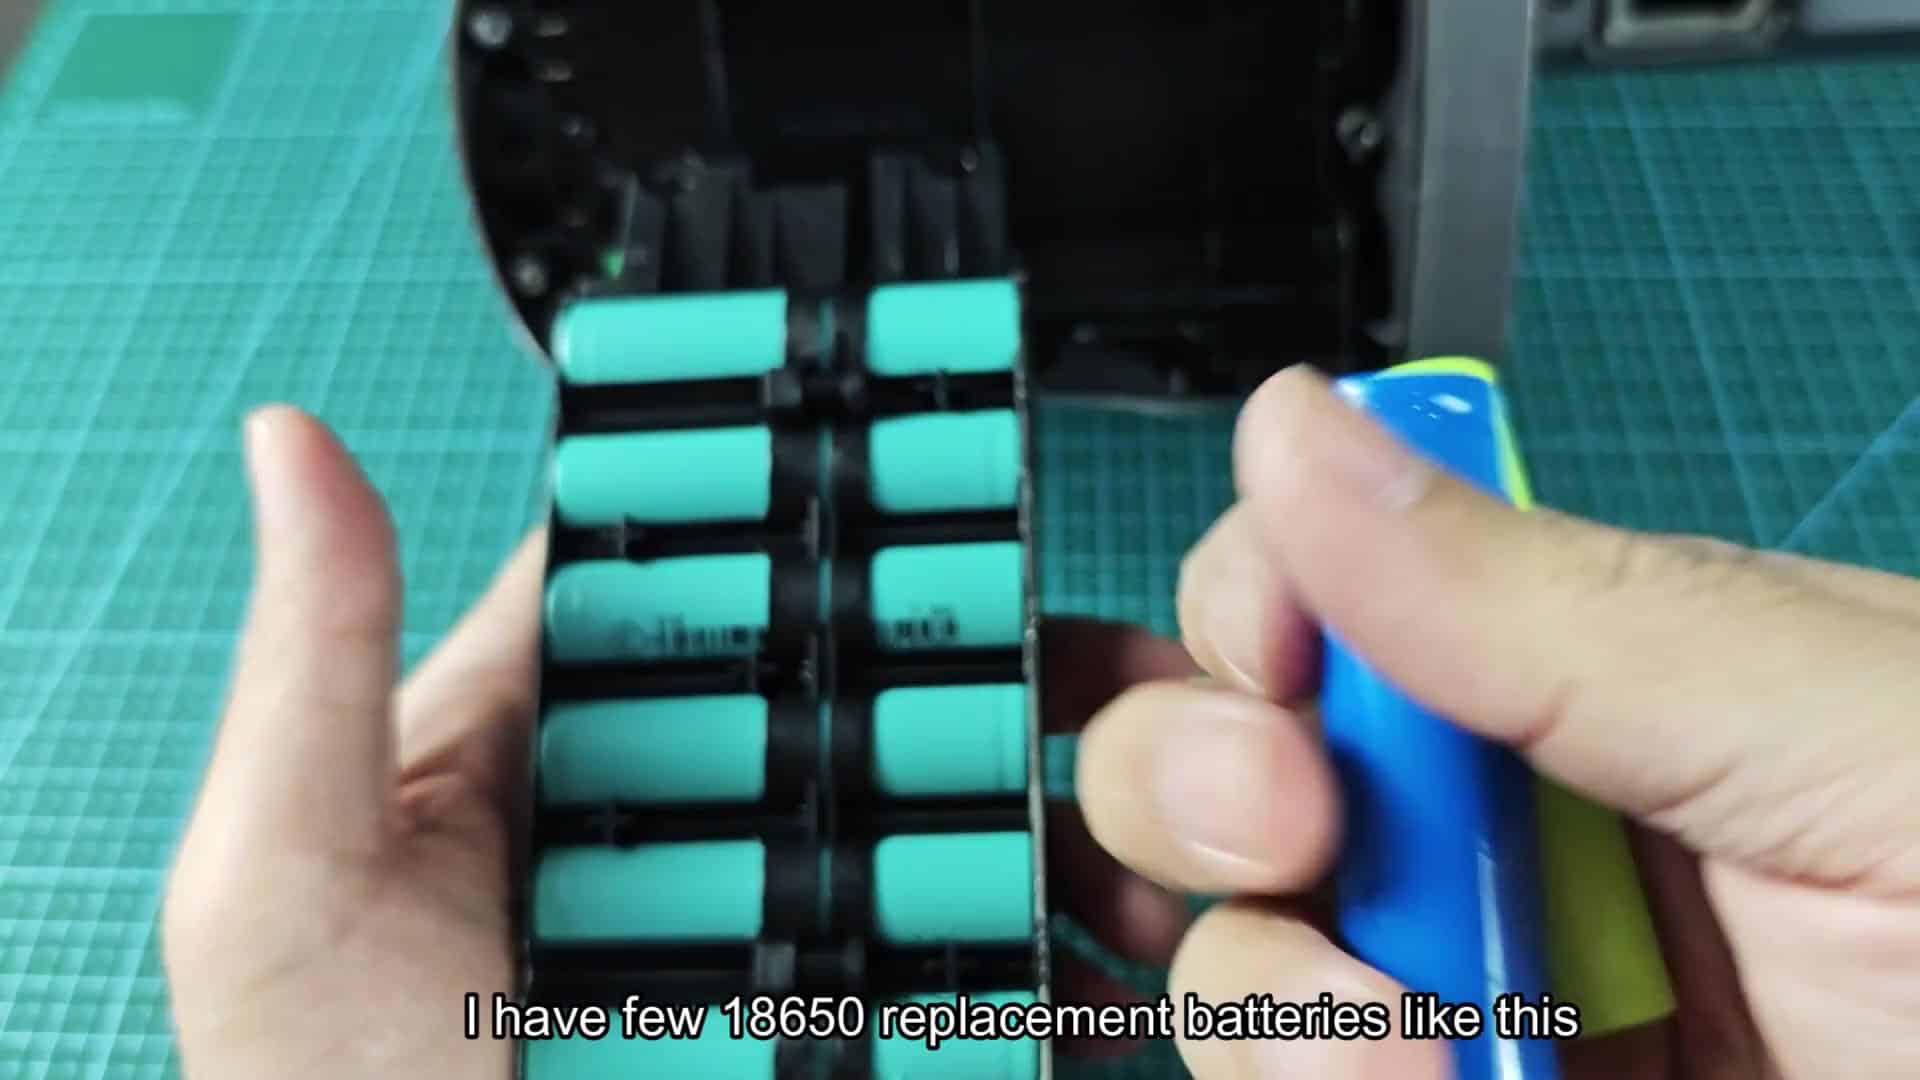
The obvious follow up action would be replacing those bad parts. If you have some extra 18650 replacement batteries on hand, then go ahead and swap out any dead ones. Those parts are easy enough to get access to in the pack. Pushing the new blue and teal cells into place felt solid. The fix give the system power again. When it’s an individual cell that’s gone bad, this will do the trick.
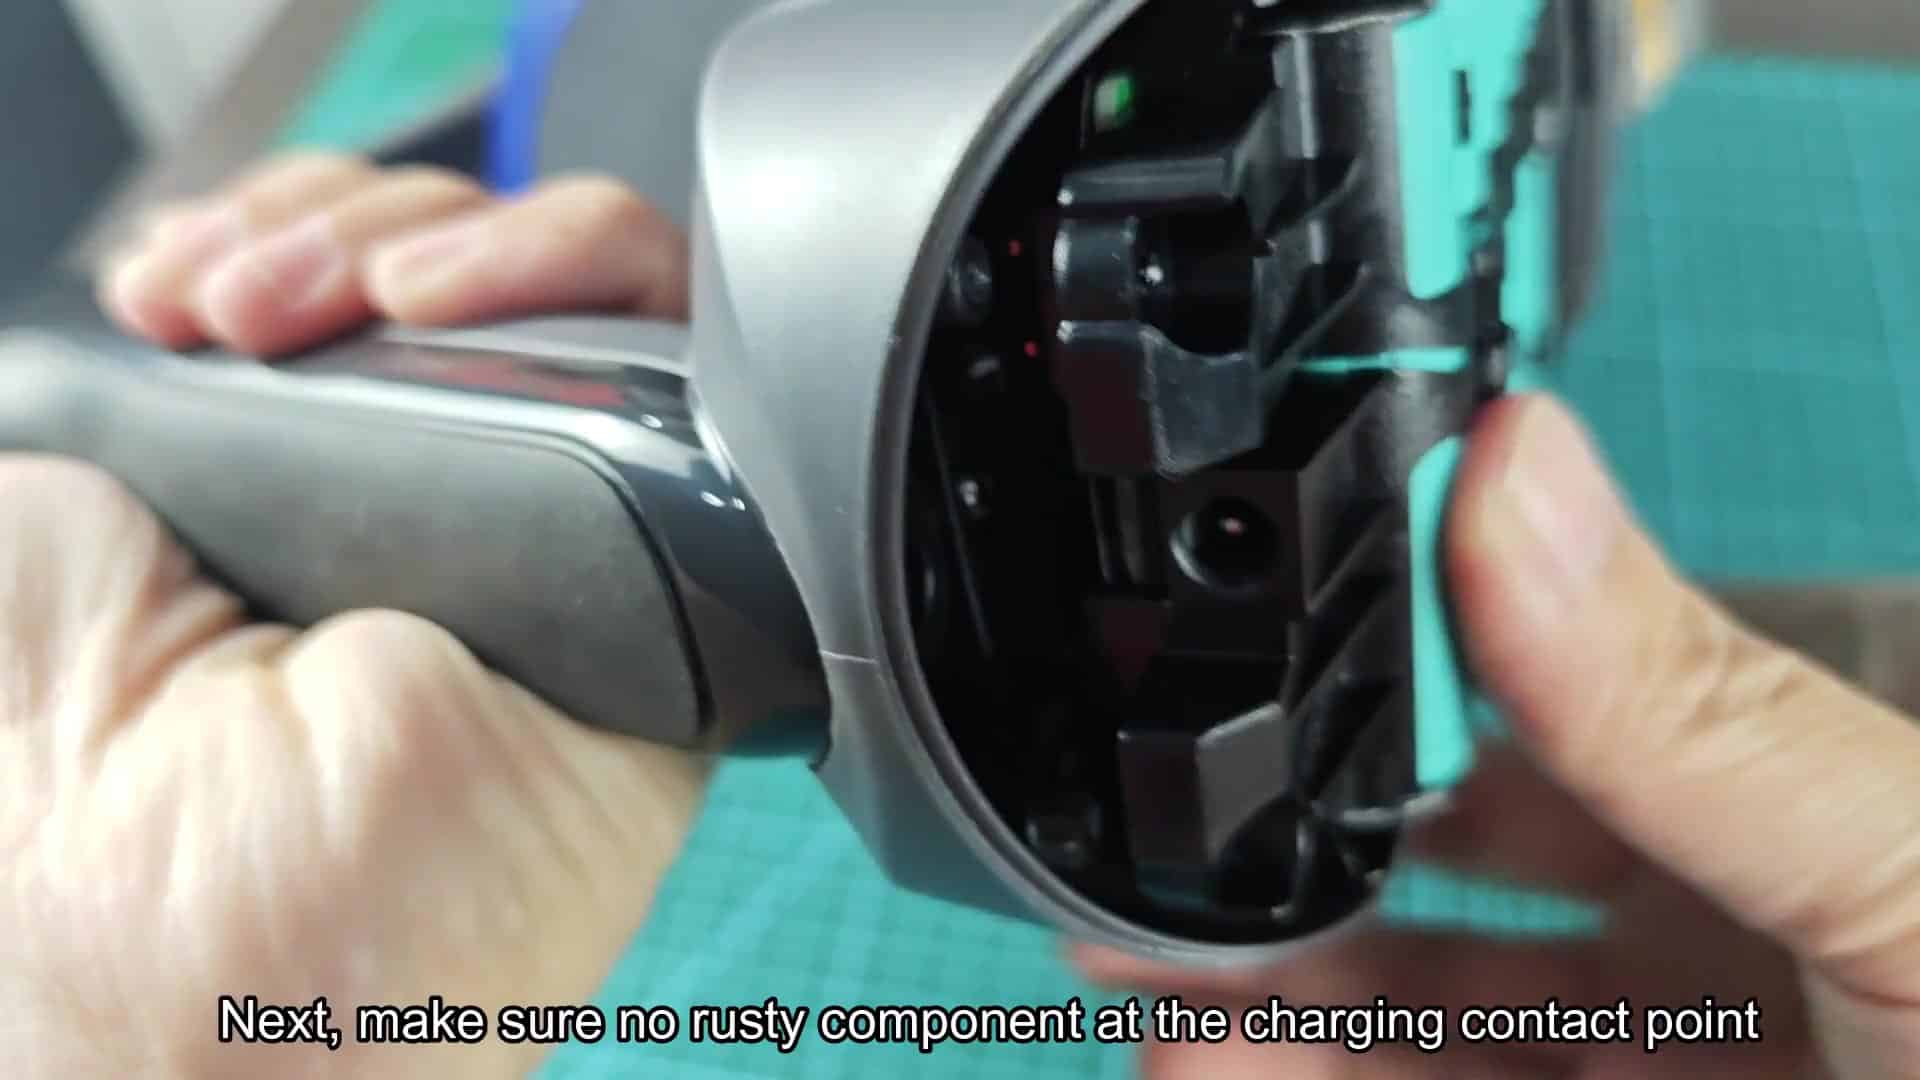
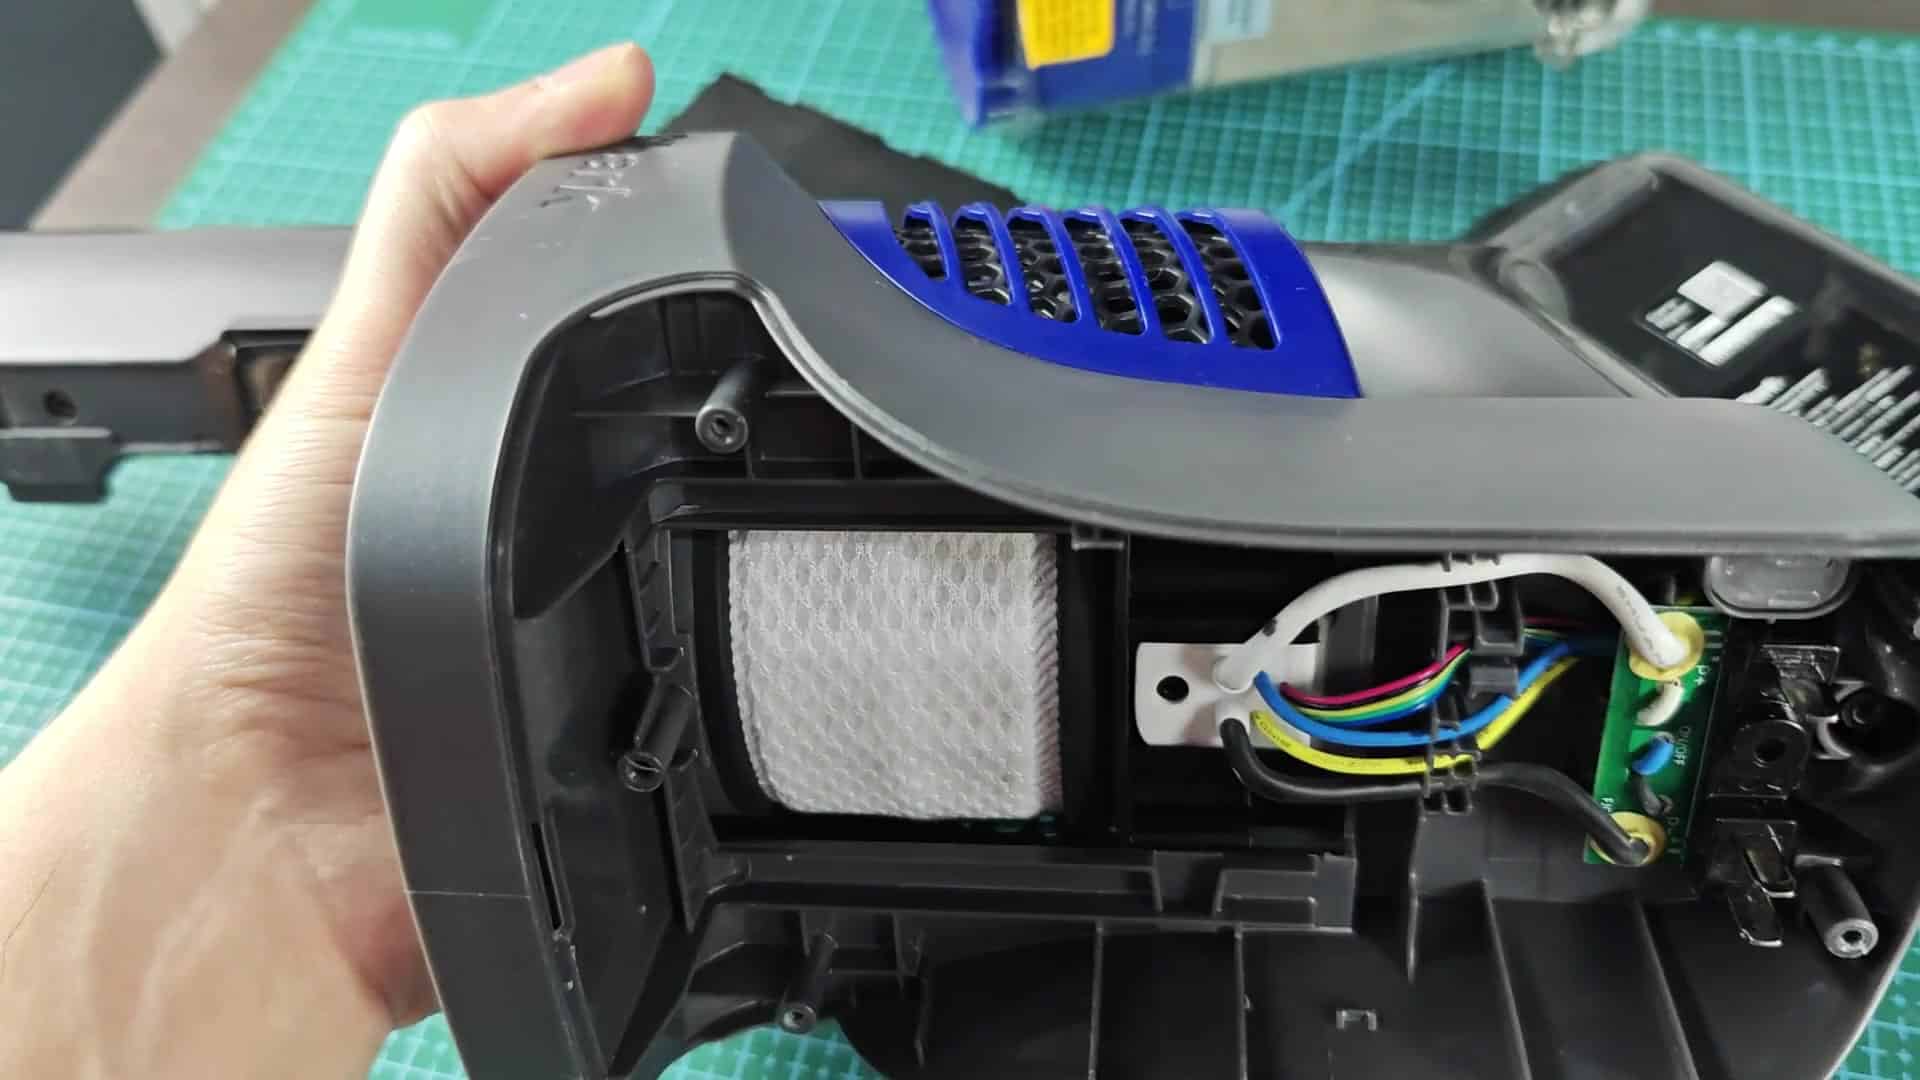
Battery checks out okay? Check your motor and internal wiring. Wires can become disconnected over time from normal usage, and especially following a fall.
To check for this, you’ll need to open up the main body of vacuum to see if any wires have come loose. This includes checking all connection points around the white filter pad area. If everything looks good here, it may indicate another cause.
In order for this unit to work the motor connections needs to be secure. Sometimes it may seem like you have everything correct, with a good battery and tight wires, but your motor won’t work. It could just be a bad motor at that point.
Motors typically can’t really be fixed so if that’s the issue replacement is usually the solution. To avoid loose wires or loose ends, make sure all of the wire connectors are securely fastened down. That way, the power gets through properly.
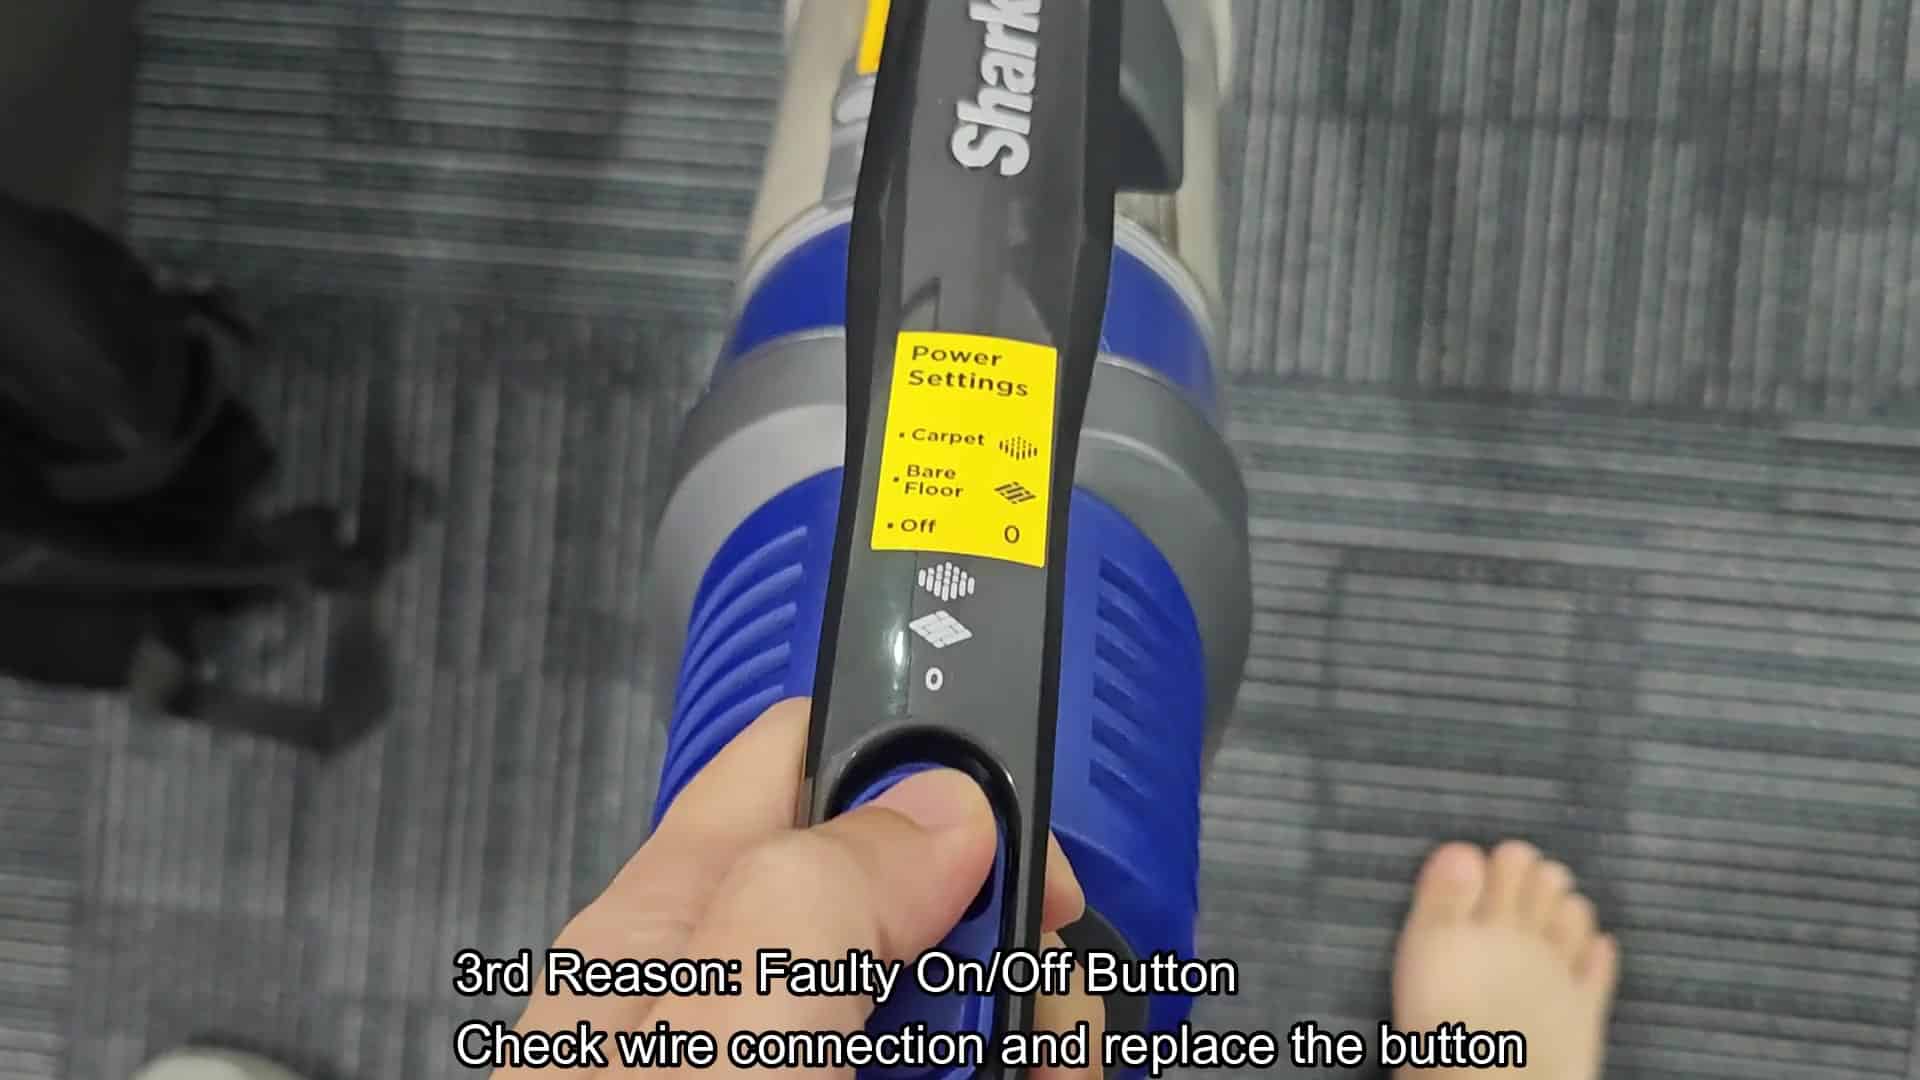
Other areas of frequent breakdown is with the power button assembly. Even when there is current running to your machine, it’s possible for this part to break. This will mean your command won’t register, which you’ll notice by checking your handle where the on/off button sits.
Over time, the wiring behind the power button can become damaged or corroded. This is an easy check; all you have to do is look at the wire connection behind the on/off button. You may not know what’s wrong until you see it.
Replacing the switch fixes the problem if the button feels unresponsive or the circuit is broken. It’s a small part, but it’s critical for operation. The first thing you should check before ordering another switch is whether the button itself is still attached to its mechanism. A lot of times, just popping it back into place will solve the problem. A quick tweak like this could mean the difference between having a great bait and one with a bad switch.
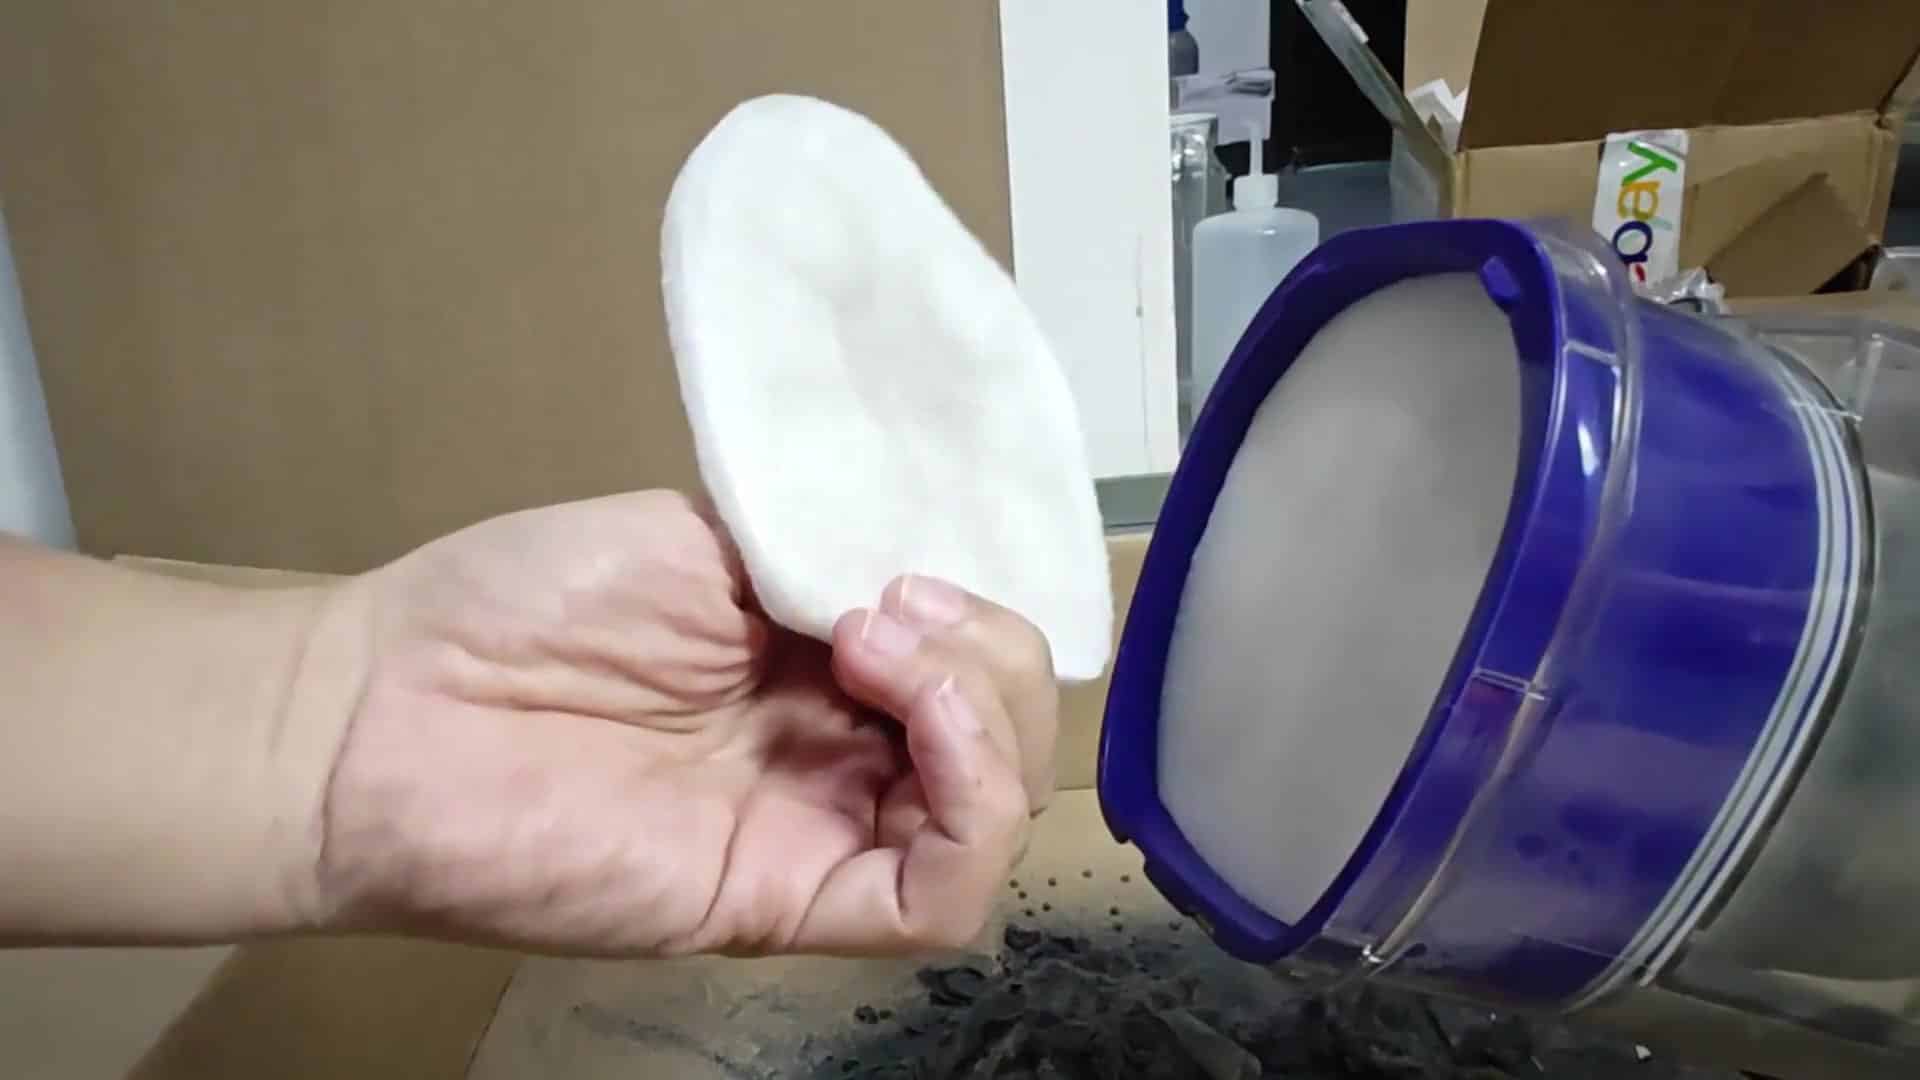
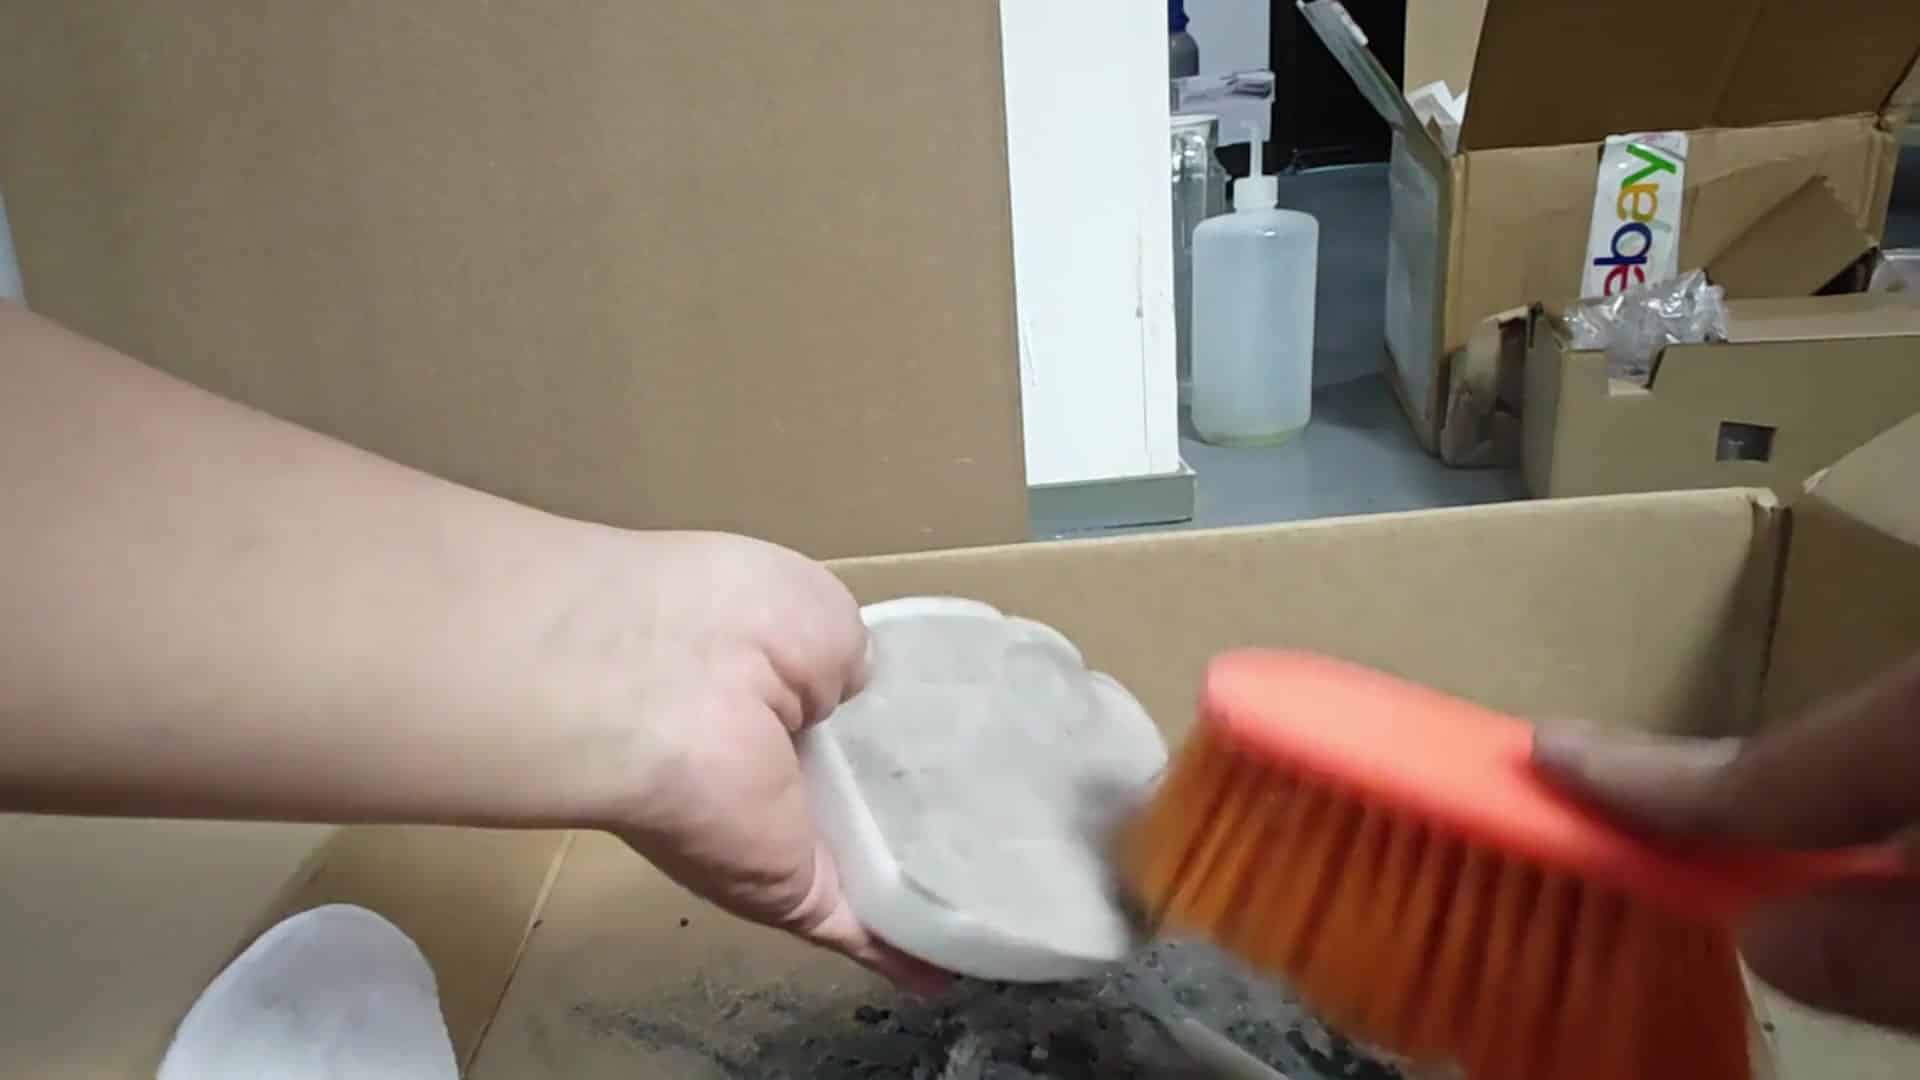
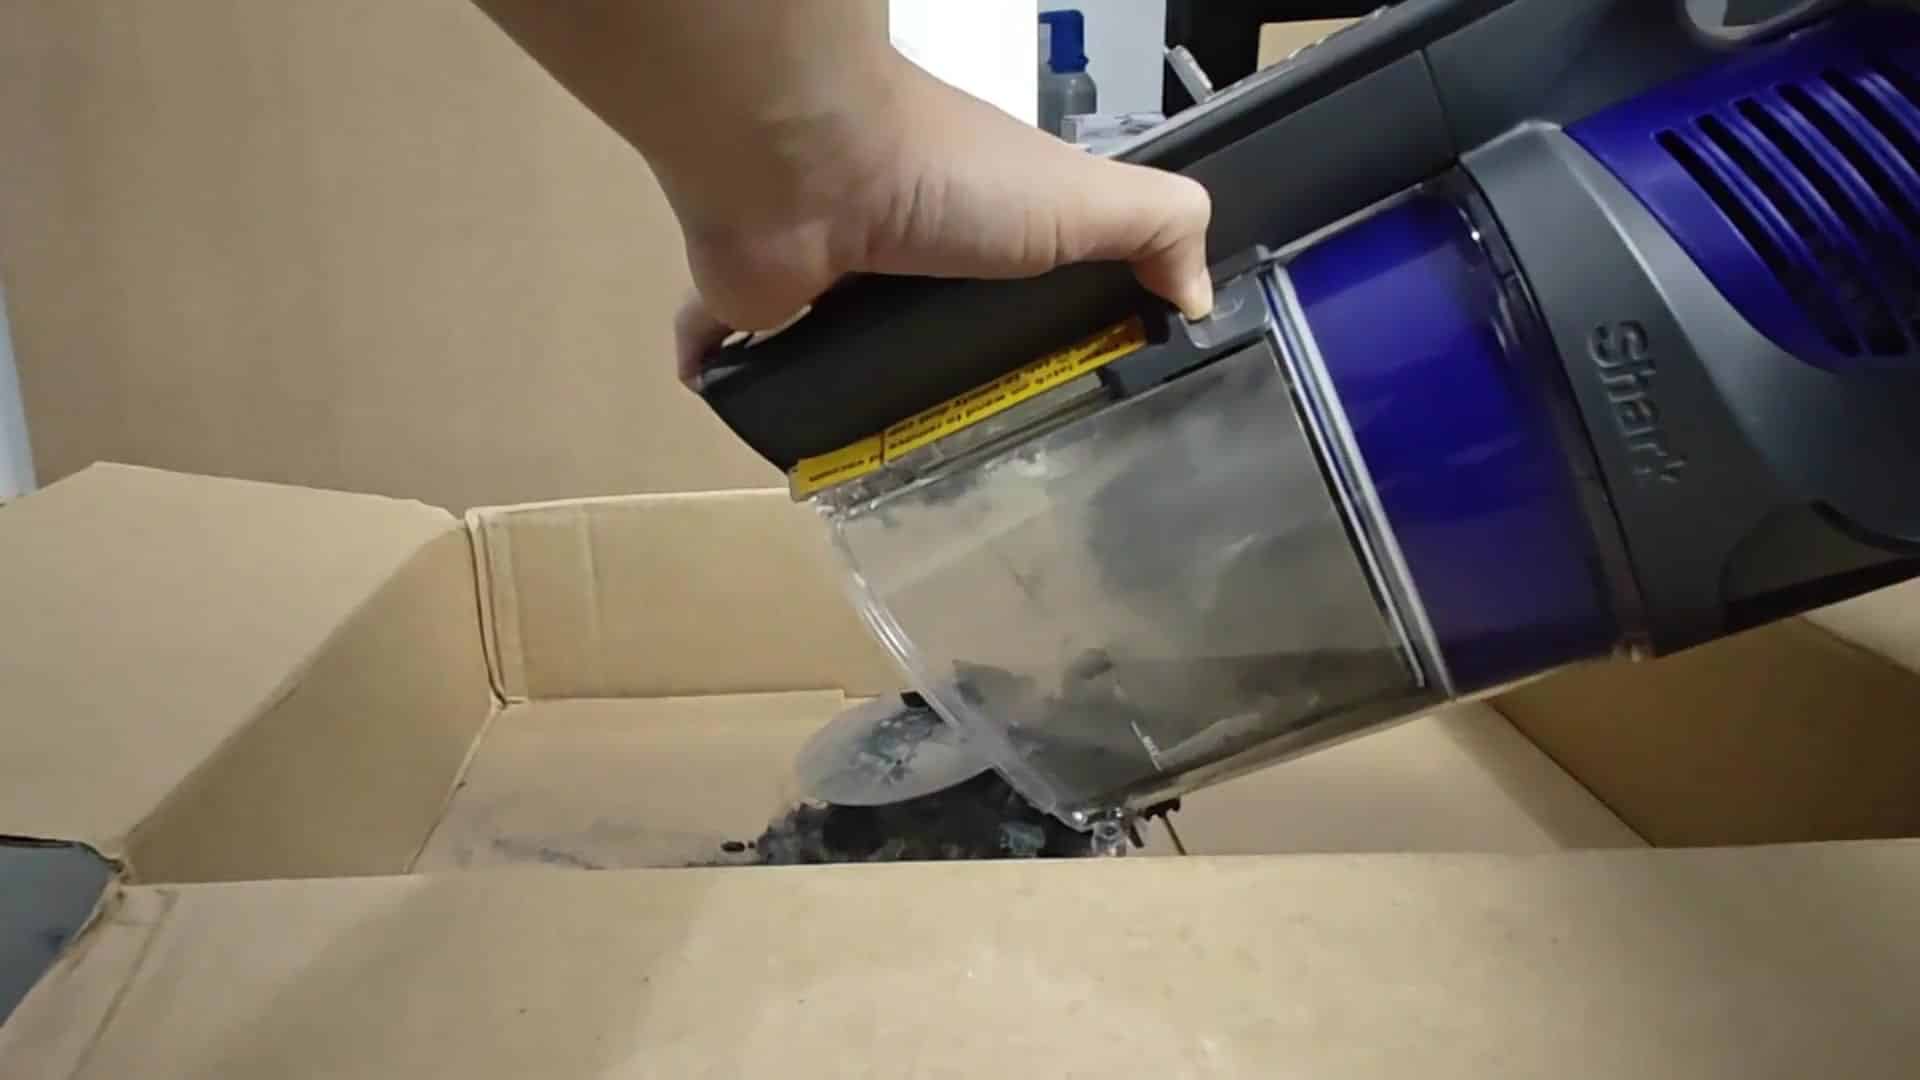
The vacuum may also shut off entirely due to blockages (and dirty filters). When this happens, safety mechanisms kick in because air cannot flow through the system, so you should remove the dust bin and empty it into a box. Often lint and other debris will collect here and should be cleaned regularly for good airflow. You’ll be surprised how much can build up to slow it down.
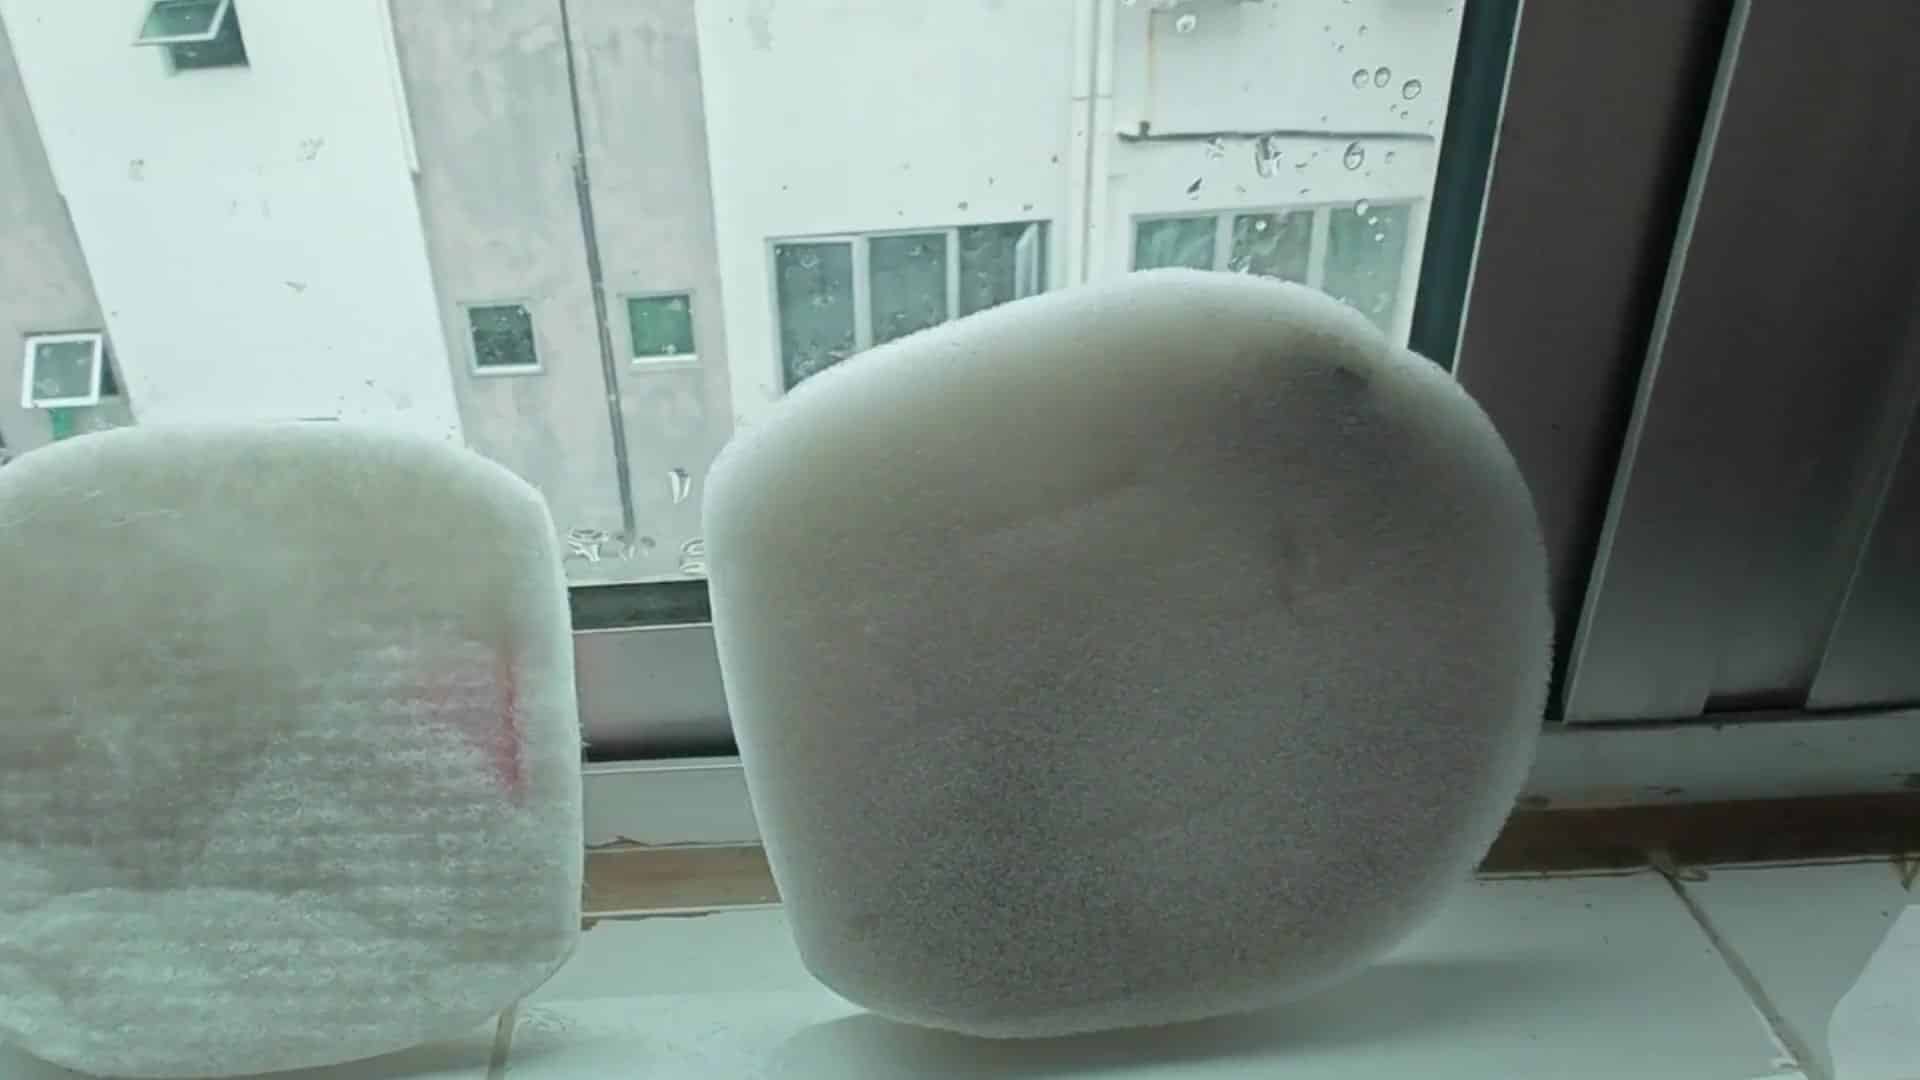
To prevent startup failure and overheating, keep the foam filters clean and let them dry. The filter can also become clogged, limiting suction.
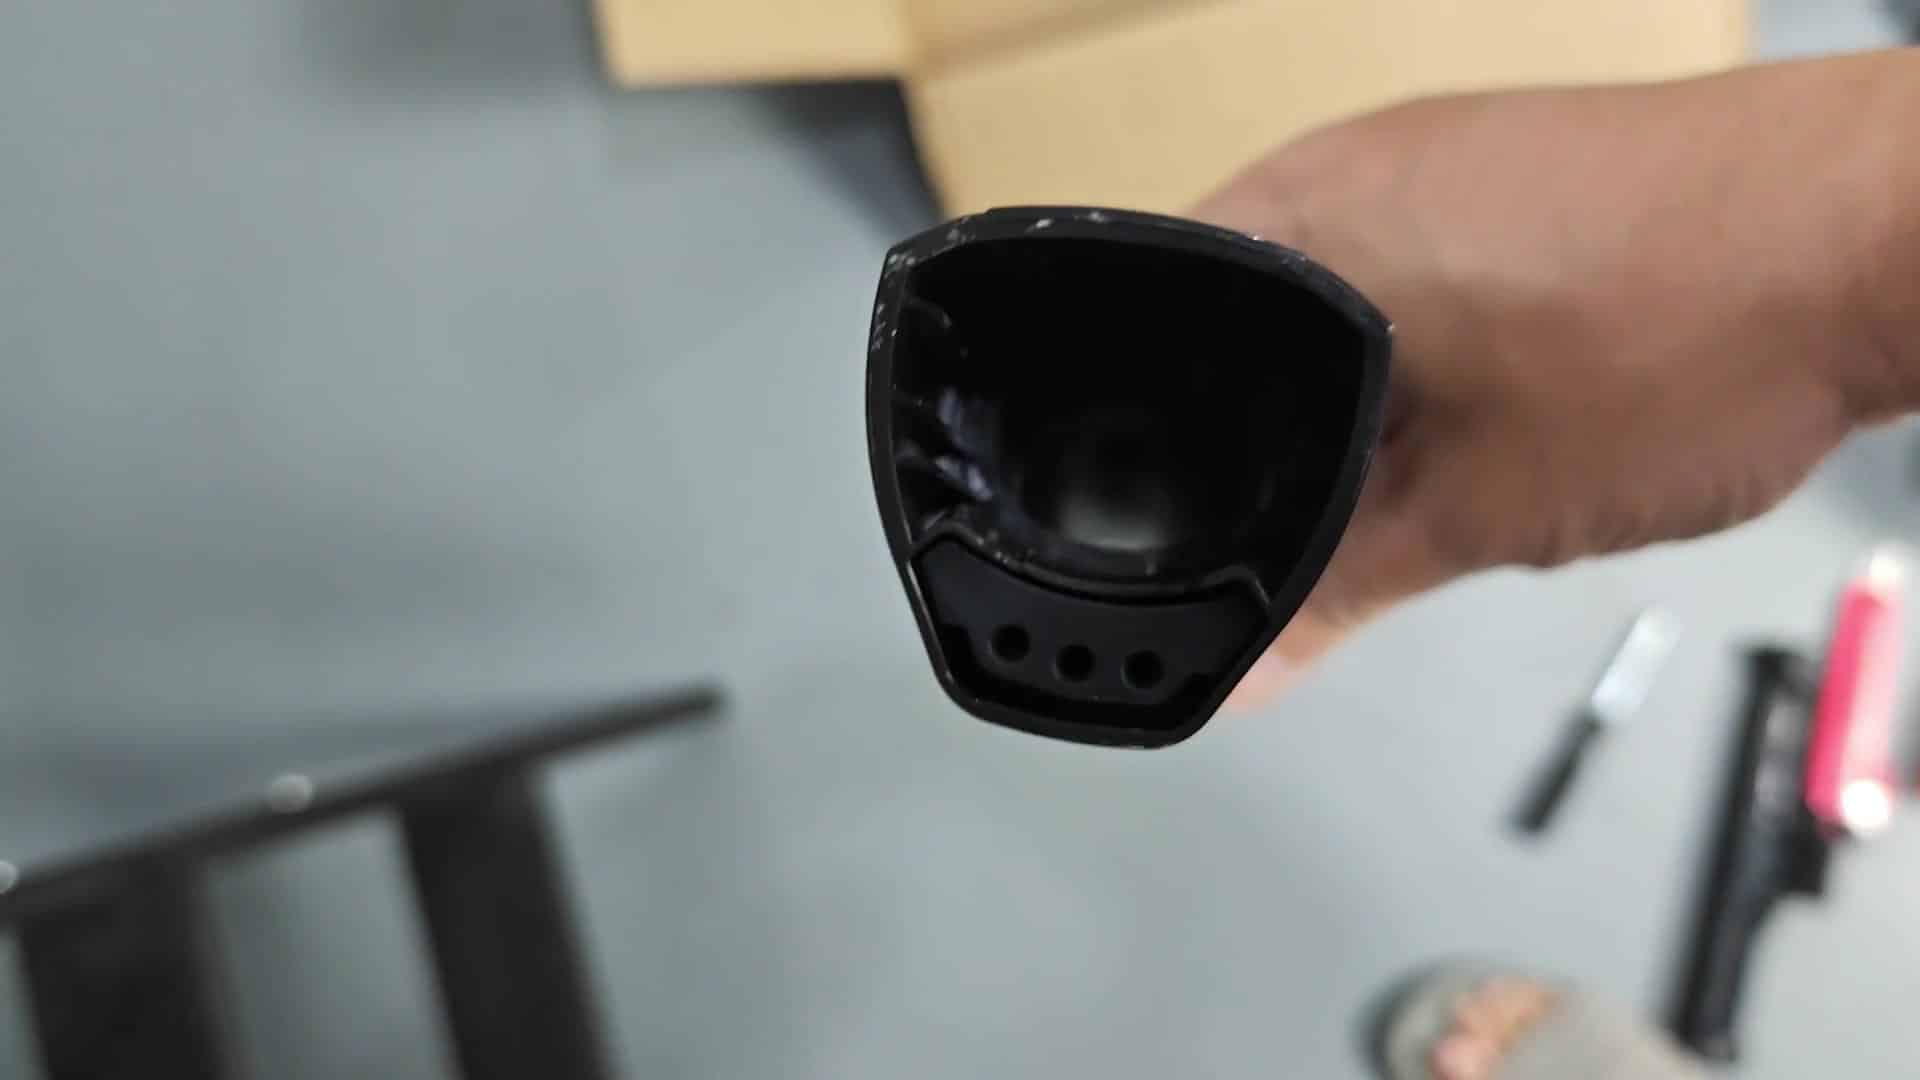
You’ll want to see if there’s anything blocking the floor head from moving freely, like under the floor head by the brush roll. It makes sense to keep it running efficiently and remove any debris from there too. Cleaning this is an easy maintenance step that will save your bacon in a big way.
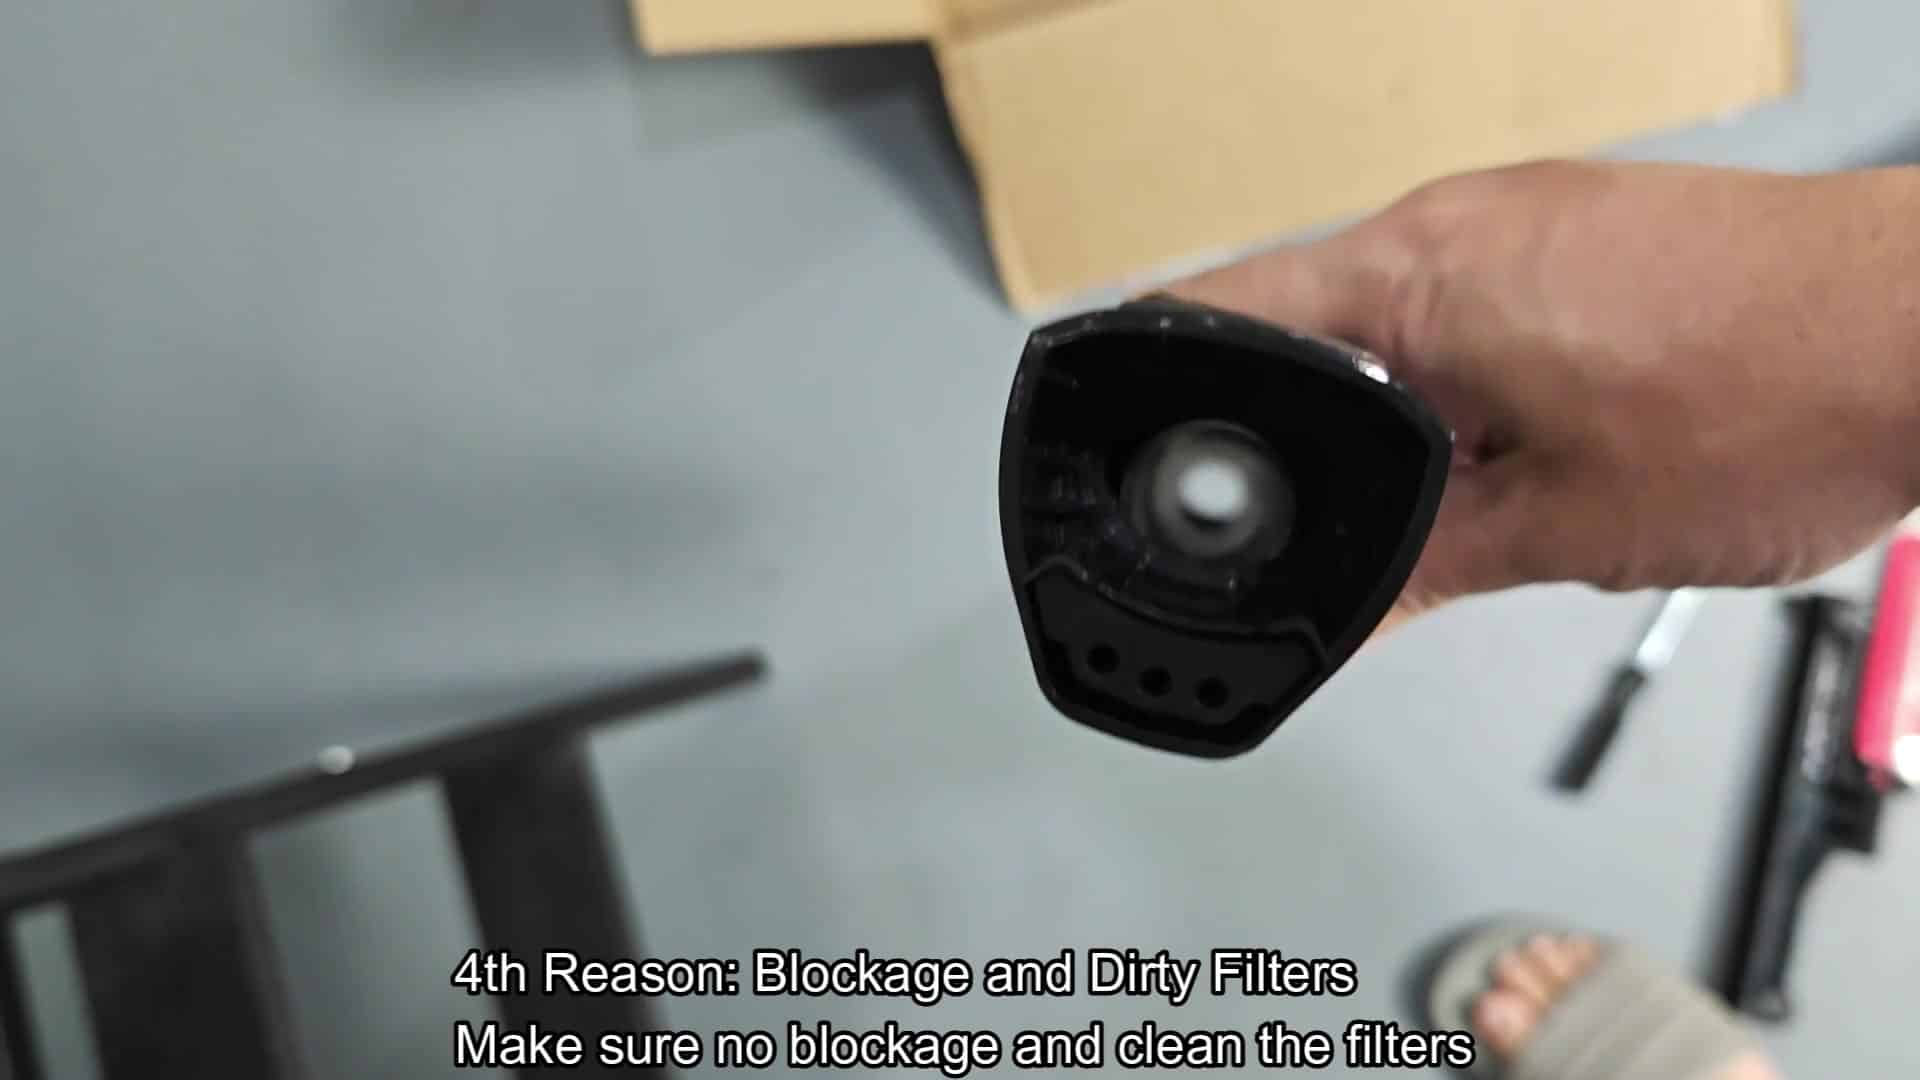
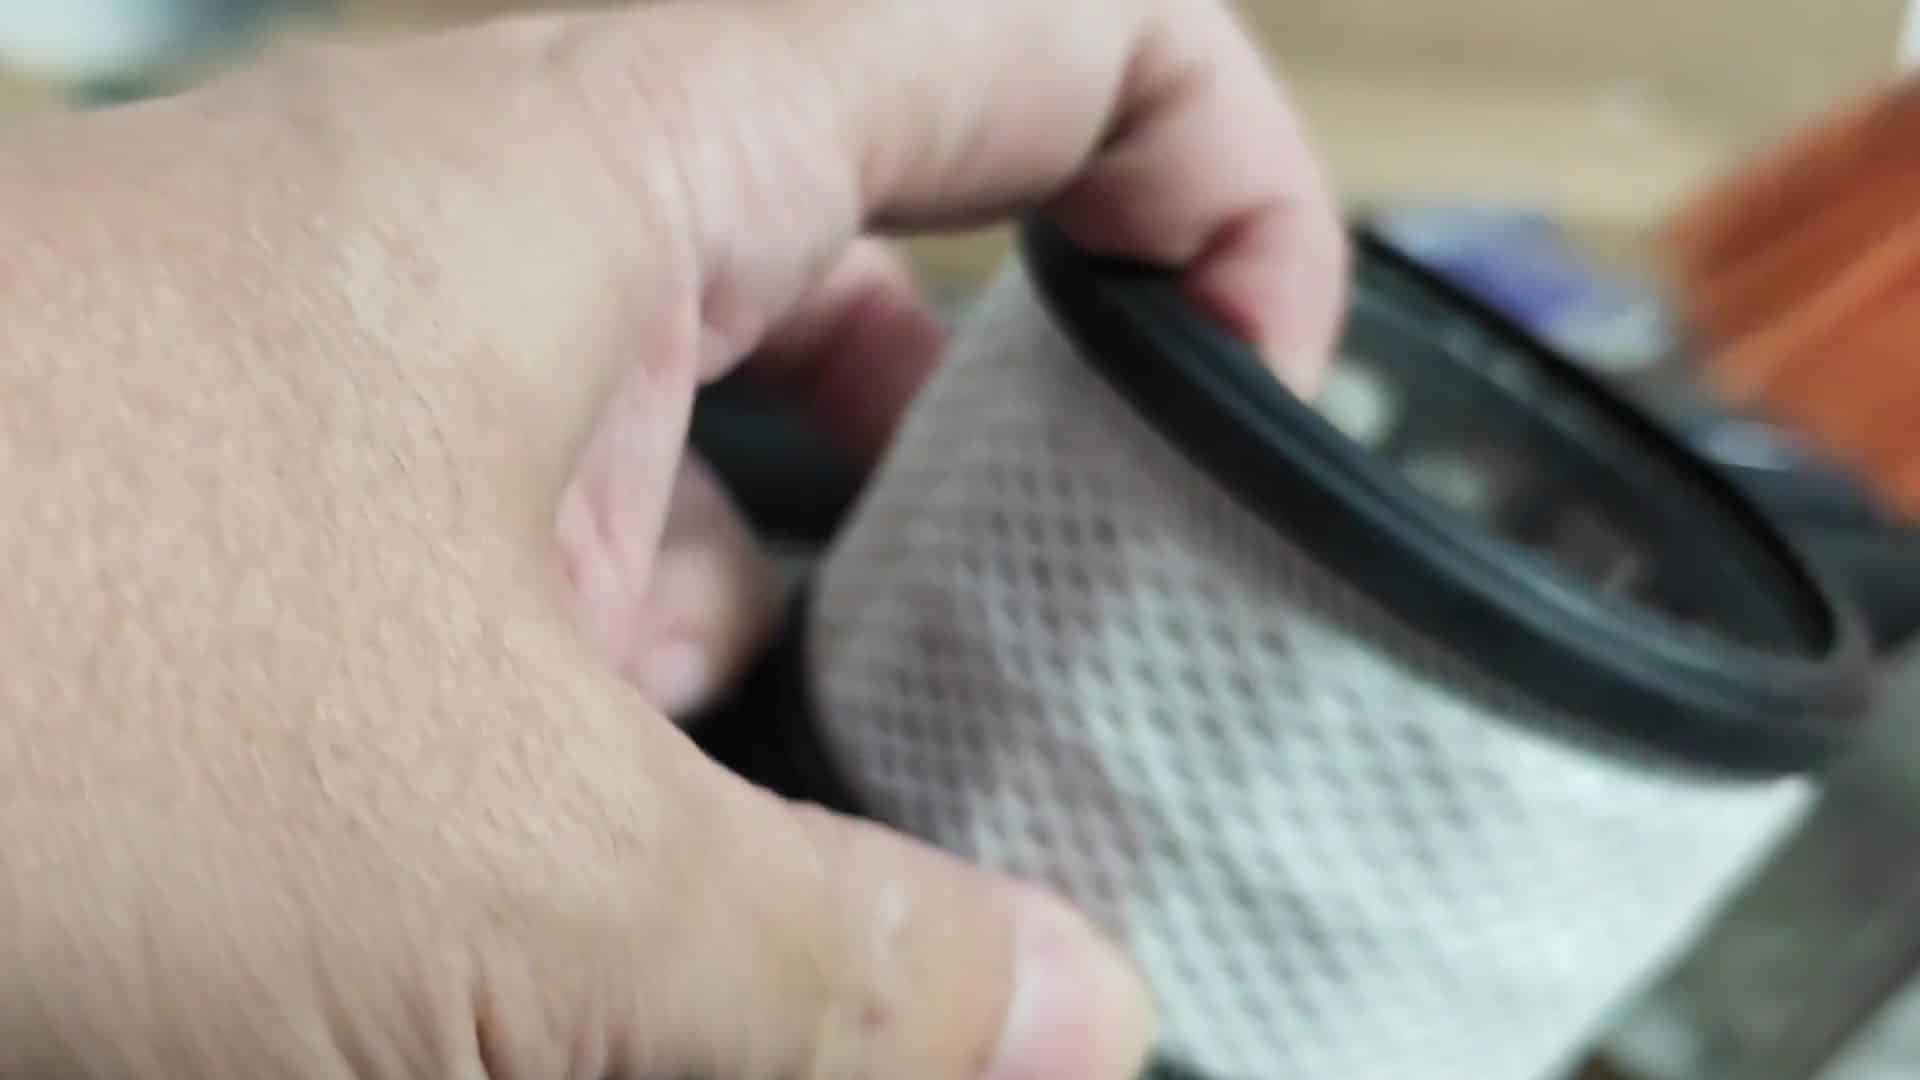
Next you have the mesh filter cartridge, which gets dirty with dust that collects inside its tiny holes over time. To clean out any particles trapped inside, you simply wash it off with water until the runoff is clear. Reassemble after drying, and presto!
The vacuum fires right back up. These are the four main reasons why your Shark won’t turn on.