
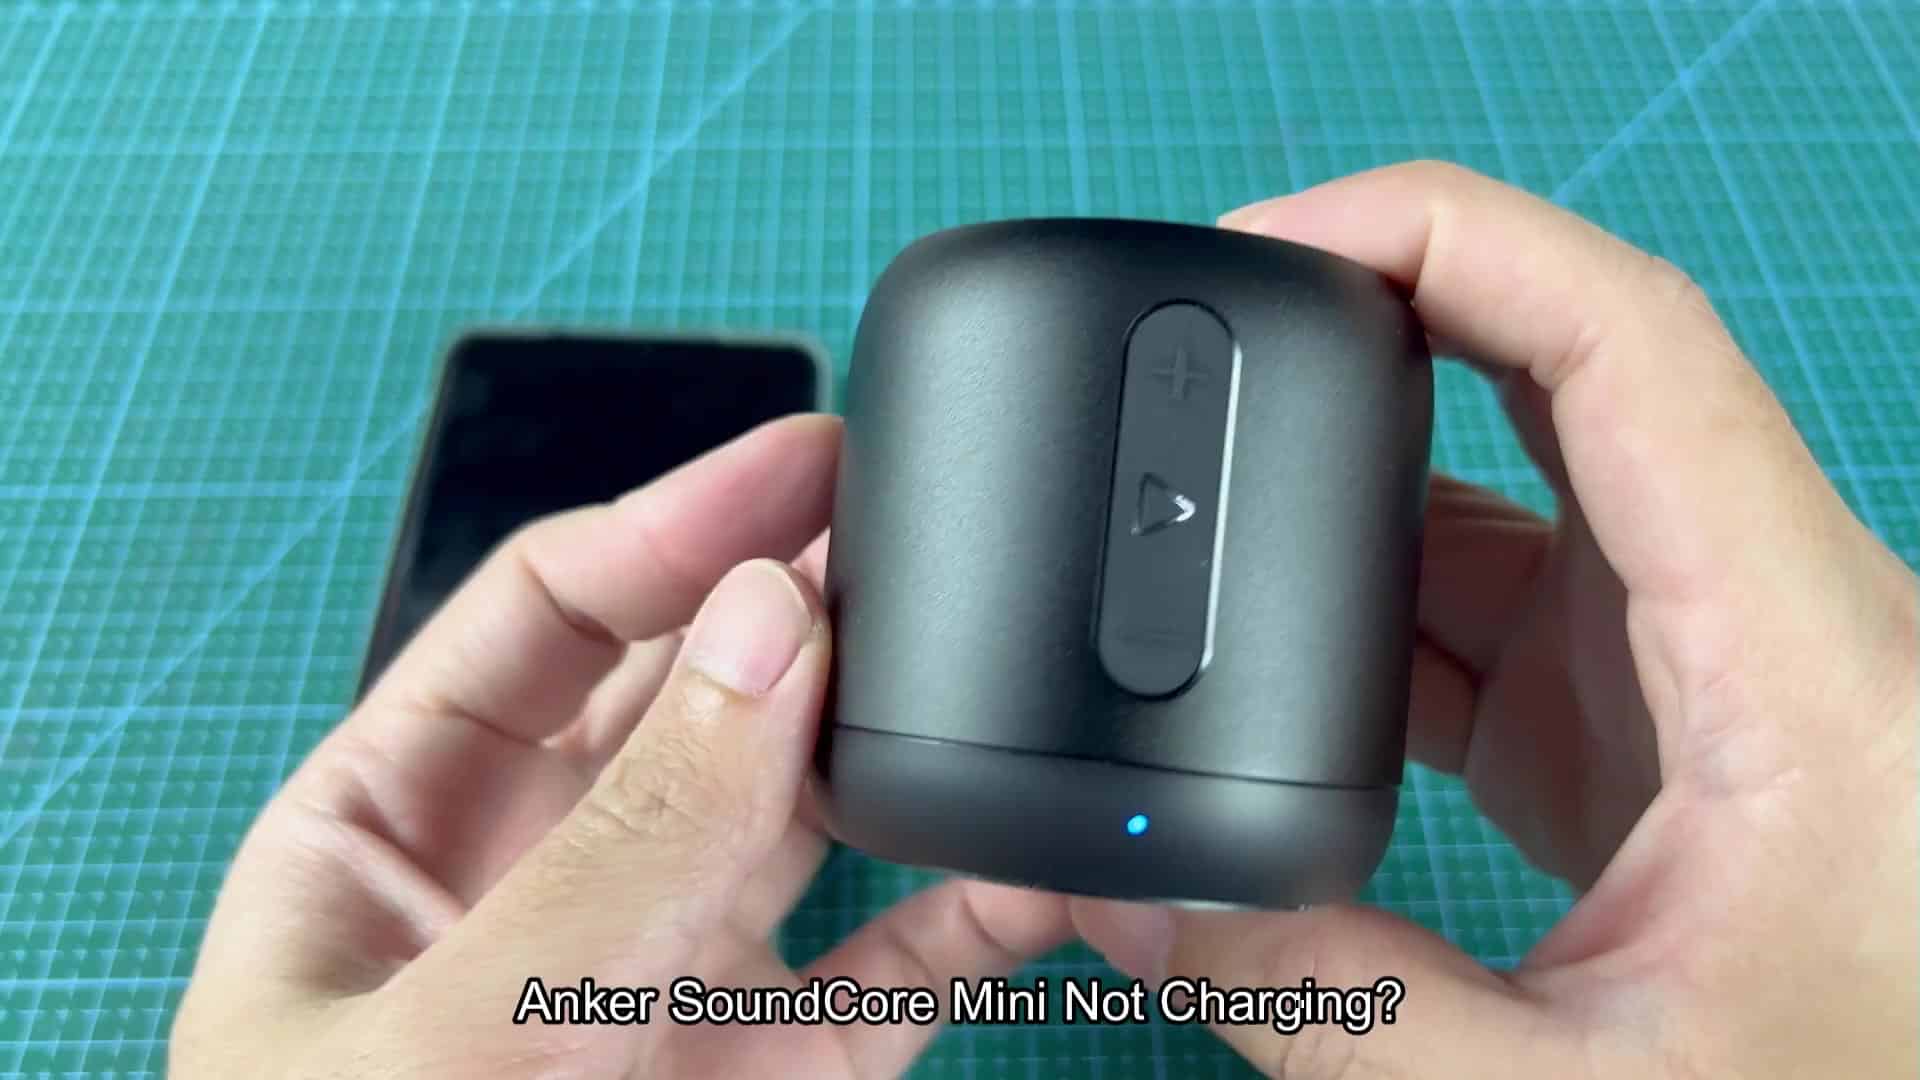
Before cracking the thing open, it’s always good to have an idea of what you’re dealing with; therefore, consult underside label to get the details. The small size of the regulatory markings didn’t concern me because they seemed to be a standard size; I felt confident components would also be standard. Standard cells aren’t hard to source online, which is good since you don’t want to buy custom battery if you can help it.
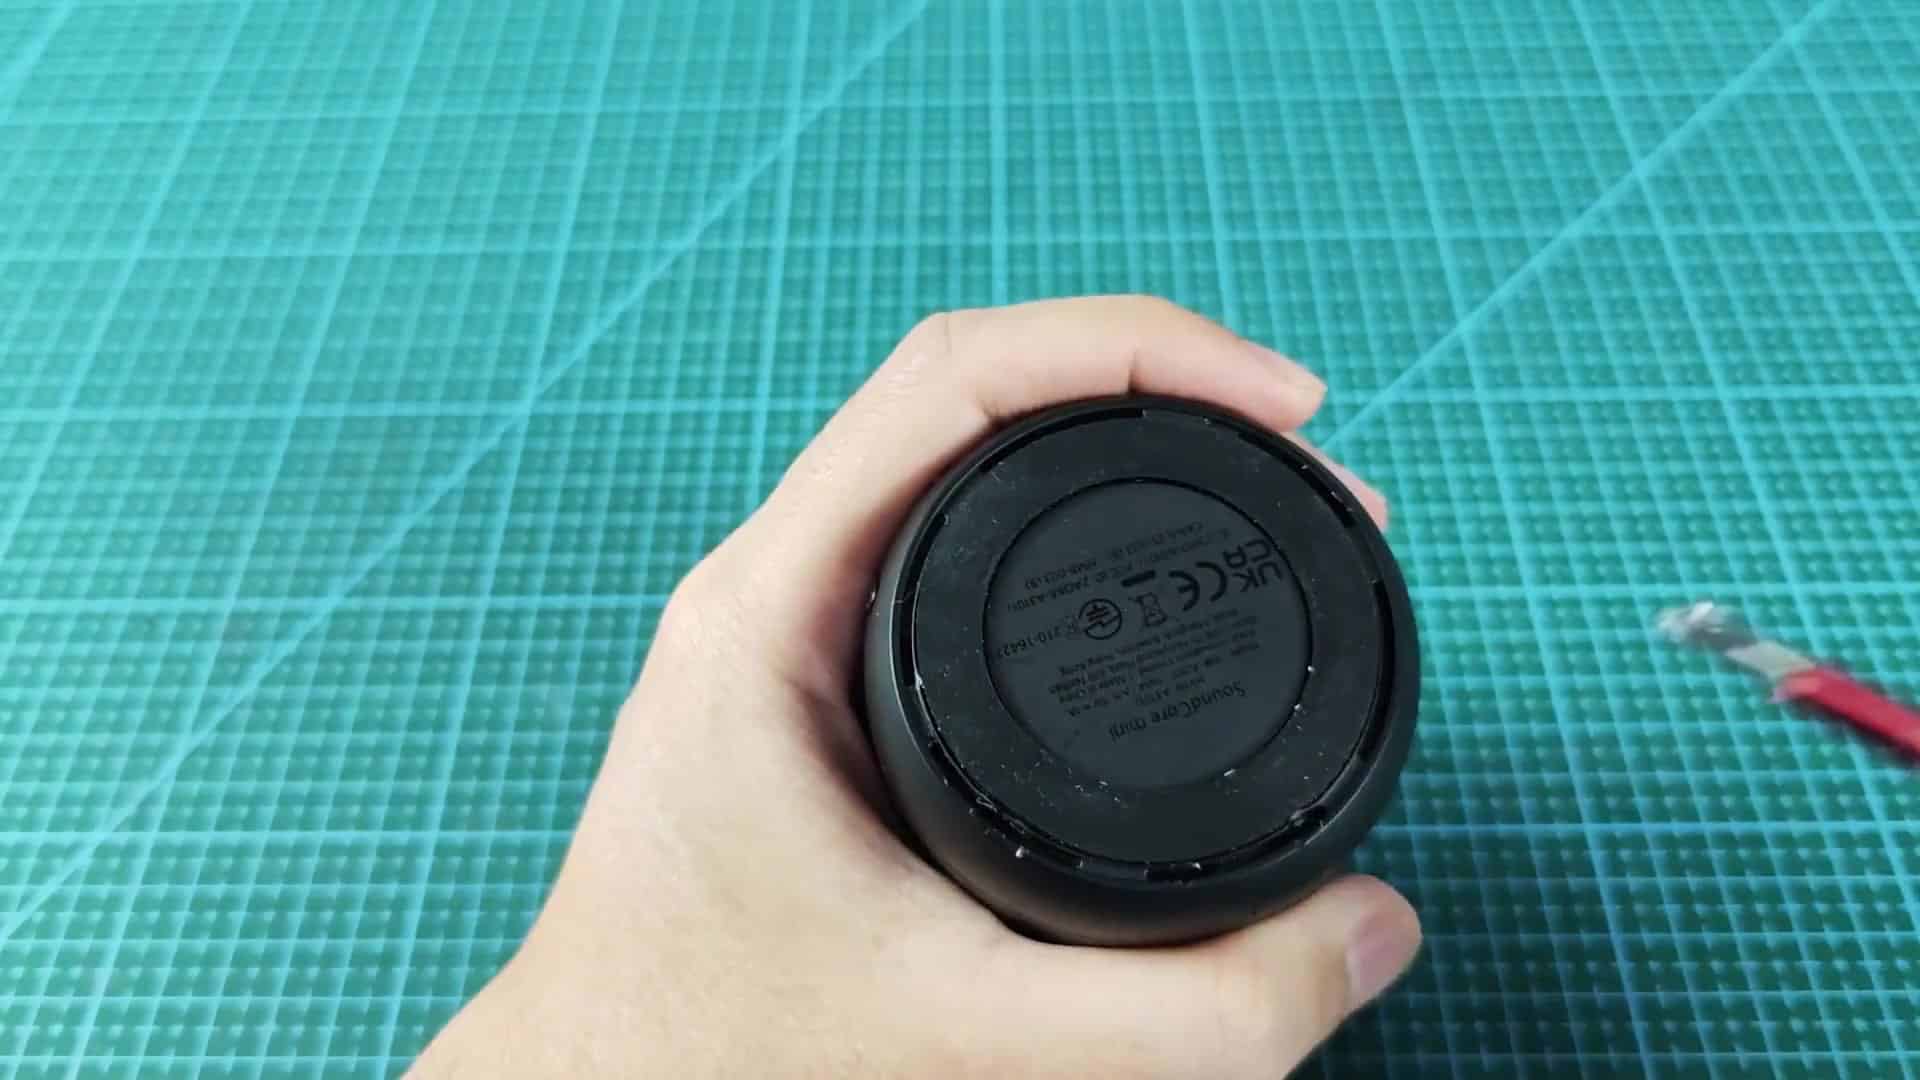
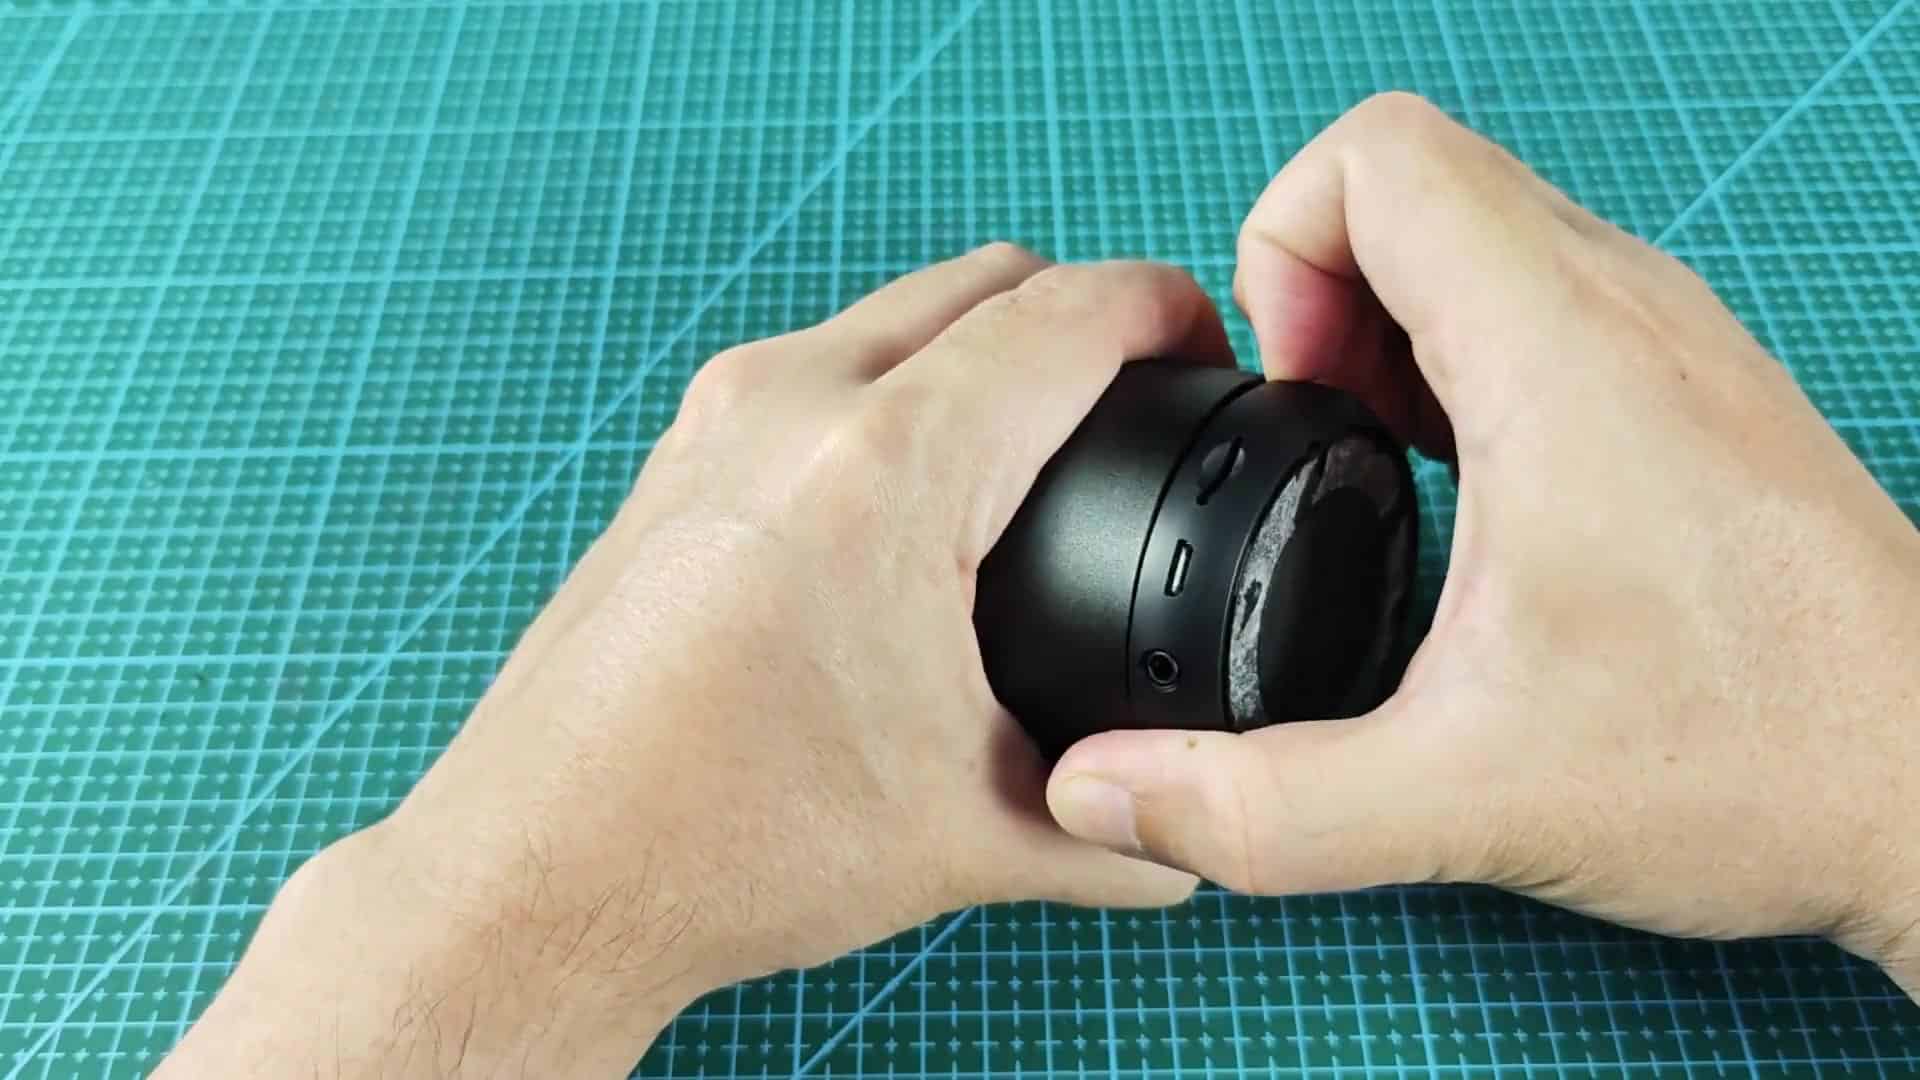
It also took something flat like a pry tool. I fit my red-handled pry tool in the gap on the lower cover and pried it open. At first those plastic clips held tight. But slowly working your way around freed up that section of the base. As long as you don’t use force, it doesn’t break or crack, and then the thing just popped right open. It got me inside quick.
Diagnosing Battery Health
Opening it up, we was greeted with a small space inside. Along with a round speaker driver about mid-way up on the unit. It had red & white wires running to various parts of the unit and I indicated where the batteries connected around the connector area. No complex soldering was required for battery access, just easy plug-in connectors.
From above it was obvious that there is rectangle shaped battery pack below and two small white and red plugs on the upper assembly. The design is neat and tidy. It is easily separated into two halves with a clear view of everything in between so I knew exactly where my power originated.
With that I wrapped up the battery, using some black foam tape to hold it in place. Then I stuck down a piece of the foam to see how well it would stick, which turned out pretty good, solid but also removable should I need to do so. This way the battery will stay put when I’m moving it around and stay stable during movement.
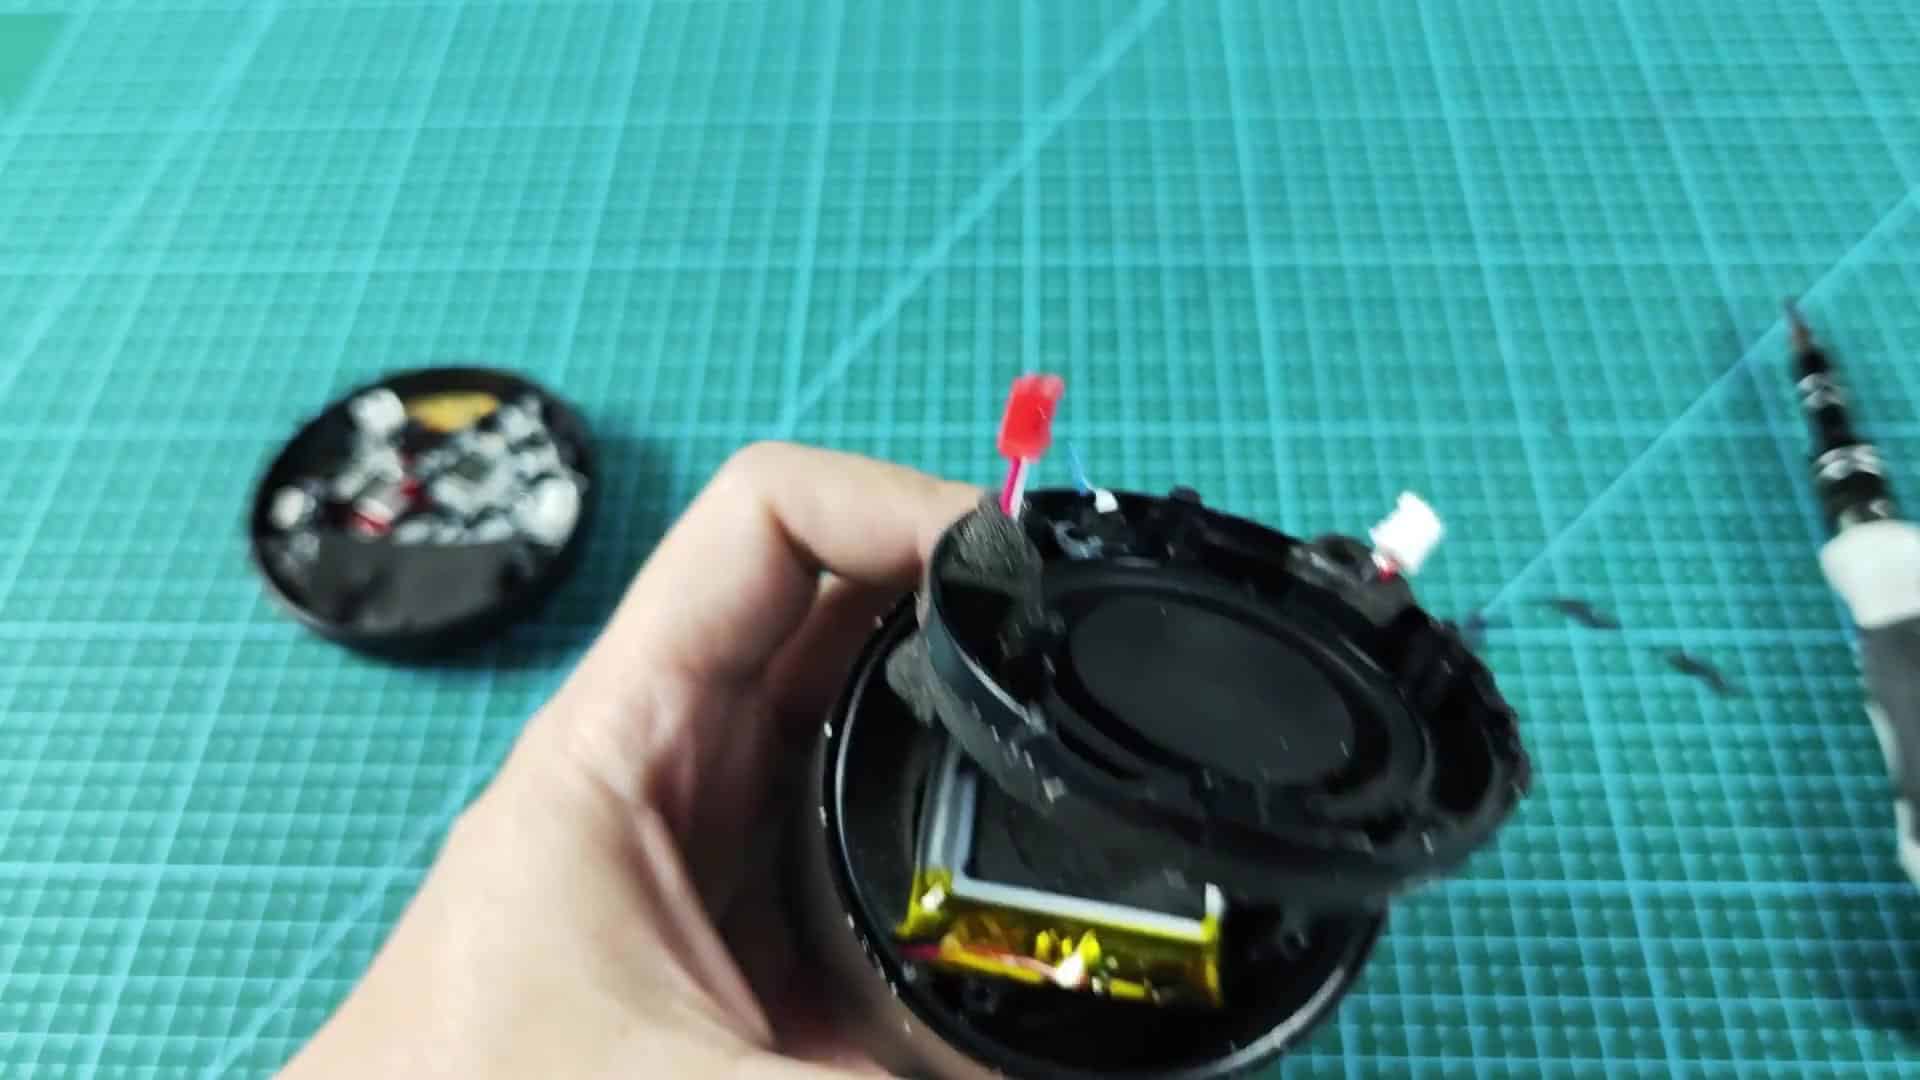
I could tell exactly what kind it was and the label had everything I needed to know about volts and such. This was really helpful as I didn’t have to spend hours trying to find another one.
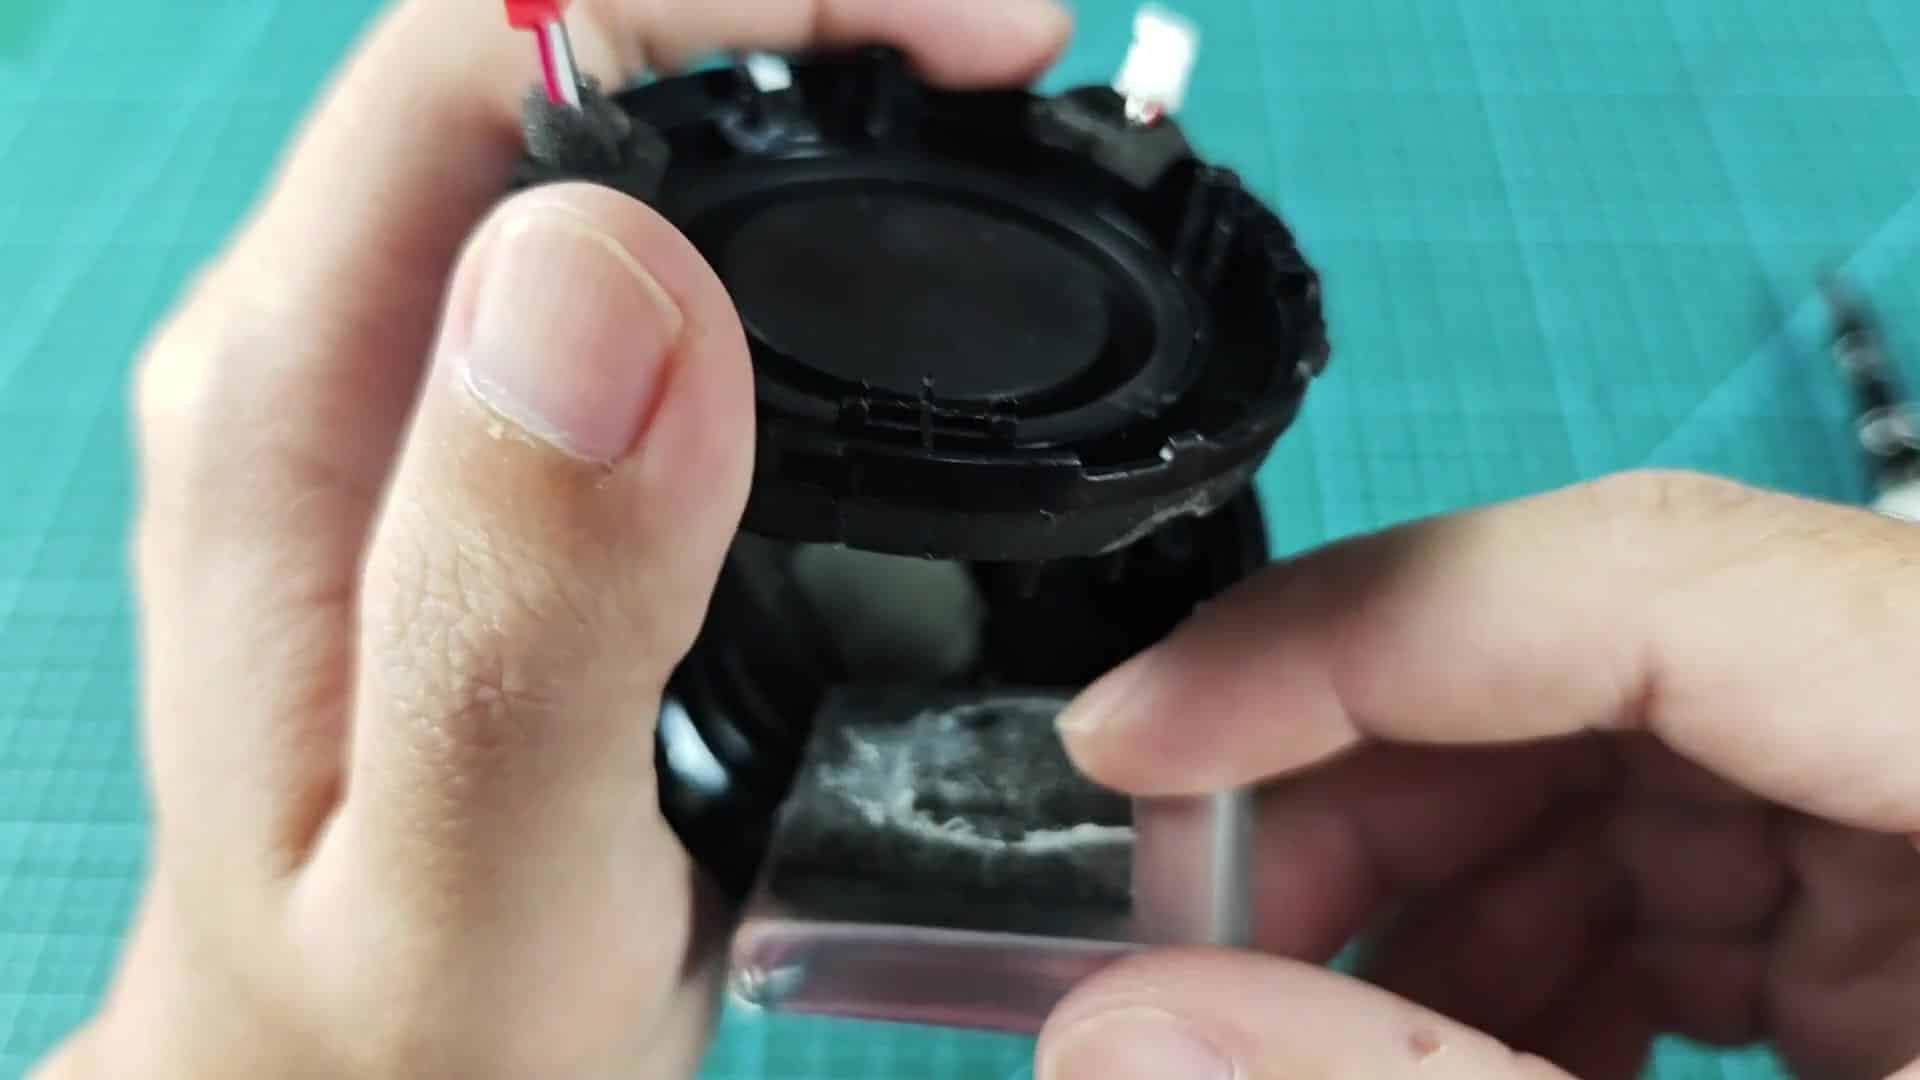
It said Rechargeable Li-ion Battery on the label so I took a closer look. It was a 103450 model which told me more specifics. The rated capacity was 1800mAh at 3.7V. Maximum charge limited voltage was 4.2V. This was right in line with what you’d see from replacement batteries since the specs matched standard options perfect.
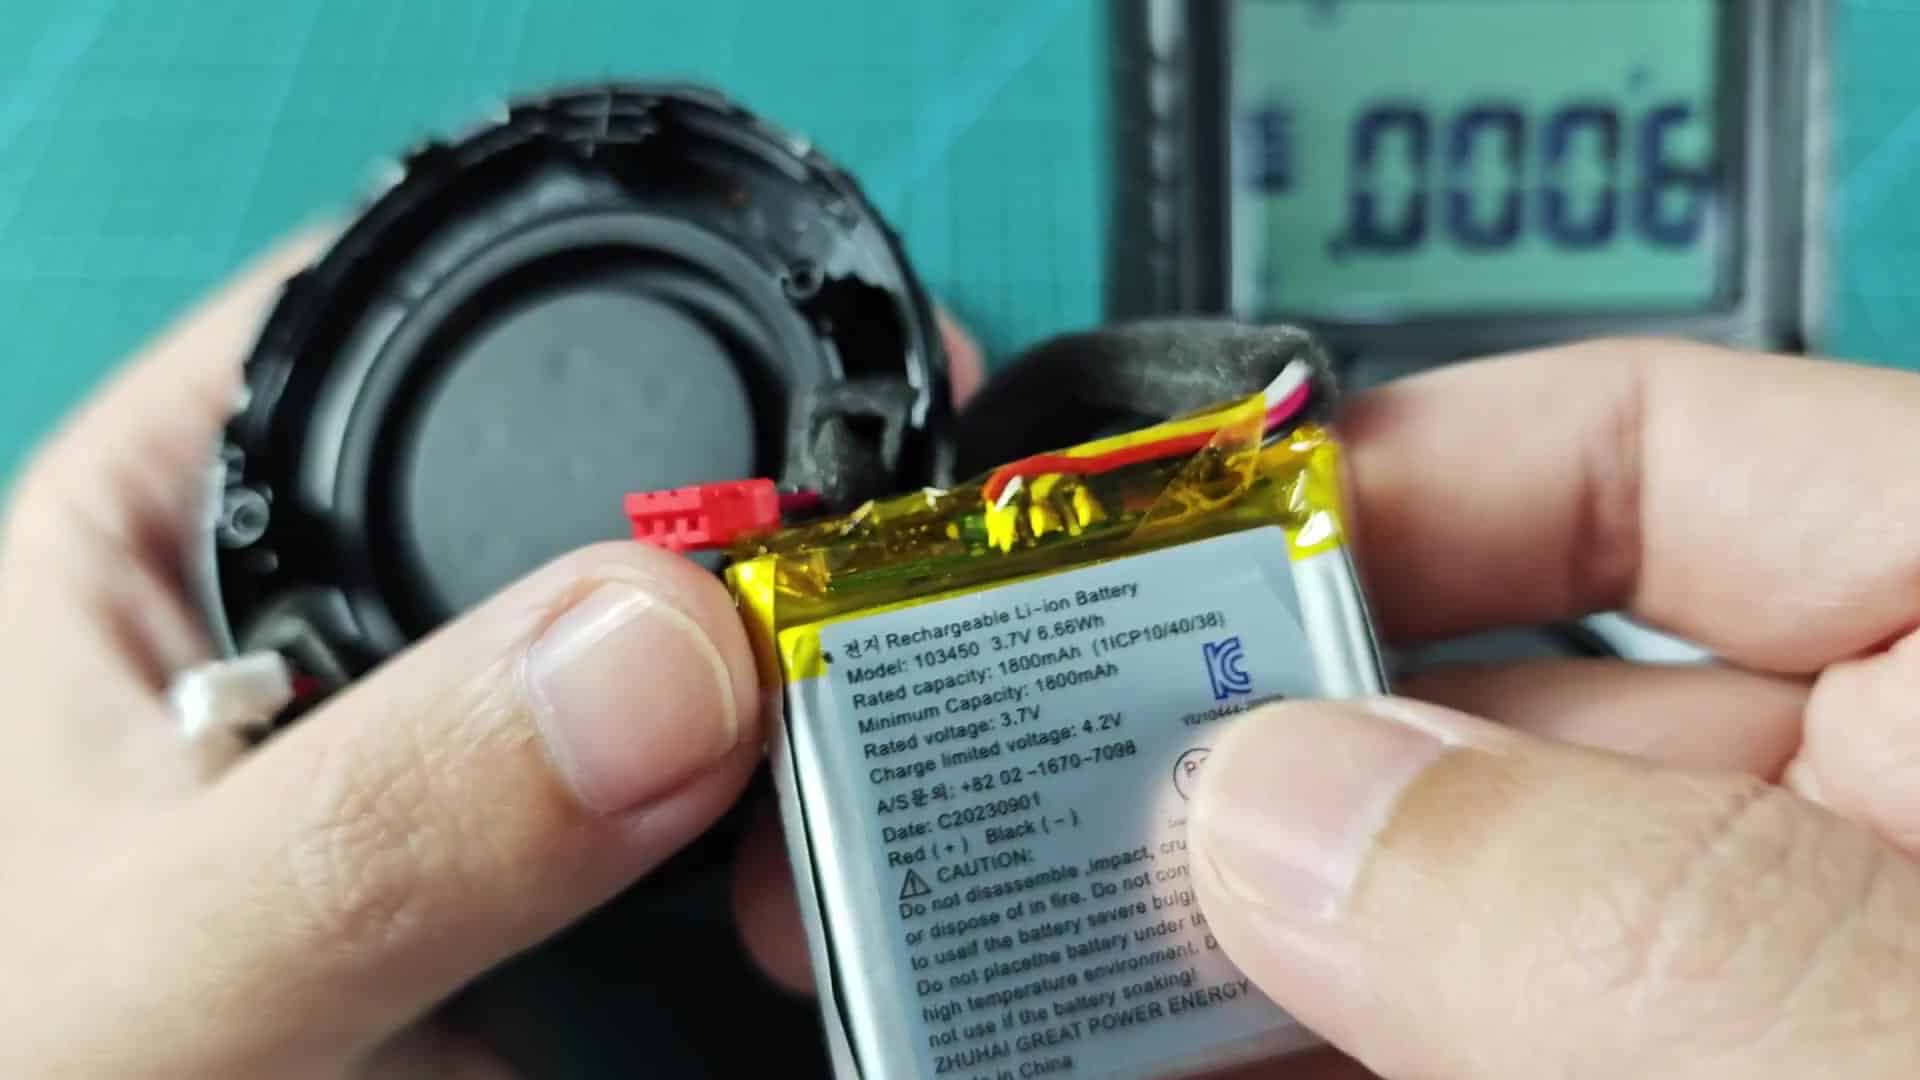
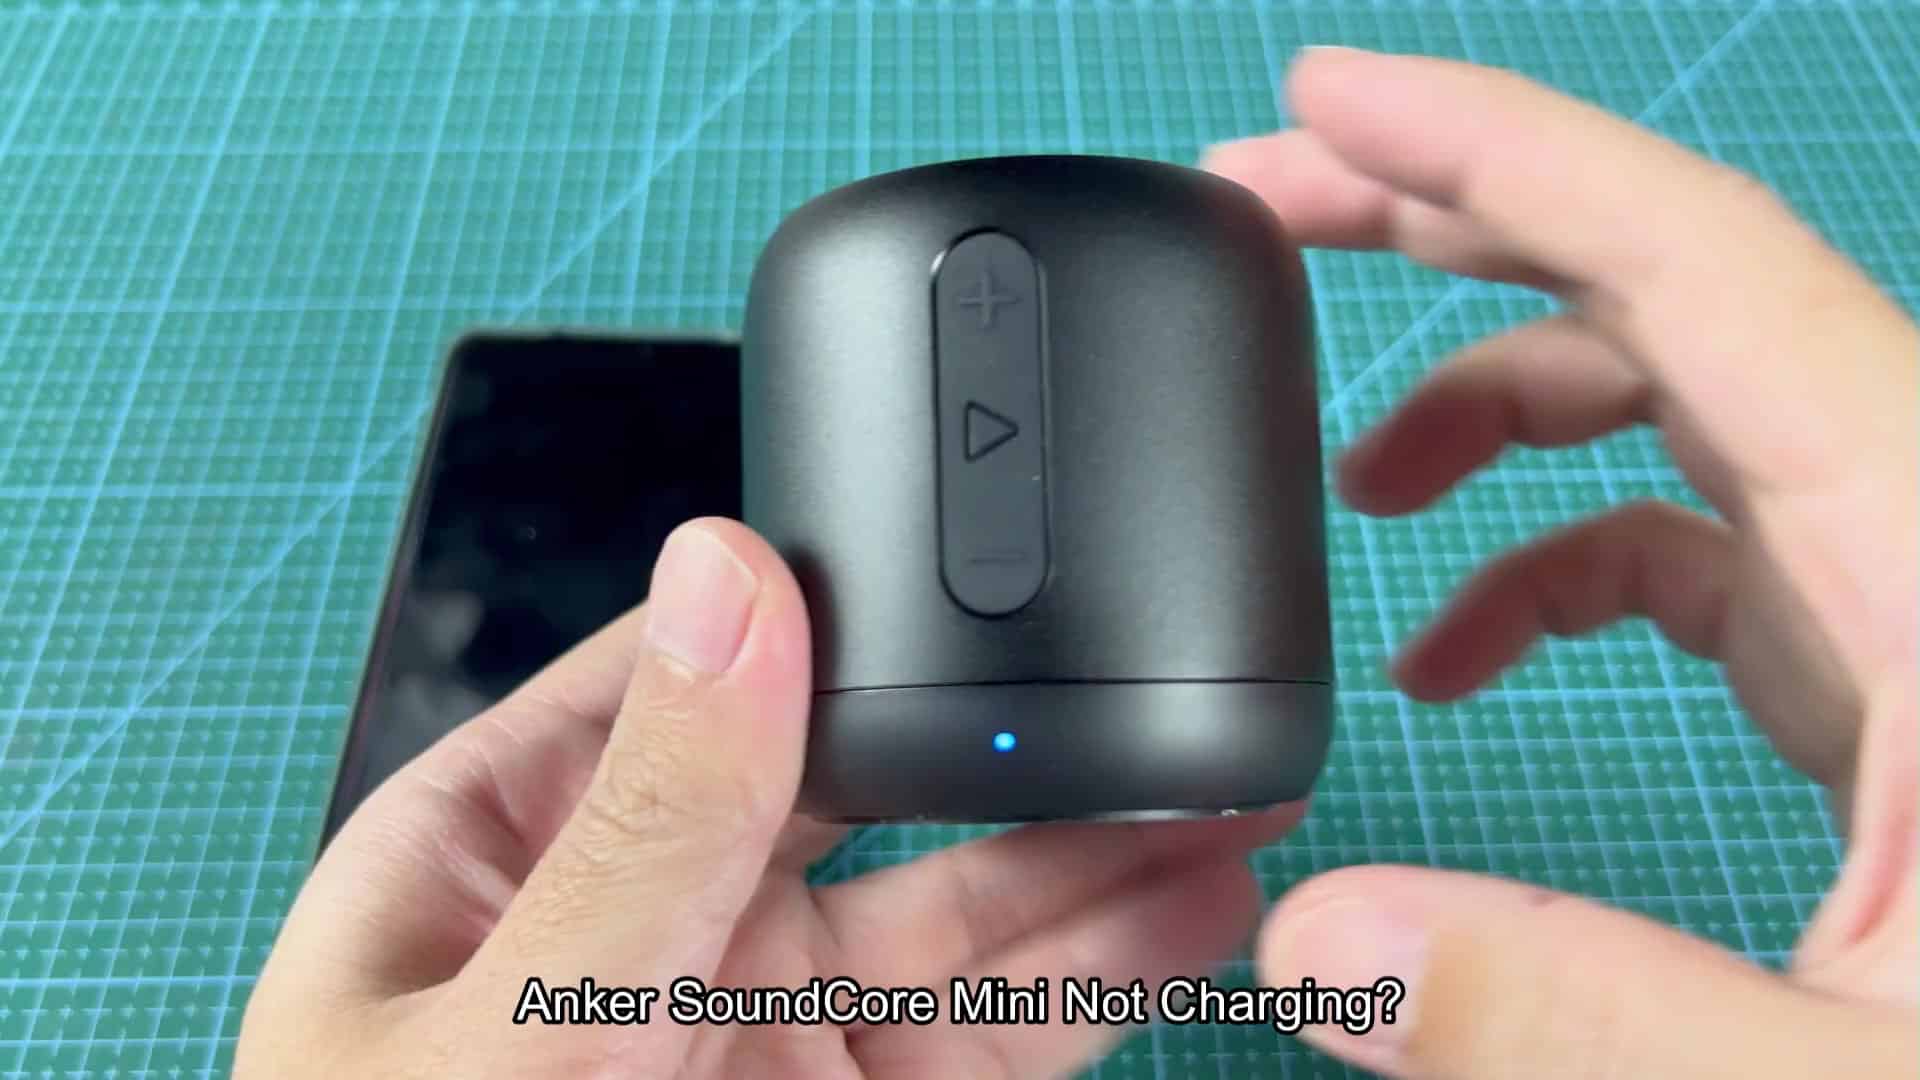
The little screen in back displayed almost zero when first looked at, which was another sign that this battery had seen better days.
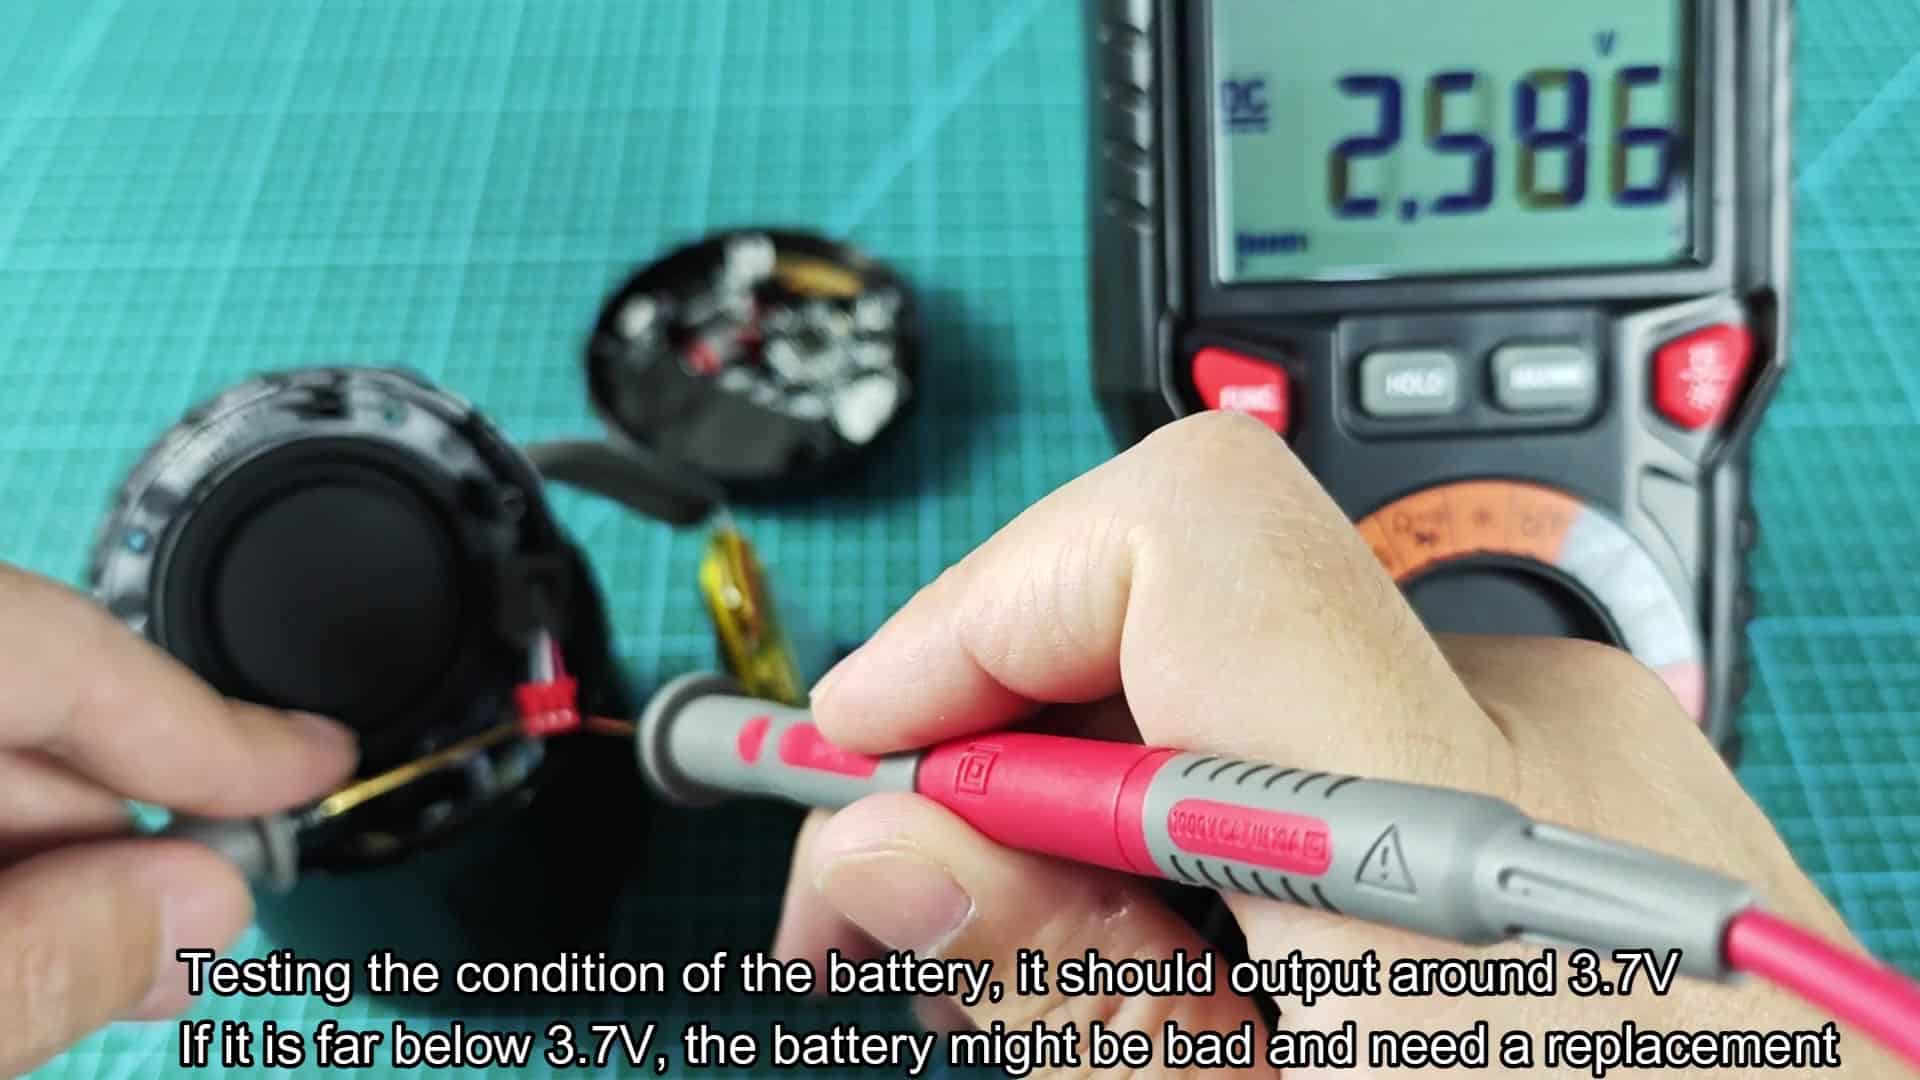
To check the battery I needed a digital multimeter (and I put it on DC voltage). If you carefully touch the probes to the terminals, you’ll read approximately 3.7V if the cell is still in good shape. Much lower then this means no go. My initial test produced little or no output.
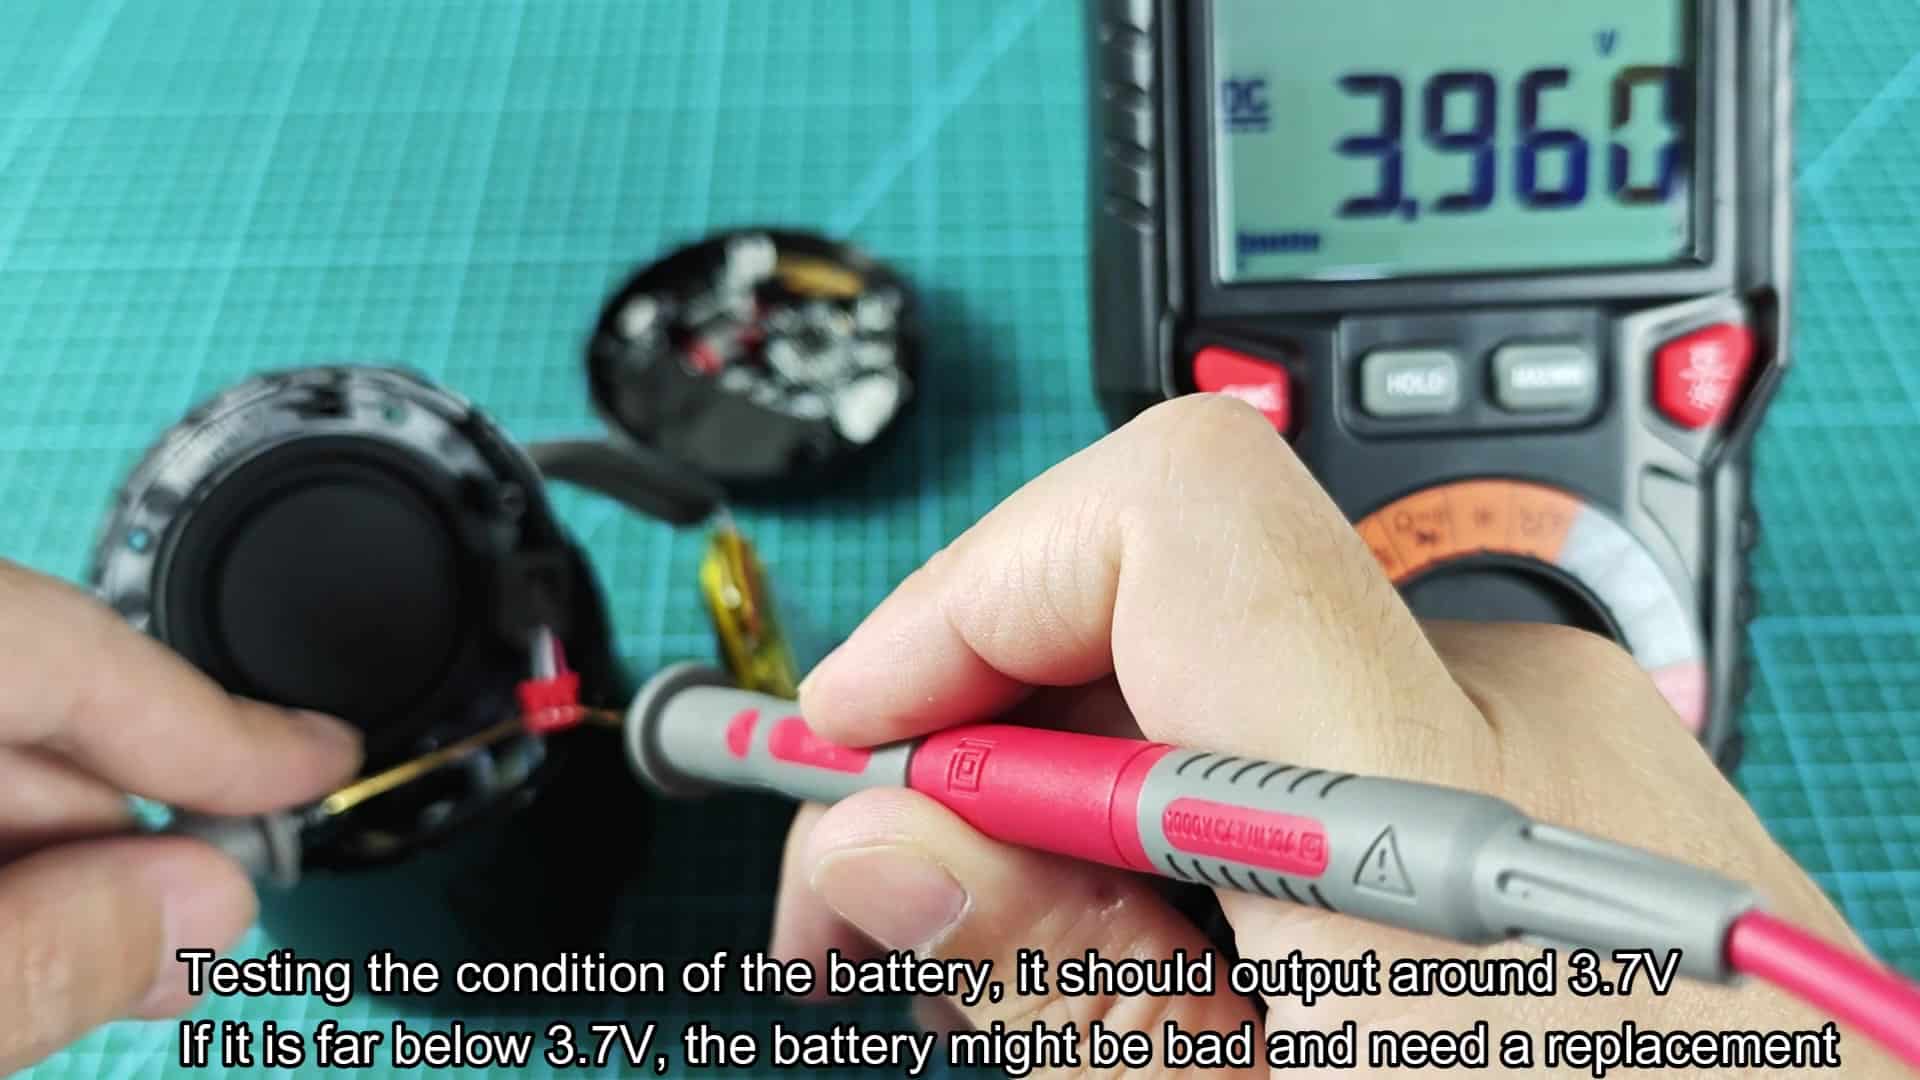
The healthy reference battery measured at 3.96 Volts, which is well within the working limits of normal lithium cells. This immediately brought to light just how bad the second reading was because one was okay and one totally not. It wasn’t even close. There was no question when I visually inspected them and saw the disparity in numbers.
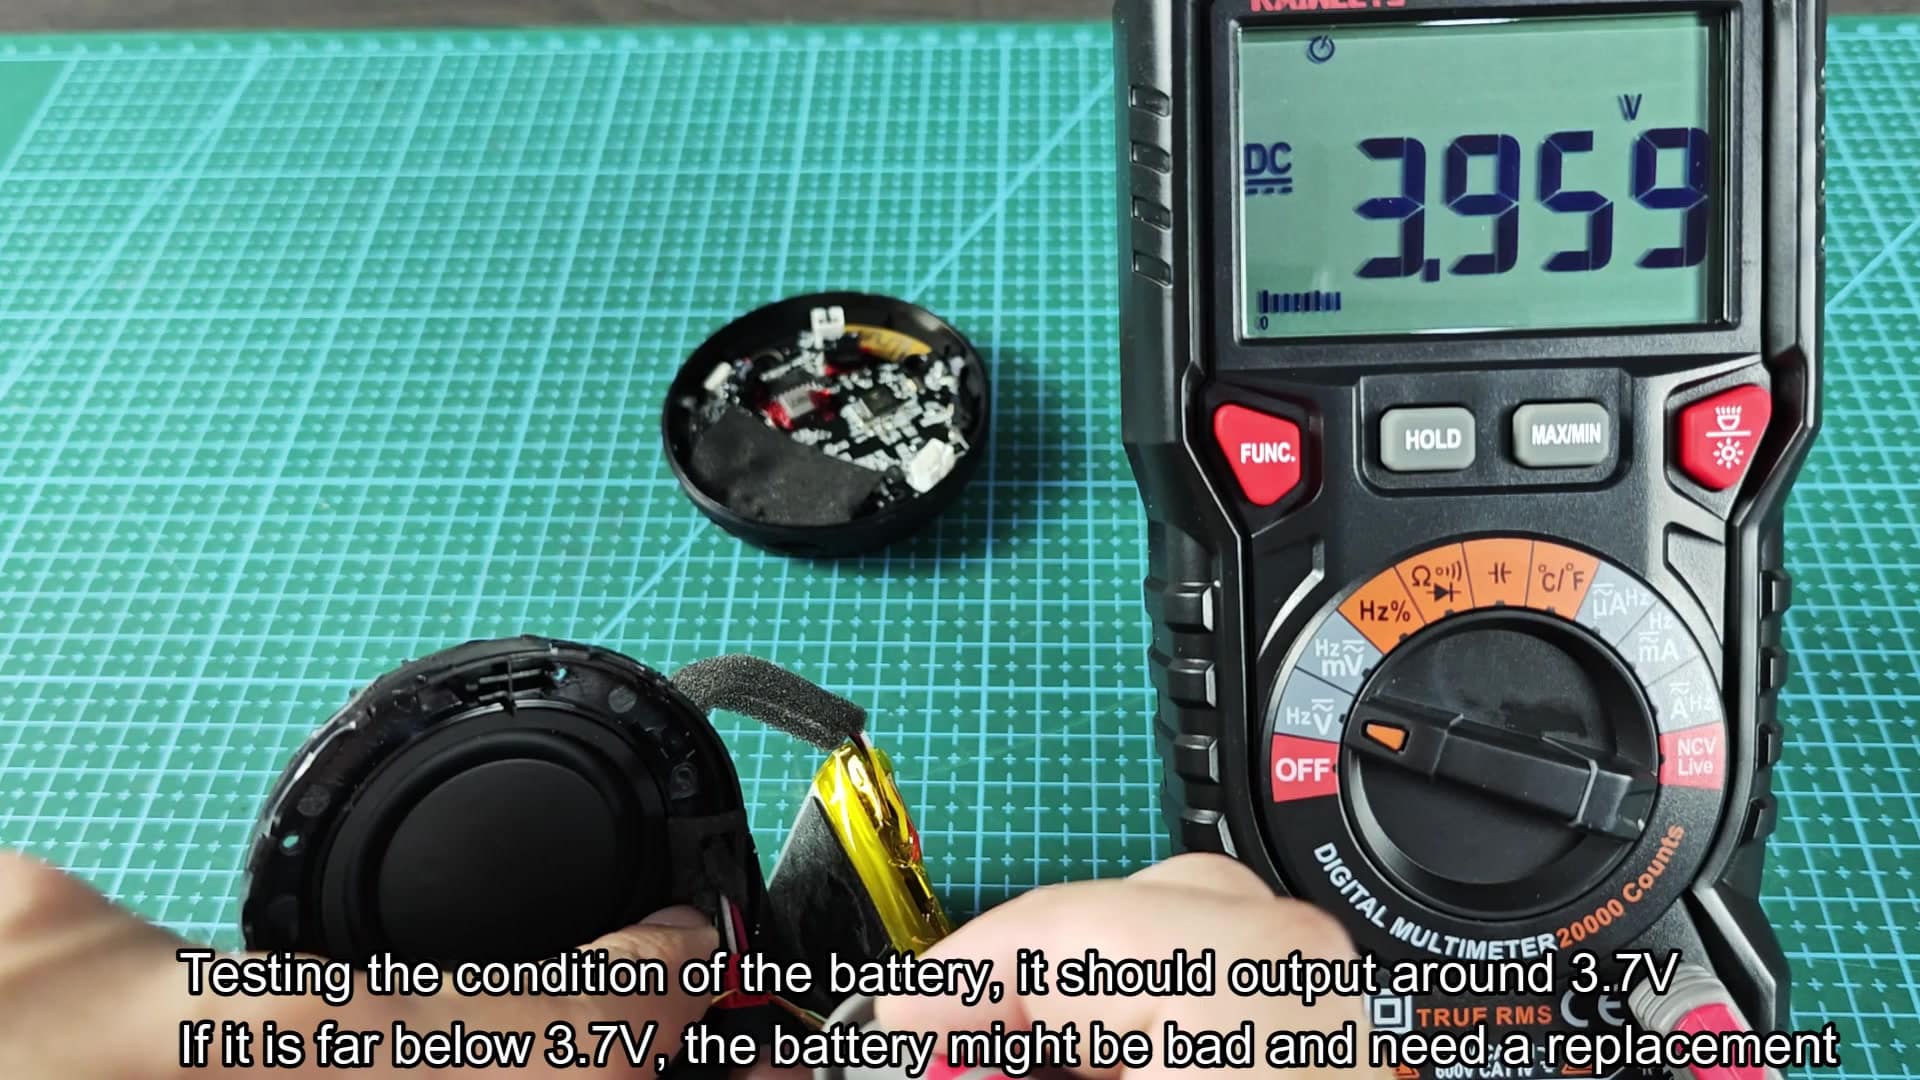
Another good sample measured 3.959 Volts as well. This verified that my multimeter was not faulty, and I was able to rely on what it told me (my speaker battery had gone dead).
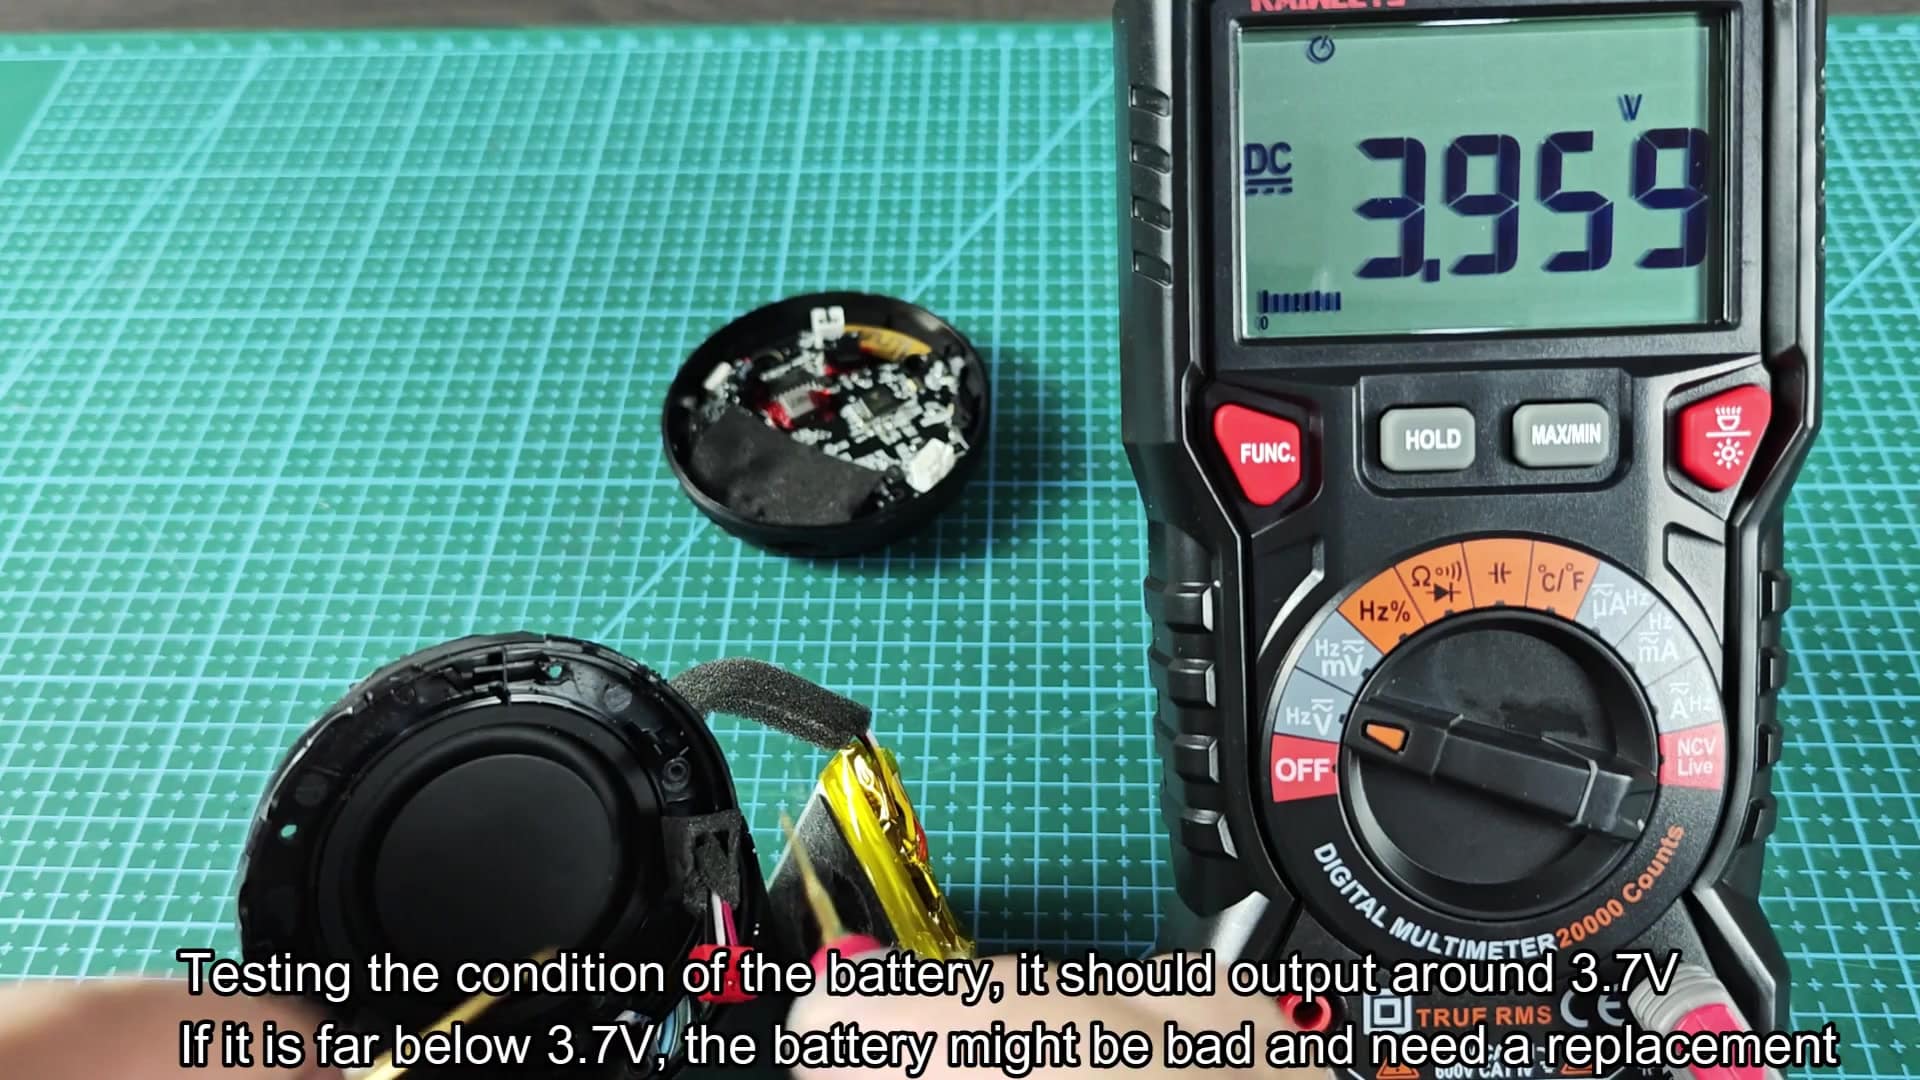
After that the actual battery I had read only 0.139 Volts on my meter. That really means nothing if you want your device working. It simply isn’t enough to power any other electrical parts in your electronics. So it was time to replace the battery and order up another 103450.
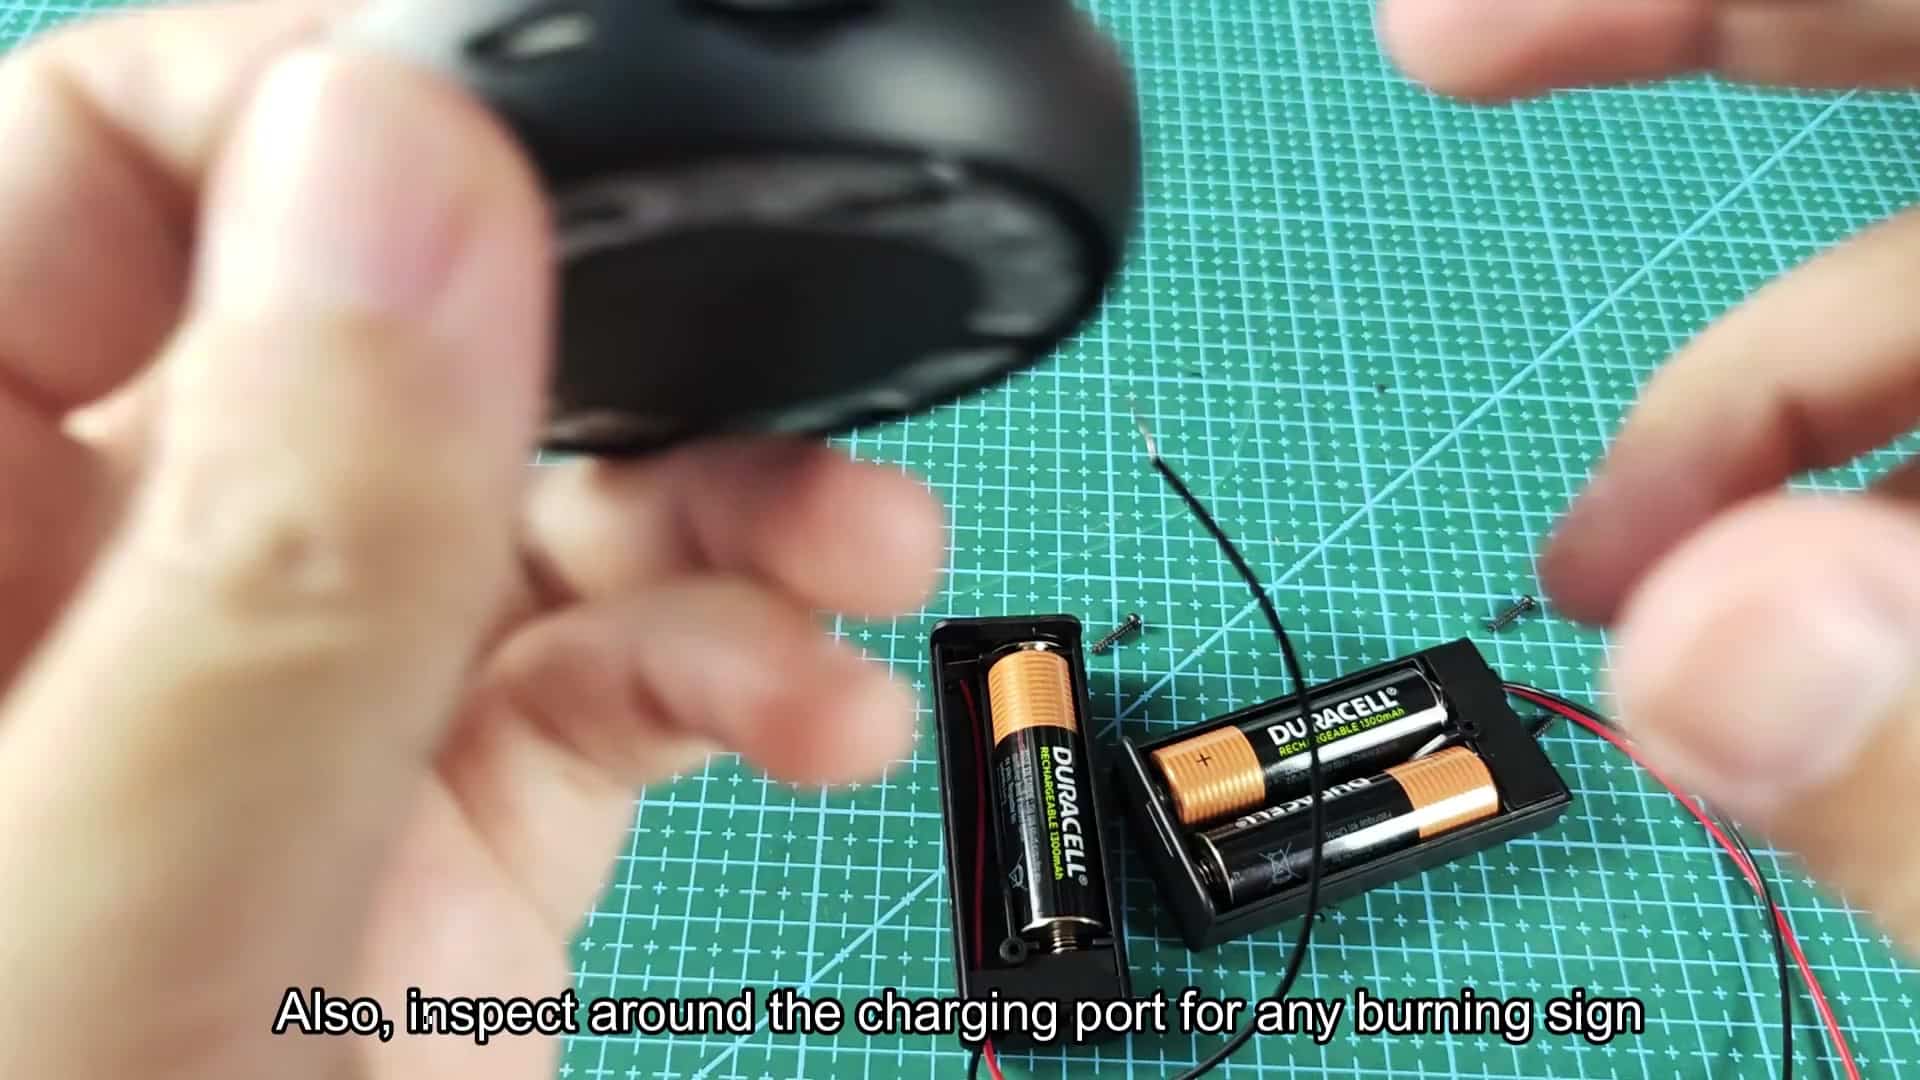
I always look at the charging port first before replacing any part because it’s one of the most obvious points to check on a phone; especially if you’re using a USB-style plug, which has an exposed opening that shows how much wear it’s taken over time. On my phone, there were burn marks to signify short circuits/power surges, but the port itself didn’t have any discoloration/melting or seem damaged in any way; no signs of damage anywhere around the port meant that it was still electrically intact for reassembly.
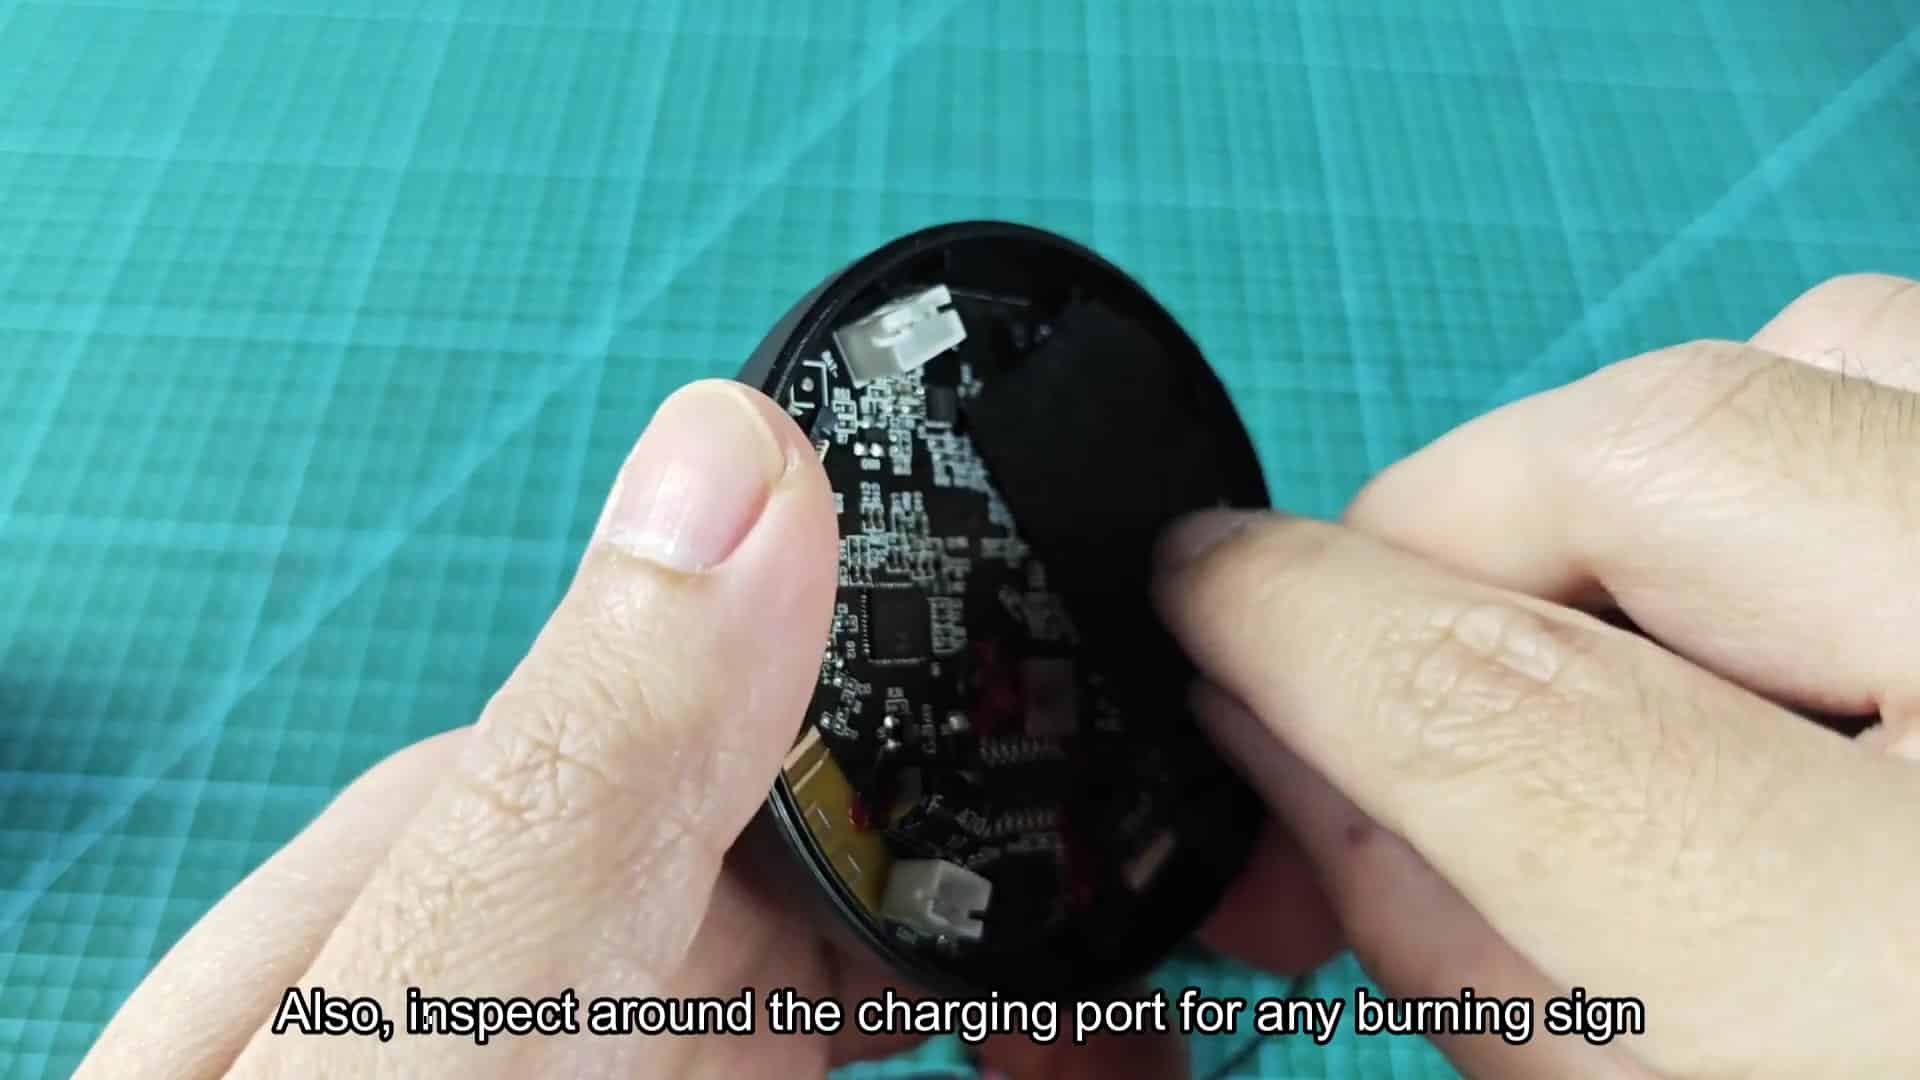
Another component to inspect was that PCB next to the port, where you could see a part labeled 3R7 on it. There were other components around it that said 470 (these are resistors), which regulate and protect current. They appeared in good condition with no evidence of stress, meaning there was still usable circuitry to use with new power.
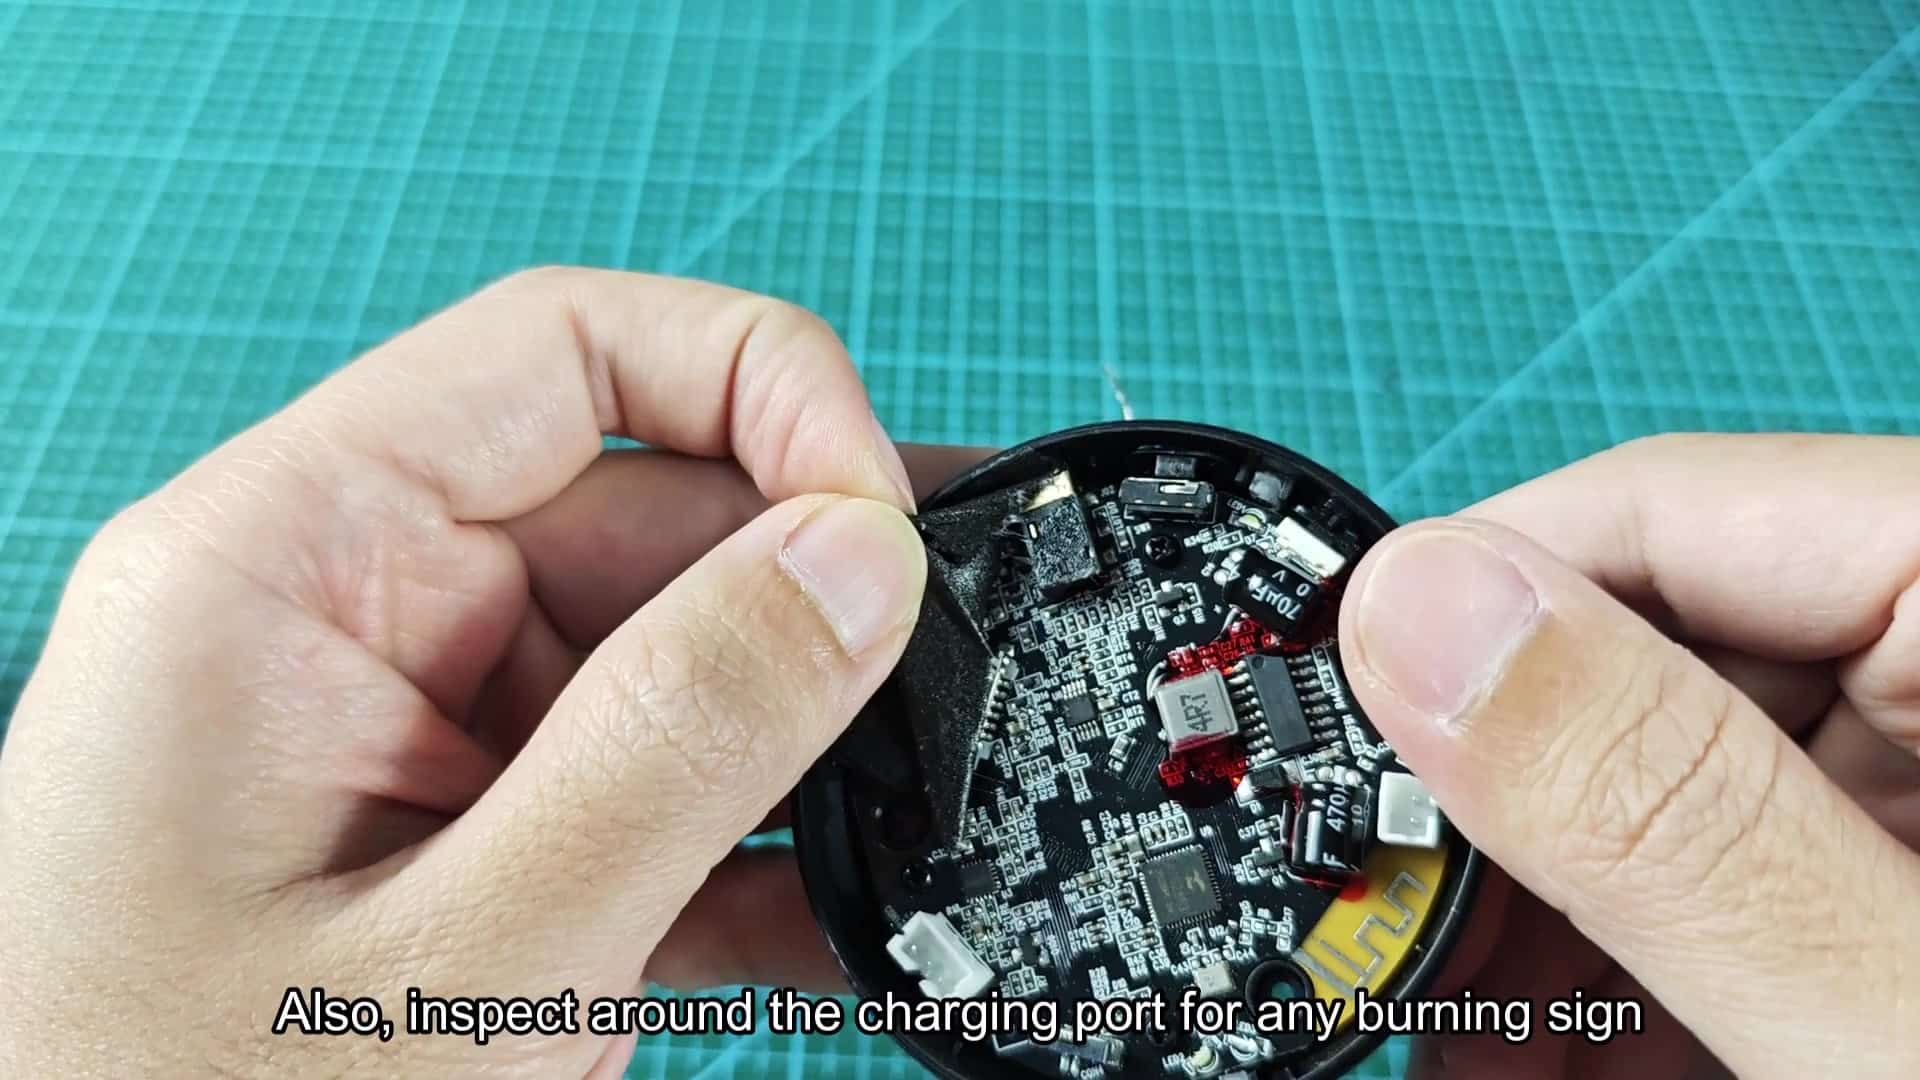
The green circuit board could be seen clearly with inductor and capacitor markings. The device opened up well to see what was where, and there didn’t appear to be any loose wires or components that had come off. Everything looked like it would go back together correctly with nothing to worry about. Even though the batteries failed, the structure is good and everything checked out well inside.
