
If your Roku Voice Remote Pro has stopped responding, you can get it working again by following these steps. Sometimes that’s resolved by a complete reset.
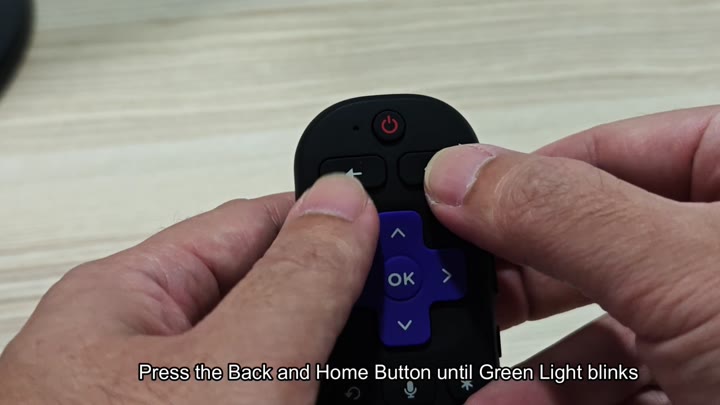
To do this, press the Home button and Back button at the same time. Don’t let go of either one until you see the green light start flashing. That trigger the remote’s re-pairing cycle with the Roku itself.
Checking for Damage
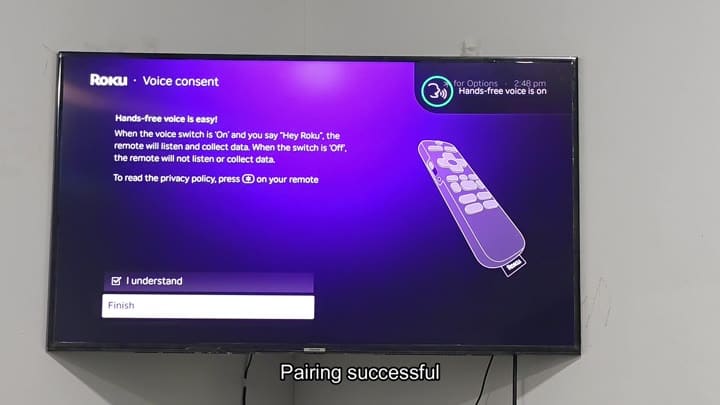
On the TV you’ll see the setup screen. Confirm your voice consent settings. It pair apparently successfully. Hooray.
But the remote still won’t turn on.
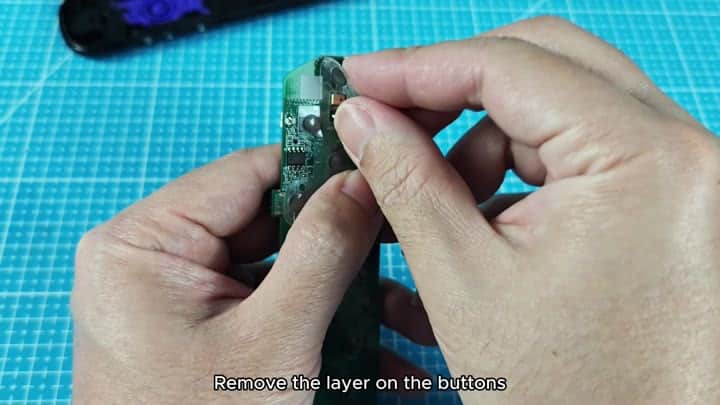
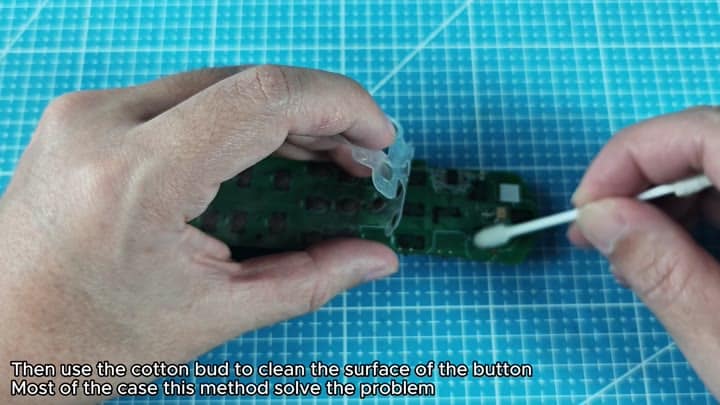
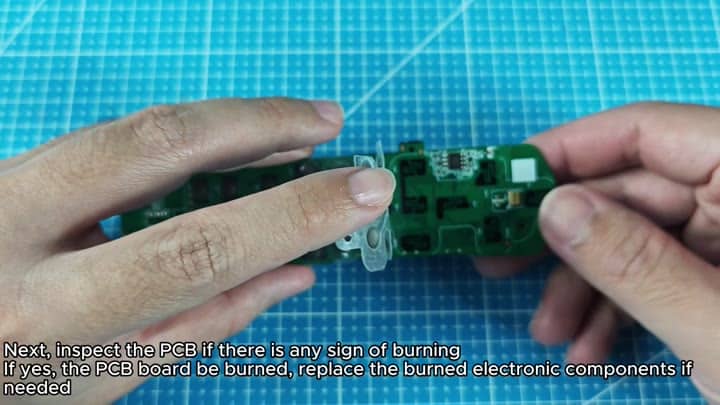
So you crack it open and get inside. You look at the printed circuit board. You pull out a cotton swab and add a little WD-40 to one end. Carefully remove any gunk over the button contacts. Wipe surface of all the buttons using your swab.
Often, that’s all it takes. That’s how we solves most of our cases.
Nope. You clean it and then check to see if anything are ruined on the board.
Checking for Damage
If the components is damaged, there will be burn marks on the board. That means you need to replace the burnt out parts, or the whole board.
So you didn’t notice any burn marks. The board seemed okay. On to the next possibility.
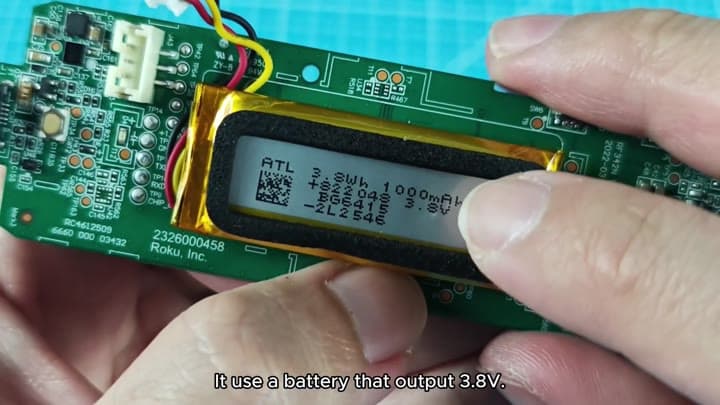
Maybe it’s the battery? The Pro remote have a rechargeable 3.7 V cell. Get out your multimeter and check the voltage of the cell.
If you read a number far below 3.7 V, then the battery is drained. Yep, that’s the problem. Dead battery. Annoyingly, it registerd hardly anything.
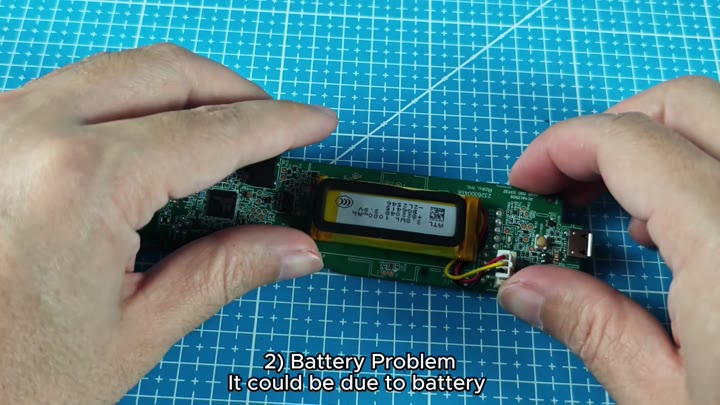
Then you plug the remote into its charger.
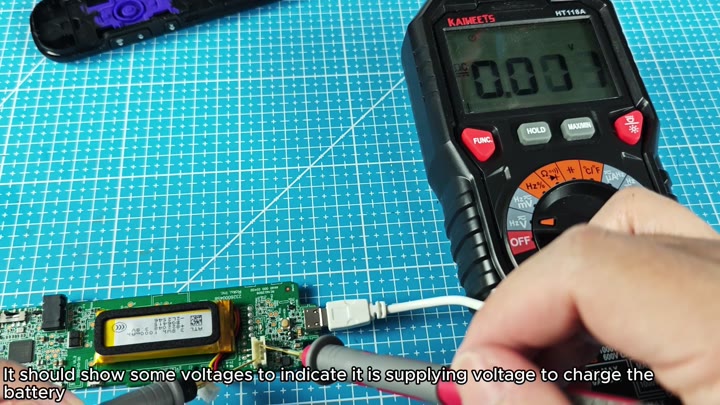
Using a multimeter you test the charging contacts. They are the points where the battery connector breaks apart. On a good charger there will be voltage here. That means that power go to the battery.
My multimeter showed voltage. Good. That means it is providing power. Weirdly, the charger was working fine even though the battery wouldn’t charge.
The cell has gone bad
Is the charger outputting voltage? But the battery won’t charge? Replace the faulty cell with a compatible 3.7 V replacement cell. Securely connect it to the board.
Immediately re-test the remote. Voila! It’s alive again. An easy fix, and the new battery do make a big difference.
