
The Nintendo Switch 2’s controllers is easy to separate, it’s easier then you think they’d be. There aren’t any hidden latches or mechanisms that need to be slid into place with some skill; it’s designed in a way that makes sense right off the bat.
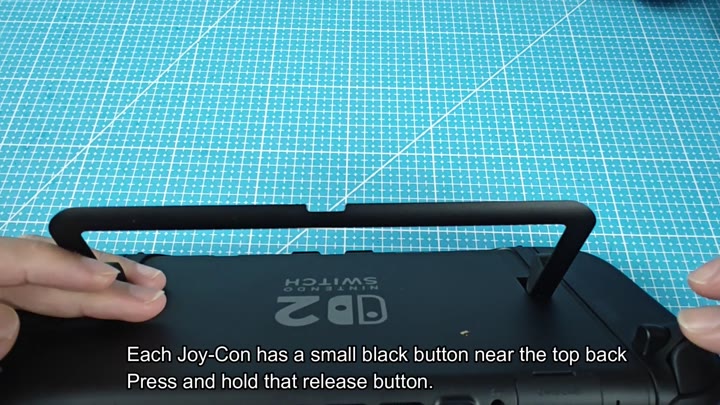
Near the top rear of both units is a small release button. To engage the release mechanism you simply push and hold this button. As long as you are pressing this button down, the lock will remain disengaged. Release only when you have pulled the controller clear.
How to Reattach Controllers
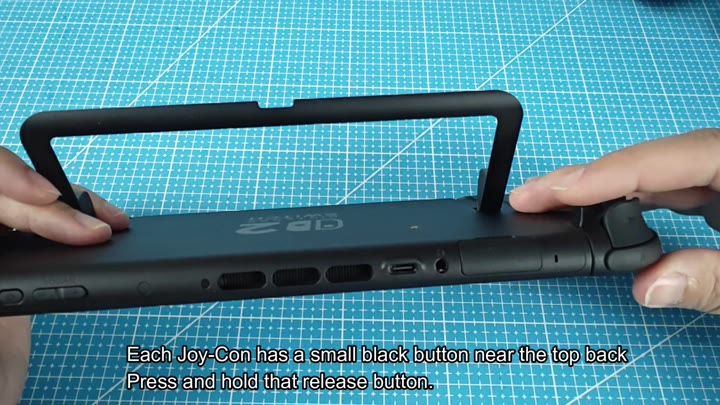
The controller remain locked in position until you release it early.
You can slide the controller right out. There’s no jiggling or twisting required, and it pulls out smoothly while you hold the button down. It comes off without any resistance and just slides away clean, away from the body of the console. This helps avoid stressing your ports and removes the concern of bending that little piece of plastic that holds it in.
Pulling them back on is even quicker. All you have to do is line up the controller with the magnetic side connector and then snap it back in place. The magnets grabs the controller and naturaly pull it right into place.
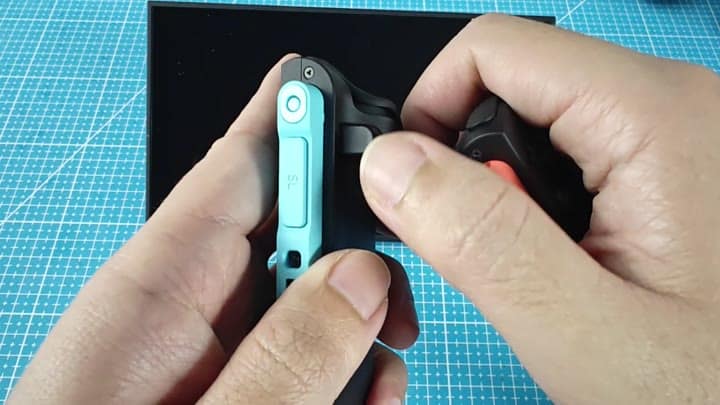
It provides an instant sense of security.
There’s no guesswork when aligning thanks to the magnetic connector. There’s also no concern about putting it on the wrong way because the magnets pull it into place and then it clicks down. It’s a simple design and it works well.
Once attached, the controllers fit flush with the housing of the screens. They’re snugly in place but not too tight for handheld use. You can shake ‘em around a bit and see how stable they are; they don’t budge at all.
It doesn’t take more than a minute to do it all. You don’t have to use any tools to attach or detach it. It is obviously designed so there is no need for instruction videos or searching for guides; it’s right there in front of your eyes. The magnets is super solid too and it’s just good thought-out hardware.
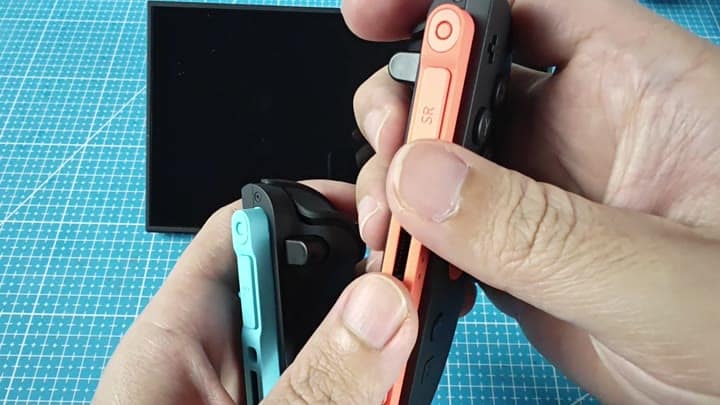
It’s nice because it makes the transition from docked to handheld smooth and you can pop off your Joy-Cons when playing locally with friends. Pop ’em back in equally as fast. It’s nice when you’re jumping into some games for a little while, and don’t want to be messing around with slots and screws.
Positioning of the release buttons makes a lot of sense. It’s easy to locate by feel without needing to look at the rear of the console each time. Your fingers will memorize where it is and that eliminates frustration and saves time.
I know small things like that accumulate and in the long run, the magnets are strong enough to secure the controllers in place. You don’t have to worry about them coming off accidently and they remain in place when you’re moving around. Just throw it on your lap and nothing goes flying apart. That’s important if you’re gaming on the go.
I really like their controller attachment system. It’s easy on/off but still secure. So, you’re not thinking twice about removing and reinstalling your attachments.
Furthermore, once removed, you can easily reattach and repeat the process. If you don’t believe me (go ahead and give it a shot). I promise you’ll find it easy as pie. It should of been a more moddern design but it works.
