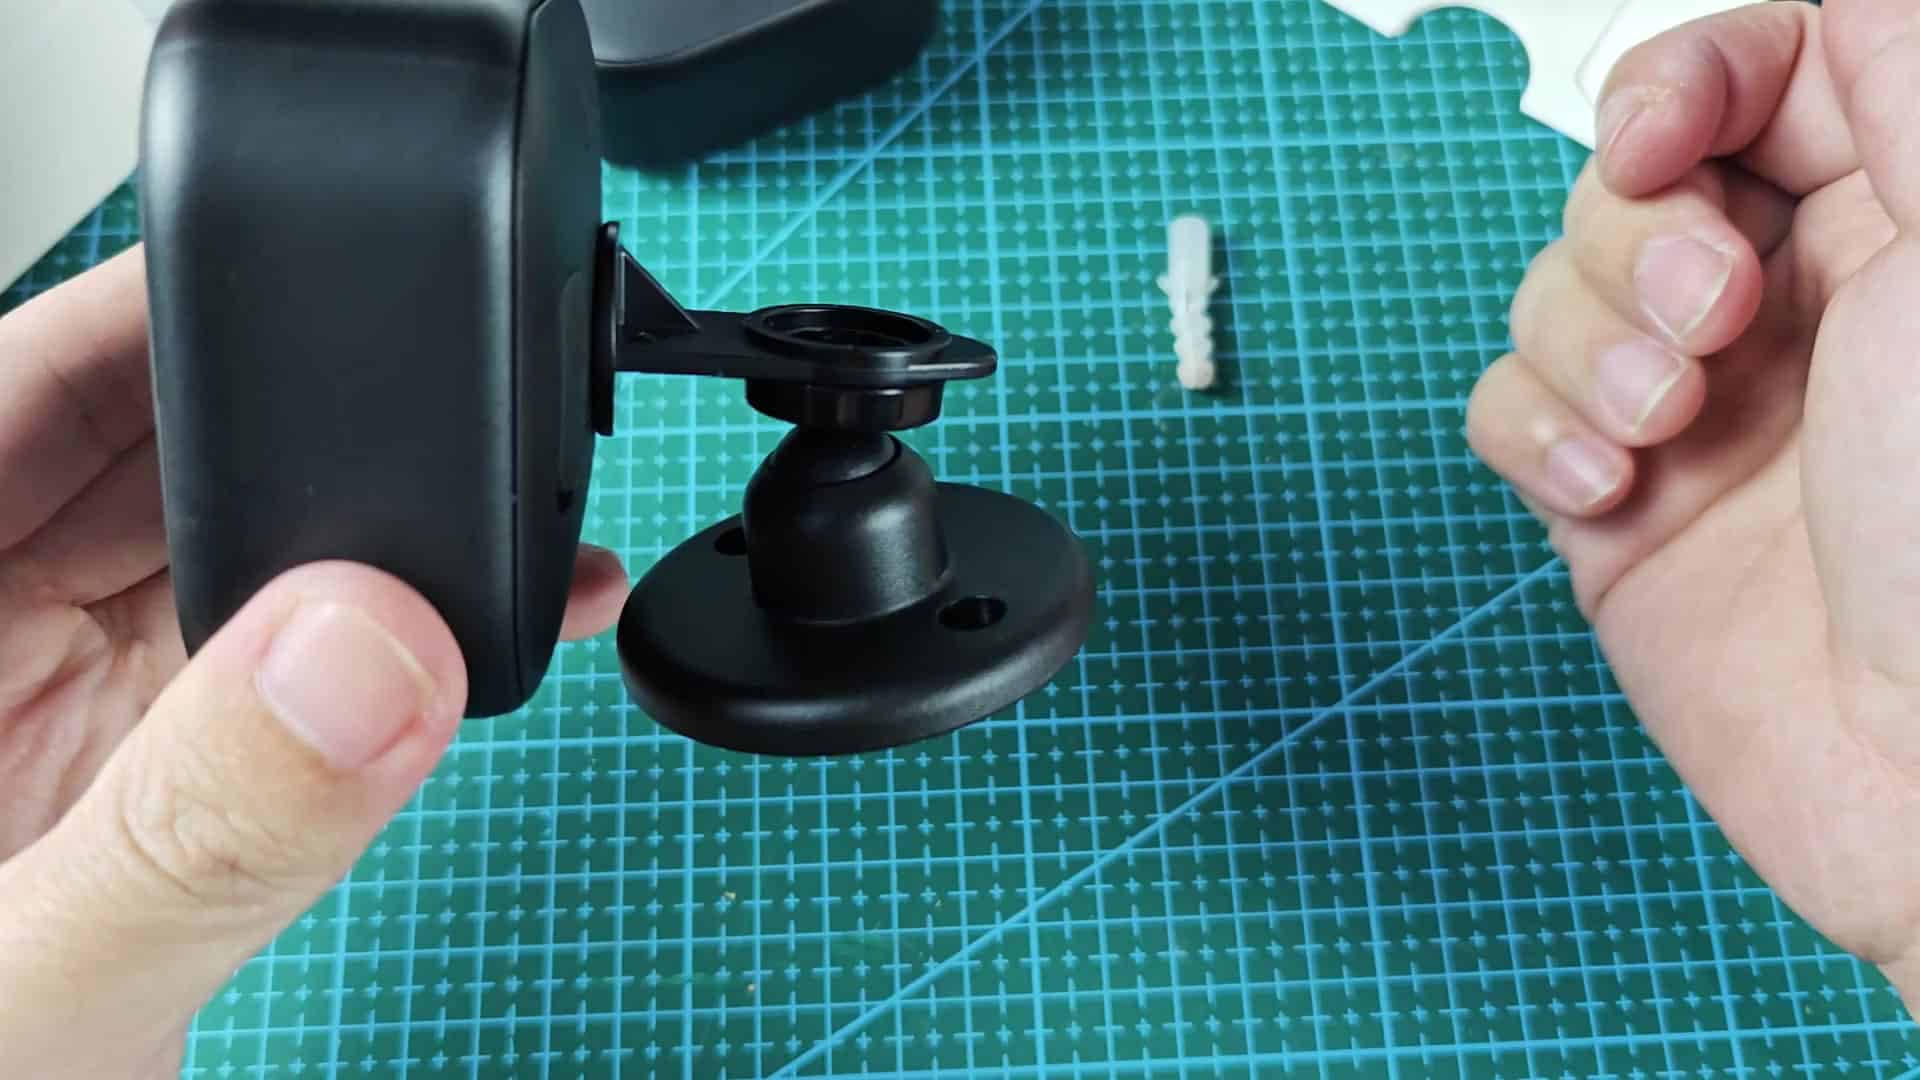
Removing a Blink camera from its mount is easy, there are no special tools or complicated mechanisms involved. You don’t need to worry about hidden screws or latches. Instead, a few simple internal clips snap into place and hold it in place using friction. It hold just fine during day-to-day use, and all you have to do is pull it out straight.
So, no, there isn’t some secret latch holding it together but it’s even better then that. It clips on and stays put. With nothing else to hold it down. That way it is locked down solid, but comes off easly when needed. Count on the friction fit to keep the camera in place until you want to move it.
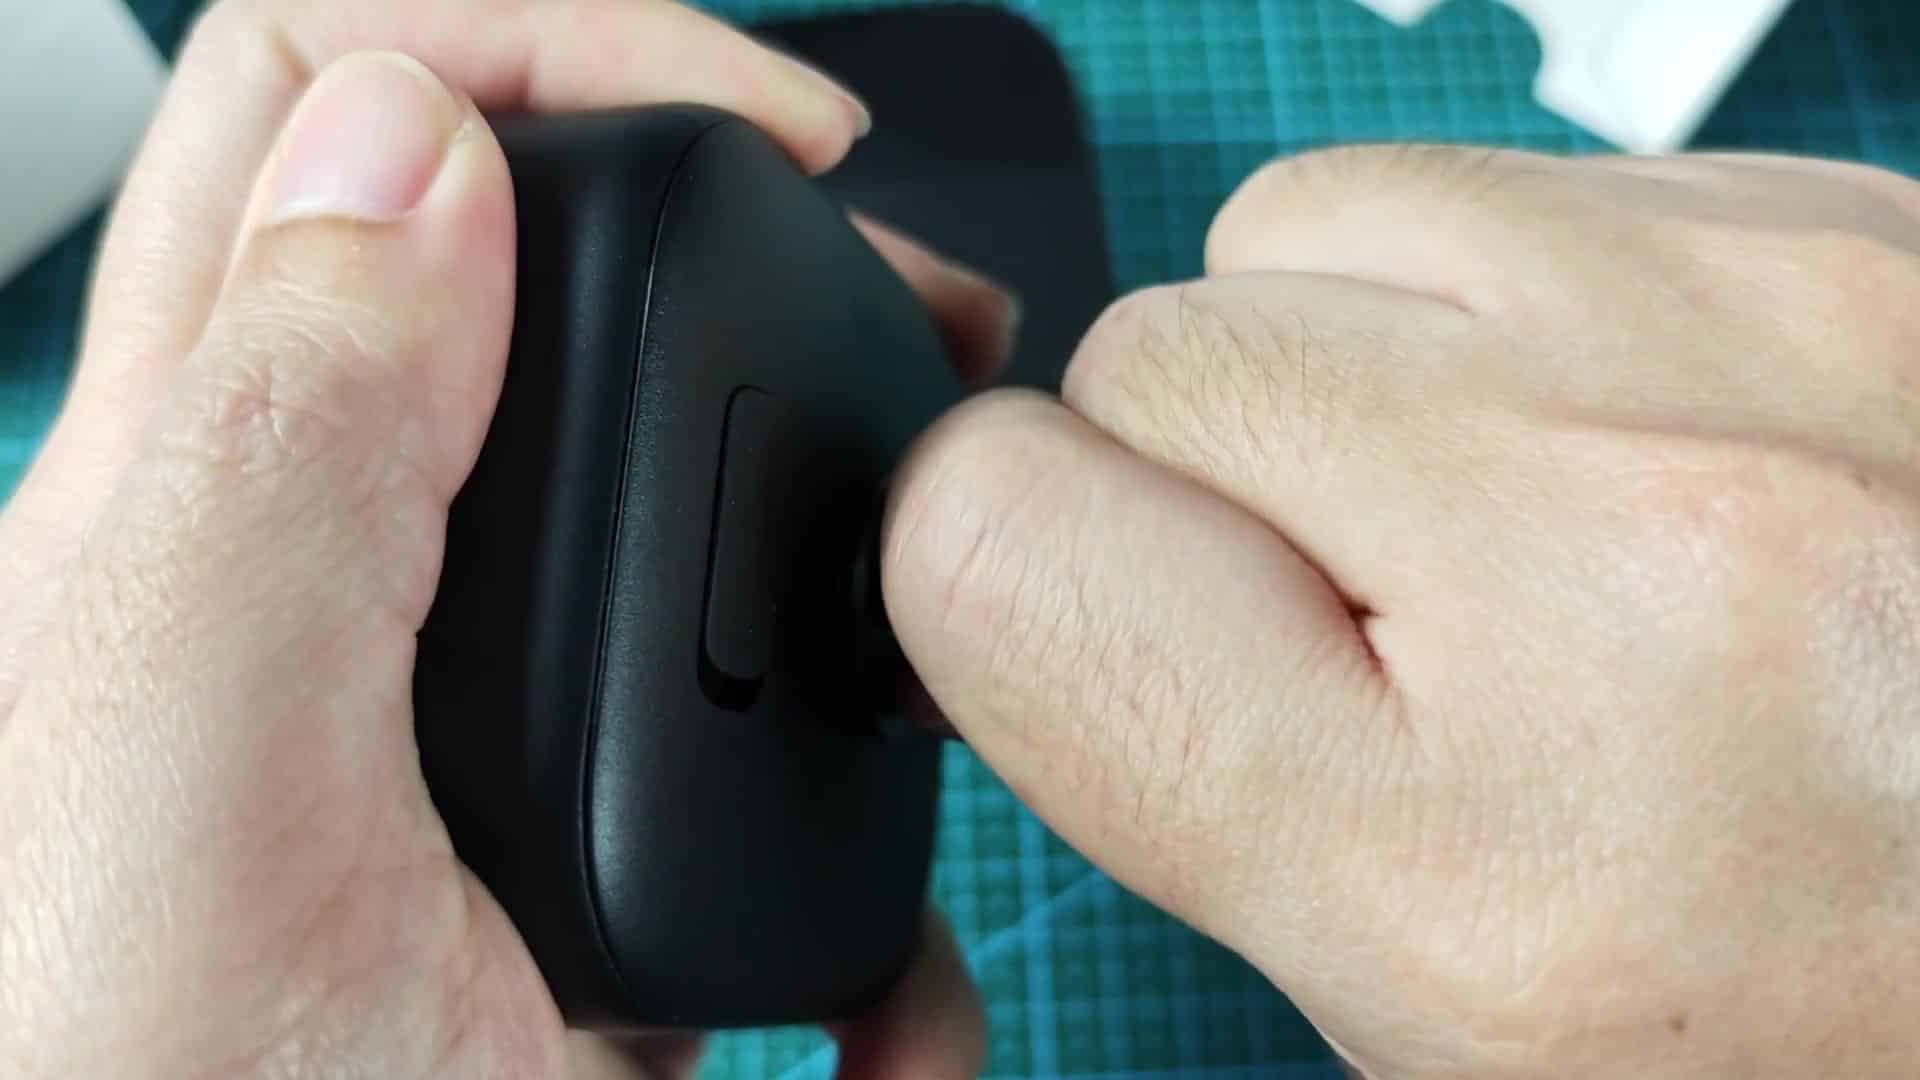
When you’re ready to take down the camera, grab it firmly by the body using both hands and simply pull away from surface or wall. Don’t wiggle or twist the camera side-to-side, doing so may cause damage to the clips and even make removal more difficult. All you need to do is steadily pull straight away; the clips will release very quickly with little to no effort.
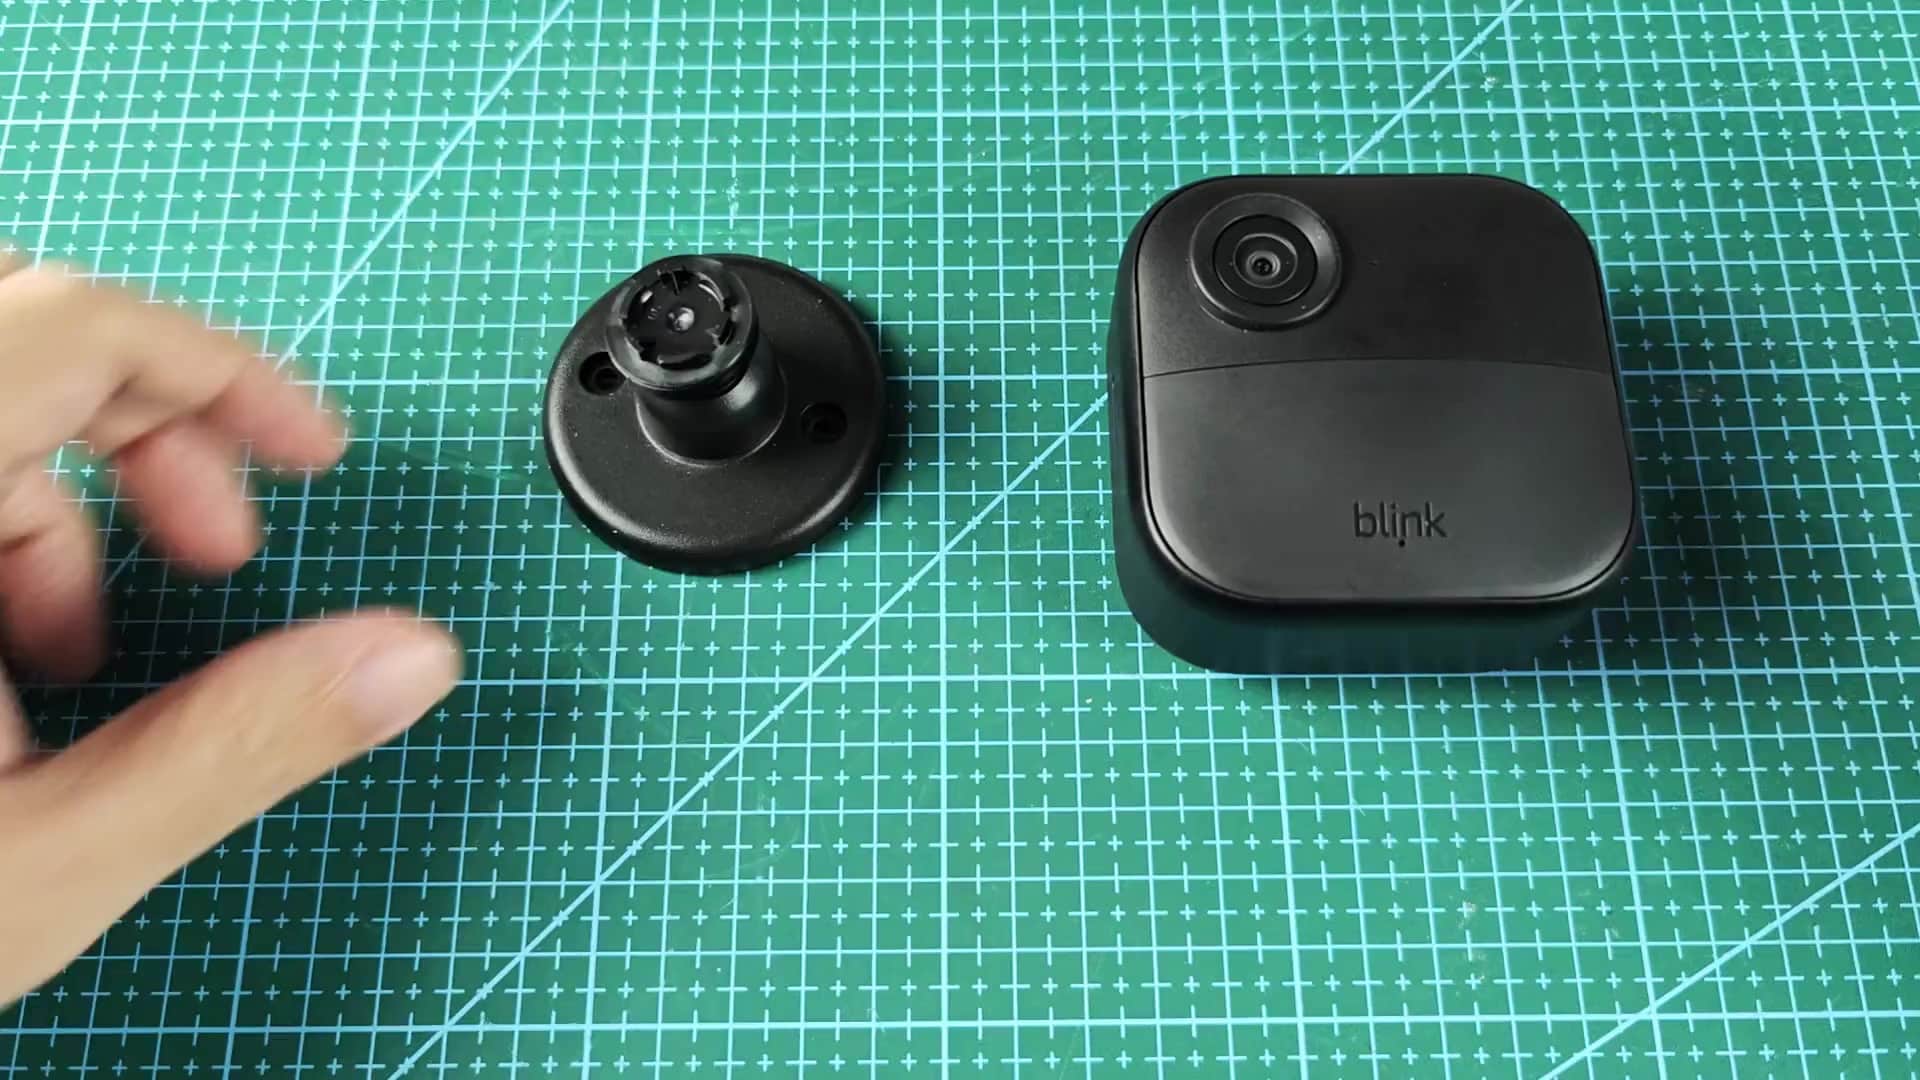
Having a firm grip on the camera with two hands help spread out the pressure, resulting in a quick and clean separation. To remove the camera unit from the wall, you apply a pulling motion with one hand while steadying the base with your other hand; it takes hardly any force at all to pop the two apart. The screw or adhesive used to attach the base do not affect how the camera attaches to the mount. The base remains stuck to the wall while only the camera unit detaches, so there is no fear of the whole thing coming loose.
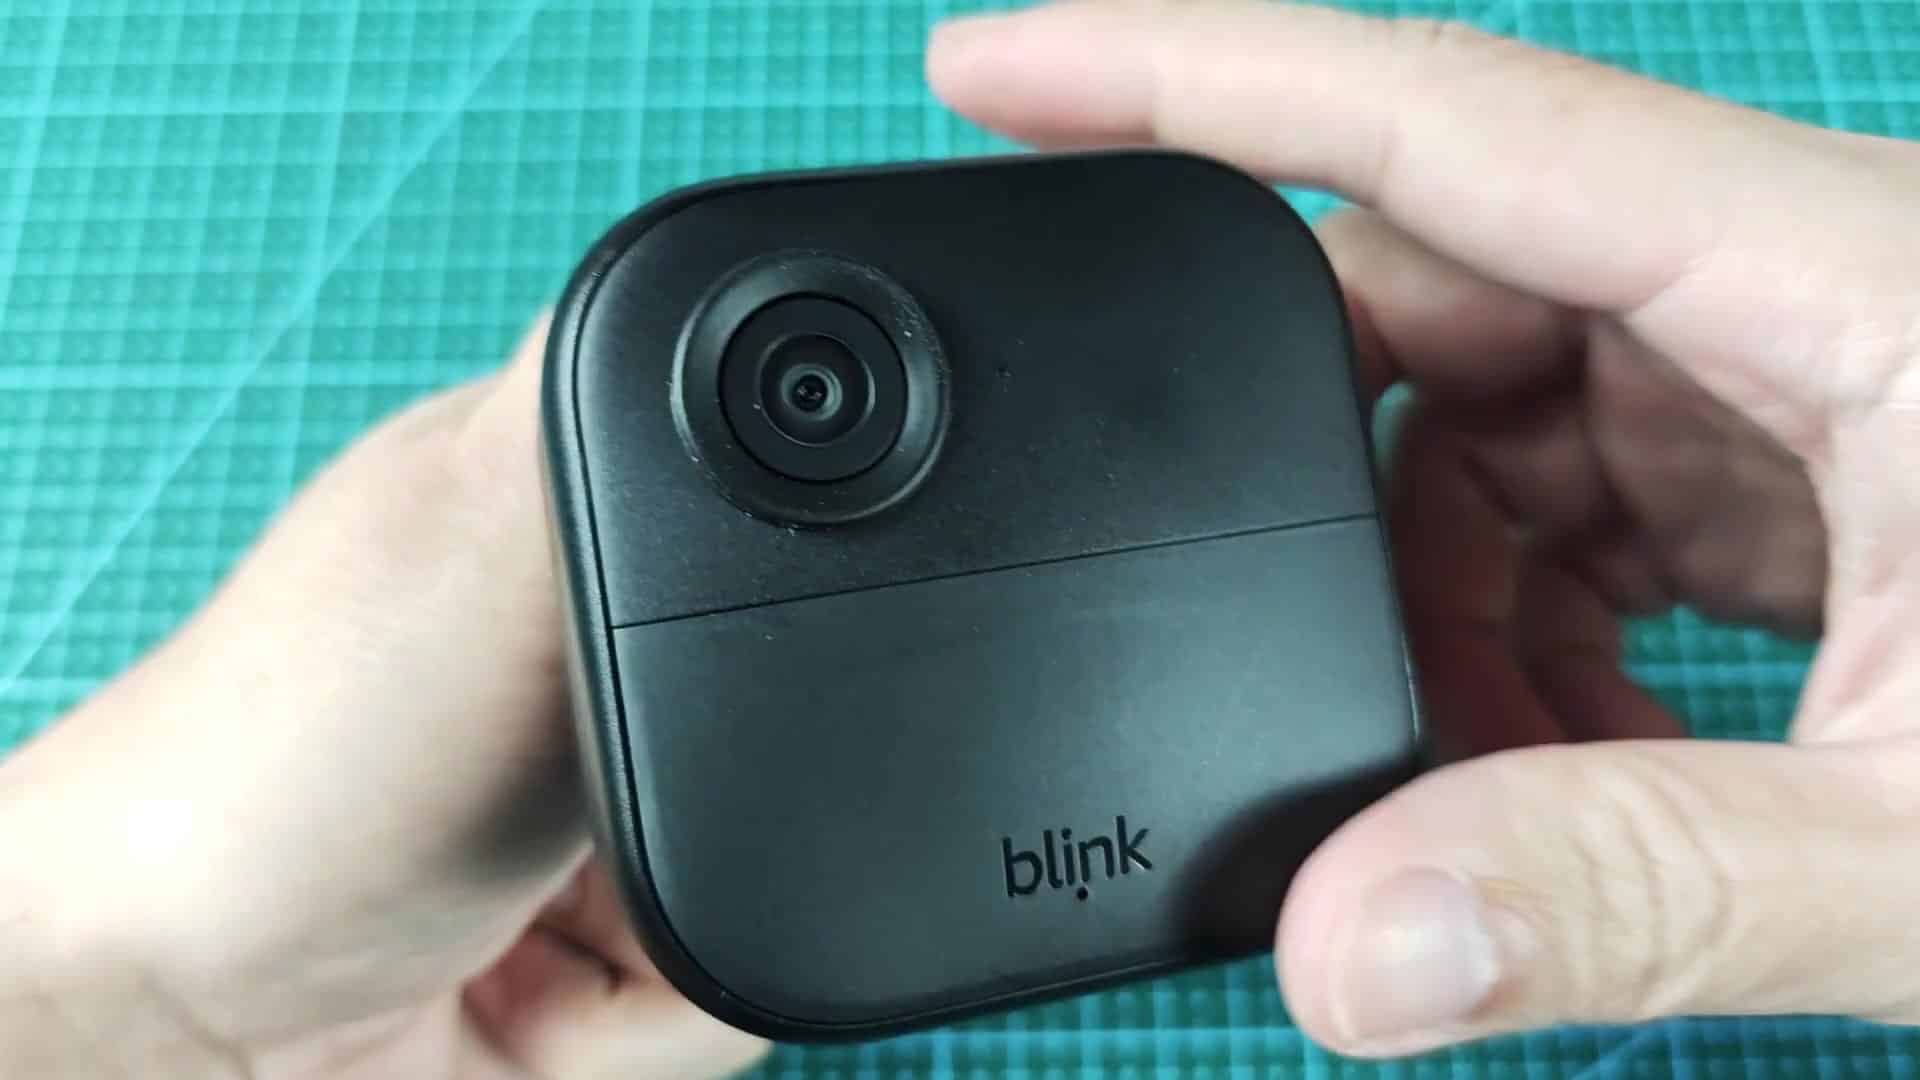
That makes it simple to reach into the battery compartment. It can also come in handy when making manual adjustments to the viewing angle. But once the camera is off, it’s easy to see where the magic happens; no tangle of wires or fragile connectors hanging out willy-nilly. It’s all locked up inside the housing, making service easier then expected. Replacing your battery will be hassle-free without a mess of twisted cables to contend with. Because the innards are enclosed, the process should of go smoothly.
How to Reassemble the Camera
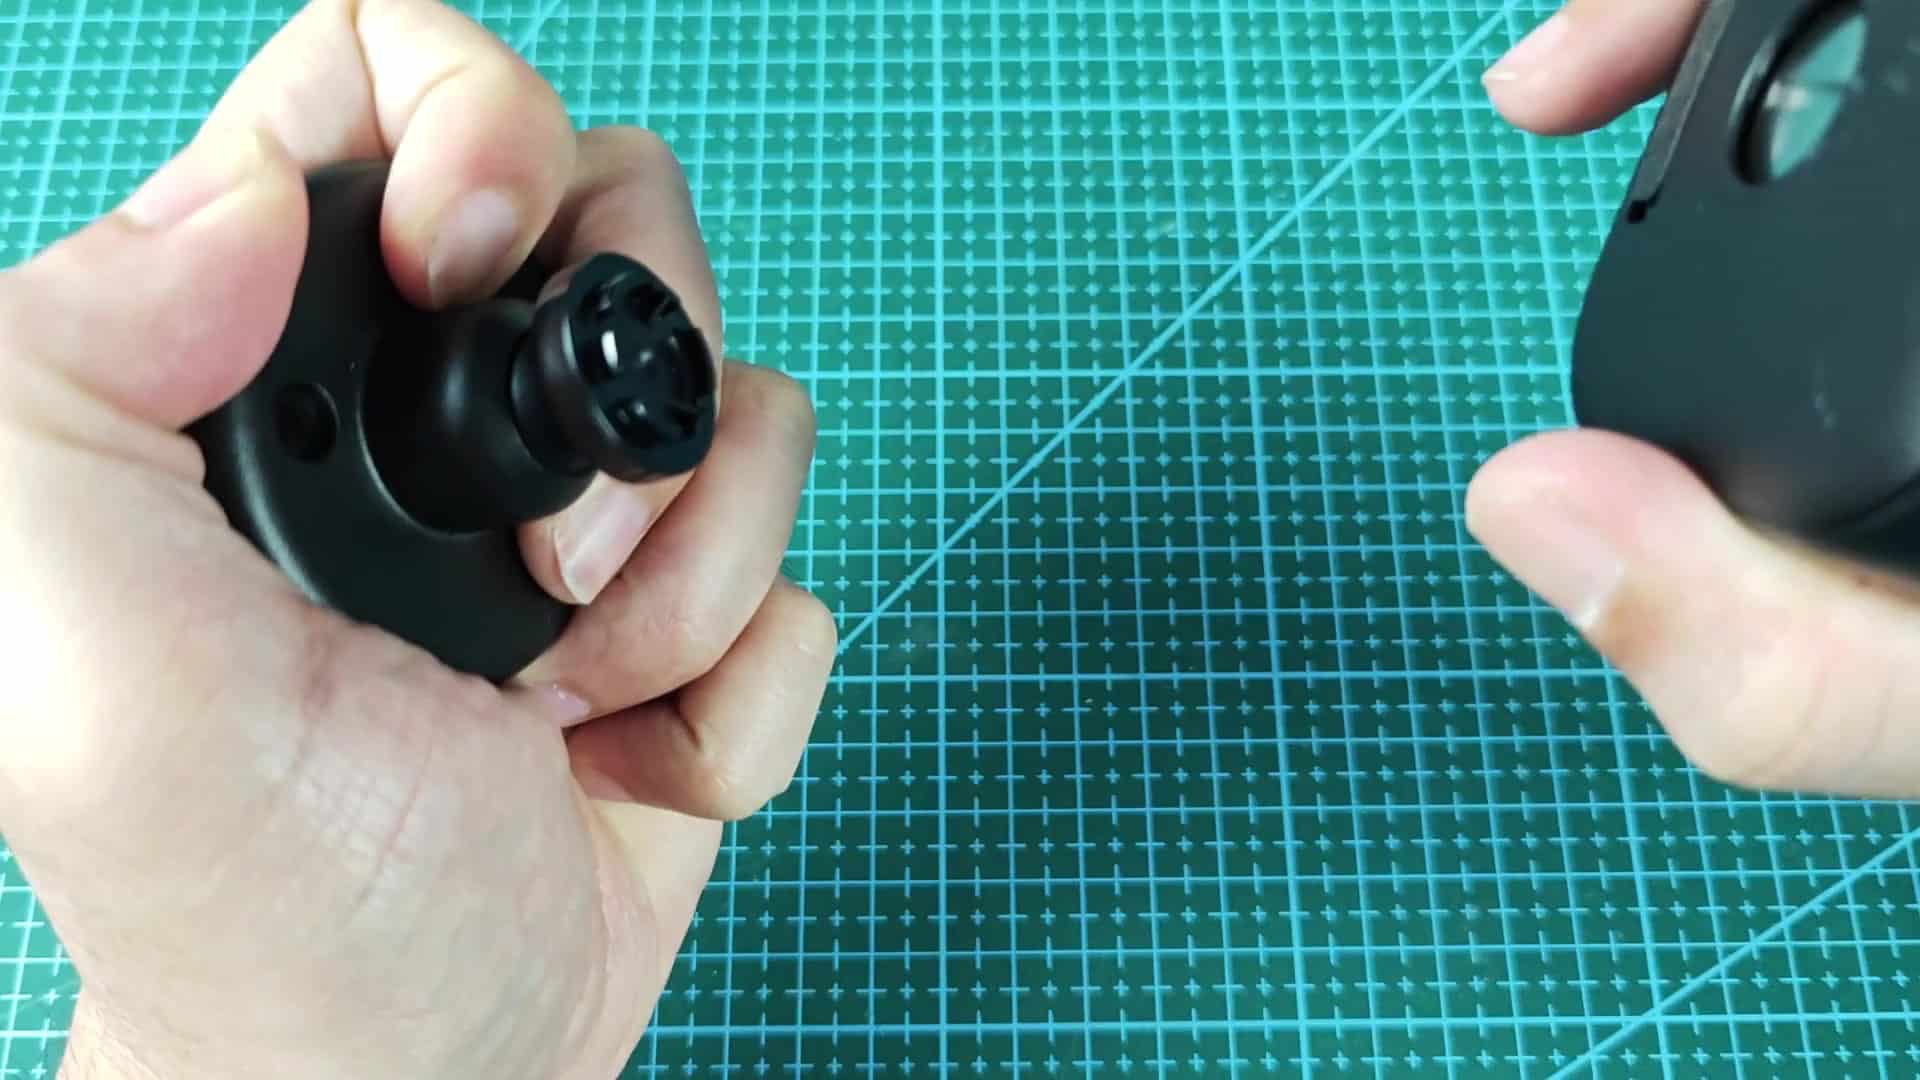
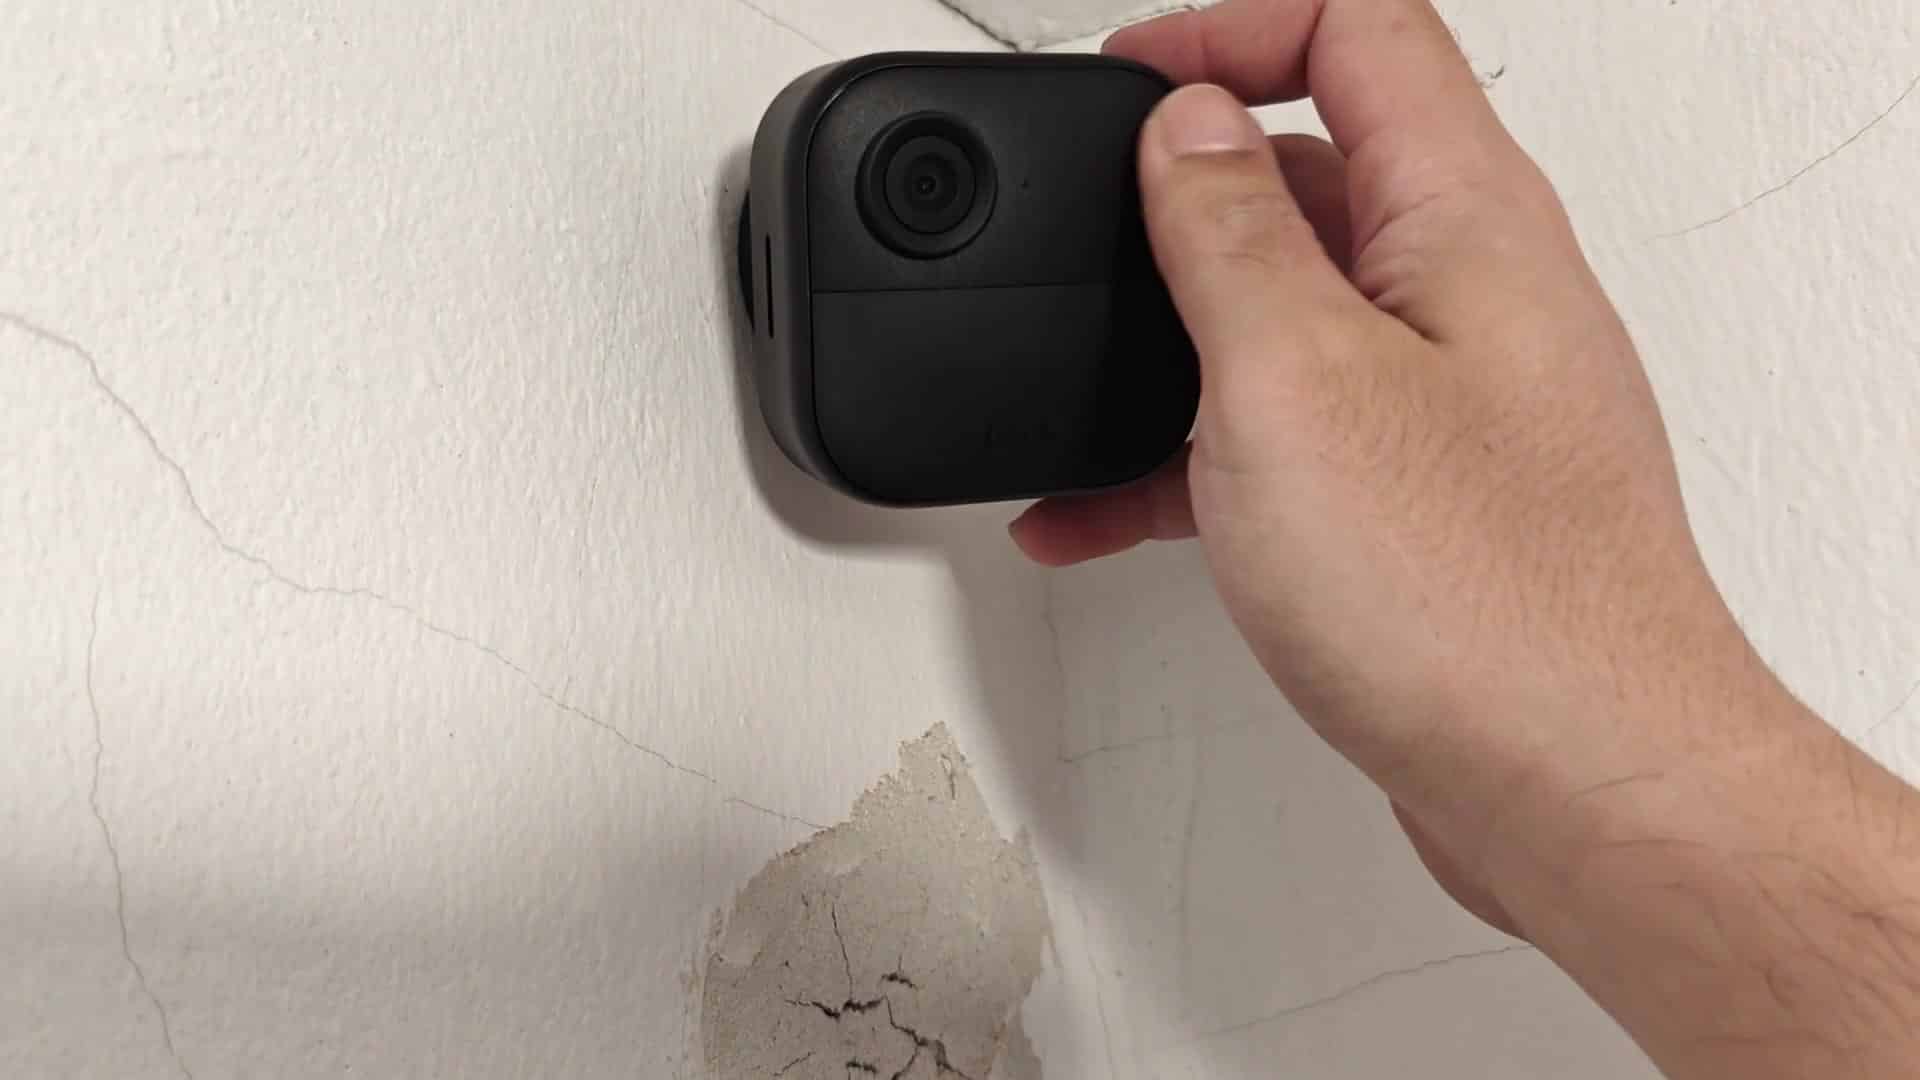
Reassembling the camera is equally simple. Simply line it up with the mount on your wall, push forward until you feel (or hear) a click and that’s it. It should be nice and tight on there. If it doesn’t slip right into place, don’t force it. Double-check that everything lines up properly before you continue.
Testing this removal process multiple times shows consistent results, and the camera detaches cleanly every single time.
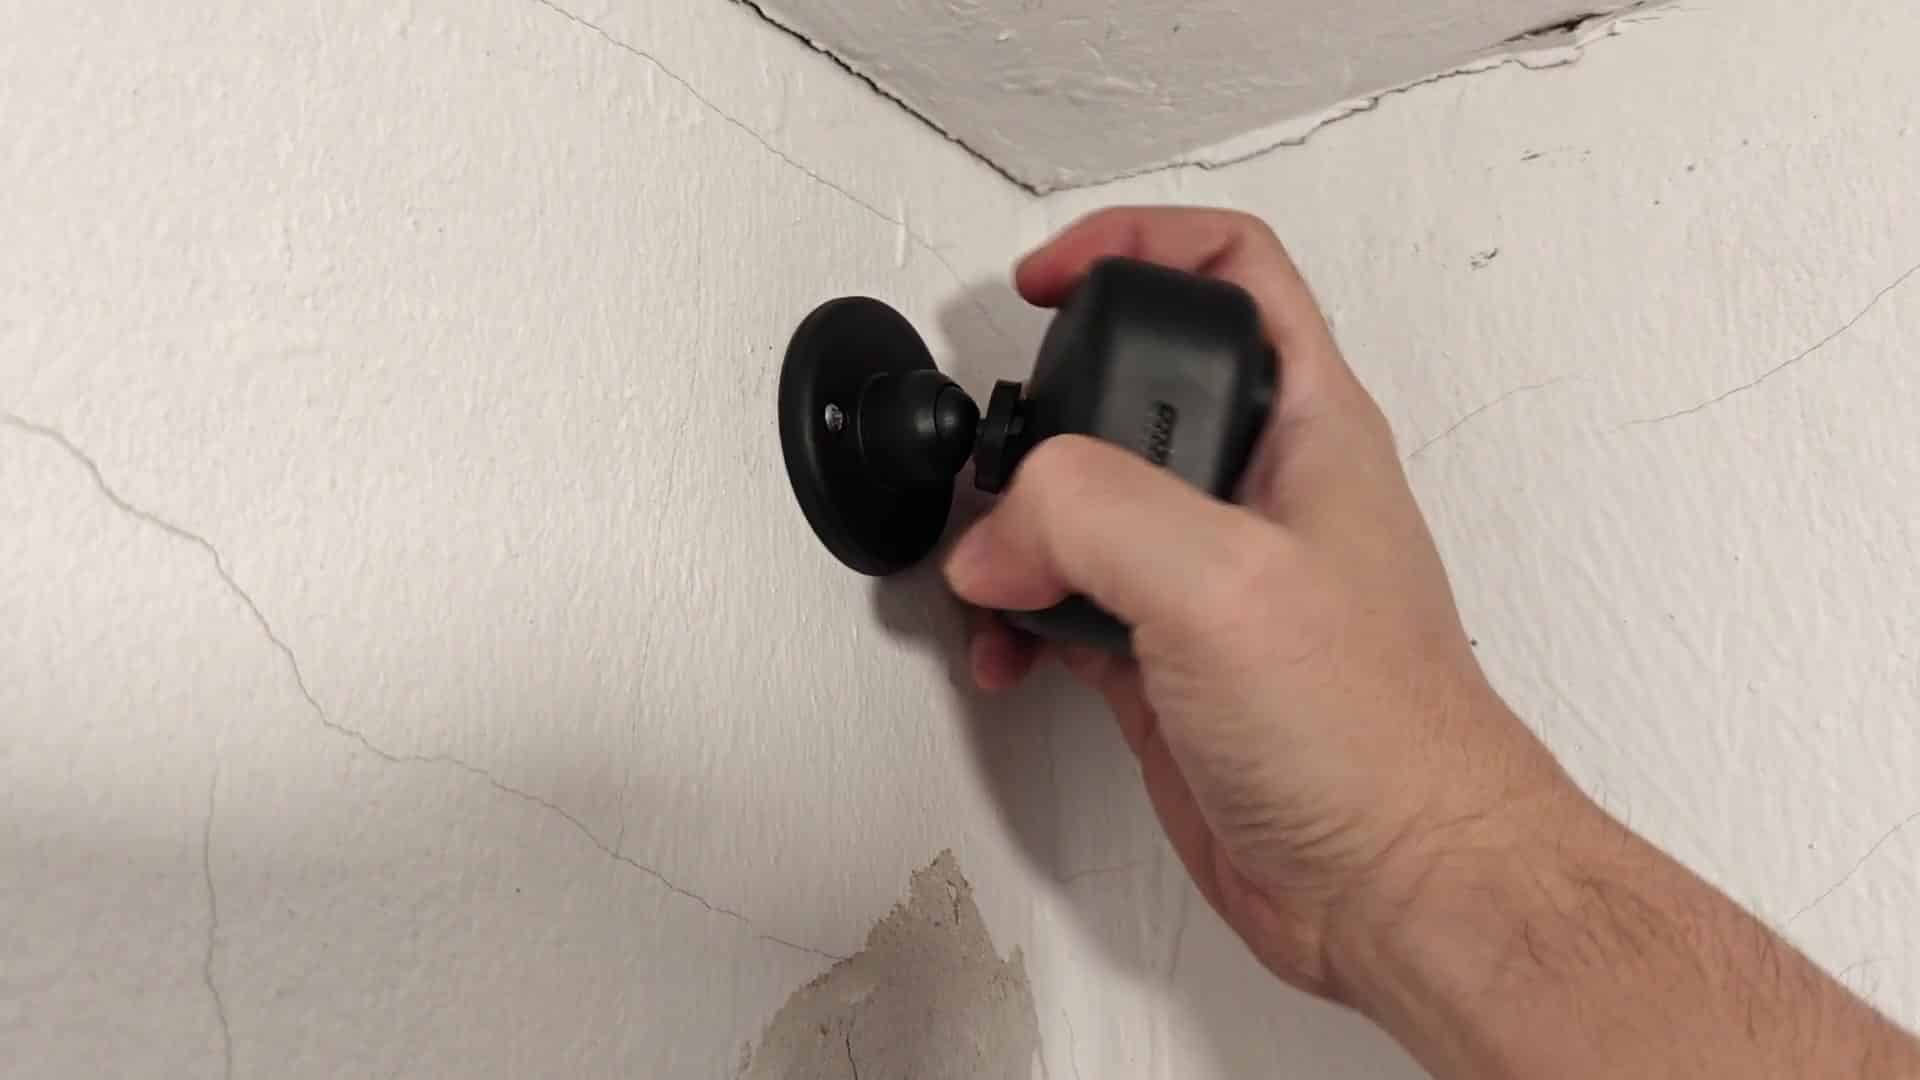
After testing this several times now I have never had an issue getting it off and it comes clean from the camera each time. It goes back on just as easily with no noticeable damage or wear after a few tries. You can take it off and put it back on as often as needed without any concerns that you are breaking something. Everything hold together well during normal usage. The Blink, however, has none of that nonsense. There’s no fiddling with tools or angle-specific release buttons here, you just pull it straight back to get it off and go about your business. No tools are required, and there is no pesky tiny pinhole you have to find to remove it.
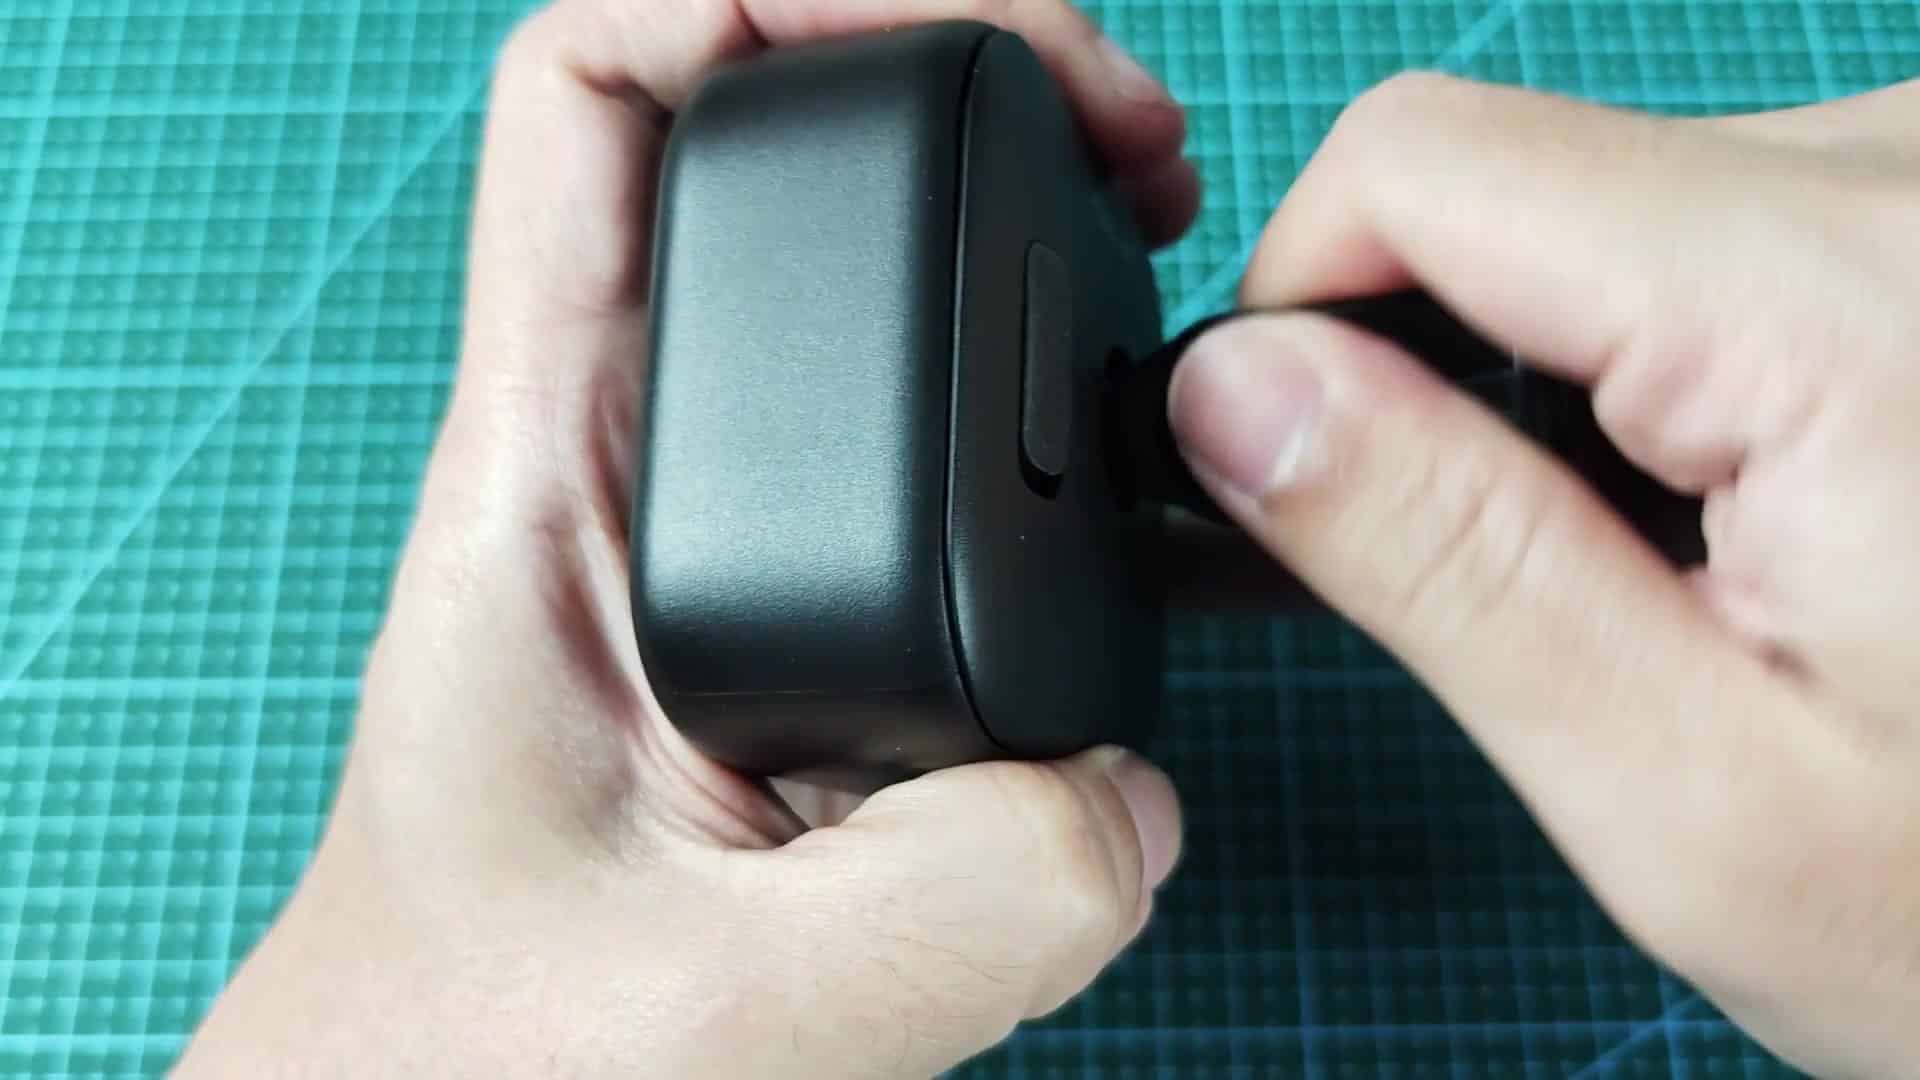
When I went to disconnect it, there was nothing to get out of the way, so no hunting through your drawer for a screwdriver (because you didn’t use one). It is simple enough that even Grandma can change her system, if she needs to. It makes maintaining the system a breeze for anyone. It’s solid on the wall too
You don’t need to be concerned about having this fall off the wall either during the install or after. It’s attached independently from the camera base and that keeps things secure at those attachment points. That makes it easy to get into the battery compartment. It also makes manual viewing angle adjustments possible when necessary. So rest assured that your camera will maintain whatever position you put it in. The ball joint holds well and doesn’t loosen up with use. After mounting the camera you can still adjust the angle if needed; however, you typically do this when the camera is removed. The range of motion is pretty decent for what’s needed.
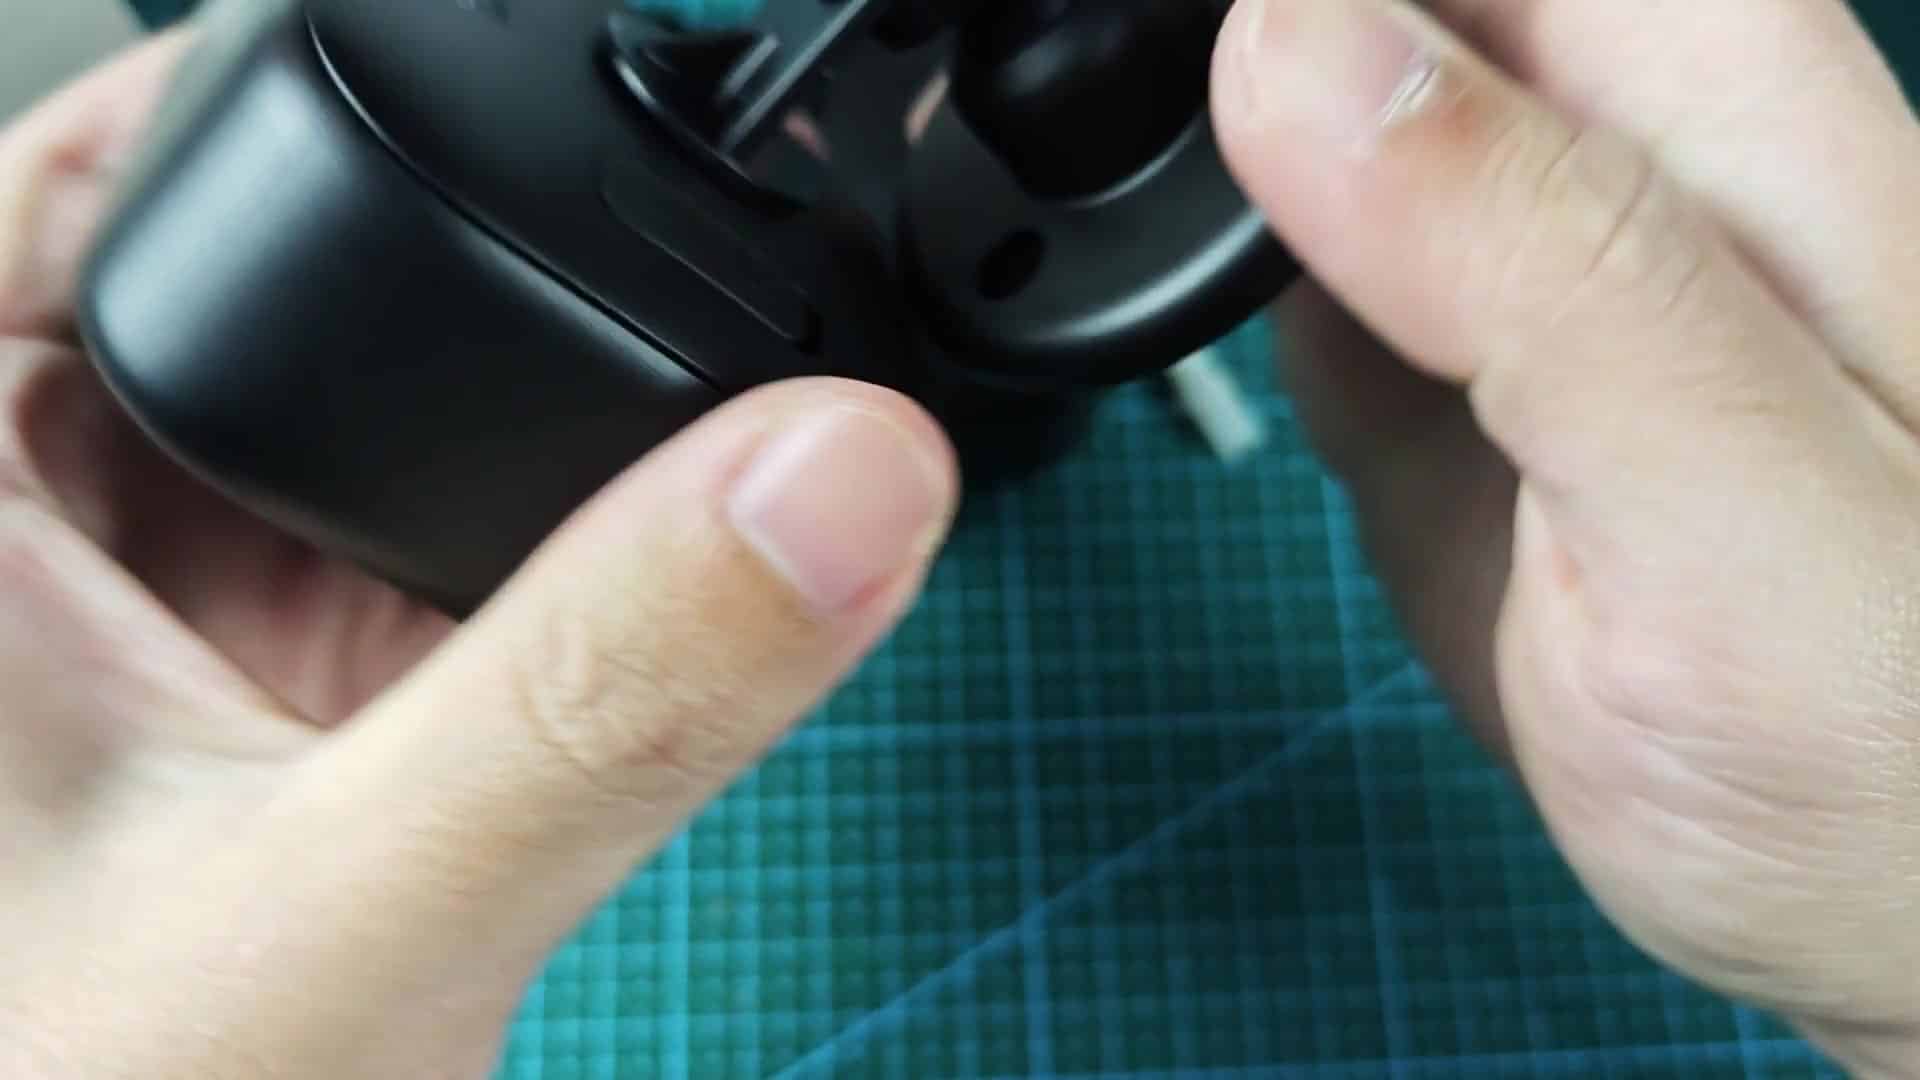
There is nothing worse than having your camera flop around and not know where it is pointing. When you put it on an angle you leave it there and it stays there, keeping things stable and monitoring the same spot. You don’t have to worry about the joint slipping. Just go back to it knowing it will be right where you left it. Sometimes there will be some debris/dirt which jams the clips; if you feel like it’s “stuck” try to make sure nothing is blocking your camera. In this case, cleaning it out might help.
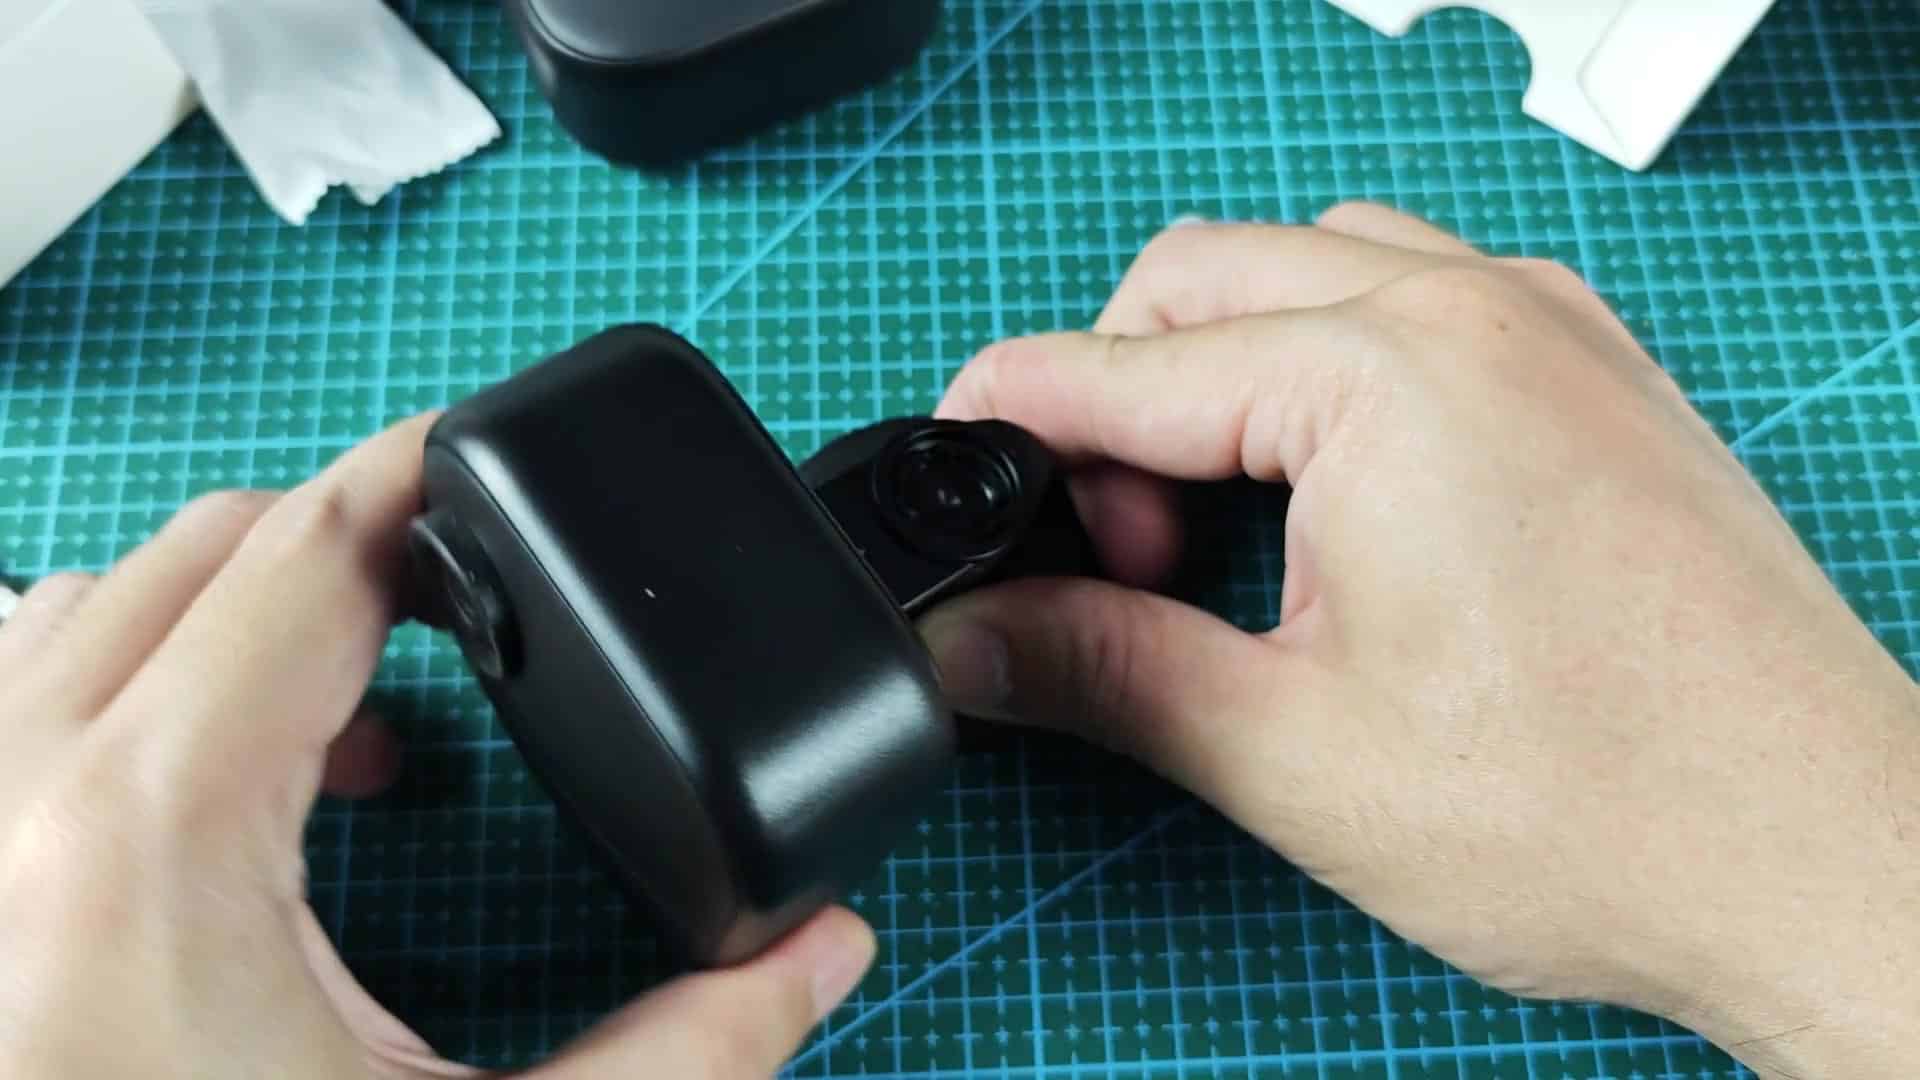
However, for the most part, if you pull it straight back it’ll come right off without any issue. Odd resistance rarely occurs and the design is pretty stout so don’t worry about being too gentle with them. Under normal conditions, it should slide out smoothly. It’s also very easy to use, as far as managing the camera goes; there aren’t many tools here, making it something that everyone can get used to. And if you have something quick that needs moving around in a hurry, everything can be set up within under a minute.
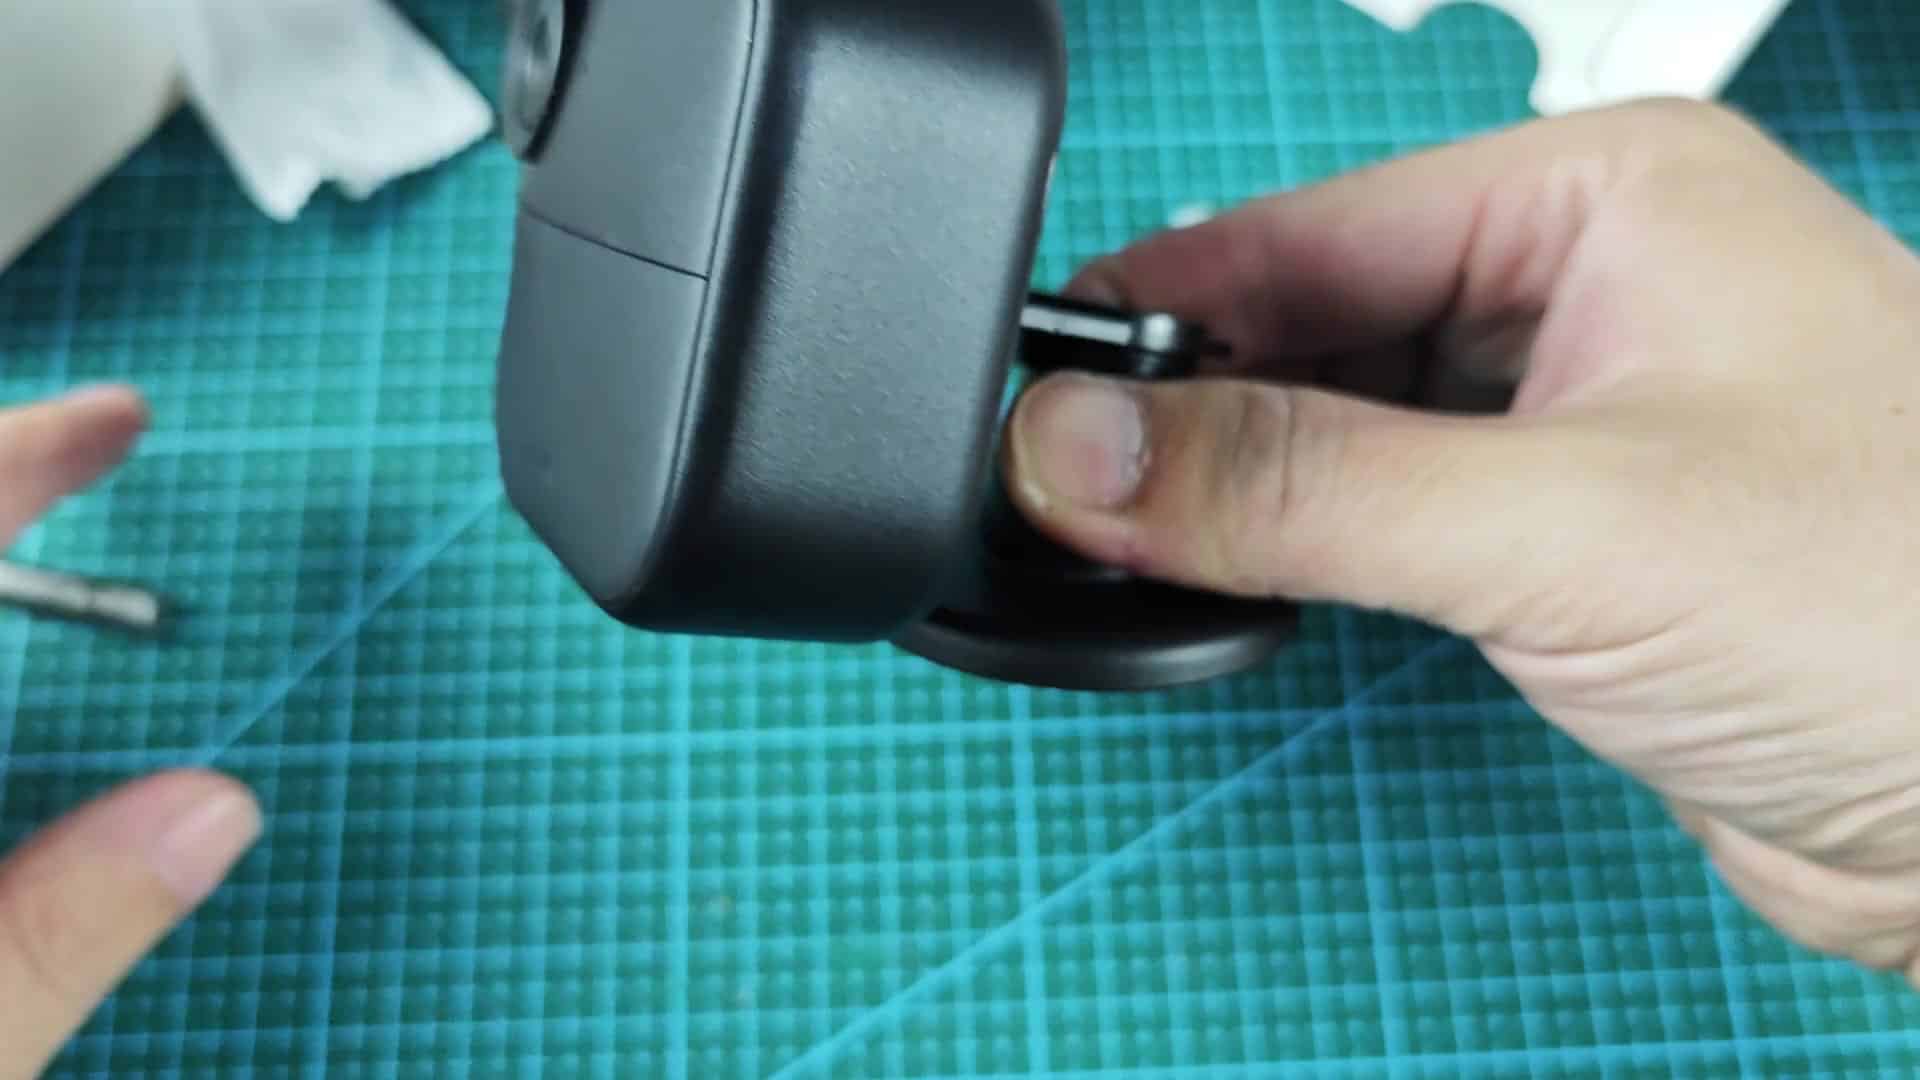
Sometimes the simplest answers are the best ones and this certainly applies here. With little time and effort, you’ll be able to keep on top of your security system.