
Setting up the Blink Outdoor 4 camera is pretty straightforward. It’s just a matter of knowing how to do things in what order.
Before opening up the Blink app on your phone, make sure you’re ready with hardware. Remove the back cover of your camera. This reveals the battery compartment. Inside, you’ll find two spots for AA batteries (standard). You’ll also notice a yellow sticker instructing you to pull it out to turn on the device. You will also see a QR code label.
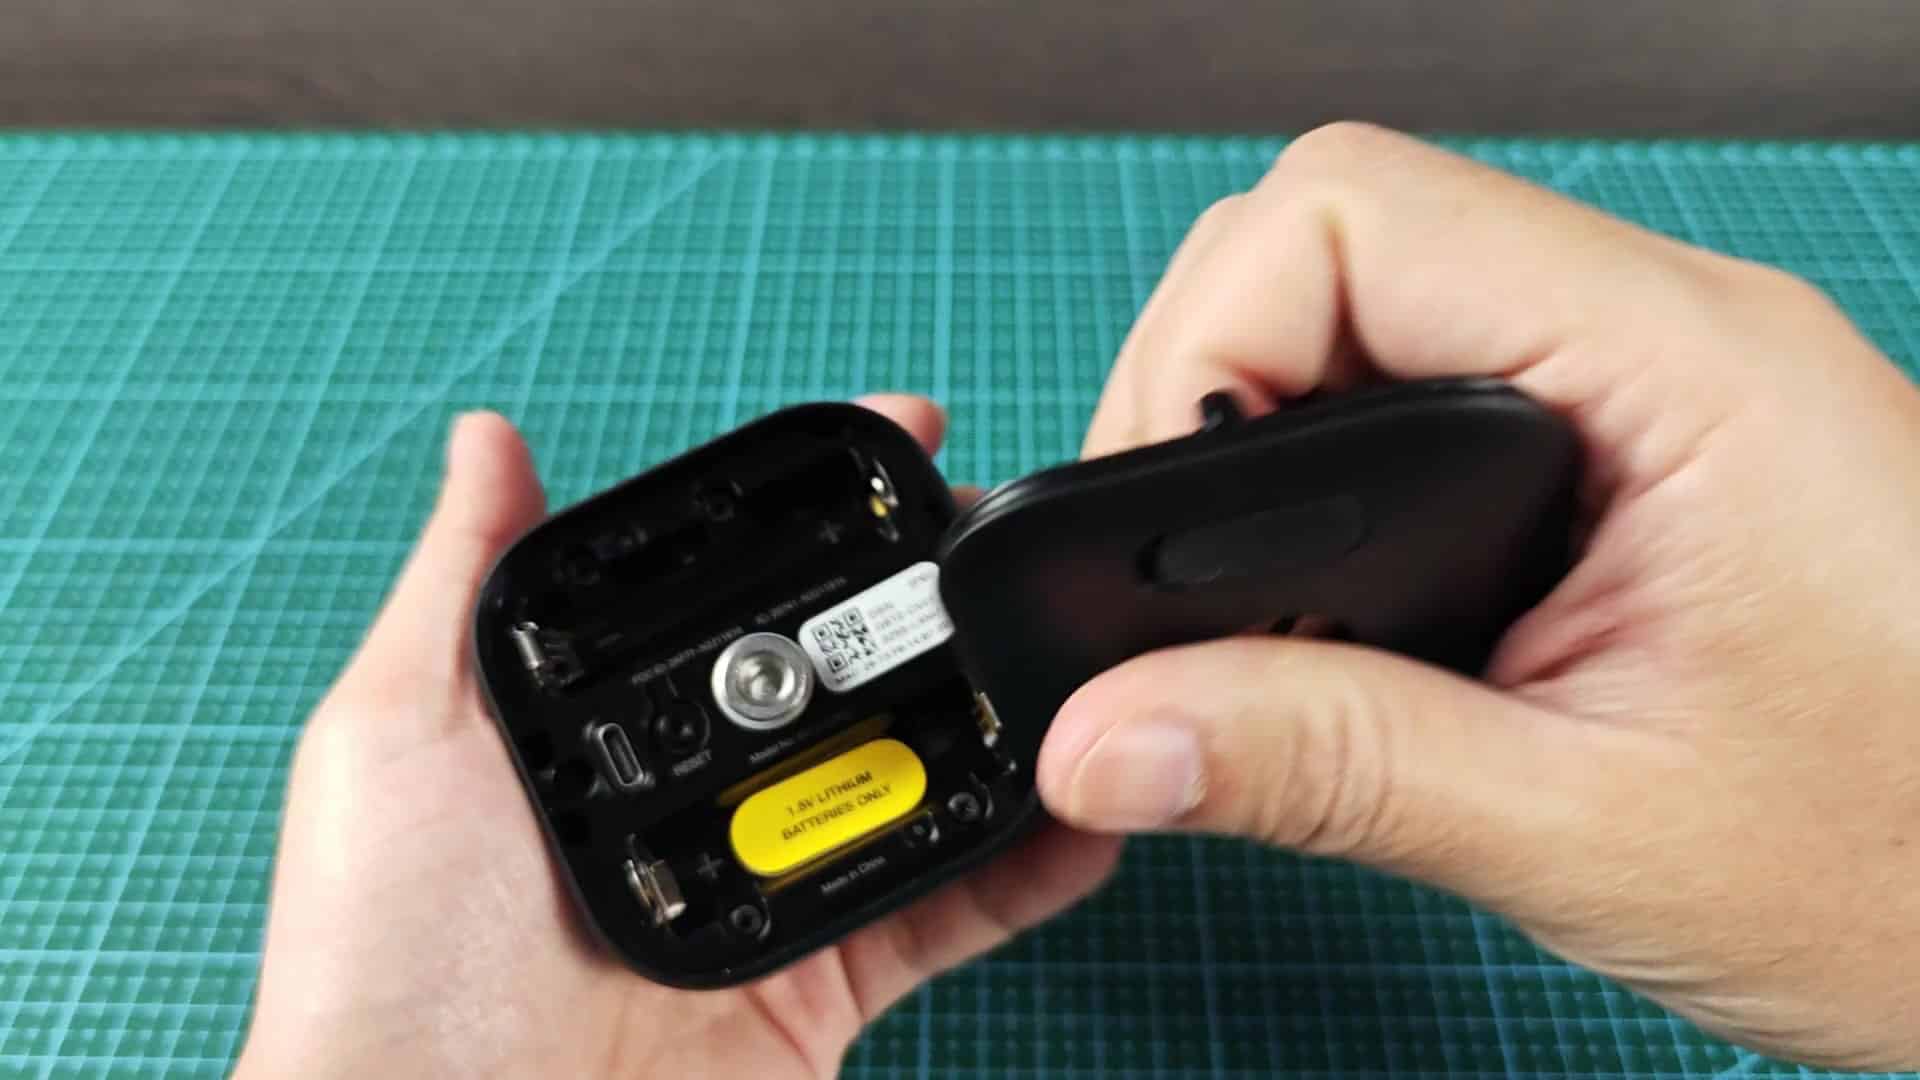
Wake the camera’s electronics by pulling on the tab. This will make sure that the camera is awake and prepared for immediate pairing during the software set-up.
Connecting Hardware and Sync Module
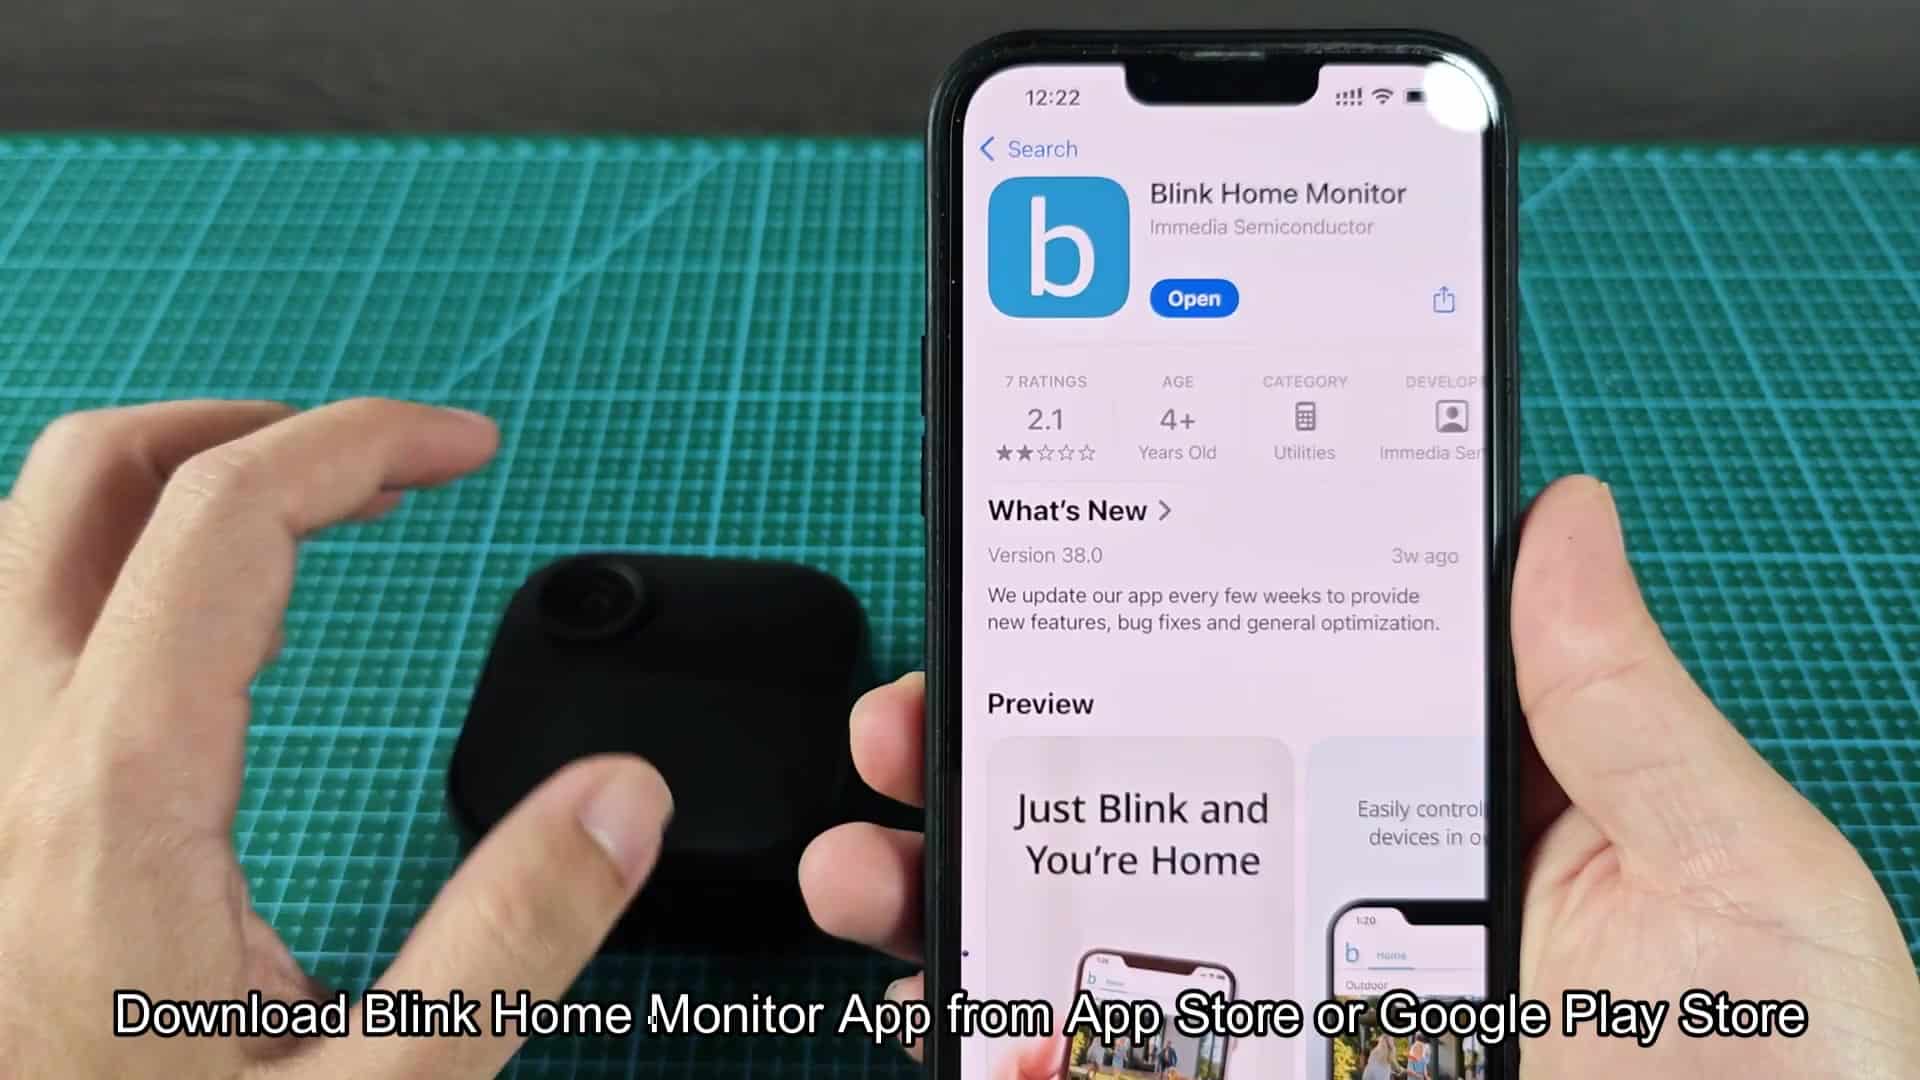
Open the Blink Home Monitor app from your mobile phone’s app store and install it. When the app opens, the interface pops right up. Now you’re prepared to get down to business and actualy pair the hardware.
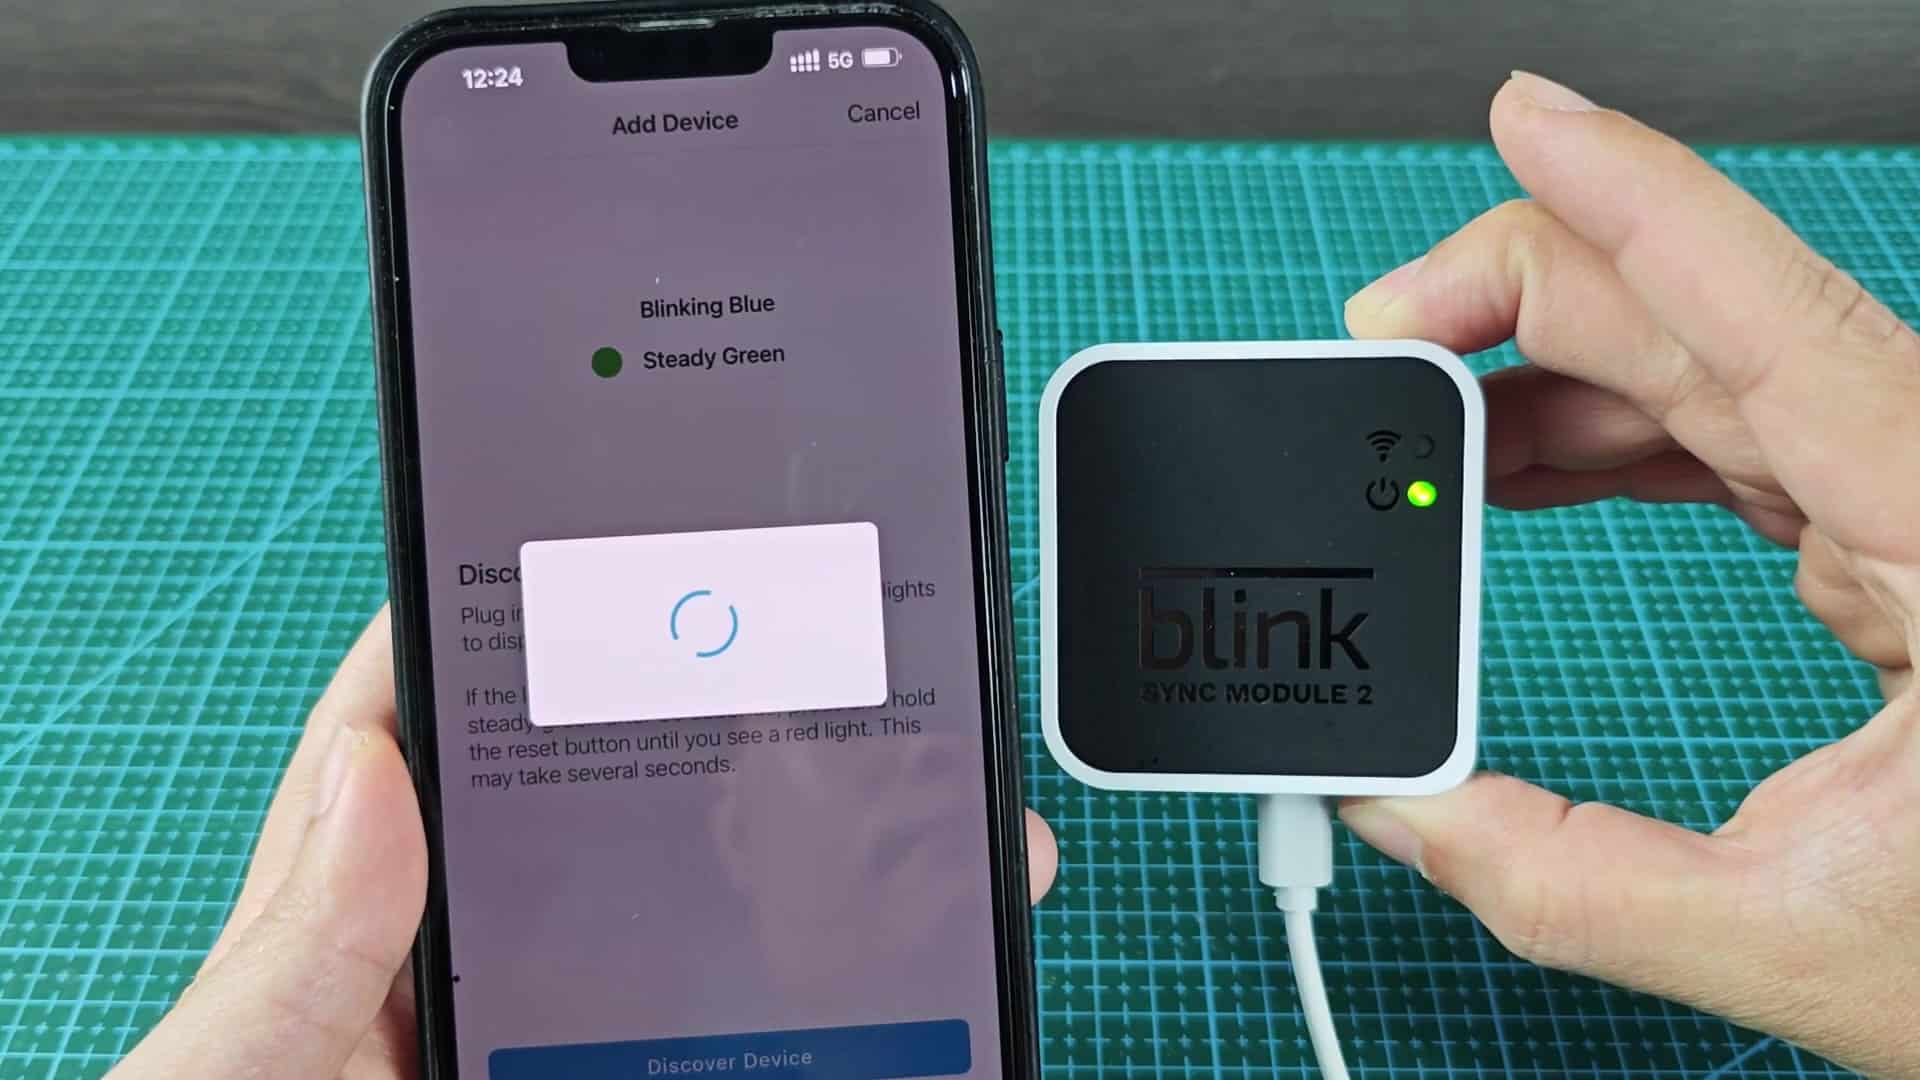
Before attempting to add a camera, set up the Sync Module 2. Using the included USB cable, plug the module into power. The module is online once the blue and green LEDs next to the WiFi icon stabilize. This base station will be required for the cameras to connect.
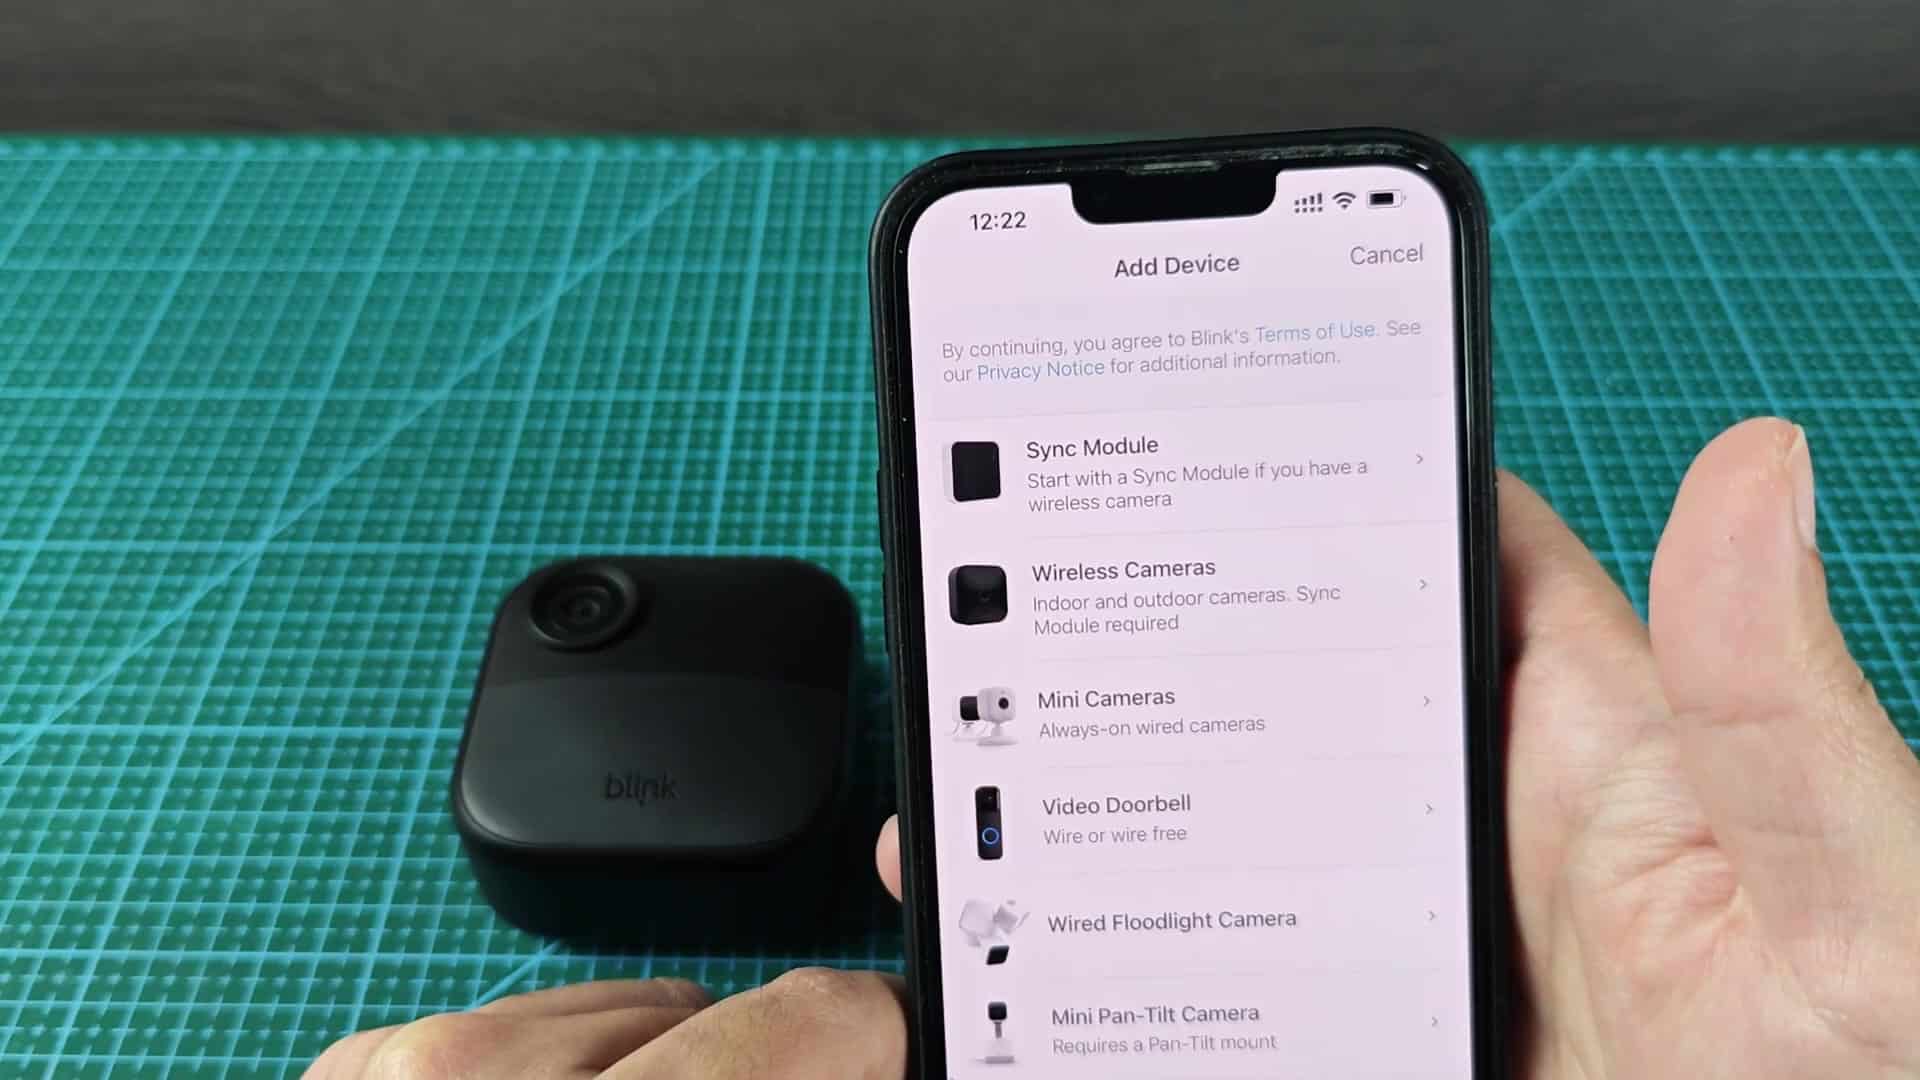
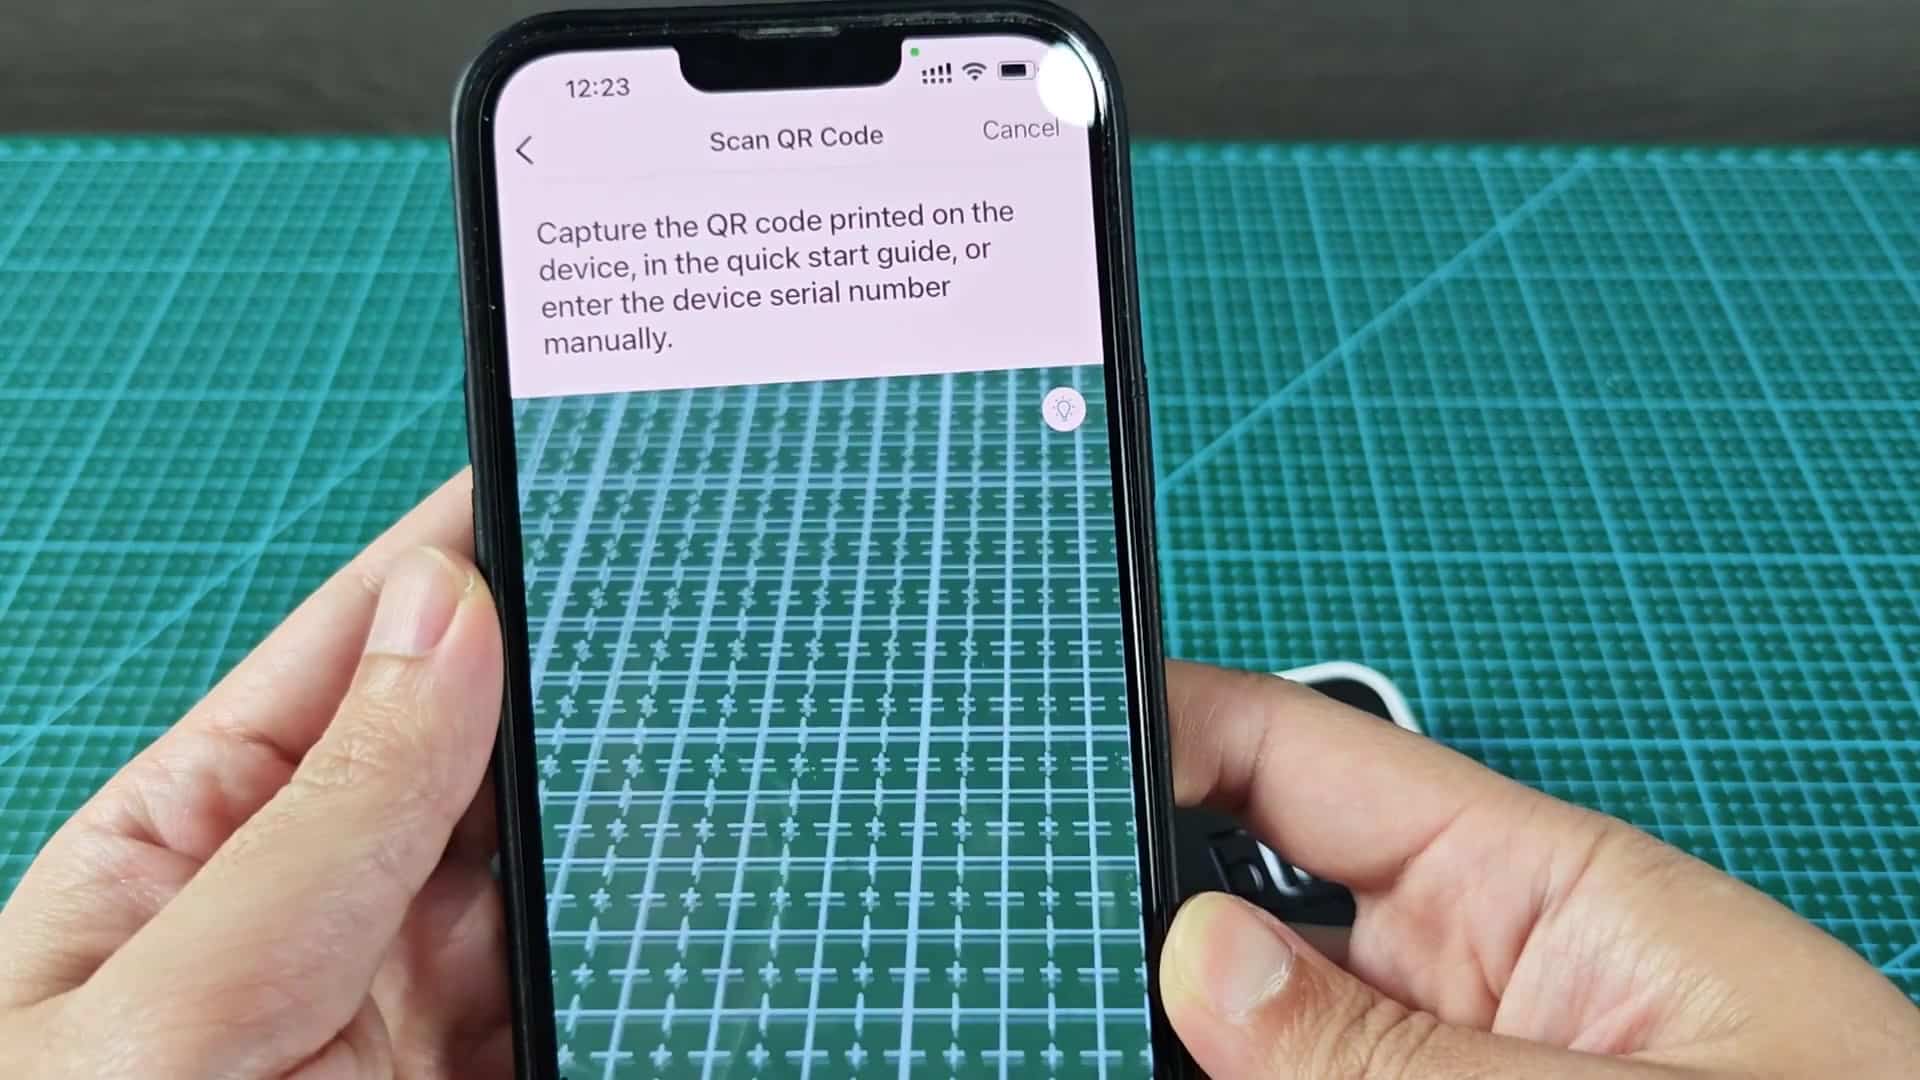
To set it up, open the app and choose Add new device. Tap on your phone’s camera to scan the QR code found printed on the camera itself. It will immediately read the code and bring you to the setup page without any typing required (since that would of involved writing out a lengthy serial number). This is much quicker then typing in numbers one at a time.
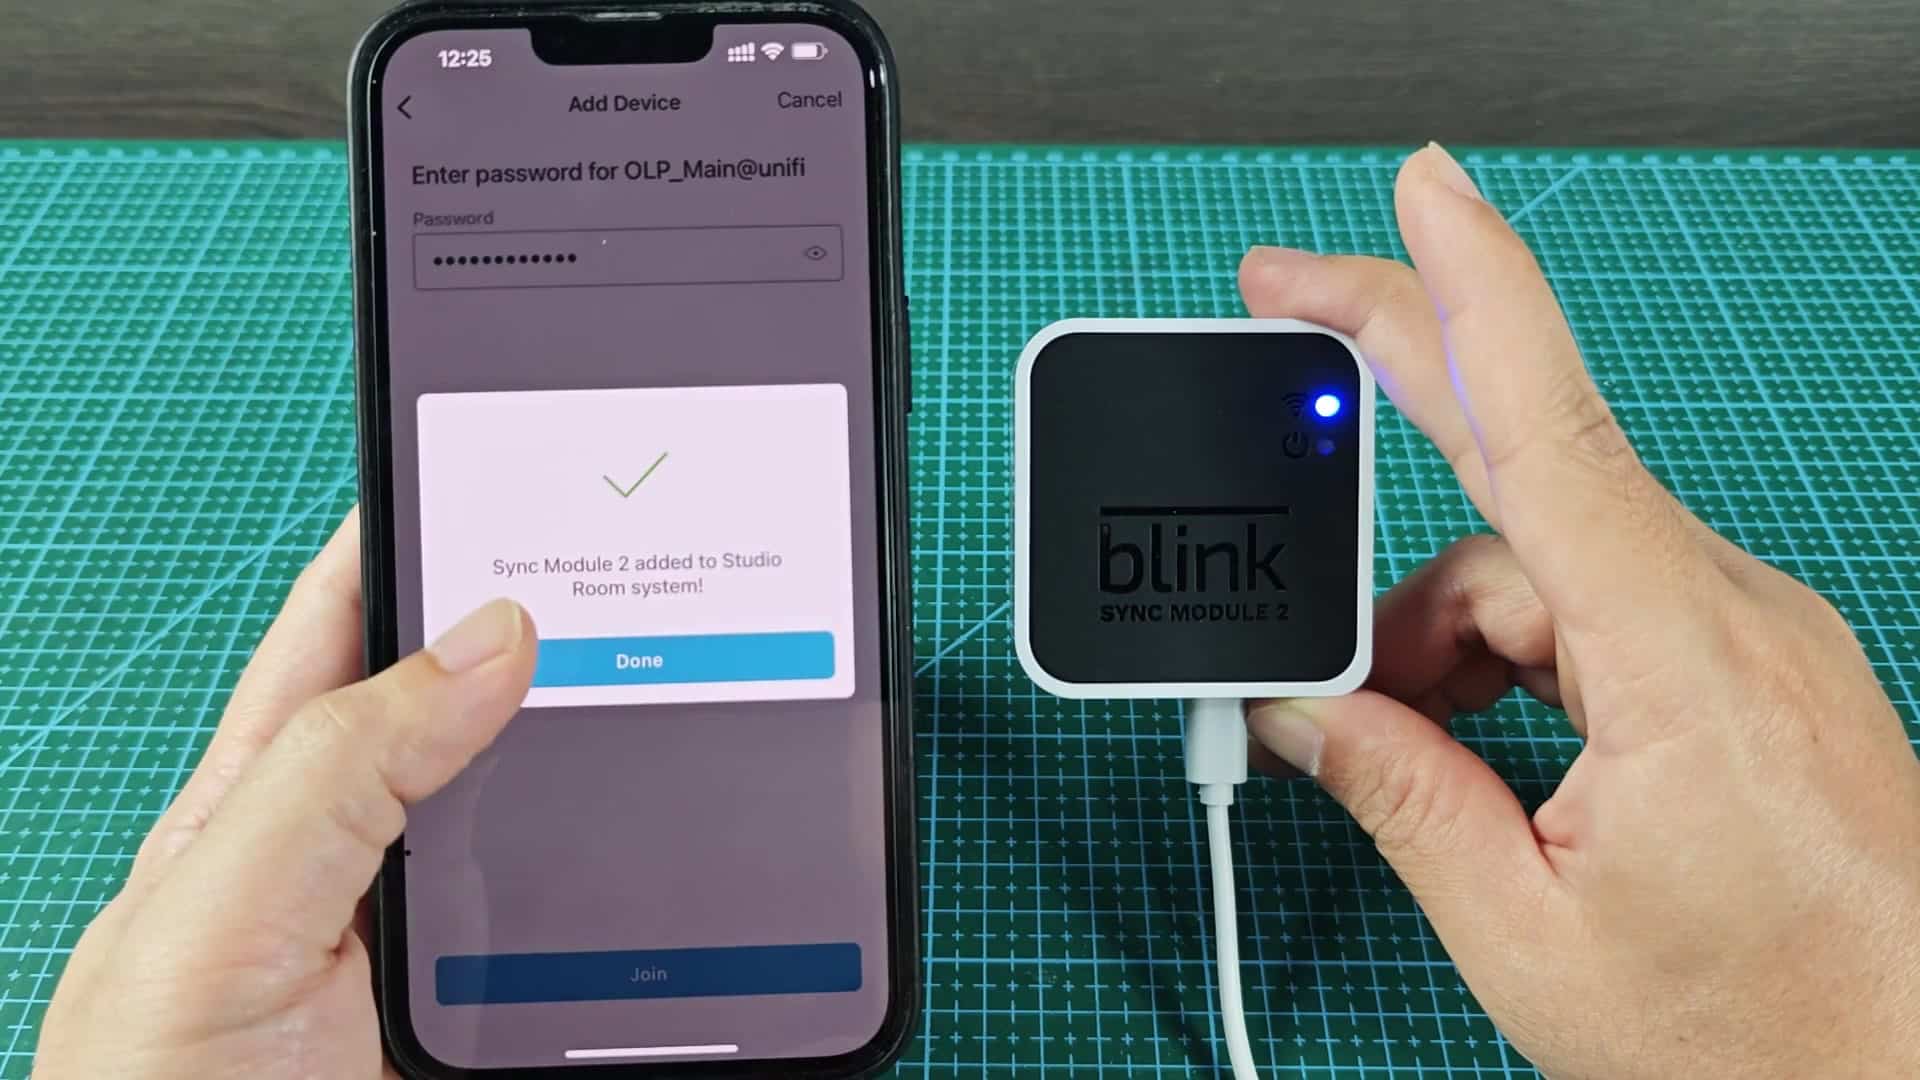
In the app, you’ll see a list of all nearby available WiFi networks. Choose your home network from here. You’ll be prompted to enter your wifi password so that Blink can connect to it. Everything should go smoothly and there shouldn’t be any error. If your network strength is solid enough, you should see a green check mark in the status screen.
After adding the module, you will see a confirmation pop-up stating that it has been added. This is complete with a check mark and text saying “Done”. At this point the Sync Module 2 has been added to your system… The biggest hurdle cleared. Now everything are connected and secure. You’re ready to set up the camera itself.
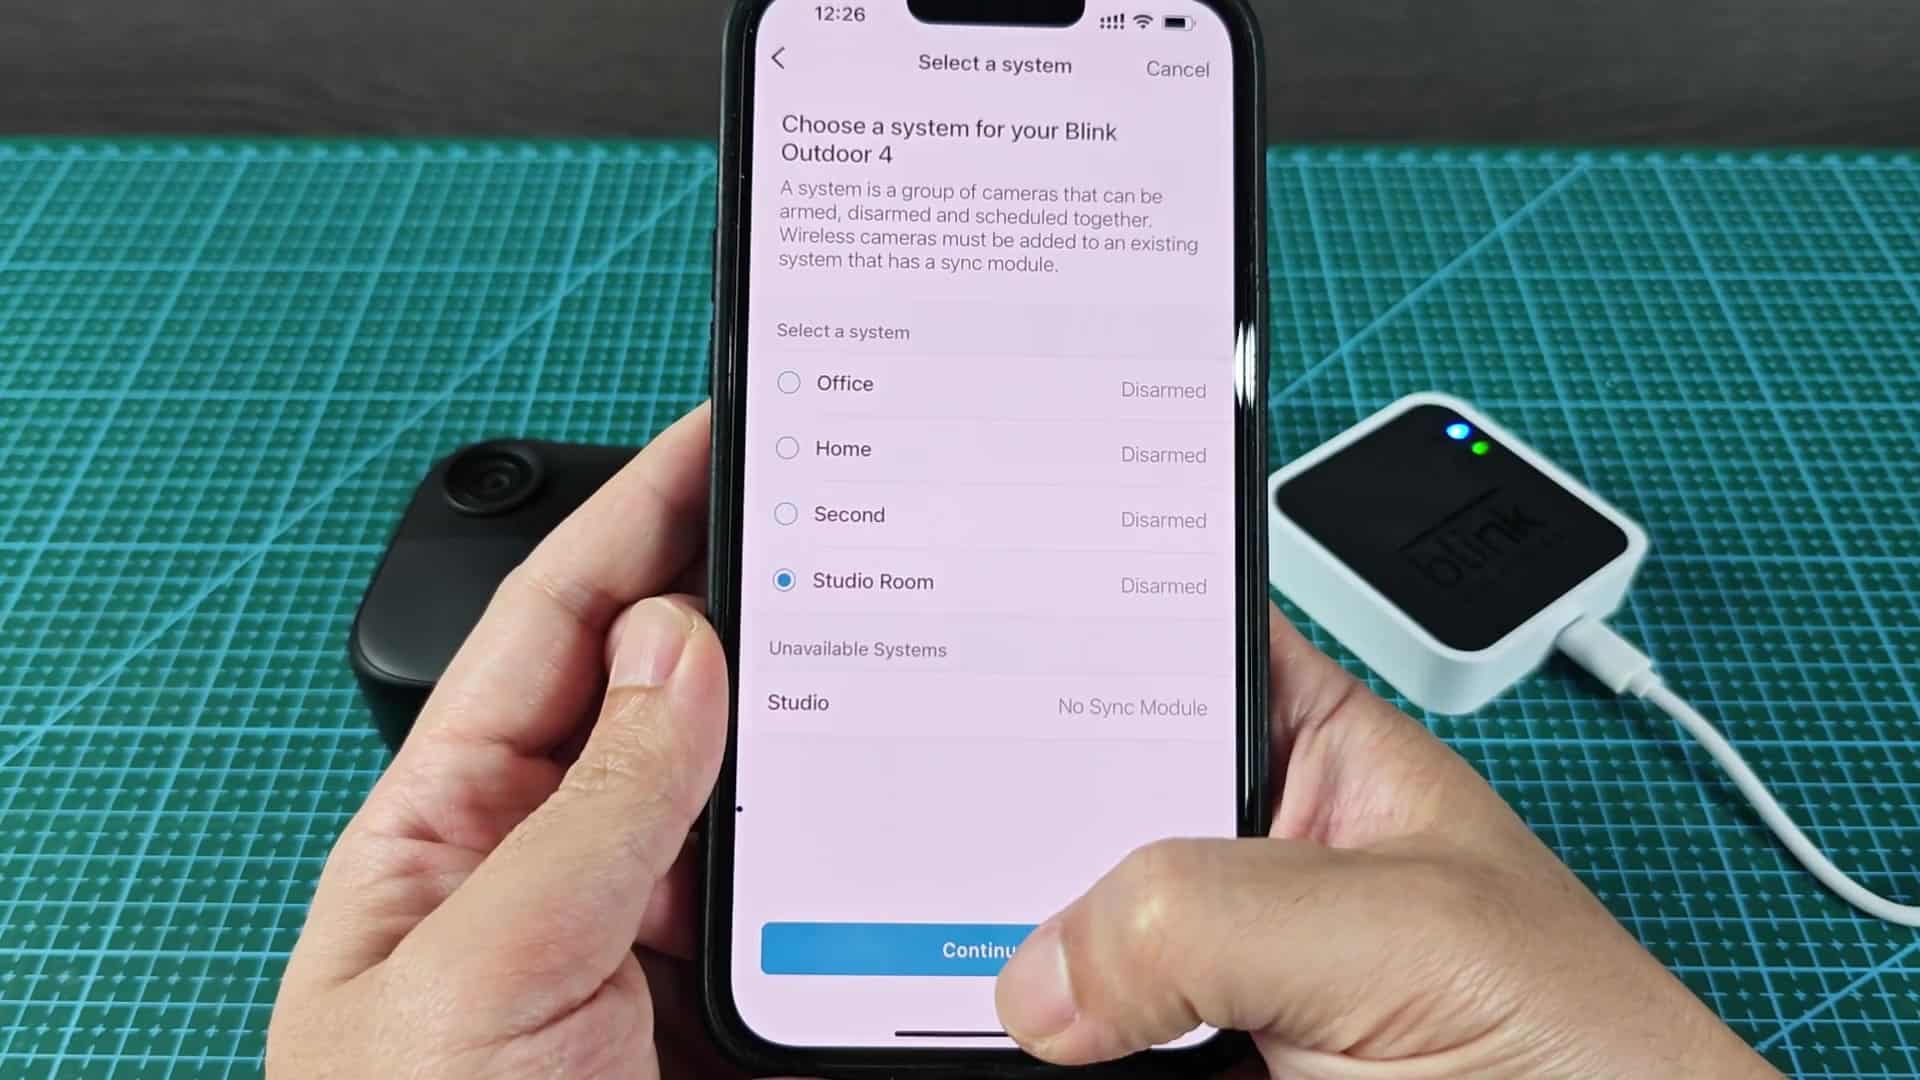
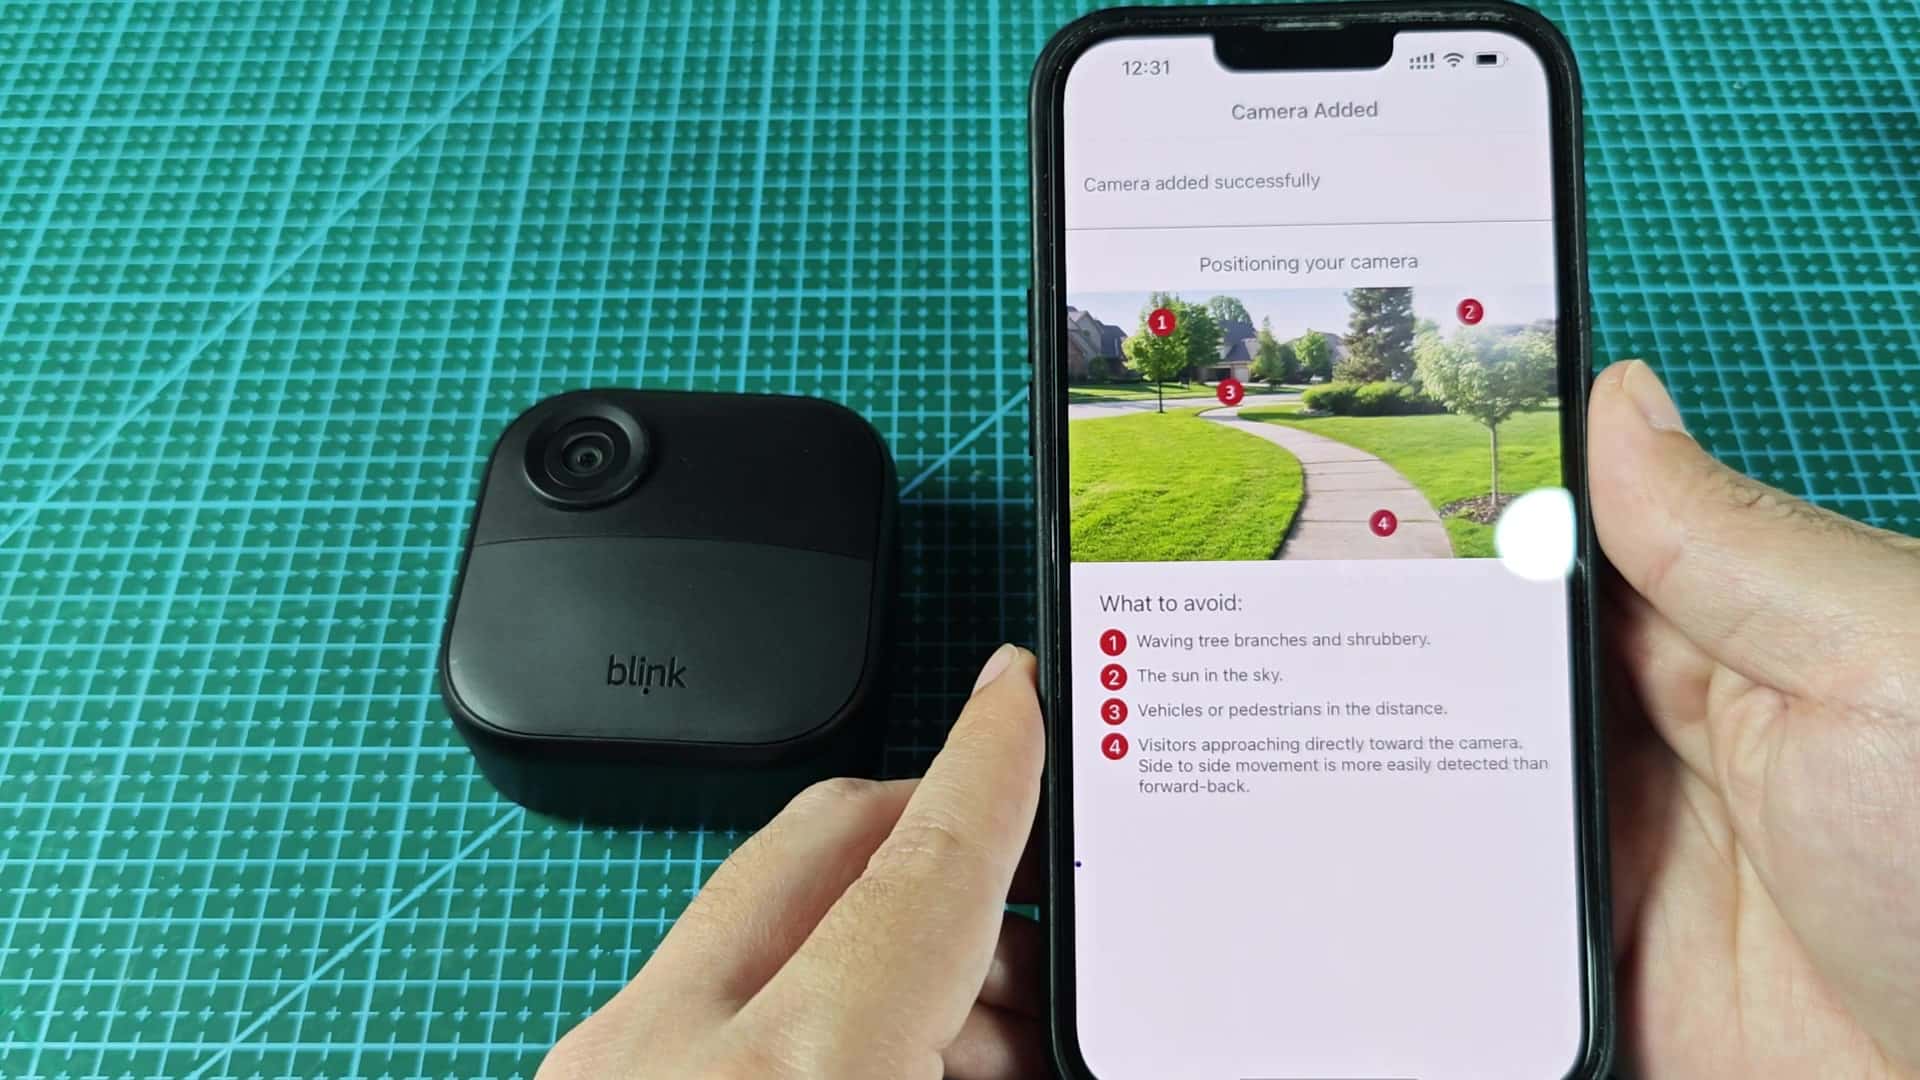
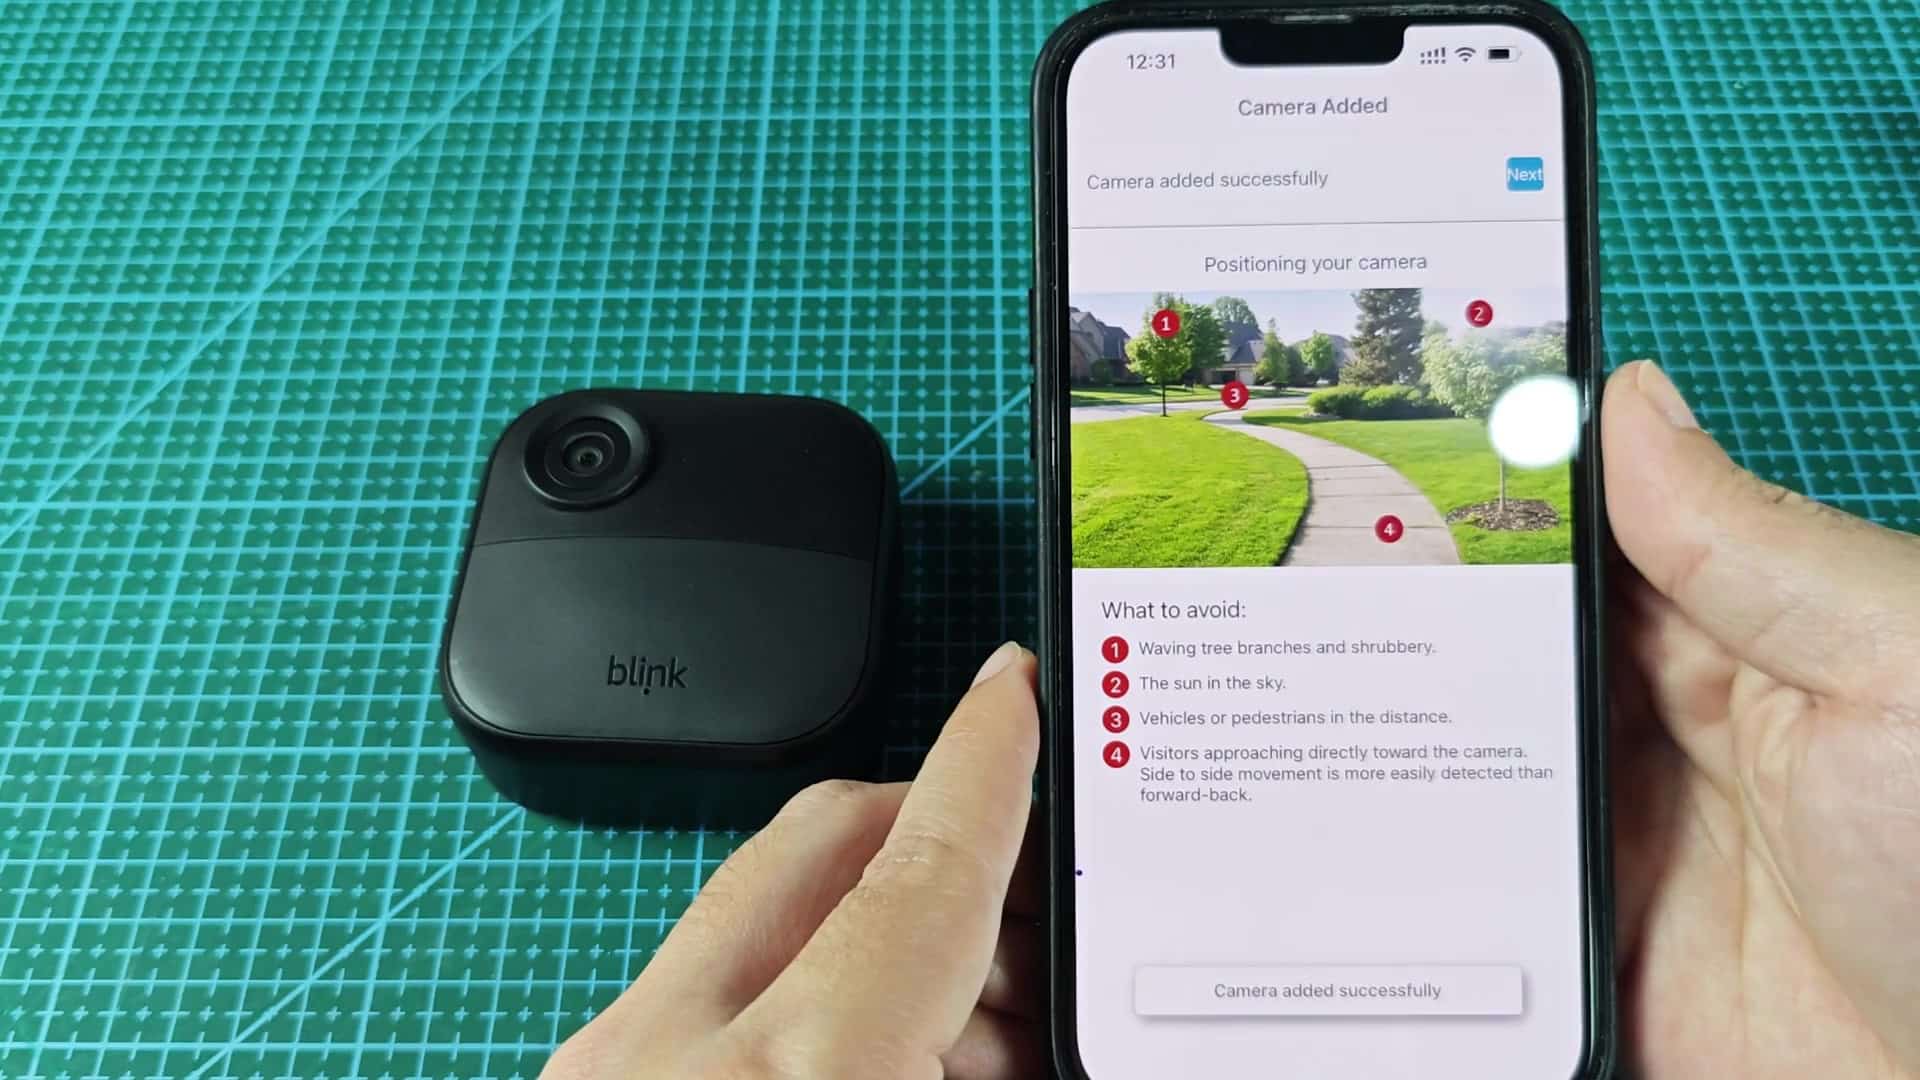
Then set up the camera where you want it indoors or outdoors. Next, the app tells you to place your camera and scans around to find it. It will show on screen if there’s a problem. Like sunlight glare directly onto the camera or waving tree limbs, etc.
You might get false alarms with vehicles that pass by too far away. That side to side movement work best, not forward movement.
After a couple seconds of searching, the camera adds successfully. We get confirmation that the camera has been added to the network. For those who make common missteps during their set-up process, they still have access to the positioning tips for future reference.
As you can see, your camera is now listed in the view. Its ID number match the one displayed on the back of the unit, confirming that you’re setting up the proper camera.
Go into the app and go to the device list, under your room name. Here you’ll see the new camera tile. It’s got the little play icon on it. And you also still have the Sync Module status showing that it’s still online.
So you know all these things are talking to each other properly which puts your mind at ease. You’ve got two device now clearly listed so you can easily see them and manage them. That organization makes managing the system down the road easier.
Head into the settings on the device. You’ll find a few menus where you can tweak things like audio and video preferences as well as motion. Privacy tools will also be found here, along with other different options.
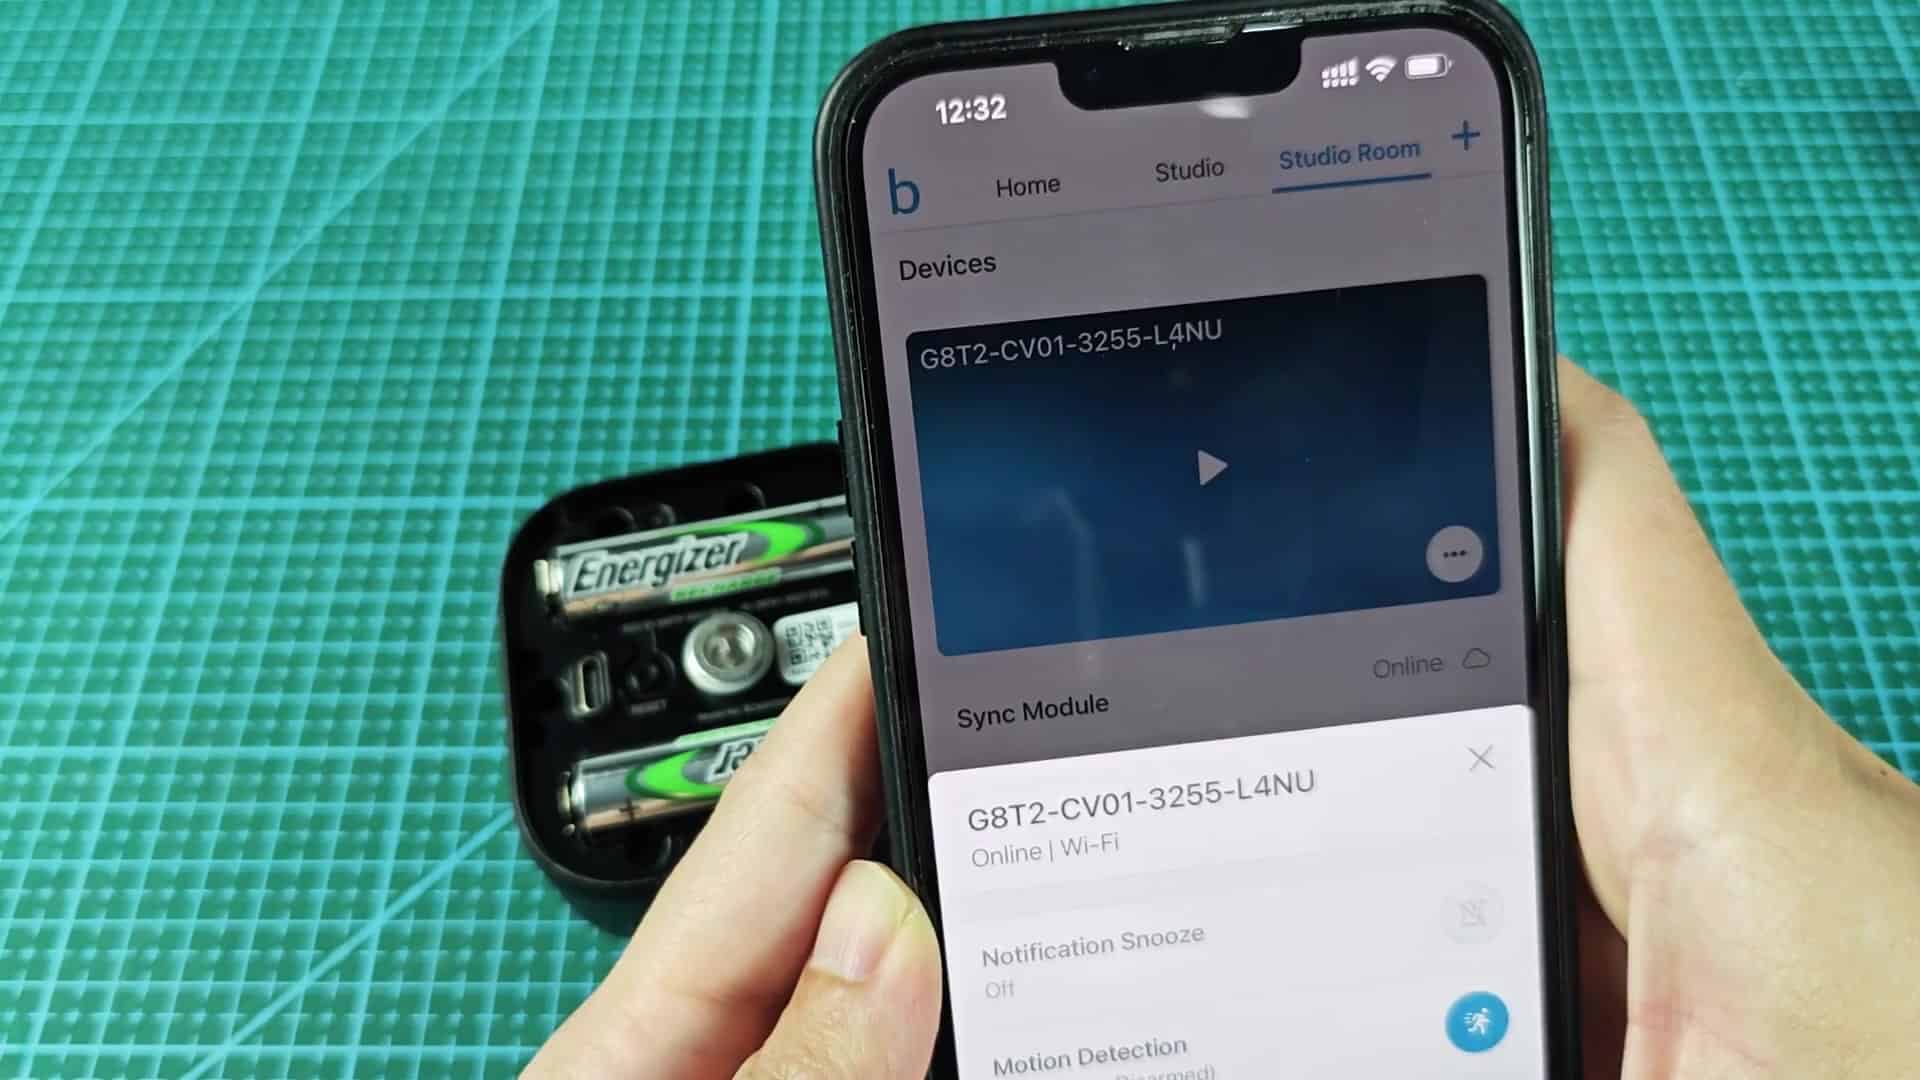
At the bottom you have your general settings, which provide an overview of what’s going on along with help and delete options. If you want to customize, there’s a ton of space to do so.
Tap on general settings for more details. By default it displays a long alphanumeric ID in the name field. It also shows the battery level and firmware version.
The network strength indicator shows a good signal, and you can see that the connection with the sync module is stable. This info is useful for troubleshooting later. You can easily see how the system is doing at a glance.
Go back to the main dashboard within the app. You’ll notice that the camera tile is now labeled with whatever custom name you gave it. Tap on it to get a preview of what’s streaming into the camera.
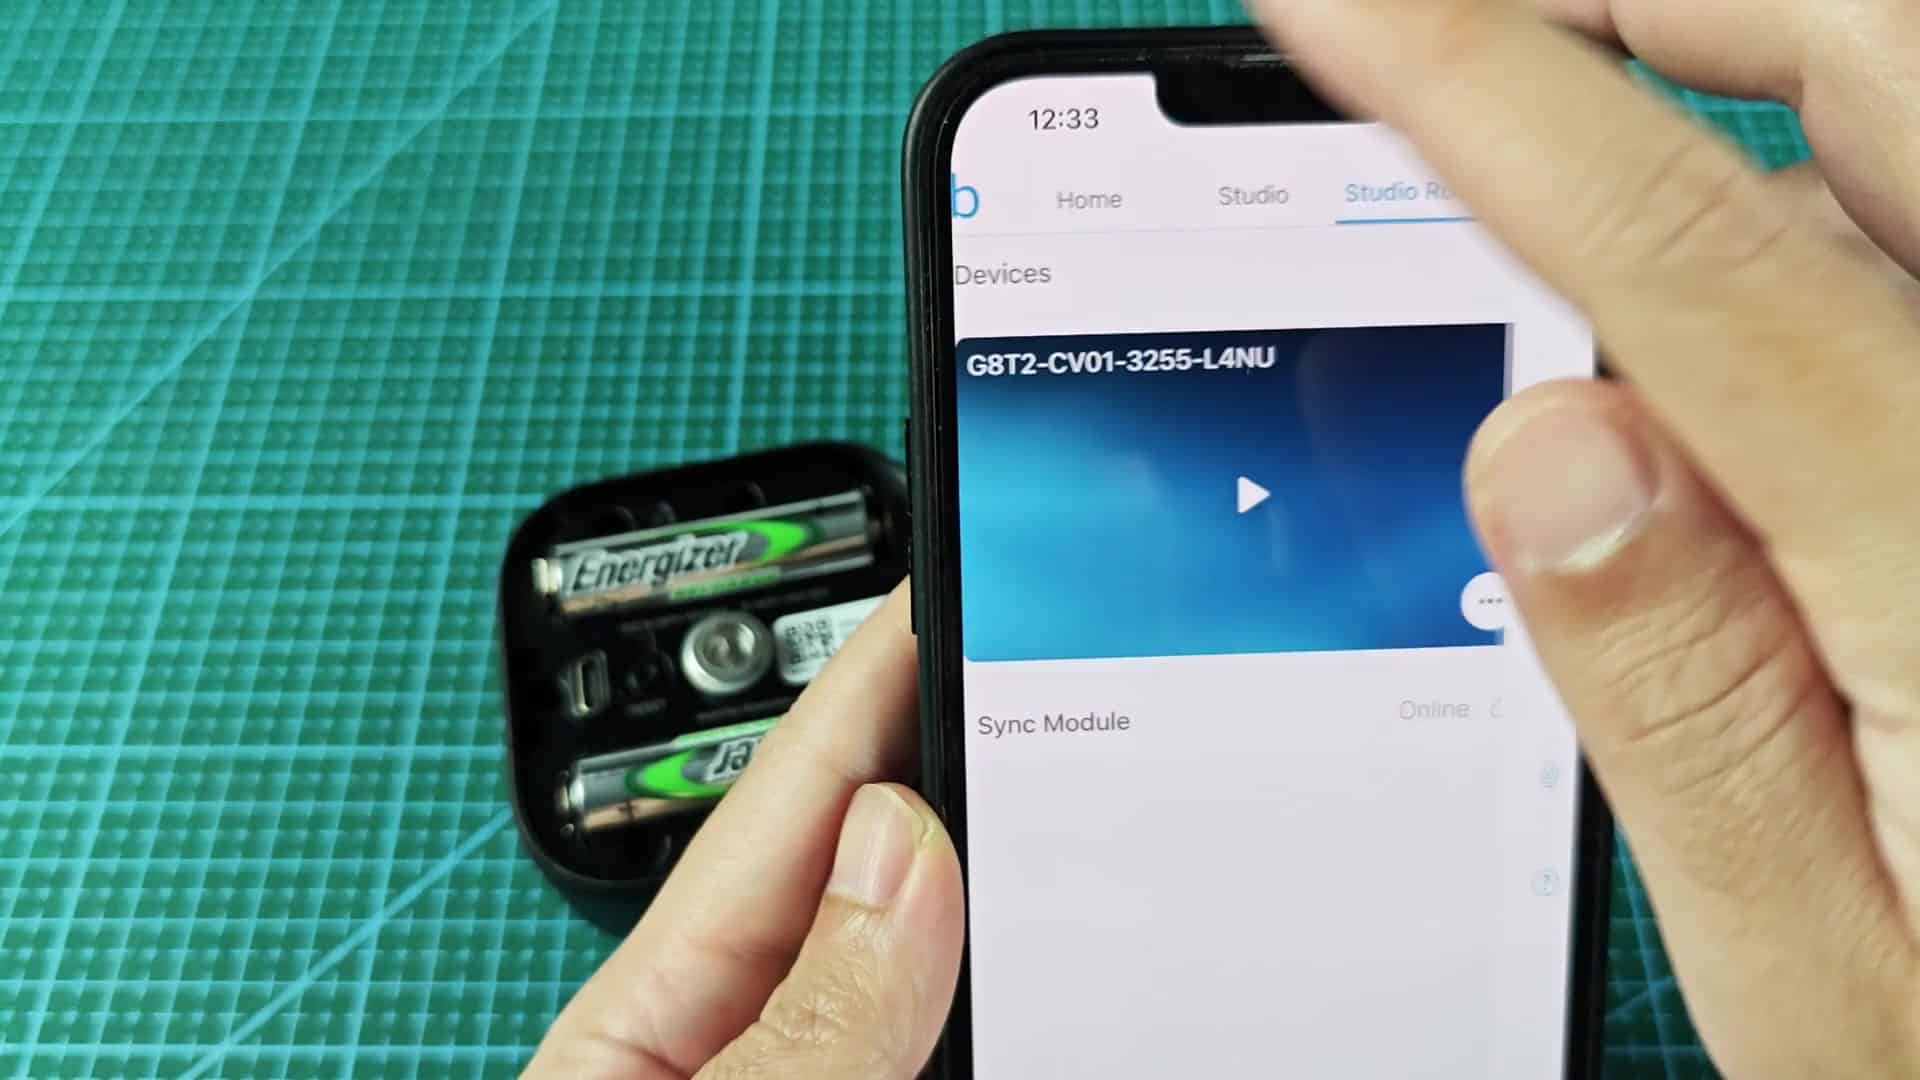
Without any delay, the video starts playing and you can see that everything was set up correctly and is working as intended. Now you’re watching your outdoor area. Easy configuration leads to effective home security.
