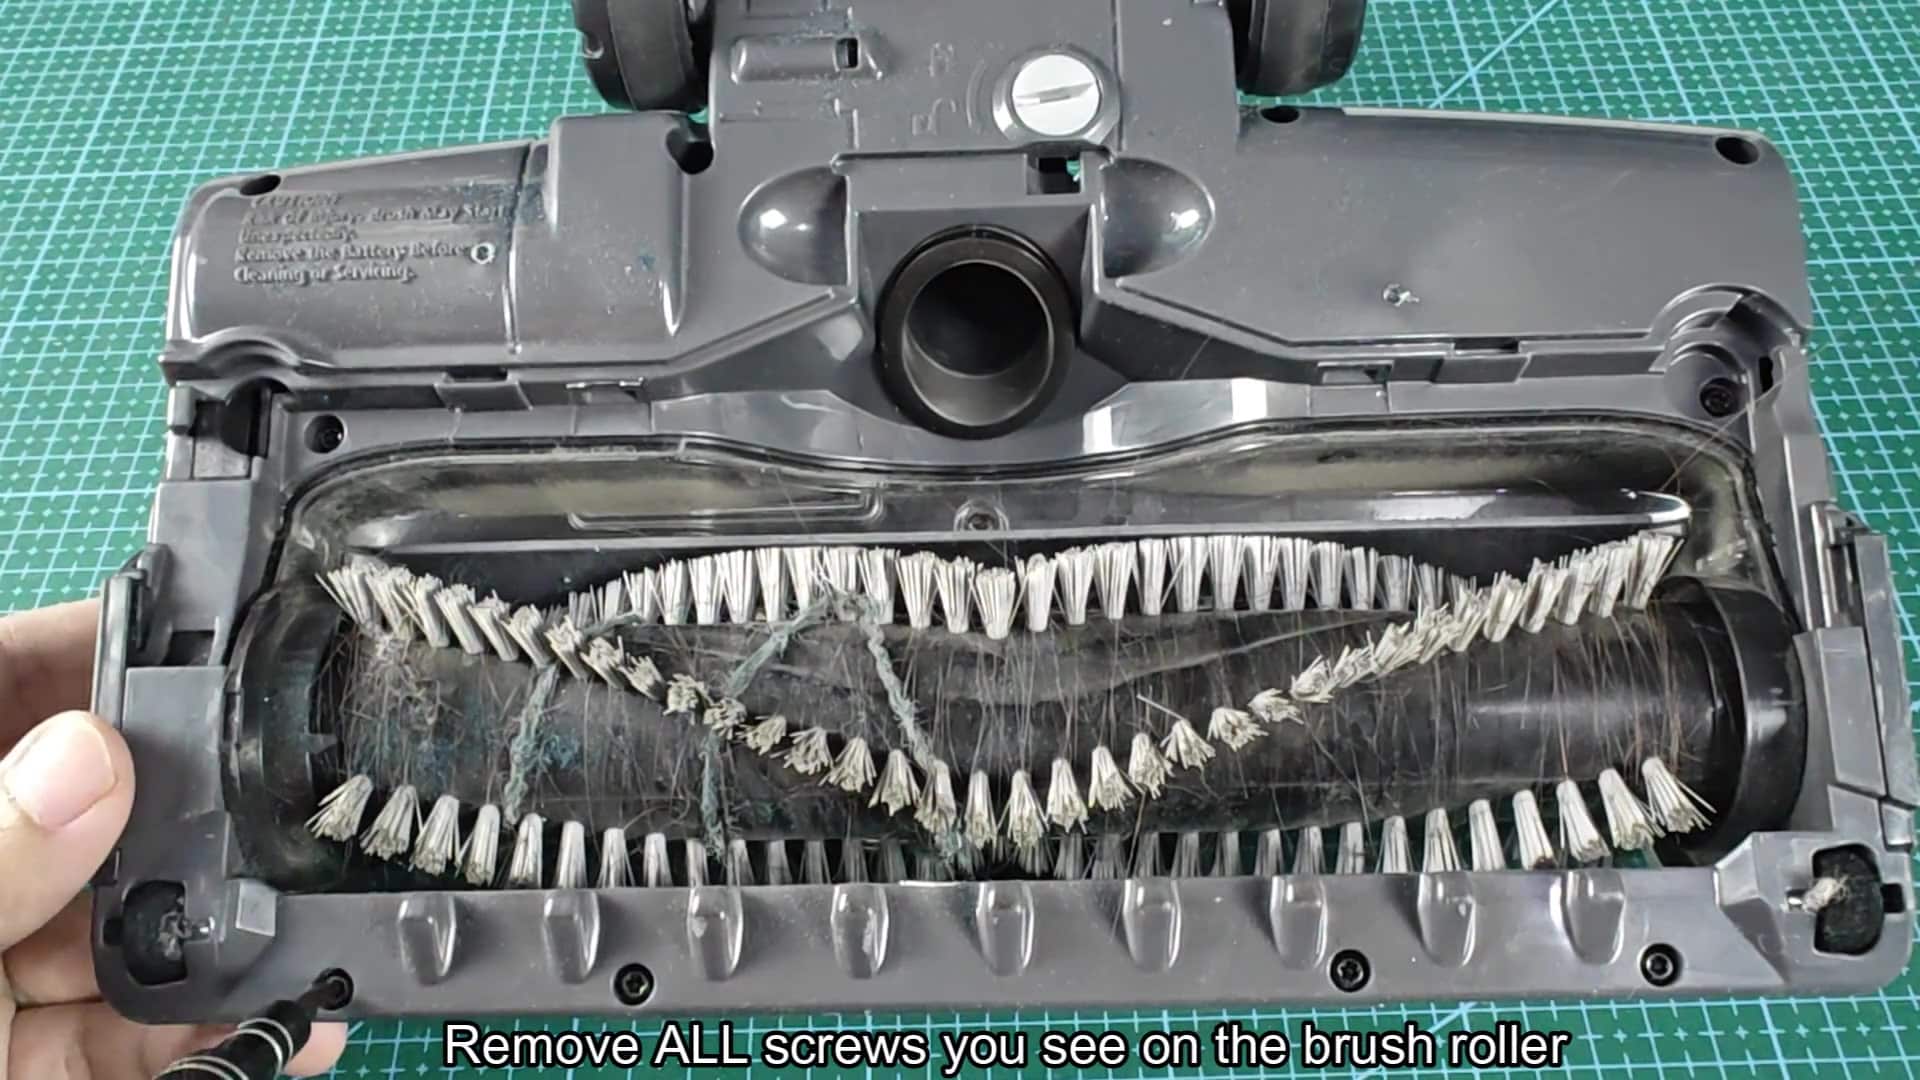
Since you’re interested in the guts, you start by taking apart the floor head. Put it down on your work surface and locate all screw securing the housing. They’re normal screws (no secret fasteners here). Remove ’em all and move forward quicky.
Once you remove the screws, you separate the casing so you can view what’s inside. It has a clear plastic cover over a cylinder-shaped brush roller with white bristles. Nearby there’s a little green circuit board that controls power distribution, and some wires in a black corrugated tube connects things. Everything fits snugly within the housing.
Reassembly And Final Thoughts
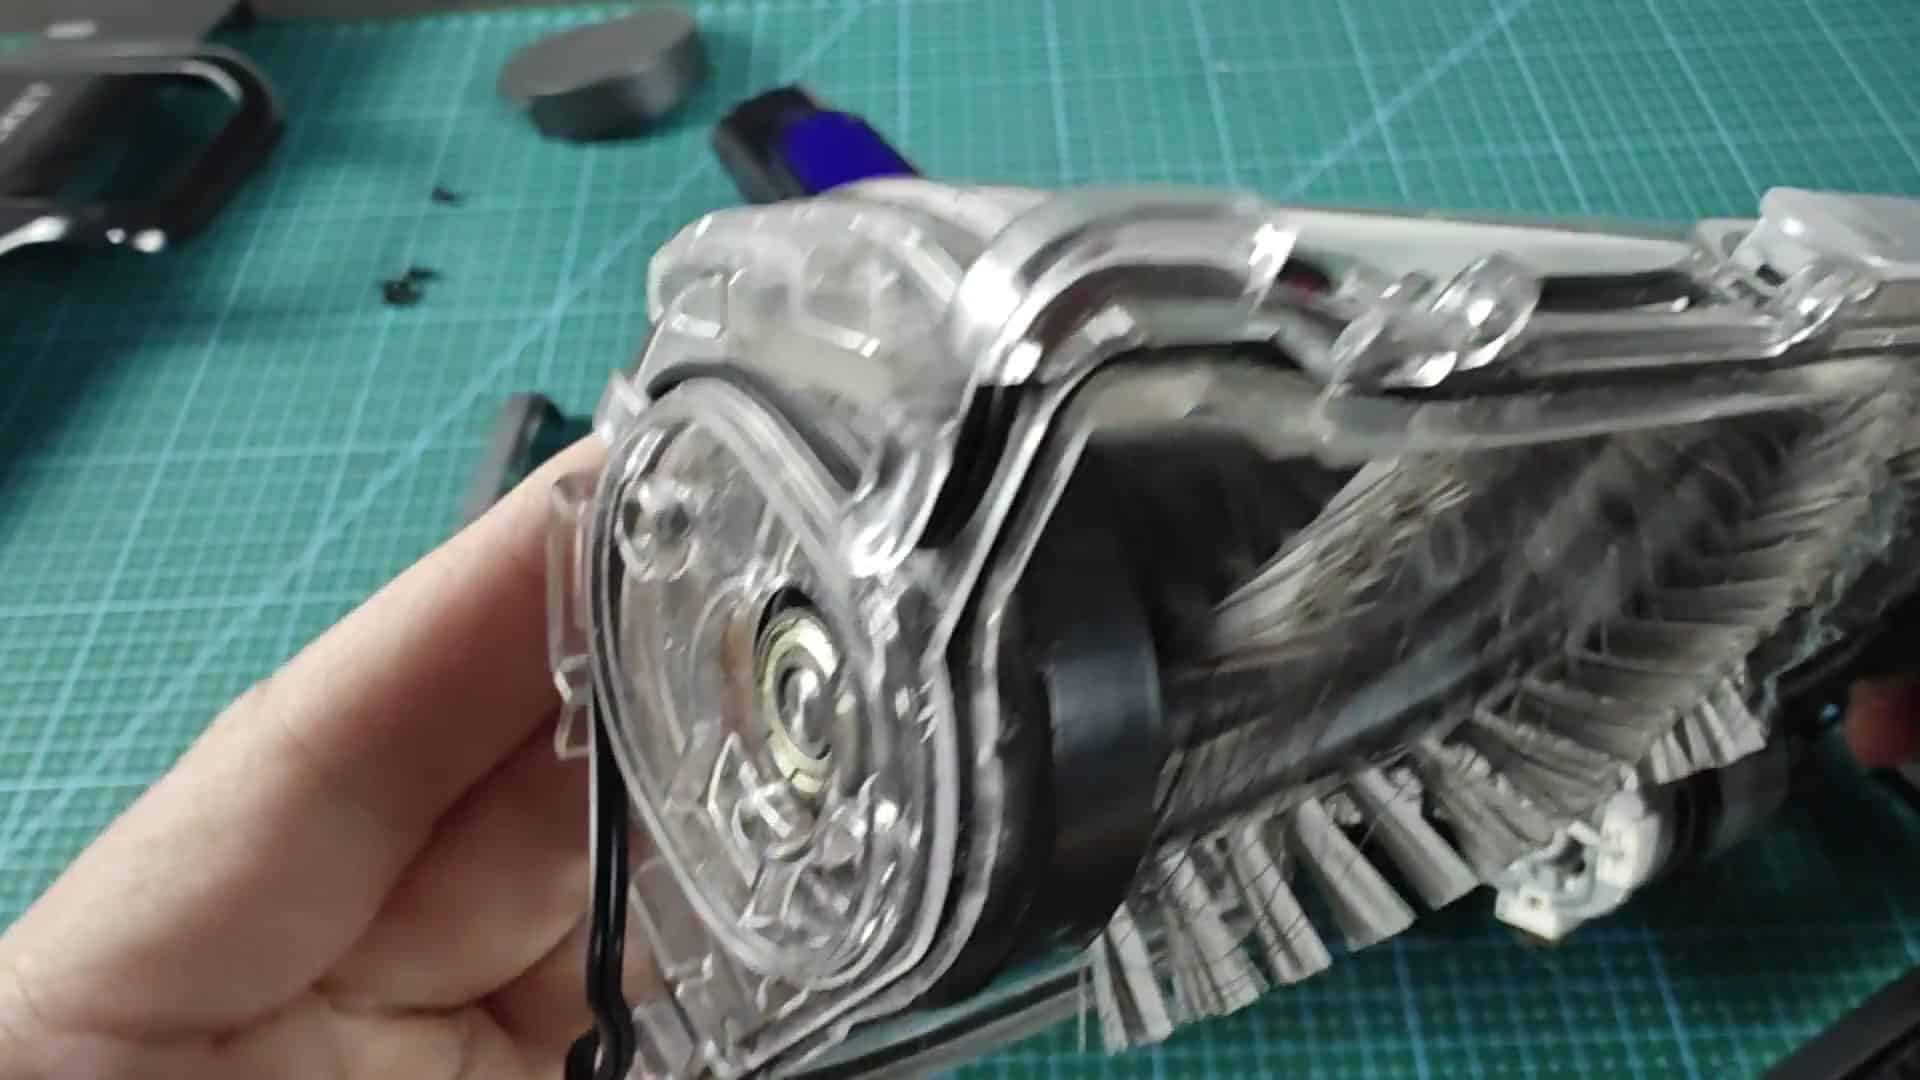
On the right side of the unit is the motor, which is kept separate from the rest of assembly by adding more space between them. On the shaft of the electric motor is a brass gear that turns the brush roller. This little silver DC motor isn’t fancy but looks like it has good enough build quality for what you would expect in a home appliance.
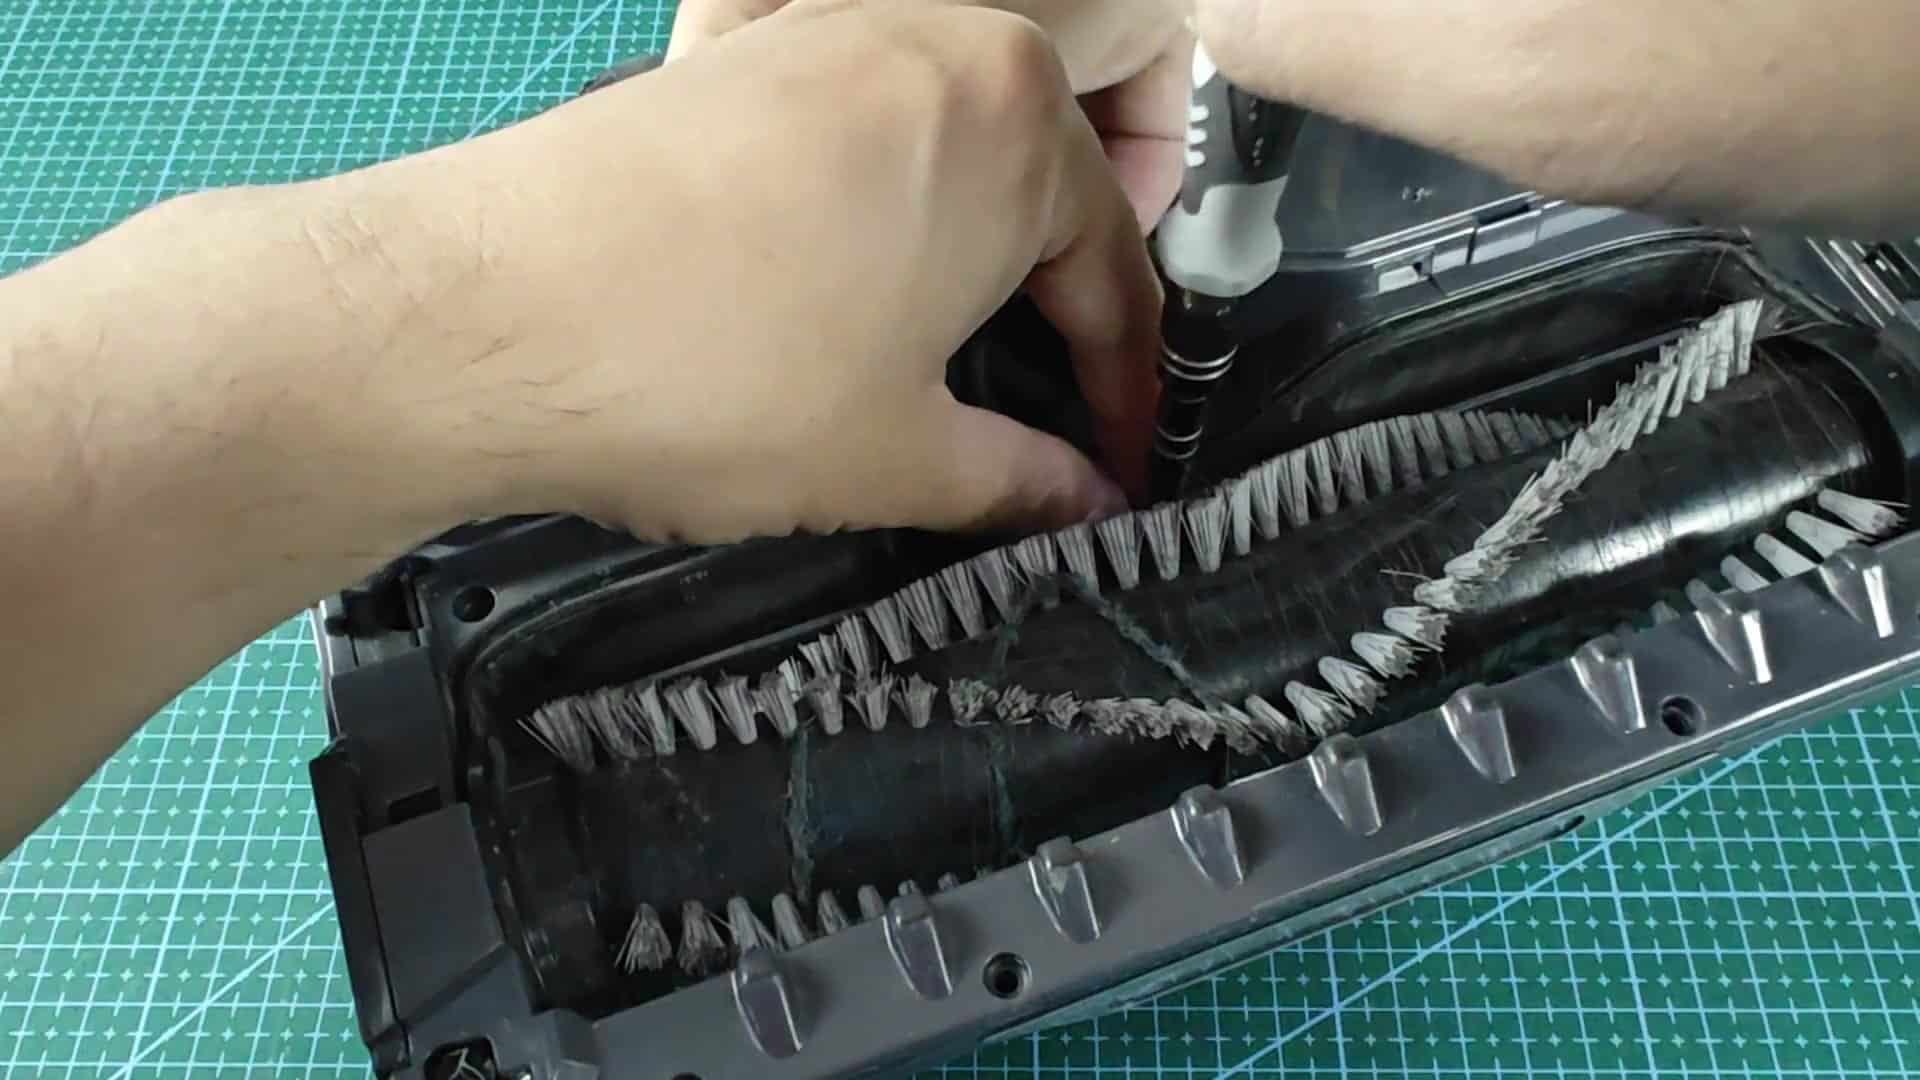
There are years of dust and hair sucked into the brush roller. You pull it off, dump the contents (hair and all) into a cardboard box. The roller appears much lighterer after the clean-out.
Then there’s the battery pack. That needs some attention since you’re dealing with higher voltages. It’s wrapped in a green covering marked “XFBT620” (the model number) and it contains lithium-ion cells. These have a large rating of 10,000 milliamps capacity at 21.6 volts, that’s a fair bit of oomph for something you hold in your hand.
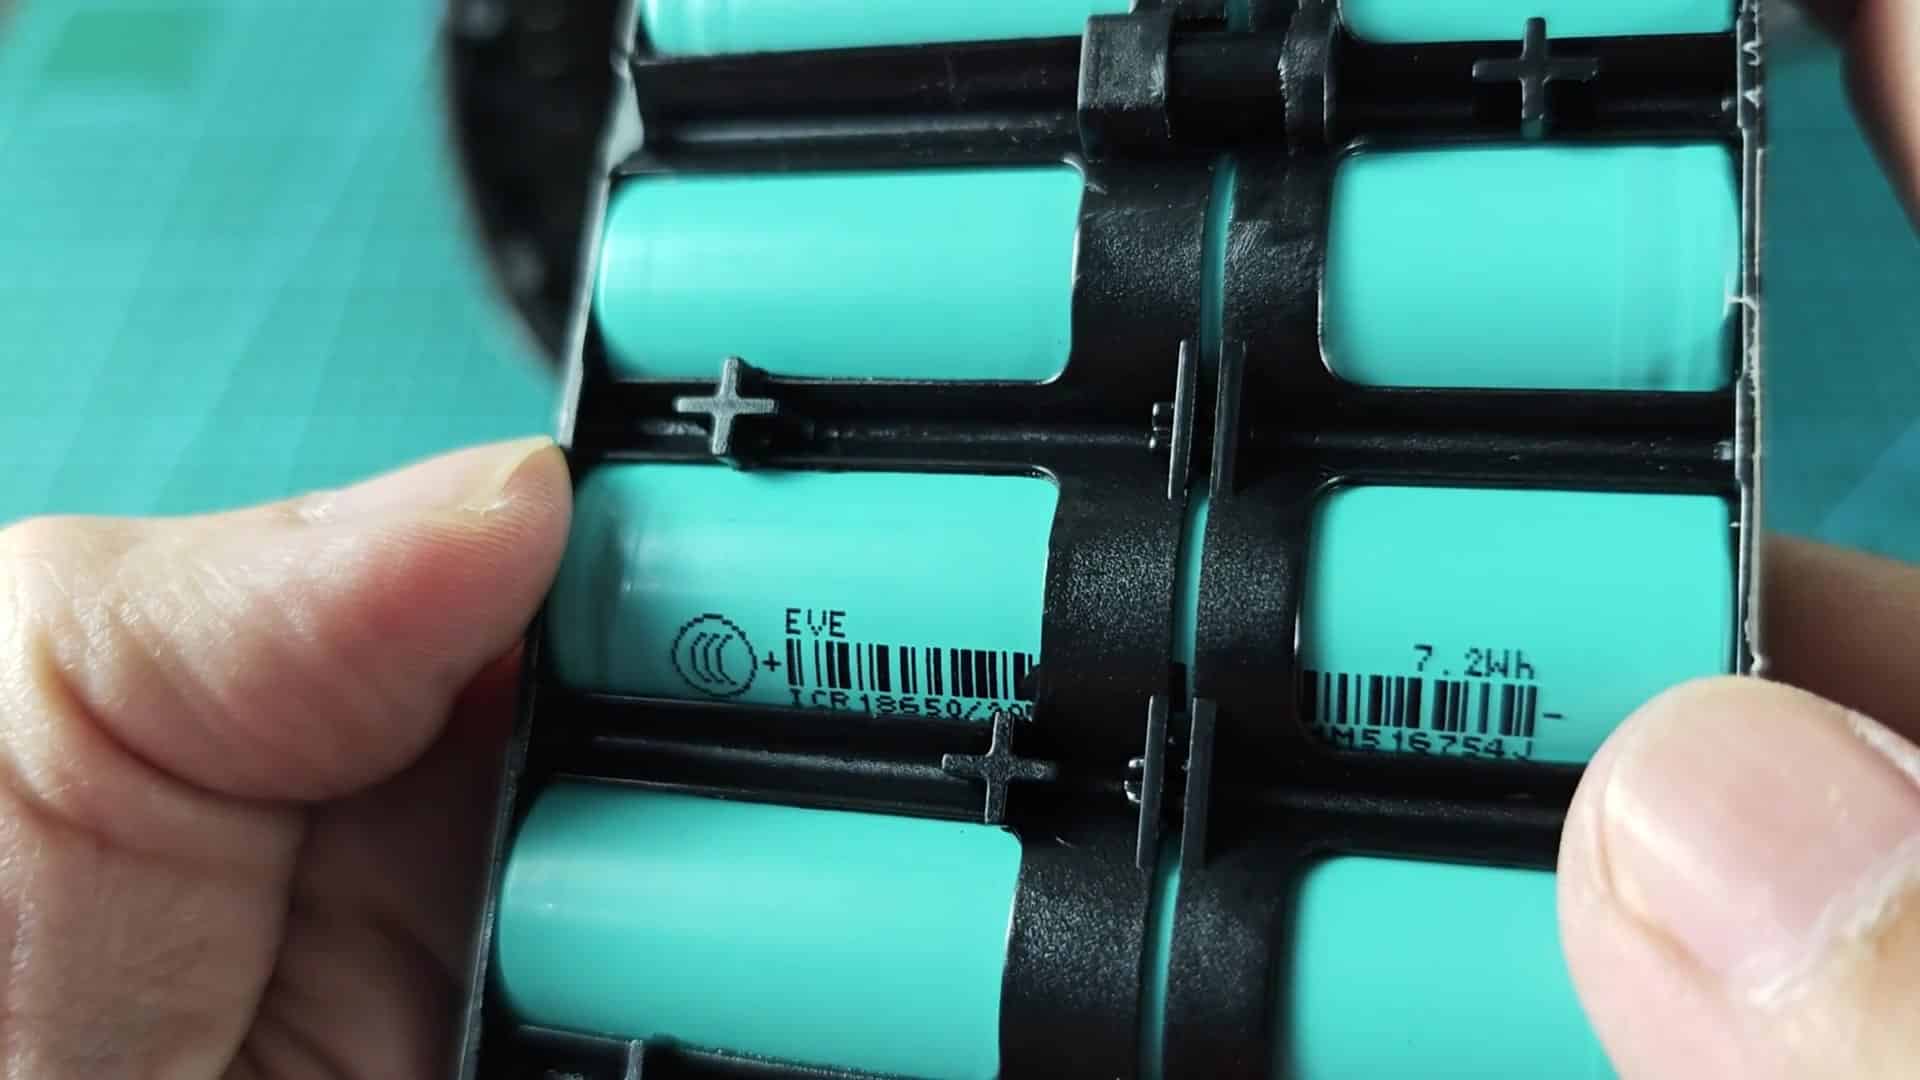
Taking out the pack from the housing lets you take a closer look at all those tightly-packed cylinders. There’s the black frame, which holds several teal cells in place. The individual cells are teal, sitting snugly inside their black frame. There is not much wiggle room for any of them.
Looks like it was built well too; this kind of tight packing of these cells improves how much energy can be stored in the small space available inside that vacuum handle. Each cell has some labels on it, such as “ICR18650” and “EVE”. That tells us about the form factor, and what kind of chemistry it is. From this we know they’re normal high-capacity cells, rated for 7.2 watt-hours of energy per cell.
Now, let’s look at the body of the unit. There’s a large white rectangle piece of foam next to several color-coded cables (blue, red, purple, and yellow) that snake their way around inside the body and attach to each component. From what we can see, these wires connects to various components, including the small circuit board area you saw earlier. It’s all fairly complicated but well-wired.

This shows how everything is connected. The perfect placement of the brush roller, battery, and motor allows them to work together. And when it comes to tearing down there is no rushing through things. Each one has their own screws and once those come out you have to be patient to get to the guts of each component. That’s why doing this with care makes sense.
Looking at the innards of this tool makes you appreciate all the engineering that goes into creating a product like this. There’s the efficient way power flows through the circuit board and then gets converted to mechanical action via the motor. Each component play its own role: The brush roller actually does the clean-up. Each part has a specific role, and this clarity is a clear winner.
Now you put it back together loosely to make sure everything fits just like it did before. Secure the screws into their old places, snap on the housing (which should of snap on with no resistance), and you’re done. You’ve got your vacuum stripped down and built back up again; good enough for this exercise.
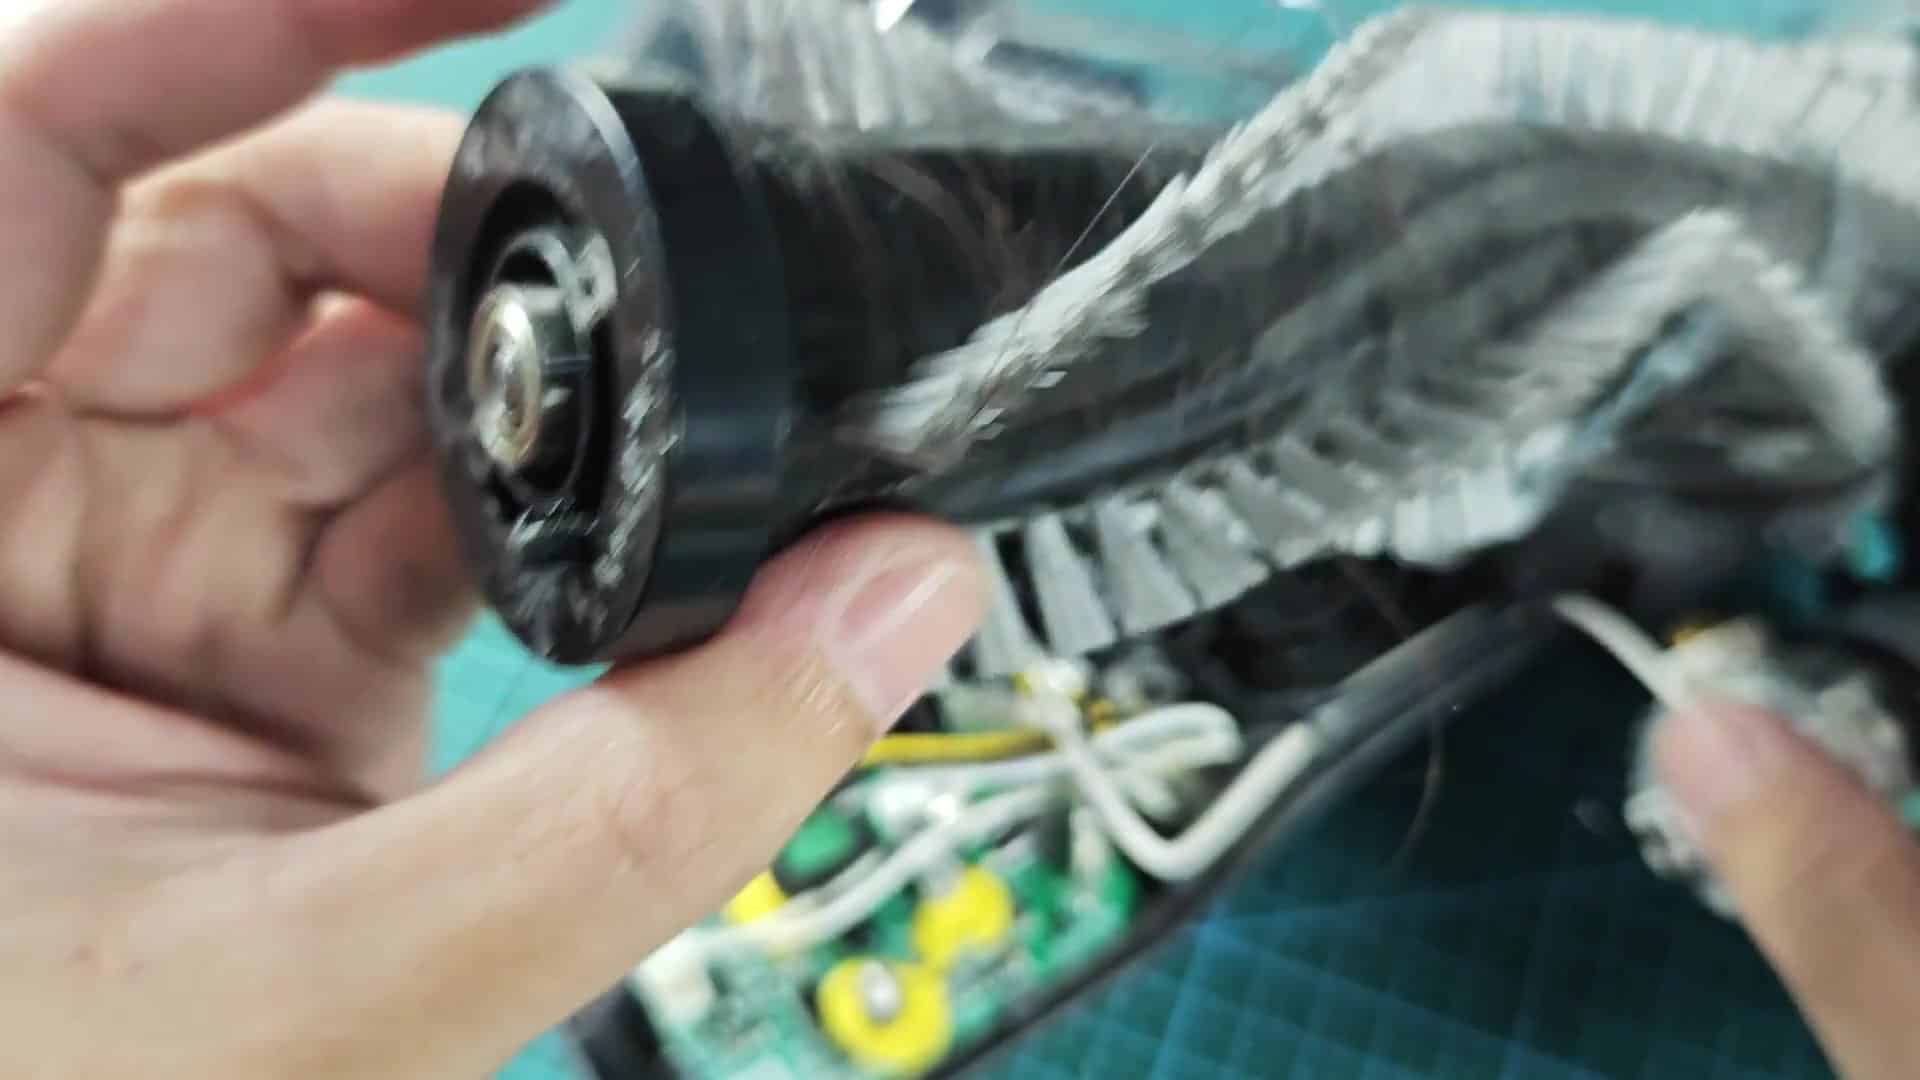
With this teardown you get an idea what’s inside. You can see actual electrical and mechanical parts. It’s not a black box, that’s for sure. Seeing how things are put together helps with maintenance since you know where to look for failures.
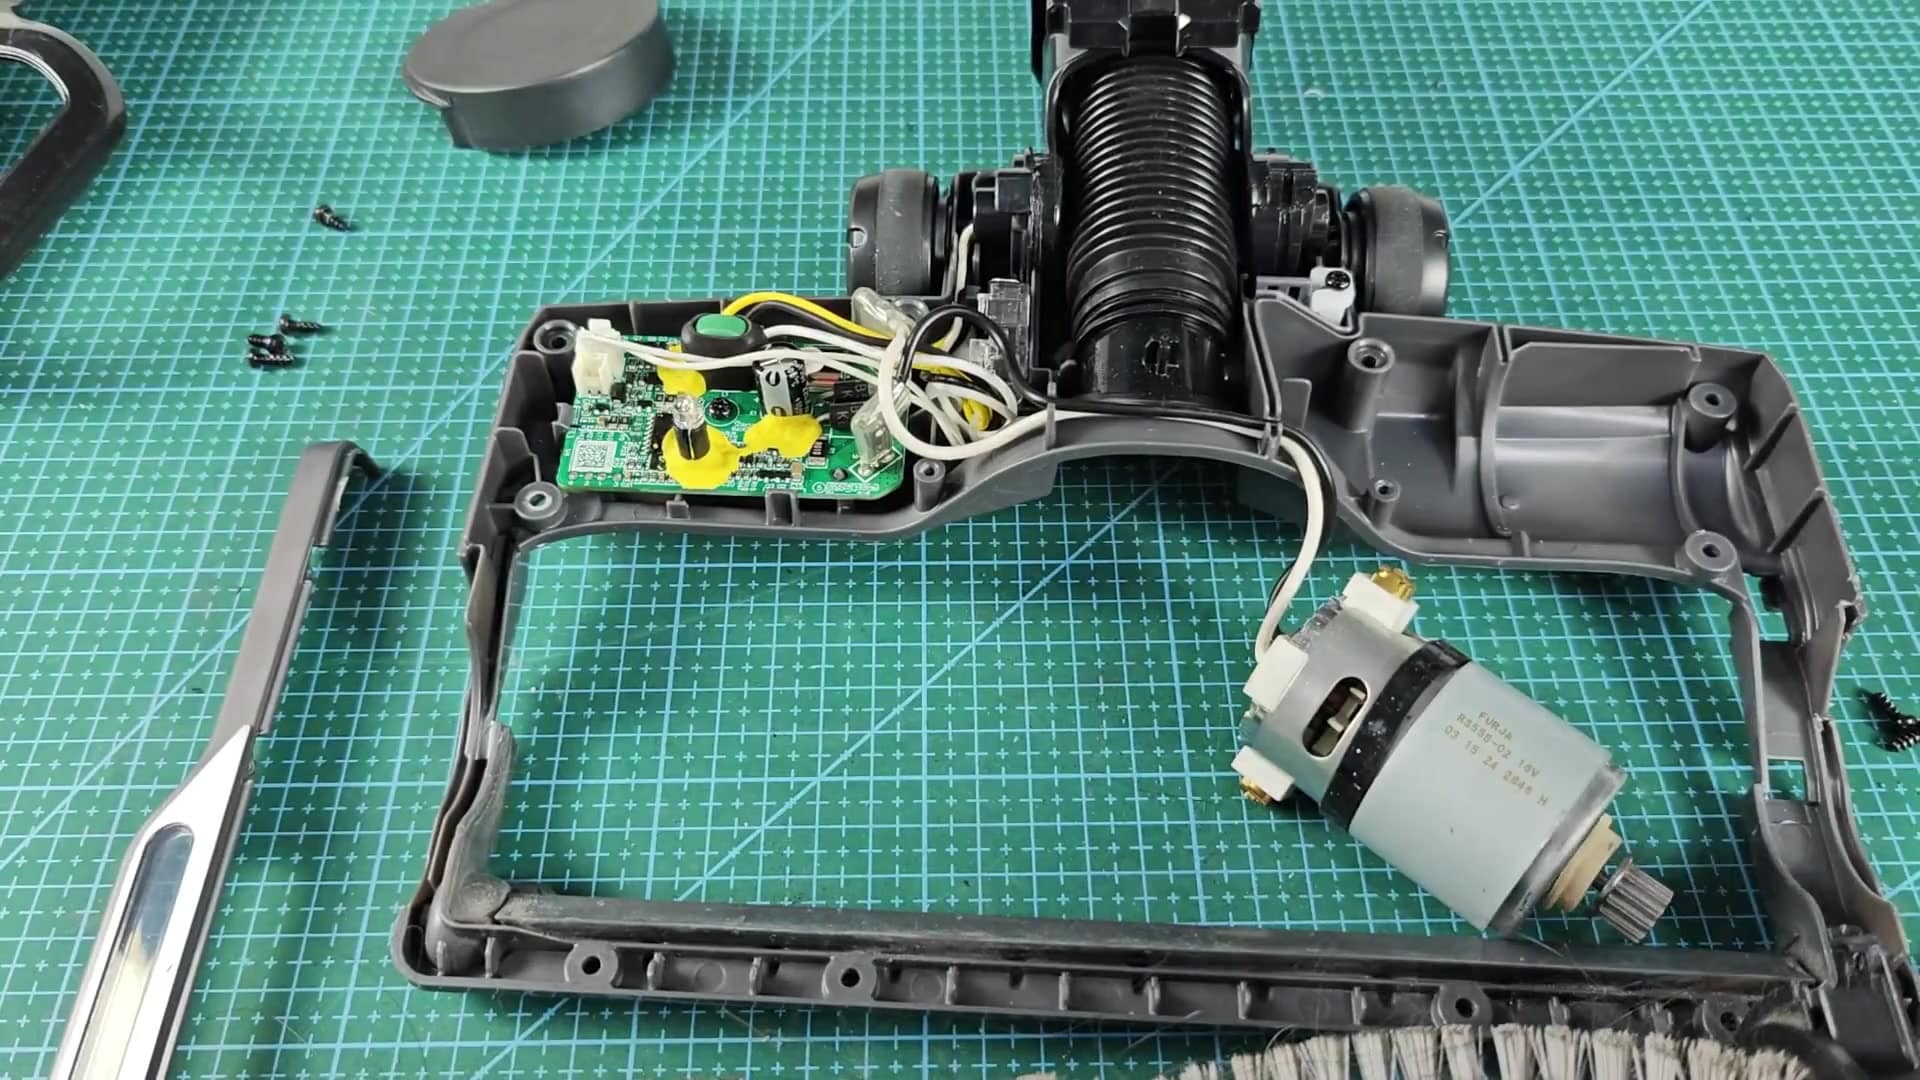
Surprisingly, the motor is the simplest component. The brush roller is the dirtiest part.
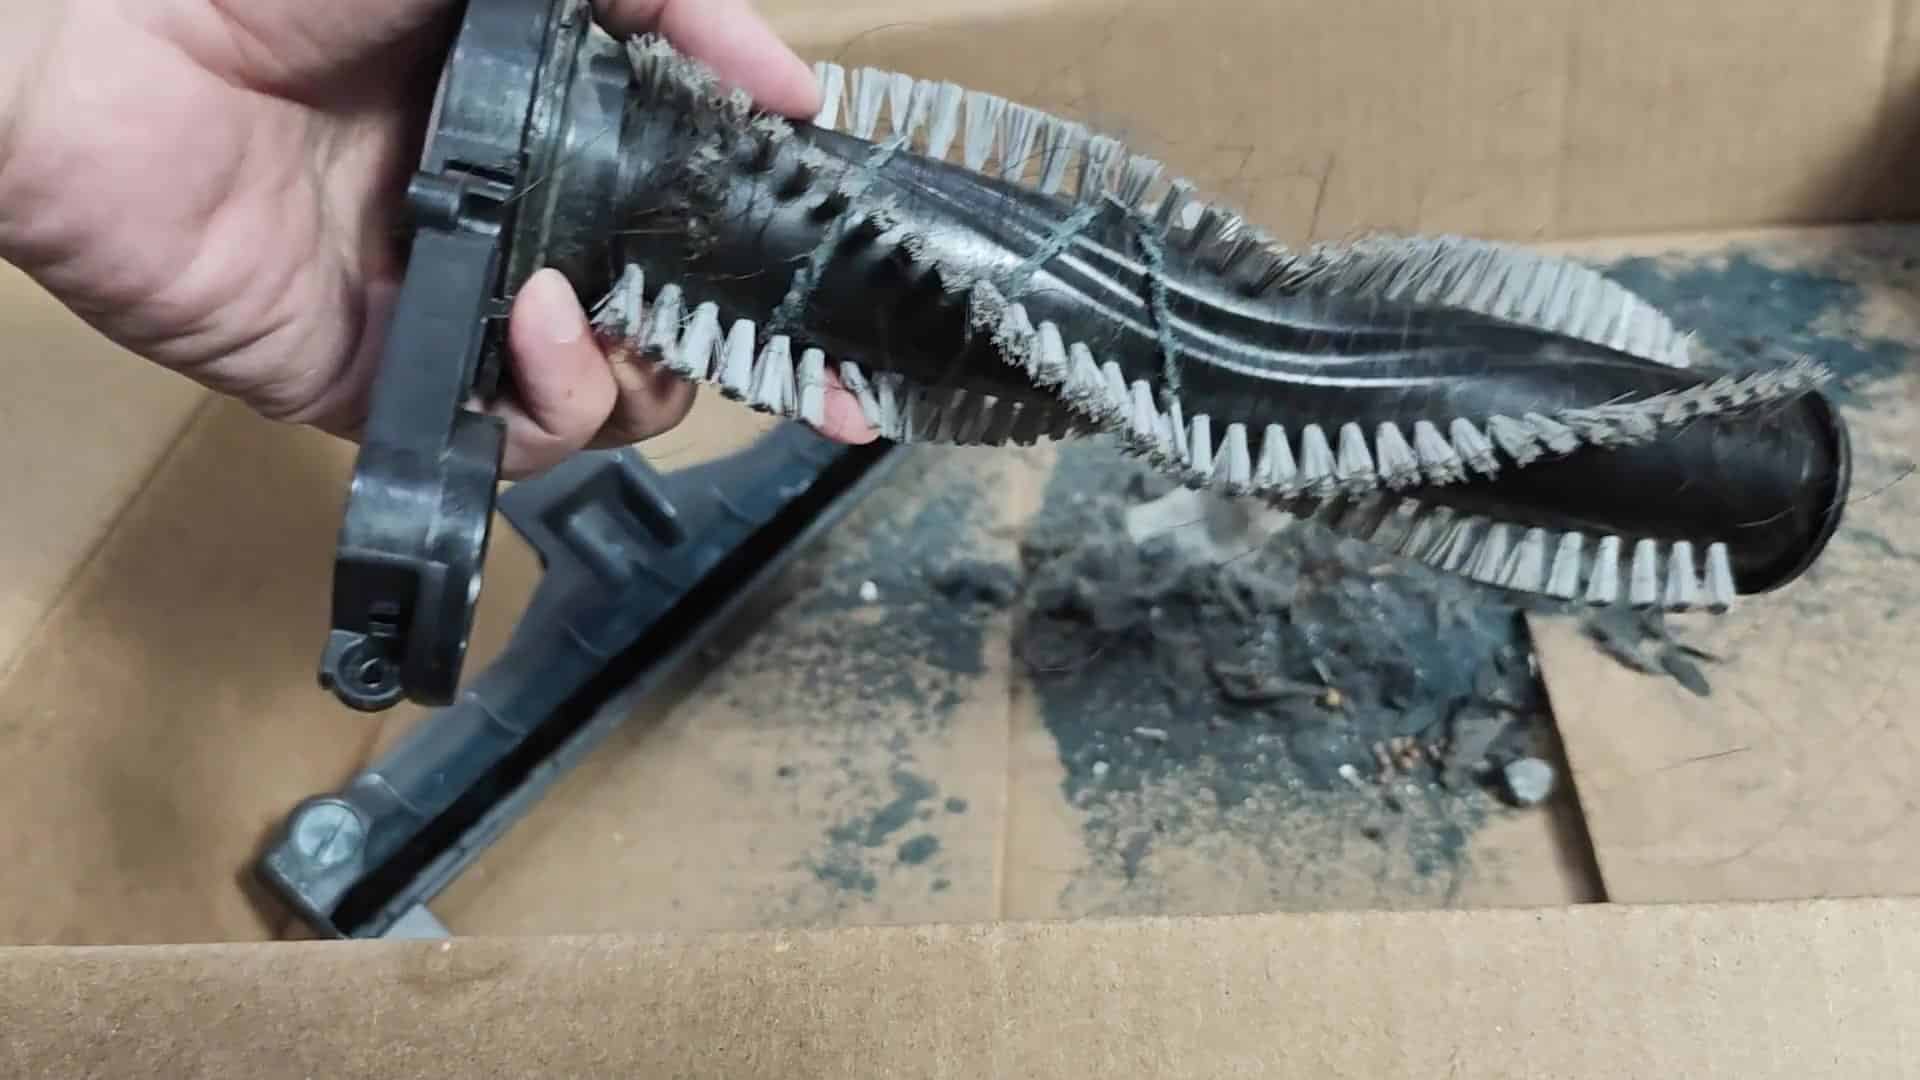
The battery pack is the most intricate.
They all worked together to clean up after themselves on the floor. It was a simple idea with complicated execution. It’s worth it.
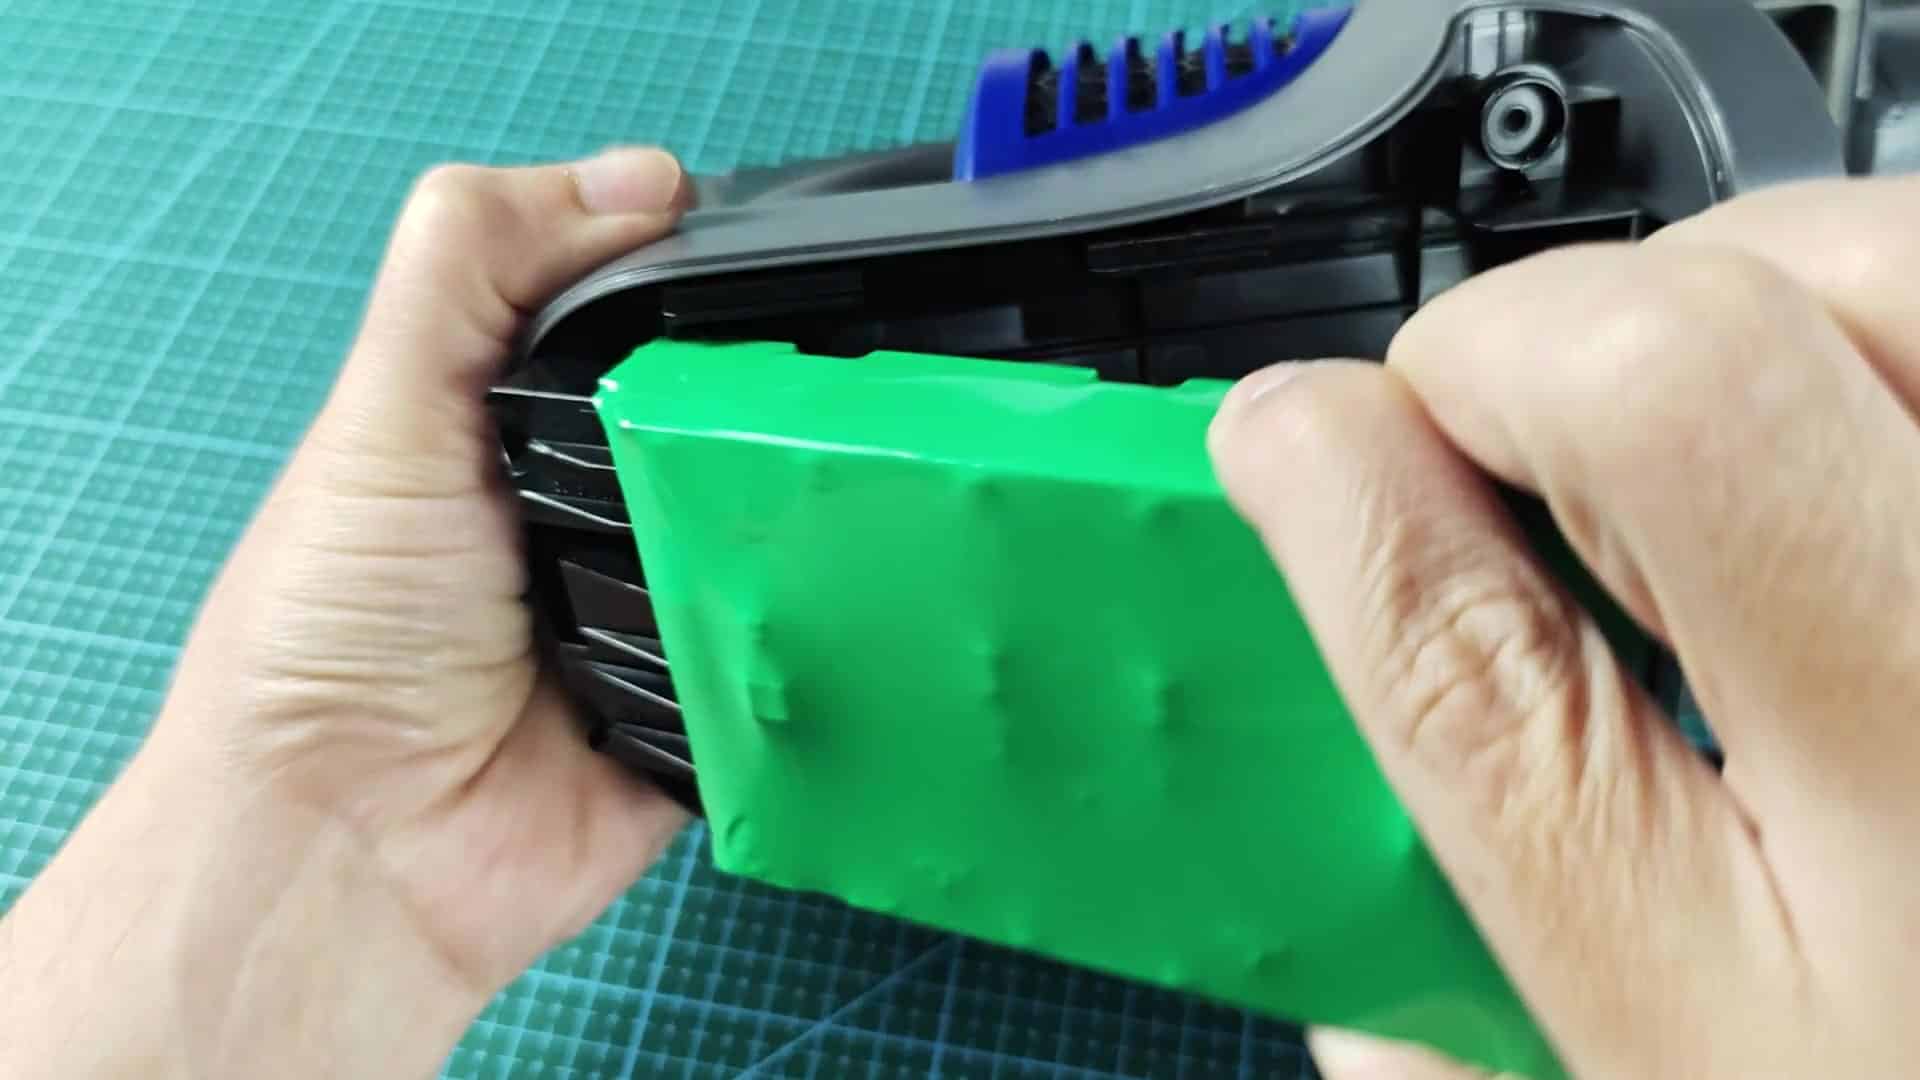
You take pictures throughout the whole thing. Why? Because you need the pictures to know where each screw goes. Notes are good for remembering what color wires go where. If you didn’t do this, reassembling would be hard. Today you learned a bunch about your vacuum. This helps a lot.
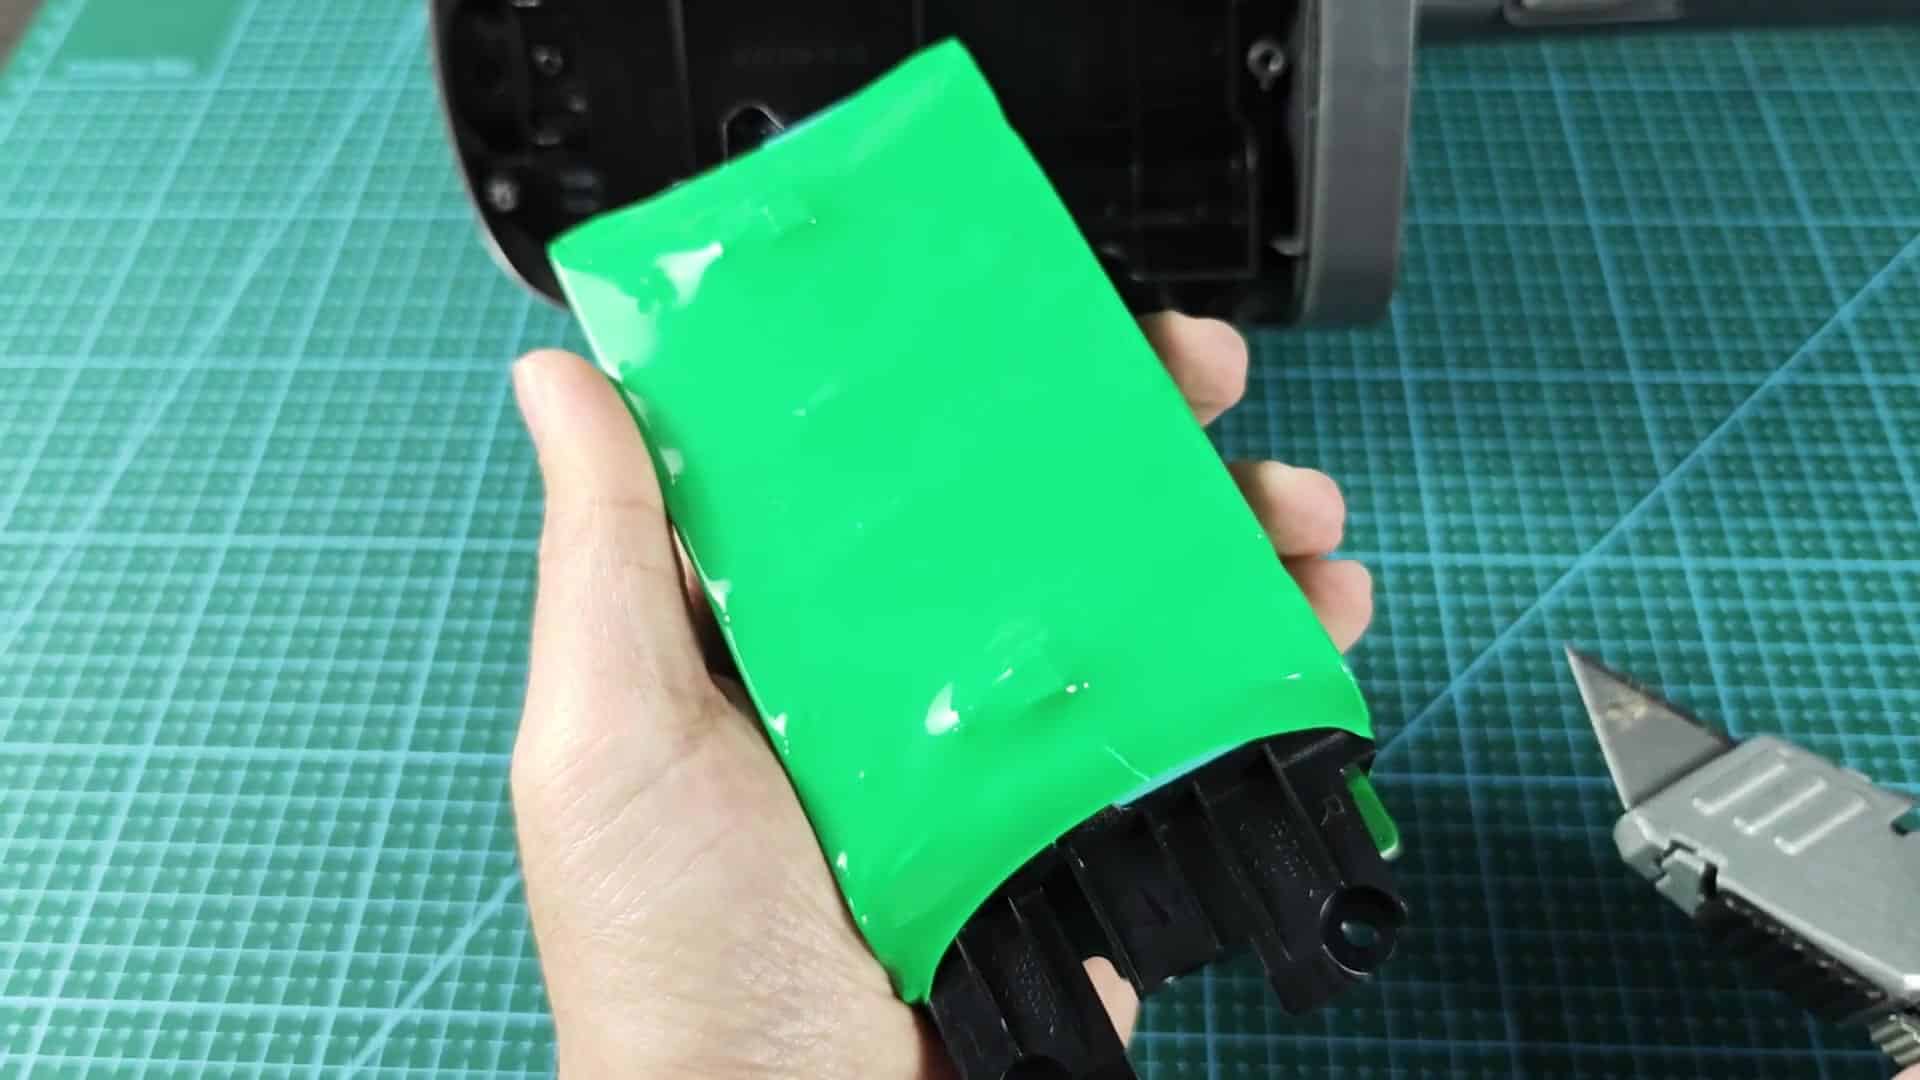
It’s smaller on the inside than it appears. Cordless design requires fitting maximum power into minimum space. Every millimeter matters. They’ve pulled it off impressively, but many people mistakenly assume they haven’t.
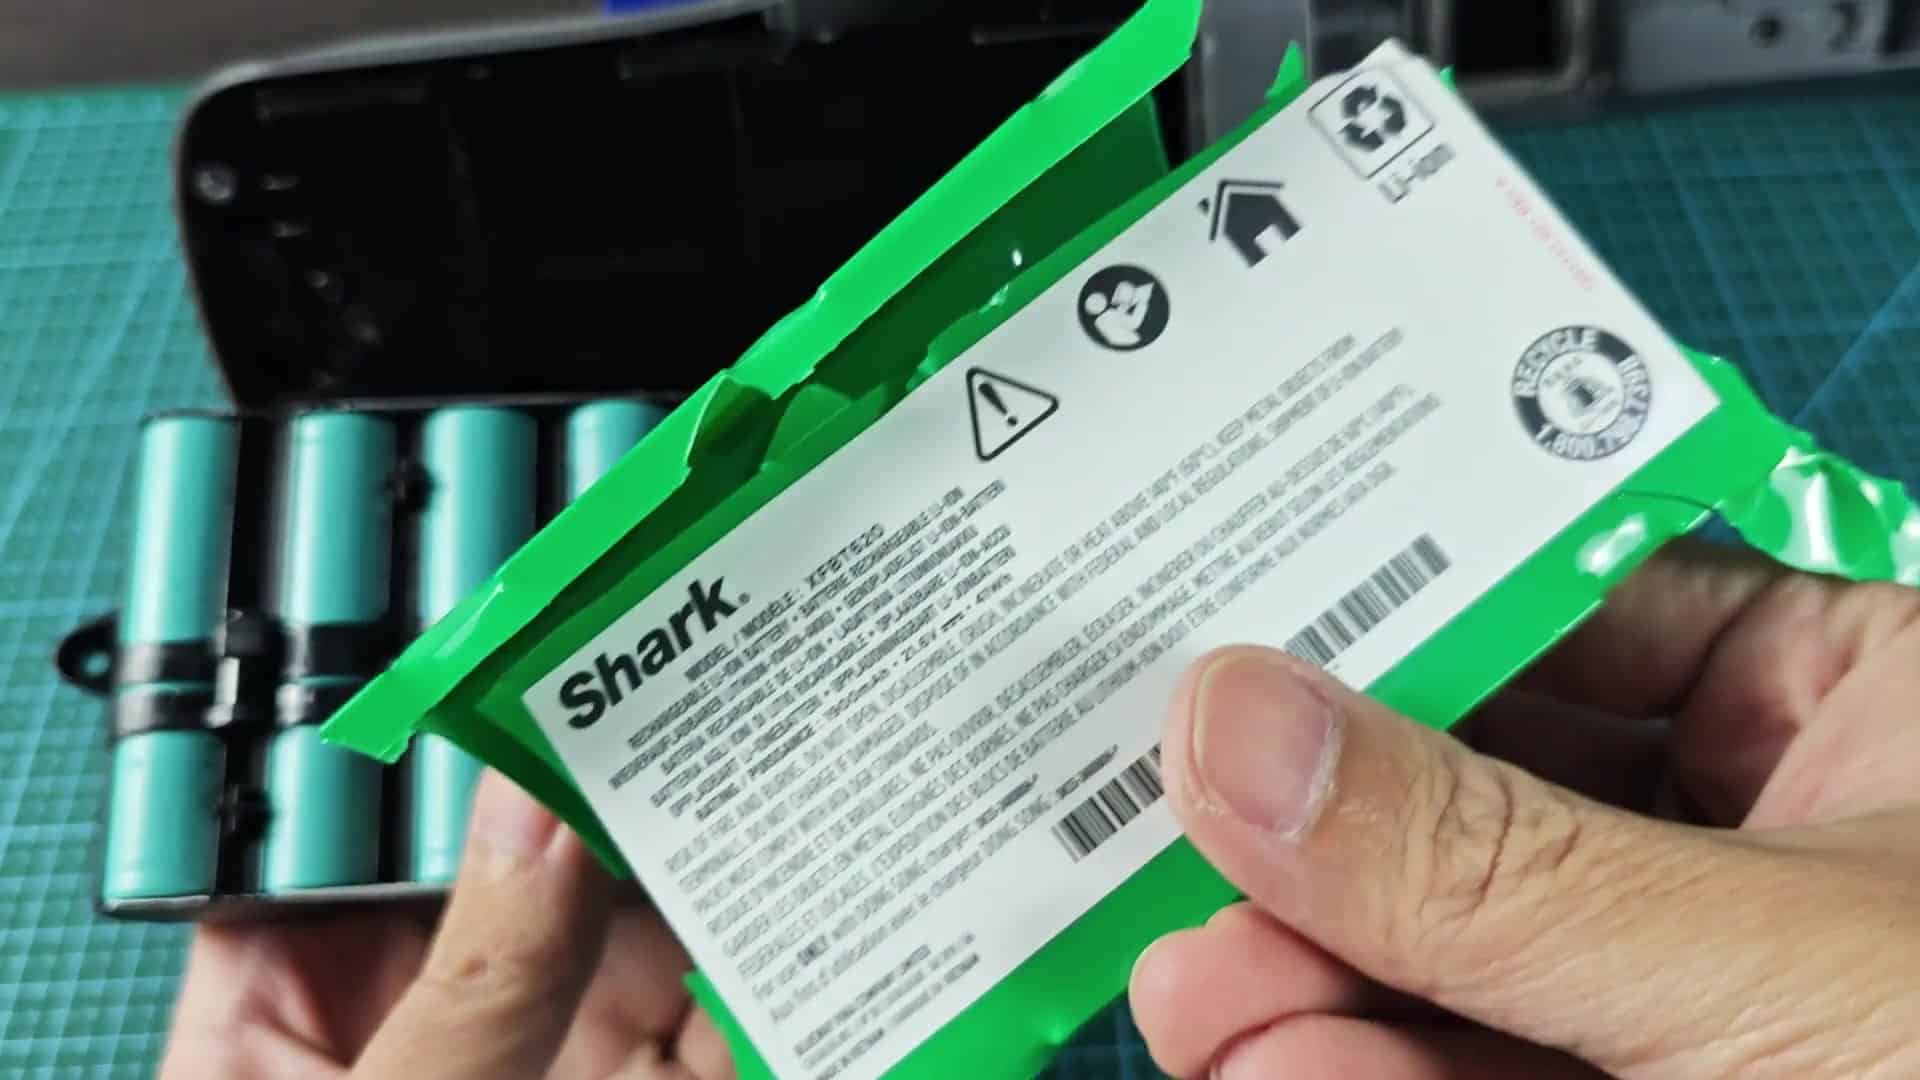
Roller contained more dirt than you thought, all over your hands by the time it finished. Underneath the wrap, the battery cells were immaculate. That contrast in condition was striking. Weird, but true.
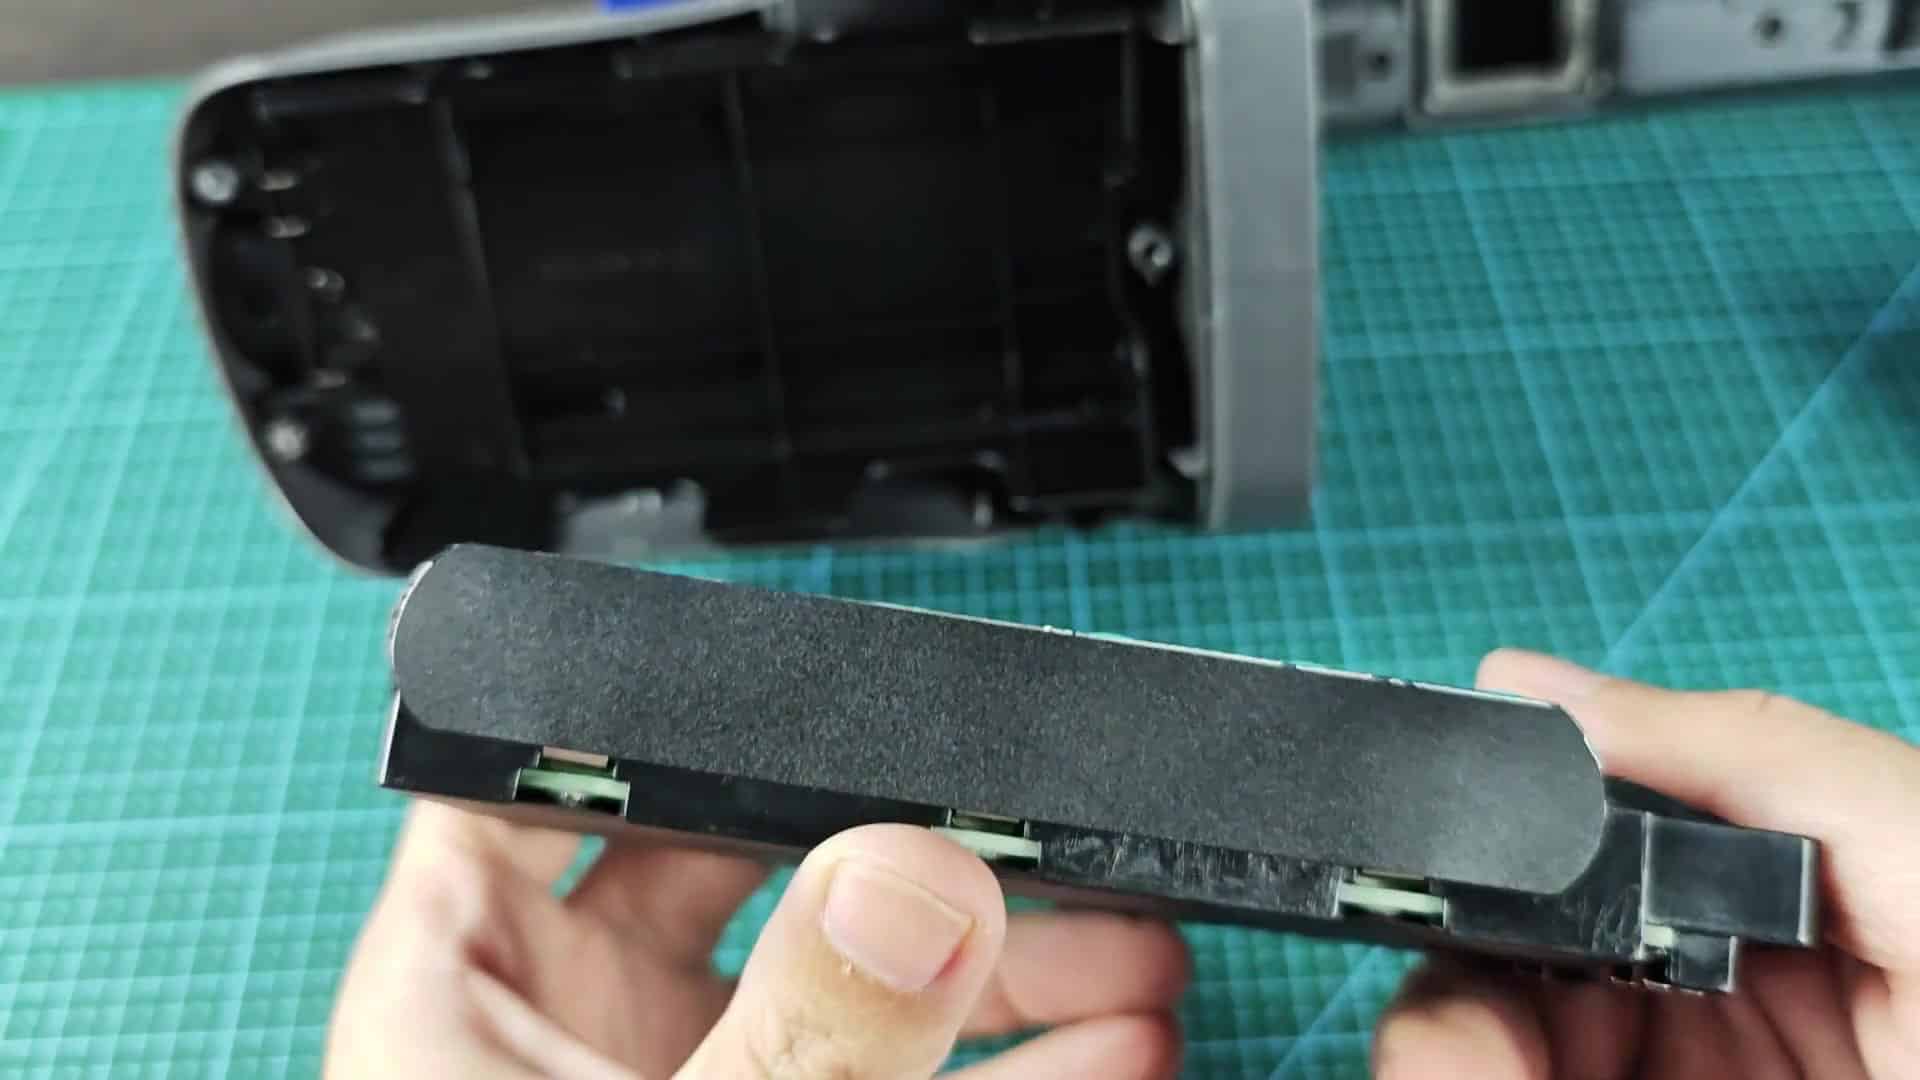
Everything seemed to be operational; no glaring flaws here. The motor turns smoothly and the connectors are secure. Job’s complete and now your vacuum’s up and running again.