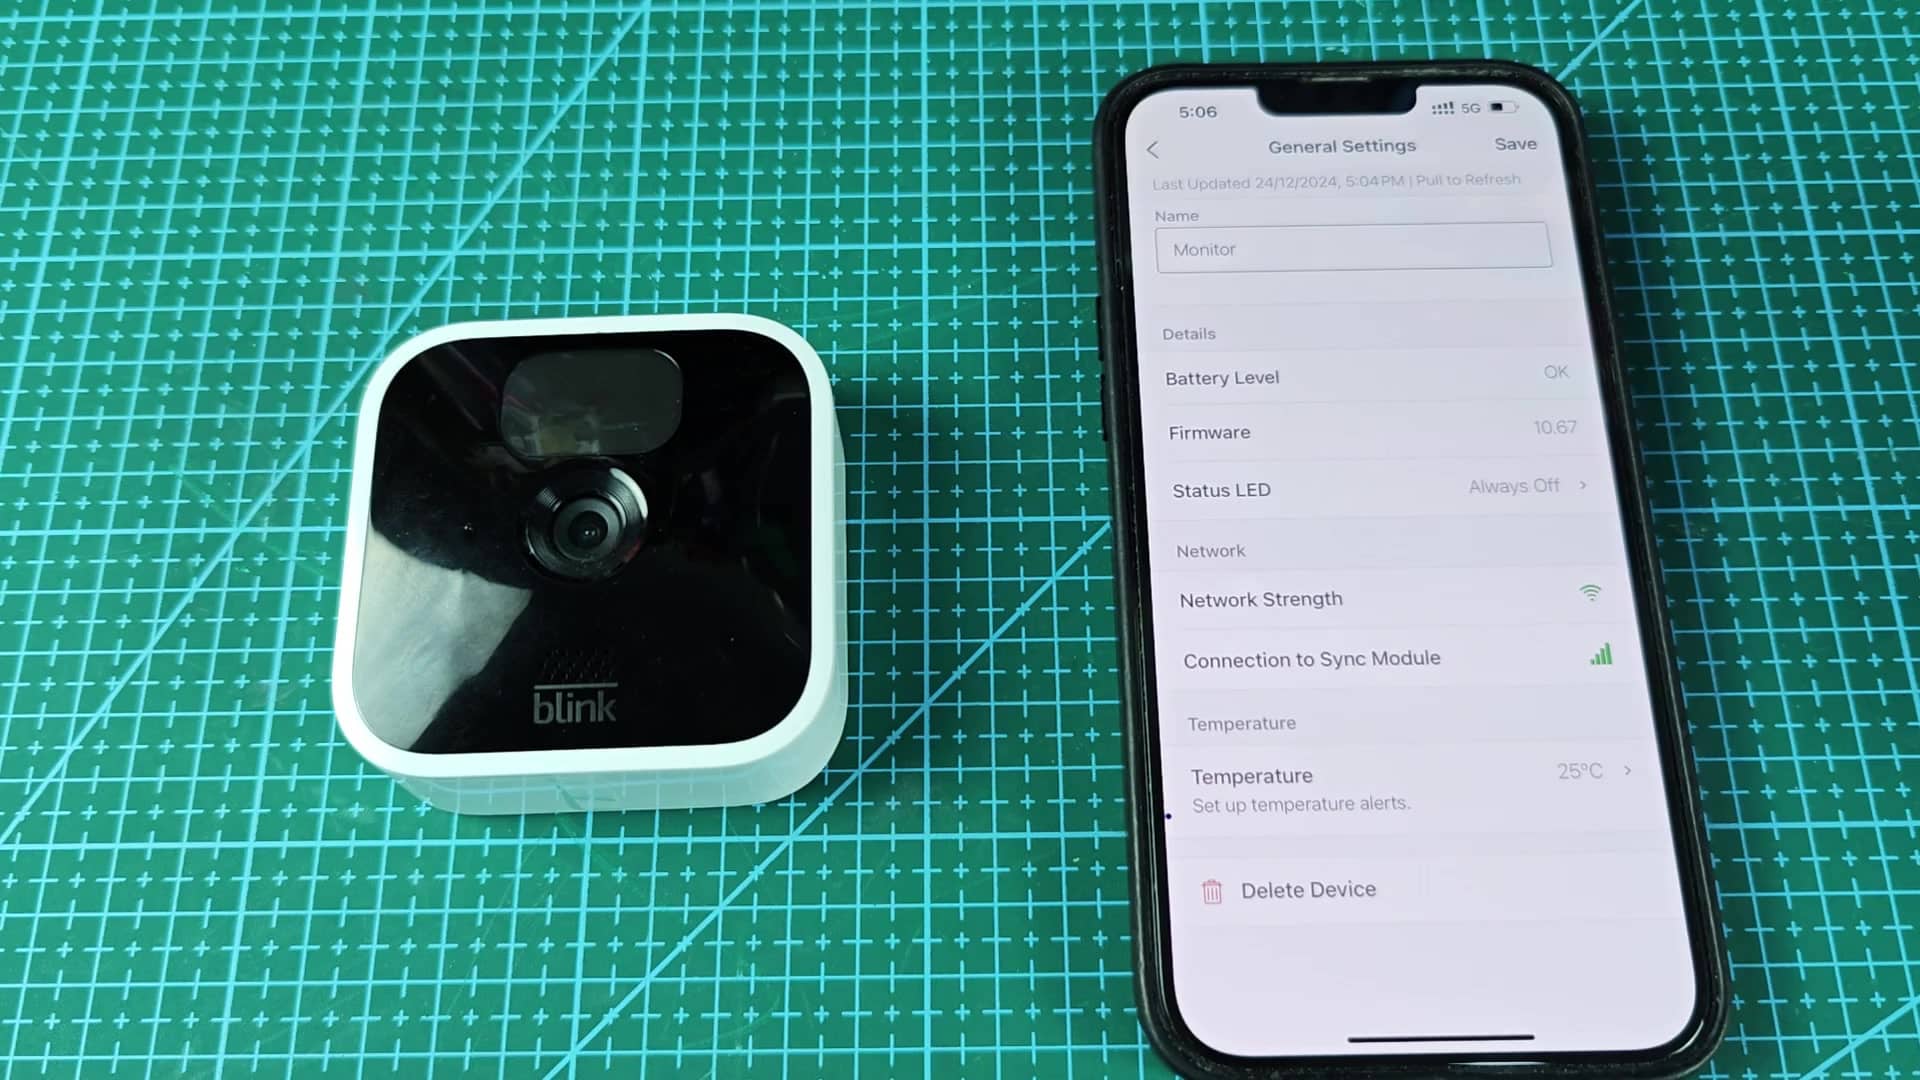
At night, a Blink camera can be distracting if its blue status light pulses with every motion detection event. That’s a good thing if you like using the security system’s features and the video quality is typicaly clear enough to keep tabs on a room or door you want to monitor.
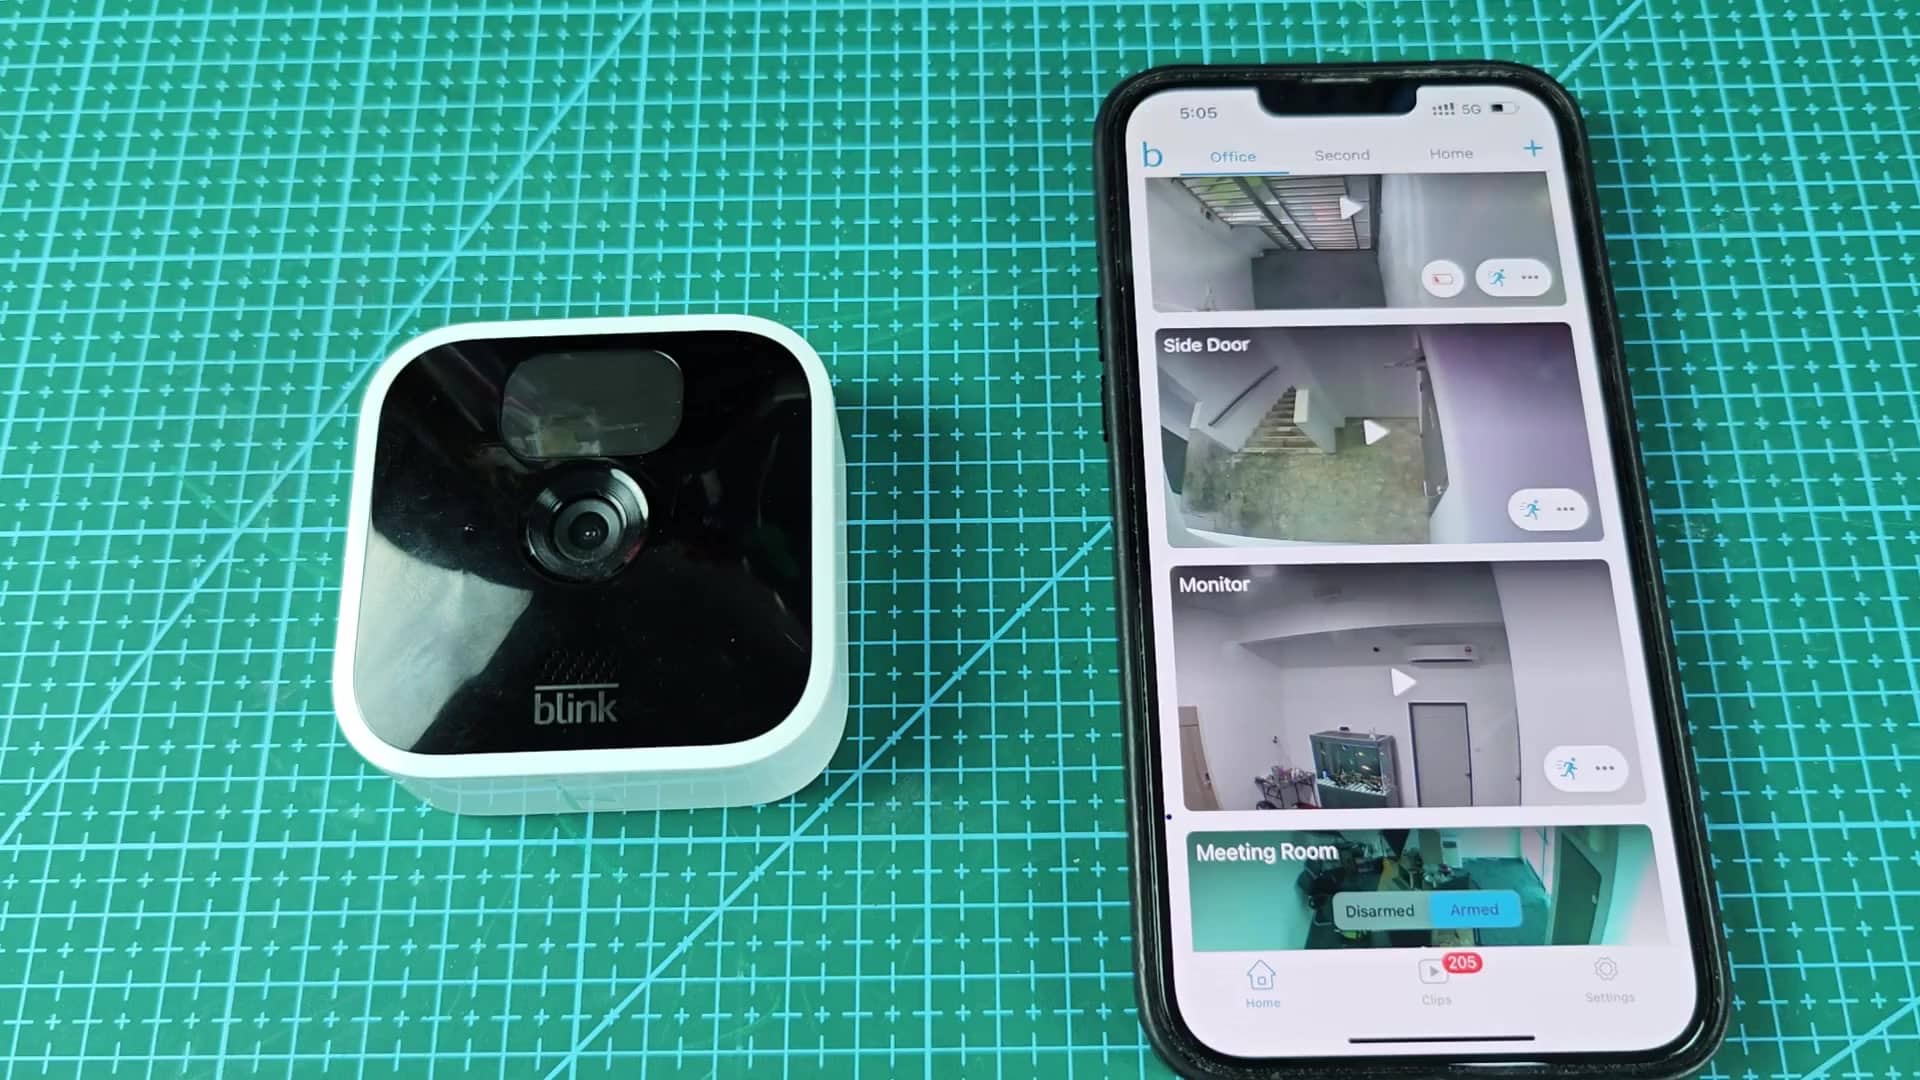
But that constant light can feel obtrusive in a home setting, you just want the thing to stay out of sight. Fortunately, you don’t have to disassemble hardware or ship it back to address the problem. Many people thinks there should of a toggle button on the hardware itself. However, most models don’t come with any switches you can easily flip to turn off LED. While you could take the device down, there’s an even easier answer through mobile app.
How to Disable the Blink Camera LED
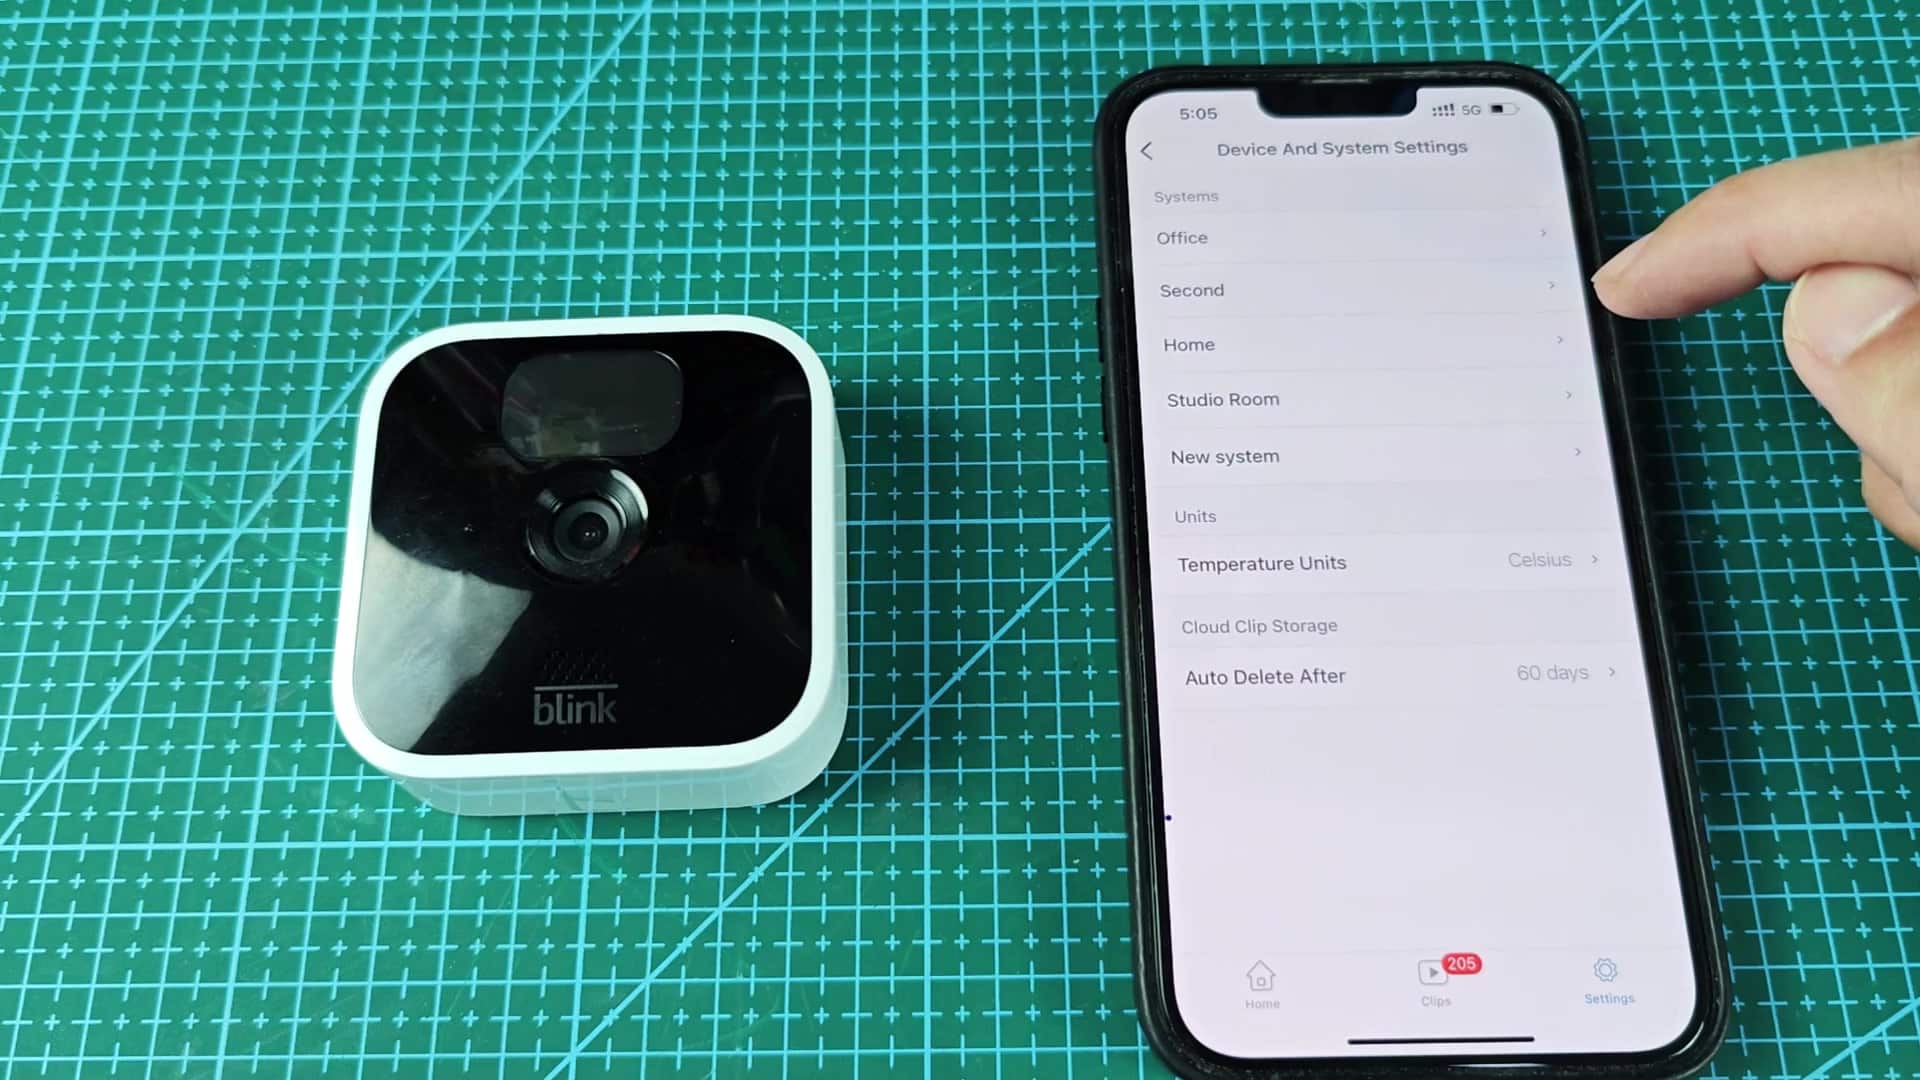
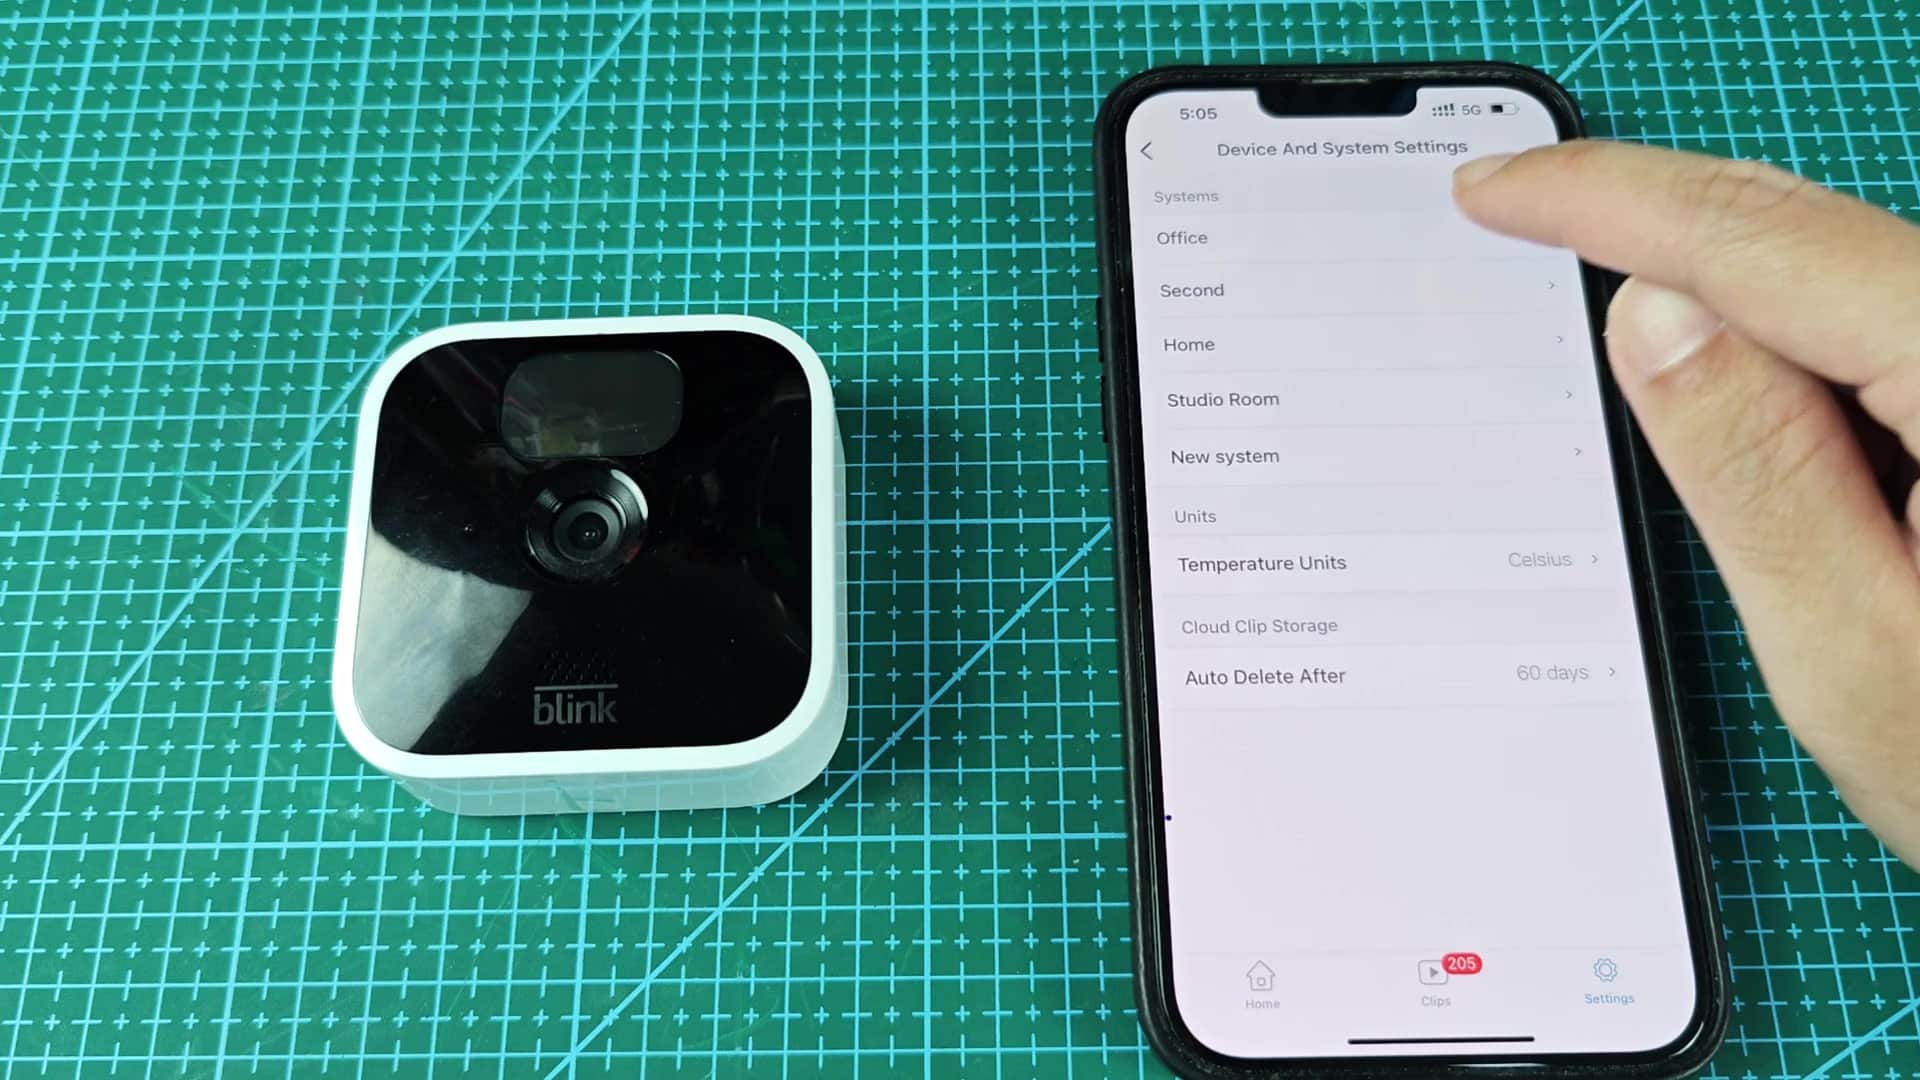
To disable light, just open up the Blink app on your phone and head into the main menu. While it’s simple enough to navigate, getting to some of these settings will take a bit of poking around. Look for the hamburger menu button in the top corner to show the full list of options here, then tap that and go to “Device and System Settings.”
Here you’ll see all kinds of configuration option related to both your overall system and each camera individually. After you’re in the setting menu, you need to specify the system the camera is attached to. (If you’ve got more than one camera per location, say, if all your lights in your home are lumped together under a “home” label while another set is at work, you’d pick “work”).
This will bring up a detailed dashboard on that specific system. It’ll show general details on the synced modules and cameras. You’ll just go through this hierarchy for a couple of seconds but it’s important because it helps you focus on the correct device. In the system overview, tap on “All Devices” to get into list of cameras in that group. You’ll be able to quickly access the individual configuration panel for each one from here. Find the camera in question and tap its name.
From there, the app will switch over to a dedicated page for just this one device. Here, you can change settings like motion sensitivity, see how much battery is left and see more about how it work. The LED light control lives here. To get there, you’ll have to scroll past the top-level preferences (such as video preferences and naming conventions); then it’s just a matter of finding something about displaying status or indicators.
If you’re attempting to adjust your detection zones, most users will get hung up on Privacy Settings or Motion Settings, but it’s actualy located in another subsection. It takes a little digging around in the menu structure to find it.
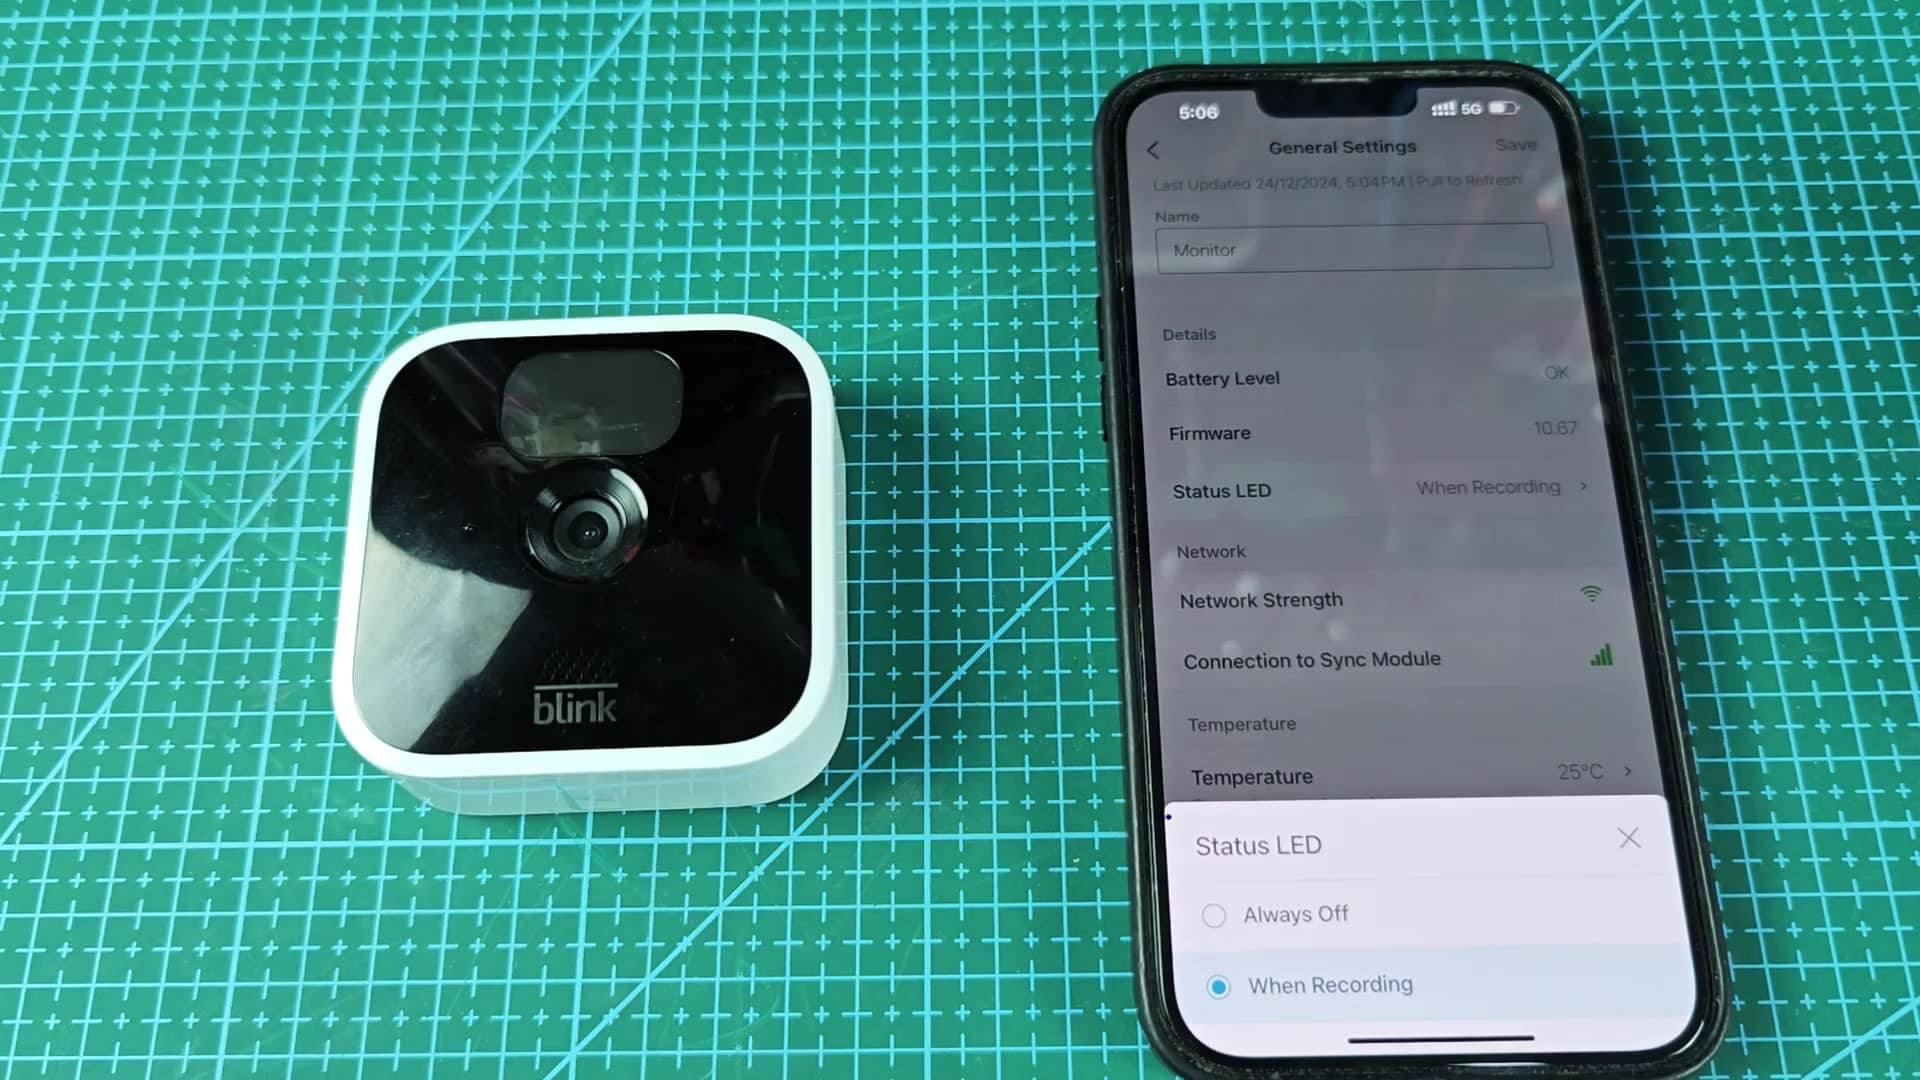
Find the option labeled “Status LED” within General Settings area.
Scroll down again to the General Settings section and you’ll see an option called “Status LED.” It’s there that you set what the camera does with a flashing status light to tell you it’s doing something. Usually, by default, it will blink during connection and recording.
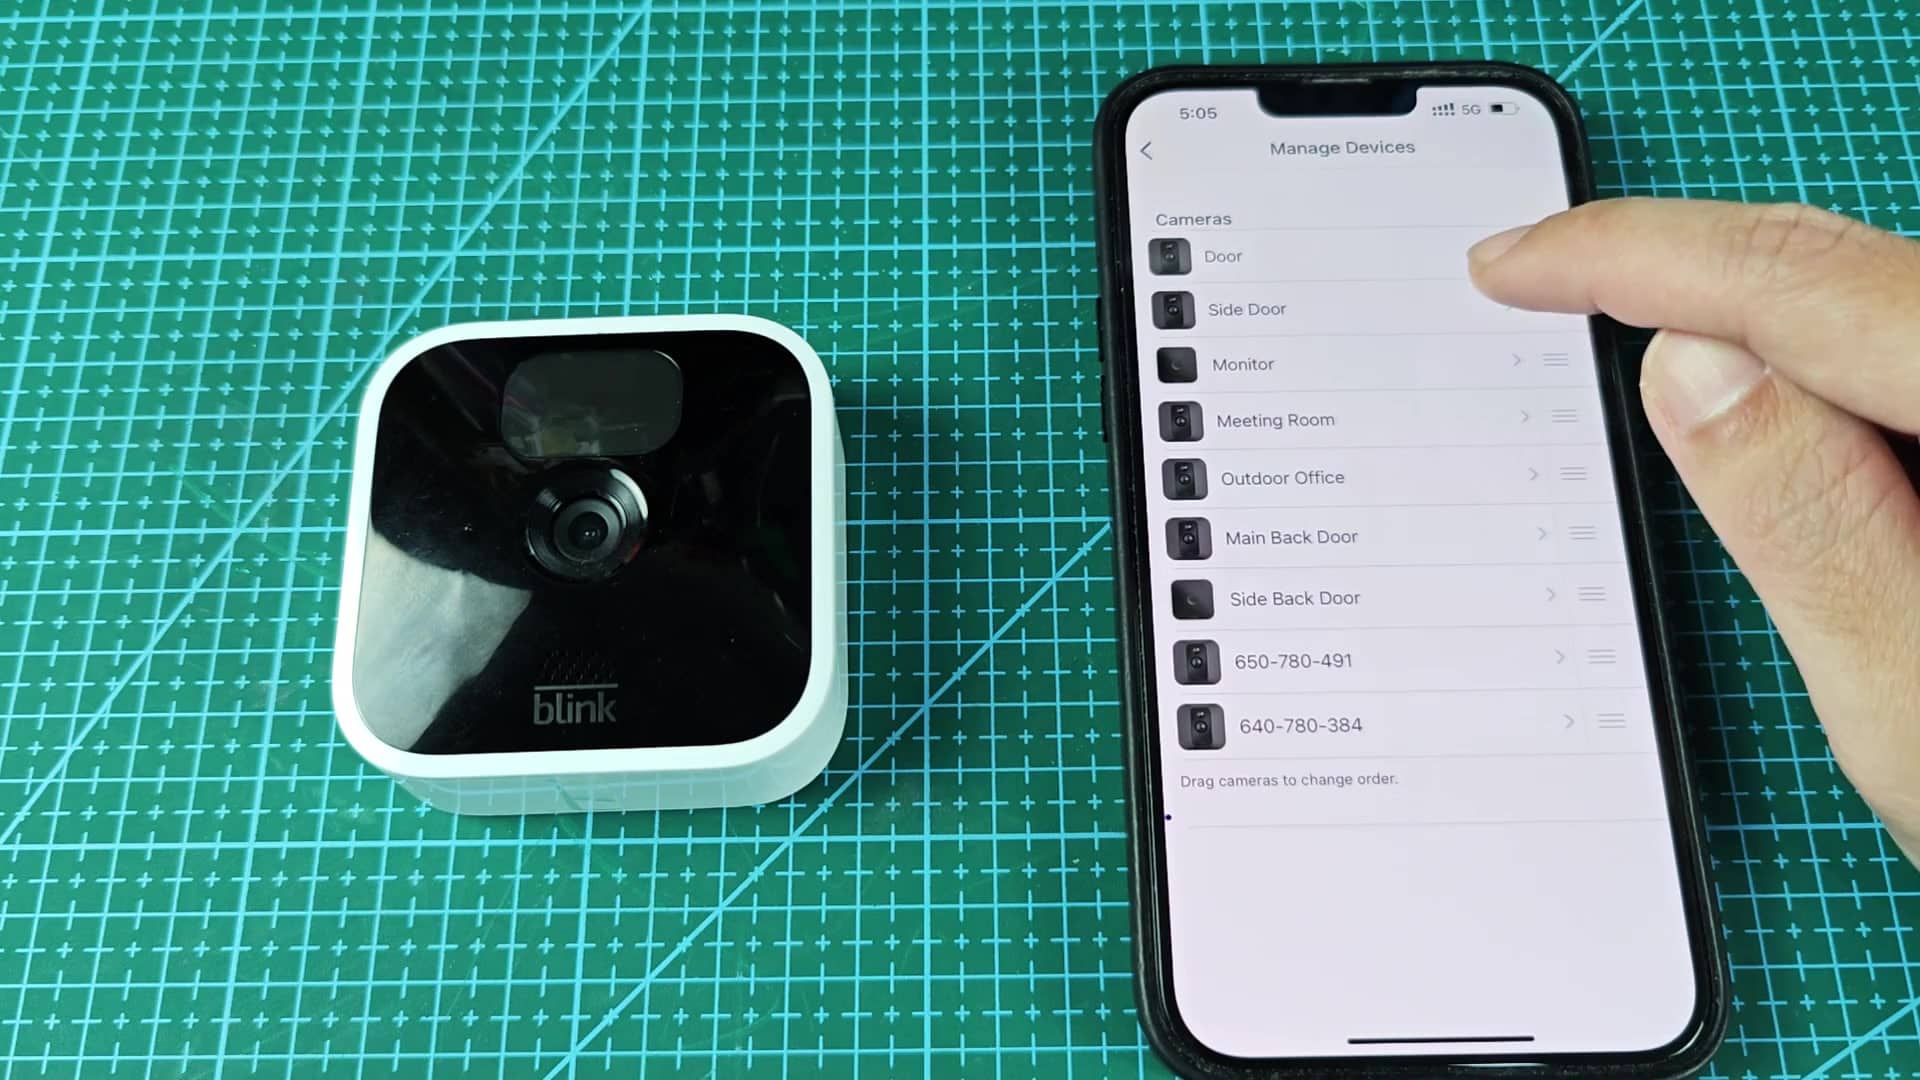
Use that setting to get your options. You should now see some of the indicator light modes listed which you can choose from. That’s all you need to do to stop the blinking. There are only two obvious choices in the popup menu: one leaves the LED illuminated during recording (good for deterrents, bad for stealth) and one leaves it off all the time (“Always Off“). That’s the one you want.
There’s no need to physically turn off the camera unit, nor even reboot it; the change take effect immediately. Shortly after you’ve made your selection, the blue light will vanish. Switching back to “Always Off” puts the camera in silent mode again. So it’ll still pick up motion and capture clips exactly like normal. Except now it won’t cast that annoying blue glow around your livig room anymore.
Yep, it’s still up and running, still connected to the sync module… just not bothering anyone ever again. No more worrying about waking yourself up with it or ruining movie nights.