Breaking down installation into its component parts make for an easy setup process with new LG ThinQ washer and dryer. Sure, it can seem daunting when you look at the whole picture, but following the order of operations closely ensure there’s nothing complex to it. Do it right the first time and you don’t have to sweat it afterward in terms of potential errors or leaks.
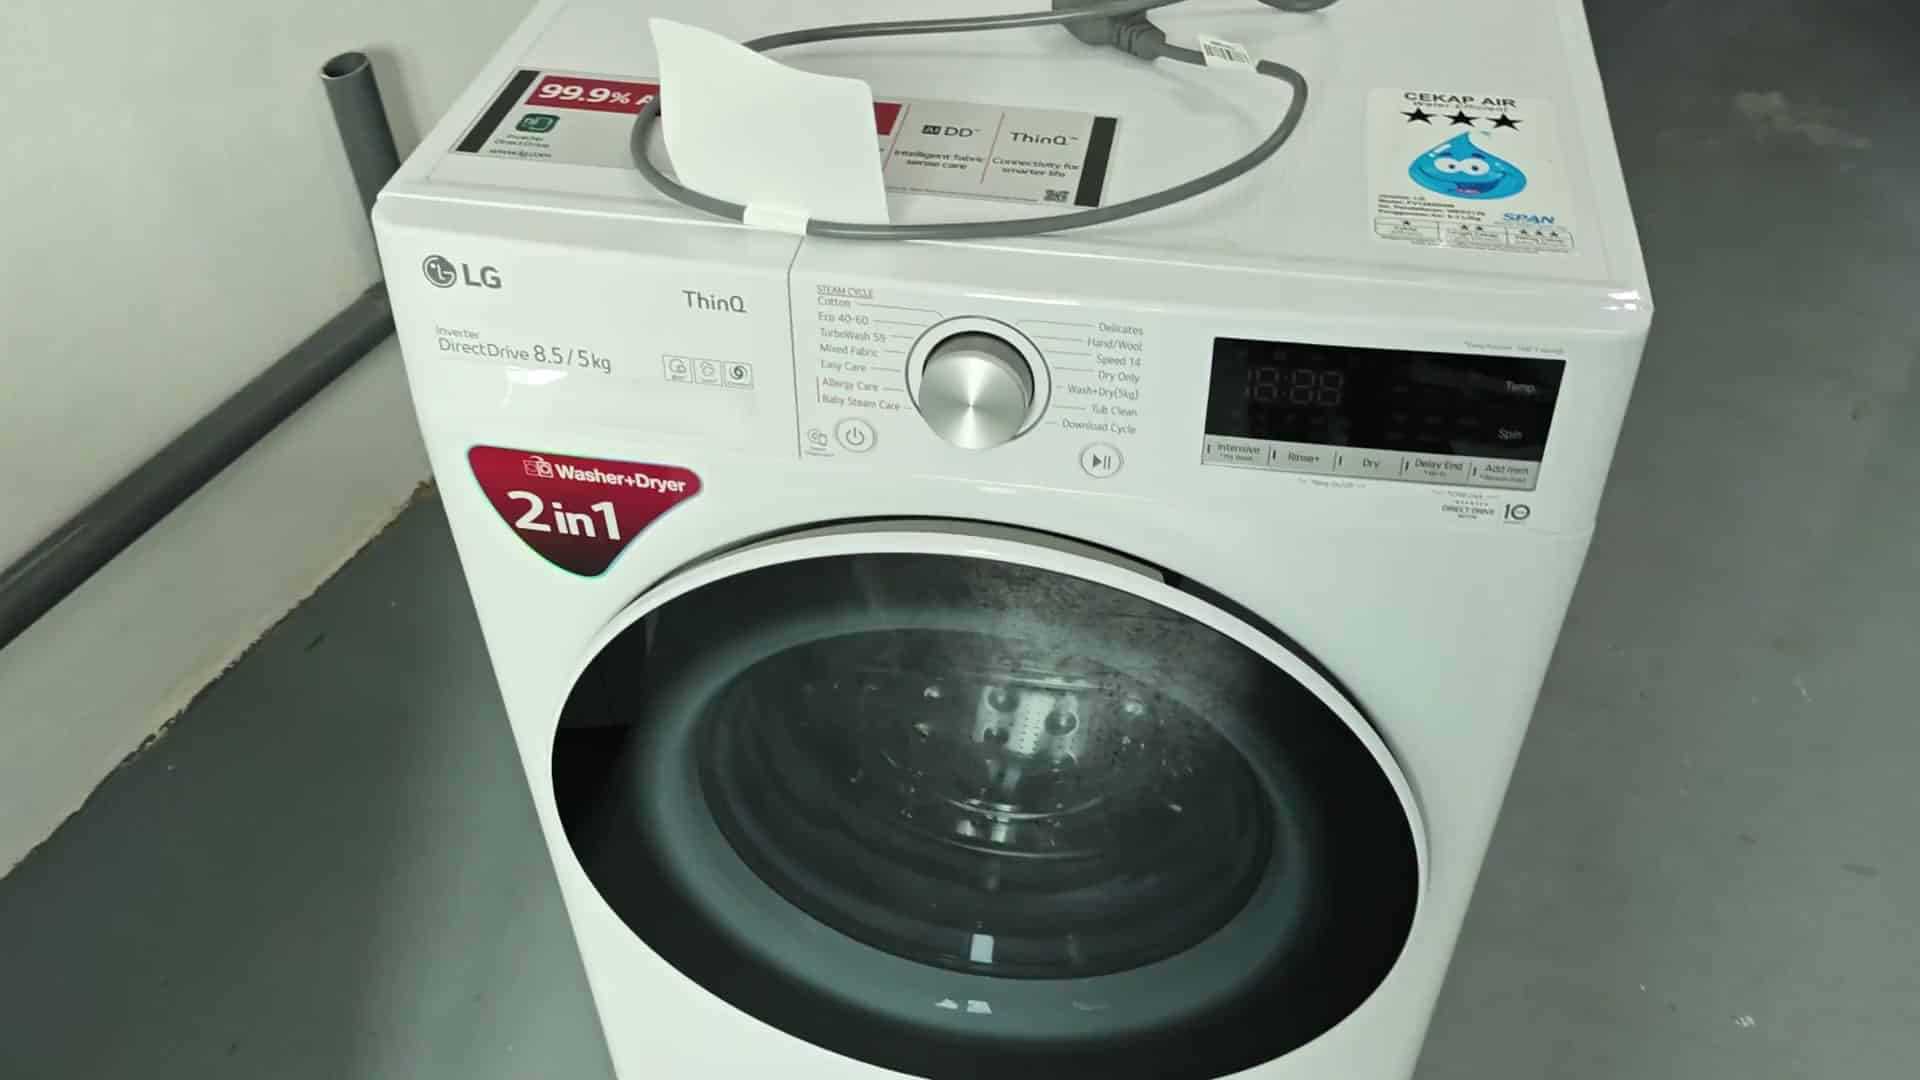
First off: Remove the transit bolts from the rear of the machine. These hold the drum in place while being shipped. Leaving these on can cause serious damage to your machine, as well as excessive vibration. Carefuly remove them before you continue. This is important to keep machine healthy for a long time.
Verifying Your Installation
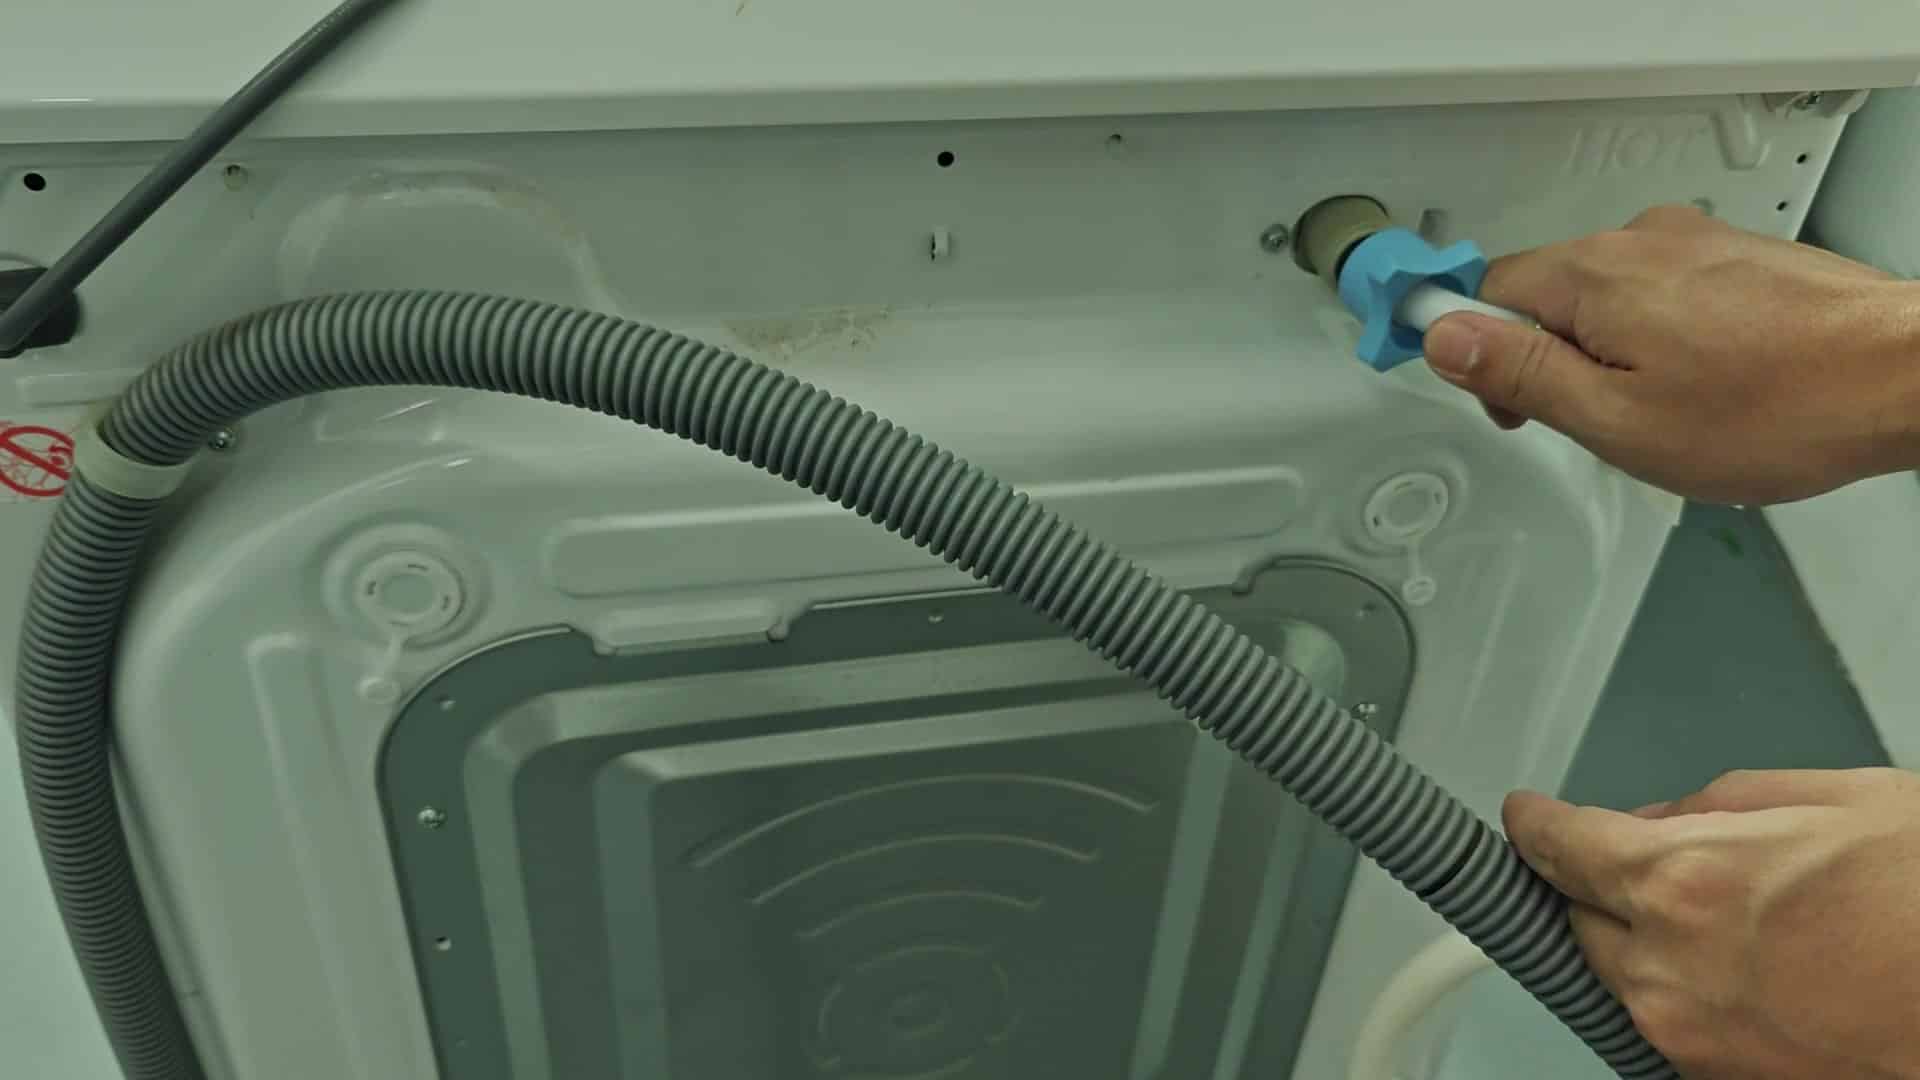
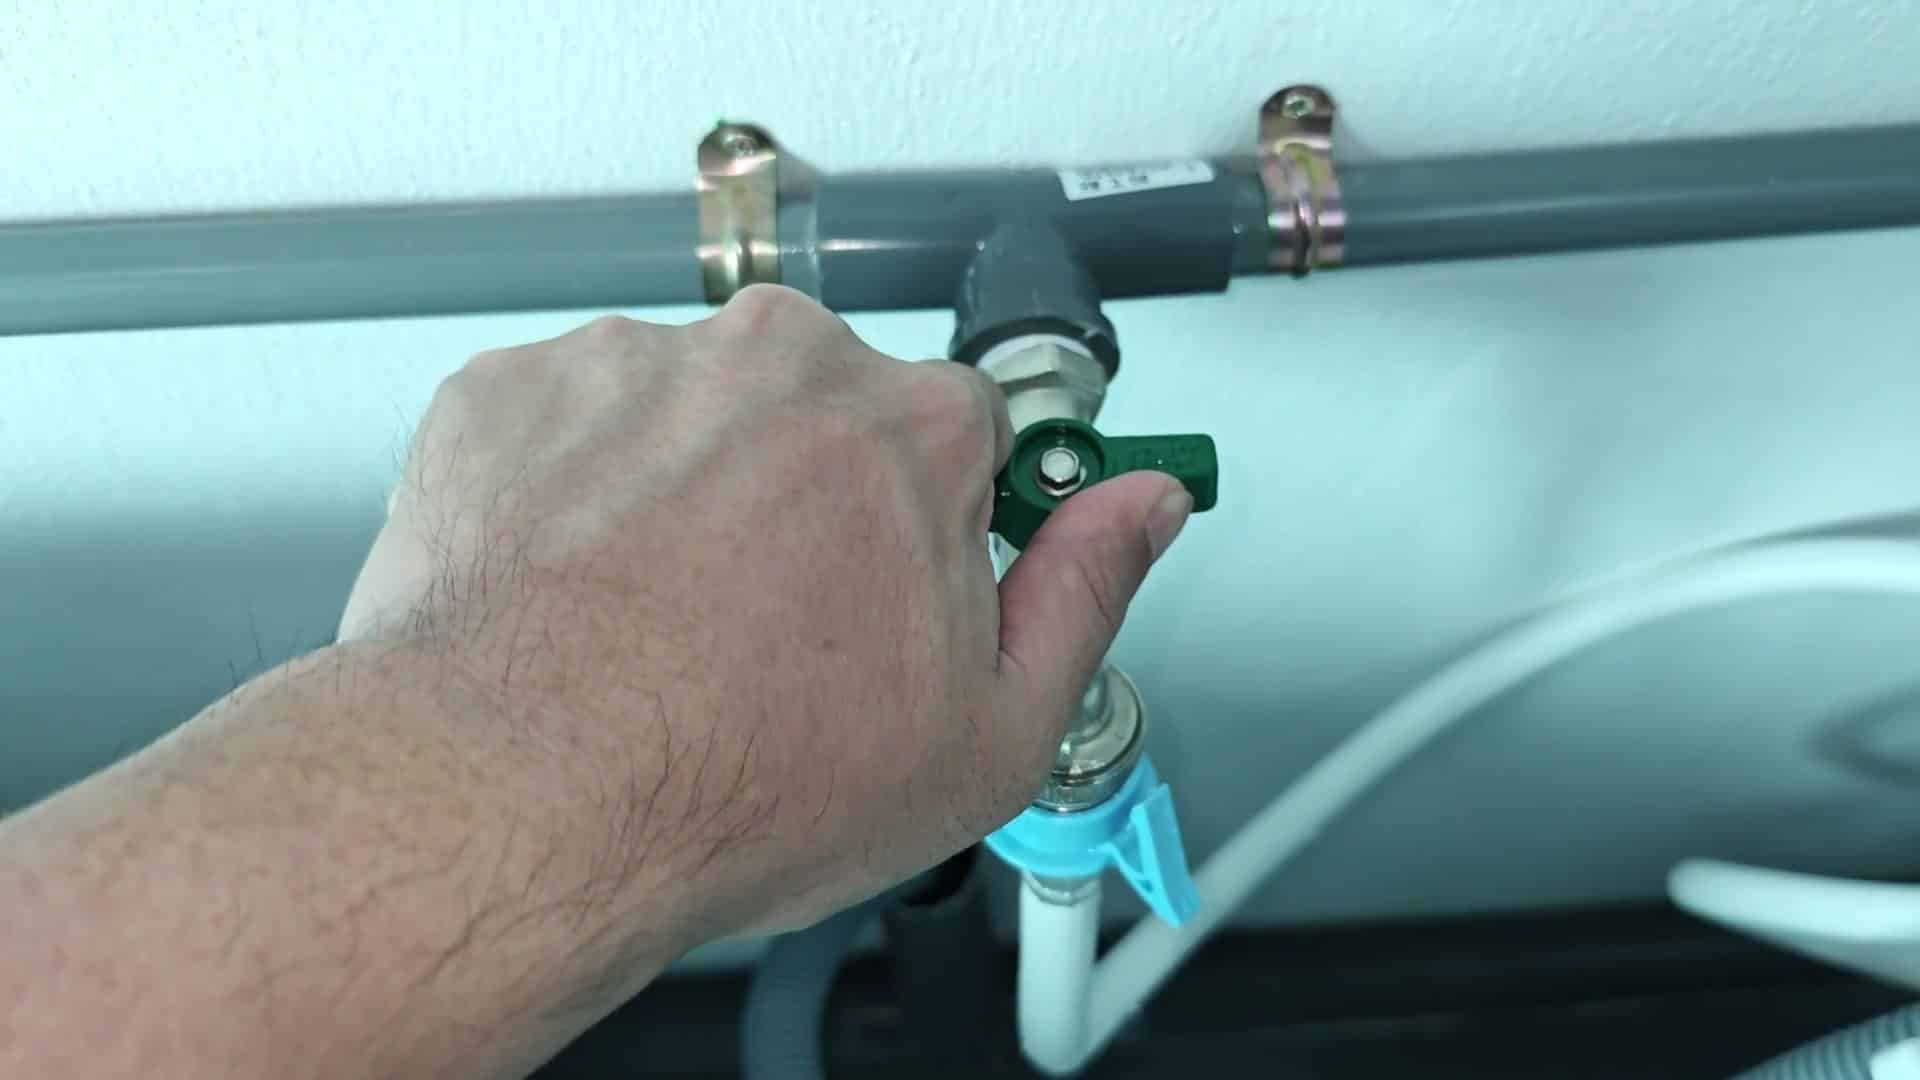
You then attach the water inlet hose, connecting one end to the washer port and the other to the wall tap. Ensure the connector is snug but avoid over-tightening. Your washing machine need a reliable water source to ensure it works properly during the wash cycle. This is a fairly straightforward install that most people can handle on their own.
Once the hose is secure, turn on the water supply valve so water can be supplied to the machine as required. Look for any leaking immediately at the connection point. It’s all dry and tight-looking. If it isn’t, then something’s not right with the plumbing.
Then attach the drain hose into its designated outlet. To ensure proper drainage, the washer must not flood, and it won’t wash well if kinks or bends in the hose limits the flow. It fits right into place with minimal effort. It is an easy, fast fix.
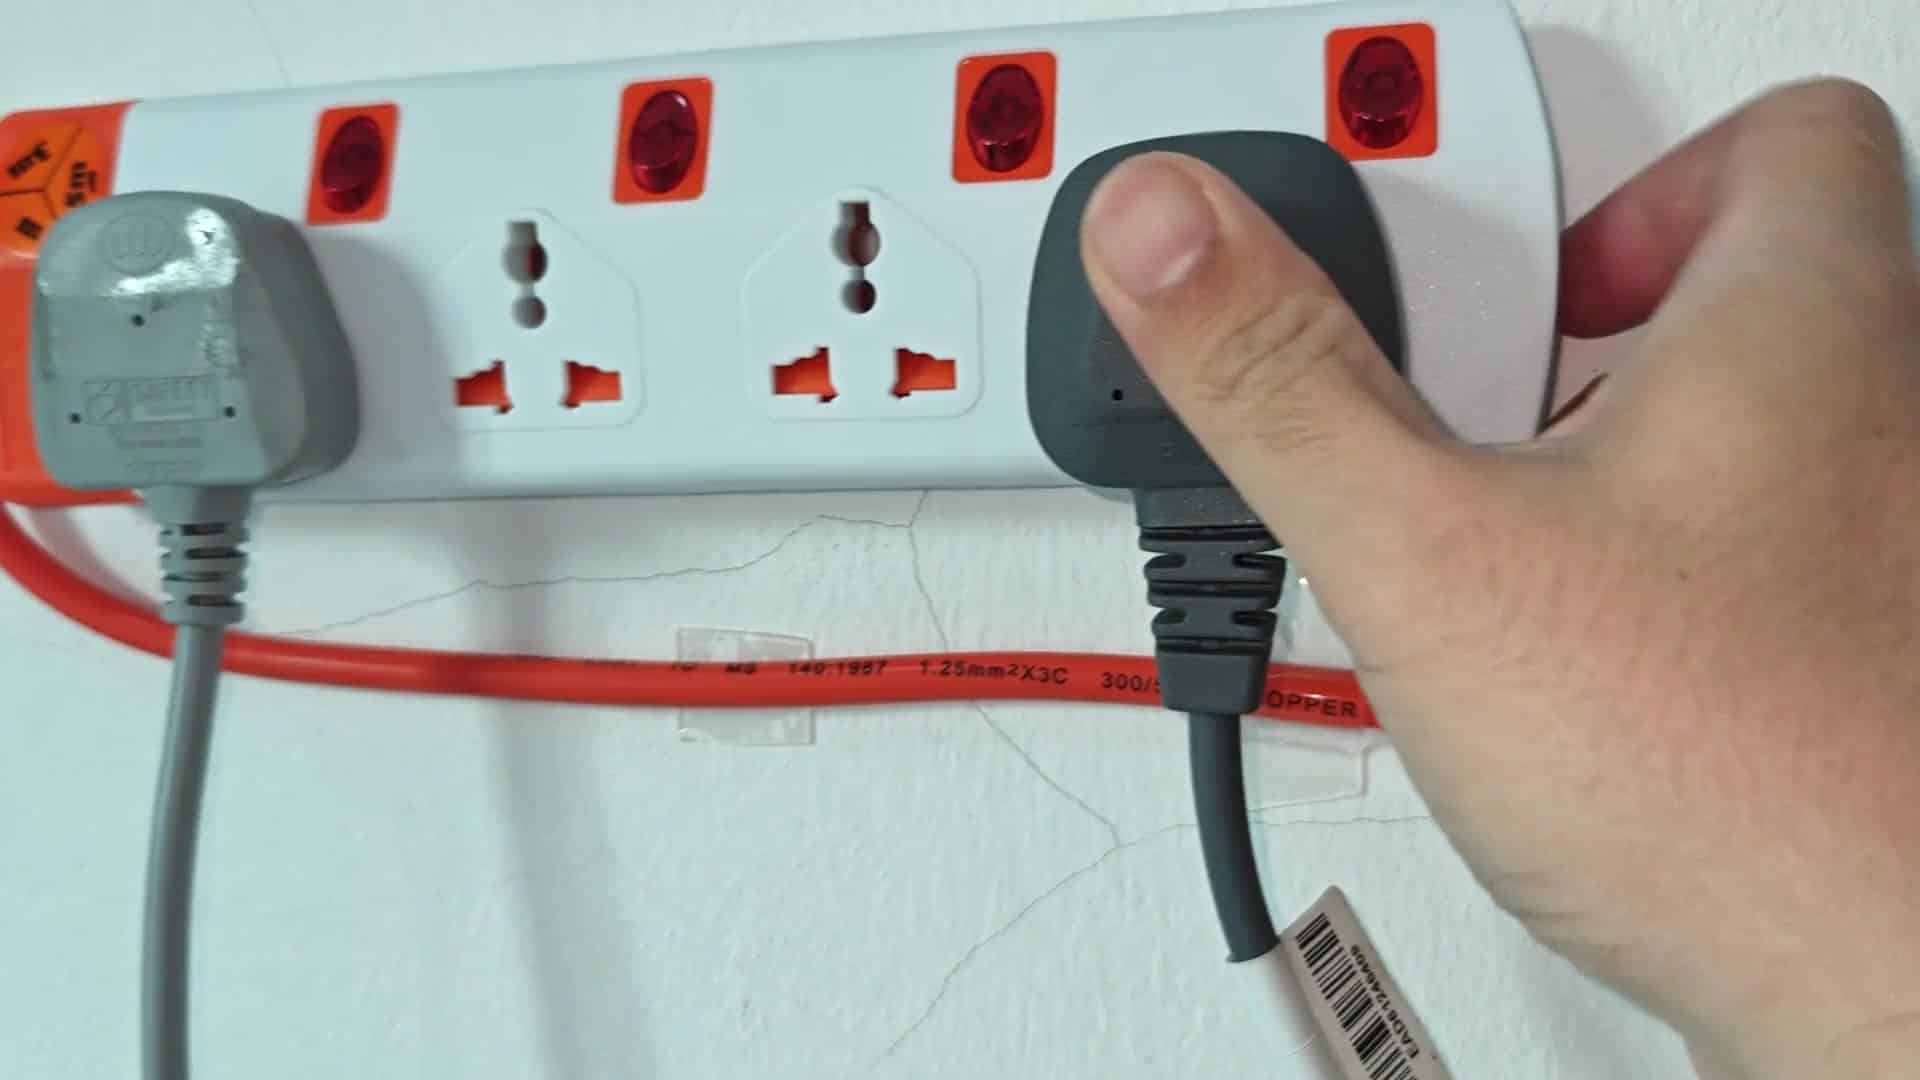
Next up you turn on the machine by plugging it in. This sounds trivial but without this, nothing else works. You can use a standard power strip nearby for convenience. Once plugged in, indicator light turns on. Everything is fine so far; next, we will check a few more thing.
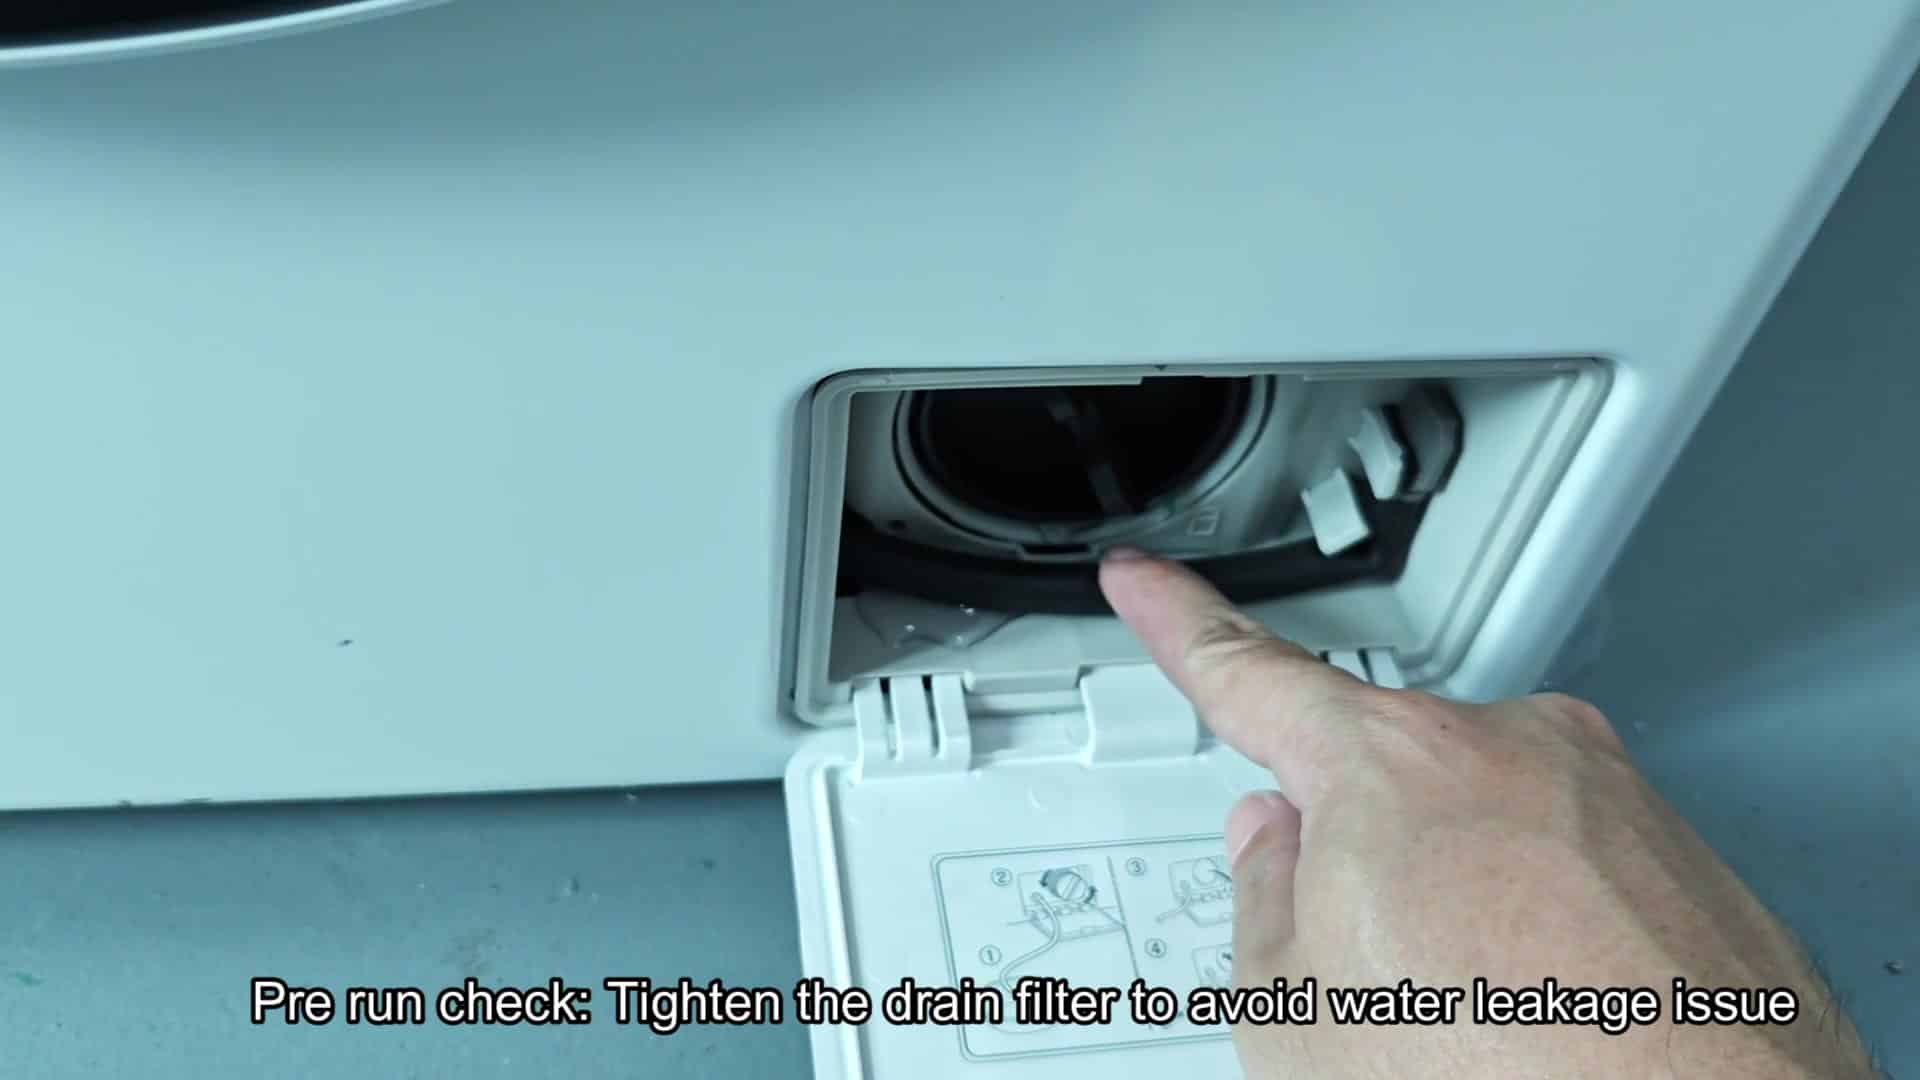
Perform a final check before running a real wash program. First make sure the drain filter was tightened all the way. Otherwise it could come loose in the middle of the spin cycle and water would flow out onto your floor.
Find the access panel on the bottom of the machine. Open it up and you’ll see the area where the drain filter sits. Reach inside and make sure the filter is in good condition and twisted tight. This little trick keeps headaches away later on. Take a moment and do it correctly.
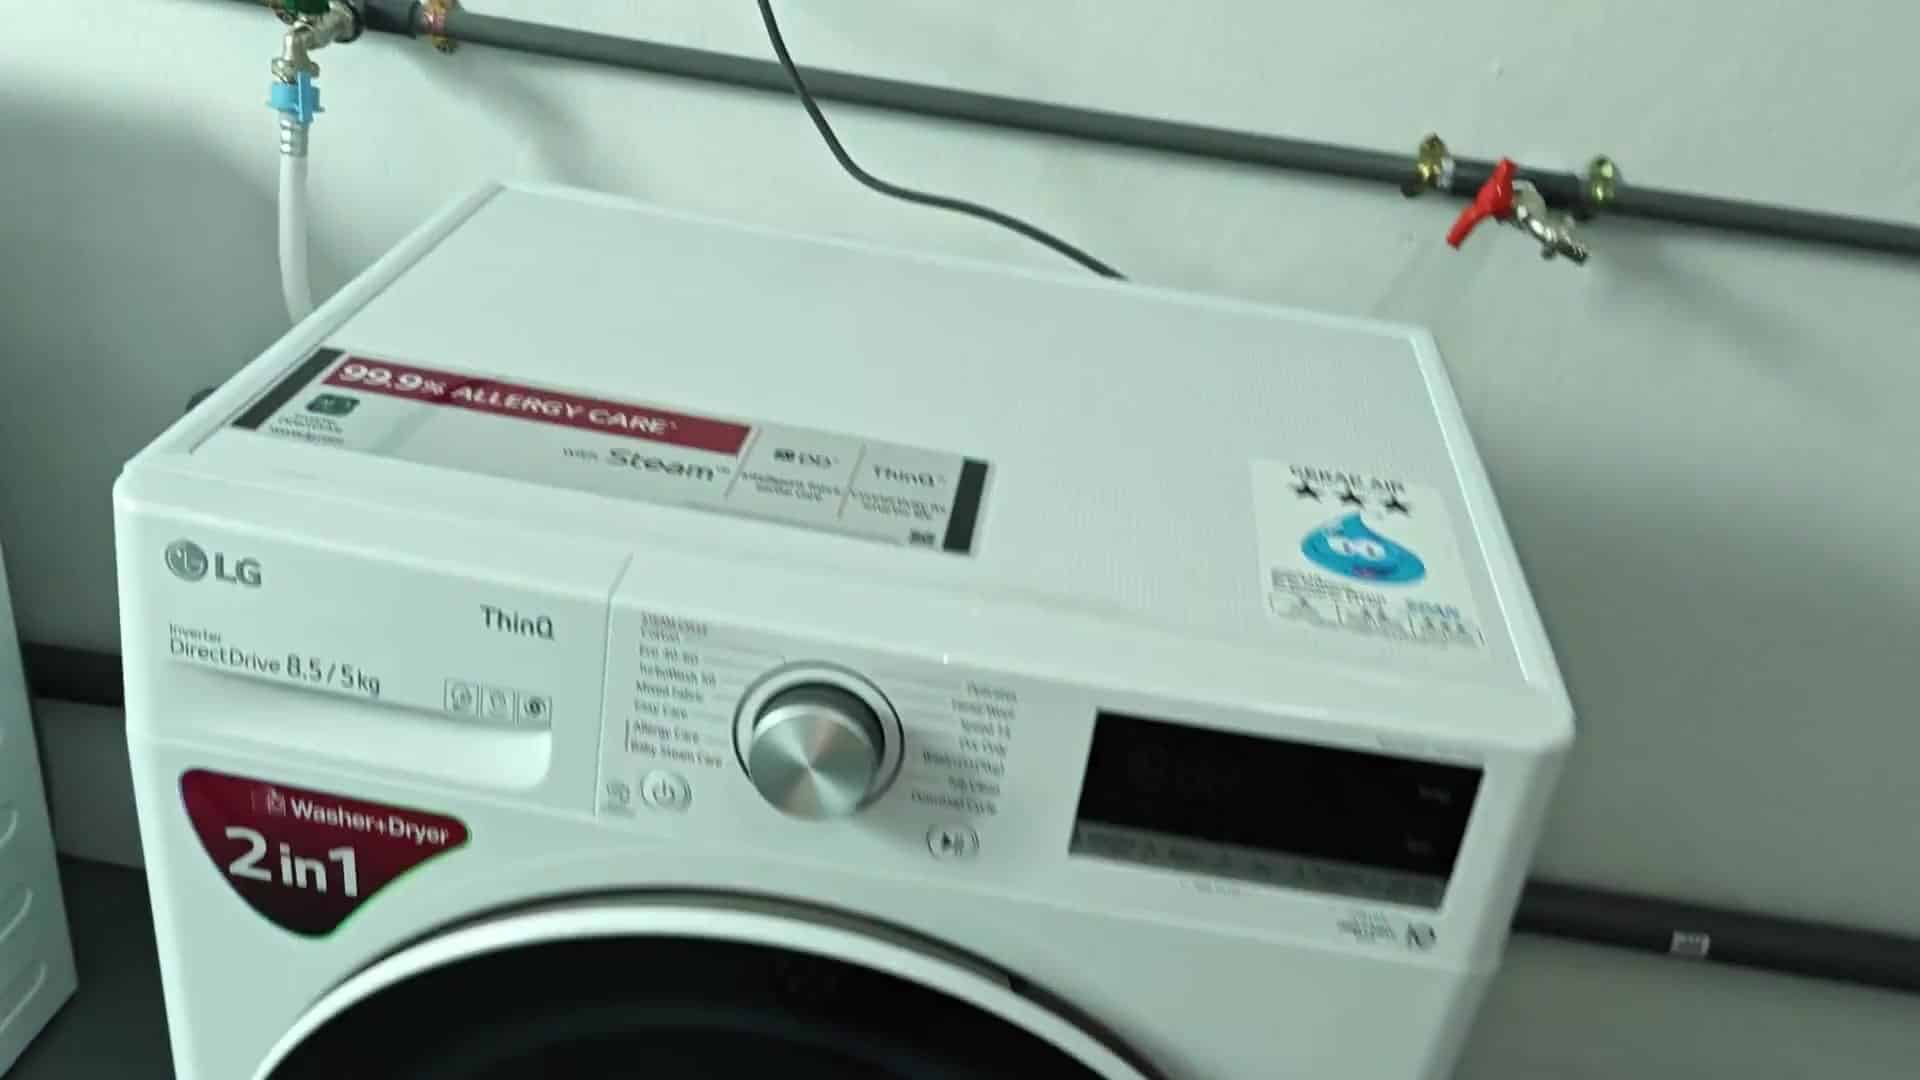
Once you know your filter is good, then choose the quickest wash cycle on your machine. You want it to do a test run to make sure everything work properly without wasting water or your time. If this does work (washing/drying), then great, it confirms your installation was successfull. Smart move.
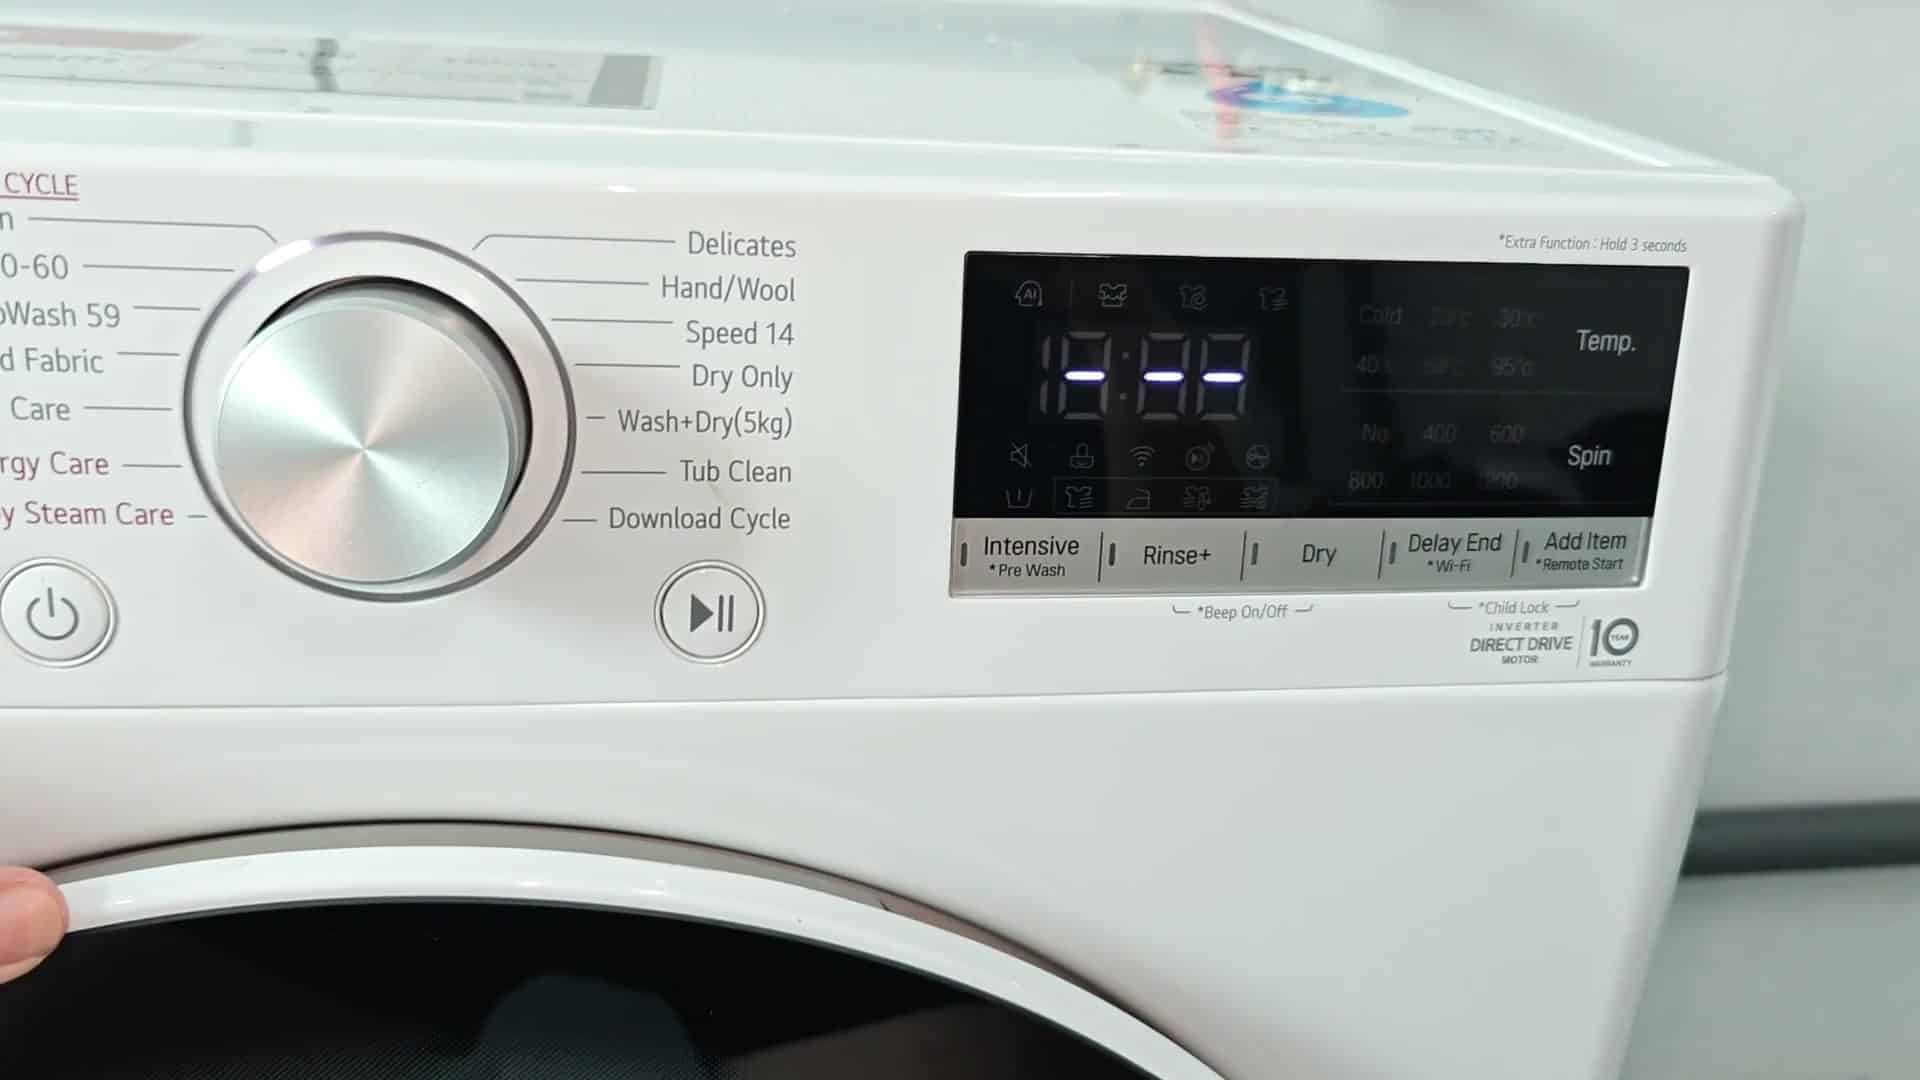
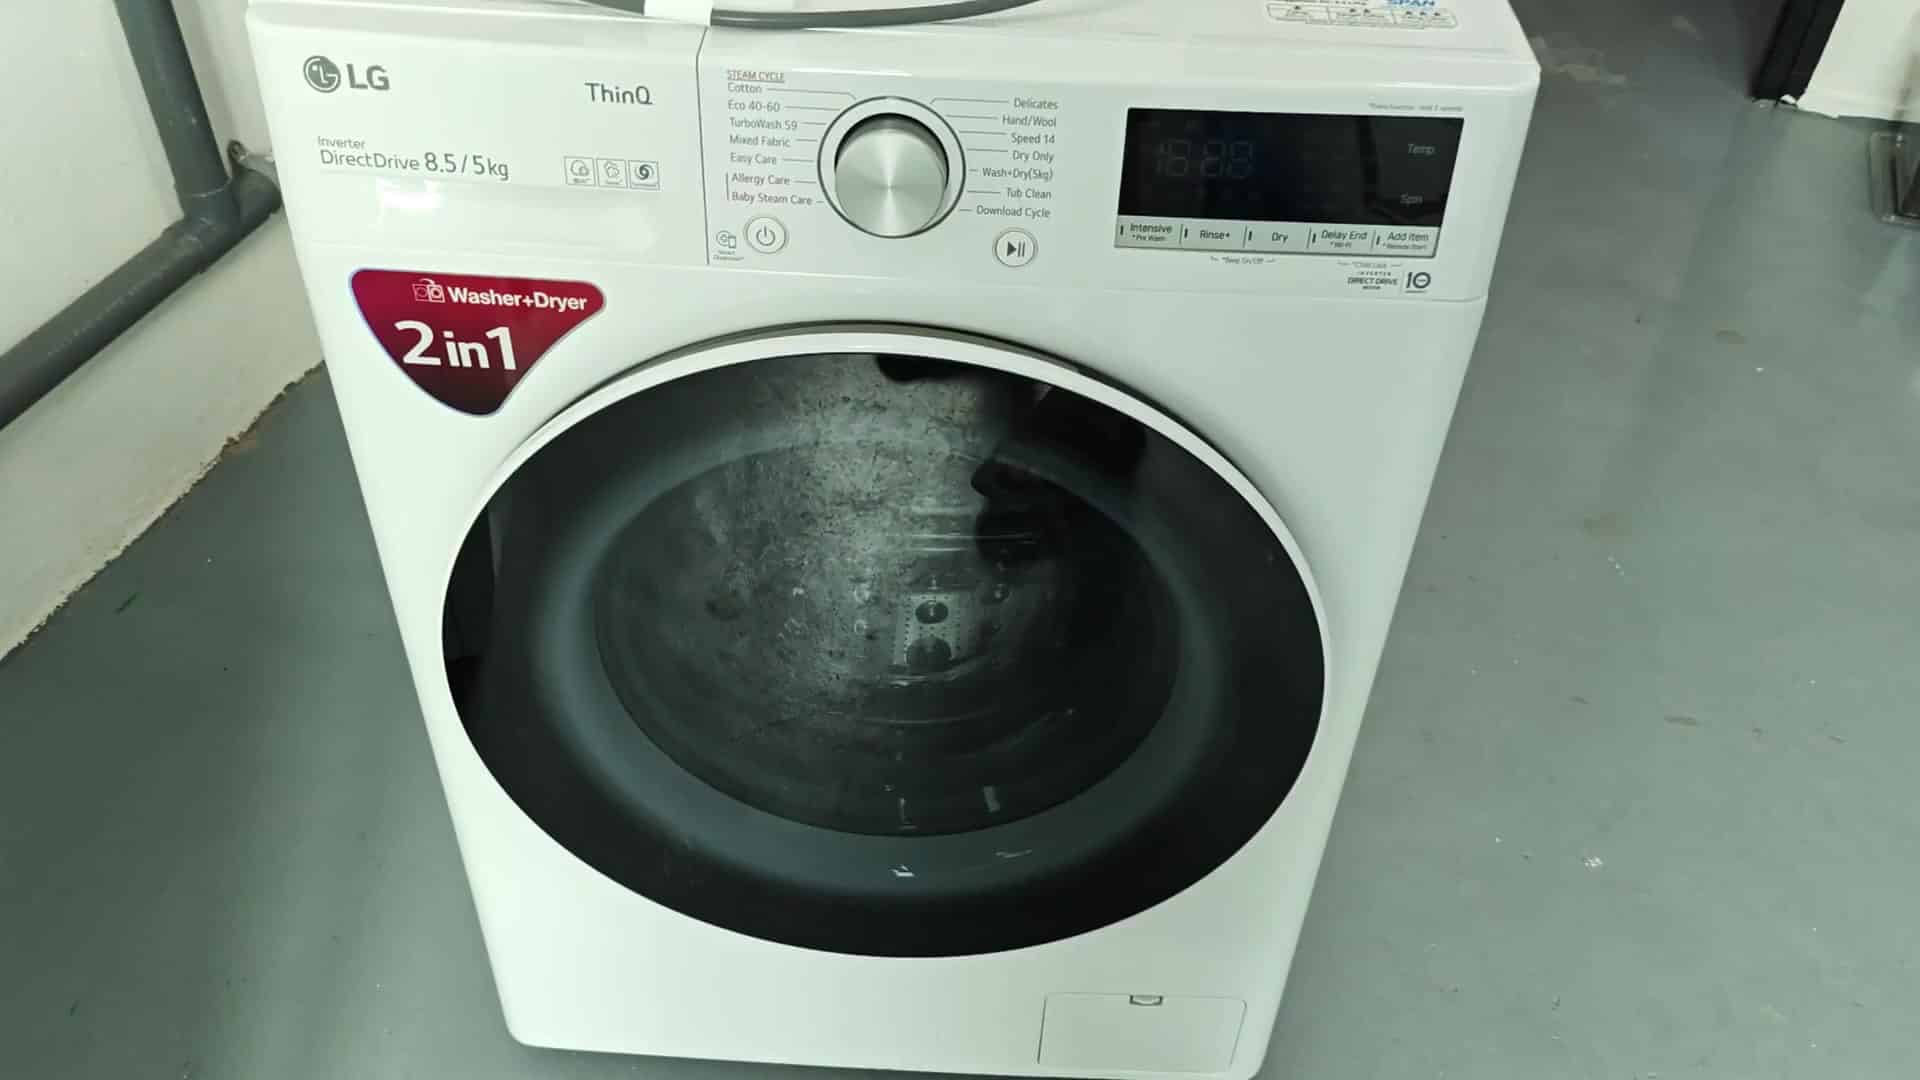
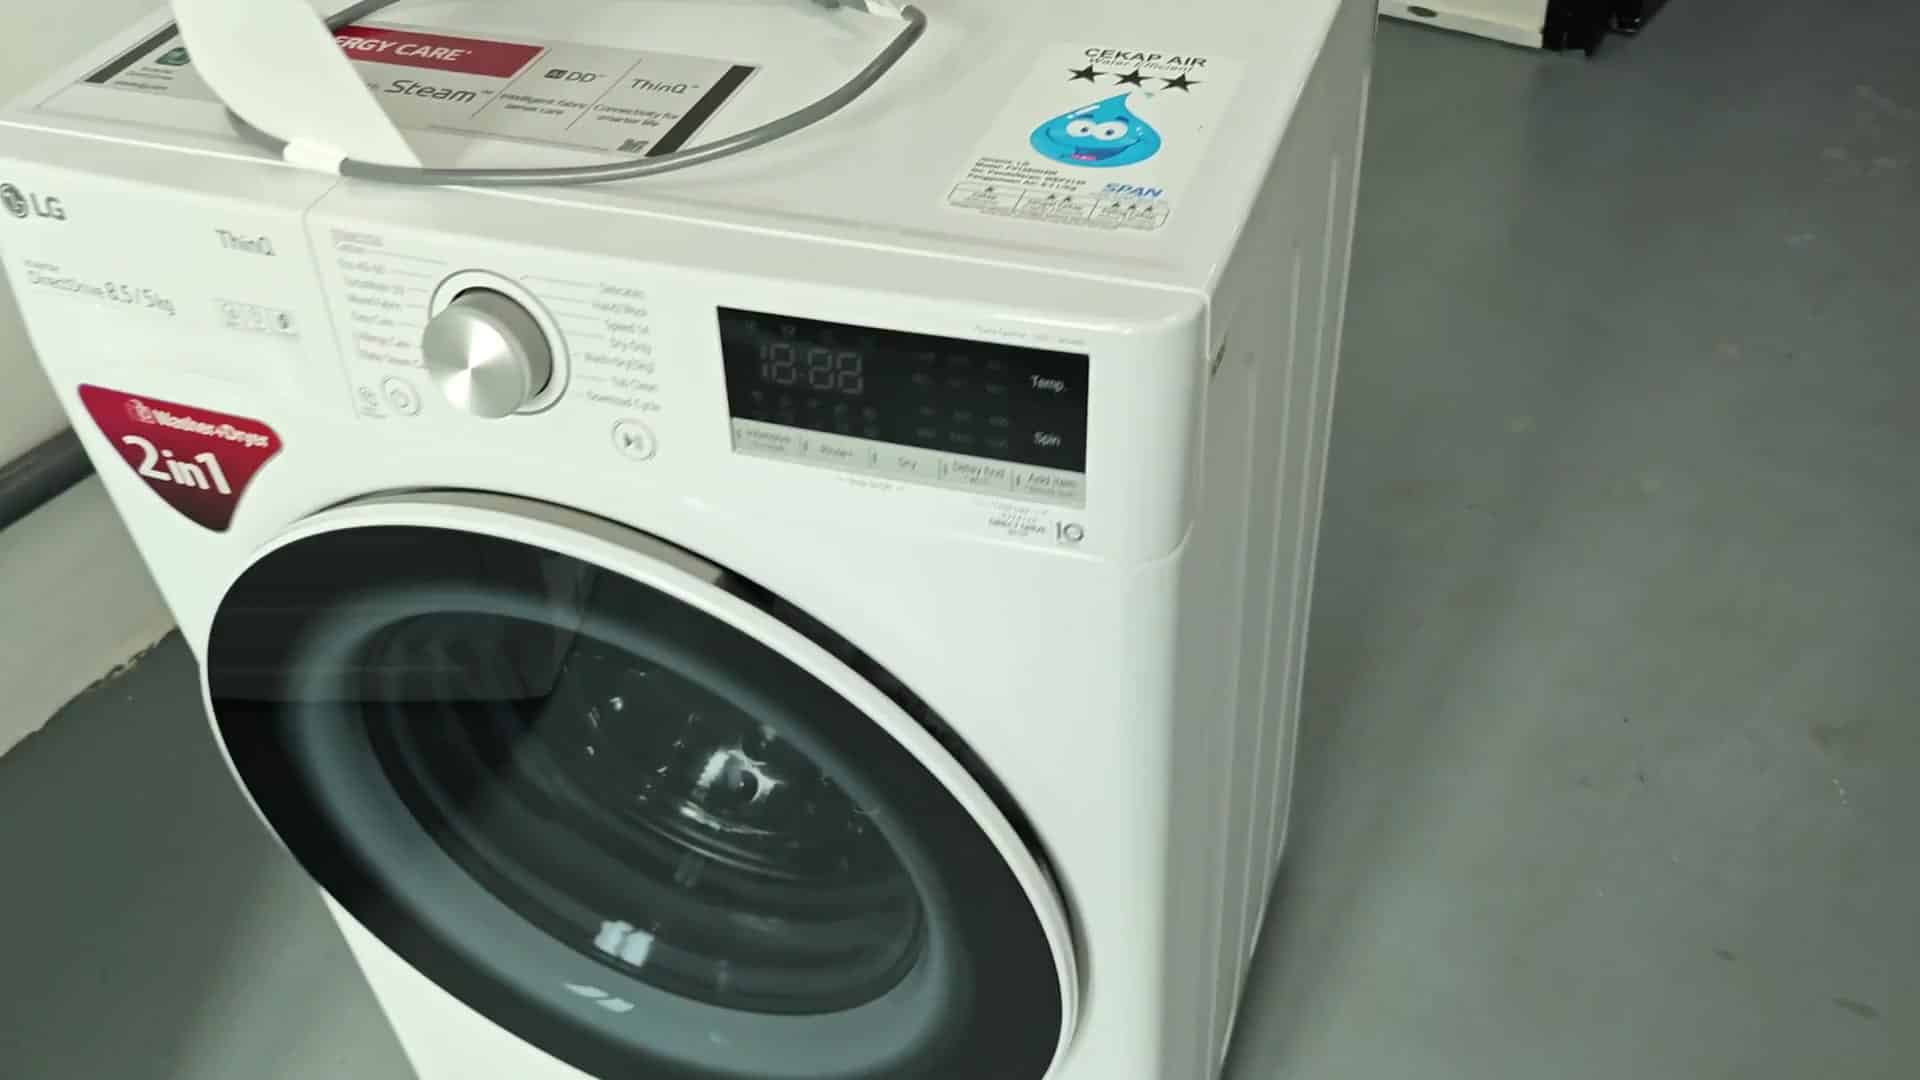
Once it’s set up, you turn it on by adjusting the settings on the control panel. It displays the current temperature and how long until the cycle ends. You’ll be able to see the numbers counting down as it processes your instructions. There shouldn’t of be any error messages appearing on the screen.
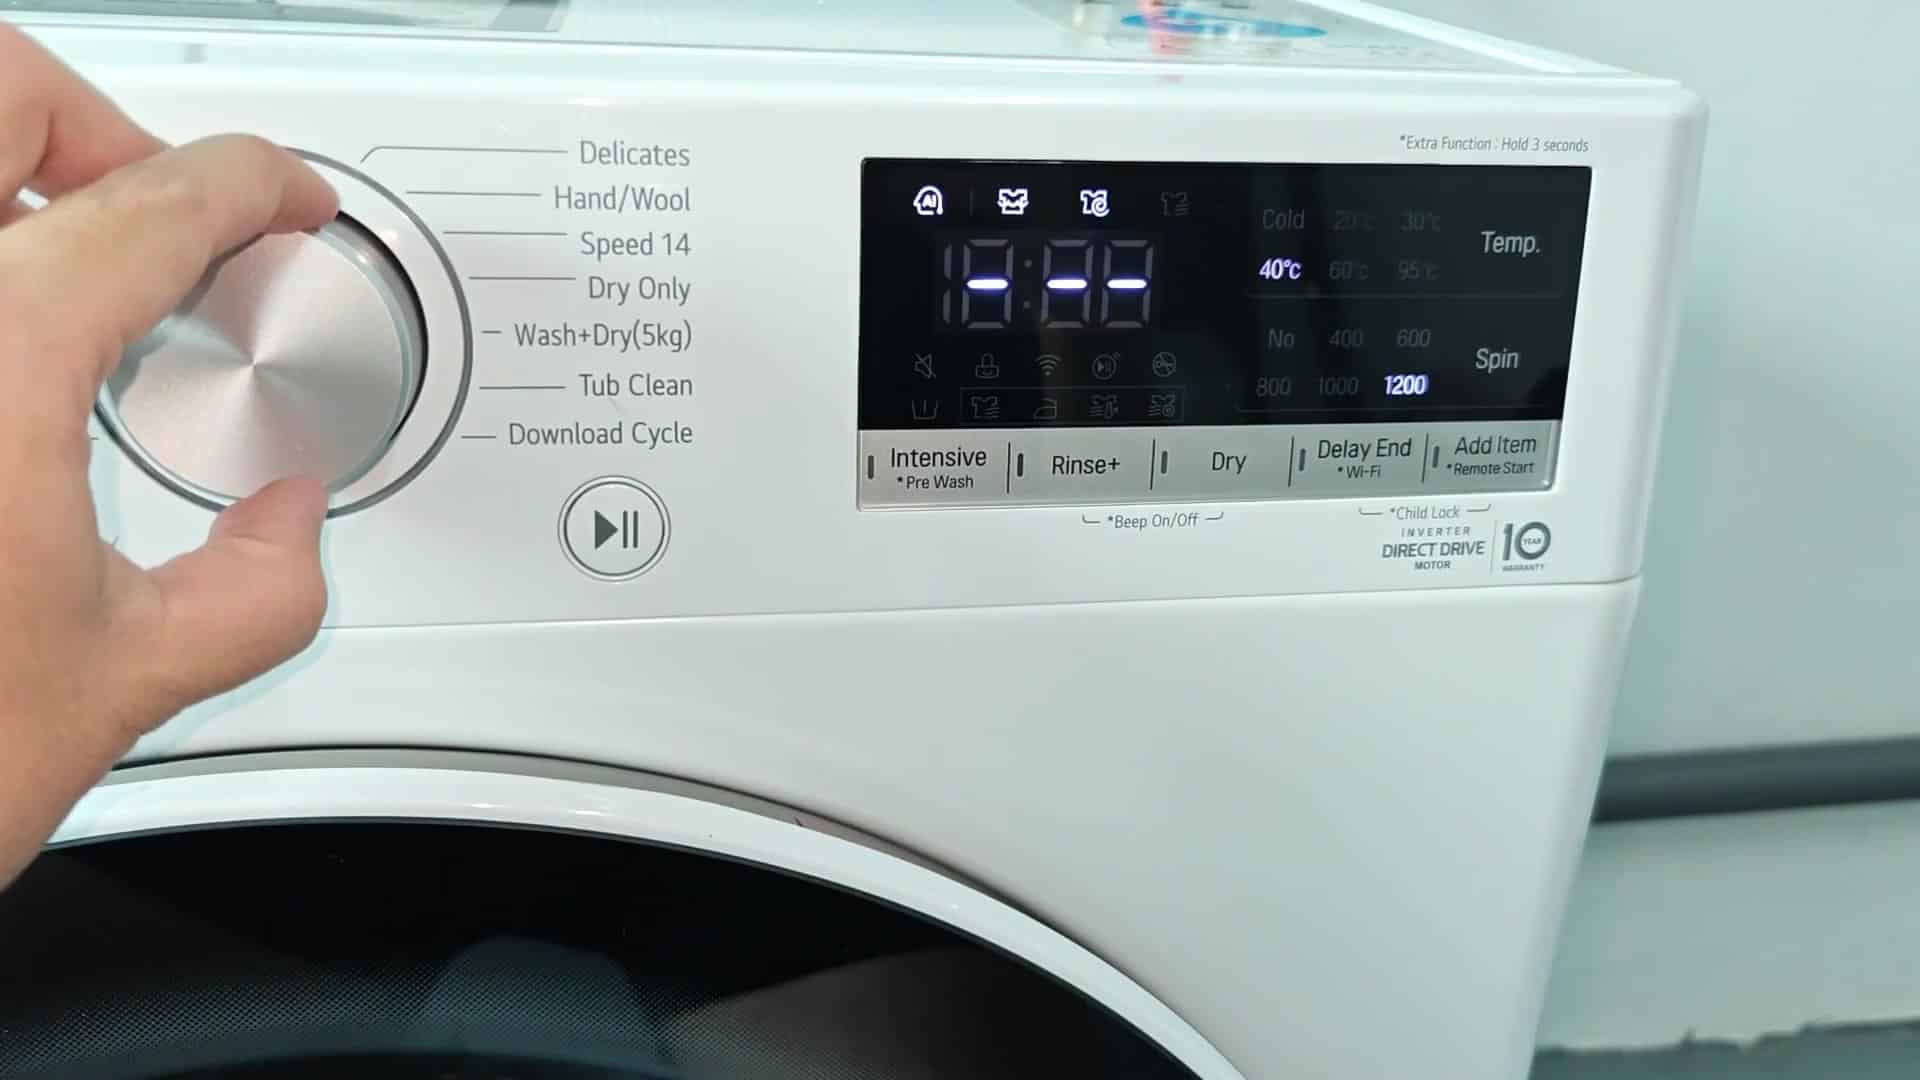
And then it starts, a quiet rumbling of the machine coming to life. The drum fills with water and does so effectively and easily. You watch it go through the spin cycle.
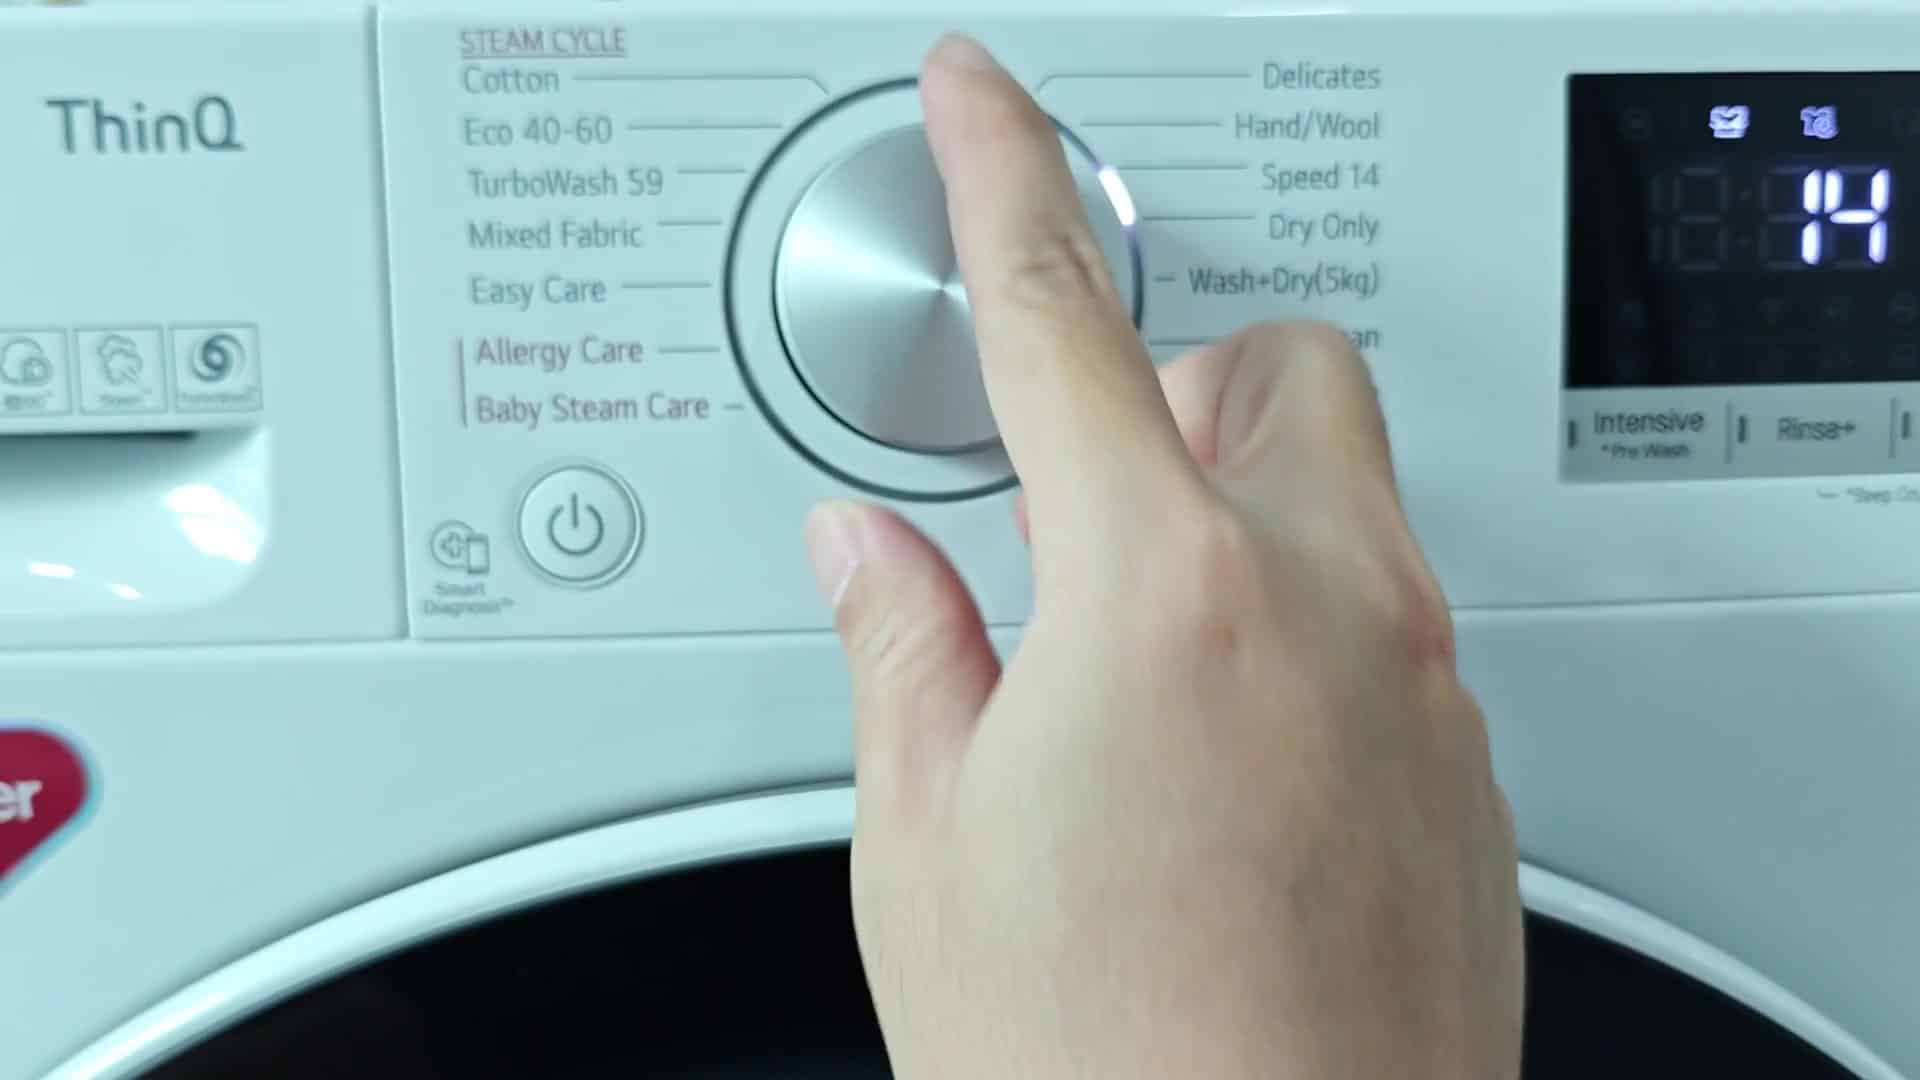
Is anything out of sorts? Any strange sounds or vibrations? No, just smooth sailing all the way. And then it stops. It stops. And it stops. Mission accomplished!
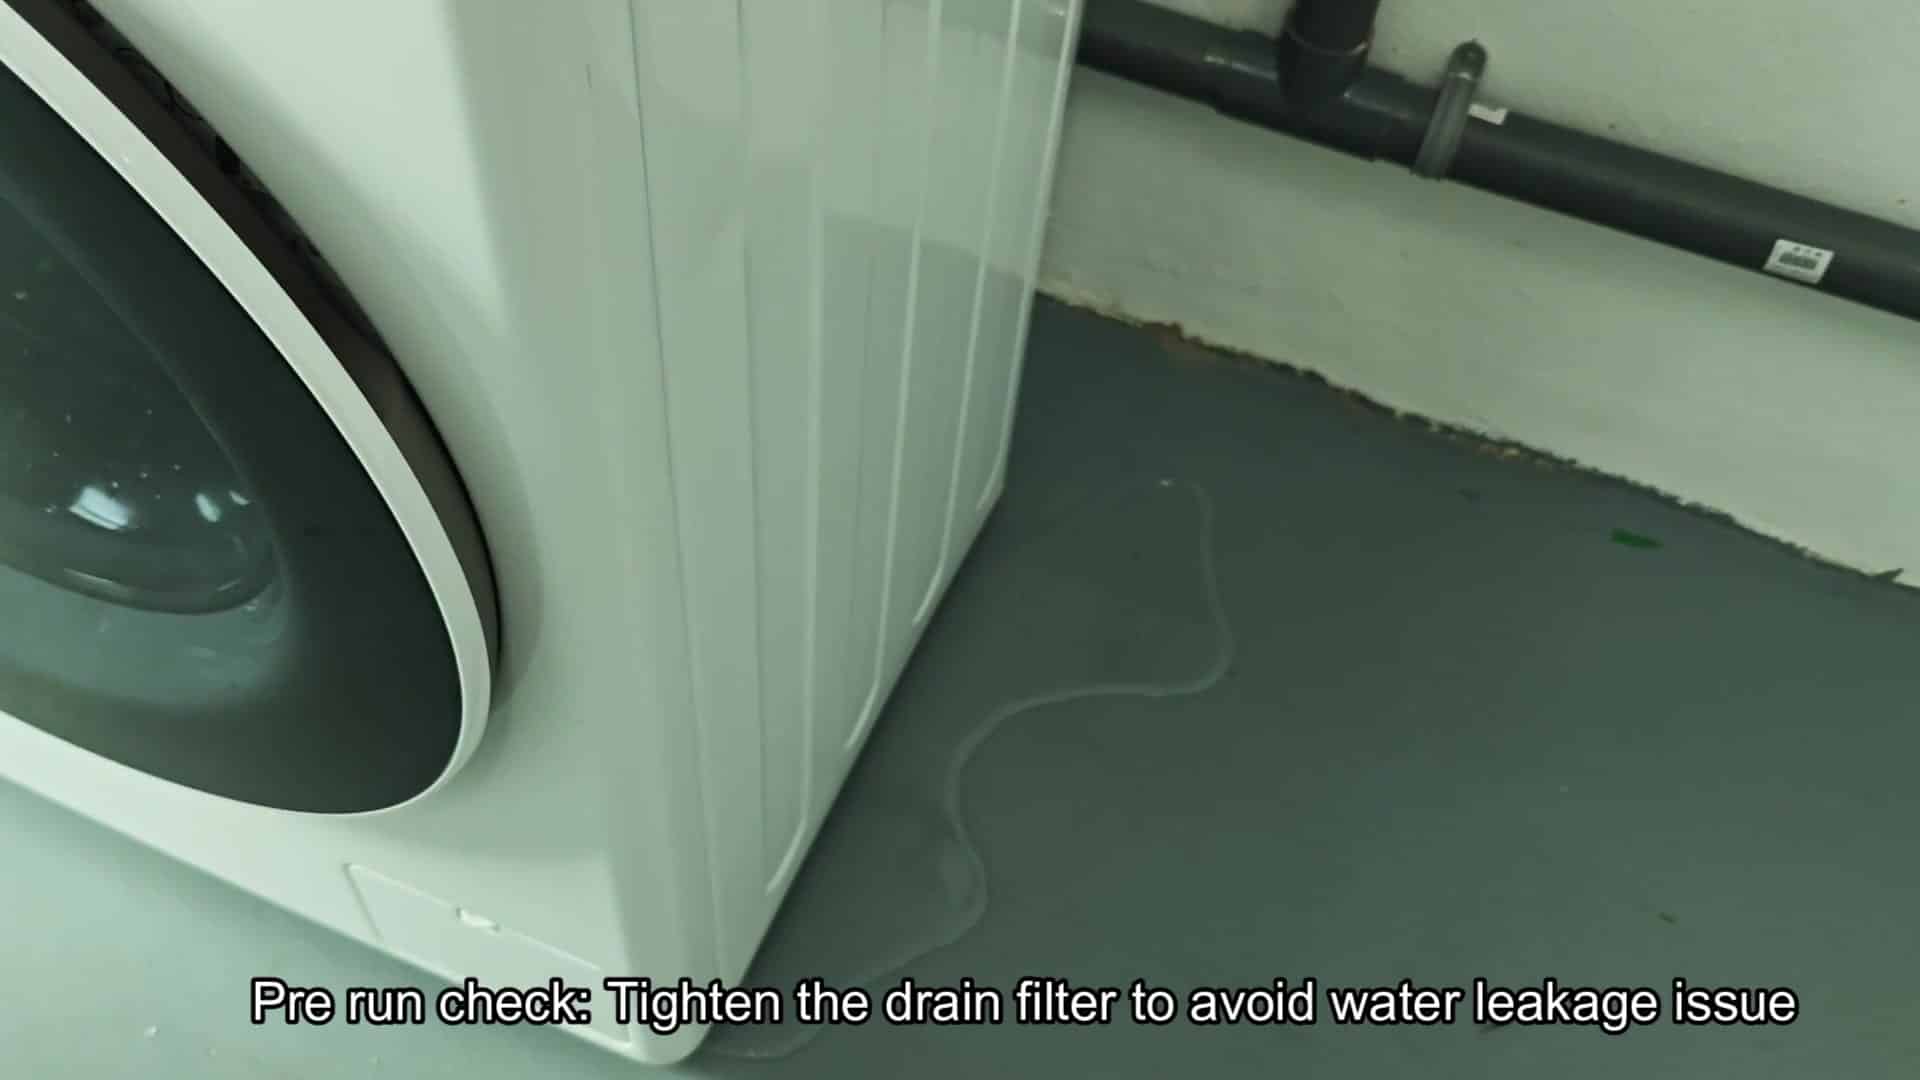
Your test run has proven that you did indeed install it properly. Washer mode work perfectly. Dryer mode works perfectly. You breathe a sigh of relief. Everything is in place and now you can operate machine confidently.