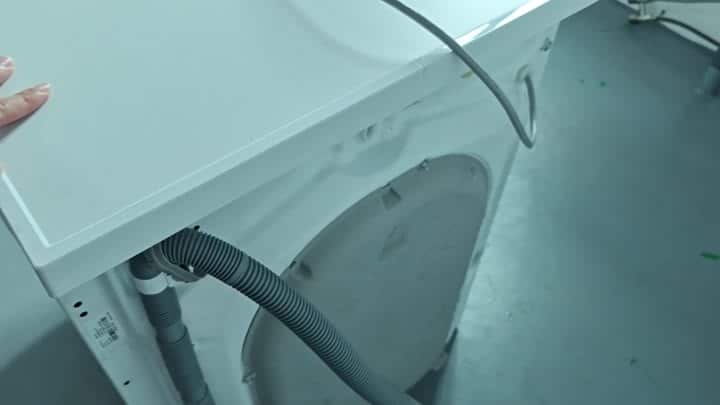
First, shut off power to the appliance, this can’t be stressed enough and should always be done as a very first step. Next, remove the water supply hose from the rear of machine; you don’t want to do anything else until it’s fully isolated.
The next step is to use that cordless drill. This will help you remove all of the screw holding up your cabinet. Using a manual screw driver would take SO much longer! All of the screws is spread evenly across the frame. It is easy pickings after that.
Inspecting internal components
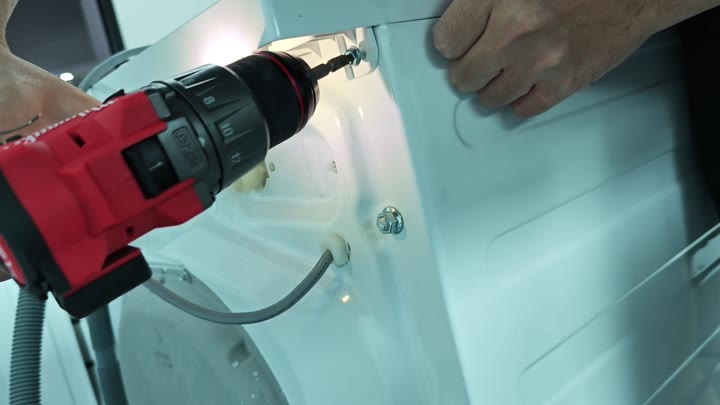
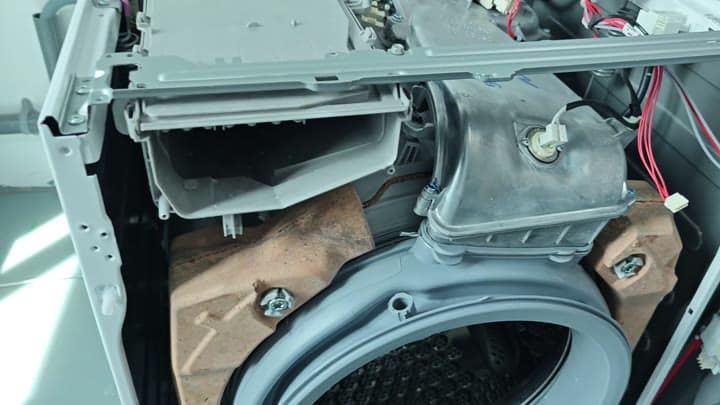
Now that fasteners are removed, remove the top cover and then remove back panel completely. This expose the guts of unit. You can view all the mechanical parts as well as the wiring harnesses for the whole unit. Everything is laid out densely but it’s not a mess.
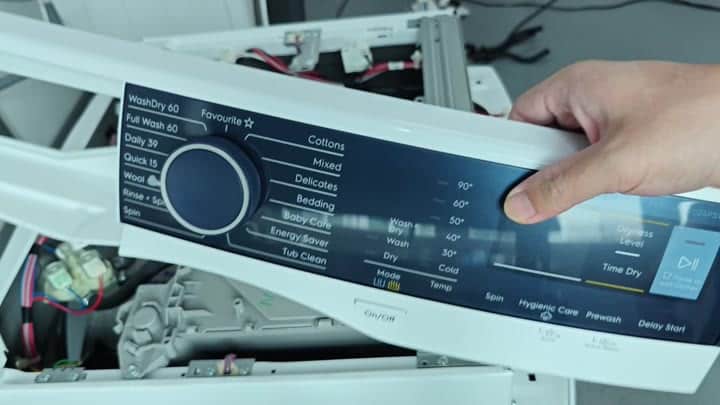
Next, you move to front by extracting detergent dispenser tray from its slot. Once removed, you can see where the control board mount. Now you lift the control board assembly off of the front. There is no resistance at all and it easy comes free.
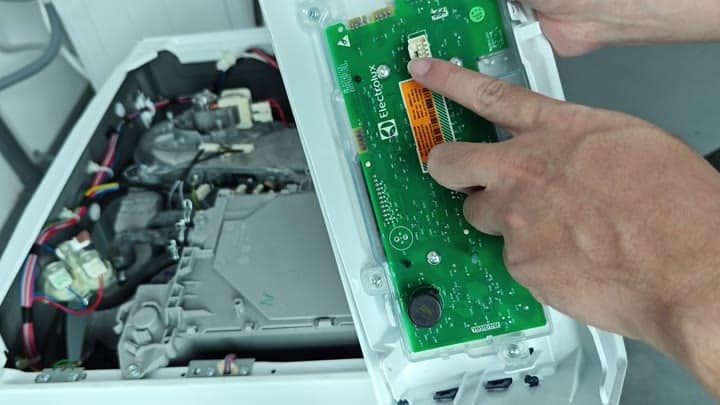
Directly beneath that panel, however, you see the primary electrical components, including green circuit board that’s exposed in center of cavity. It’s marked with the Electrolux name right on the board, and you give it a quick look to see how everything is connected up before proceeding further. Everything appear consistent with what you’d expect for this line of machines.
The next step is removing front door assembly. Be careful not to bend hinges as you pull it off. After removing the door, you can now get into everything inside machine. You will notice right away where latch mechanism of the door is located, directly behind where the door latches onto frame.
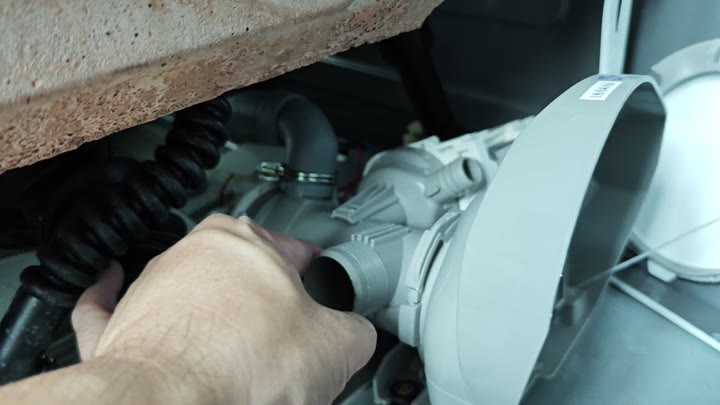
And then look to the bottom and see that there’s an open view to the drain pump which is below unit around floor level. That’s where clogs happen frequent on front load washers. Having this exposed makes troubleshooting a lot simpler.
The water inlet valve connects tightly but not too difficultly if you apply even pressure; you disconnect the hose from it. The dispenser tray is removed so you have some elbowroom, and you lay everything out on table nearby. It’s frustrating when tiny clips goes missing as part of disassembly.
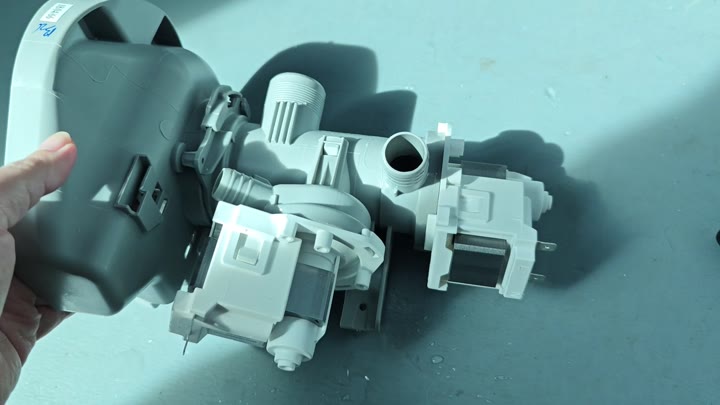
Then there’s gray plastic housing for the pump assembly which you’re careful with. There are several white fitting hanging from it; a small handwritten label is visible on top. Note what it says so you know how to put everything back together.
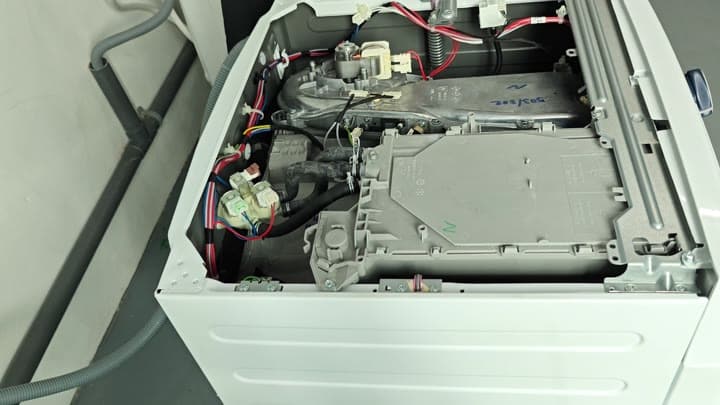
The Electrolux washer-dryer design also facilitates decent access into guts of thing, so it’s not terribly difficult to take them apart. As you work your way through, you’ll discover that patience are rewarded; every part comes out in a sensible sequence. There are no unexpected gotchas. There are no secret screws.
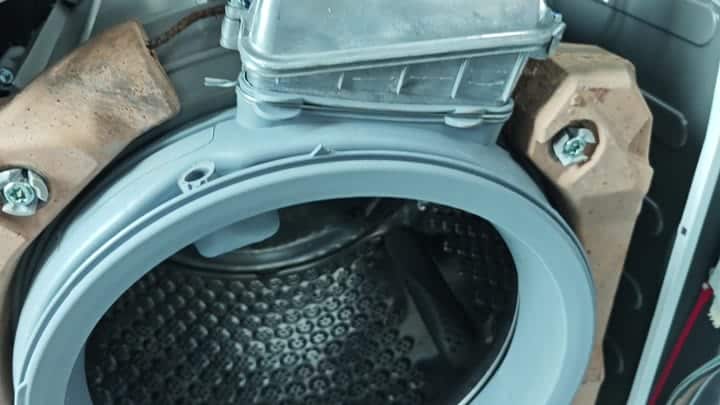
You get a nice look at the drum suspension when you remove the back panel. It’s held in place with brown shock absorbers. From this side, you can follow the power from the motor to the drive belt too. Everything looks good.
Besides the normal screw drivers, there were no special tools required (a regular drill would of worked as well). While I thought it would take longer than it did, this proves you don’t always has to be so afraid of taking these units apart. They are much simpler then many believe.
You just have to pay attention to how they’re physcially laid out. Most components is wired directly into the harness and you won’t even have to remove what’s not necessary to get job done. This also help me speed up the process and make future reassembly easy if needed. It kept the wires in place and prevented small terminals from getting lost. That was a major time saver.
There is no apparent damage from outside. The drum is clean and appears to be in one piece. It looks like we still have some bearings that are not worn out yet. This means there was a lot of life left in this thing. You accomplished what you set out to do by taking it apart. There is no reason for anything further at this point.
Every screw has a place in your screw tray, so you double-check everything as you take things off to clean up. It’s like you’re systematic about taking stuff apart and then you can’t get confused when putting it back together. Overall, it was an easy fix and you’re satisfied that the whole thing went smoothly.