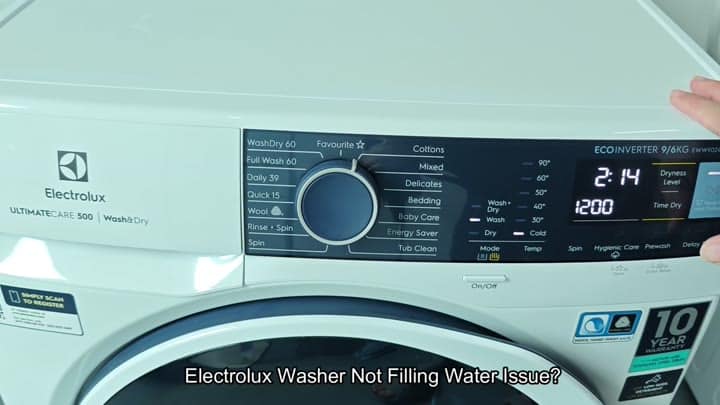
Sometimes you will see your Electrolux washer not fill up when it’s on cycle, the timer keeps running but there’s no water in drum. Typically this indicate some sort of electrical or mechanical problem instead of just a one-off hiccup.
Five items to look at will tells you why.
Inspecting Internal Components
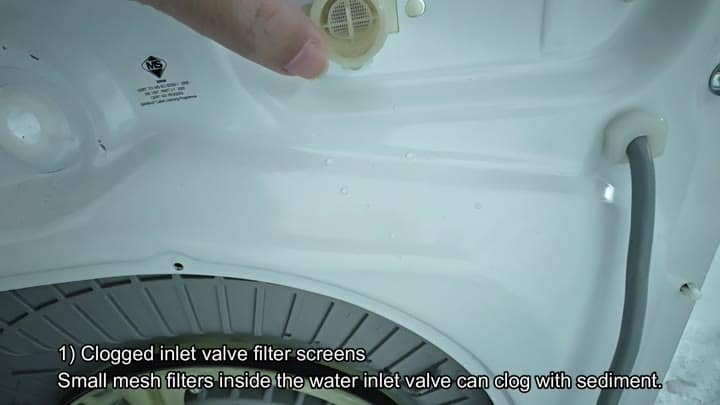
Next inspect the inlet valve filter. Over time, lint and minerals collected in your washer will clog small screen where water enters machine. When this screen become plugged, no water enter the tub.
To access the screen, simply use some needle-nose pliers to unscrew the inlet valve filter from the valve. Most times you’ll see how dirty the filter is if it’s plugged. It’s an easy repair and replacing or cleaning out the screen typically solve the problem right away.
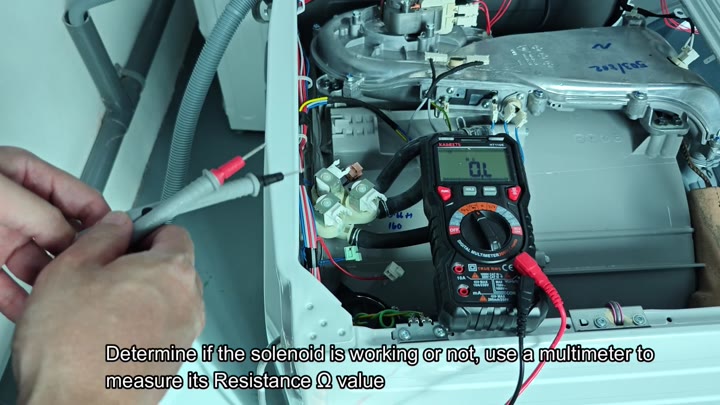
However, if your filter is clean, then the next thing to look at would be solenoid water-inlet valve(s). Solenoids are electromagnetic coils that open up and let water through. One of these coil may fail entirely.
To test whether or not your solenoid has failed, simply take out a multimeter and measure resistance of each solenoid. They should be roughly equal, like 5.3 kΩ. If they’re very different than this baseline number, then it means you have bad valve and need to replace entire valve.
Next is the water level sensor. The water level sensor informs the computer of actual water level in the tub. If the sensor doesn’t read the water level correctly, then logic board won’t know what’s going on. It may interpret an empty drum as a full one, which lead to an early end of the fill cycle.
Check that all wire connecting the pressure switch are snug; a loose connection can result in inaccurate readings.
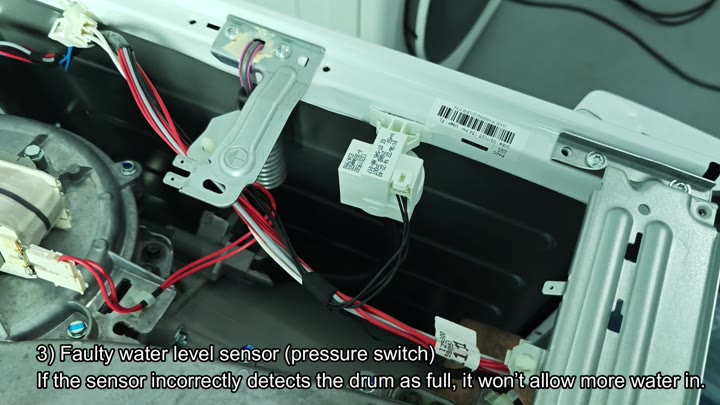
But it didn’t solve anything for me here.
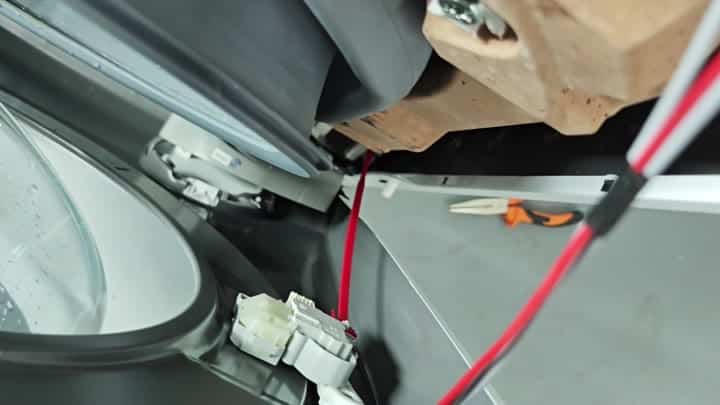
Check the door-lock switch, too. Safety protocols won’t let any water in unless the door is closed all the way and working correcty. The door needs to be locked before the washer begin filling. A bad lock prevents the door from latching, which stops whole washing program before water enters.
Just try gently pulling on the door to see if the lock work well. This is also why the computer won’t turn on valves or pump.
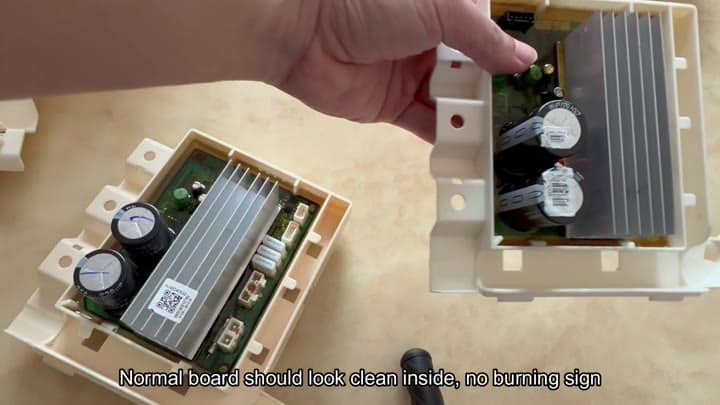
Lastly, check main PCB for any physical damage. In particular, if you have a burned-out control board or power module, this can be a major problem and should of been checked carefully.
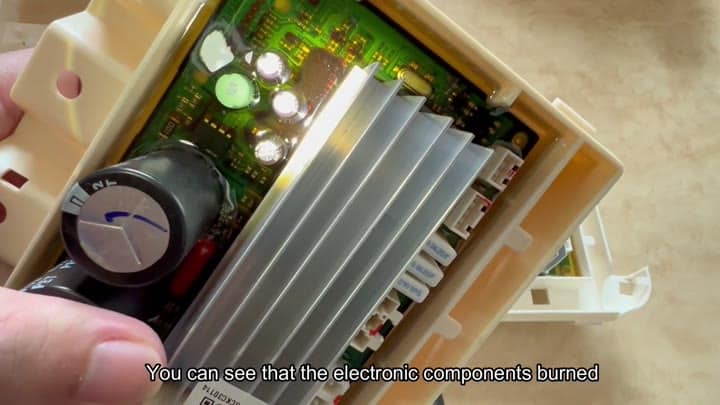
The first thing to do is look over the circuitry and see if there’s any obvious scorch marks or melted component. You can’t fix a burnt trace on your main logic board… So if you spot some damage, you’ll have to replace entire board.
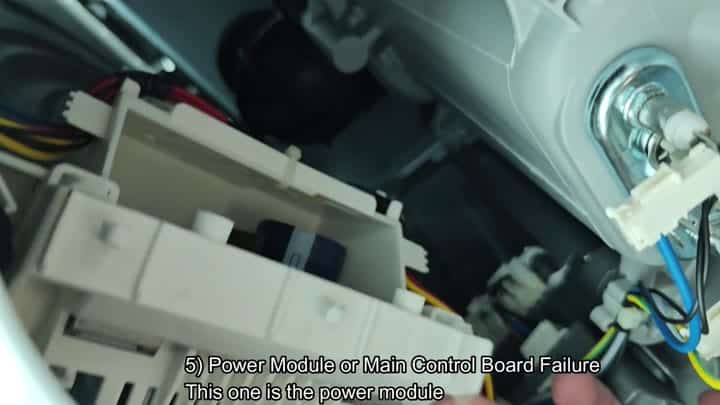
Now you can remove the casing and take a peek at electrical components within. If everything looks good, you’ll see clean board with no burnt spots or anything like that. Otherwise you might notice some discoloration around your capacitors, which will help confirm what’s wrong.
Typically once an electronics fails like this there isn’t much that can be done except for replacing it as the damage has already been done.
Replacing the broken control board is a simple solution. The new one slides into the beige plastic enclosure without any problem and, when installed, appears brand spanking new.
Simply hook it all back up and its done. From here, your washer begin filling and the problem is solved.