
The sleek white cylinder may appear intimidating, but don’t let its looks fool you. Taking it apart isn’t too difficult with a Dyson air purifier. After all, it is probably glued together tightly… Right?
Actualy, it’s quite simple. With the proper order of operations, it’s straightforward, and always remember: patience is a virtue in this situation, it’ll save you from forcing anything open with brute strength. Follow the proper order of operations and it is quite simple. Always remember that patience is a virtue here. It will save you from using brute strength to force anything open.
Removing Internal Components
Take the front cover of the filter off gently (you don’t want to break anything), take out the front and rear filters (don’t touch them till they’re clean because that will make everything else a mess), and then get rid of all those filters so you’ve got a nice work area. This is also good in case you have new filter on hand because they can gets pretty dusty.
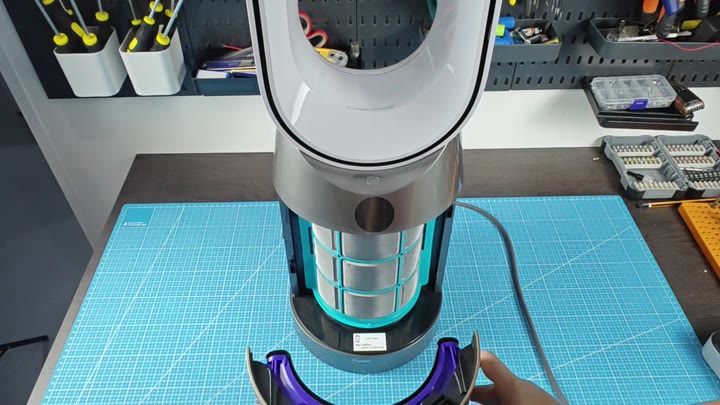
Once the filters has been removed, your focus turns to the bolts located on the lower unit. Using an appropriate driver, remove all of the bolts securing the lower base housing. Do not miss any; missing even one can make reassembling the case difficult.
Typically, these bolts will slide right off with little effort. The condition of the bolt threads themselves is typically fine as well.
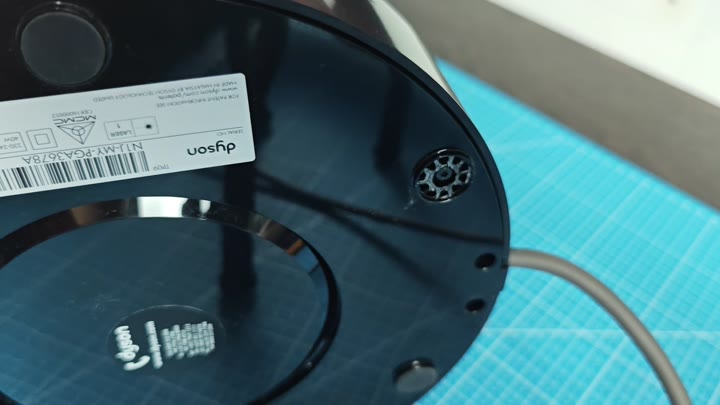
After loosening those bolts, you’ll be able to carefully lift the lower part of the housing away. At this point, you’ll see all the internal gears. Although they may look complex, most are quite clean. They should not have much dust or dirt. Everything below the shell will probably looks nice and smooth with no missing parts.
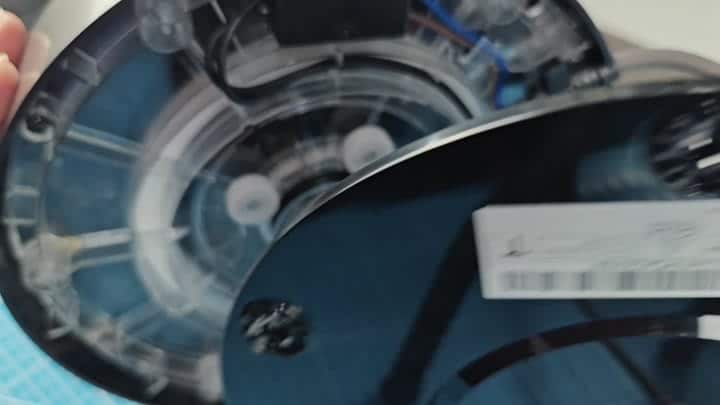
Then you remove certain screws which will allow you to separate components of this assembly. These are specifically the ones holding motor housing snug and locking in the fan.
Your hands should be steady for this portion since it’d be bad news if you dropped one down into the mix, so keep the fasteners sorted and close at hand for no headaches later. Much better to sort these out ahead of time than dig around trying to find them in a pile. You should of kept them organized based off color.
This is where we get the purifier fully open and exposing all of its inner workings. The power switch and the main PCB board are now easy to reach. This makes diagnosing problems easier if that is what you are trying to do. It also allows for a thorough clean-up if needed.
