
If your Dyson air purifier fails to turn on, make sure you check the remote control’s battery. The remote is powered by a standard CR2032 cell in most units, so if the battery has gone dead, there’s no signal getting to the machine. Replacing the battery in the remote rules out one simple problem and gives you peace of mind that nothing easy are broken.
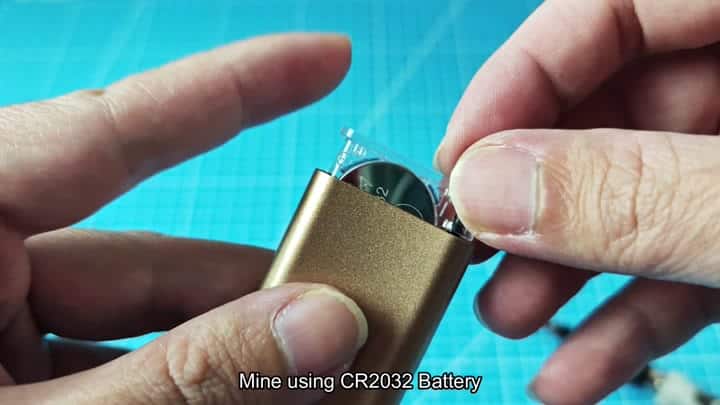
Then swap out the remote battery, and push all those front panel buttons right on the purifier itself. Disconnect it from the wall outlet right then as safety trumps all with internal electronics, as the thing might be totally dead (no humming or lights), and wait until you feel comfortabley doing this next bit. Gently pry off the outer base part, being patient and getting clips free without breaking anything.
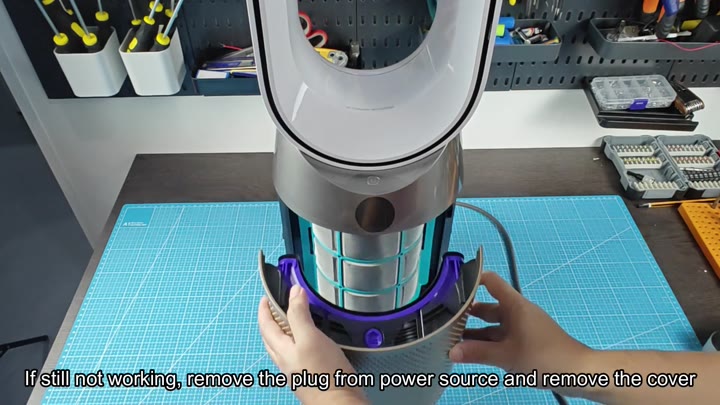
After removing the plastic casing, you’ll have clear access to all of its innards, and I’d encourage you to try turning the on/off switch by hand to feel if there’s any physical resistance. In some instances, the switch might stick inside, fail to register, and cause you to think something else is wrong with your machine. Here, no matter how hard I press it, nothing happened, strange given that button felt solid to press.
Inspecting Internal Components
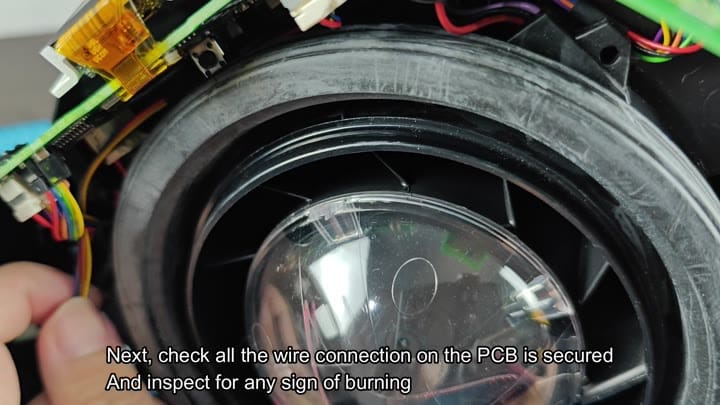
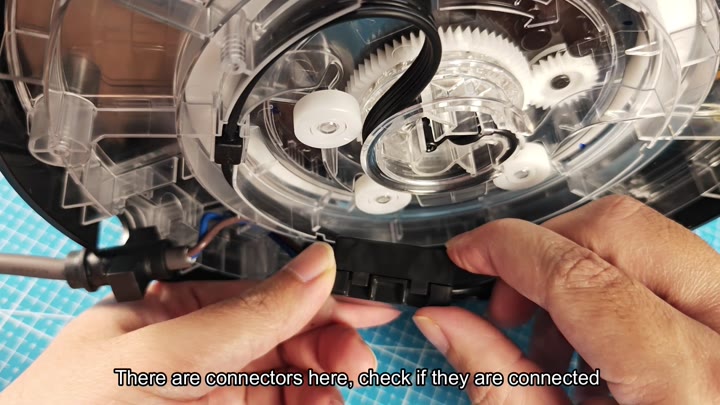
Next, check all the wiring within the chassis to verify that all connectors is snug and secure. Any loose wires may break off power to important components such as your display or fan.
Make sure to look at the green printed circuit board and see if there’s any burning or scorching on it. If everything checks out well here, then it appears that the main electronics remains intact and the board is most probably clean with no blackened traces or melted plastic anywhere.
If you’ve poked around inside Dyson purifiers before, it’s possible that you might have mistaken where the fuse actualy is. Unlike most devices you’re likely to repair, there isn’t an external fuse right on the main board. Rather, the fuse is integrated in the UK-type plug itself.
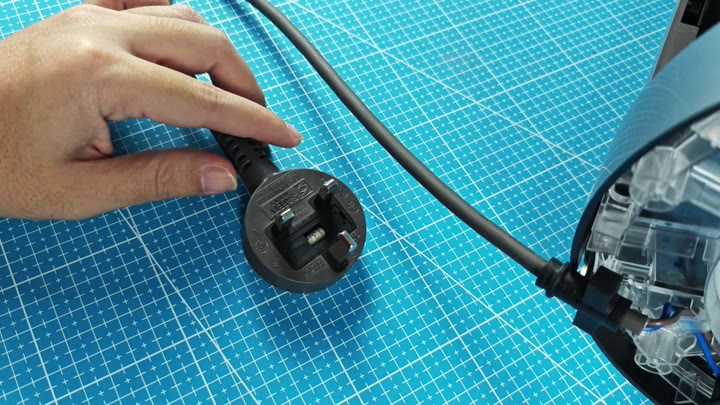
If there are two things to know about the plug. It houses the safety break which protects the wiring from power surges and secondly you may want to test it before blaming your board for a failure.
Set your multimeter to resistance mode and insert the probes into the terminals on both sides of the plug fuse. If the fuse has blown then there will be no reading (i.e., an open circuit), meaning you’ve found the culprit.
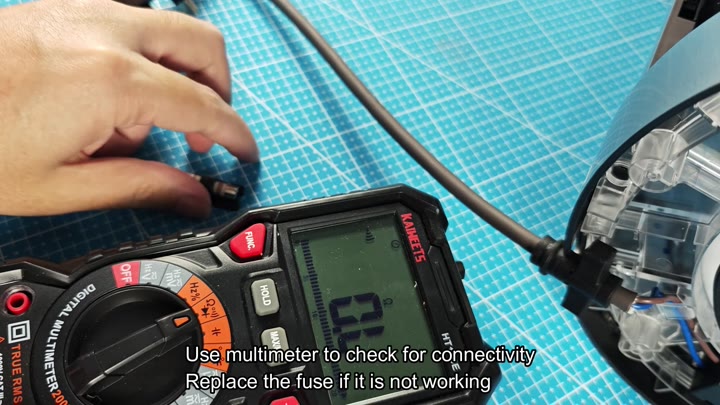
It’s as simple as replacing the fuse in the plug and you’ll have instant power back online again. It is much easier then troubleshooting a failed motor or some complicated software error.
The machine comes back to life after you reassemble the cover and plug it in, proving that the problem was simply a tripped fuse in the plug rather than a complex issue.
Plugging it in and reassembling the cover proves the machine came alive again and the issue wasn’t as complicated as you thought, just a blown plug fuse. This saved me from having to take the whole machine apart again. I suggest checking the fuse on your plug first before you take the entire thing apart. It’s a much quicker fix and you don’t have to order any parts unnecesarily.
When troubleshooting power problems keep it simple; begin by checking batteries and remote signals. Next, move up the chain to the physical switches and then inside connections. Always test for an issue with the external power path before assuming the board has failed.
