
To control your new Ecovacs Deebot, you’ll want to set it up and connect it to your phone.
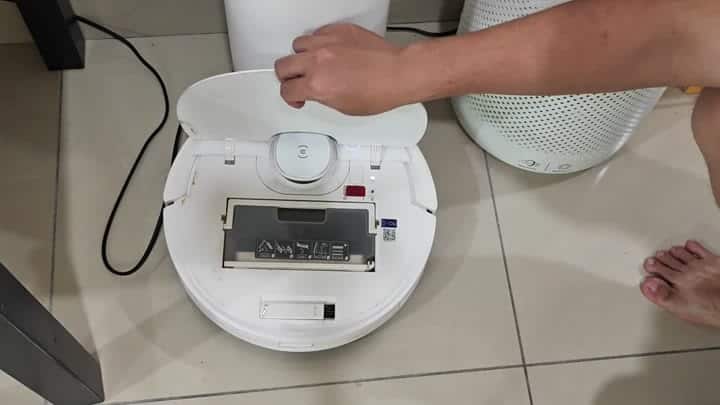
It’s easy enough to control the robot from your phone.
Connecting to Wi-Fi Network
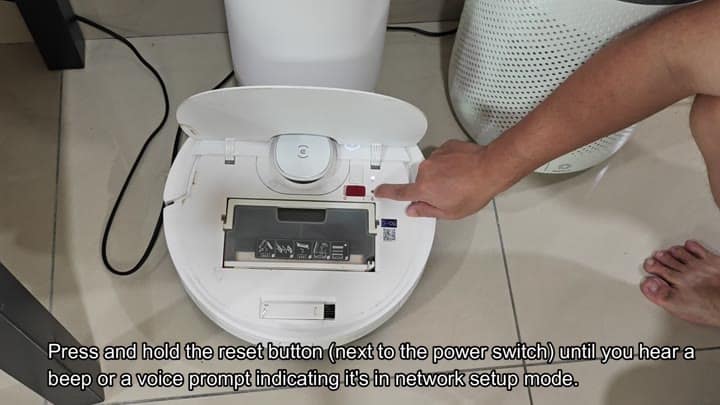
To begin, prep your robot for pairing. Find the power switch and small reset button located right next to it on the robot. Press and hold the reset button down. Wait until the robot beep. A voice prompt confirms the robot is in network setup mode when it’s ready.
Next, you pull out your phone. Yes, you need Ecovacs Home app. If it’s not on your phone, you go into your app store and install it. Then you create an account. It only takes a few seconds to sign in and the app interface load fast.
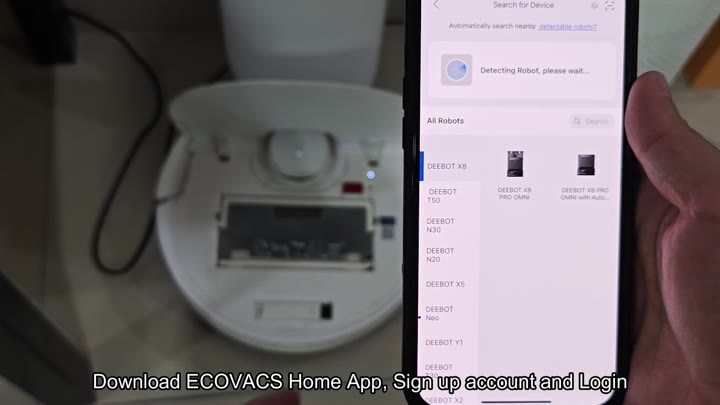
Next, choose which model Deebot you have. Then it’ll scan for connected device. Your robot will pop up on list of available robots. As it finds your robot, there’s an indicator that appear on-screen. It takes just a few seconds to detect.
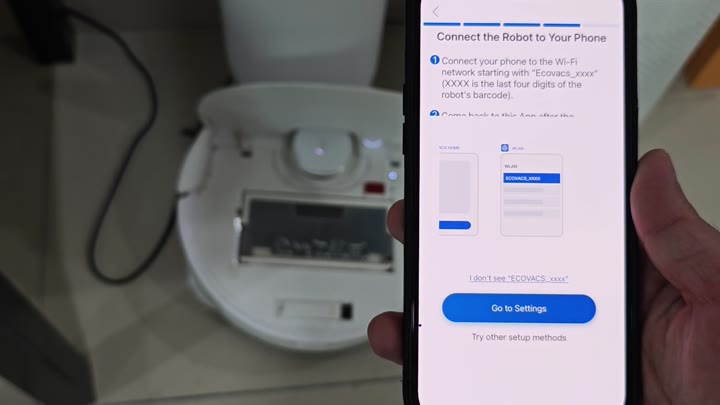
Then you set up the Wi-Fi. You need to join a special network created by the robot. According to the app, you have to do this based off your phone. That special network name begin with Ecovacs_xxxx.
So you turn on Wi-Fi on your phone and select the specific “Ecovacs_xxxx” network. It’s a direct hotspot from the robot. For a few seconds, you’re no longer connected to the internet on your phone.
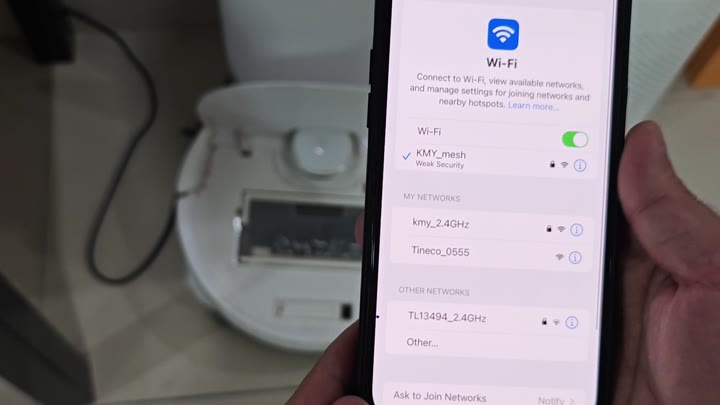
It’s all good.
After connecting to the robot’s hotspot, the app guides you back to your main network. For this, you want to use the same Wi-Fi network as your phone for everything else. They need to be the same. From there, you’ll pick your home network from a list. The robot will bridge into that network.
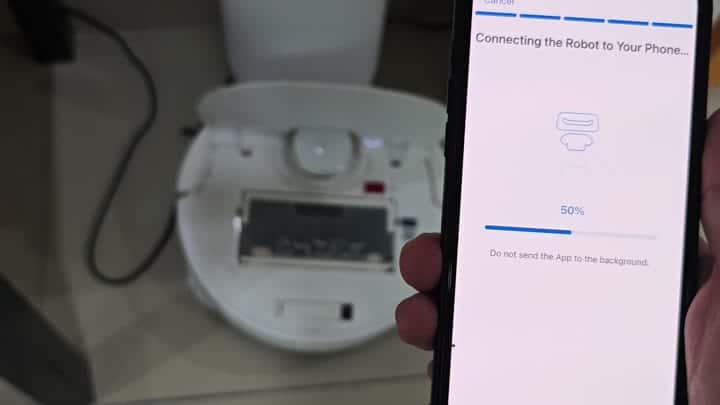
Everything runs smoothly
“Connecting the Robot to Your Phone,” reads the progress bar on the app, as the robot makes its connection. Keep that app up in the foreground you are told. Don’t send it to the background, the instructions say.
Watch it creep upwards. It go up to 50 percent. And then it’s still climbing.
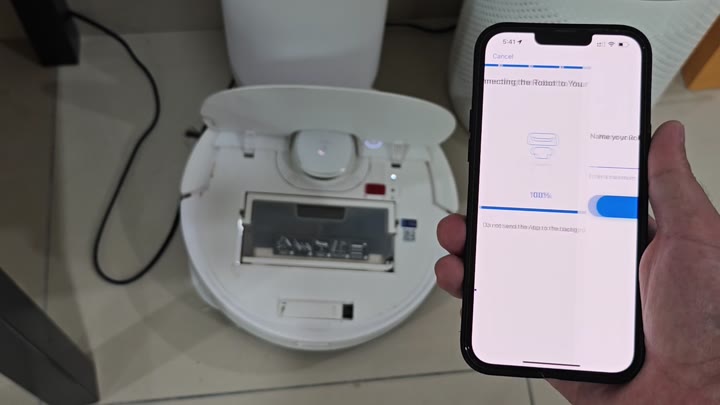
And then finally it connects at 100 percent. Now everything is ready. It asks you what you would like to call your robot. Enter something easy for yourself. You have the option to add a password as well if you want to be extra safe.
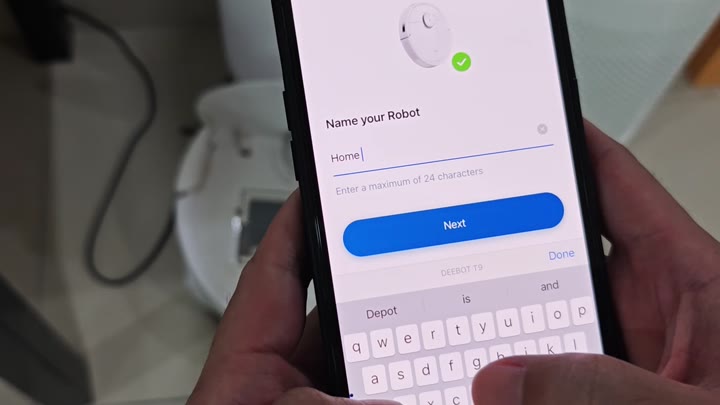
Skip that for now. Okay, the robot is fully online. Your screen displays main dashboard. Here you can see battery level and other cleaning modes. Auto and Custom options is right there. Monitor the robot remotely.
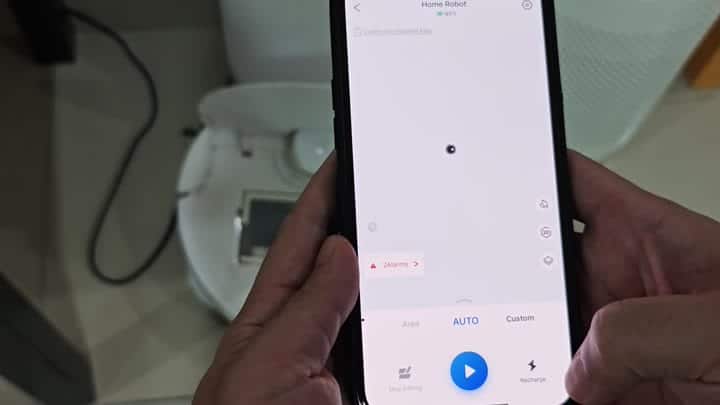
And then it’s ready for cleaning. There, sitting quiet on the floor is the Deebot. Its power light is blue, which means it’s turned on and ready for standby. Setting up is even simpler than you may be afraid of. It takes under ten minutes.
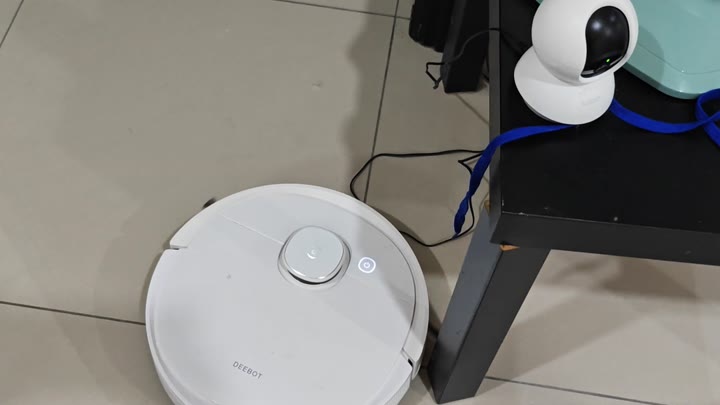
Now you’re livig in the future, and your robot is an extension of your smart home system. With a tap, it’s on its way to begin a clean. You check in on it without any trouble. The app show you what’s happening in real time. Your life is just a bit less complicated.
