
Replace the batteries in your Panasonic air conditioner remote if it’s acting up. If you have a non-responsive remote, it’ll stop working. The LCD screen will go black. Nothing you do with the remote work. You’d like to be able to get to the temperature control quick.
Assume that the batteries is dead if the AC unit hums but there is no response from the remote. Changing the battery is simpler then measuring the voltage.
Testing and Maintenance Tips
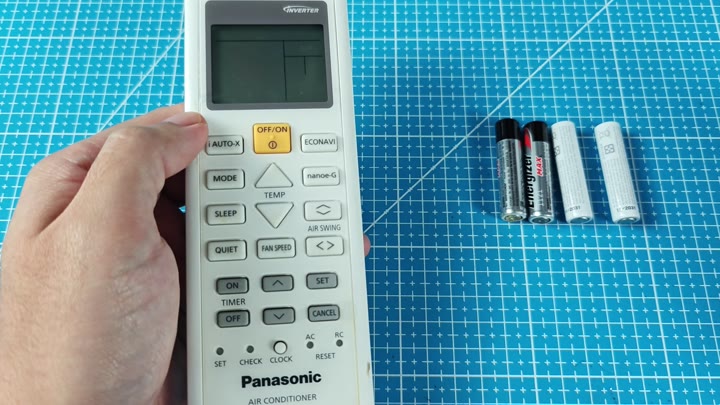
Slide it open: On the backside is the slide mechanism and a white plastic shell. You can quickly access the compartment without removing any screws. Slide the rear cover off and you’ll see the battery slot. Over time they could be totally drained or maybe even leaked. Immediately get rid of old cells.
It has a nice clean battery slot for installation. This shows the metal contacts in there which should be untarnished and clean. Clean contact provide good conductivity. If your contacts is corroded, then clean them before putting new batteries in.
Two brand-new AAA cells are ready for this thing. Two cell for the remote. Make sure you read the plus and minus signs so you don’t put them in backwards. Putting them in wrong will damage contact.
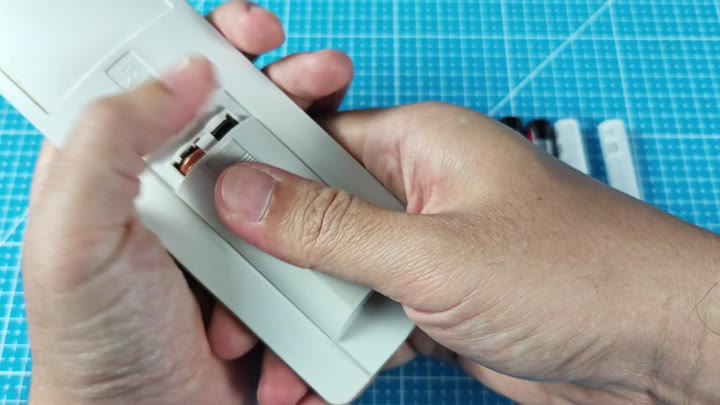
Insert one of the batteries. Click. It seats right. The connection is solid.
Now insert the other one. Same thing. Again, just enough pressure until they are snug sitting flat in the slot so there are no intermittent power issues. Don’t go ramming them in there… They will slide in with very little resistance.
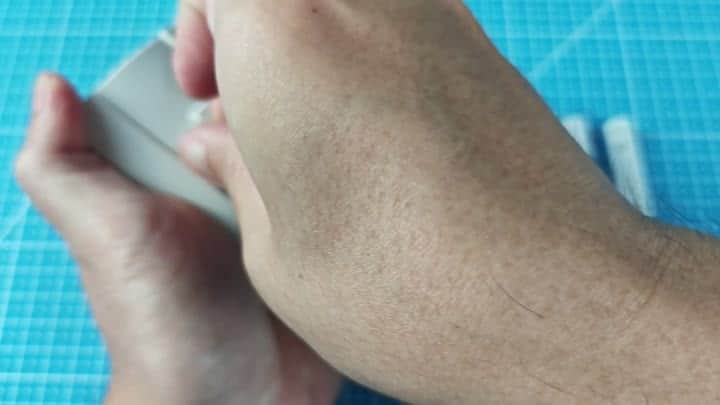
After installing both of the cells, you simply slide the cover back on. Carefully line up the edges and then give it a gentle push. Plastic clicks back into place and your remote is solid once more. There are no gaps or wobbles in the casing. It looks like a new remote.
Turn the remote over and look at the display. It’s lit up immediately. Yes, it was indeed the batteries. There’s nothing else broken.
Hit the button and test the remote. The IR emitter is flashing and the air conditioner unit are responding. Here’s what it displays when you turn it on: It has the fan speed icon up, the econavi and nanoe-G icons activated, and indicates that it’s set to iAUTO-X mode at a temp of 25.0 degrees Celsius. You’ll note here that the ON/OFF button works. And now you’re able to change your temperature settings.
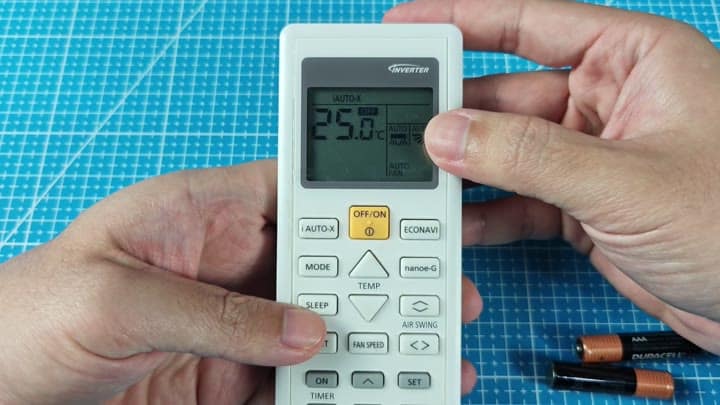
Then you test everything else out to make sure it all work. The TEMP arrows adjust the numbers and the MODE button cycles through modes. You engage the air swing feature and it works well with no lag. The unit also connect well based off the remote.
It only lasts a minute or so. When you think something has gone wrong electronically, you don’t always consider basic power problems. If it was just batteries, why would you contact someone? Why would you even replace the remote?
Just get some new batteries and drop the remote back into its cradle. The wall mount ensures the remote never rolls out of place. Swapping the little guys means keeping everything tidy so you won’t lose track. The air conditioner’s still running and the room stays comfortabley. No more waiting until the system cools down again. You’re comfy in no time.
Try some of the tried-and-true brands such as Energizer Max or Duracell. Either will work. There isn’t much of a price difference between these two. Just grab the batteries you have handy.
It’s just part of regular maintenance and something you should of doing once every few years. Using features like air swing makes batteries go dead quicker. Keep a stash of spares in a drawer so there’s never another outage. Check the next batch of batteries. Swap ’em if the display dims again.
Better to take care of this before it fails completely. Without the remote, you would have to use the manual controls every day but they lack the precise touch of the digital interface for adjusting the temperature. That matters for energy efficiency.
Once the Panasonic unit is back in your control, the job is done. Changing the power sources resolve the issue.
