Tearing down an LG front-load washer-dryer is not complicated. It just takes the proper tools and some patience to look at all the mechanics and wires inside.
Removing the panels go in a sequence. It’s not difficult, but there are a lot of screw holding it all together (and using a cordless drill makes them easier to get out).
Removing Interior Components
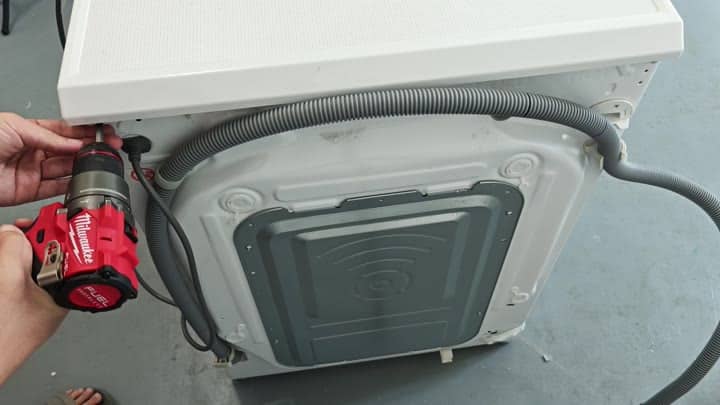
To begin, you go around to the back of the unit. There is screws securing the back panel which you take off with your drill.
Once you have all the screws removed, you raise top portion of the unit. Then you simply pull it upward. It come right up. You get a good view of the controls and what’s inside from the top down.
Leave the stickers attached to the top; they explain things such as allergy removal and steam care.
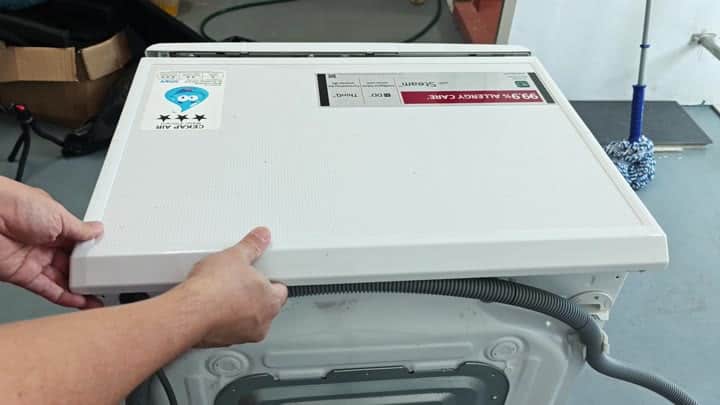
When you lift up on the top it removes completely and exposes back panel. From here you can see the entire layout. You have access to the motor, drum, and all of the hose. This is the gray corrugated hose that runs along the side of the unit.
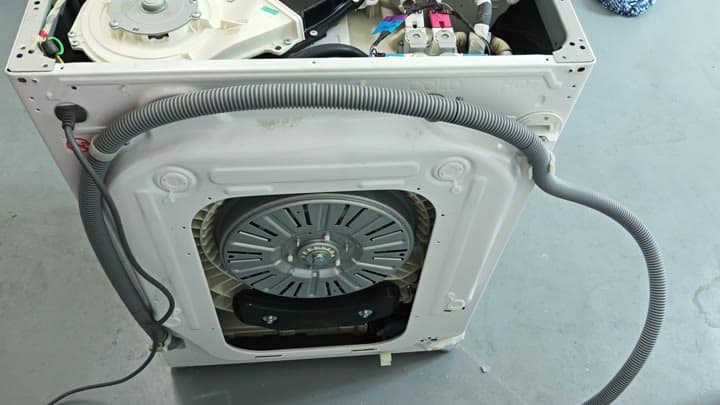
On the left side, we have power cord. Here’s a look at all of the components within the chassis.
Next you’re focusing in on control panel area. At this point you’ve opened up the top panel which reveal all of the wiring inside. Then you flip through the dial to review your cycle options.
In this case, you see labels for the following cycles: Cotton, Eco 40-60 and TurboWash 59. Here is where you start to get used to how parts work together with control board.
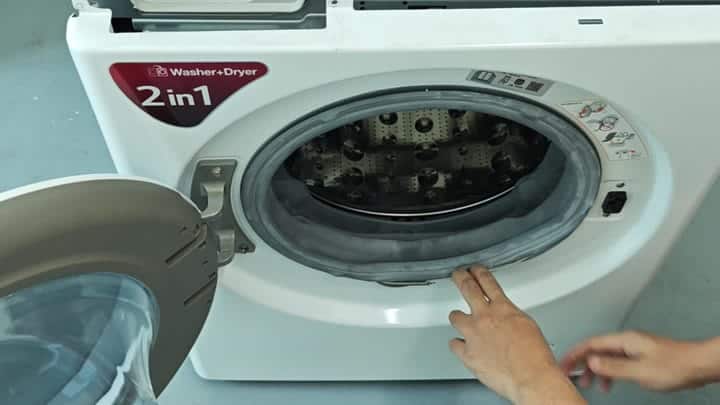
From there, you head over to door assembly. Open the door and you see inside drum. Use both hands to hold onto the door opening as it swings out. Notice the warning sticker on the right-hand side of machine? Carefully remove the door without scratching hinge or the door seal.
Inside the drum section, you see a small piece of wire with a spring on it. Pick it up and look at where it connects and how tightly it is held in place. That’s one of your suspension system pieces. The suspension system hold the drum in place while it spins.
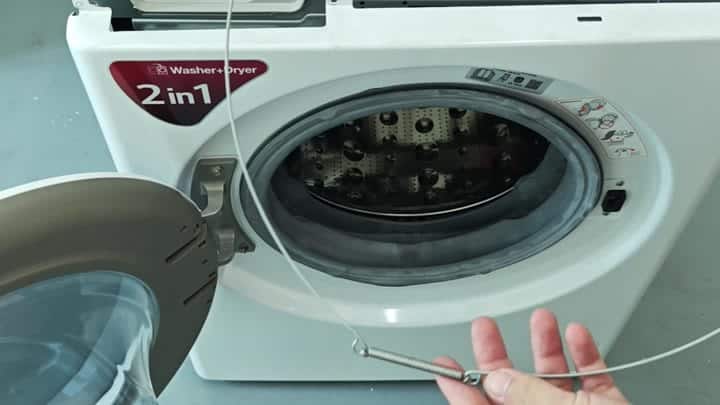
You remove it with dexterity because you must detach it from its mounting points. It has to come off based off mount points.
Now you’re at the back side of the interior. All those pieces up front have been moved out of the way. With the back panel gone, you can see all of the wiring harnesses and the drum.
A blue plastic bag goes down on the floor. This bag holds little clips and screws that you take off.
Keep parts in a place where you won’t easily lose them.
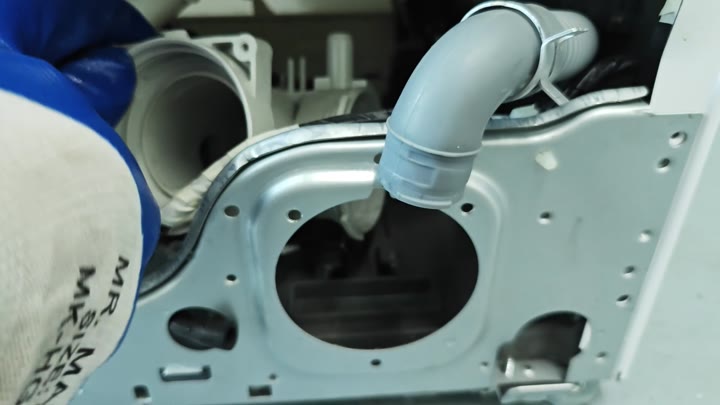
One of more delicate steps involves removing the electronics. Carefully disconnect a white plastic housing that’s close to metal appliance frame. Nearby is gray elbow-shaped pipe. Watch out for the pipe; it’s in your way. Unplug the wiring with steady hands. You should of dont want to strip connector.
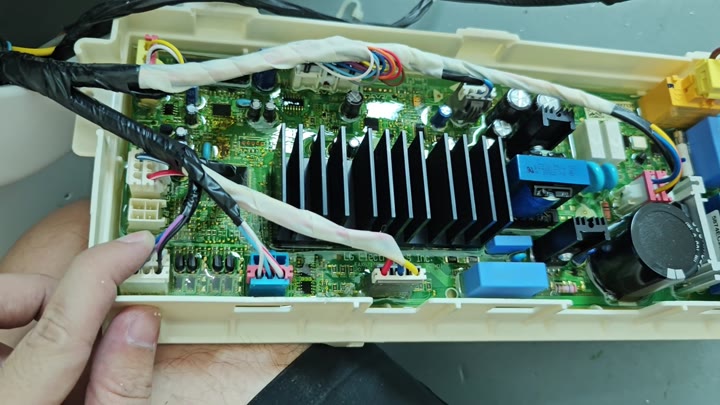
Finally, you take out main control board. Inside is an off-white plastic case that holds green board and some other electronic parts. There is also a big black heat sink.
There are capacitors and blue and pink terminal blocks too. Black and white tape bundles the wires. Keeping the wires organized and finishing off the interior dissections.