
If it is, that’s when you should of try swapping out the battery. Test the voltage to see if your problem is with your Deebot or your power source.
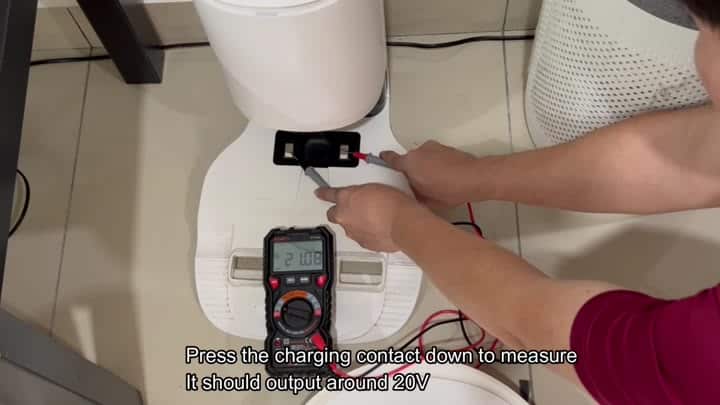
People often assume the charger are broken when it actualy isn’t. Always check the charger first before digging into guts of your robot.
Use a multimeter to test the output of the charger. Push on the charging contacts and check meter reading. It should register about 20 volts. Maybe you will see 21.08 volts on the screen, that means the base is sending juice as intended.
Testing the Power Source
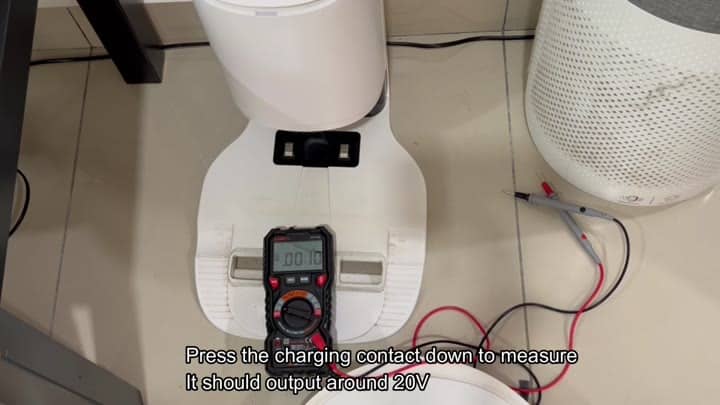
If it’s not the voltage, then the problem must be with the robot. In that case, check out interior parts of the robot. To do so, simply unscrew the bottom cover of your Deebot and open up insides.
Here, you’ll find the battery pack. Carefully remove the battery assembly inside. Next, use the multimeter to test the battery itself. There are eight 18650 cells for this pack which means they’re set up in a 4S2P arrangement.
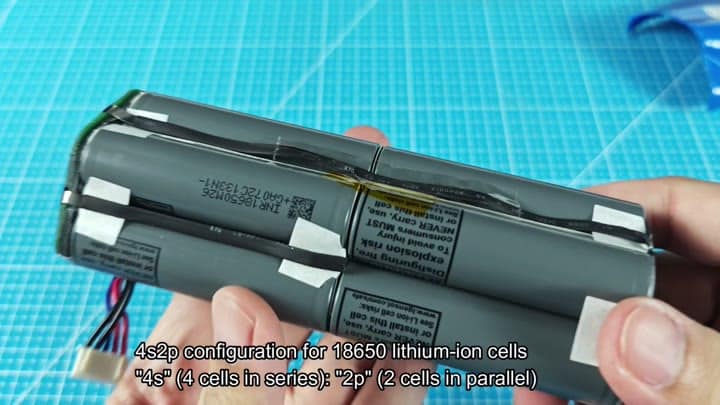
There are two pairs of four series cells in parallel. It is for a particular output voltage design. Pack should be providing correct voltage or it won’t get charged by the robot.
When you test the pack it might be out of voltage and the cells isn’t maintaining enough charge. External power was fine, internal storage was dead. Can’t just change individual cells. Entire thing must be addressed.
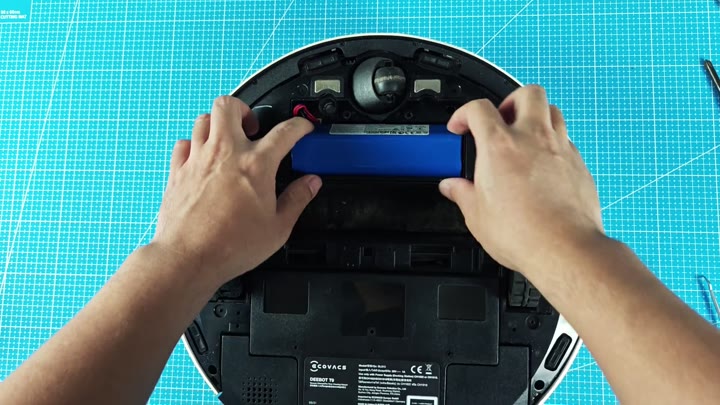
Swap out the battery pack
The new battery can be installed easily in underside of the Deebot T9. It’s located underneath near the center sensor and wheel. Simply slide the battery in and you’re good to go.
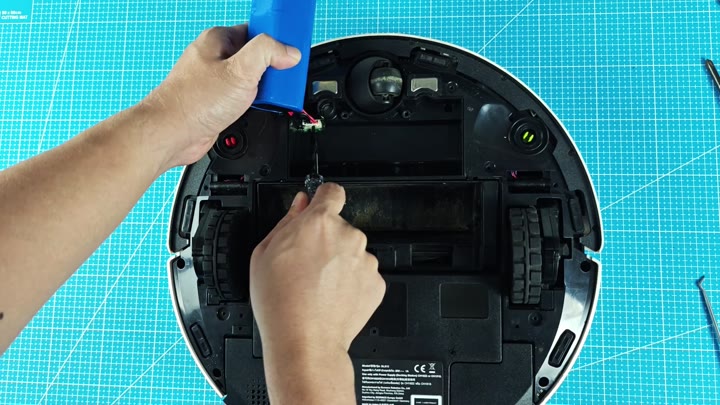
There isn’t much to reassemble, just screw the cover onto the bottom. No wires or anything complicated like that. Just swap it out and charge it up as normaly.
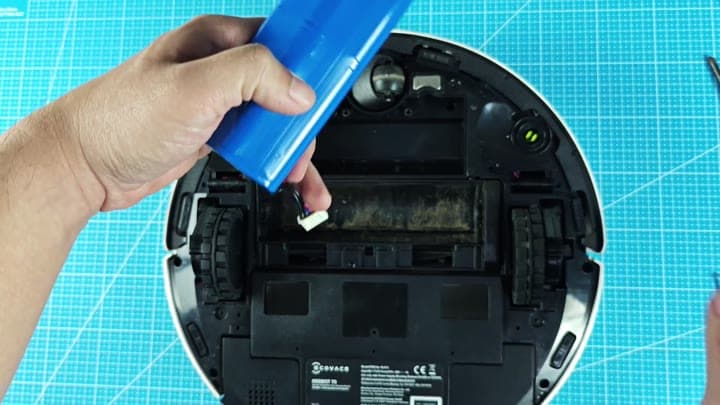
While you have it opened, be sure to give it a good cleaning inside as well. Dust will interfere with contacts and blowing it out help too. Keeping it clean prevents future issues. Clean it up.
Not difficult, just check these things first. People often jump to conclusions more fast than they should. You can save yourself some time by testing the voltage so you don’t buy things you might not need.
I swapped out the battery and the Deebot came right back to life. The new battery charged right up. The old one was dead as a doornail. It worked on other similar model this way and will work again here.
As always, test your power source first. Test your battery second. If they is both bad, then look elsewhere. Usually, it is one of those two.
