
It’s annoying when your Panasonic Lumix camera battery won’t charge. After you plug it into charger, the indicator may blink rapidly instead of showing a solid green light. The indicator should show a steady green light to indicate power flow in right direction.
But instead, it just blinks fast. That’s a dead giveaway. It signals that something isn’t right: either with the battery, or with the protection mode it’s in.
How to jump start battery
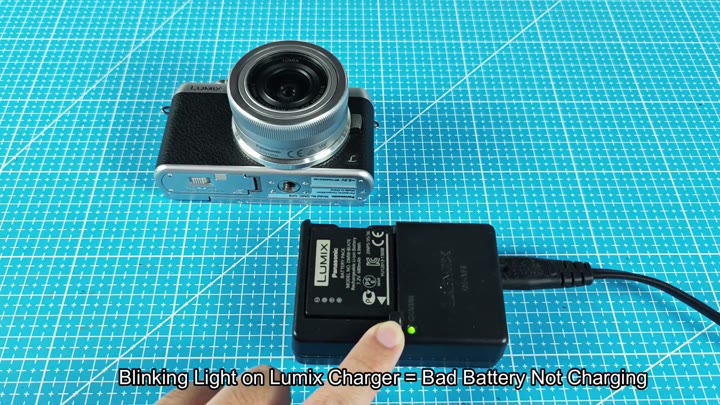
It doesn’t charge in this mode. If you have a good battery that gets hit with a glitch, no need to toss it out.
When power is flowing correctly, you will normally see a solid green light. This indicates that the battery accepted the power and is ready to go. When the light starts blinking, however, the charger shut down.
People will think the battery is dead. In many cases, it’s simply not enough voltage. The battery voltage gets so low the charger cannot identify it as a battery.
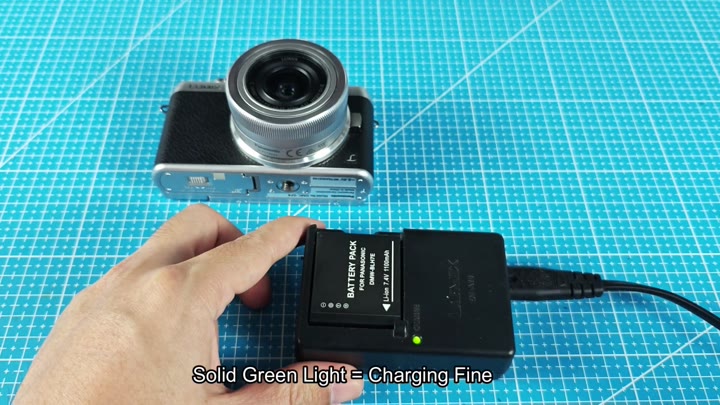
The solution: Get yourself another working battery. It is helper battery. And for that, you get a good Panasonic DMW-BLF19 battery.
How it works is pretty straightforward. You jump start your bad battery using your good battery. Small lithium-ion cells can jump starts a car.
Find the plus and minus terminals of each battery. This is an important part. Getting these wrong can cause a short circuit and damage.
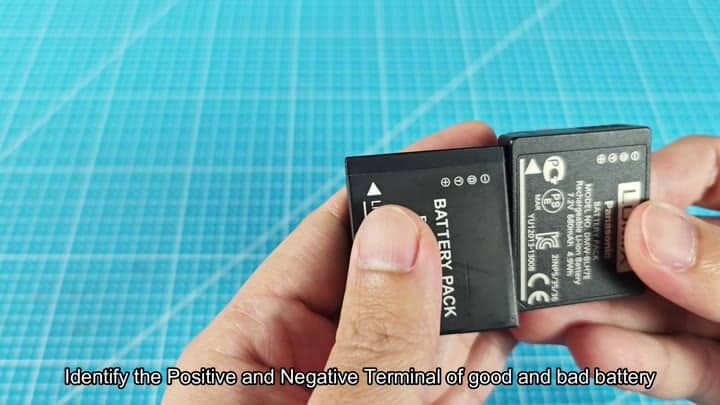
With small wires, you make the connection. Start with the positive lead based off the good battery and attach it to the positive terminal on the dead battery. Next, connect both of negative leads together.
Again, polarity counts. Positive to positive. Negative to negative. Doing otherwise will create problem.
Keeping the connections in place makes sure they has good contact. What you’re trying to do is transfer a little bit of charge into the dead battery.
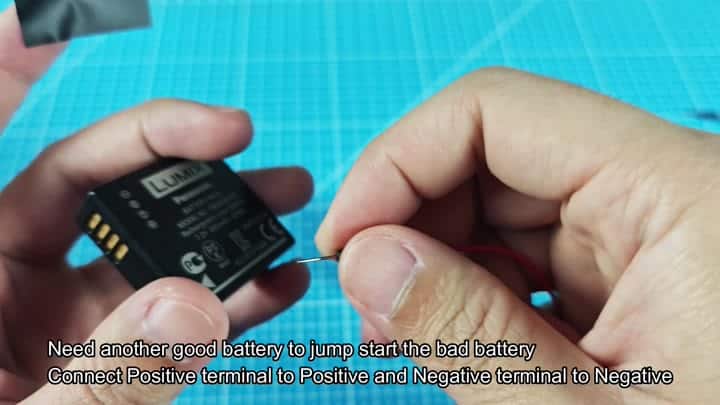
Two black rectangular batteries with some wire between them might appear to be a mess, but that is what is needed to fix them.
Leave the leads attached for roughly half a minute. During that time, voltage of the dead battery starts to tick up a bit. Don’t hurry here. Just let ’em stay connected, current will gently but safely flow from one battery into the other.
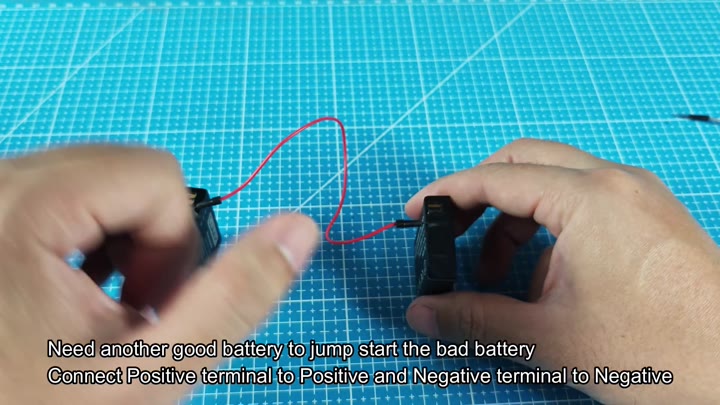
After a half minute you pull the batteries apart. Unplug them. Test the one that was dead. It might just work!
Maybe not. Try again. Thirty seconds or more, that’s your goal sometimes. Plug the now revived battery back in to the charger and the light turns solid green. It’s solid green again.
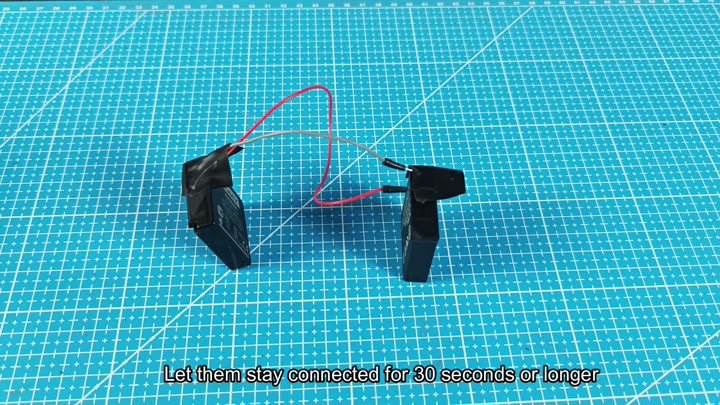
The battery may stop charging and indicate faults with blinking lights.
The cool thing about this is it will save you some hassle and money. Basically, it raises the voltage high enough for the charger to “see” it again.
These batteries have some pretty complex circuitry inside of them that protects them from being over discharged. When the battery go too low, they simply turn off. The jump-start resets that. You should of not need any special technical knowledge or tools.
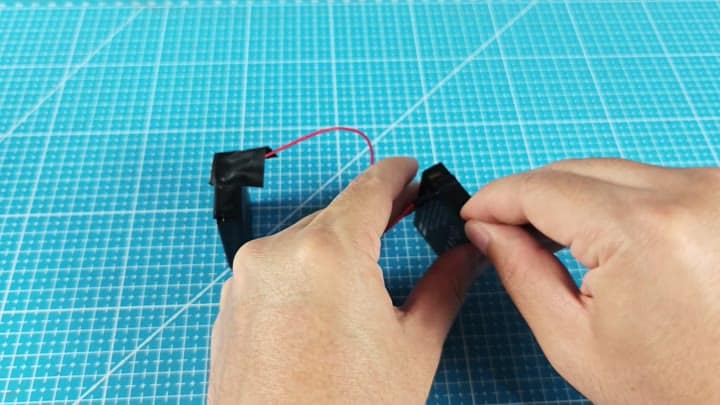
All you need is a few pieces of wire and an extra decent battery.
It’s effective, simple and fast
And you can do it more than once. Works consistently with Lumix batteries. And don’t freak out when your charger light blinks. Doesn’t necessarily equate to a dead battery.
You attempt the jump-start approach. It is a fast and easy solution. It brings your gear back from the grave within seconds. No need for an immediate purchase of new stuff. You’re going to give it a shot first, maybe it’ll actualy work.
