
It’s one of photography’s most frustrating issues: your Canon camera won’t charge. Maybe it’s not a busted connection; perhaps it’s not even a dead charger. Sometimes the issue is as simple as a slight nudge to the battery management system. Try this jump-start trick before you shell out for replacements.
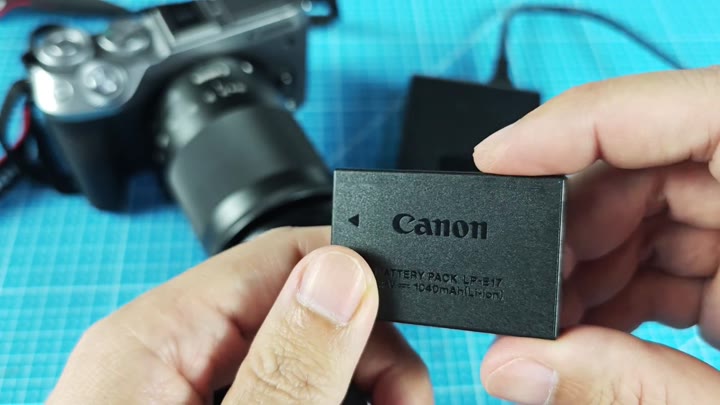
I saved one battery and may of saved another.
How to Jump Start Your Battery
This one is simple. Get yourself a working Canon battery that can be used as a back up. In my case I had a spare LP-E17 that was in perfect working order. This trick relies heavily on having a known good battery.
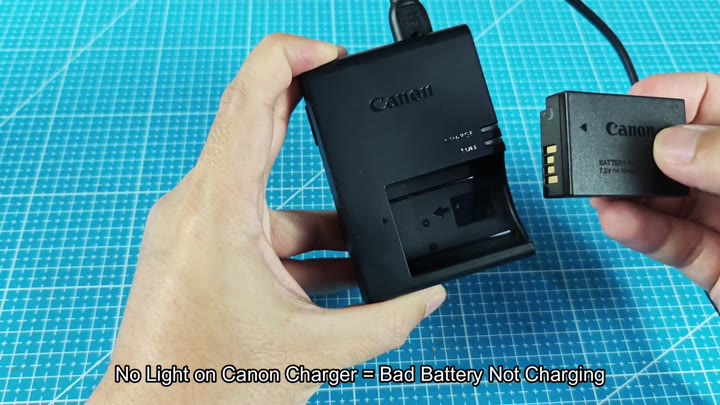
Most of the time if the indicator lamp on your charger do not light at all when you plug the problem battery in, it’s either dead flat or there is something wrong with the battery itself.
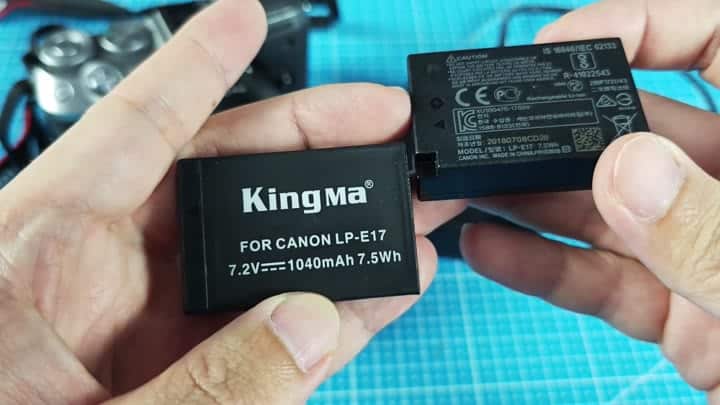
The absence of light are a big clue.
To check your charger, insert a good battery first. Immediately as I inserted the good battery, the amber charging indicator lit up. It proved that the charger itself are in perfect working order. Immediately as I inserted the good battery, the amber charging indicator lit up. It proved that the charger itself is in perfect working order.
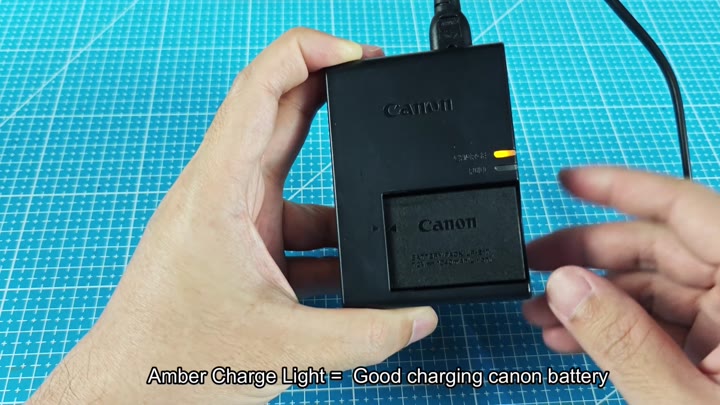
There could only be one thing wrong and that’s what we already knew; a dead battery. Now that I was confident the charger worked, it was time to move on to the rescue.
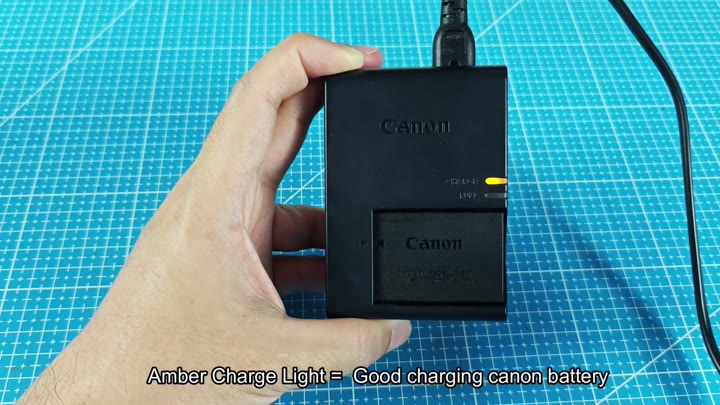
That helped with the troubleshooting a lot.
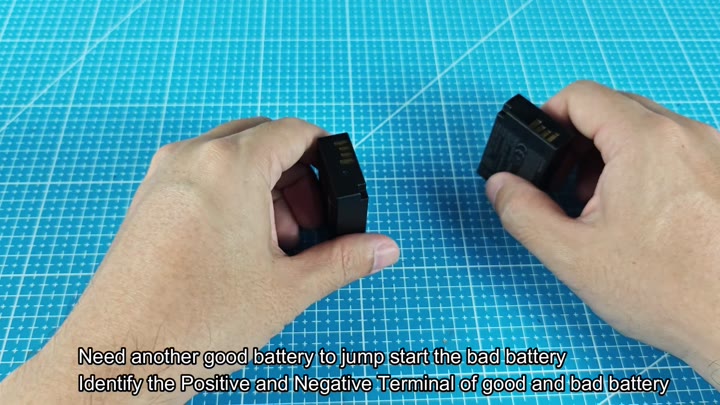
The second very important step is identifying which terminal is what. You’re looking for the positive and negative terminal on both the bad battery and the good battery. It takes some patience and inspection. Typically they are labeled or have different shaped contacts.
Be careful because getting it backwards will lead to trouble. Place the batteries side-by-side. Match up the contacts to help you map out the connection.
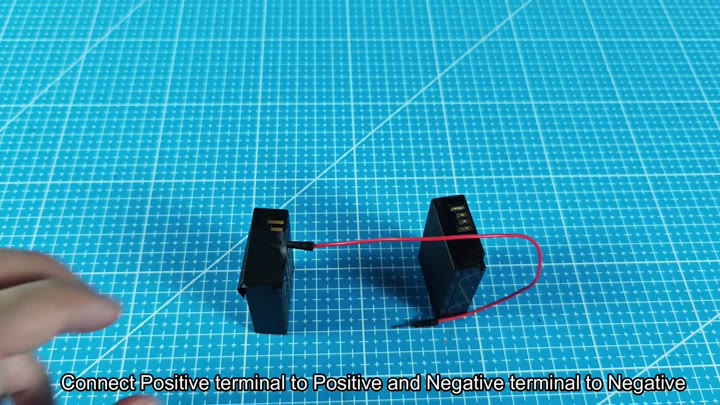
Connect the good battery’s positive lead to the dead battery’s positive terminal with the alligator clip. Do the same for the other side on both batteries (negative terminals).
Make sure the connection is secure. Keep the wire pressed against the battery so they has good contact.
Now we have current flowing from the charged battery into the depleted battery. It will now temporarily act like a power source. In theory it seems a little delicate, but really, it’s quite easy.
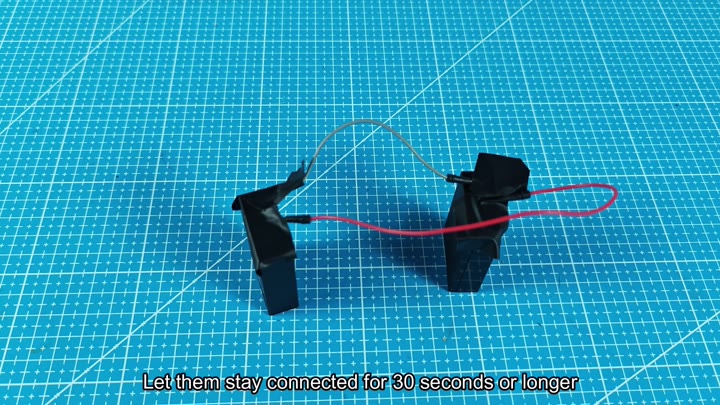
Leave it hooked up for about half a minute. It needs enough time to get a little bit of juice across. Basically that just kind of jolts the battery’s wiring back to life.
Once you’ve waited roughly thirty seconds the battery should be alive again and readable by the charger. Unplug the batteries, remove the clips.
And there ya go, in-and-out without issue. No sparks. No heat. Just an electric handshake.
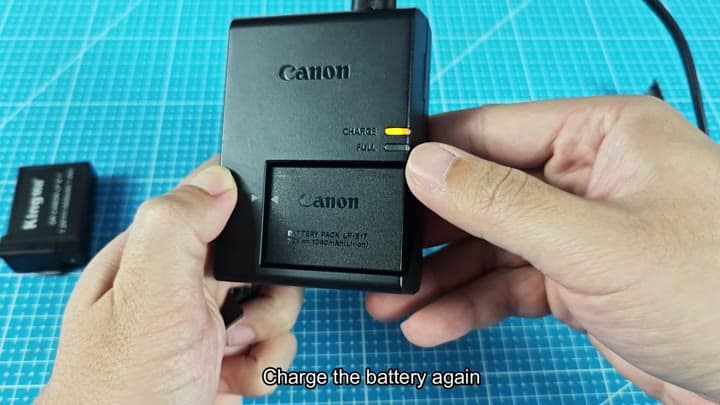
Last of all put the now deceased battery back on the charger. Charge indicator light came on. The normal charge indicator turned on, and it started charging.
What a simple reset trick that revived my battery. It is an inexpensive solution without spending money on new equipment. Try the jump start if you have no light on your charger. In this instance it did revive the battery. It’s worth a try.
