
One day the Electrolux washer-dryer decides it’s not going to work anymore. It is no biggie, there is just a totally black screen. Push the power button and nothing happen. It won’t even turn on. Ugh. Who wants to do laundry?
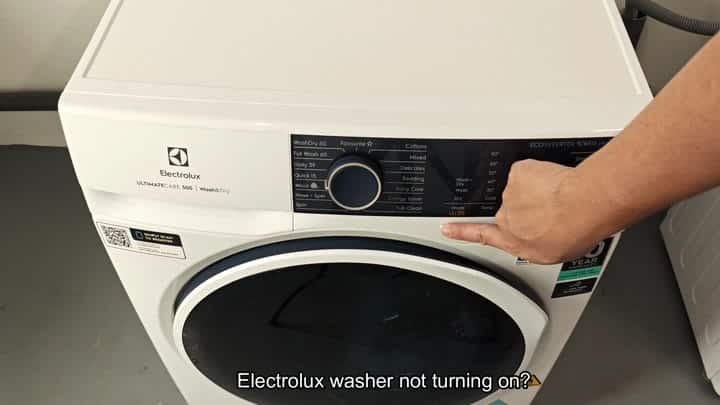
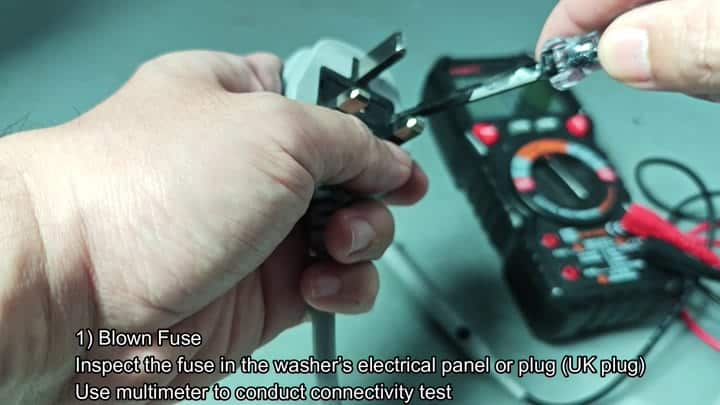
It’s probably just a power problem, right? Okay, so unplug it from the wall. Open up the UK-style plug and inspect the fuse.
Systematic Diagnostic Process
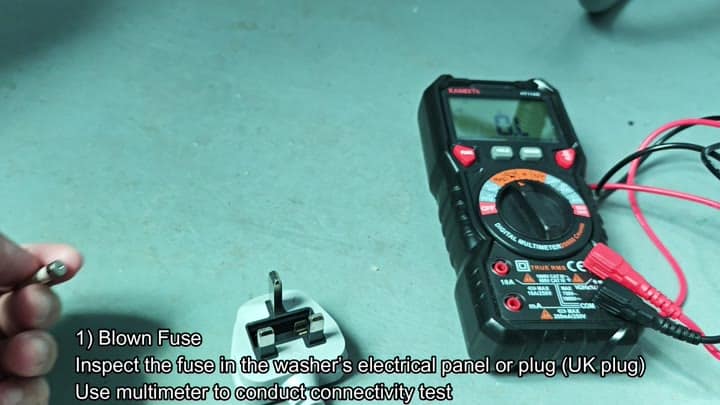
Uh-oh: It’s burnt out. The internal filament is broken. Test for continuity with your multimeter. There is no connection. The meter show an open circuit.
A blown fuse is often the culprit. It guards against surges that would otherwise damage machine.
A blown fuse are a common culprit. It protects the machine from surges.
It will blow and kill your power too.
Ok, so replacing the fuse should of be simple enough right? You pull it, you put a new one in, you plug it in again. Nothing works. Machine is still dead.
So what’s the deal? What’s realy going on in there? Clearly there’s more to it than that. Time to take closer look at electrical panel.
So you crack the casing open. And inside there are component. There is a big cylindrical capacitor. It is white with red writing on it. You take a closer look.
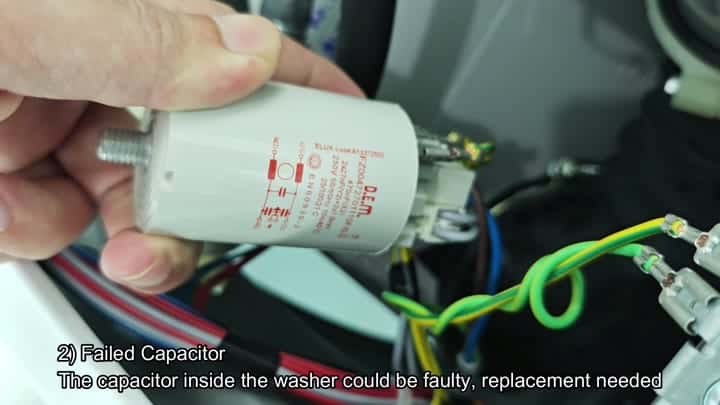
This capacitor hold energy for the control and the motor. And if it fails you won’t get any power. The machine doesn’t even turn on if the capacitor is bad.
So you order a replacement capacitor. It is rated 250V. And of course it’s this particular part number. You carefuly re-wire it into place. And hope that will fix it.
Nope still no power. Huh? Ok so now you’re thinking. It doesn’t make any sense. All your wires are connected tight. Your fuse work fine. Your capacitor is brand new. Where else could the issue be?
You inspect the power module. That’s the thing that deals with the input voltage. It’s a small piece of hardware that plugs into the main board. When the power module go bad, the machine gets no power.
You test the connections to it. Bam! There’s a fault in them. The module is toast. You swap out the whole module. It’s the white labeled part.
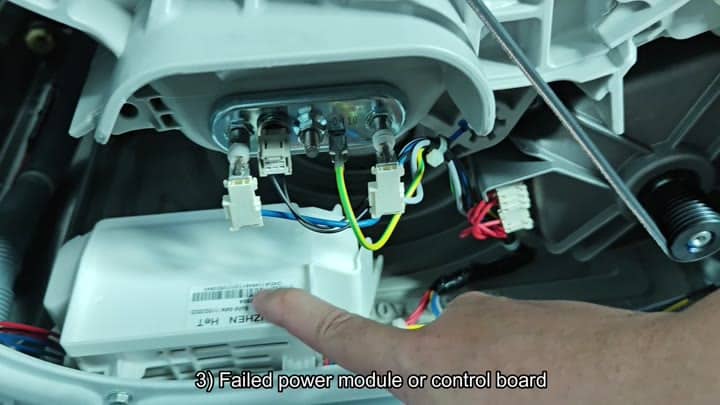
It’s easy to wire.
You replace the module. And wait. Still nothing. Screen remains black.
Now you begin to wonder if the control board is bad. That’s what folks tend to think when this happens. Well, not always. Control boards does go bad but so do other things.
So you take a peek at the control board. No burn marks, no obvious damage. Looks good. Hmmm.
On to the interface then. You glance at the panel’s power button and push it a few times. It doesn’t seem to respond. There is no click. There is no sound. Is it the switch? It could be broken. Maybe the touch sensor isn’t working correctly. This is a fairly common failure point. Sometimes panels get wet, buttons get stuck. So you fiddle with the button mechanism. It is clearly defective. The control panel are now questionable.
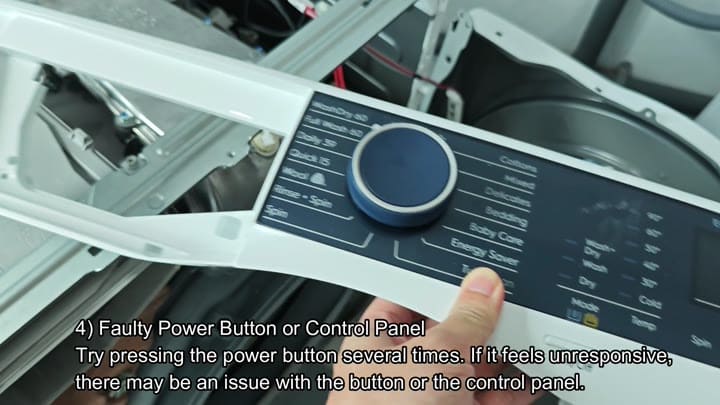
Remove the control panel assembly and install it. It takes a little labor. Pull off the casing. Unplug old control panel. Plug in new. Make sure that the connectors seats properly.
Plug in the machine. Hold your breath. Hit the power button. Screen goes on. Numbers come up. Programs display. It’s alive! Whew. That was the actual repair.
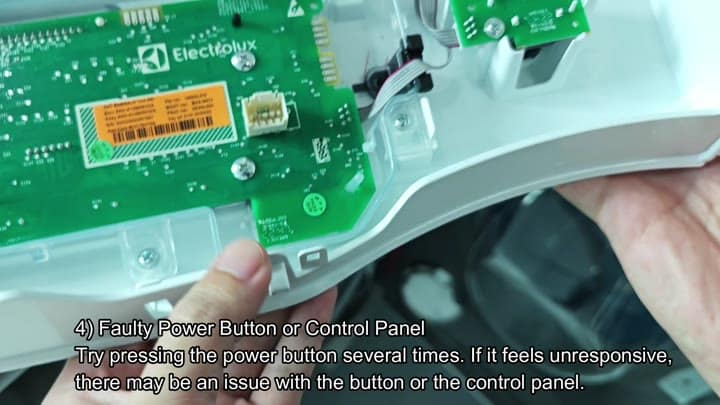
It’s a button. It broke.
The fuse, the capacitor, the power module, the button or panel… you check them in order. And most people stop there: they check the board. But oftentimes the board is fine.
And then what? Simple parts break first. So that saves you from having to buy a whole new machine. This means you can do laundry again. Your clothes are still clean. Well… for now.
That’s just normal wear and tear. Electronics degrade with time. Buttons gets pressed thousands of times. They wear out. It’s not magic. It’s just physics.
You’re happy it worked. No more guessing. Now it’s just methodical testing. Checking each part. You rule out each possibility until you find the problem. It’s done.
