
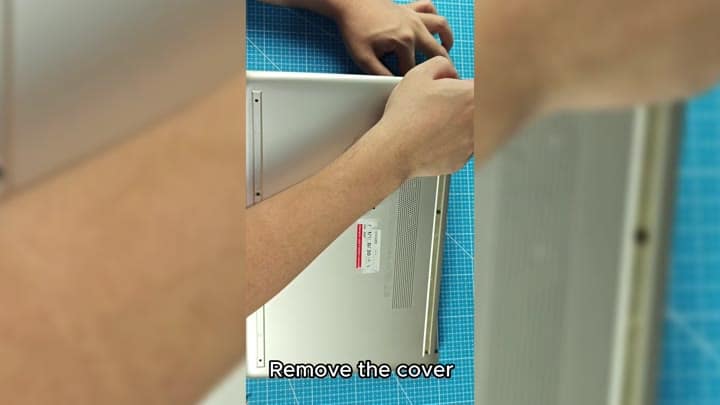
There is one panel on the bottom, and you use a small tool to pry it loose. Once you work around the edges and the clips give way, the panel will pop off with a little resistance.
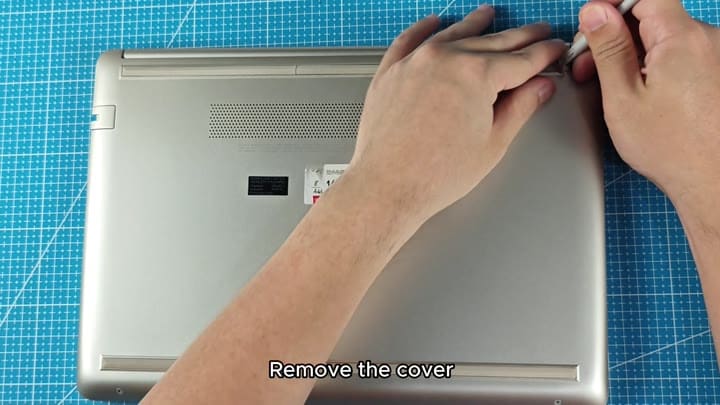
You use a small tool to pry the panel loose.
Preparing the Replacement Battery
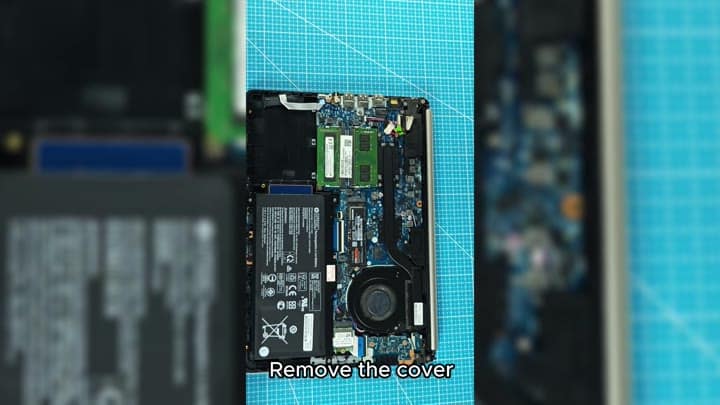
And here is what it looks like with the cover off. You can see the battery toward the front there. There’s only one screw holding it in place, unscrew it and put the screw aside.
Next up is the ribbon cable. Pull the ribbon cable connector out to detach the battery from the motherboard.
This is a simple process.
It’s as easy as that.
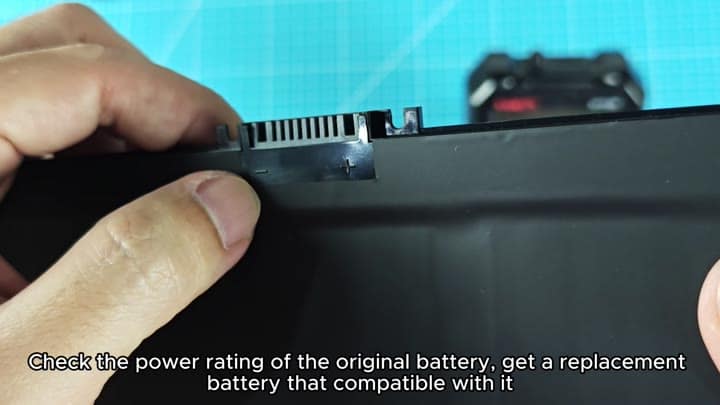
The capacity and voltage are clearly marked on the label of the original cell so you check them prior to putting in any new ones. The battery has to be compatible so you find a replacement with identical specs. No point in getting a mixed bag, better double check the rating.
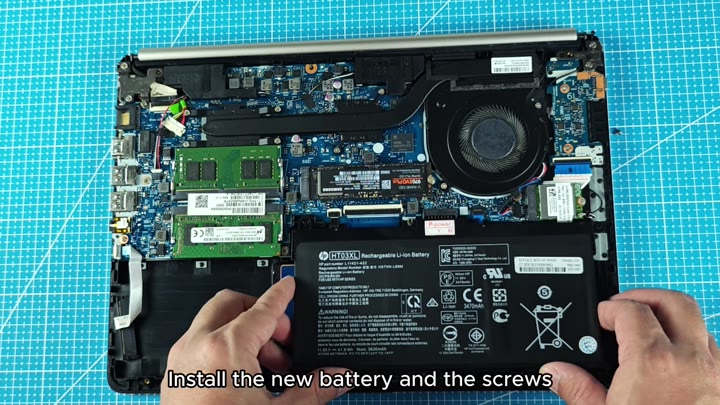
“Now you’re going to put your new battery into that chassis. So you line up the mounting points on the battery and the chassis. Now you see how tight the battery is?
And then now we plug in the ribbon connector and you want to be certain that it’s seating down well. Then you go ahead and tighten those screws to hold that pack in.”
You position the new battery inside the chassis, and you align it with the mounting points. The battery fits snuggly, and you reattach the ribbon connector to make sure it seats firm. You then tighten the screws to secure the pack.
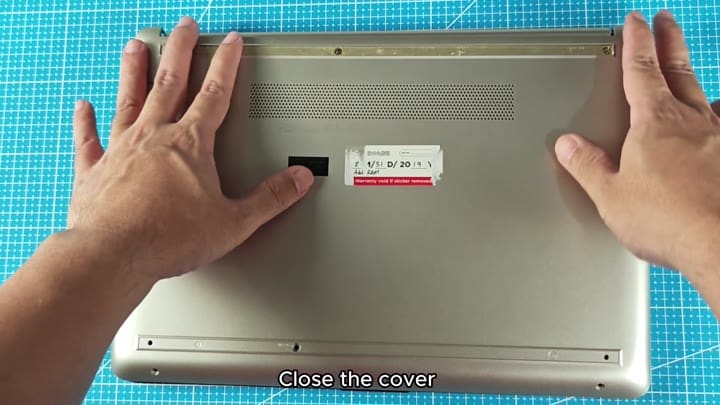
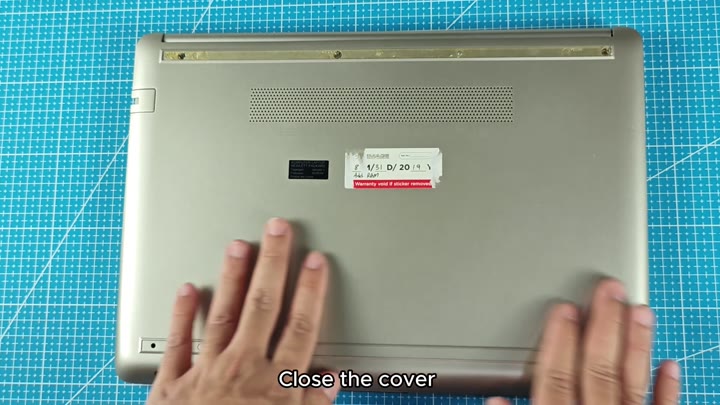
It’s a simple reassembly process, then you snap the back cover closed. It clicks in place when all the clips engage, just like they did before. No damage was done, and no signs of disrepair were left behind.
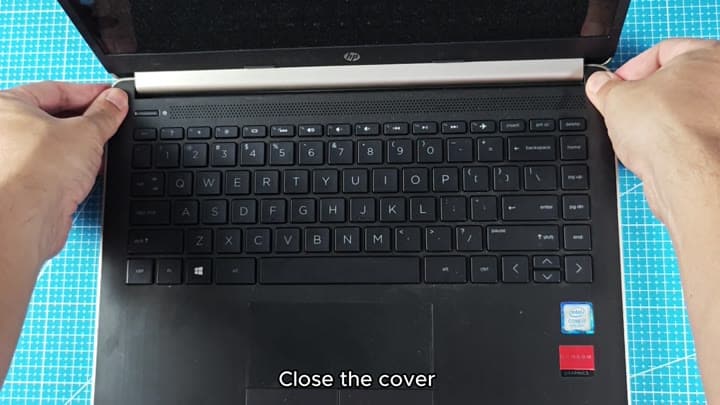
But when you close the lid to complete your work, the screen goes dark. You let it sit for a minute to make sure things has stabilized, then switch it back on. It boots up normaly.
I can’t believe how simple that really was and how little time it took to do (under 20 mins). Seeing that notebook back up and running is a great feeling. This fix has given it some new life. Even though the old battery didn’t hold any charge, it would of been worth it.
