
Start out by setting your Lenovo IdeaPad down on a solid working surface. That’ll hold it in place as you go about things.
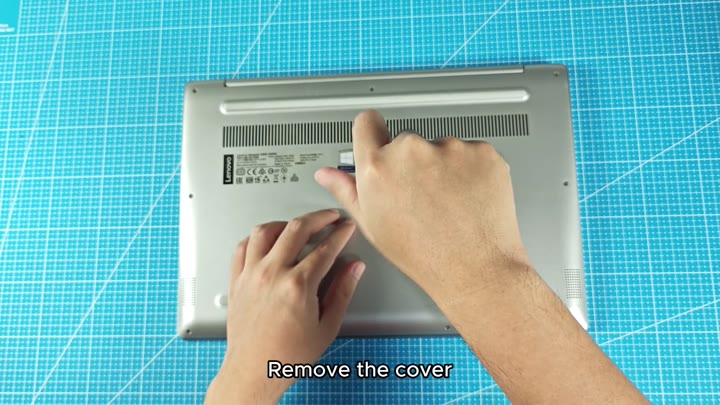
Next, start taking off that bottom cover so you can get to everything inside. The panel doesn’t come off too hard; just take care of the clips and it’ll pop right off.
Final assembly and testing
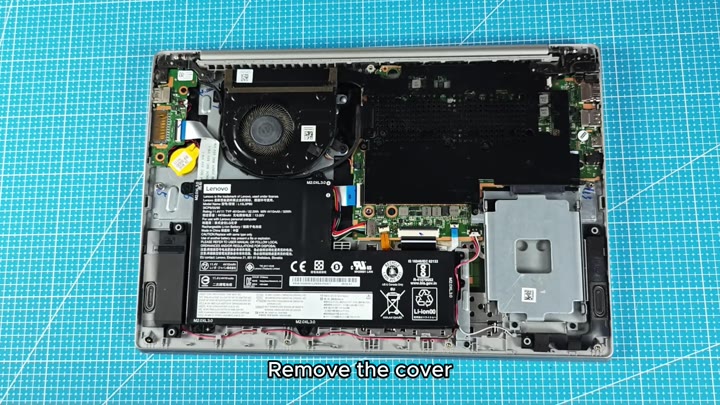
With that off we gets a view of what’s inside the machine. Here you can clearly see the motherboard, cooling fan and battery. It’s not overly cluttered but it’s easy to get at everything.
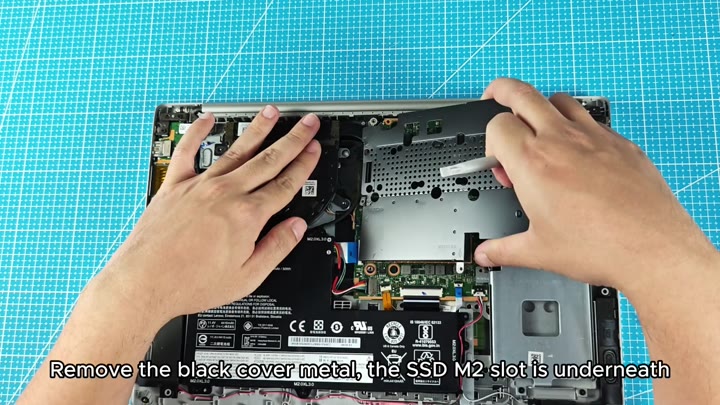
Some parts is protected by a metallic black cover which should of been removed next. This covers the spot where your SSD lives. With the cover removed you can reach straight into the components below.
After removing the metal cover, you can see the M.2 slot.
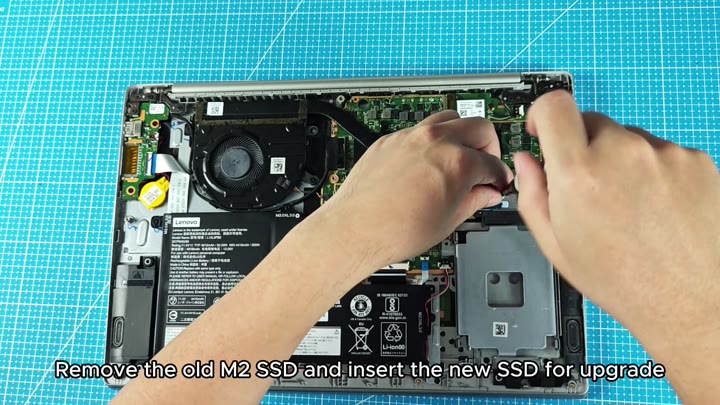
You then unscrew the old drive and carefully remove it from the slot. You’ll slide the new drive into the same slot. Again, take care that the new drive clicks into place.
At this point, you’ve swapped out the storage component. The new drive rest snugly where the old drive was positioned.
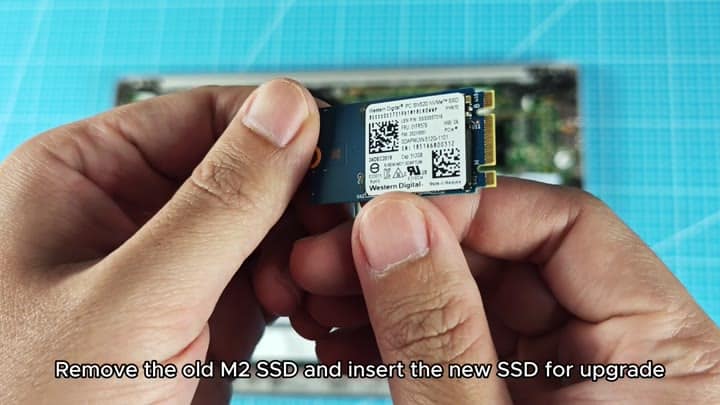
You should use a screwdriver to secure the new drive properly.
With the new drive in place you need to make sure it’s good and tight with a screwdriver. Don’t overtighten the screw, but tighten it just enough so that it stays in place. It needs to be solidly connected.
That’s pretty much all there is to it physically, and now you’re done.
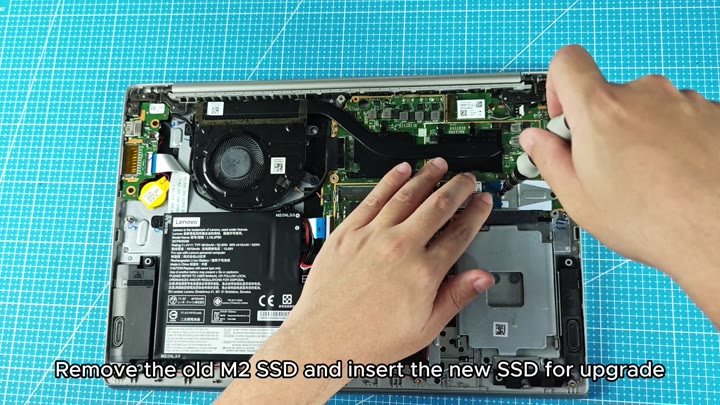
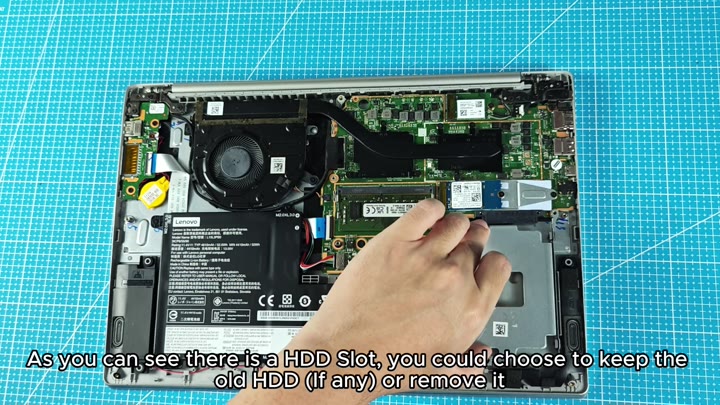
As you can see with the chassis open, there’s an M.2 slot and an HDD bay beside it. Now, depending based off which model, that bay might be empty or it might contain a hard drive.
If so, you can remove it completely, or leave it intact if that’s where you want to keep your original HDD. That will depend on how much space you need for storage. If the bay is empty, then don’t mess with it, just save it for down the road.
After installing all of your parts, you’ll want it to look tidy and nice from the inside out. There are no random cables dangling about and no loose screw.
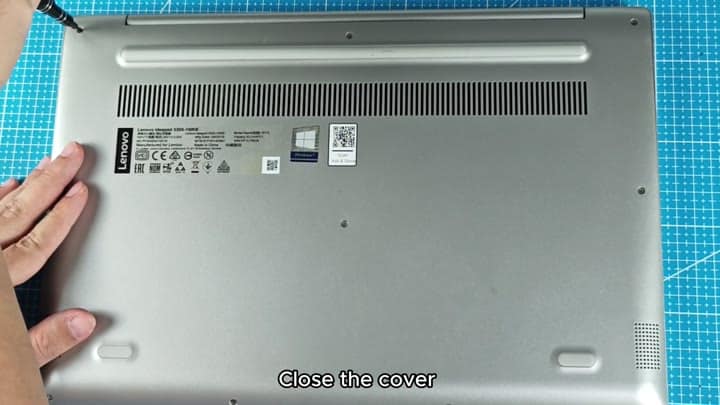
Time to reassemble the laptop. Carefully line up the cover with the body and snap it into place. It’s snug and the lid is sealed shut.
It didn’t take as long as I thought it would. Installing the drive wasn’t too hard, although you do need to have some patience and basic tool.
Now we have a faster storage device in our laptop, mission accomplished. Adding upgrades to an old computer revives it. A small tweak can go a long way, and it’s worth doing.
Remember, you left that original HDD bay intact, giving yourself the option of tweaking things down the road. Maybe you could add more storage.
But for now, the SSD is plenty. Everything run faster. Already. Good enough for work every day. Mission accomplished.
