
Because your laptop is lagging, you choose to increase it’s RAM.
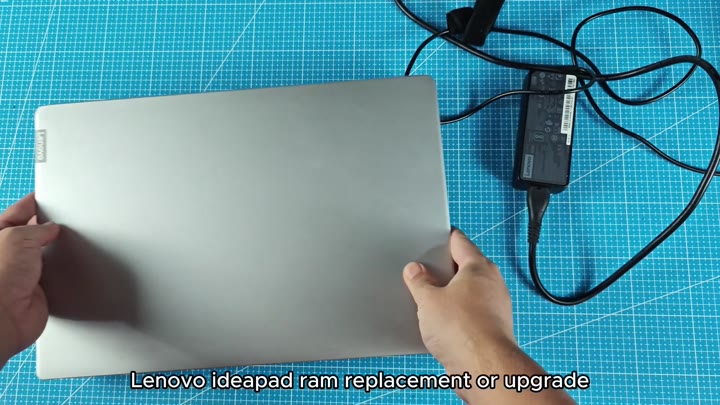
Extra RAM are a plus for any Lenovo IdeaPad. The power adapter remains pluged in throughout.
Installing the New Memory Module
The process
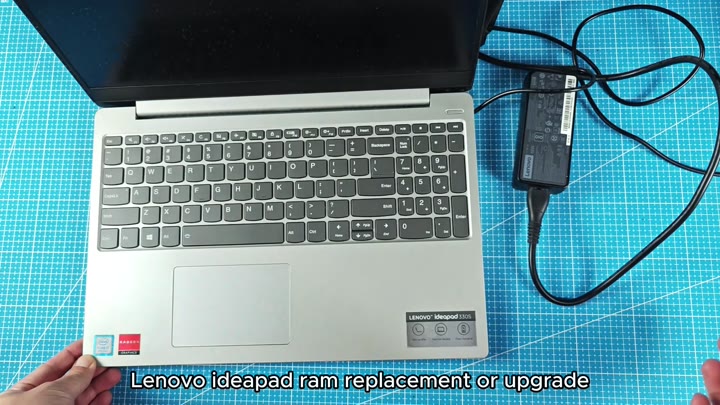
First, you take out the bottom panel. Loosen up the screws with your screwdriver. Once the screws is loose, lift the panel off.
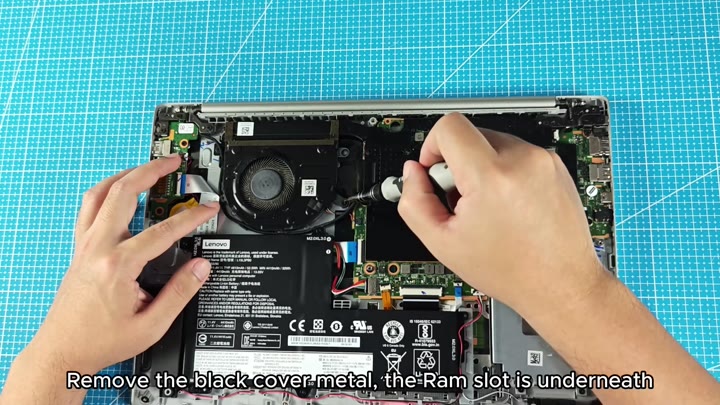
Now we gets to see what’s inside. Here’s a shot of the black metal shield under the panel, it shields the motherboard area.
Pull off the shield carefuly. There is the RAM slot right below it.
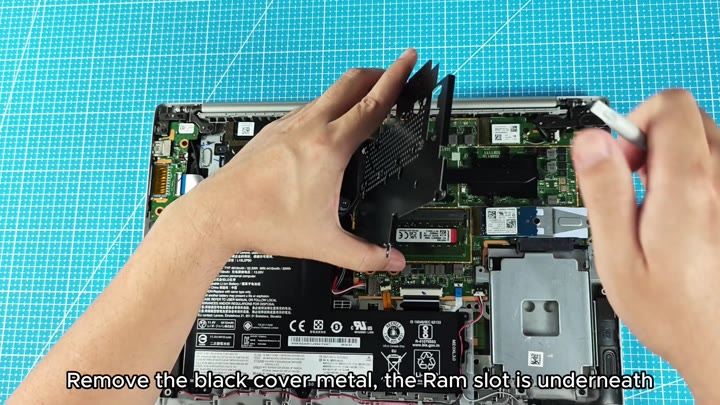
Then you look at the number of slots available. Ah, there’s just the one on your Ideapad. Others has two slots to expand with.
That narrows down your choice a bit, but it’s still good as an upgrade.
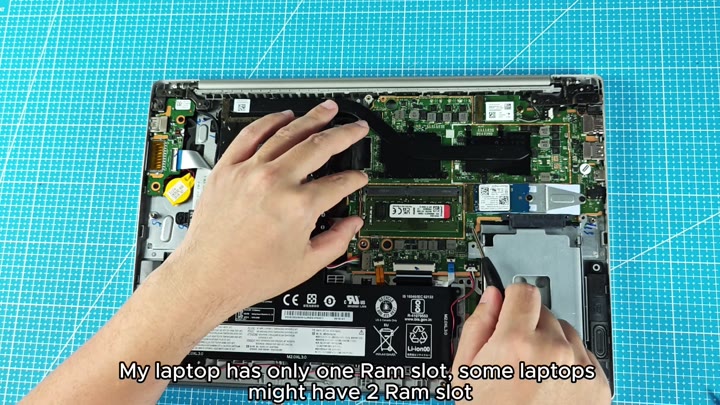
The new RAM module are ready. Just your typical SO-DIMM stick. The existing one remain in its place (for now).
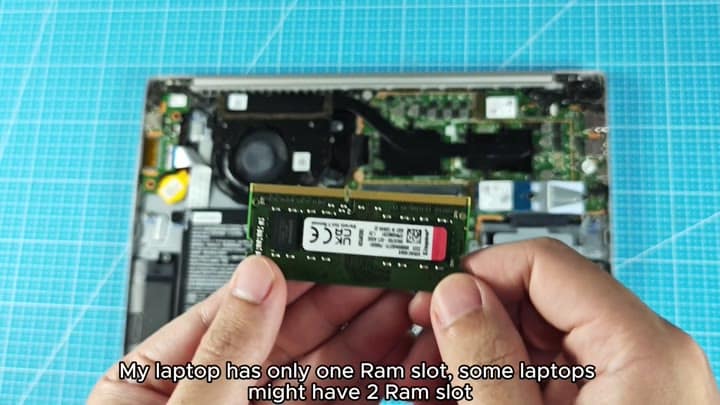
Pull the old one out
Give the retention clips a slight nudge and they pop free
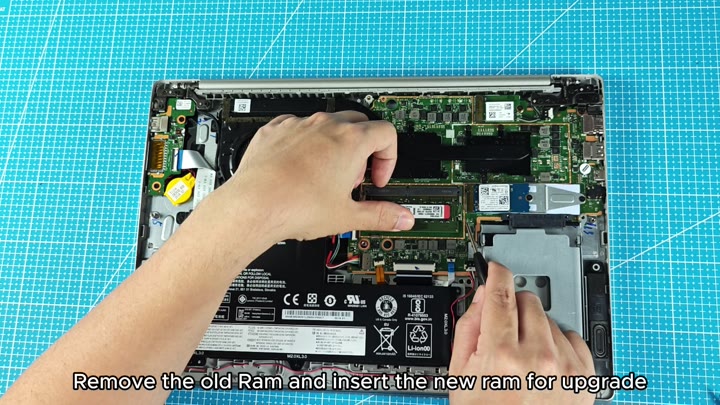
Pop the whole deal off
Slide the new stick in place, line it up with the slot and seat it down
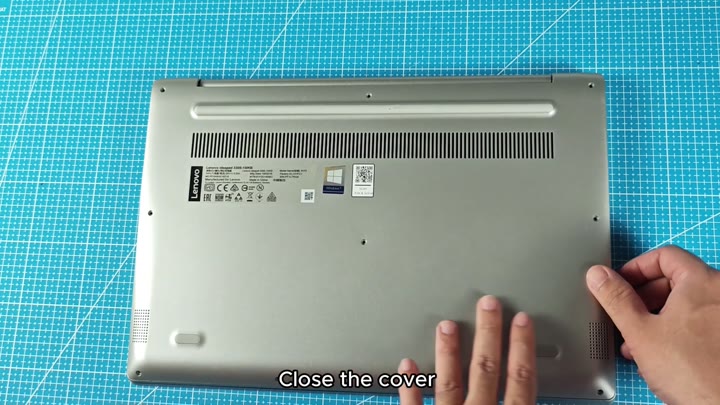
You snap the bottom cover back on. Reattach the black metal shield. Make sure it’s sitting right.
The new RAM clicks into place, so you move on to the next step. You line up the new RAM and it snap into place. You check that it’s seated correcty.
You turn it on. It powers on fine.
You’d like to verify that the upgrade succeed. So you go into Settings > System > About. Then you look at Device specifications.
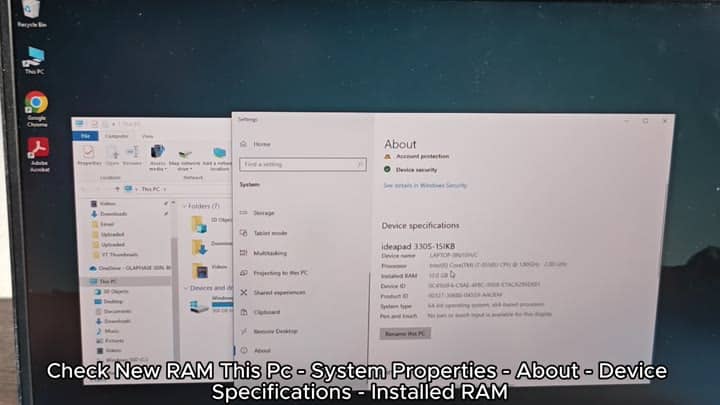
Look at Installed RAM. It says “12.0 GB“. Success!
