
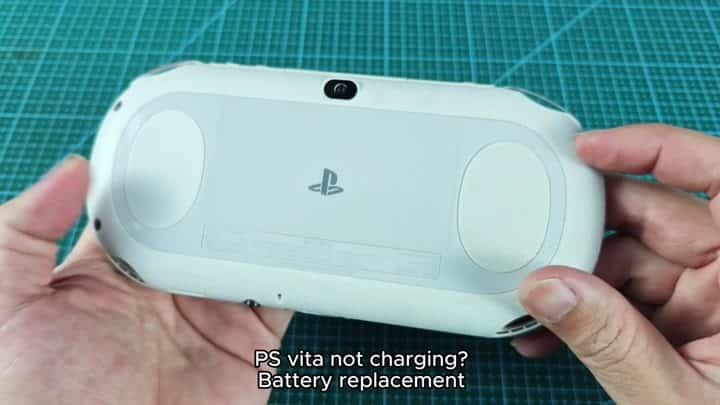
Why doesn’t your white Sony PlayStation Vita want to stay charged? It’s resting on its back with the speaker grilles and PS logo etched into the back panel, just dead weight. Should you troubleshoot internally or is replacing the battery most likely?
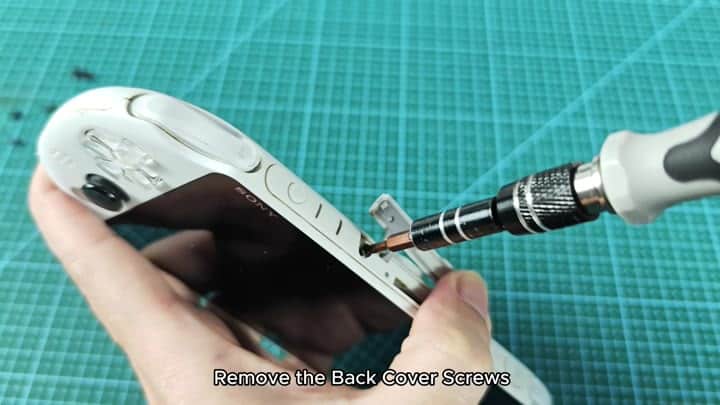
With a little patience, use your screwdriver to remove all the screws securing the rear cover. Keep these in order and set them aside. After the screws has been removed, the cover will remain attached and needs a little push to come apart.
Testing The Battery Voltage
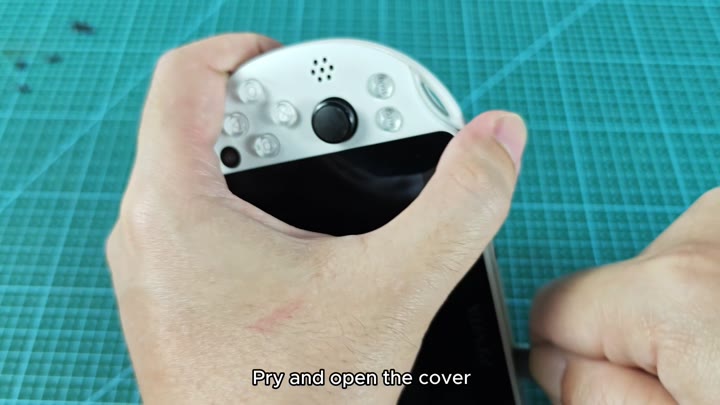
Because there are ribbon cables right underneath, you carefully (and slowly) pry the backing off with your pry tool. Pry it just enough to get it over the edge. If you go too far, you’ll tear one of those connection. Then the case yield without damage.
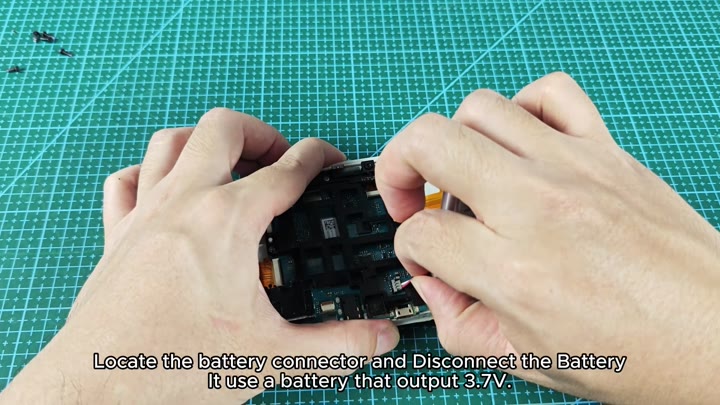
Opening it up reveals all of its guts, including the battery connector hidden in among the circuit board. This one runs off of a single, rechargeable 3.7V lithium cell. The connector was disconnected carefuly, and there were no sparkies. It was just a straight-up disconnection.
To test the battery, you simply plug it in, turn on your multimeter, put it into DC voltage mode, and hold the two leads on the battery terminals. The display come to life and displays a number.
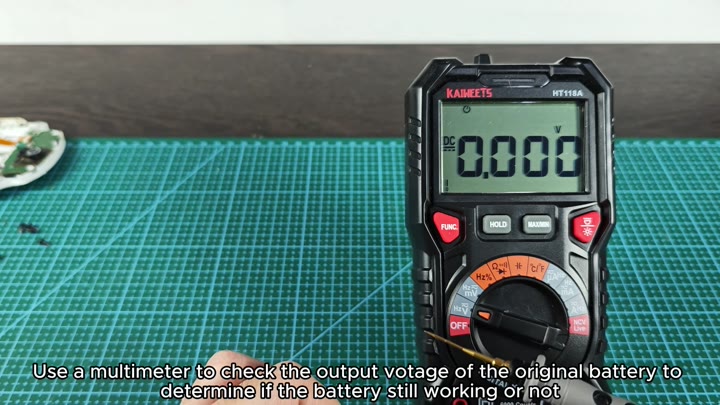
This is compared with the nominal 3.7V rating of lithium batteries. If it’s far lower than this, then the cell is dead.
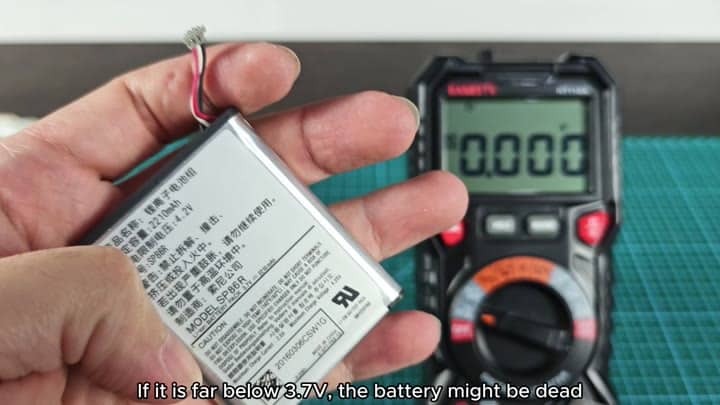
You hold up the Sony lithium-ion battery, labeled SP86R with 2210mAh capacity, and the multimeter next to it shows zero.
You have your multimeter out next to you. You’re holding up the Sony lithium-ion battery, model number SP86R, capacity 2210 mAh. It’s way under par. It’s not going to cut it anymore. The battery can’t holds any more charge. It’s time for a new one.
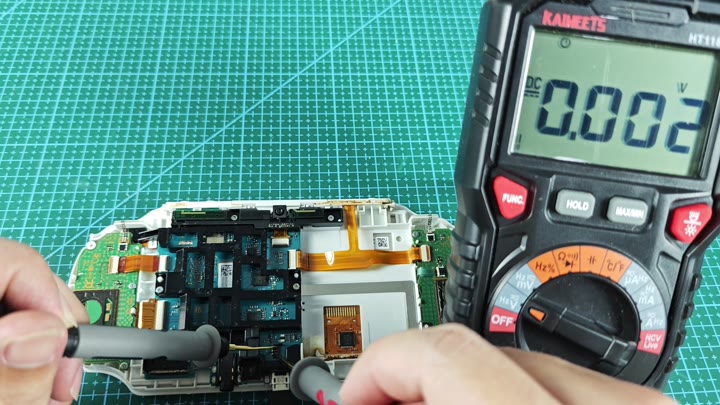
After that, you’ll want to check the charging circuit before purchasing any replacement parts. With the battery off, plug your console into its charger. Use your multimeter and keep it connected as you poke around inside the case with probes on those charging contacts (the ones the battery connects to). If the charger is functioning properly, then this test will confirm that the charger itself are working.
I plugged it into the charger, and a meter reading of approximately 4.2V verifies that the charger is outputting good voltage to the system. So the charger is fine and if the battery isn’t charging it’s the battery. Easy fix.
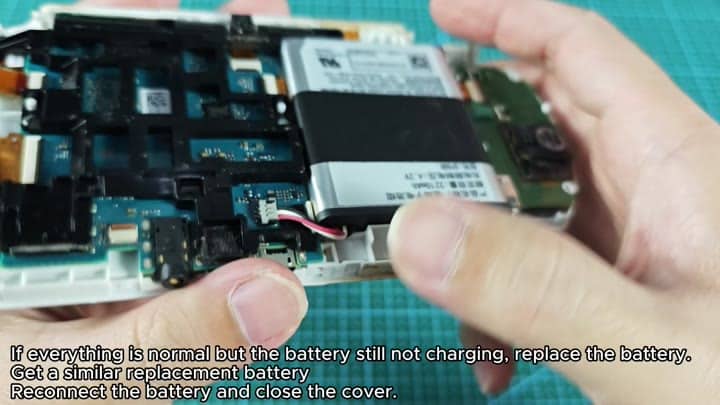
A compatible 3.7V replacement battery is what you buy. You unscrew the back cover, unplug the main connector and swap out the old cell for the new one (which looks exactly like the old one). Snap the back cover back on; it clips secureley in place, and all is well. Screw in the screws and fix the device.
Once you know what voltage they take, it’s easy to get them going. Test the charger first so you don’t waste time with a bad cable. If the issue is just a depleted cell, then that’s fine. And now you’re glad you got the Vita up and running again.
