
When your server demands additional memory, you follow a methodical sequence to upgrade that RAM. When it needs more computing muscle, your Dell R730xd server wants more power. But this only works if you expand the chassis properly. It’s not rocket science, as long as you’ve got the moves.
You’ll first turn the whole unit off. Safety first, you don’t want anything going while you’re tinkering with any electronics that have a juice source. Let everything cool down; let the fans quit spinning and then go ahead and take the chassis cover off.
Powering On And Verification
With very little effort, the side panel pulls away and sets on your clean work space. The motherboard is now accessible.
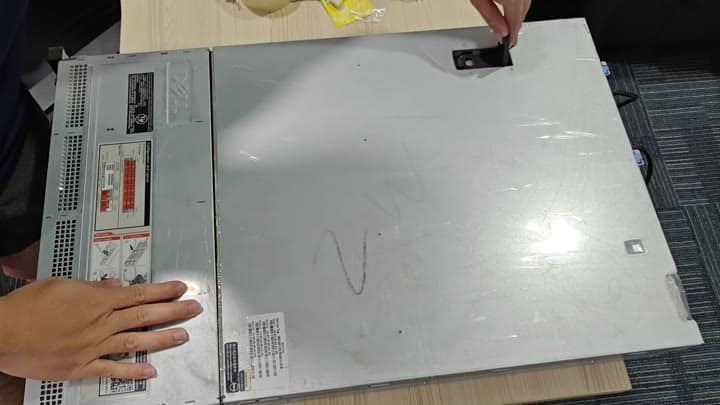
The inside looks pretty crowded. Look at all those bays. These are the drive bays and they’re marked to indicate that they’re hot swappable; meaning a drive could be swapped out while it’s running.
Find the empty memory slots. The server had memory in them from before, but now we want to install 32 gigs of DDR4. Which slot do you choose? Which slot do you choose? Based off the manual, you choose the right slot for best performance. And there’s an open slot right next to the CPU.
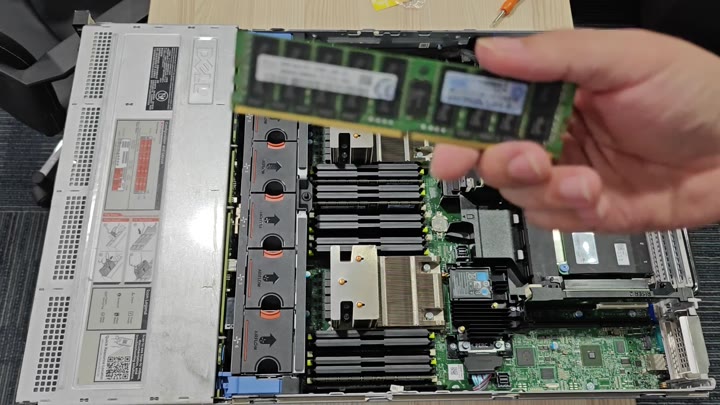
The RAM module has delicate but gold-plated contacts which need to be handled gently. It’s carefully aligned into its slot. There is a key in the slot that corresponds to a notch in the RAM, which stops it being installed the wrong way round. It needs to be placed correctly. Then you press it down carefully to avoid damaging the board. Any angle means it is not fully inserted, so you check the seating again to be sure.
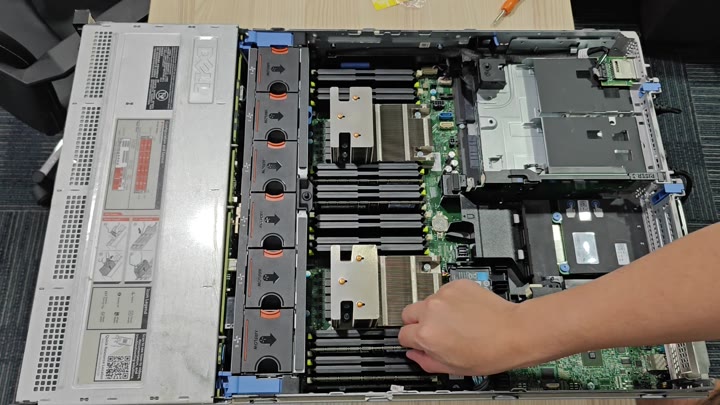
Then inserting the module requires a bit of force. It’s a “push ’til they lock” sort of thing. Push it down until the retaining clips on both sides of the slot snap into place. That holds the memory module in securely.
When seated correctly, you’ll hear the click. If it seats all the way, your new module should lay flat with the others. It’s not quite in if you see any gap at an angle, so double check that it’s seated correctly.
Putting the server back together, that’s a reversal of taking it apart. Put the chassis cover back on there. The latches and the rails has to line up properly. Gently slide it in, because if you force it, you can bend or even crack the cover. Secure it with the right clips or screws. Use steady hands so it goes back on smoothly.
The last step is to power the system back on. The power cables get plugged in. The power button gets pressed and the system begins its boot process. It automatically runs a POST check.
You look closely at the diagnostic screen as it checks all of the new hardware and finds it. It does the memory check, no errors. Everything is recognized by the system, thirty two gigabytes of it.
That’s thirty-two gigabytes of extra RAM that can be utilized by the upgrade. After the reboot, the server seems more responsive. Applications that would stutter before are now smooth. If you are looking to increase performance on your server, this is worth it.
It only takes about twenty minutes in total. No special tools are needed here either. A simple screwdriver and the new RAM are all you need.
Enterprise servers can be scary to work with. However, the R730xd is a robust machine. It’s built with maintenance in mind. Tool-less access points make it really simple. The process is very logical.
Dell builds their servers with future upgrades in mind. You’ll never be lost while upgrading because each component is clearly labeled.
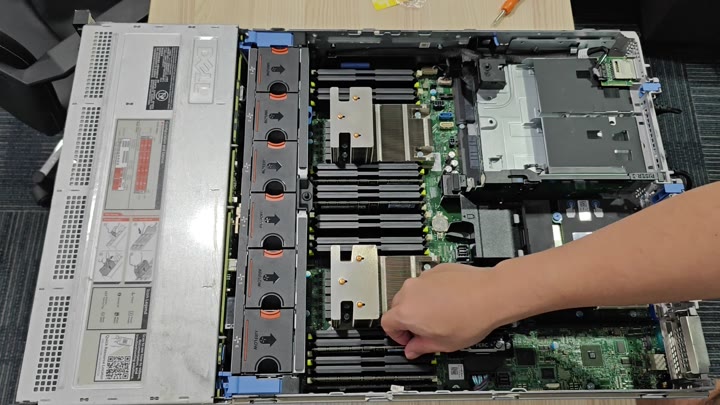
Adding memory is a common upgrade path.
Memory upgrades are pretty typical. They prolong the life of an aging server. Performance gets a boost. You avoid buying a newer unit. You save money over time.
You plan to monitor the system stability closely. With a stable RAM, this should hold its ground. A proven and efficient standard, DDR4, performs well with today’s workloads. Your rig is prepped for more heavy duty chores.
So, what’s the takeaway? You need patience. If you rush, you make mistakes. It will pay off if you take the time to properly line up the RAM. Each step takes its time. You get it right.
And the end result? After a successful upgrade, the server comes back online and performs better. You notice the difference with the added memory.
It’s another example of why preparation matters. Reading the documentation beforehand helps. Then you’d know about the slots and would of saved yourself some time. You know what? That thing’s got a manual. You have the manual out on your desk right now. The manual tells you to pick one of the slots. Otherwise, you might not have picked the right one. Preparation makes for good IT projects.
That’s the upgrade.
The Dell R730xd has more headroom. More virtual machines can run at once without issue. Multitasking doesn’t bog down the system. It’s a simple hardware tweak. It results in large performance increases. I’d say this is an upgrade worth recommending on similar systems. Add more RAM if your server is having trouble.
It’s a clean process, which is nice. No hanging cables or piles of dust anywhere. Components are laid out nicely inside. They’re labeled well on the board. It makes components easy to recognize. And you know what you’re doing as you go along. You can install hardware and trust your instincts, but you verify each step. Install it, check it.
Everything looks fine. No warning lights appear on the front panel. Fans is operating normally. It’s silent and it’s steady. Everything is good.
The server performs as expected. With this hardware upgrade, you’ve solved your problem. Now your resources can handle the load. Your server is prepared for production.
