
If your Reolink Argus 2 stop responding to the phone app, you can perform a factory reset to fix connectivity issues. There’s no complicated procedure here; just a pin or a paper clip.
Performing The Factory Reset
Find the tiny pinhole located on one side of the camera. It can sometimes be dificult to spot because it is recessed. Using the thin item, poke directly into the pinhole.
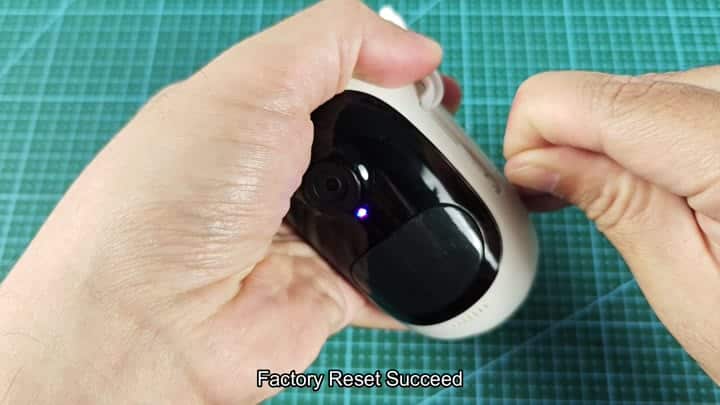
Press gently (don’t force it). Briefly hold the button down. Right on cue, the camera react with an audible announcement. “Factory reset completed,” says the voice. That’s your clue that all went as planned.
It erases all of your previous settings and resets back to defaults. Your customizations is removed. And while hardware still works, it’s like a fresh piece of software.
Solid blue light indicates the camera is on and ready for action. Nothing needs to be reinstalled; no, you didn’t damage hardware in any way.
You won’t damage the button.
The mechanism is built for troubleshooting. It won’t break off. The pinhole is solid and durable. Use it as many times as necessary. If you follows the directions, physical damage shouldn’t occur.
Most connection problems is solved by the reset alone; no computer or special tools needed.
Once it’s done, you’re back at square one and can continue setting up the camera. You’ll need to connect the camera to your Wi-Fi network once more. And then, in the app, you enter your password again and restart the pairing procedure from beginning.
That only takes a couple of minutes. For a complete rebuild, that’s pretty damn fast.
Local storage will be wiped during the reset process. No worries because all your recorded stuff is still saved on the cloud. Don’t do that without knowing ahead of time. It will restore full functionality fast and reliablly.
Once it’s all reset, you’ll need to set up motion zone and alert preferences again. The device’s settings are back at square one.
Again, spend the time setting things up correctly. These settings is critical to proper monitoring. Time saved later when everything is in operation is worth the time invested now.
Factory reset: if something isn’t working and everything else fails, this is an option to reset back to factory settings. This resets your entire configuration. So don’t do that every day. However, it’s your ticket out of jail from time to time.
The physical reset button will clear errors and software locks effectively and reliably regardless of the version of firmware on the device.
After resetting, test your connection to make sure it’s stable. There shouldn’t be any problem getting the camera to connect to the network.
If the connection fails, check your signal strength. In most cases, this will resolve the issue. Without having to know anything about tech, you’re in control of your own device again.
If you ever encounter a problem like this, remember to keep this method in mind. It’s simple, straightforward, and only takes a few steps. Do each step precisely as stated. Then you’ll have your camera back up and running.
It takes away the worry that you’ve done something permanent and gives you peace of mind.
