
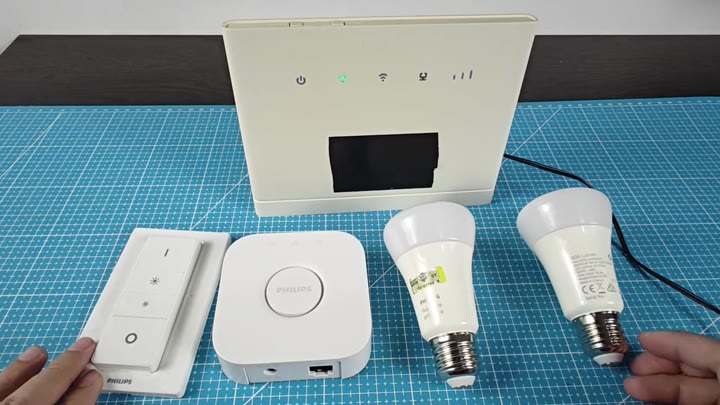
To set up, you first connect the hardware to each other. Plug the Hue Bridge into an Ethernet port on your router. Maintain that connection, it’s how the system work properly.
Then, you’ll add bulbs, which can’t happen until the bridge are communicating with your home network.
Once connected, you can verify it by checking the indicator lights on the front of the unit.
Connecting the Hardware
To start, plug in and power up the Philips Hue bridge (of course) and switch on the Philips Hue bulb you wish to connect. Though this sounds easy, it is important for the bridge to register new device.
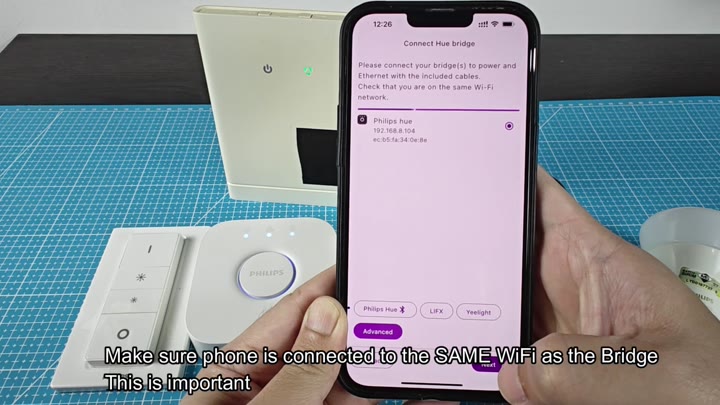
Next, fire up the Hue Essentials app from your phone with one caveat: The phone needs to be on the same Wi-Fi network as the bridge or else the app won’t locate the hardwares.
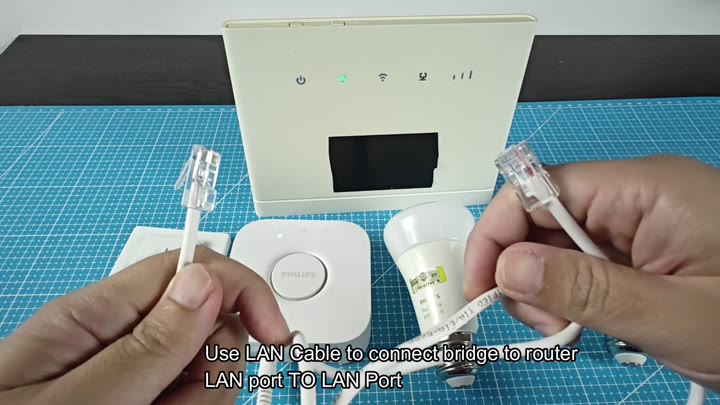
Many of us miss this important informaton.
From there, inside the app, you jump into the connection screen. Here you’re shown information about your bridge (IP address, etc.) and are prompted to confirm that your phone is also on the same Wi-Fi network as the bridge. That handshake between devices only happens if they’re on the same network, which is why this step is necessary. And why the app won’t proceed until you’ve confirmed.
Once you verify that the network matches, the app will connect to the bridge just fine. It’ll show a screen confirmation that it has connected and then take you into rest of the setup process.
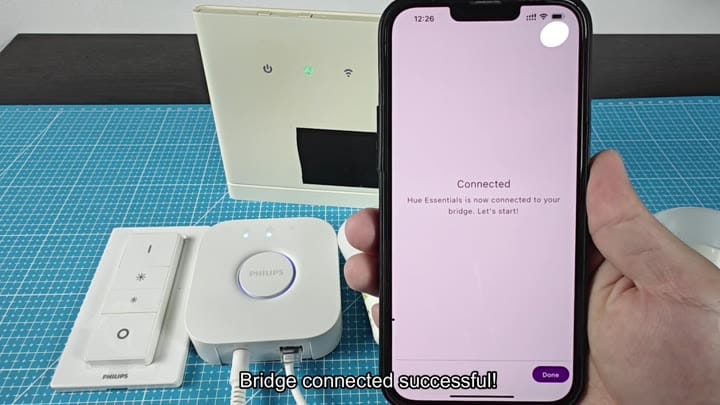
And then you keep going, after pressing the button.
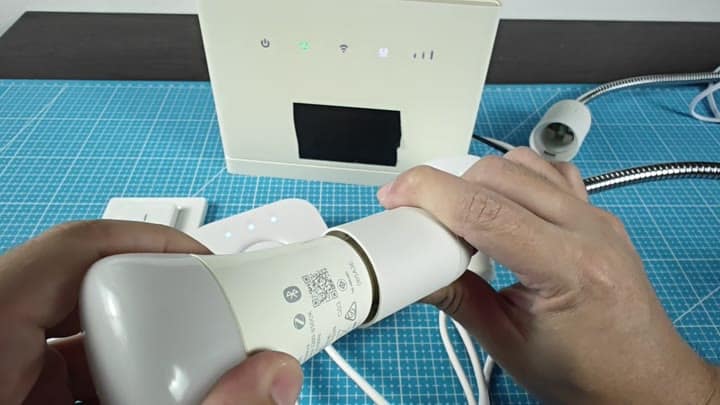
Now that the bridge is online, it’s time to look at the bulb itself. You pick up your smart LED bulb and check the label on its base: sure enough, there’s a Bluetooth symbol and a QR code printed right on the glass. You make sure the bulb is inserted propery into the socket.
On the other side of things, the bridge start looking for new devices on the network automatically.
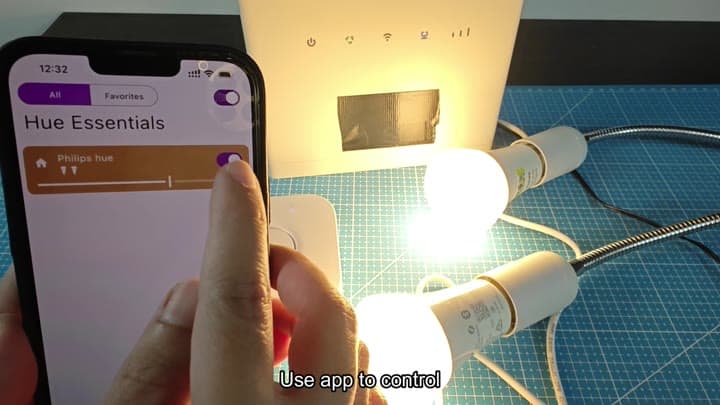
When you turn it on, the app know right away. Under the devices list, you’ll find a Philips Hue light. You can experiment with setting the brightness slider on your screen, and the light updates right away when you change the value. Using the light from the app feel easy and simple.
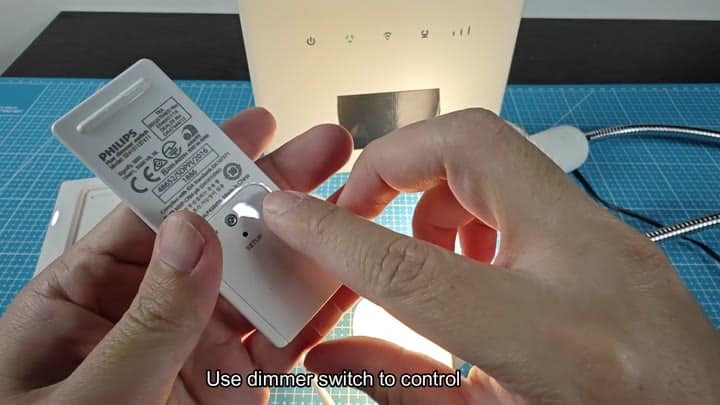
Determined to give it a try, you install the dimmer switch so that you can feel it in action. Finding the setup button on the back of the switch, you pick up the white remote, press the button and. Voila! The switch pair with the bridge system.
Now you’re controlling your lights two ways: quickly adjust with the switch or precisely control them from the app. And both work together seamlessy.
It’s also faster than you’d think. There aren’t any connection dropouts or other issues during the setup. Everything just works.
I really like that it has so many ways to control it as well. If you’re in another room or on your phone, you can still change the mood of the space. The software work well with the hardware.
There isn’t anything confusing about it. Turn it on. Plug it in. Connect to it. It is a nice clean ecosystem.
