
Remove the cover from an 8th Generation Kindle. On the exterior, there’s nothing wrong with it. But you’re curious what’s inside. It’s a snug fit; you’ll need a slim pry tool.
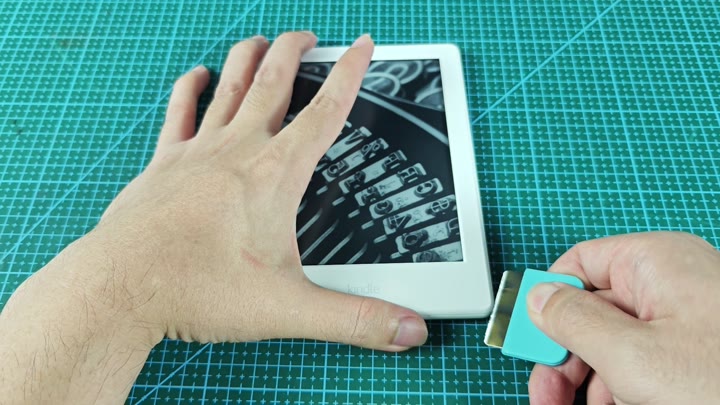
And then you use the tool to slide it down the side of the Kindle. Then you go slow and work patiently as it clicks into place all snugged inside the plastic shell. You raise up the edges all around the thing until you can get a hold of it. And then you pull out one whole piece: the black outer shell.
Internal Components Overview
You pull the black outer shell off in one piece.
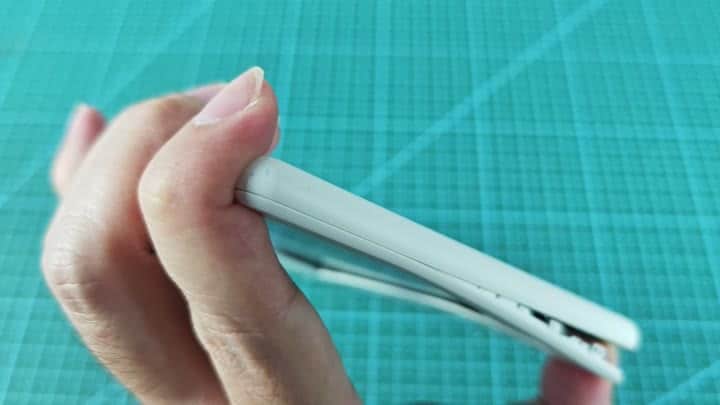
No clips broke and no tabs snapped. Now you can see what is inside: The guts. The wires connected to the board and how it’s all set up. It is held in place with a total of seven bolts.
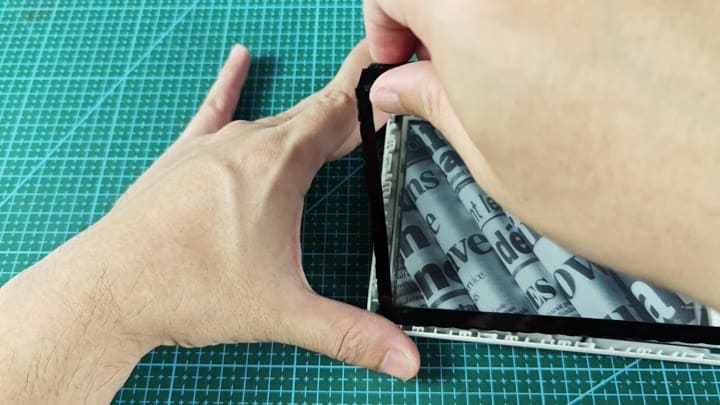
And then there’s turning. Line ’em up and go. Carefully take out each of the bolts with a screwdriver. All seven will unscrew and come right out. It doesn’t take long.
Keep ’em together. Don’t want to lose one. With the bolts gone, it’s like the whole thing is falling apart. Loosen the pieces from the frame. Housing is off. Display module sits on the board.
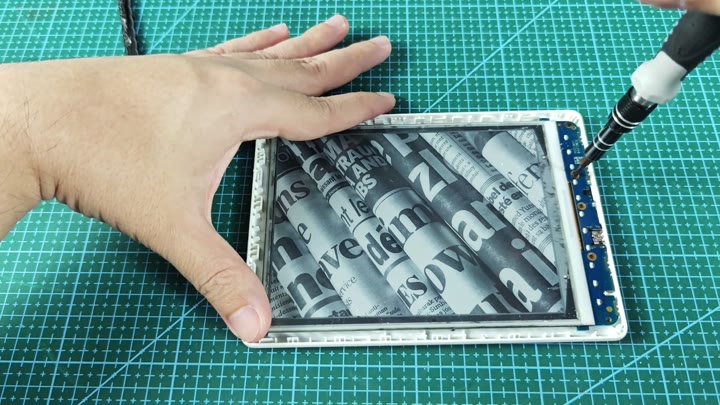
Now you can see into the guts of the circuit board. It’s a blue board with a bunch of components soldered onto it. There is some writing on the side that says “REV 01“. A ribbon cable lead from the board into the e-paper display.
Looking at the display you notice that it displays a static image of what looks like newspaper clippings. Ahh, yes, now I remember. How does the screen work?
Taking the board out you hold it up to look around where it connects. The display sit inside a white plastic frame which keeps it in place. Against the white frame you can see the edges of the blue circuit board.
The board appears to be undamaged and free of any signs of corrosion or burn marks. That’s good since devices usually fail based off simple connection problems.
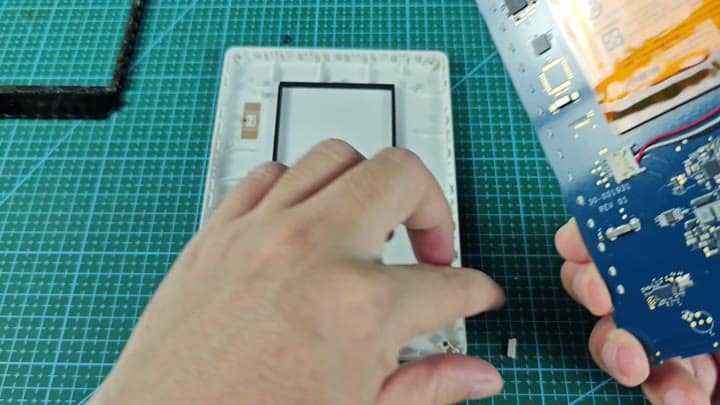
So you’re looking at the back of the board. Several chips and a bunch of connectors. Compact layout, nothing unusual for an e-reader. A quick scan to see if there’s any concealed clips or screws. Everything seems to be gone.
You’ve got it all apart. Time to move on to modification or repair. The process has been simple enough so far and gives you more confidence in trying other devices. Things went according to plan. No surprises here. It was a clean teardown.
That’s what you do. You put the pieces down on the mat. You hold the screen gently, because it’s delicate. Crack the e-paper layer and you’re done. You see the backlight layer underneath; that looks OK.
You think about the engineering that went into this. That’s pretty amazing: so much technology in something so slim. It feels balanced and well weighted. The materials seems strong. The engineers’ decisions were sound.
Before moving on, you clean your work space. There are always little parts and you don’t want to lose them. The seven bolts goes into a little container. You label it so you can easily identify what they are.
Staying organized saves you time. Mixing up screws from one project with another can be costly. This is a common mistake. One you would of learned about before. Double check all of this now. It will save you time in the long run. Being organized helps you succeed.
He took one final glance at the disconnected display. The grayscale image is crisp. The contrast is good.
Is it hardware? Is it software? Factory reset sometimes does the trick. Other times it is a physical failure. Don’t know. Will try after putting back together. Or just leave it disassembled.
It depends on what you’re trying to achieve. You were curious about opening it up. Now you know. It is satisfying to peek inside.
