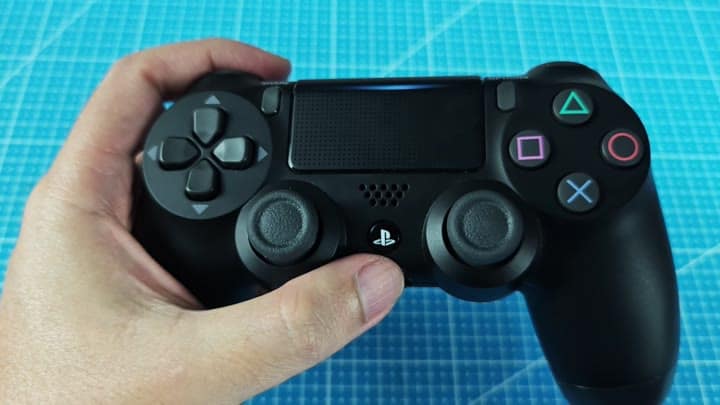
The plastic shell of the DualShock controller is meant to remain closed so you’ll want to pay close attention when disassembling it. The casing needs to be separated along the seams so try to go around them.
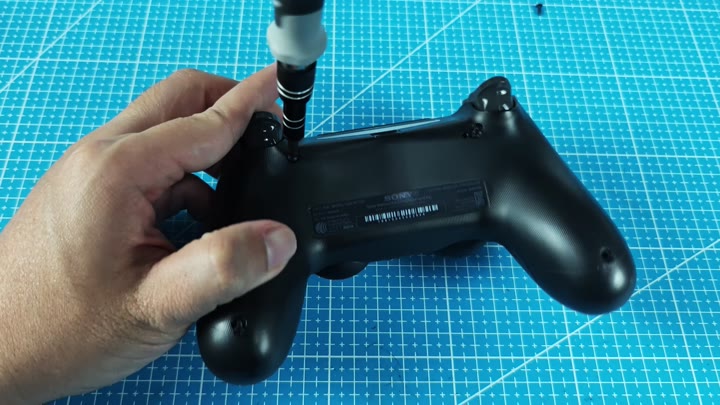
First take out the bottom screws (there are a few that is underneath the label). Carefully unscrew these with a screwdriver, the screws are tiny and can falls into nothing.
Reassembly steps
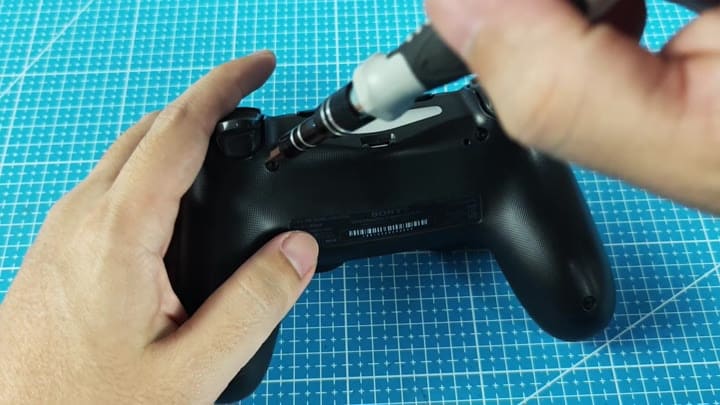
Keeping the screws in a container prevents loss.
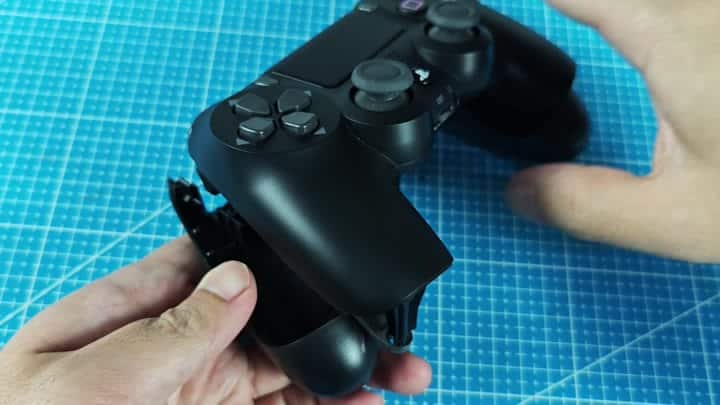
After you remove the screws, be patient while prying it apart. The shell is attached very tightly with clips, so you’ll need to work slow all the way around. Most times one side opens up easier then the other. Usually, the side by the left grip releases first.
You’ll then see inside the guts of it, which initially look like a mess because there’s not much room in there. All the components has their place, so be gentle when handling the plastic parts so as not to crack the case.
When you pull the two halves apart, you’ll see the big lithium-ion battery smack-dab in the middle. It eats up much of the space.
You’ll also see that the board is connected to the back module via a white ribbon cable, which can be easily broken, so don’t yank on it. The board itself has several solder points and plenty of chip, all of which are green. Even though there’s a lot going on inside, they’re positioned in clear slots, making taking it back together doable.
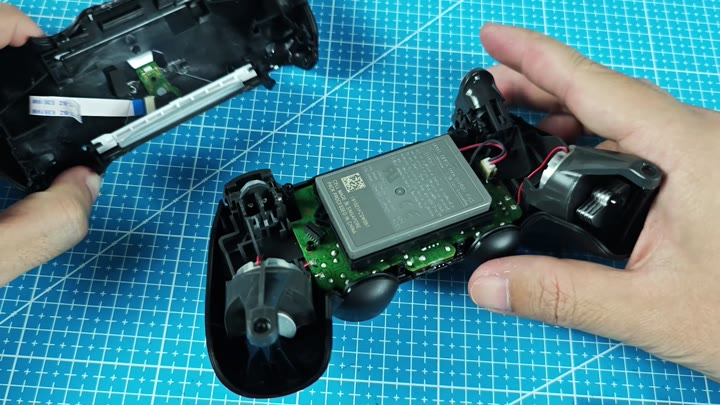
Slide the battery out of the battery holder (plastic tabs holds the battery in place). With the battery removed the board will pop up a bit.
There are two analog sticks on the board, and they stay connected when you remove the board. You’ll need to pick up the board along with both analog sticks. Use one hand to grip the case down and another for handling the board. Rushing around breaks clips.
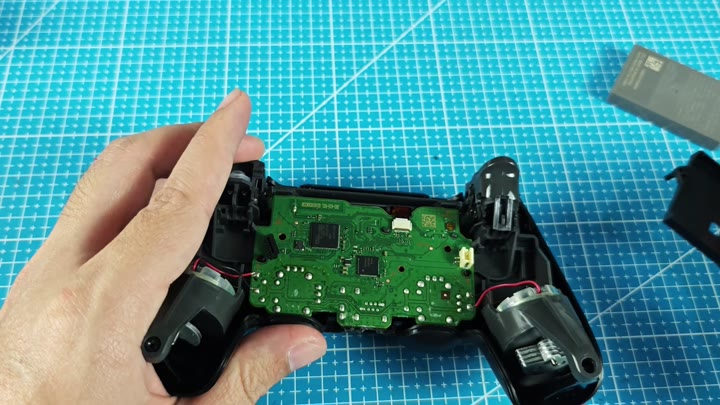
With the board separated, everything else inside come into view. You’ll notice two Bourns silver potentiometers (pictured above) on the side. These regulate the resistance of your sticks. They appear solid.
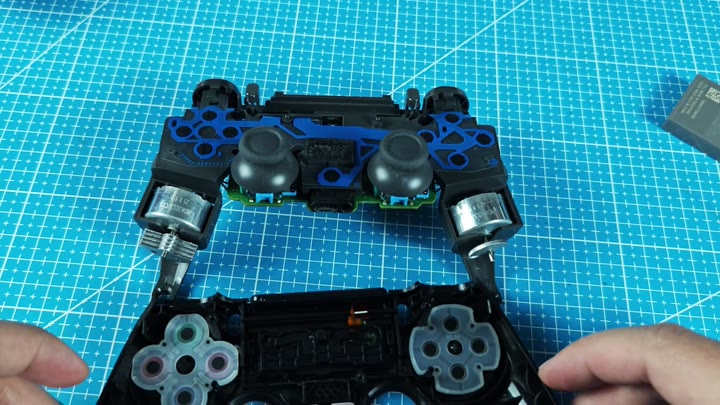
Place all other components aside on a mat so they don’t get lost. Give each one its own area instead of just tossing them in a heap.
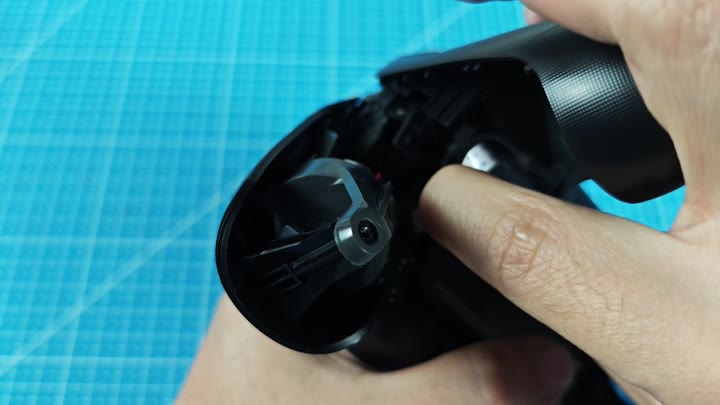
The rear section houses the light bar, which contains a small lens and a red LED near the sensor.
Near the sensor there’s a little lens with a red LED inside, that’s the light bar that illuminates when you’re gaming. It’s just a basic module, but check it over quickly for any signs of damage or if the casing has been fitted snug around it.
Don’t be tempted to bend the wires, wiring mistakes is fairly common in these repairs.
Disassembly
To reassemble, simply reverse the process: Place the board back into the bottom shell and press the ribbon cable down gently to seat it, then reinsert the battery until the tabs click into place. Then slide the board back into its shell with analog guides lining up exactly or the sticks will stick.
Now place the top shell over the internals and push down on the corners until all the snaps lock evenly. You’ll feel a clear click when it’s shut.
Place the top shell over the internals and press down on the corners until the snaps engage, then you’re going to slide your bottom controller screws back on and turn them gently using a screwdriver. Don’t go crazy here, you can really mess up the thread so you won’t be able to tighten your screws anymore. Once the final screw is inserted, you’re done!
There are no cracks or gaps. All buttons is where they’re supposed to be. No issues with the PlayStation button at the center. The action buttons are bright-colored. The directional pad is responsive. Smooth analog stick movement with no resistance when tested. The face is clean. There are no cracks or breaks.
This looks like it’s always been a controller, which means that the work paid off if the repair lasts.