
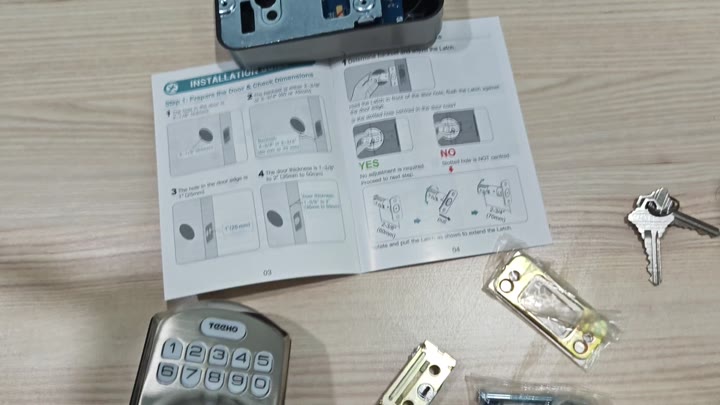
So after getting your hands on the installation guide (which has nice diagrams), you see how everything lines up for install right from the get go. It details which latch goes where and then explains how to line them all up. No guessing games here, just a good start to working with your hands.
The installation guide is the first resource you should of consult, and it provides clear diagrams for the initial steps.
Powering and Finalizing Installation
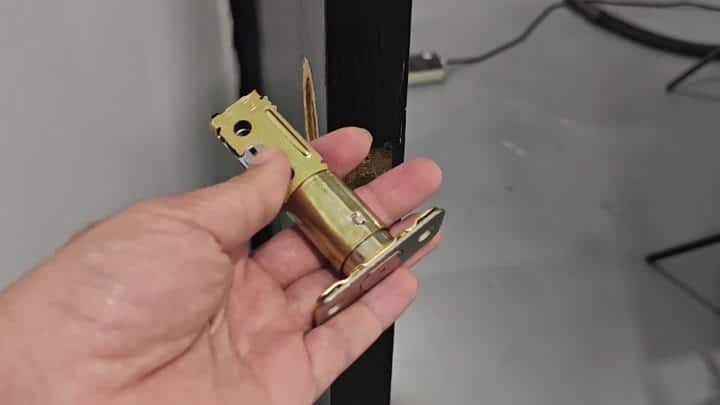
The cut out in the wood is waiting for you to hold the brass latch against the edge of the door and then line the mechanism up inside the cut-out and it slides into place perfectly. Because it’s such a good fit, no force is needed (everything just lines up).
The wiring pass through the hole in the door. Then, the main lock body line up with the round hole cut into the door. Carefully feed the wires through, and then mount the component using the screw holes you can see.
Make certain it’s flush on top of the door surface, making the assembly level. Then secure it in place.
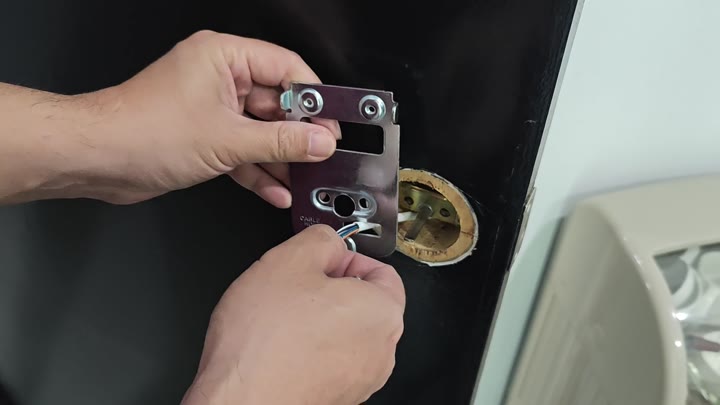
The metal latch assembly is held with screws that is tightened using a screw driver. At this point you can see the innards of the thing and there’s a little white connector on the wiring.
Just tighten all the screws that hold the inner parts in place and then attach the ribbon wire. This is pretty easy too, just stick it into the electronics part inside. It snaps into position well, connecting the keypad to the locking mechanism.
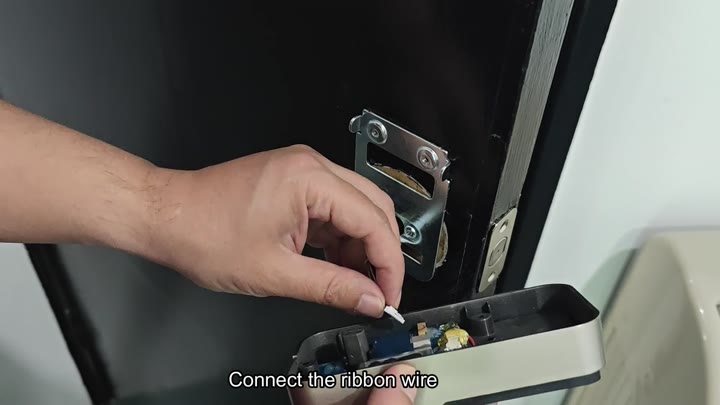
This step is necessary for the two systems to talk.
On the side of the battery compartment there’s a rotary dial that lets you choose between three setting: H, M and L.
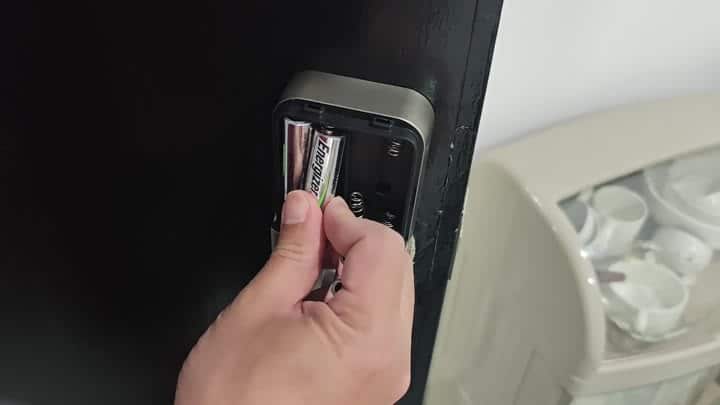
Pull out the yellow warning sticker inside, which contains some safety info about power sources. It’s all pretty simple: just select the high setting, since it’s what works best for you. Insert two Energizer AA cells in the compartment. Use standard batteries to power it, and voila, the device lights right up.
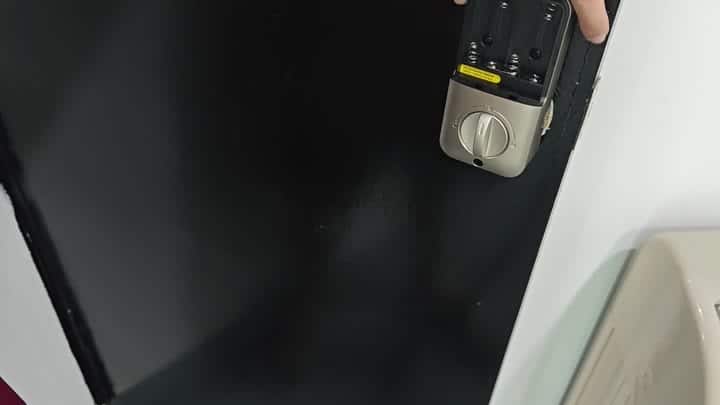
The system is ready to go because the power source is connected.
Once you connect your power source, it’s game on.
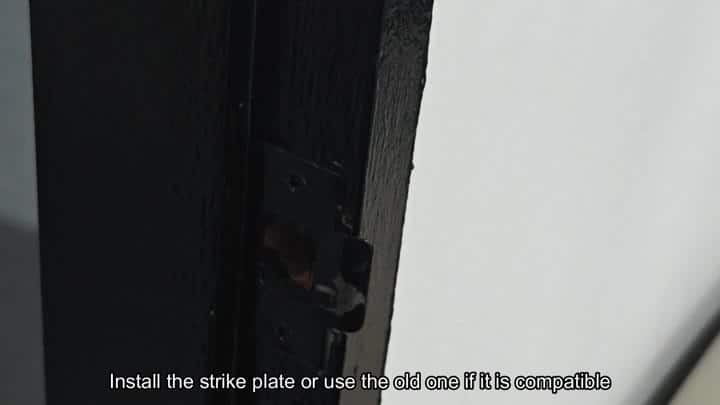
The last part of the assembly is the strike plate. On the side of your door you install the silver metal piece with three different hole (one octagon and a circle). Firmly screw that thing in and you’re done!
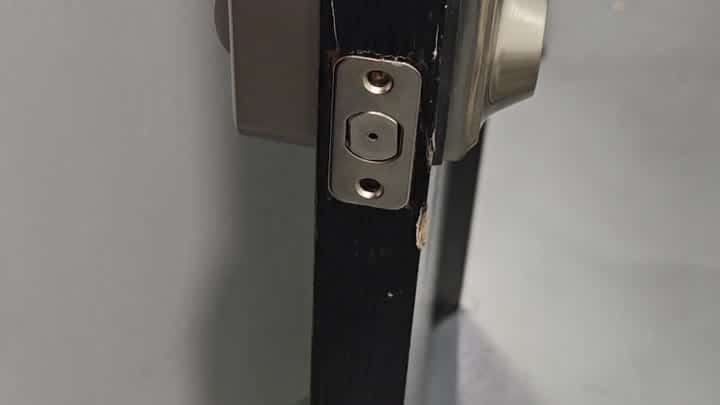
On the door you see the sleek-looking keypad deadbolt with a numeric pad atop the key cylinder. Verify that your existing strike plate will work and you can use it (or not). If it doesn’t fit, you opt for the new hardware for a nice clean look.
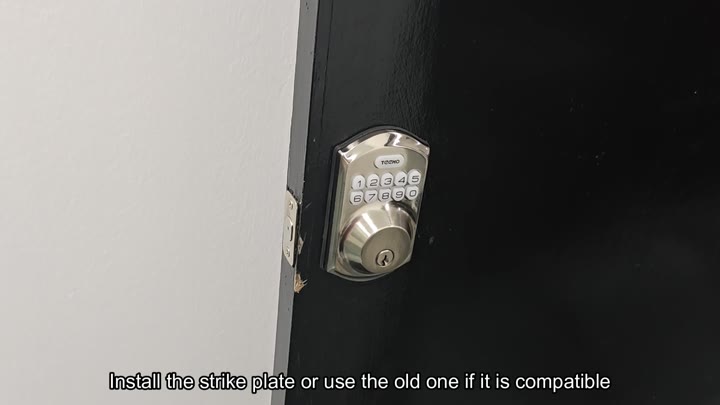
You can see that the latch comes out far enough to engage with this new strike plate. The metal also snugly meets up with the door frame itself, leaving very little space in between. It operates smoothly, too, especially when locked.
It’s nice and snug, which reassures you that the hardware was positioned properly. Then you test out the locking feature, and your keypad is immediately responsive to any button presses.
Your physical key turns the cylinder just fine too, so all good there. Installation is done! It was totally worth it.
