
Be careful when you crack open the Roku Voice Remote Pro: It’s been tightly sealed. On its underside are various regulatory markings (such as an FCC ID or a UL logo). There is also a “Made in China” sticker and the remote’s model number, P23-857-000C.
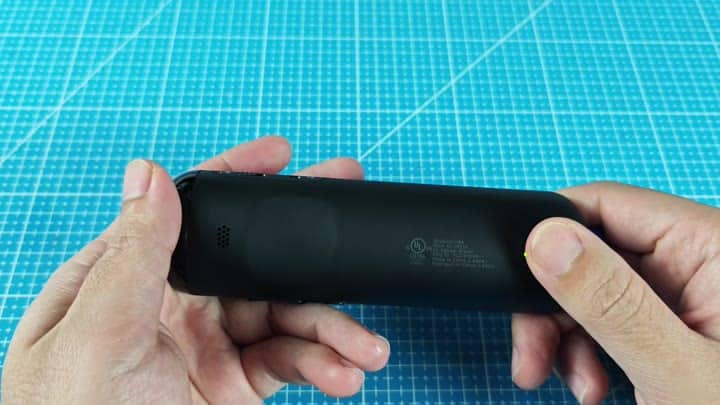
This doesn’t help in taking it all apart though. The back pops off with some effort as there are two sets of clip that hold the back half on. It’s also best to be gentle so you don’t crack any plastic as you go around the seams.
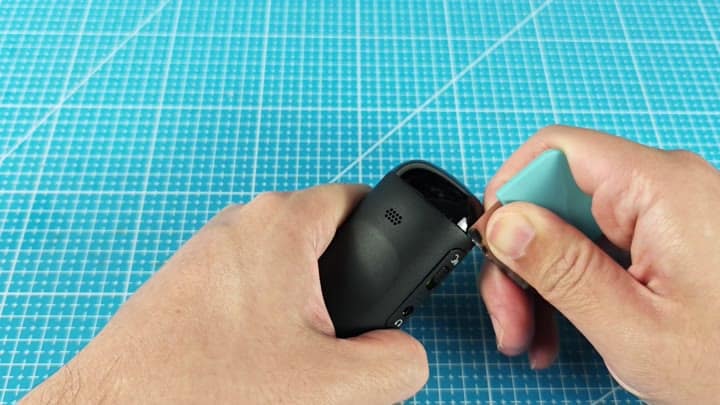
Use a plastic pry tool to start in the little gap at the bottom where the buttons sits. Be careful here, you want to start opening up the casing just enough that you can then rock it open a bit more. It won’t come apart by just pressing on the device. Once it’s separated, the inside parts will becomes visible.
Internal Components and Construction
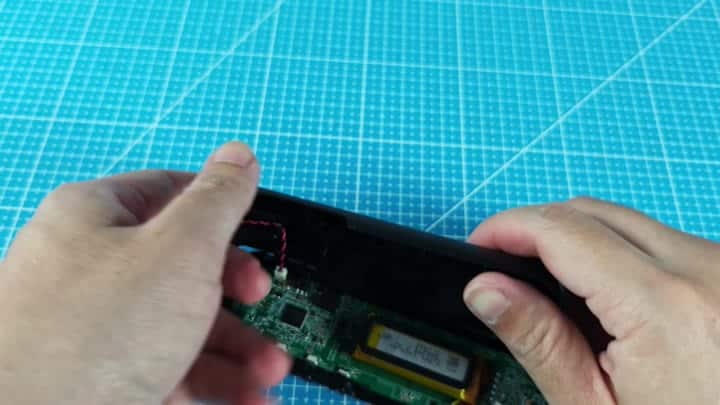
Inside is dominated by a green circuit board, with a yellow battery perched atop it. The battery name says 3.7V 100mAh, that doesn’t sound like much power for a remote like this. It’s held down with some adhesive strips, so be careful opening it up (and use a cutting mat underneath just in case).
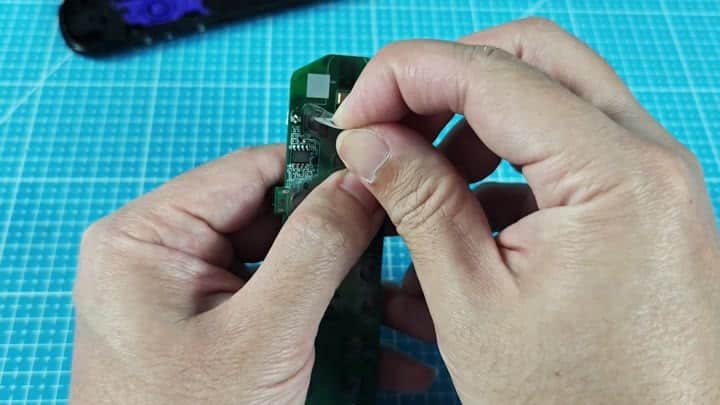
So what’s going on here? Well, the unit was sealed by the manufacturer, which explains the tight packing. Transparent adhesive tapes holds small chips in place to prevent movement.
There are no screws to remove, that’s not very repairable. Everything is clipped and glued together, making it hard to replace a broken button. It wasn’t made for you to fix yourself.
It turns out that tearing it apart is more difficult than just taking it apart. There’s very little internal wiring, and nearly everything are hard-wired to the PCB. Most everything is actualy soldered straight to the board instead of being connected by a ribbon cable.
I suspect the battery is also glued into place, which would of make removing it even more destructive to the case. That’s what happens when you build electronics nowadays. They’re solidly built… But they’re not meant for service.
The buttons are plastic with rubber dome inside them and the plastic caps push right on top of some conductive traces. If one of those breaks, it’s game over. And good luck fixing it. That’s a mistake in terms of long life.
The chips themselves are incredibly small these days. Looking at them up close makes that clear. That’s great for packing a ton of power into a small package. Sure enough, you’ll fit this remote right in your hand without any issue.
Unfortunately, that also means it isn’t as easy to take apart or fix if anything happens. You’re not going to be able to swap out individual pieces should something break, once it’s broken, it’s trash.
You can take it apart, but then putting it back together again could prove difficult. It has some sort of alignment pin system which requires everything to line up exactly right… One wrong move and you won’t get the case closed. The clips held up well when opened. The battery stayed put too.
Turns out the design is geared towards performance, rather than maintenance. It’s made from typical consumer electronics parts like a lithium polymer battery, a green PCB, and a plastic casing.
While the company can manufacture them efficiently, they’re hard for you to service. If you’ve got steady hands, you can handle the board, but a single wrong move could snap off a trace. The glue isn’t permanent, but is strong enough to be removed with patience and some heat. But for a simple curiosity project, it’s just too risky, so maybe stop here.
This is where it gets interesting: It’s educational. You get to see how all the tech fits together.
It does work great until it doesn’t, at which point you’re left holding a non-working device. Yes, that’s the trade off for a sleek design, and it’s far different than previous generation remotes.
There’s no economical reason to purchase spare components, the value of the remote isn’t worth the price of labor. The new model is to replace rather than repair. For most people this is fine. They will deal with the limits of sealed devices.
