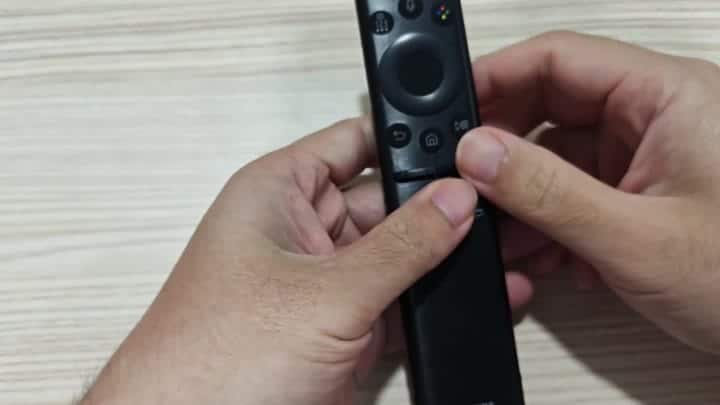
At first glance, you might think that something is wrong with your Samsung solar remote: maybe it didn’t pair correctly? Well, go ahead and unpair and re-pair the remote with the system… Reset everything completly. Chances are, that won’t work either.
That’s because nothing will come up on the software side; the battery icon stay stubbornly blank. So how about we take a closer peek into hardware? Gently remove the casing from the rear of your remote and examine what’s inside.
Diagnosing the Hardware Issues
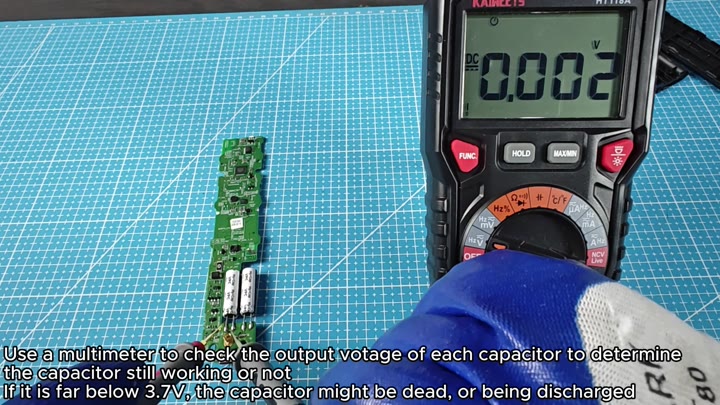
What you’ll likely see are two 3.7V capacitors. This remote use only those capacitors as its power source.
If you have access to a multimeter, try testing the voltage from each part. Take your probes and poke around in the terminals of the capacitors. What you’ll find is that their readings will likely show much less than the rated 3.7V.
That would indicate that the capacitor is dead or entirely drained of its juice. If it show some voltage but very little, that’s not great news either. This indicates that the part isn’t holding a charge anymore.
If that’s the case, then measure the capacitance and see if it match the value listed on the capacitor. If not, well… that explains a lot!
Before measuring the capacitance, always first connect a resistor across the capacitor to drain its charge safely away. Next, set your meter for capacitance measurement. Match whatever number your meter reads with what’s marked on the capacitor. It might be way off. Zero? Yep, it’s dead. Time to replace it.
The other thing that might jump out is that despite being plugged in via USB, the remote still shows no solar function. Not only is it the storage capacitors then, but something else are wrong with the solar panel itself.
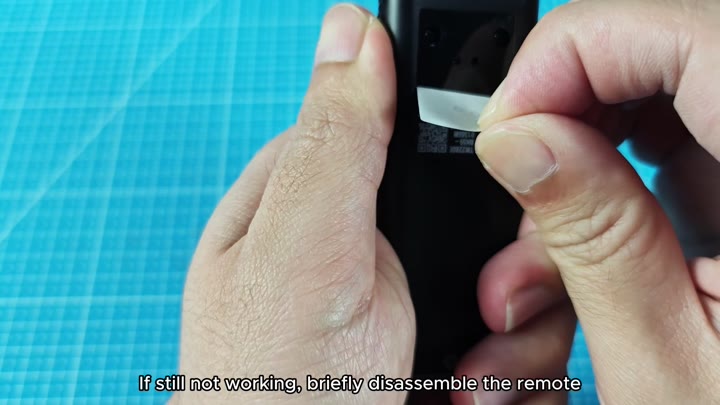
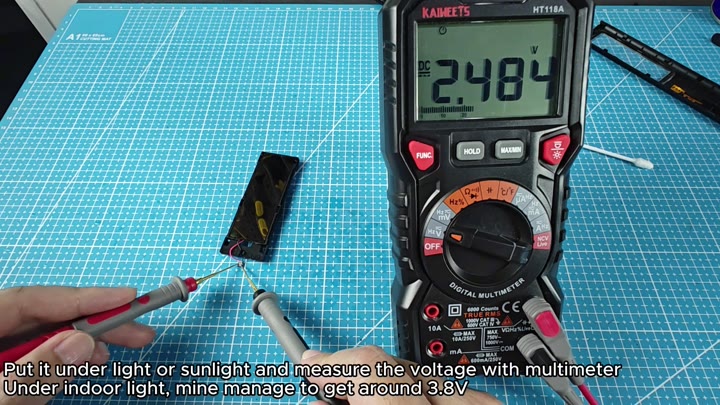
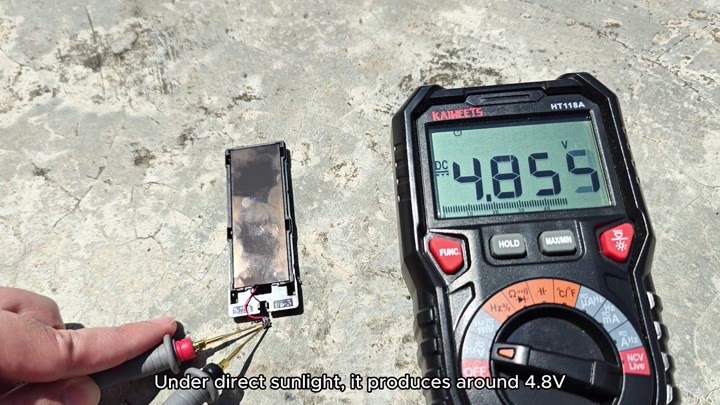
Hooking it up to a light source and measuring the voltage will show whether or not it has sufficient output. Under indoor lighting, it puts out around 3.8V which sounds fine. But outside directly in sunlight, it’s putting out low voltage. No good voltage in bright sunlight indicates either a bad panel or dirty contacts.
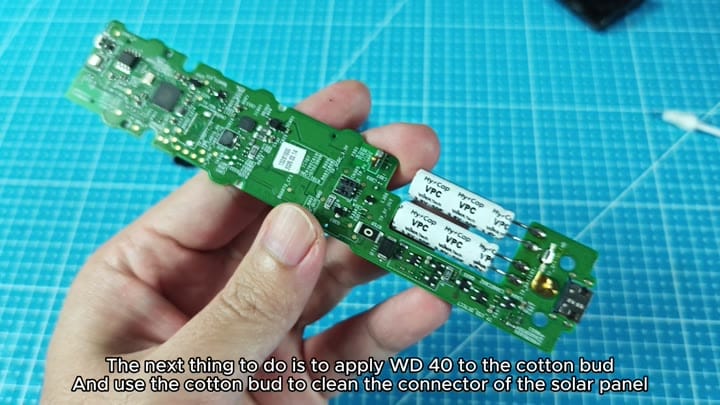
Firstly replace the capacitors if necessary but do ensure that you give the contacts a good clean first.
Use a cotton bud with a small amount of WD-40 on it. Then, just wipe gently around the connector contacts on the circuit board for your solar panel.
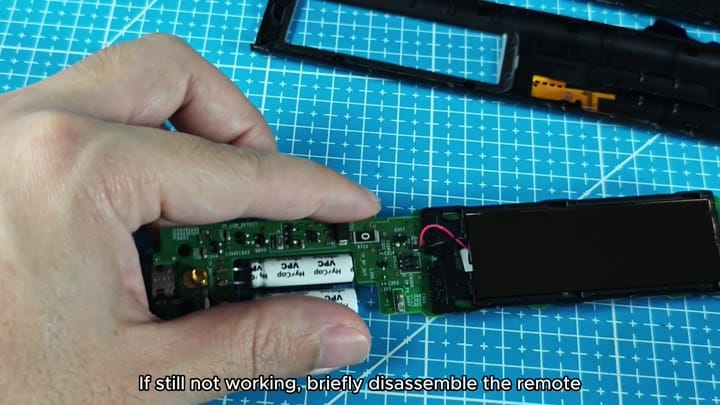
Grime and dust can accumulate on these over time. Often this can be enough just to get some conductivity back into them with a quick clean.
After removing the bad capacitors and cleaning the contacts, put the remote back together making sure everything is in its proper place. Re-pair the remote with your TV system. At this point, verify that it charges like normaly.
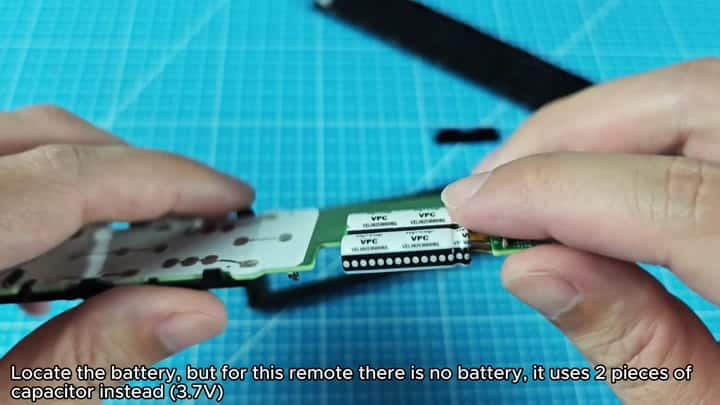
It’s a pretty simple repair if you know where to look. It require no fancy tools or anything just some common sense and some time. Now, it works exactly how it should of. Charging via solar rocks!