
The retail package is opened, and there’s the console inside. It’s hefty, solid to hold, and it makes you want to discover what lies beyond. You raise the lid and there is the black console snugly waiting for its new home. Next to it are the Joy-Con controllers, awaiting attachment.
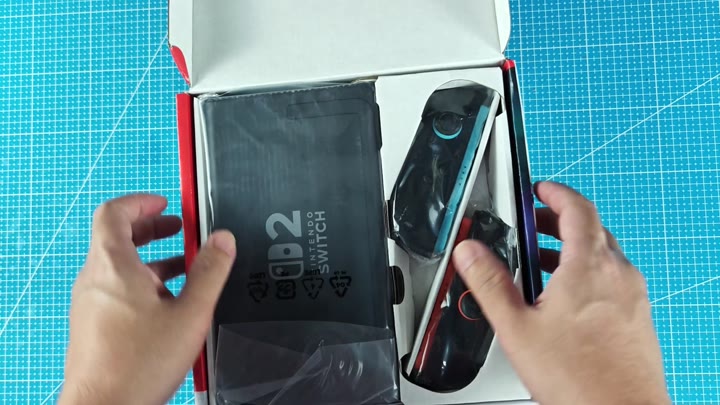
Here you can see how it feels in your hands.
Initial Setup Process
Holding the console up, you give it another inspection. It’s made of some sort of matte black material that feels nice in your hands. Turning it around reveals vents along the lower edge. On the back is the Nintendo logo, which seems simple and elegant. There’s nothing coming loose. It’s a solid-feeling piece.
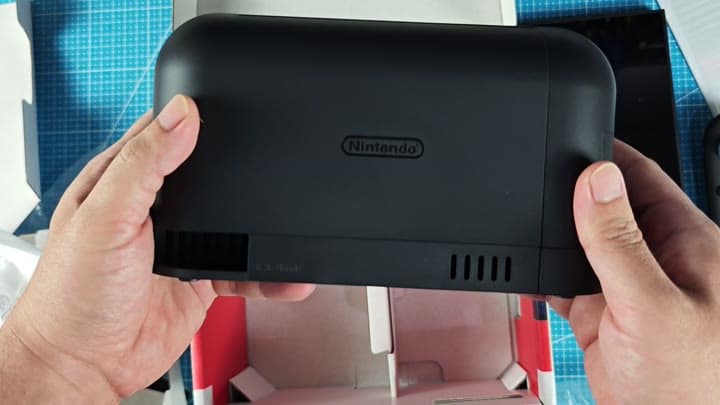
It is solidly constructed.
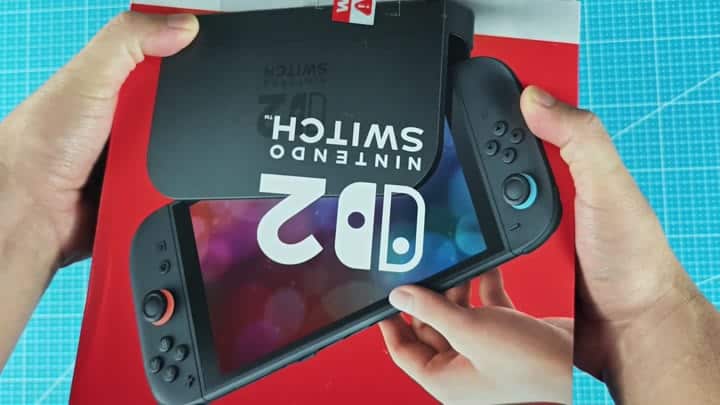
Hooking up the controllers couldn’t be easier: Simply slide the left Joy-Con home (notice the teal analog stick cap), then do the same with the right (with its contrasting orange stick ring). Lock ’em into place, flip the switch to turn it on and… Behold!
There’s your console. It’s a complete thing now. When powered up, the screen spring to life. The logo displays atop a colorful backdrop against the black body. Nice.
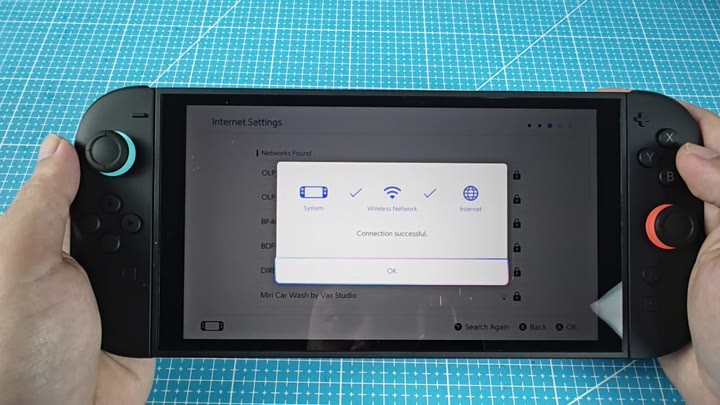
Setup starts right away, too. First you need to hook up to your Wi-Fi network. It will scan for available networks and just like that it connect with no fuss at all. Then you’ll see a confirmation message that it connected. That means the rest of the setup should of have no lag.
Now we’re configuring time zones. It will pick up where you are, and suggest Vancouver and Los Angeles for you to choose from. You do.
And at this point there’s a pop-up saying that it’s downloading system data in the background. Let it chug along as you proceed to the next thing.
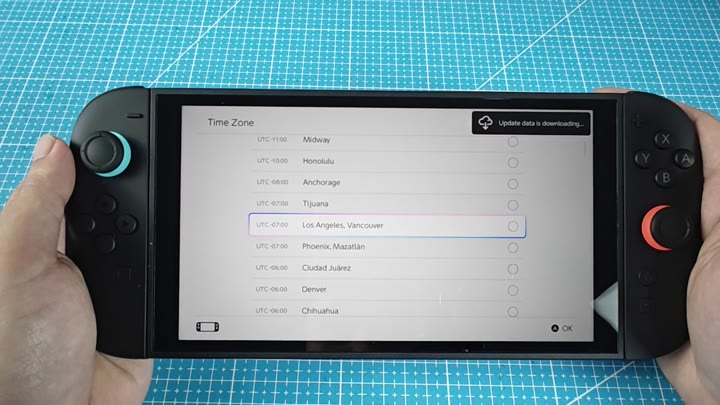
That makes it easy to multitask.
Now, you’re told about how to disconnect the Joy-Con (and decide not to do it just yet). The screen says: Pull the controller to the side and hold down the release button. OK, so you’ll get to that if/when you want to play with one or both as separate controller. Until then, leaving ‘em connected seems like a better bet. No point in risking losing ‘em.
Next, we create a user. We choose Mario as our avatar and type in “mike” for our username. After doing so, the system tell us it will add the user to the console. We hit OK to complete the profile setup. It’s simple enough and doesn’t require you to dig through any complicated menus.
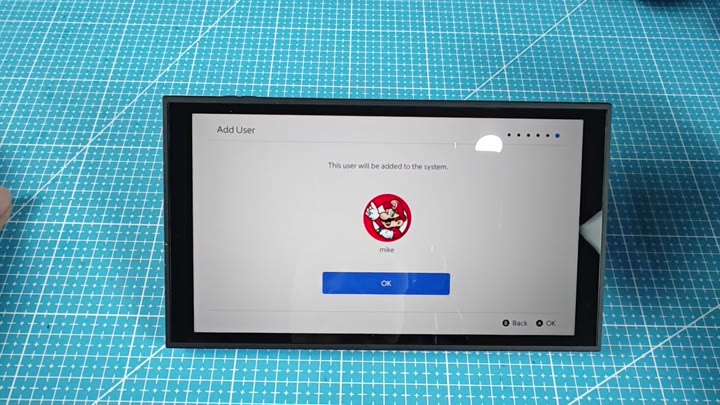
Then you’re ready to finish the other setup tasks in no time at all. Everything else gets processed by the system, updates get downloaded, and then there’s that progress bar filling up. It goes faster then you’d expect.
And then it’s over. A big “Setup complete” message pops onto your screen.
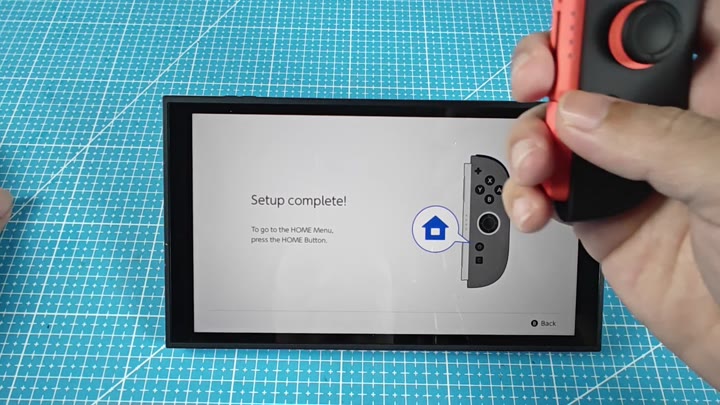
It instructs you to go to the main menu by pressing the HOME Button. After you find it… It’s on the right Joy-Con, you hit it. Up comes the home screen.
And you see those empty game card slots. Along the bottom is a row of system application icons, like settings and the Nintendo eShop. Your library is there against the clean, light gray background.
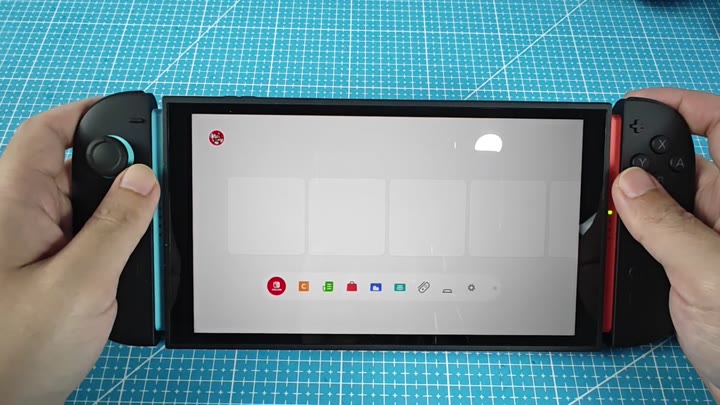
Now go play with it.
