
First, shut down system entirely. From the power menu, tap Sleep Mode (it should be totally black with no screen). Lay it facedown on something flat based off a cutting mat.
It’s harder to get edges aligned if there are images on the screen, which is why turning it off is helpful when lining up the protector.
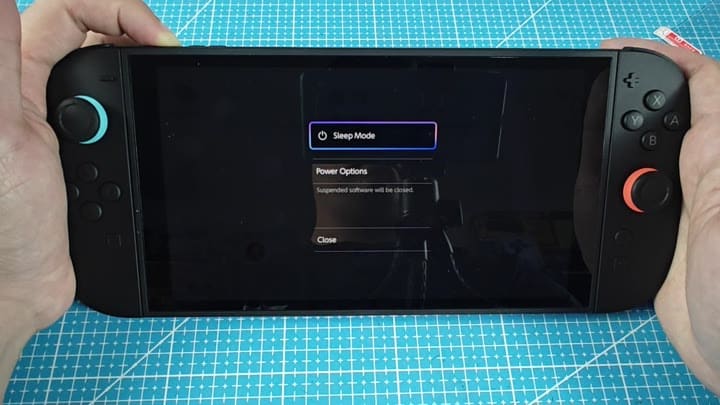
Using sleep mode prevent dust from settling while the display is glowing.
Preparing the Screen Surface
Clean the surface thoroughly before you touch the adhesive side
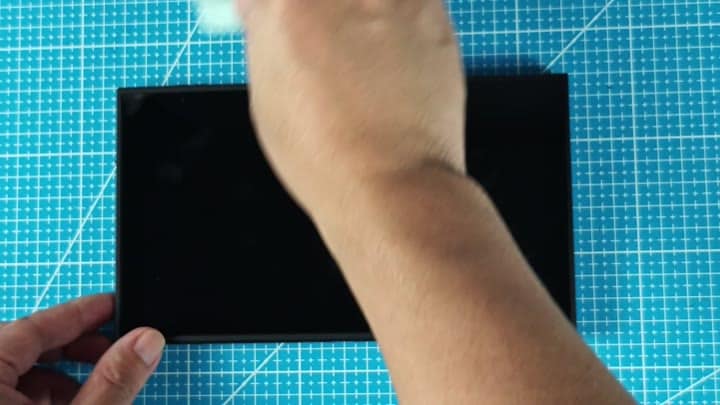
Before you even think about touching that sticky part, give the screen a good cleaning with a lint free rag. Clean all over the face of the screen.
Any little bit of dust or fingerprints will gets caught under the film. You want to go over the screen several times just to make sure. Skipping this step result in gaps/bubbles.
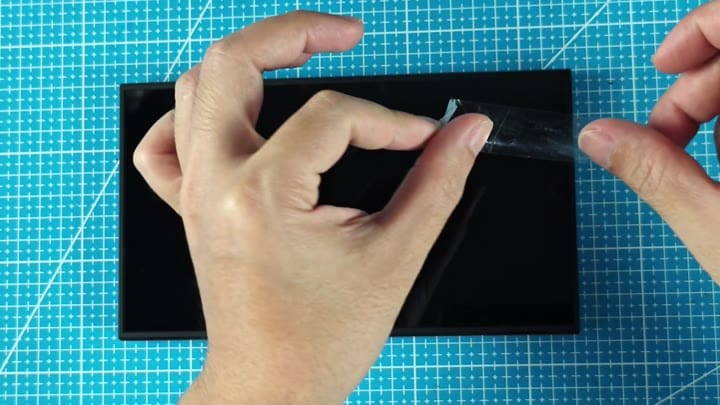
Then there’s the clear plastic layer on top of the adhesive. Carefully, you peel it back, but you don’t touch the adhesive.
Pulling it back slowly, you locate the corner, then you rip it free in a single motion. Your hands is rock-steady as you do this.
You only touch the non-adhesive parts with your fingers. Oils from your fingers will mess up the adhesion, and you’ll want to hold the thing by its corners.
With careful hands, line up the protector on top of the Switch 2 screen. Hovering it over the Switch lets you make sure everything line up properly. The bezels is slim and any misalignment will appear sloppy. Hold it just right until you feel certain you’re in the middle.
The other thing you do is place your hands to each side and let it drop.
Gently lower the protector onto the screen. To do this, start by placing your hand on the left side (to anchor) and then very slowy slide it over to the right while gently pressing down.
It’s important that you roll it, as this allow for natural air escape. If you simply slap it down, bubbles will most often accumulates. Use a smooth motion.
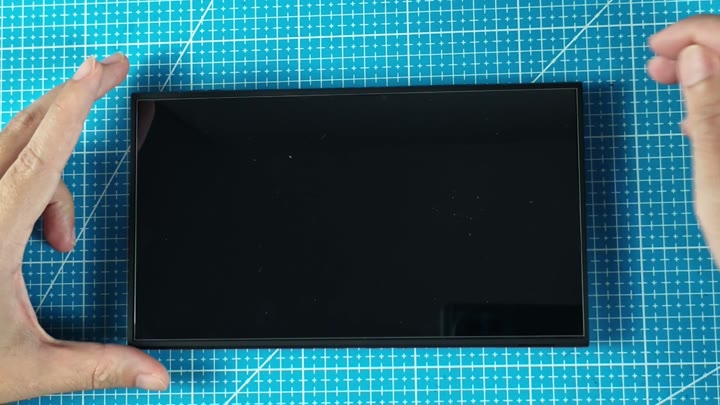
Now, run your thumb over it once you’ve got it in place. Make sure all the edges is stuck down nice and tight. Make sure there are no gaps for dust to get through later.
Is there still some air in there? Most of those would of settled themselves out. Static cling is a part of the actualy protector which helps with this step as well.
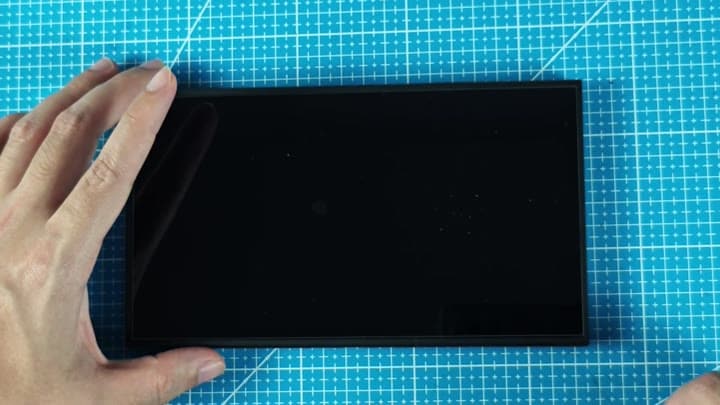
Now you’ve got a crisp clear screen. No misalignments, no annoying bubbles. Everything went well. Those accessories can be difficult sometimes, but not this one. You’re all set.
I’ll tell you what: Placing the official protector was not as traumatic than I had feared. You clean everything, align it, and take your time.
You don’t rush the placement and you definitely don’t rush peeling it off. By following the directions to the letter, you’re left with a perfectly clean screen. Congratulations, your Switch 2 is ready to game.
