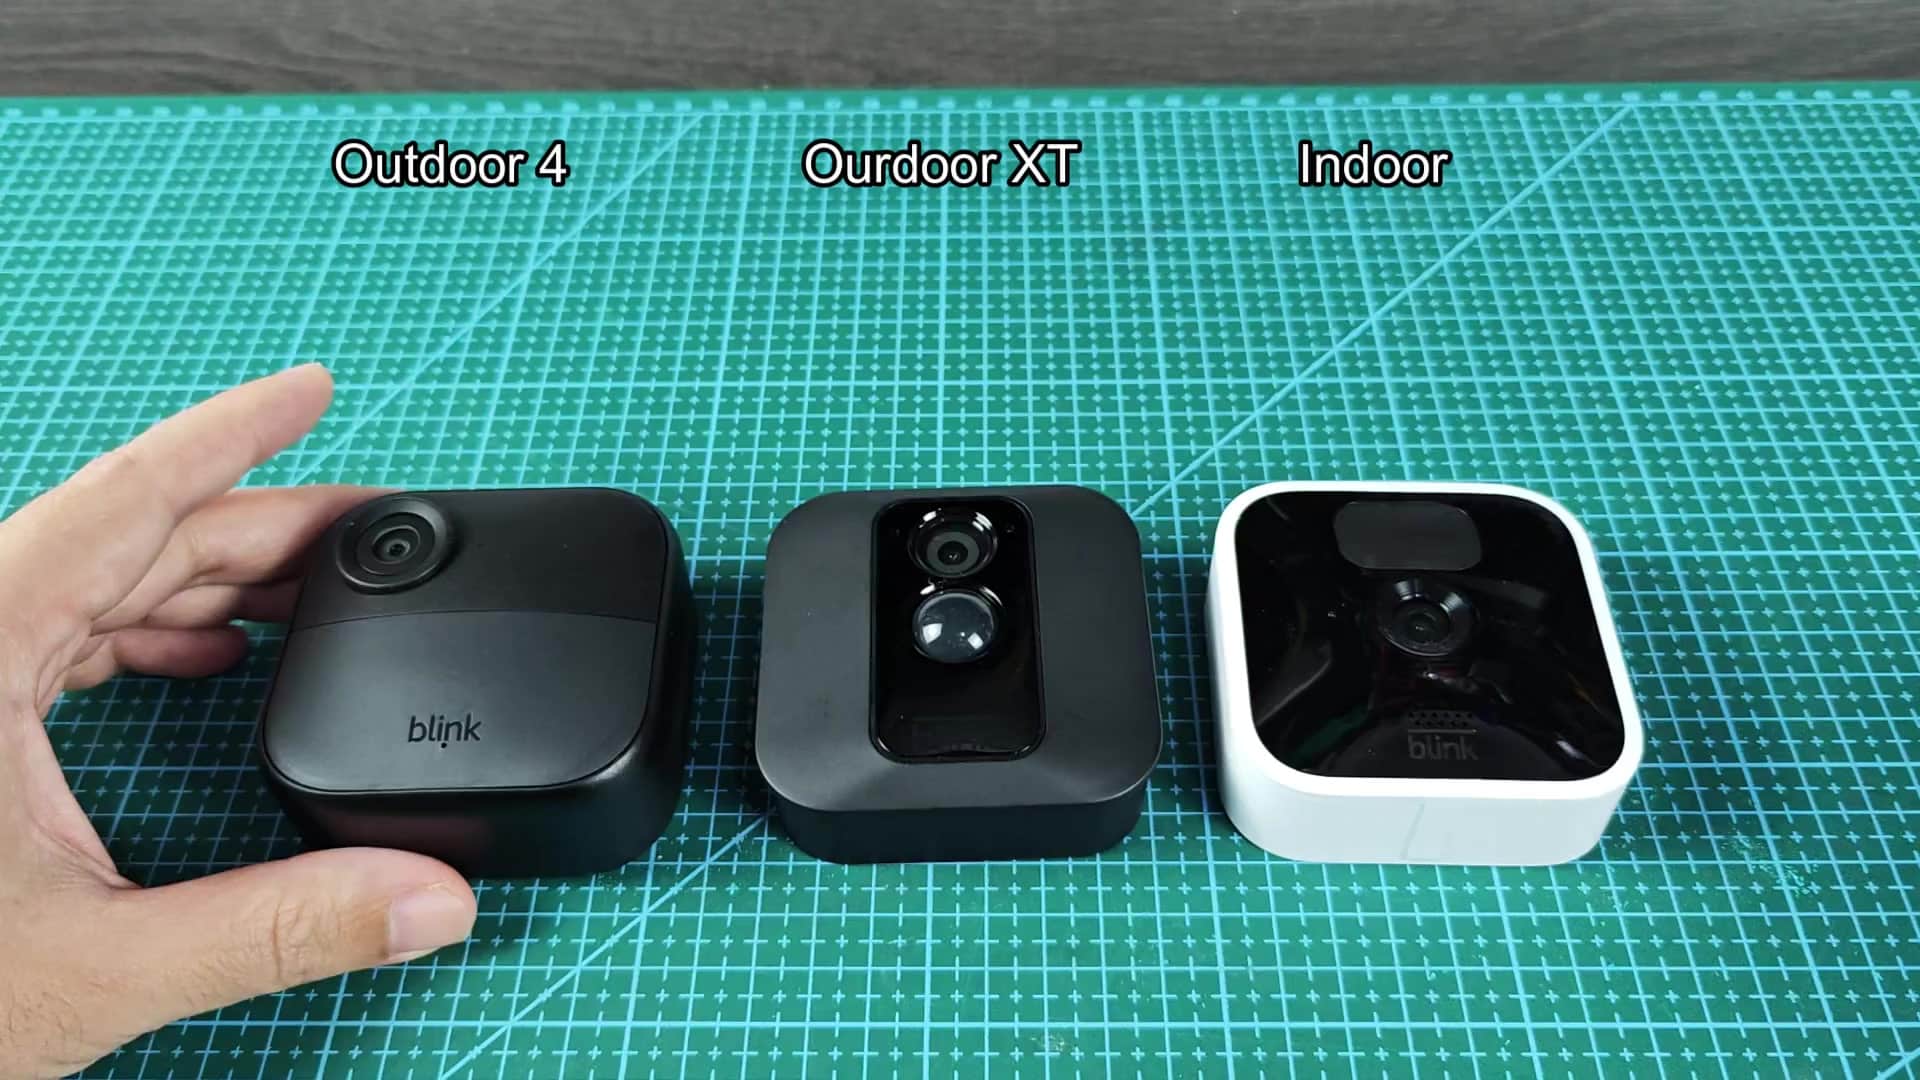
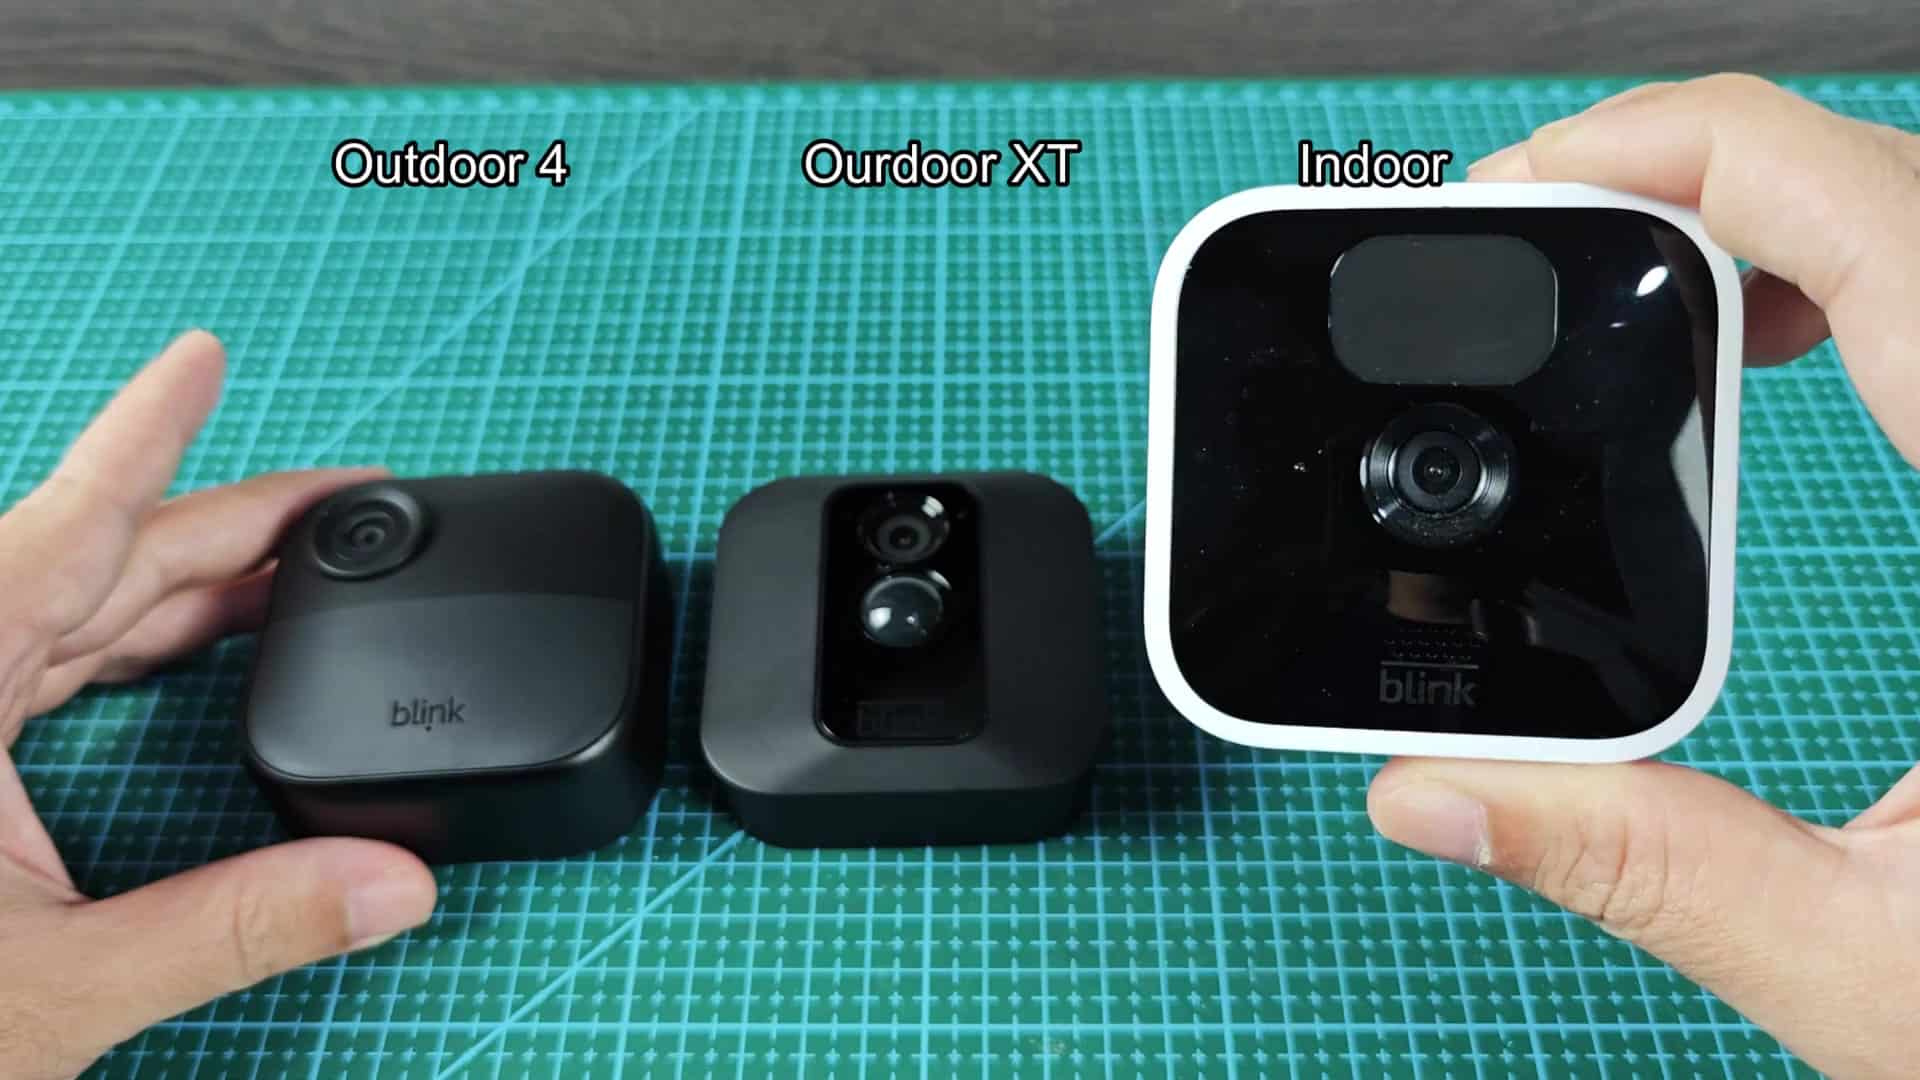
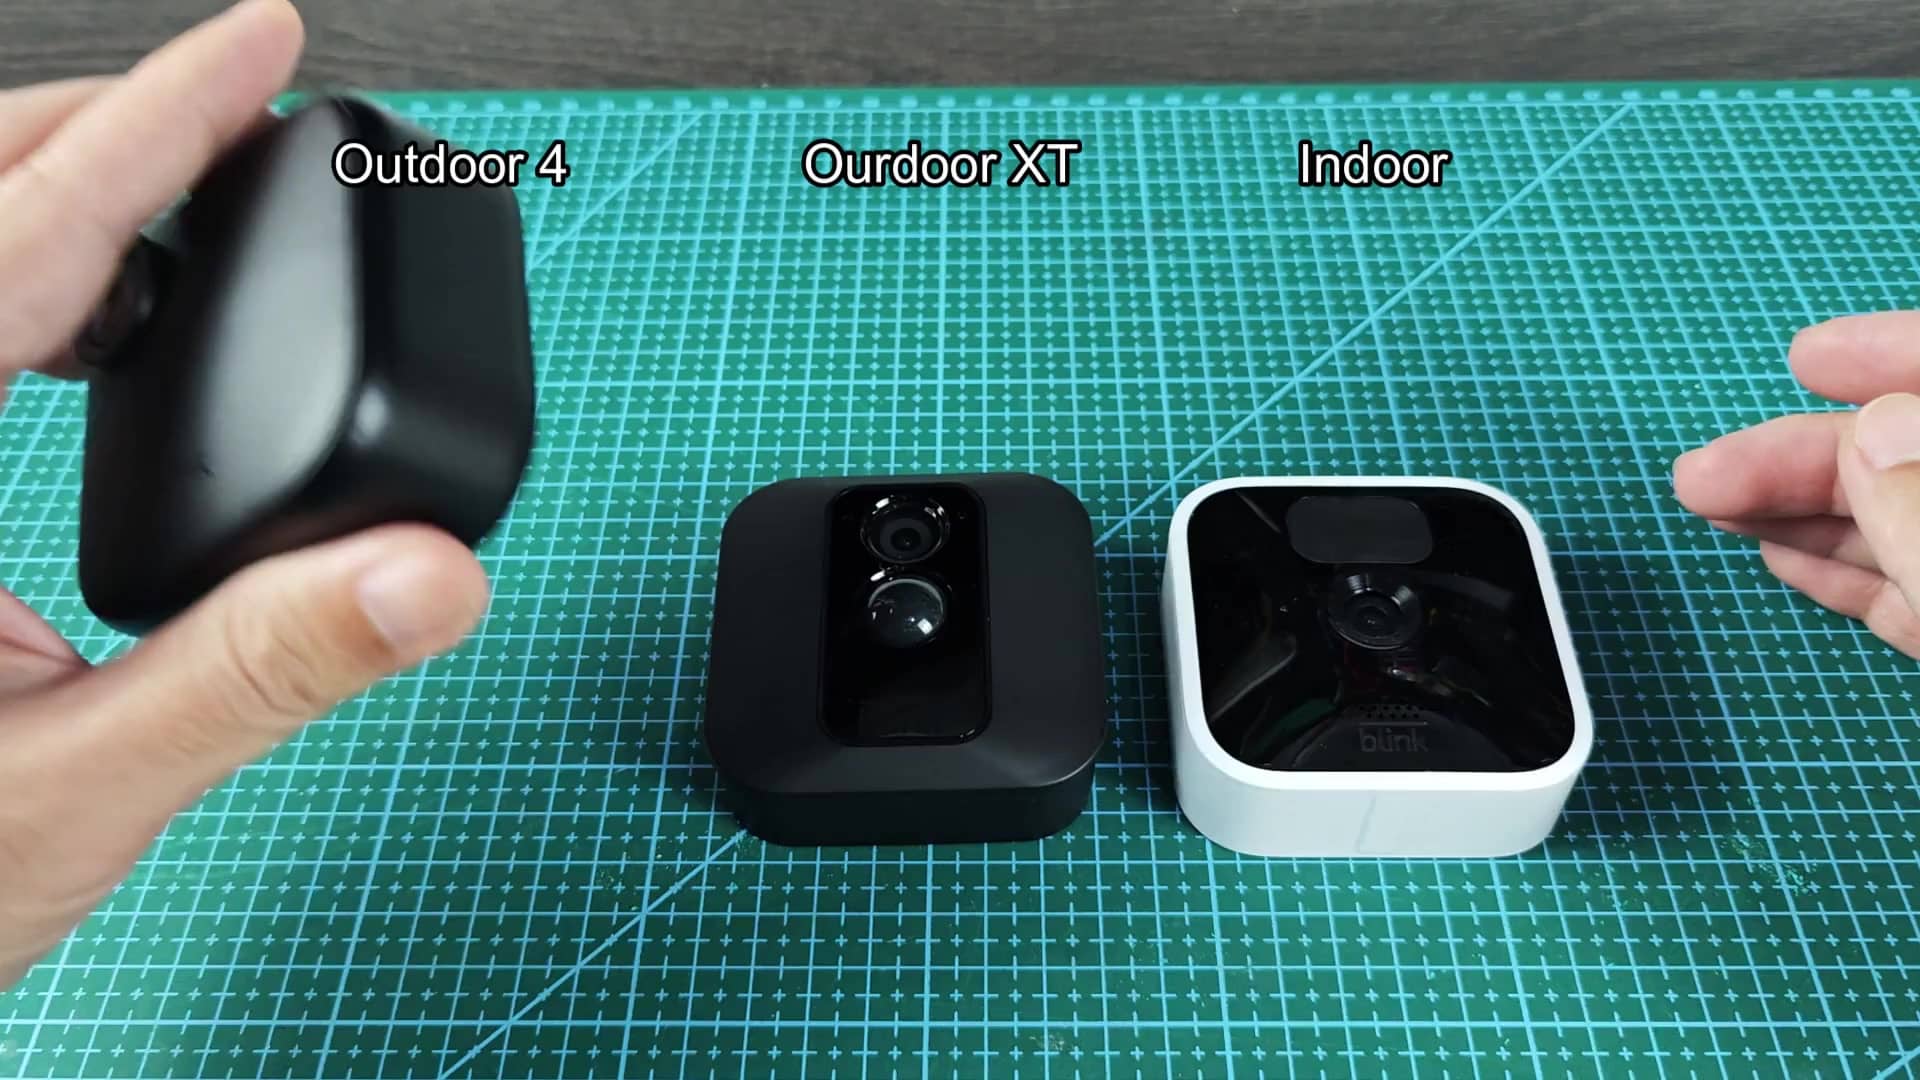
If you’re looking to reset your Blink cameras and sync modules, it’s actualy pretty easy, provided you know where to go. There are three models of camera that you can try out to make sure you’ve got the hang of things. These are the Outdoor 4, the Indoor, and the XT Outdoor models. Depending on the model, they has a bit different setup in terms of getting them into pairing mode. It involves some patience, but it’s the same across the board for each one.
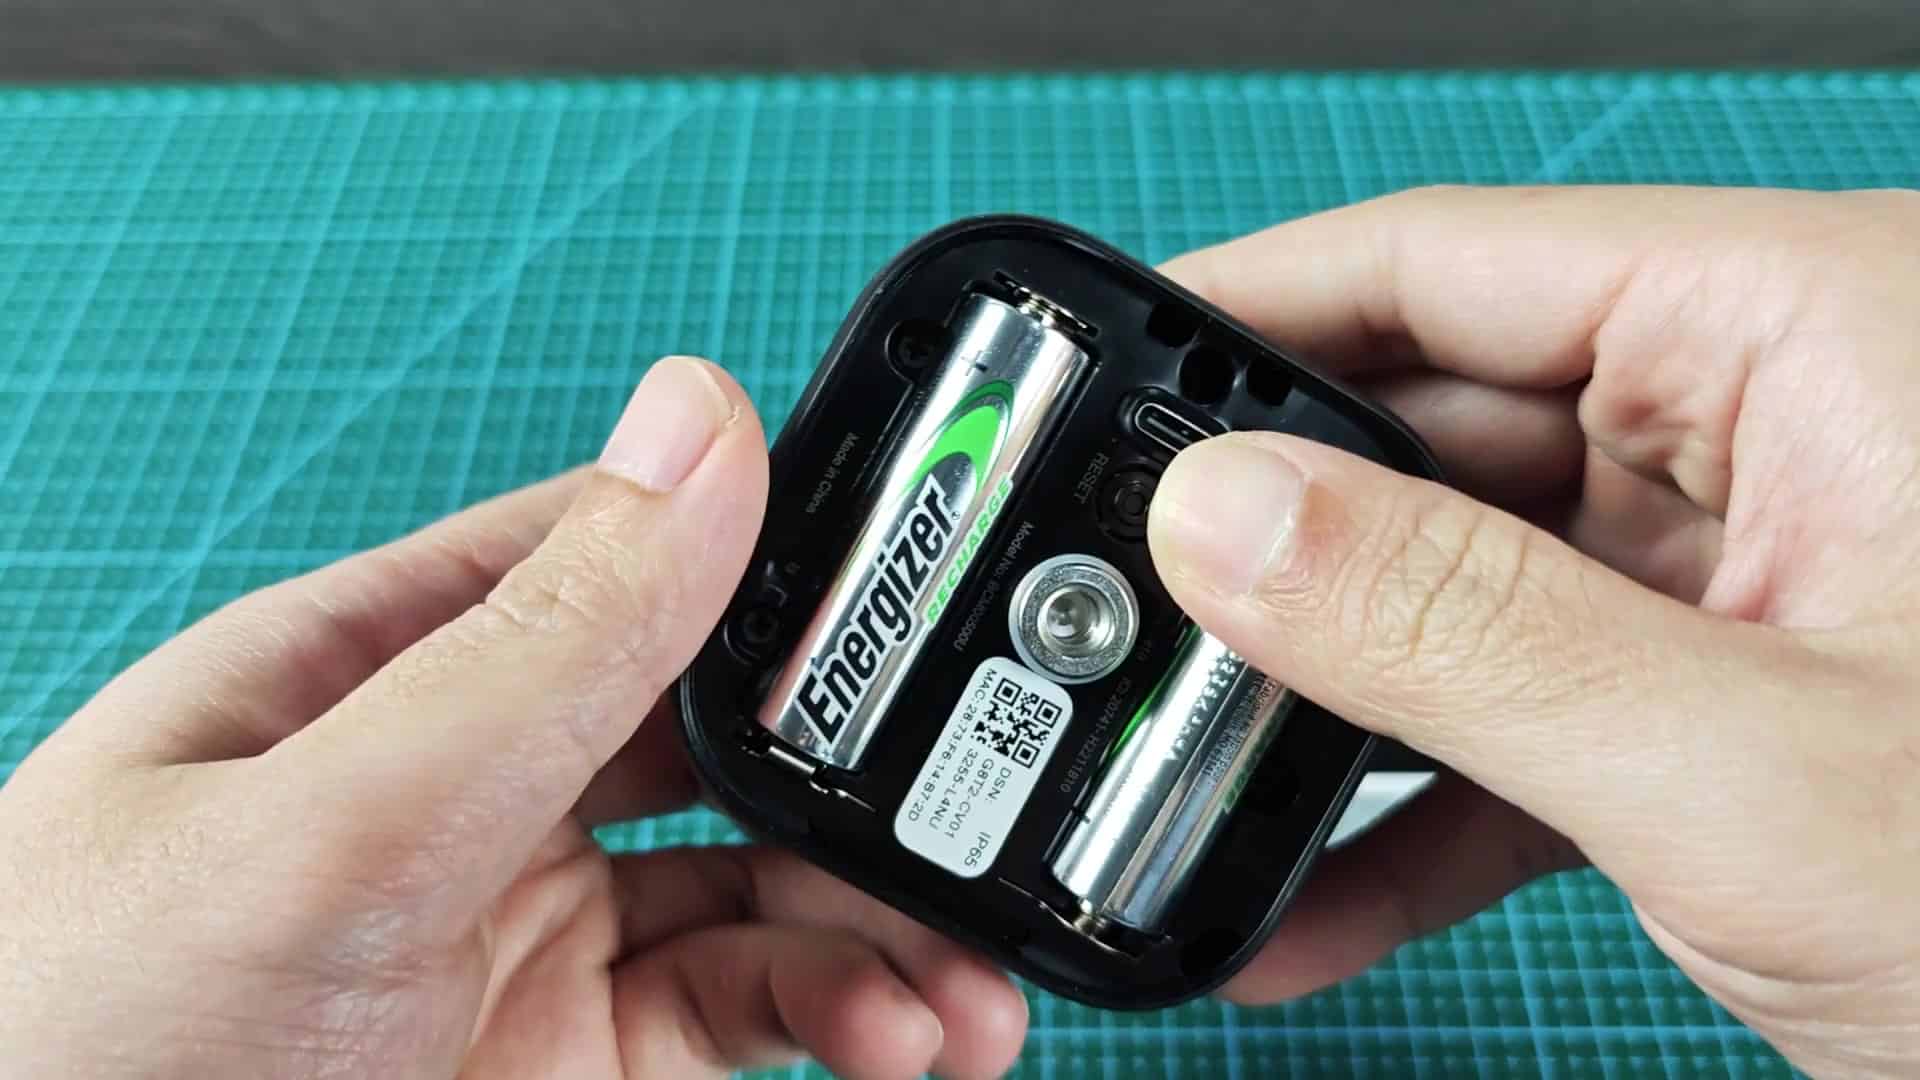
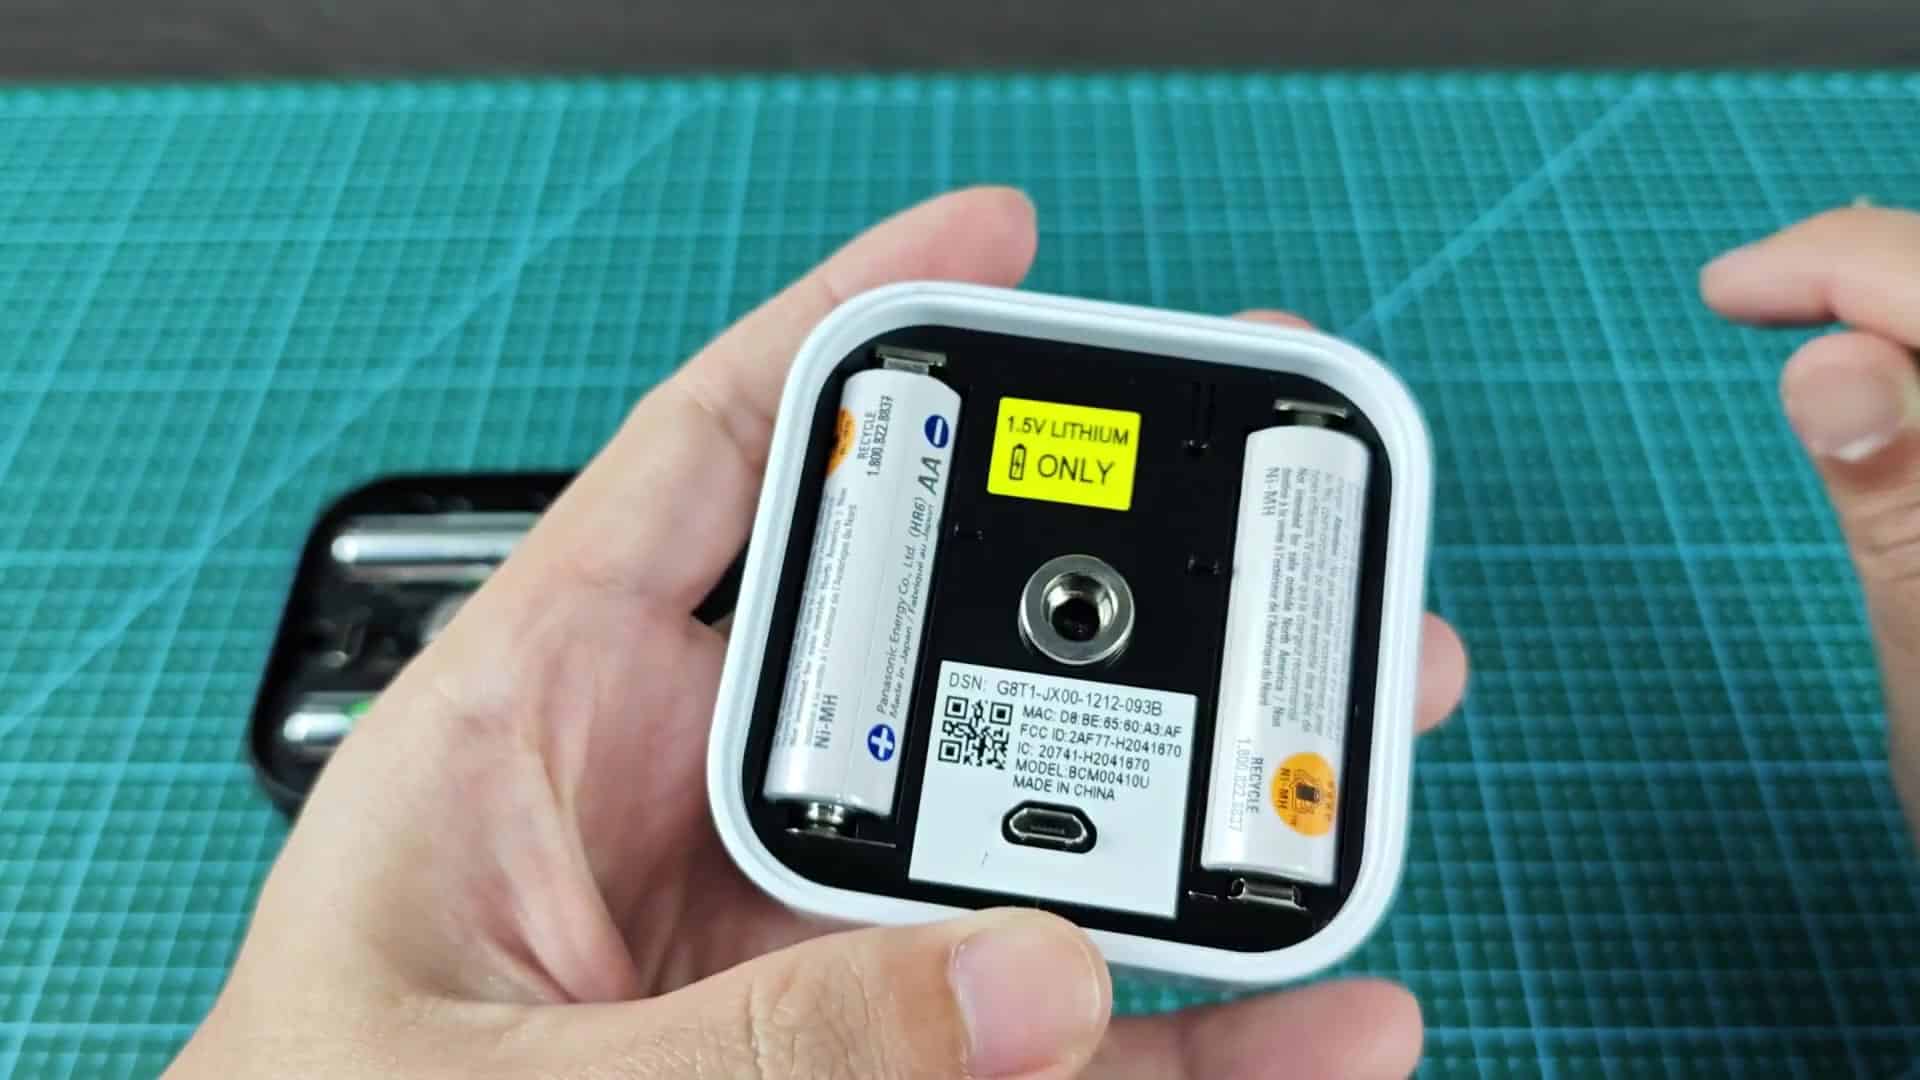
Its no-frills design makes it easy to manage. Simply open up the back panel and you’re greeted by the battery compartment right away. It’s powered by two AA batteries which are located just beside a tiny micro-USB port used to reset it. There’s also a QR code printed on the label. Several other bits of identifying information and codes is also there. As you hold the device in your hand readying for the reset, you feel like you have something strong in your grasp. No tools or fancy equipment needed here whatsoever.
Resetting Outdoor XT and 4 Cameras
The only thing you’ll need to do to reset it is find the tiny pinhole to the right of the USB port. Use that button to perform the factory reset and erase old Wi-Fi settings from camera. Once pressed, just keep your finger on the button until the system shows the request has been recieved. It doesn’t take long.
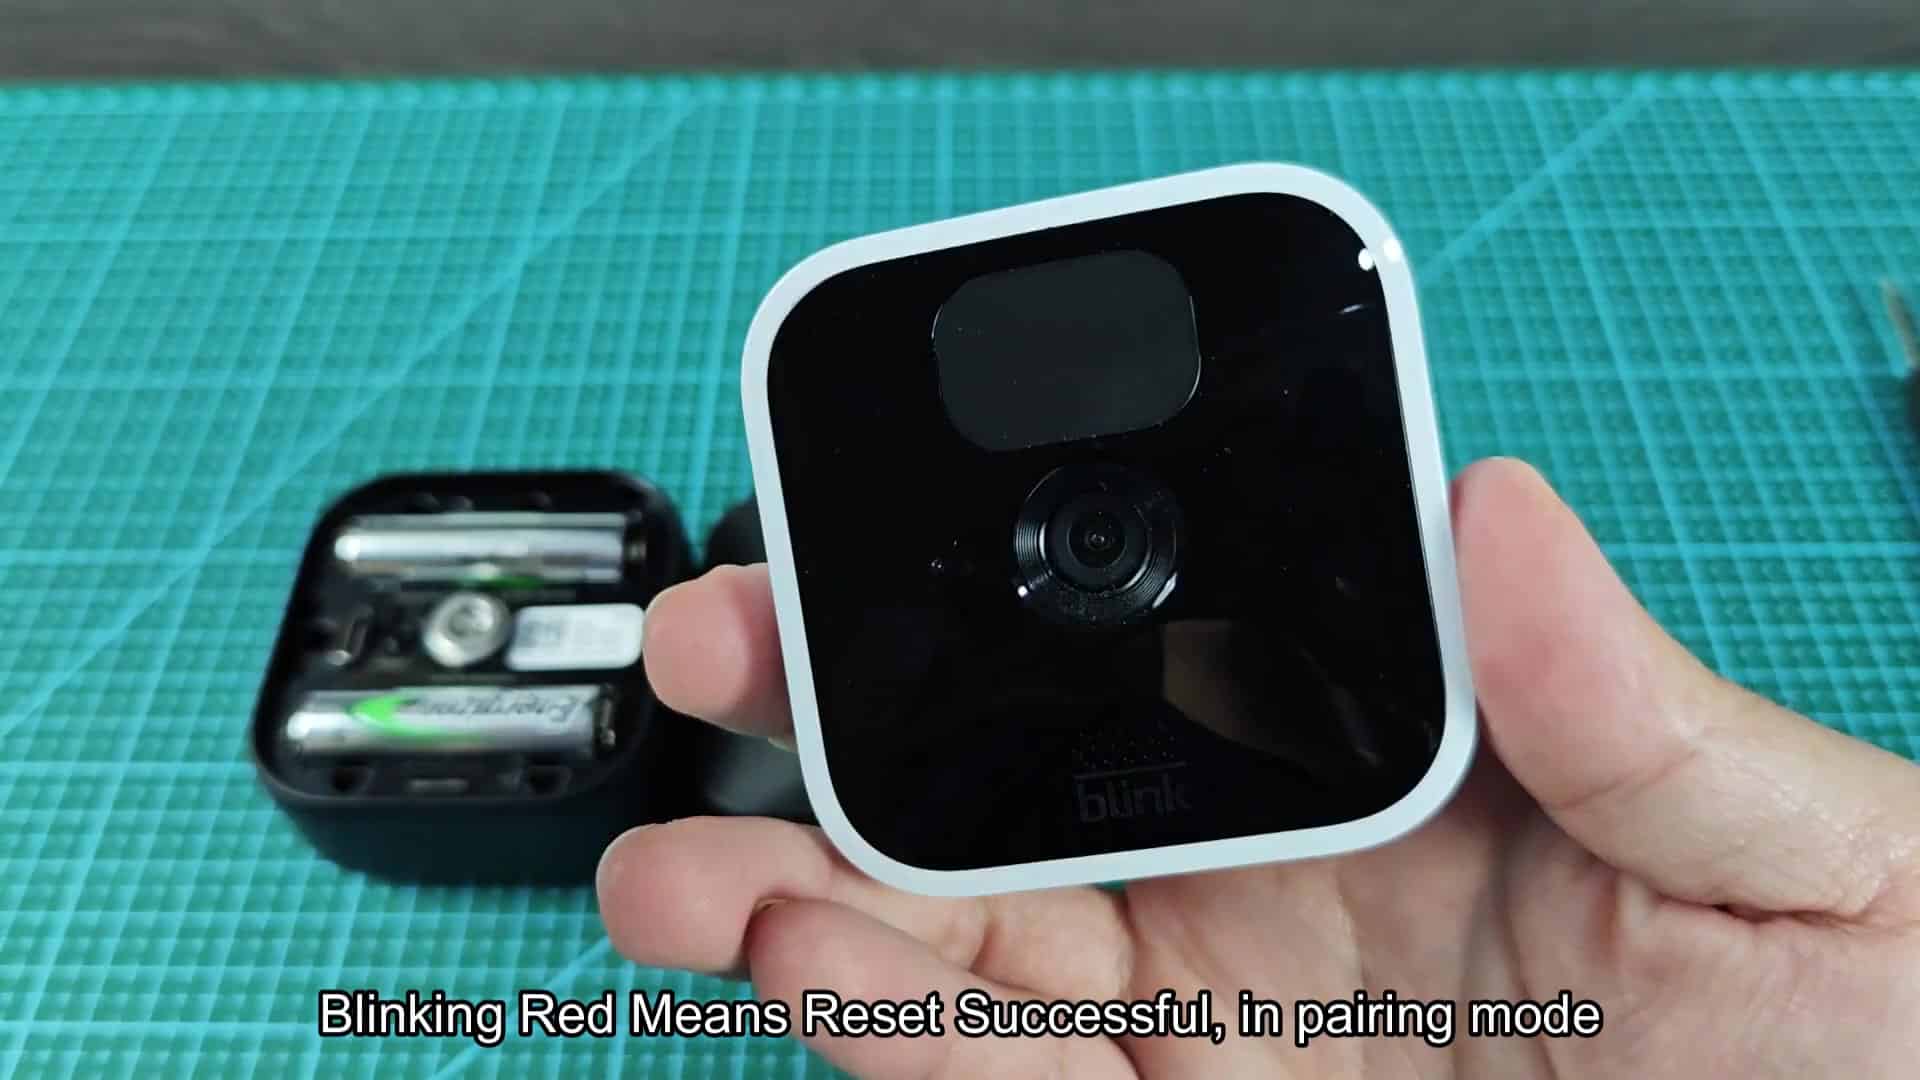
Blink kept things pretty simple with regard to the camera. The Blink logo is in plain view along with a single lens on the front of the camera. So there’s nothing cluttering the camera and it remains very clean looking. Even if you’ve never seen one before, it’s easy to figure out how everything works (physically speaking).
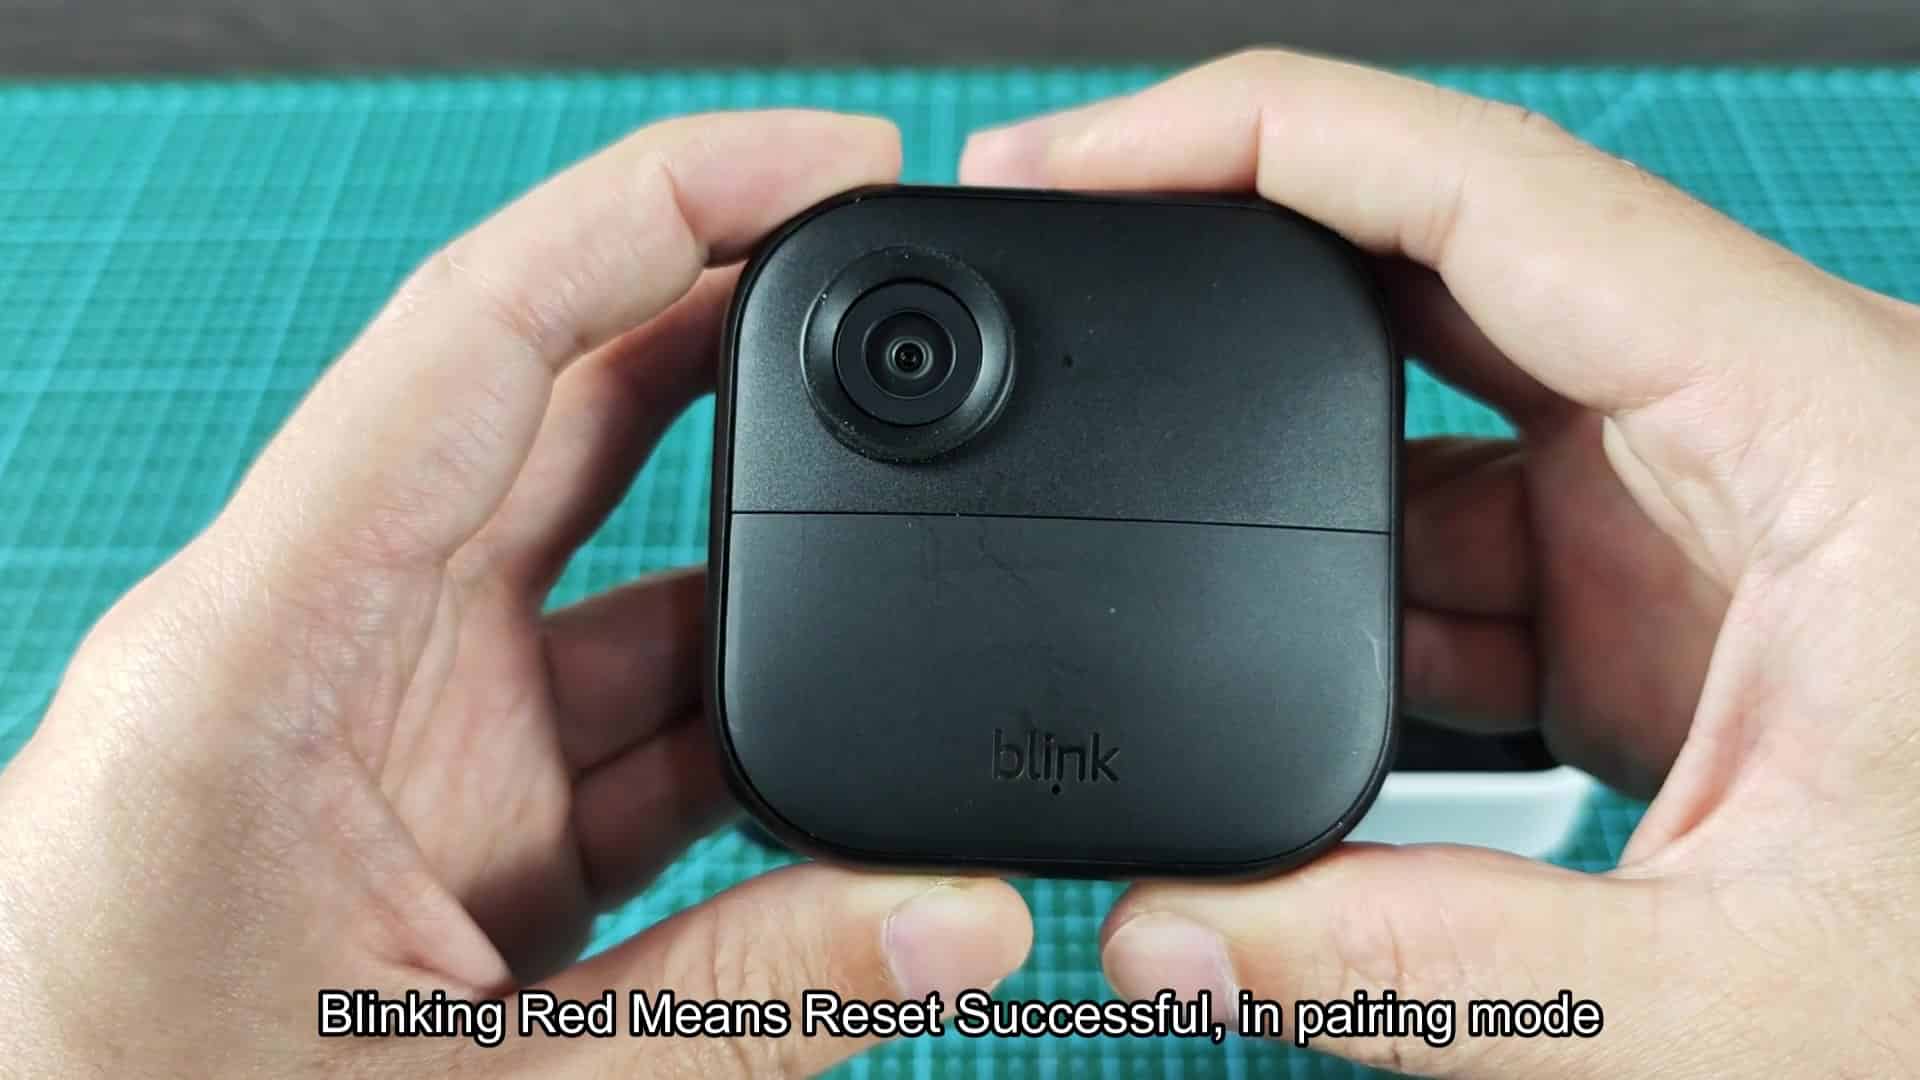
So you’re in pairing mode now, and a blinking red light tells you it’s good to go. That’s one of the things that helped. There’s no guesswork here because the LED changes patterns so you can see it’s been reset. From then on you just watch for the light to change again to let you know it’s up and running, no more waiting for your app to tell you it’s time to connect. It’s all right there on the device.
The process is very similar for the Outdoor XT camera, except there are a few slight differences. First, you pop off the battery cover which exposes two super heavy duty lithium batteries. There’s a yellow caution label that reminds you not to use anything different than 1.5V lithium cells in order to operate correctly. Below the batteries is the serial number and model sticker to use as a reference. As with the indoor unit, button placement are key to resetting this device.
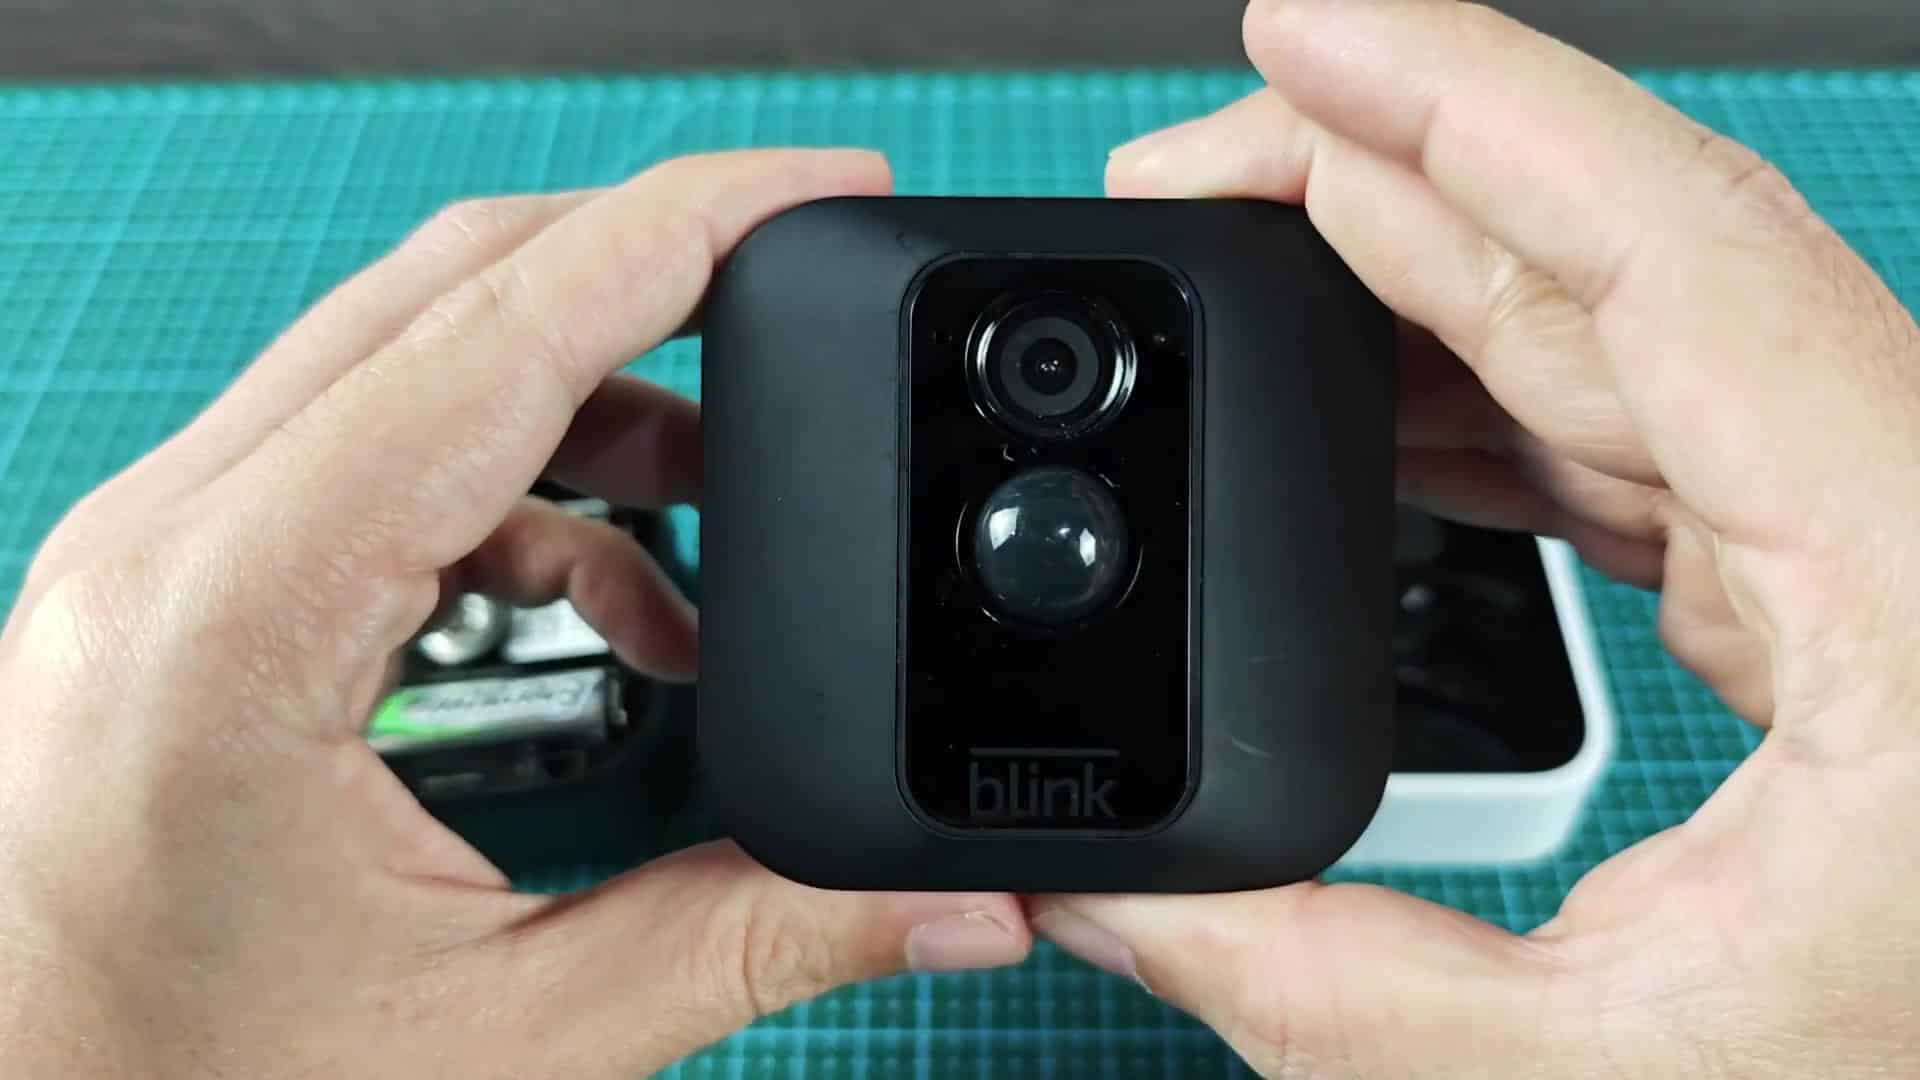
To make sure everything went okay, you hear a click noise as confirmation rather than seeing a light. If you heard it, then the reset was successful and there’s nothing more for you to do. At first it feels weird to not be able to see something like this working, but it turns out that sound is enough in this case. Now the camera should of been reconnected with your home network. You’re good to go!
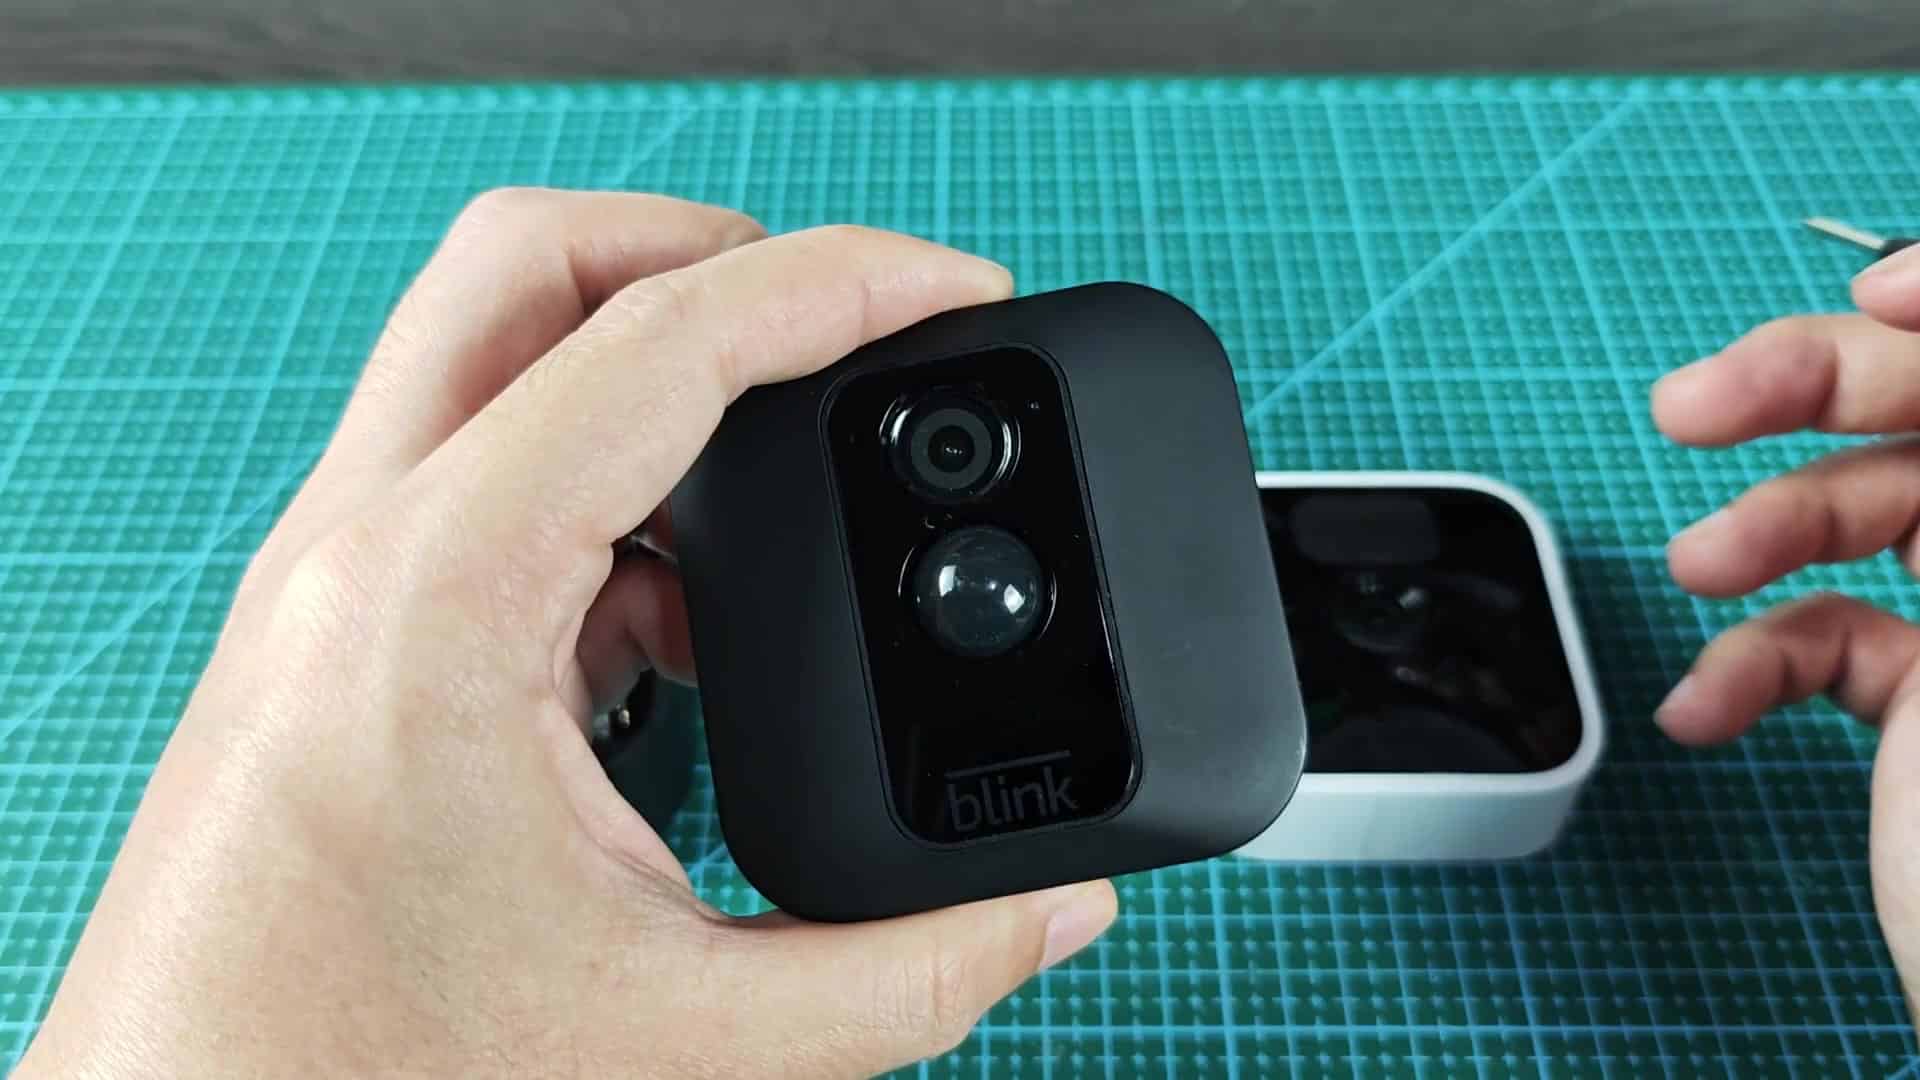
In a small twist, the Outdoor 4 shows this differently by having a back storage area that houses the battery status and the reset button. Inside are two AA batteries and some of those same QR code and identity tags. It’s built solid and seems like it will last quite a while outdoors, even in nasty weather. Again you push the same kind of interior button as on the others to get it reset.
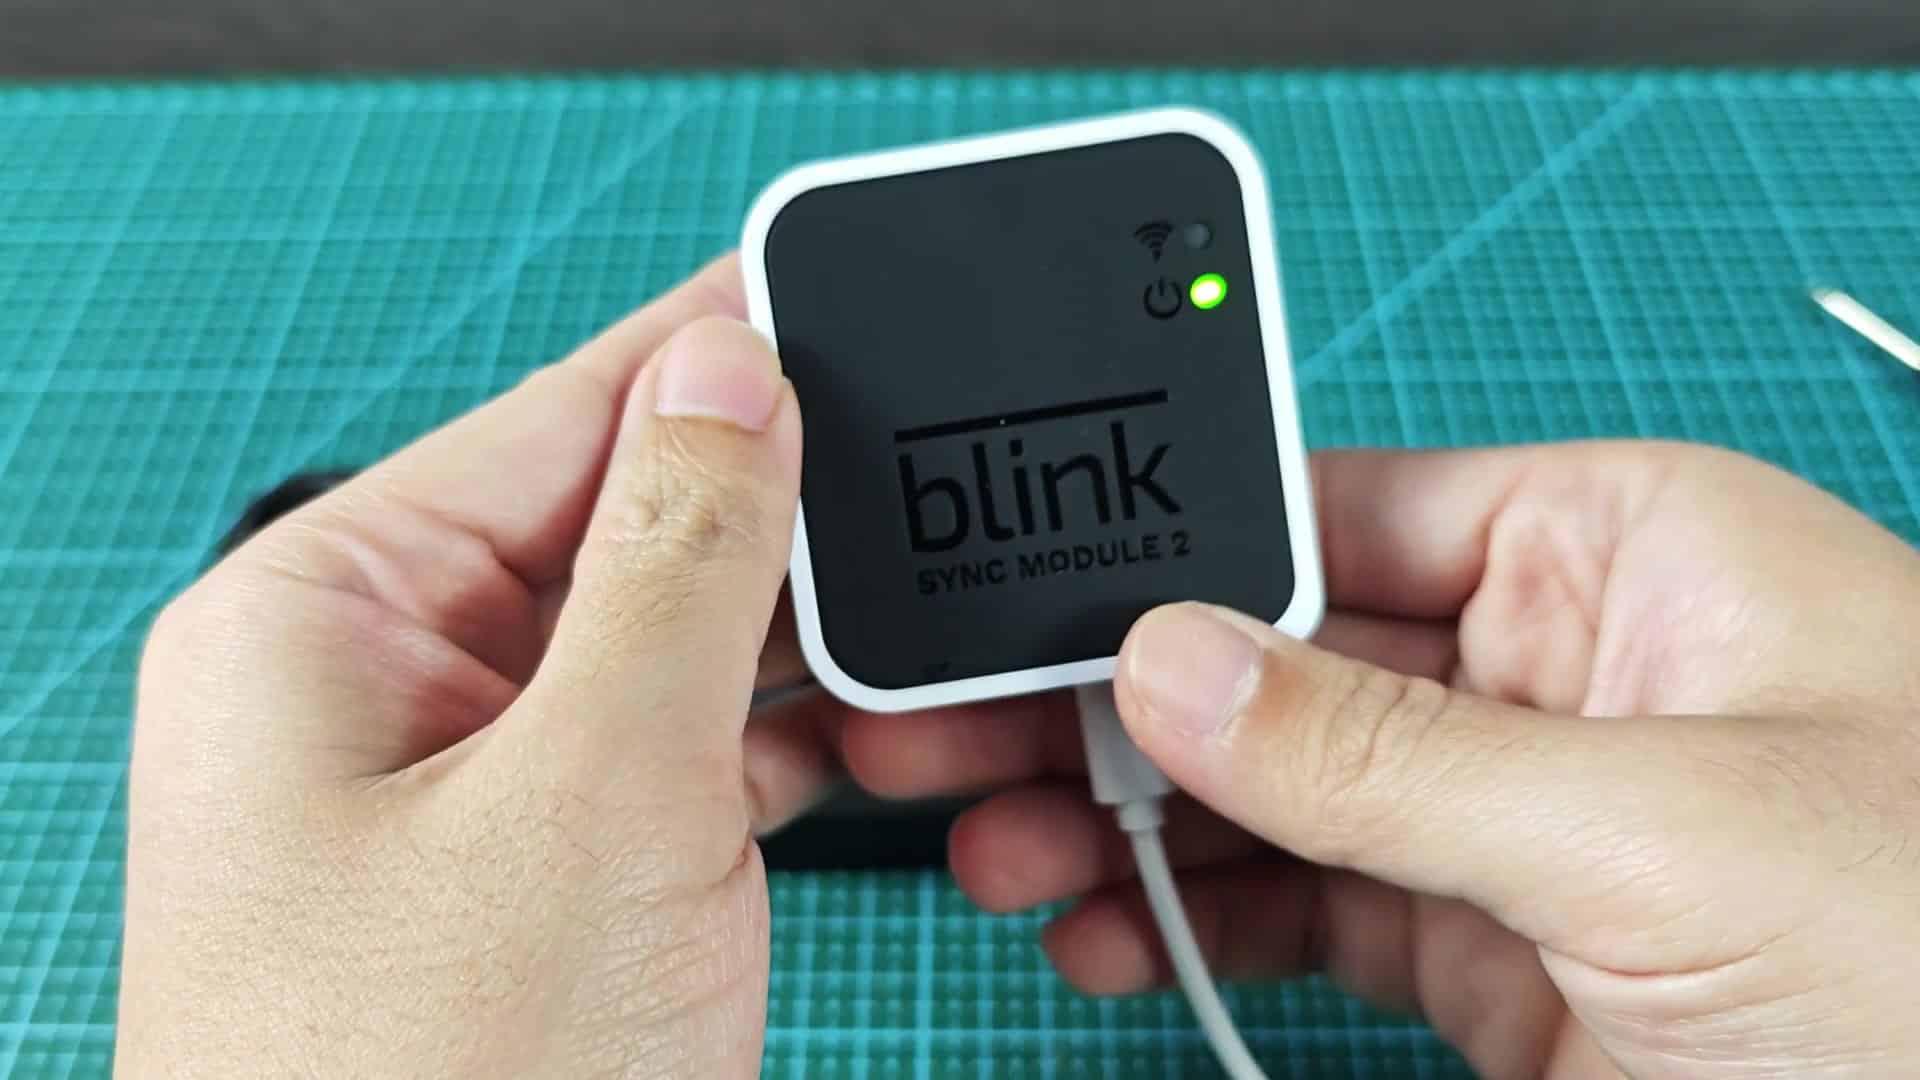
Think of the Sync Module 2 as a hub that connects your network of cameras with your internet router. The white rectangle is held by its USB cable which plugs into the bottom. It controls both wireless communications and power distribution throughout the whole setup. If you’re troubleshooting connectivity issues, resetting this will give you a clean slate; or you can do it if you change networks. Place it somewhere central within your home office close to where the main router is connected.
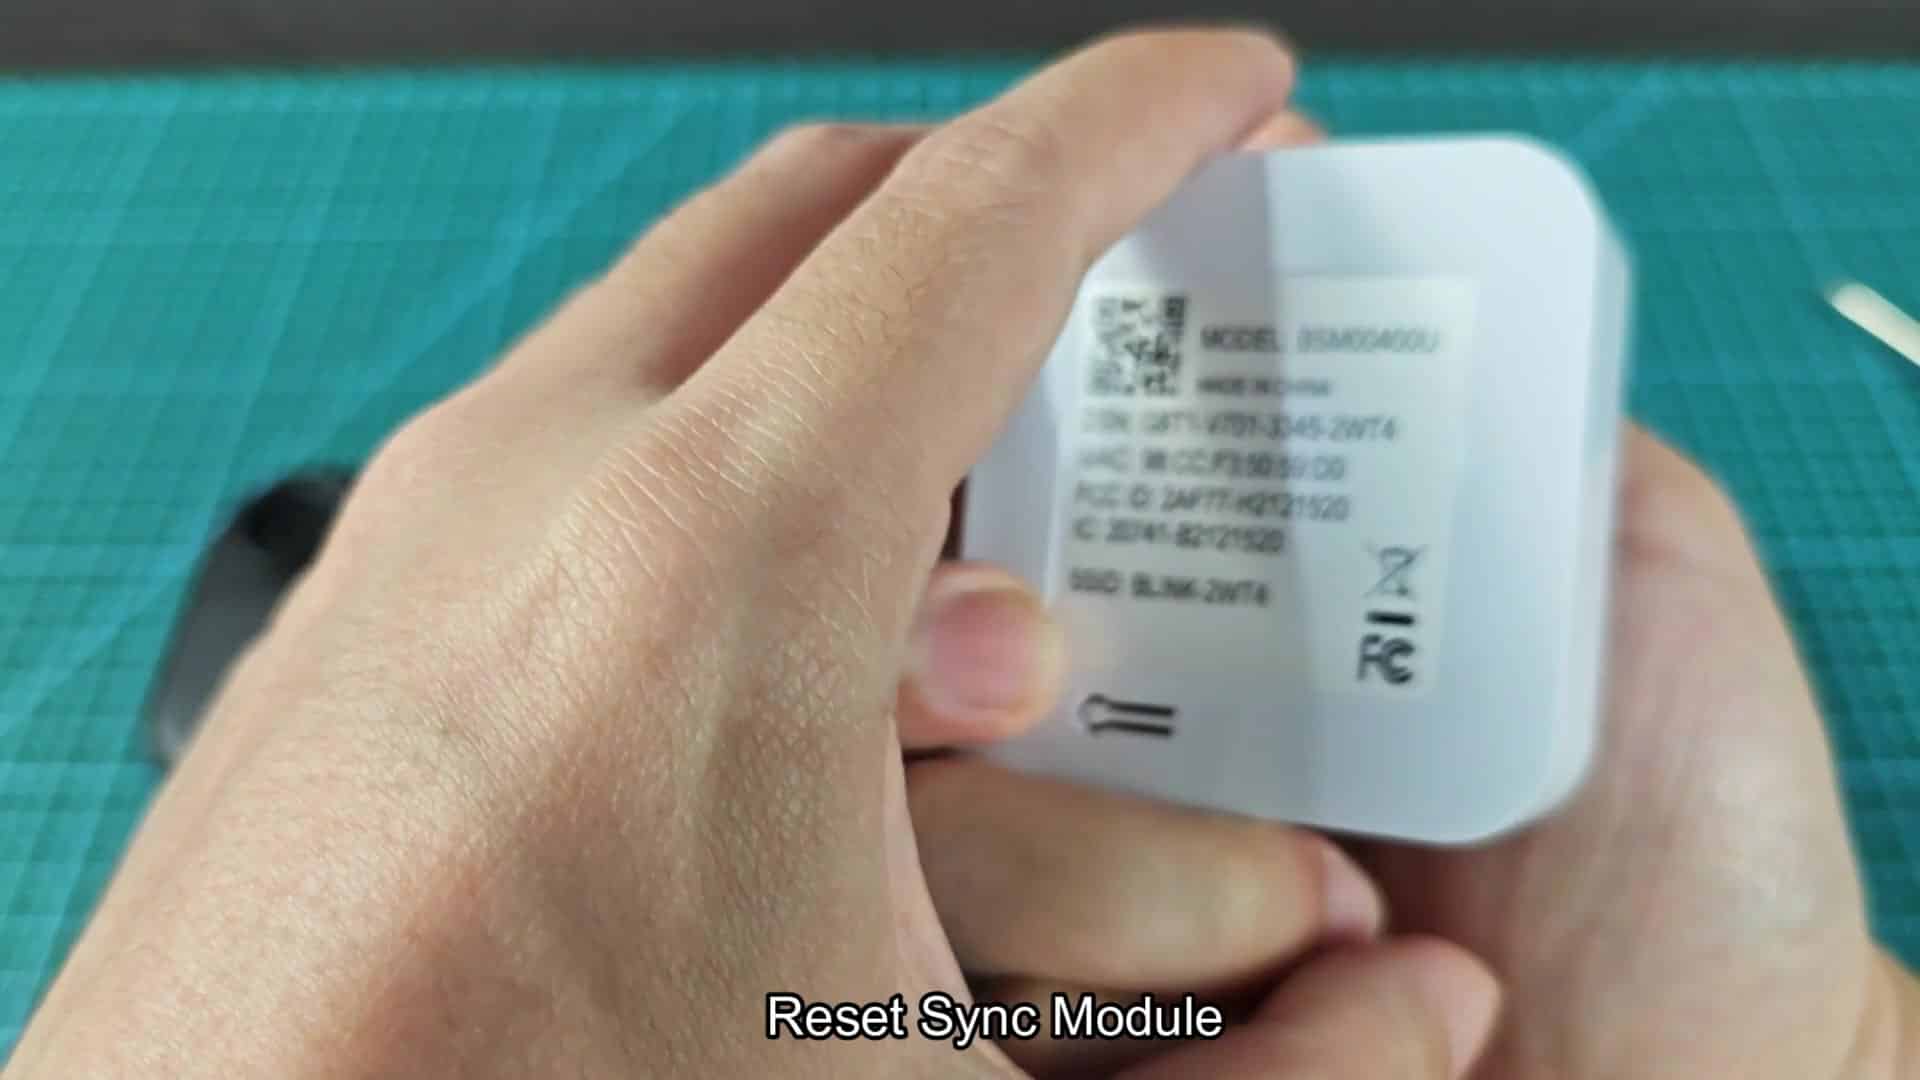
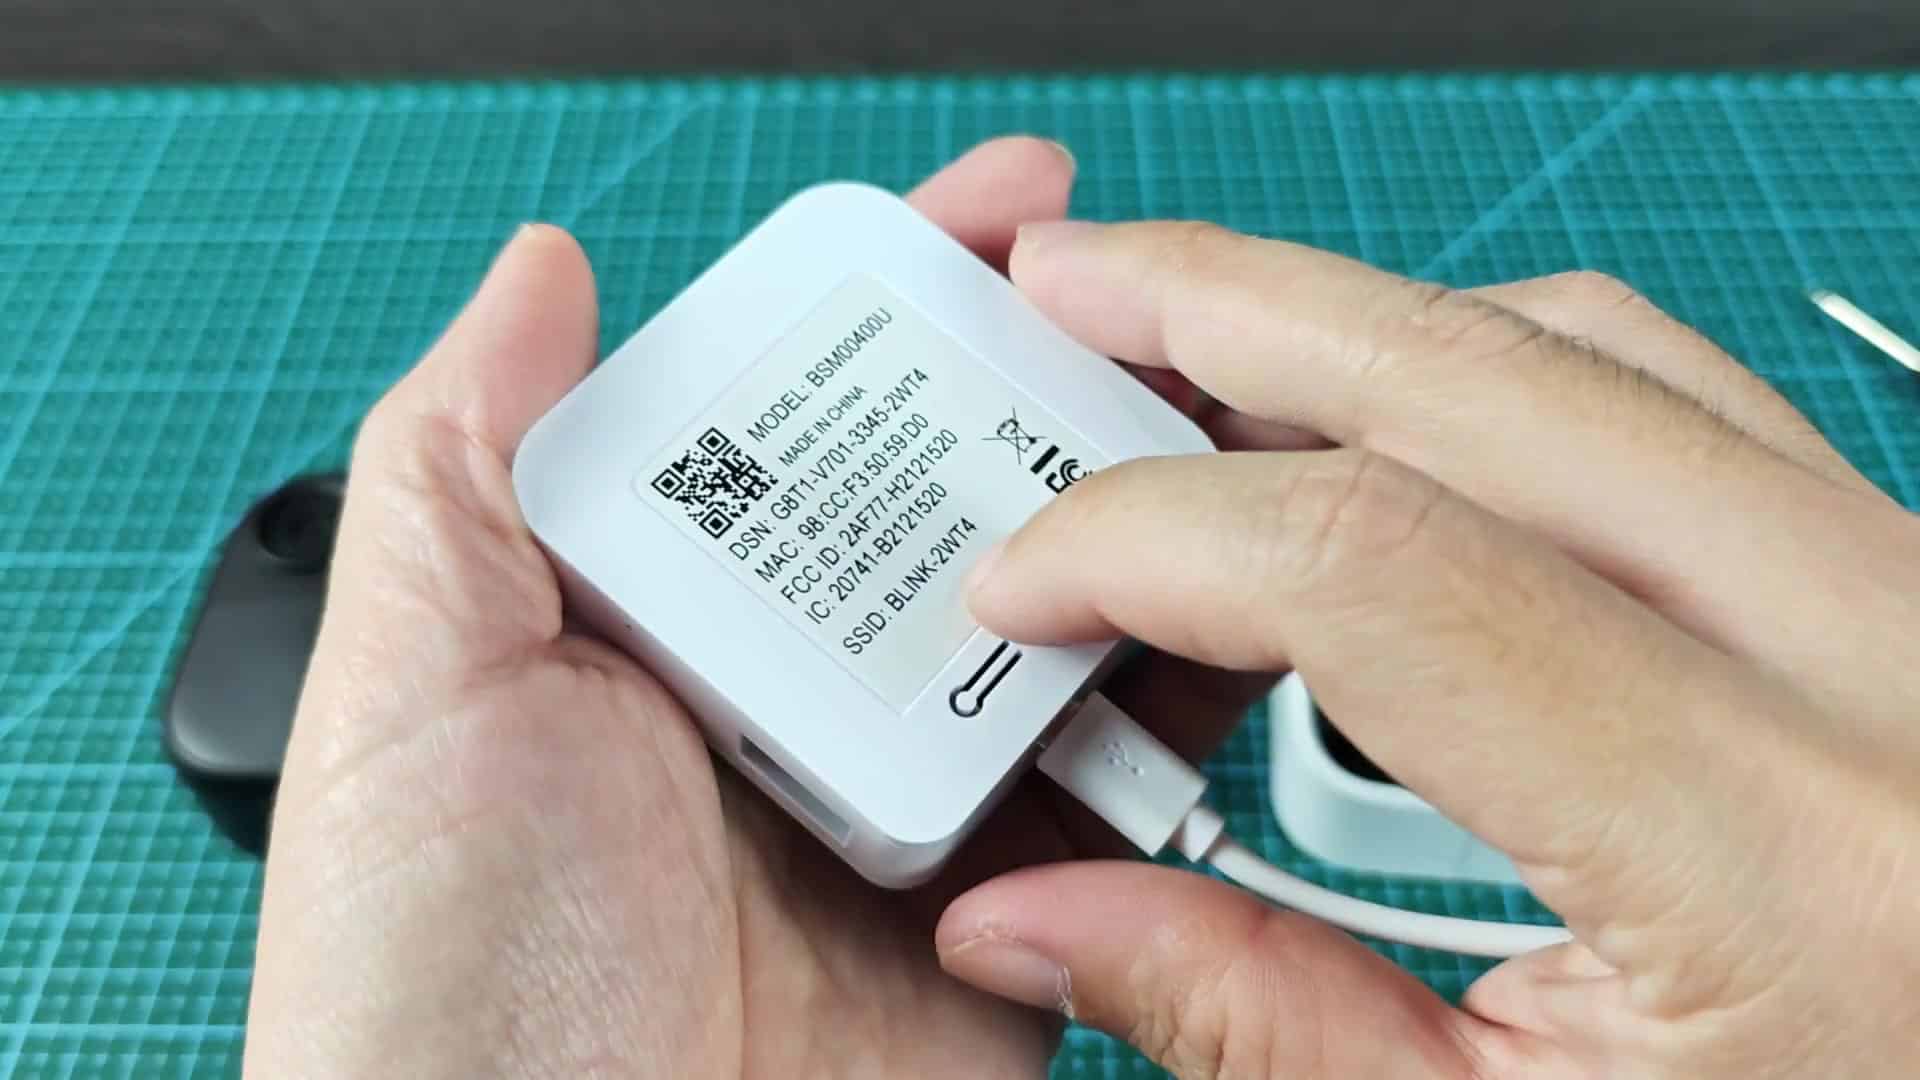
The only thing you’ll need is to find the reset button, which isn’t obvious on the sync module, except by looking at the underside label. It’s that little hole next to the barcode sticker. Press it to restart the whole system if you have network issues. This also shows MAC address and FCC IDs should you ever have technical support questions. Hold onto it firmly to make sure you’re applying enough pressure when trying to do the reset.
The underside is nicely detailed with ID numbers and regulatory info. There’s a little button that you press gently so as not to harm other components. That releases any network cache stored on previous installs. It happens quickly, just a couple of seconds then you see some signs of life. The system needs some time to work through changes internally, so be patient.
Once that happens, you’ll see the blue Wi-Fi light start to flash steadily. This indicates success and means the module is prepared to try pairing with a different device. To be sure, look at its top (the module has status LEDs here). The power LED stays solidly green during the whole process, never blinking. Right after that, the module will be flashing in preparation to accept another device connection.