
It wasn’t charging, or rather, not holding a charge anymore. At first you may assume its just a plug problem. But it’s more than that; it’s time to check out the battery pack.
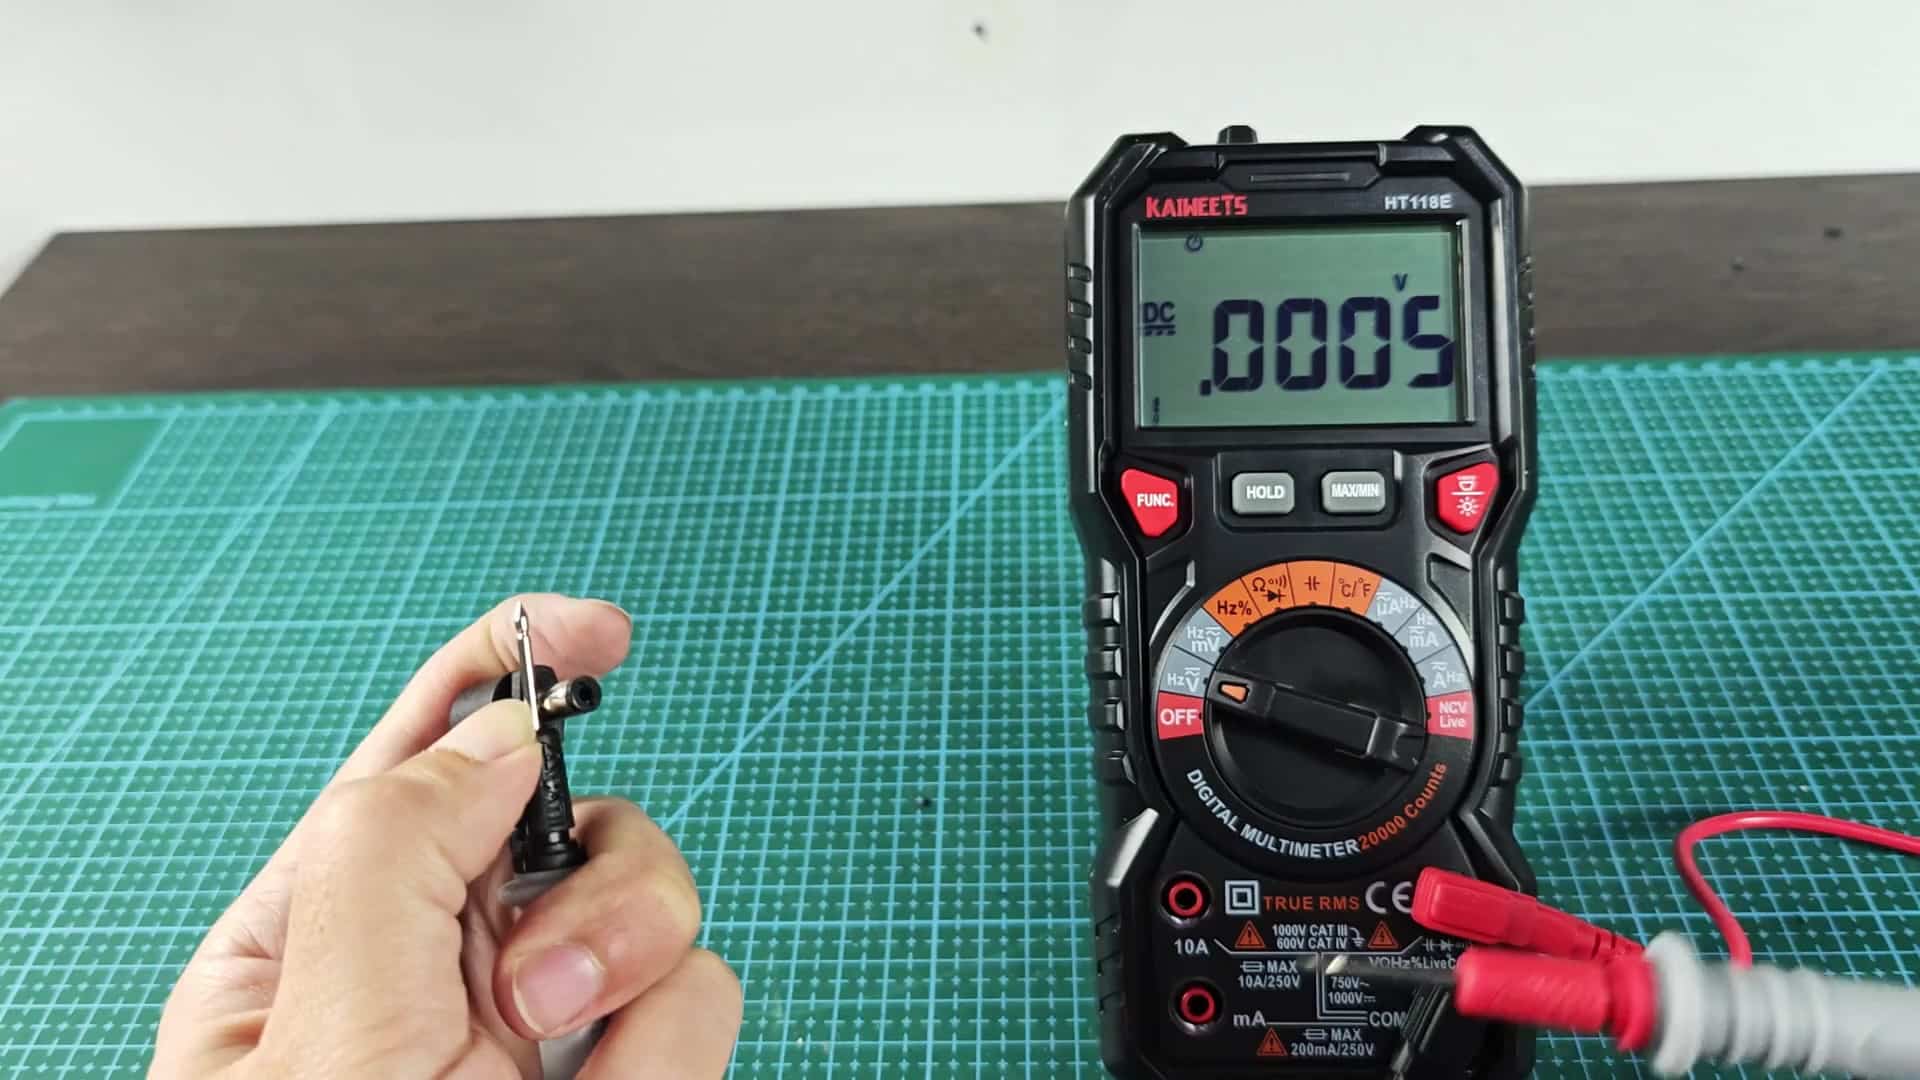
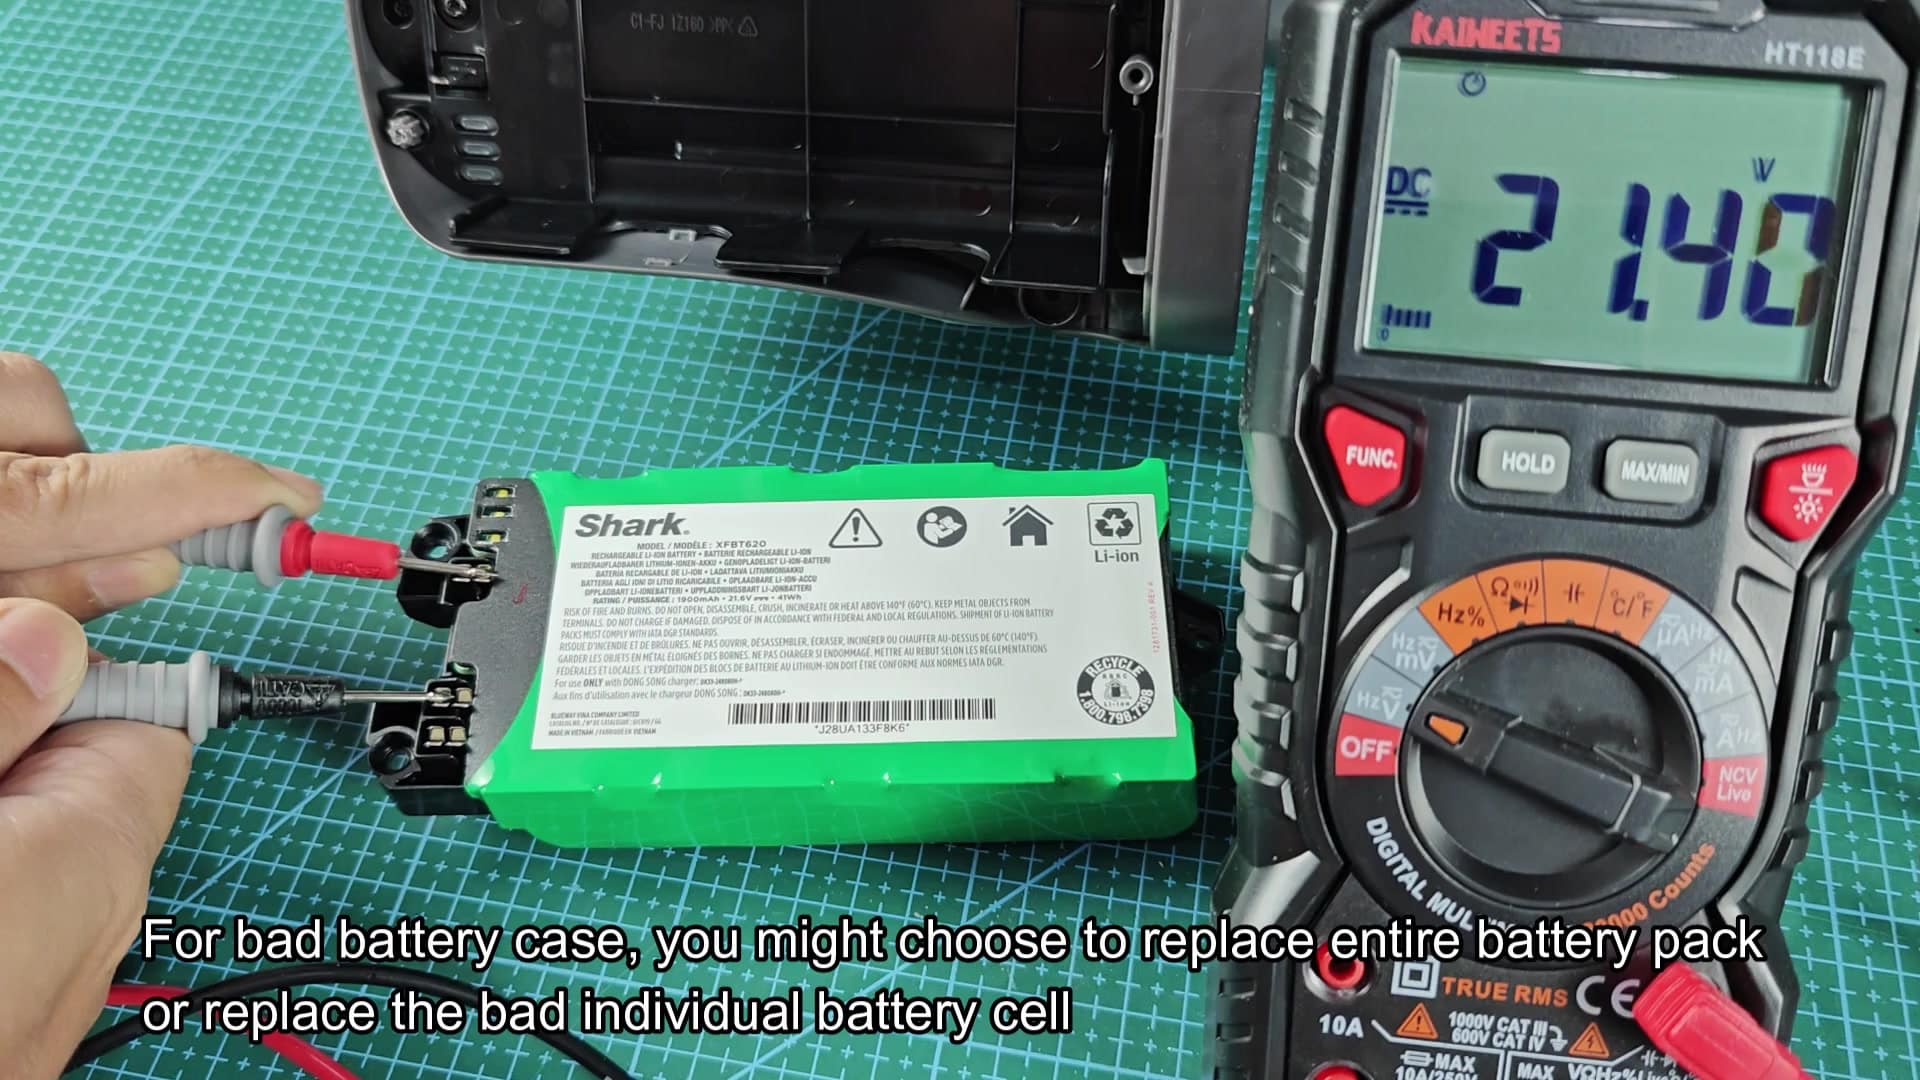
I have a Shark. It has an XFBT620 battery pack. That’s a 21.6-volt lithium-ion pack. According to the label, those are the spec numbers, so the output of that pack should match those numbers. If it starts dropping well below that number, you’ve probably got a dead pack. Check these numbers for your own battery and see if it is good to go or totally done. At this point, you want to use your multimeter. You’ll want a correct reading of DC voltage from that thing. Connect the probes to the charger output first. That will rule out external issues like the charger or anything else plugged in there.
Inspection and Diagnosis Steps
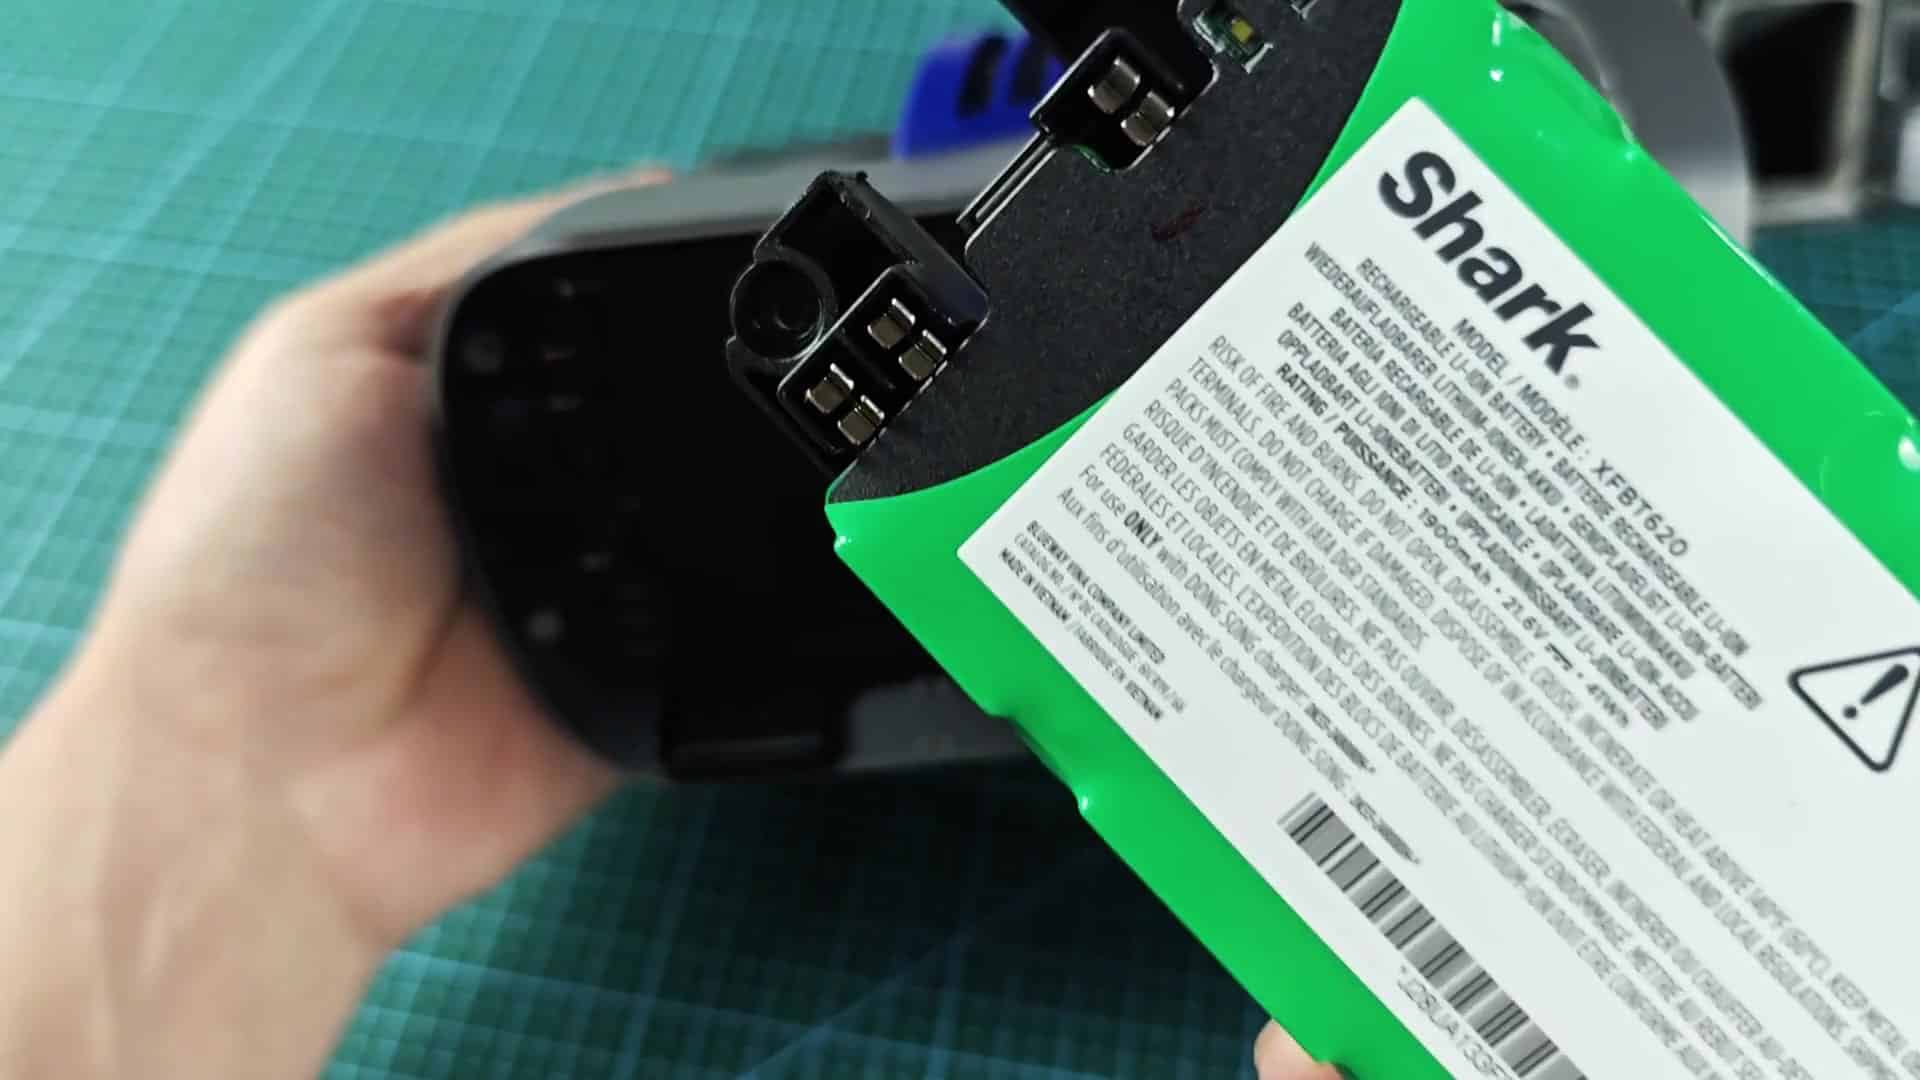
Replacing the battery won’t help if the charger outputs nothing. And a lot of times when a charger goes bad, it will act like a dead battery. So why open things up before eliminating external causes? A nice reading was clearly visible on the multimeter screen. You’ll see how numbers level off on that screen. So the charger is fine. It read 25.4 volts, which is good. That leaves us with vacuum unit as the cause. So you don’t need to buy a new charging brick. Good news there! Now touch the probes carefuly to the battery terminals on the unit itself. You are going to check if there is any voltage remaining in the battery.
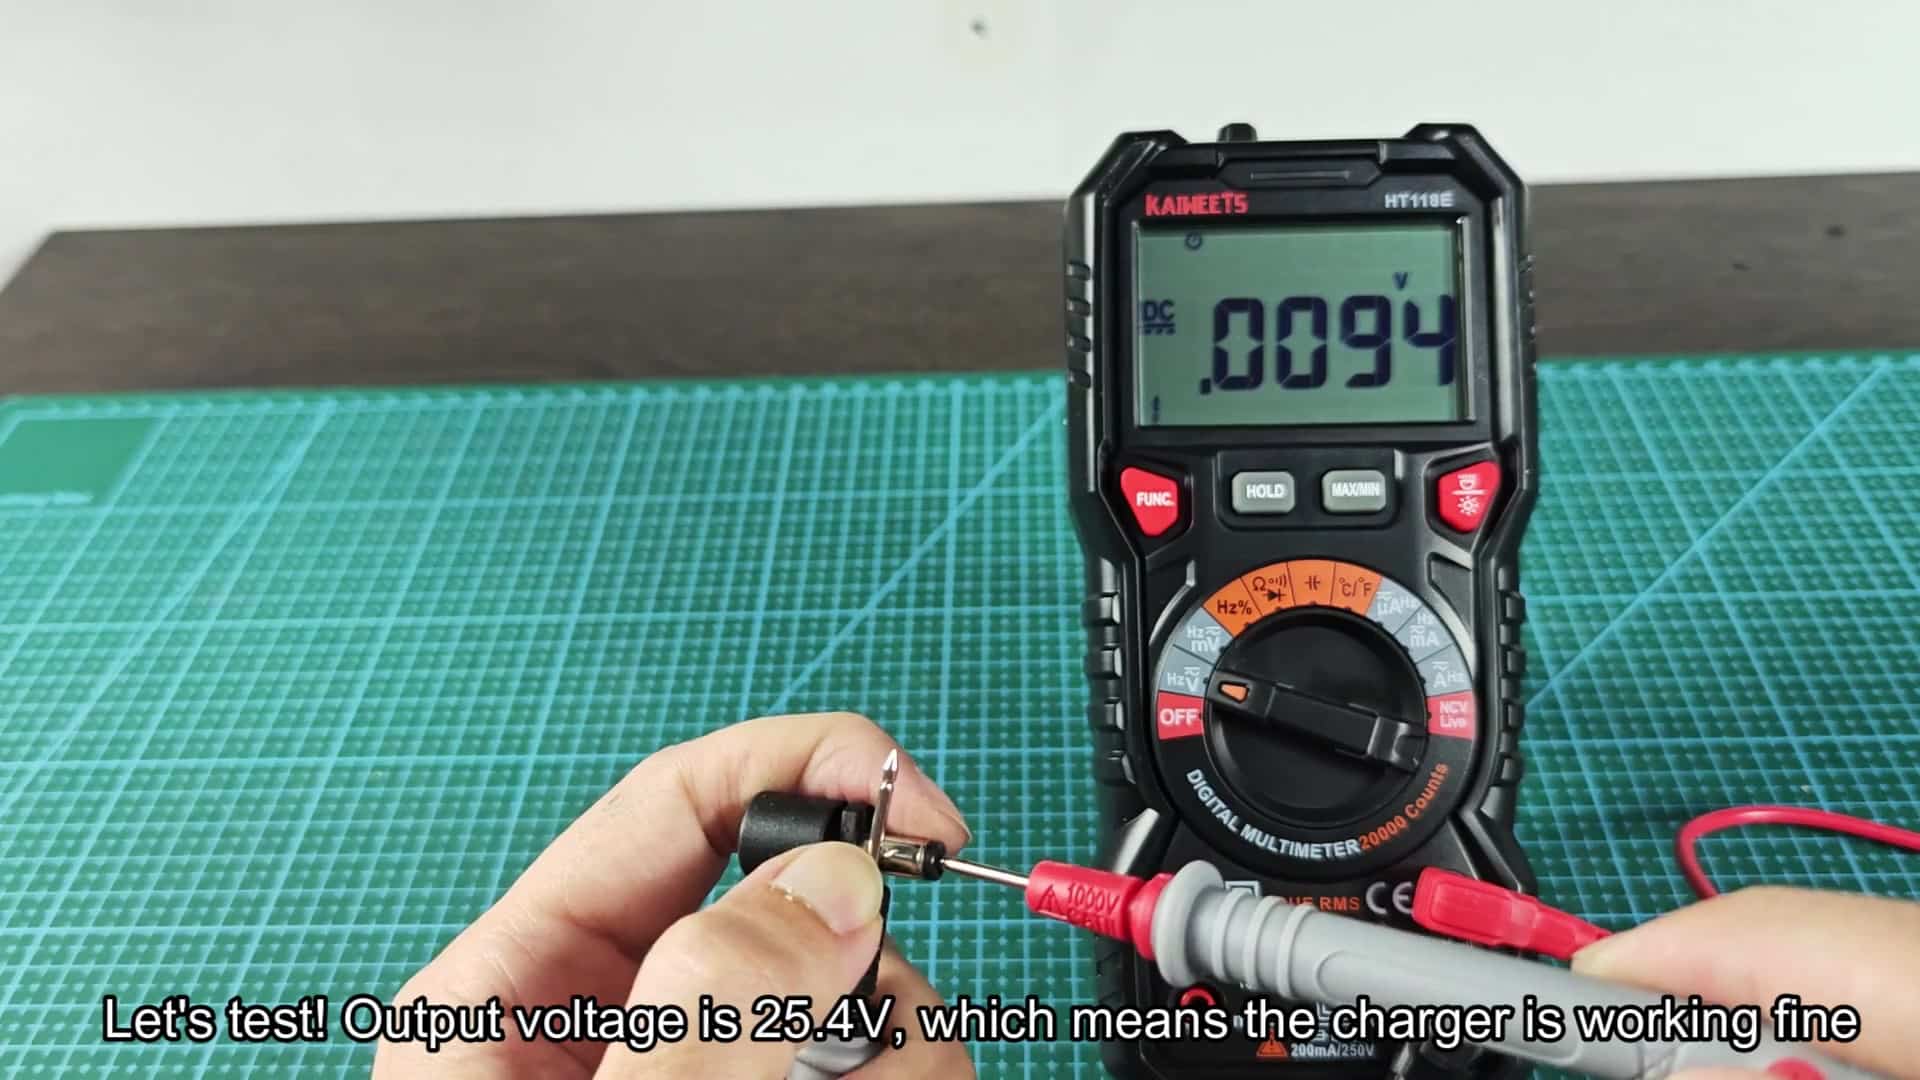
The multimeter displayed 21.48 volts, and that is very close to the expected 21.6 volts.
When I plugged in my multimeter and read the voltage, it was 21.48 volts which is real close to 21.6 volts. The initial inspection tells us your battery pack didn’t look like it was deeply discharged. A much lower reading than what we saw would of told us it was bad. This means that cells is holding their charge. The battery pack is looking good.
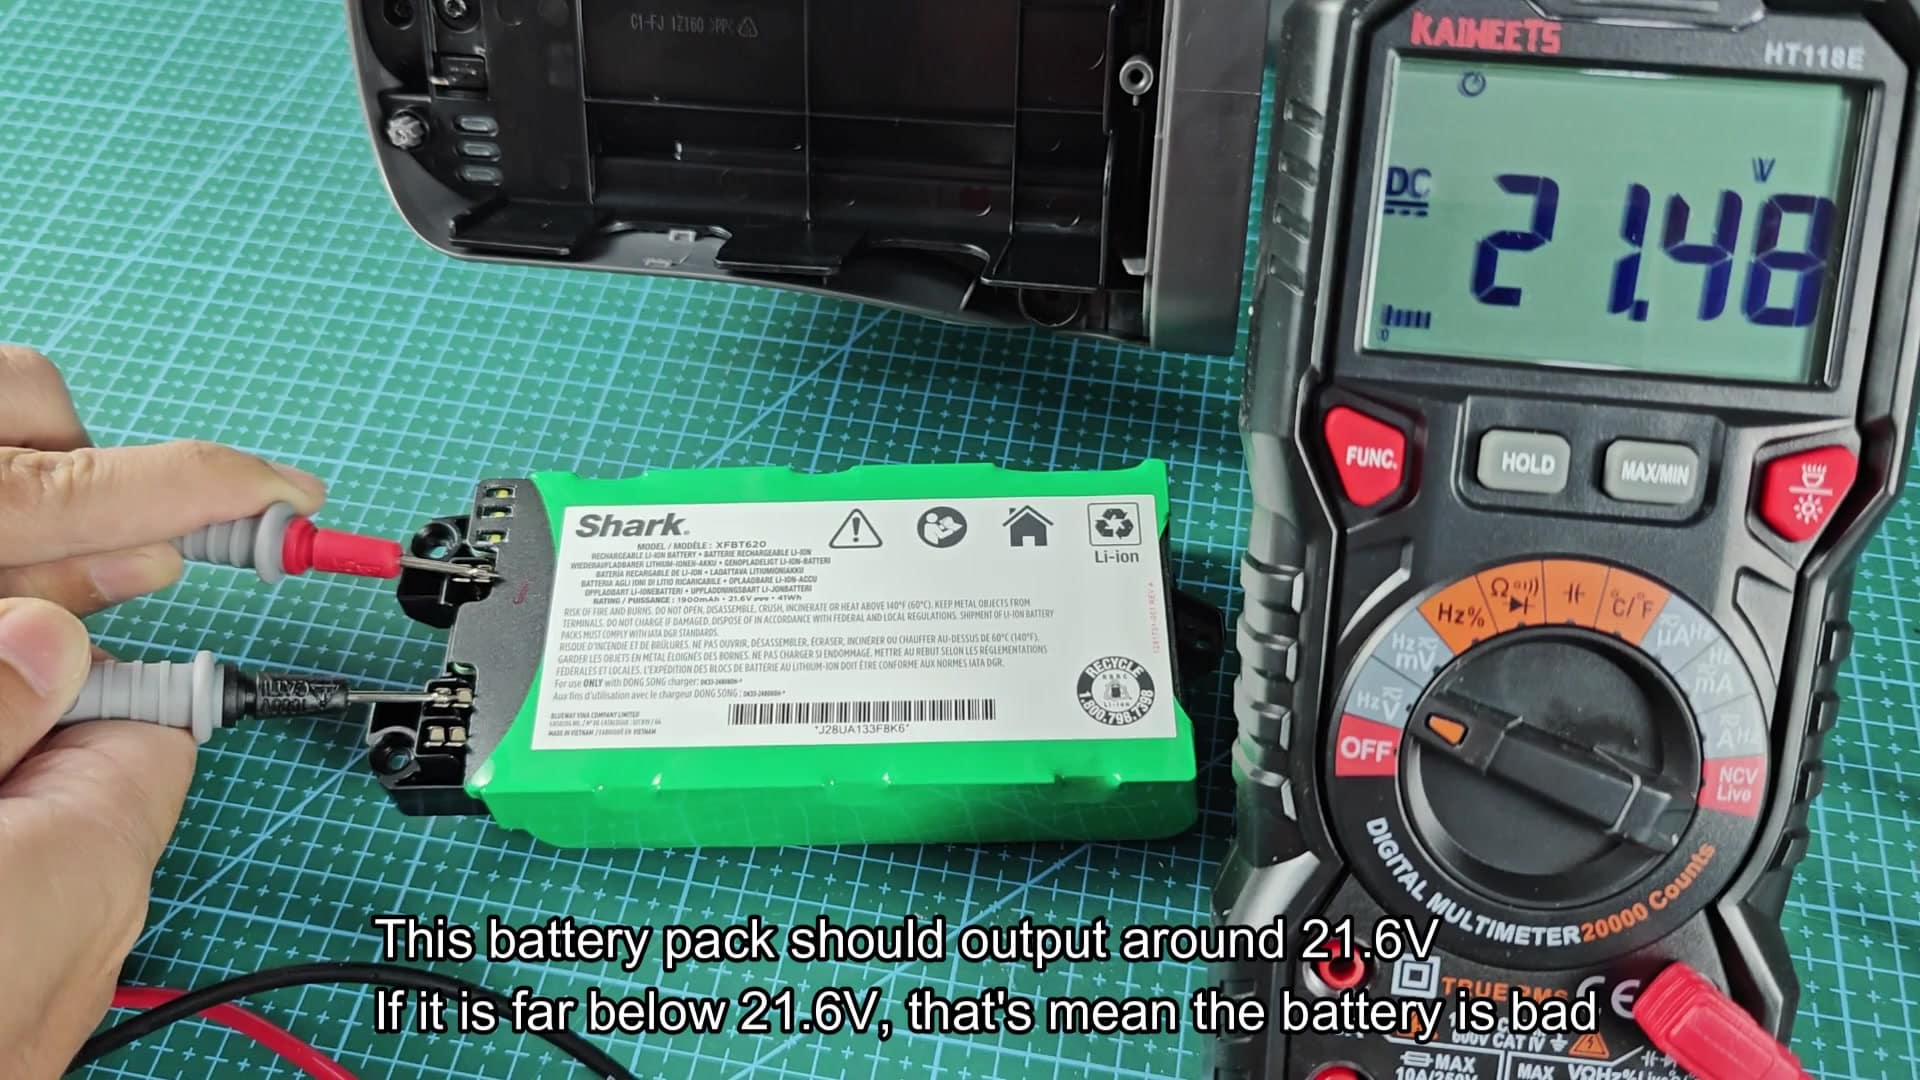
The connector’s indicator LED also lit up brightly which assured me the electronics were running as well. That white light means the electronics are working.
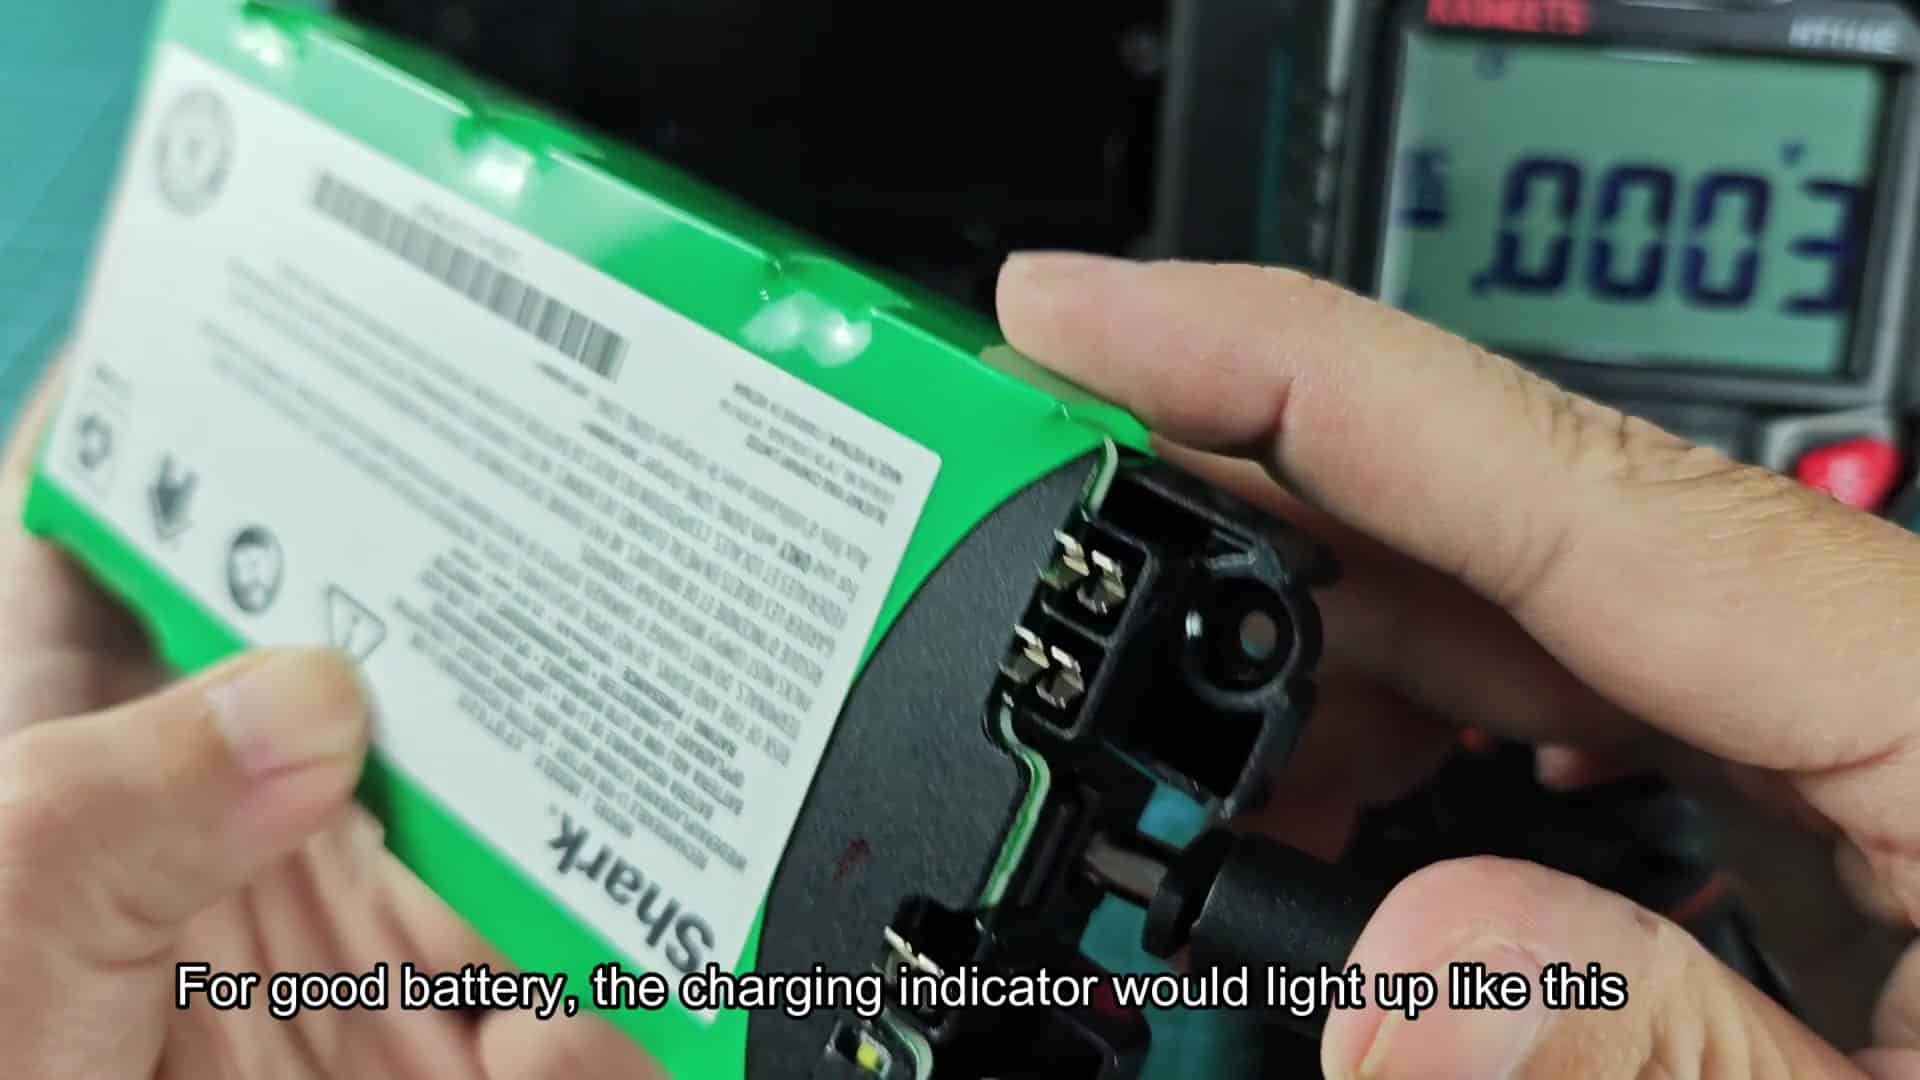
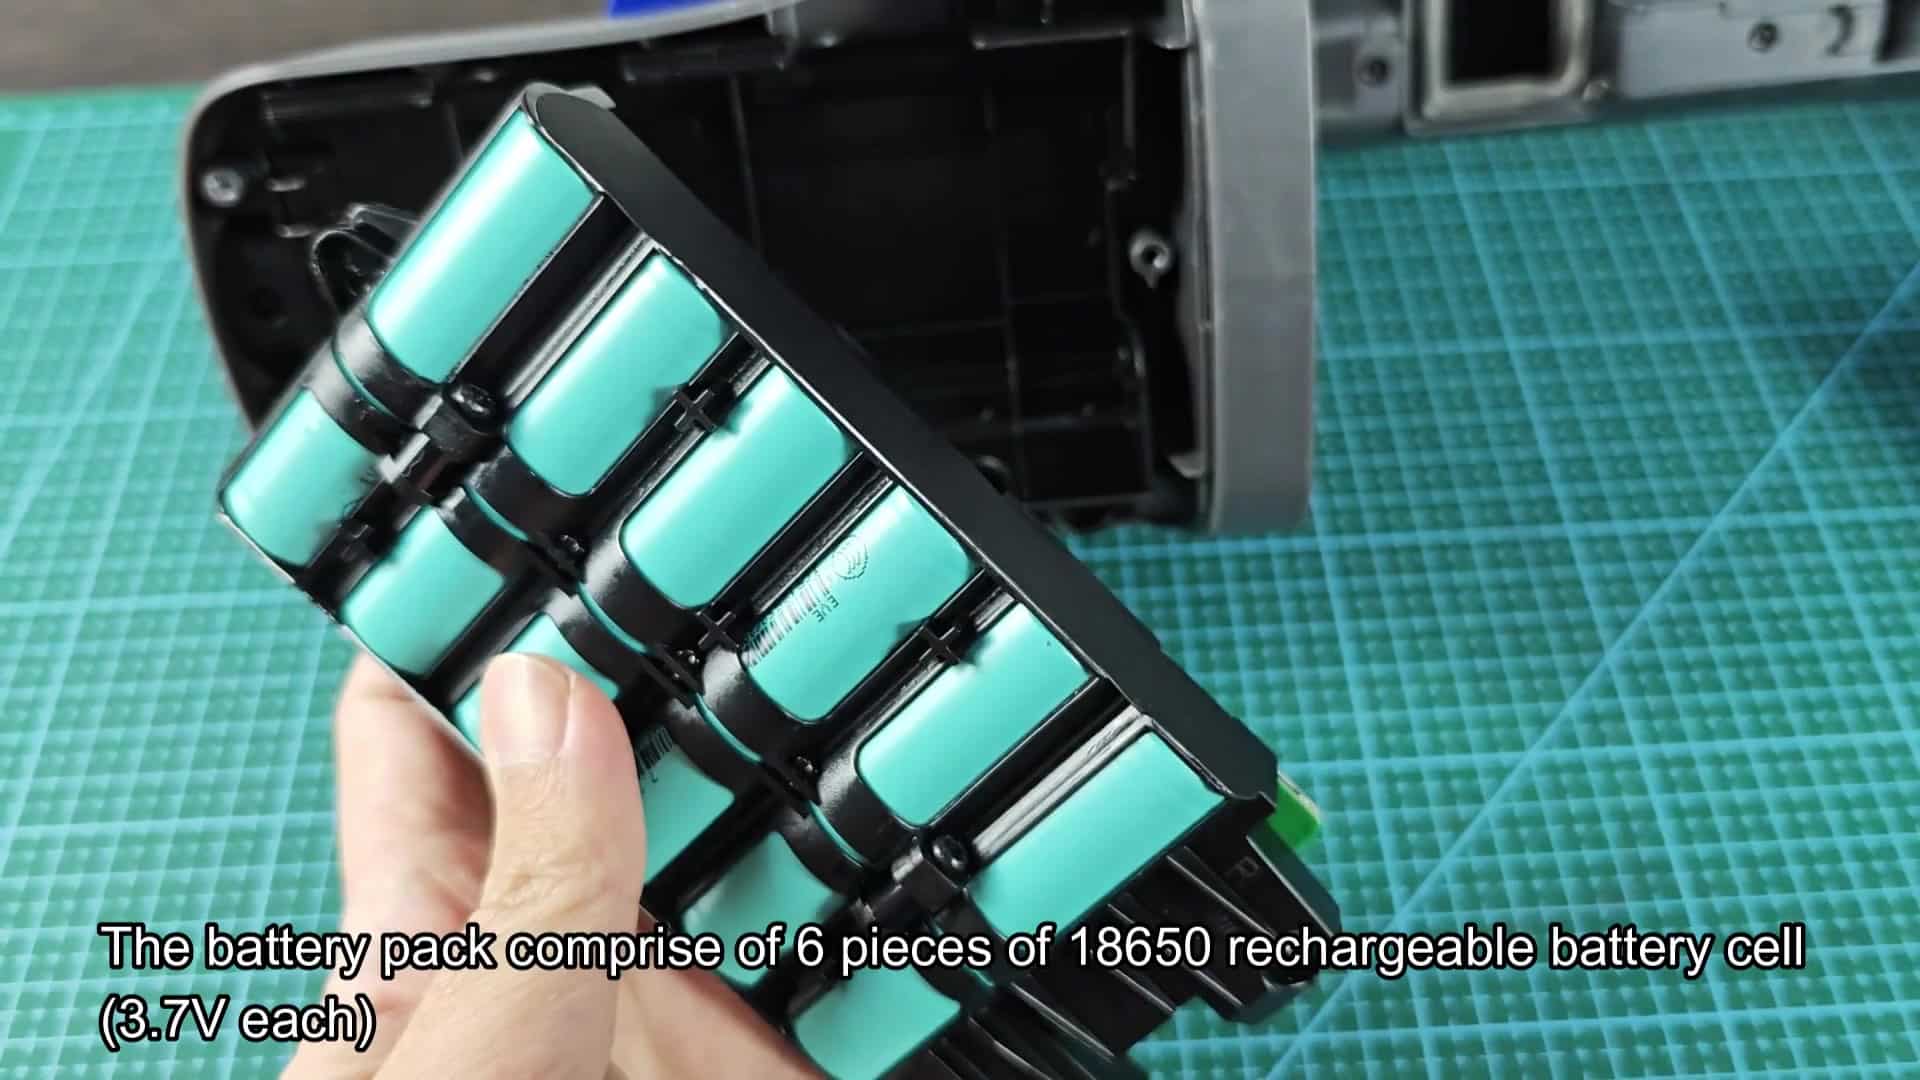
The pack comprises six individual 18650 cells, and each cell provides 3.7 volts of power.
While I’ve seen packs read low but charge fine on occasion, this wasn’t the case with my unit. It appeared to work just fine outwardly, but that isn’t always the case with cordless vacuums since they can fail internally before showing external signs.
This particular pack is made up of six separate 18650 cells (each one outputs 3.7 volts), and all are wired together in series for a total output of 21.6 volts. If there’s even one bad cell, it will bring the whole thing down. Therefore, they needs to be checked separately.
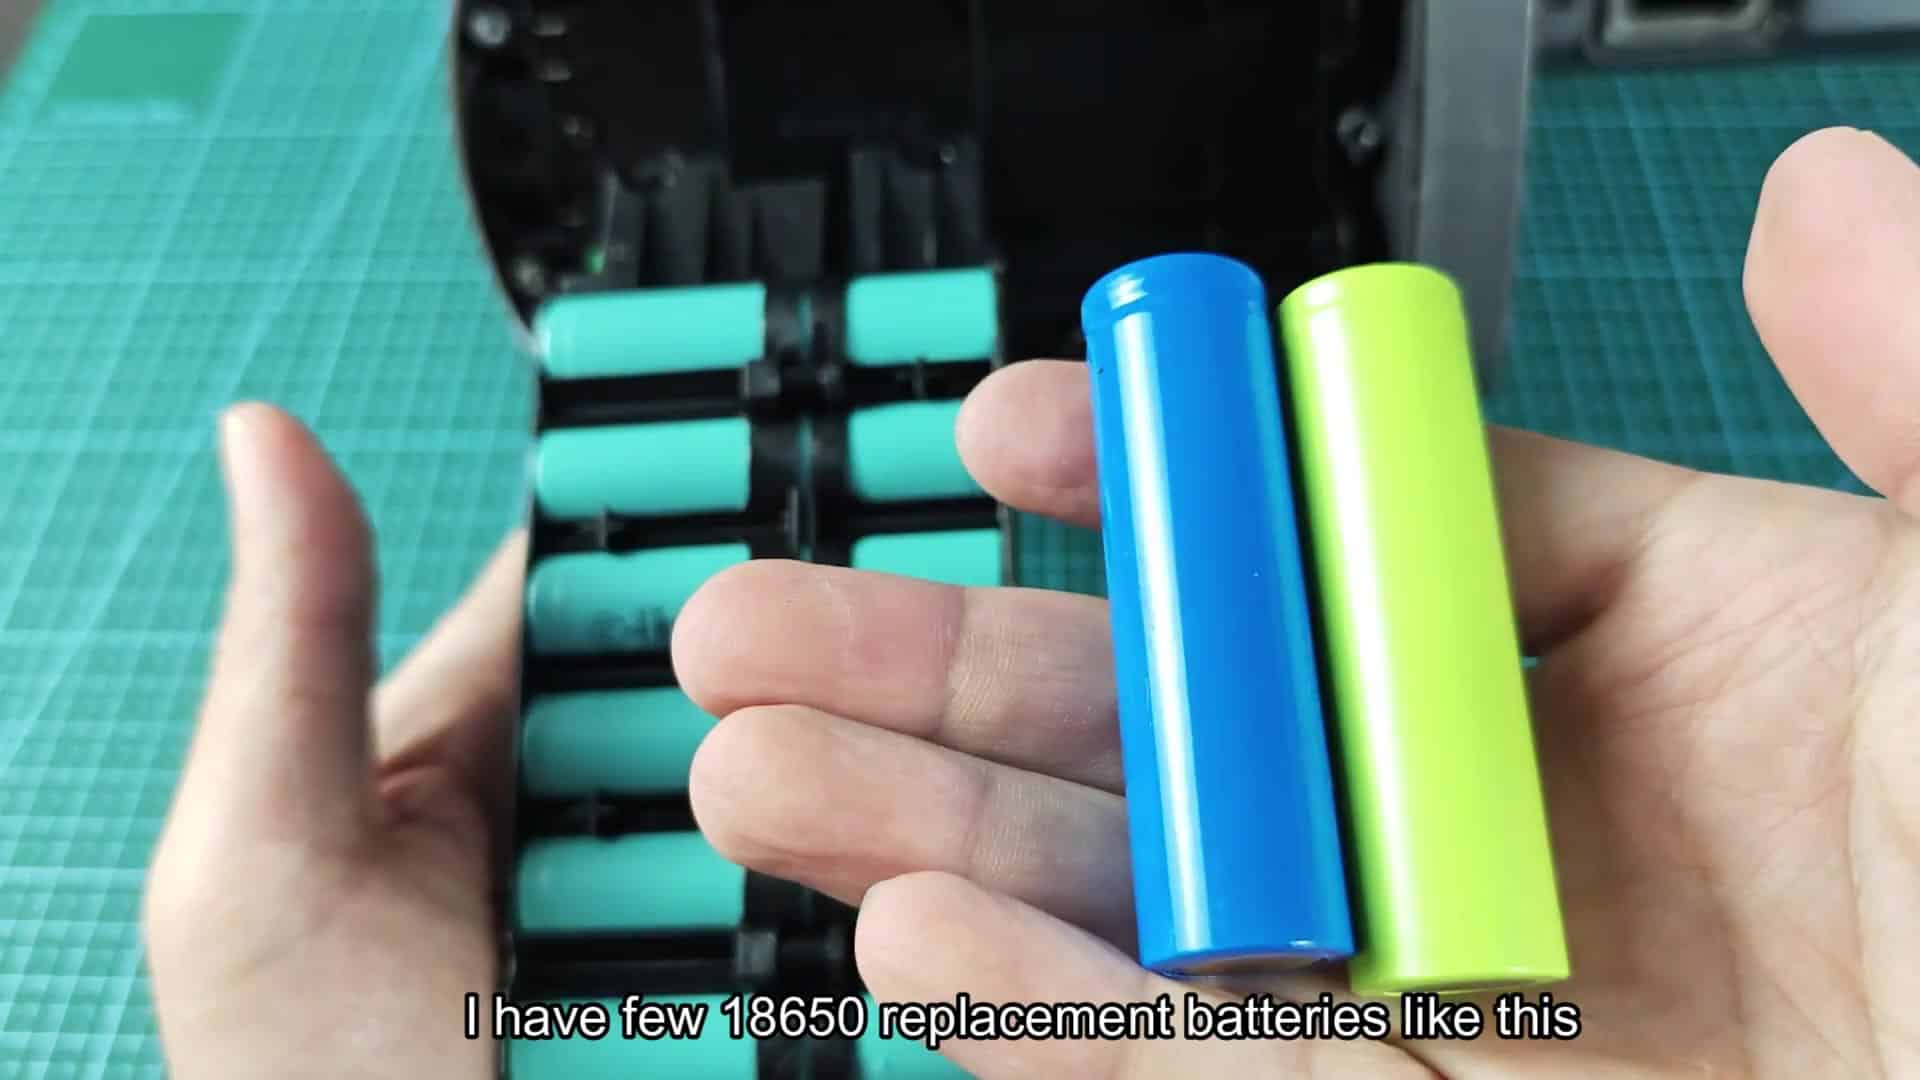
Opening the housing revealed the teal cylindrical batteries inside sitting in a black plastic holder.
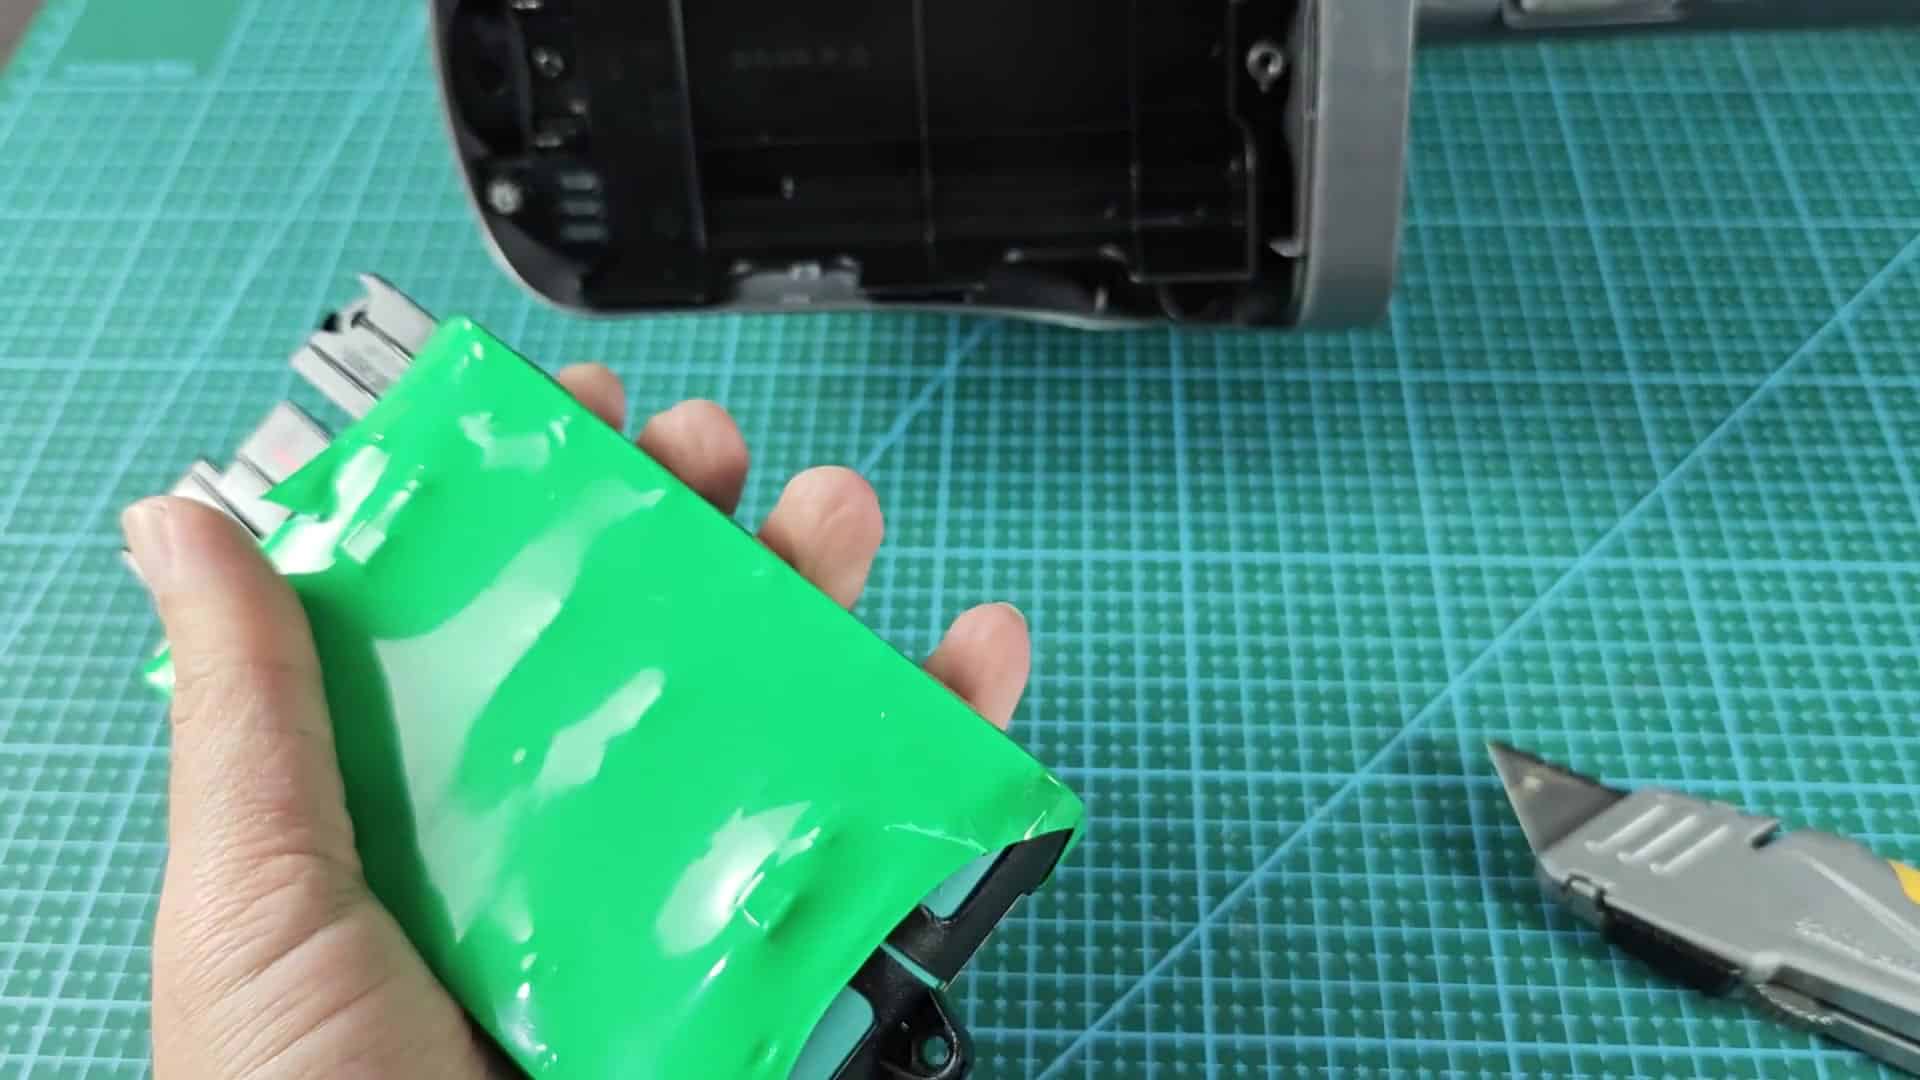
A new pack of batteries would be costly so it might be best just to change out the cells (which are more affordable if you only have one bad cell). However, if the battery isn’t charging correctly you might have to get a new pack.
I figured I’d take a peek at what was in there regardless. Opening up the case showed the teal cylindrical batteries. There were six of them packed tightly into a black plastic holder. Everything was snug and tidy. Look inside the cells to see if there is any physical damage. Is there one bad apple? One damaged cell will spoil the batch. The circuit will halt if one won’t take charge. My cells appeared physically fine. There were no leaks and no swelling of the cells.
So apparently it wasn’t that. It was something else, maybe not on the cell itself but somewhere else in the system. It might be some kind of contact problem. Check all your connections; rusty bits at the charge point will interrupt.
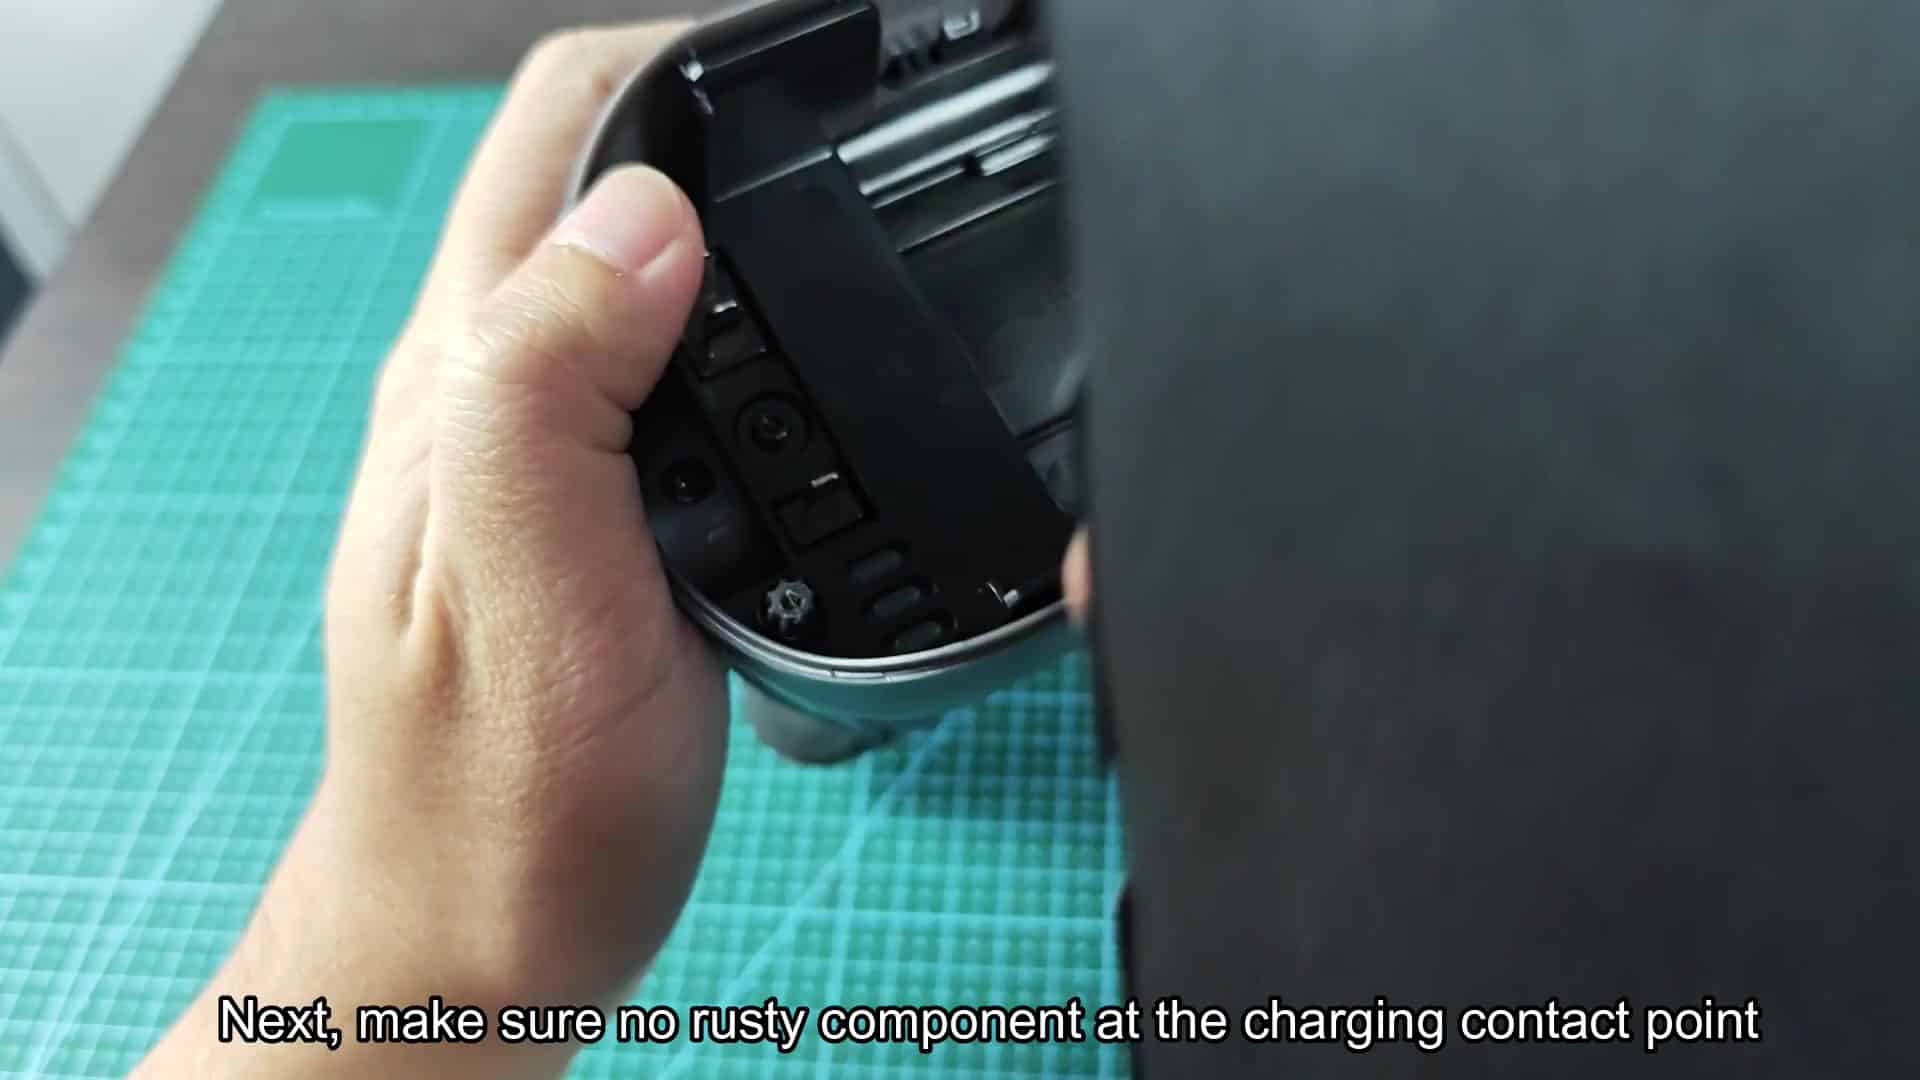
Cleaning the contacts is an easy first step, so check the metal pins on the connector.
First, inspect the connector’s metal pins to see if they’re dirty. In my case they were clean and there wasn’t any corrosion on them either. So that ruled out one possible cause.
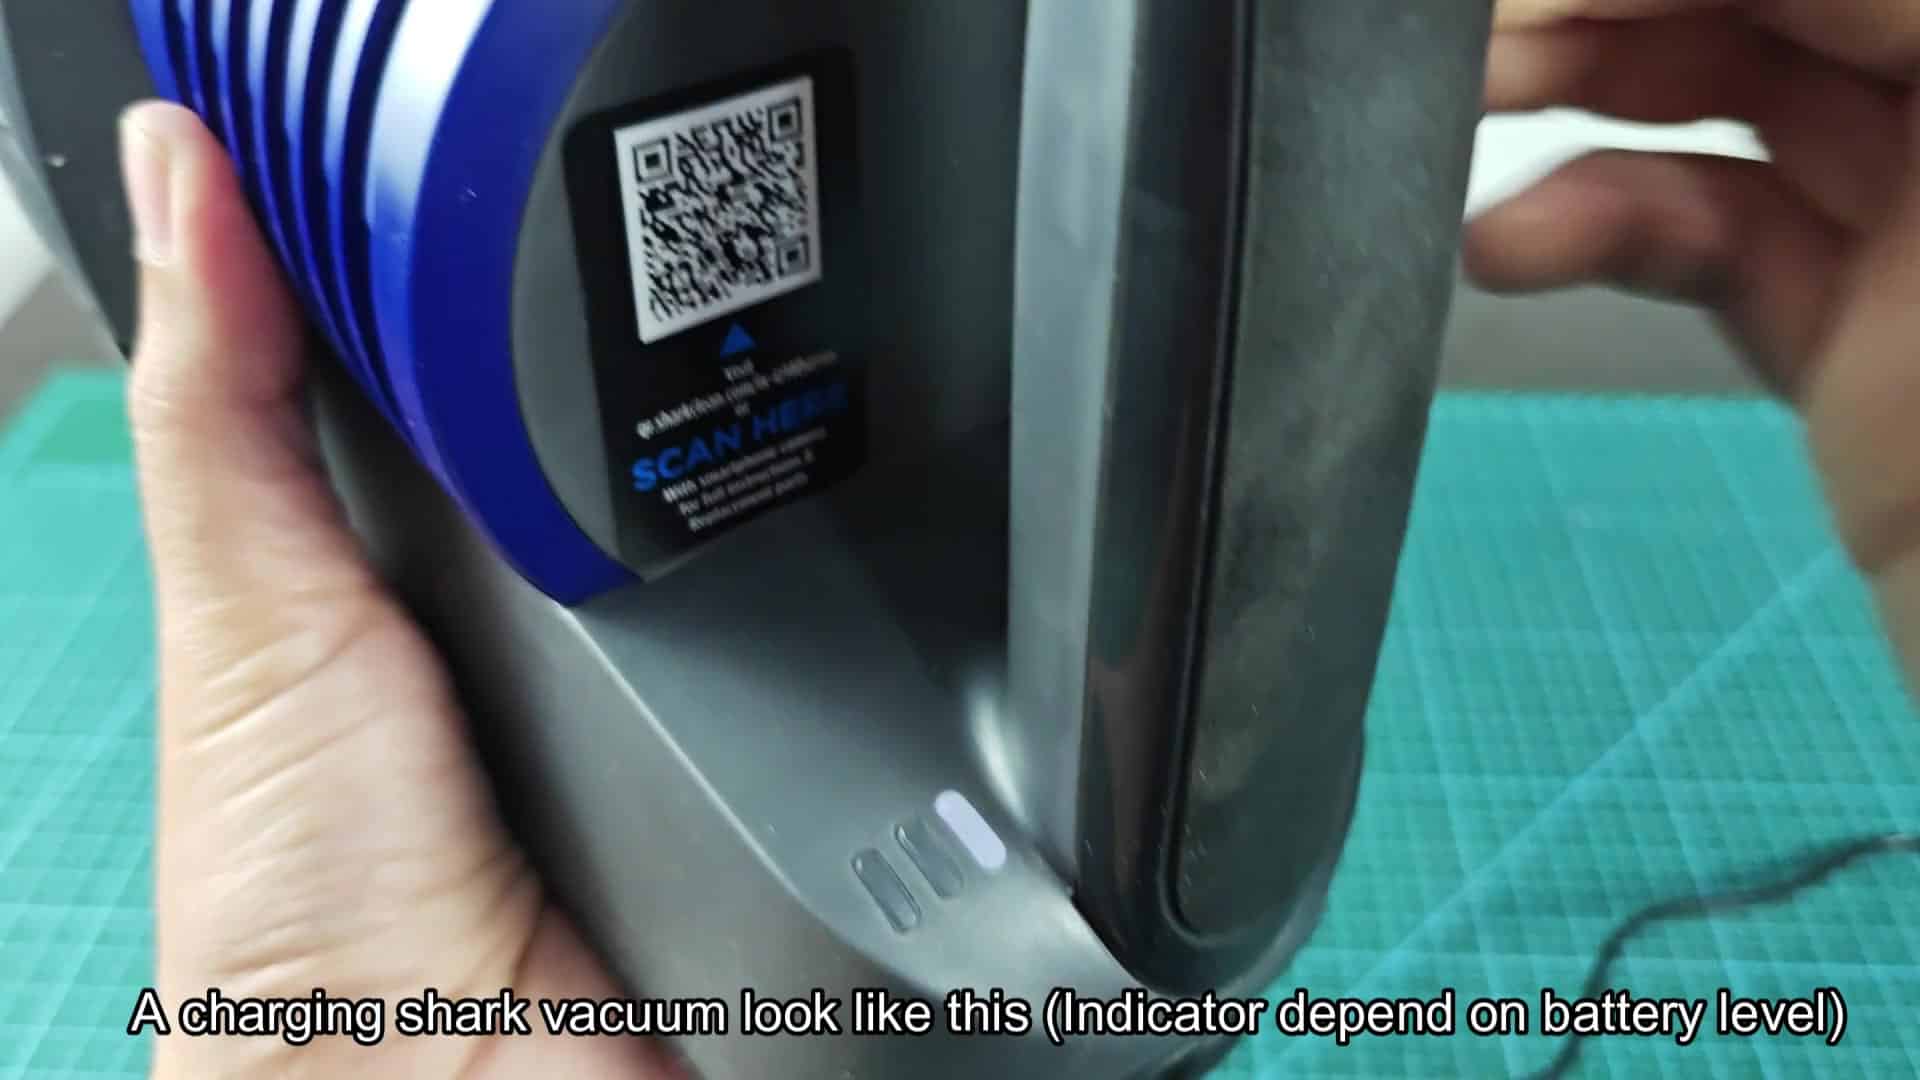
But don’t stop there; keep investigating what might be wrong. A clue came from vacuum itself, which shows battery levels. When I connected the power cord, all three bars lit up. Typically showing the system had a decent amount left in its batteries.
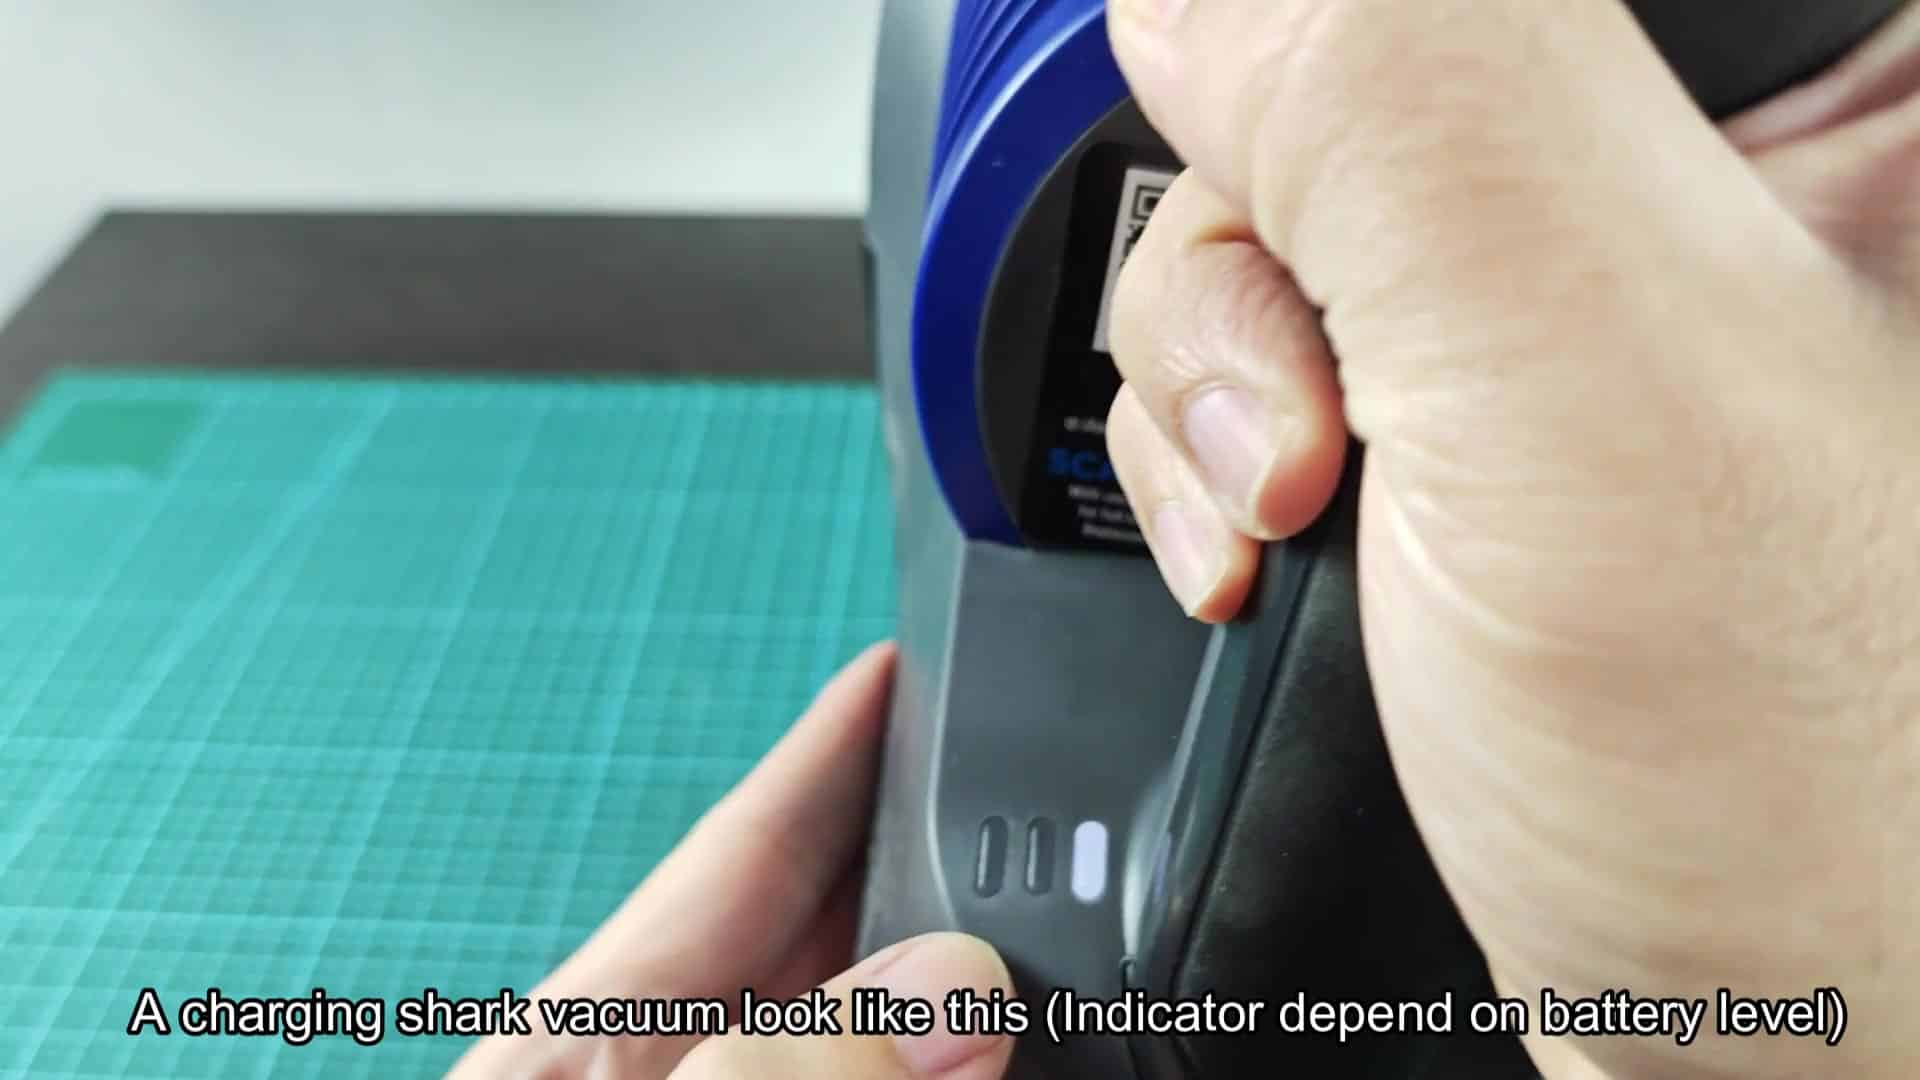
The indicator behavior depends on the actual battery level and my vacuum showed consistent lighting patterns.
My vacuum displayed a steady lit pattern indicating its battery charge status; I didn’t see any flashing or off state indicating it was dead, so that supported the idea that the main board had seen the pack.
Also, the charger was plugged firmly into the vacuum base, and there should be no loose parts in that area. A bad connection here won’t let it get charged correctly either, but mechanically speaking things was holding together well enough for now.
Holding up some replacement 18650 batteries helps with comparison, and having spare parts on hand assists with troubleshooting.
Having spare parts makes it easier to troubleshoot problems as well. You just never know when you might have a bad cell. I also kept my old cells to use as a reference when ordering new ones. They are all the same size and have matching labels, so I can compare them. If I ever need to replace one now, it’s easy since I know the exact brand that was on mine. Smart to keep some on standby for when things go wrong.
The charging process looked normal overall, and the vacuum accepted power without error lights.
After that, it appeared everything charged just fine. There were no error messages and the vacuum took the charge like a champ. The LED status bars will slowly fill up and stay steady without any issues. That told me the built-in protection circuit was doing its job and not letting anything go wrong like shorting out or overcharging. But then again, it might have been as simple as a dirty port. I wiped the port down with a cloth and that was all it took. The vacuum fired right up after a brief cleaning.
There was no additional repair required here so it charged just like normal. Just make sure you’re plugged into tight ports and perform some basic upkeep to avoid any future problems.
