Because all Blink device are connected through a central hub called the Sync Module 2, linking your Blink cameras to a different WiFi network is easier than you might think. Instead of setting up every camera separately, you can just change settings for the hub, which connects to your router through another device.
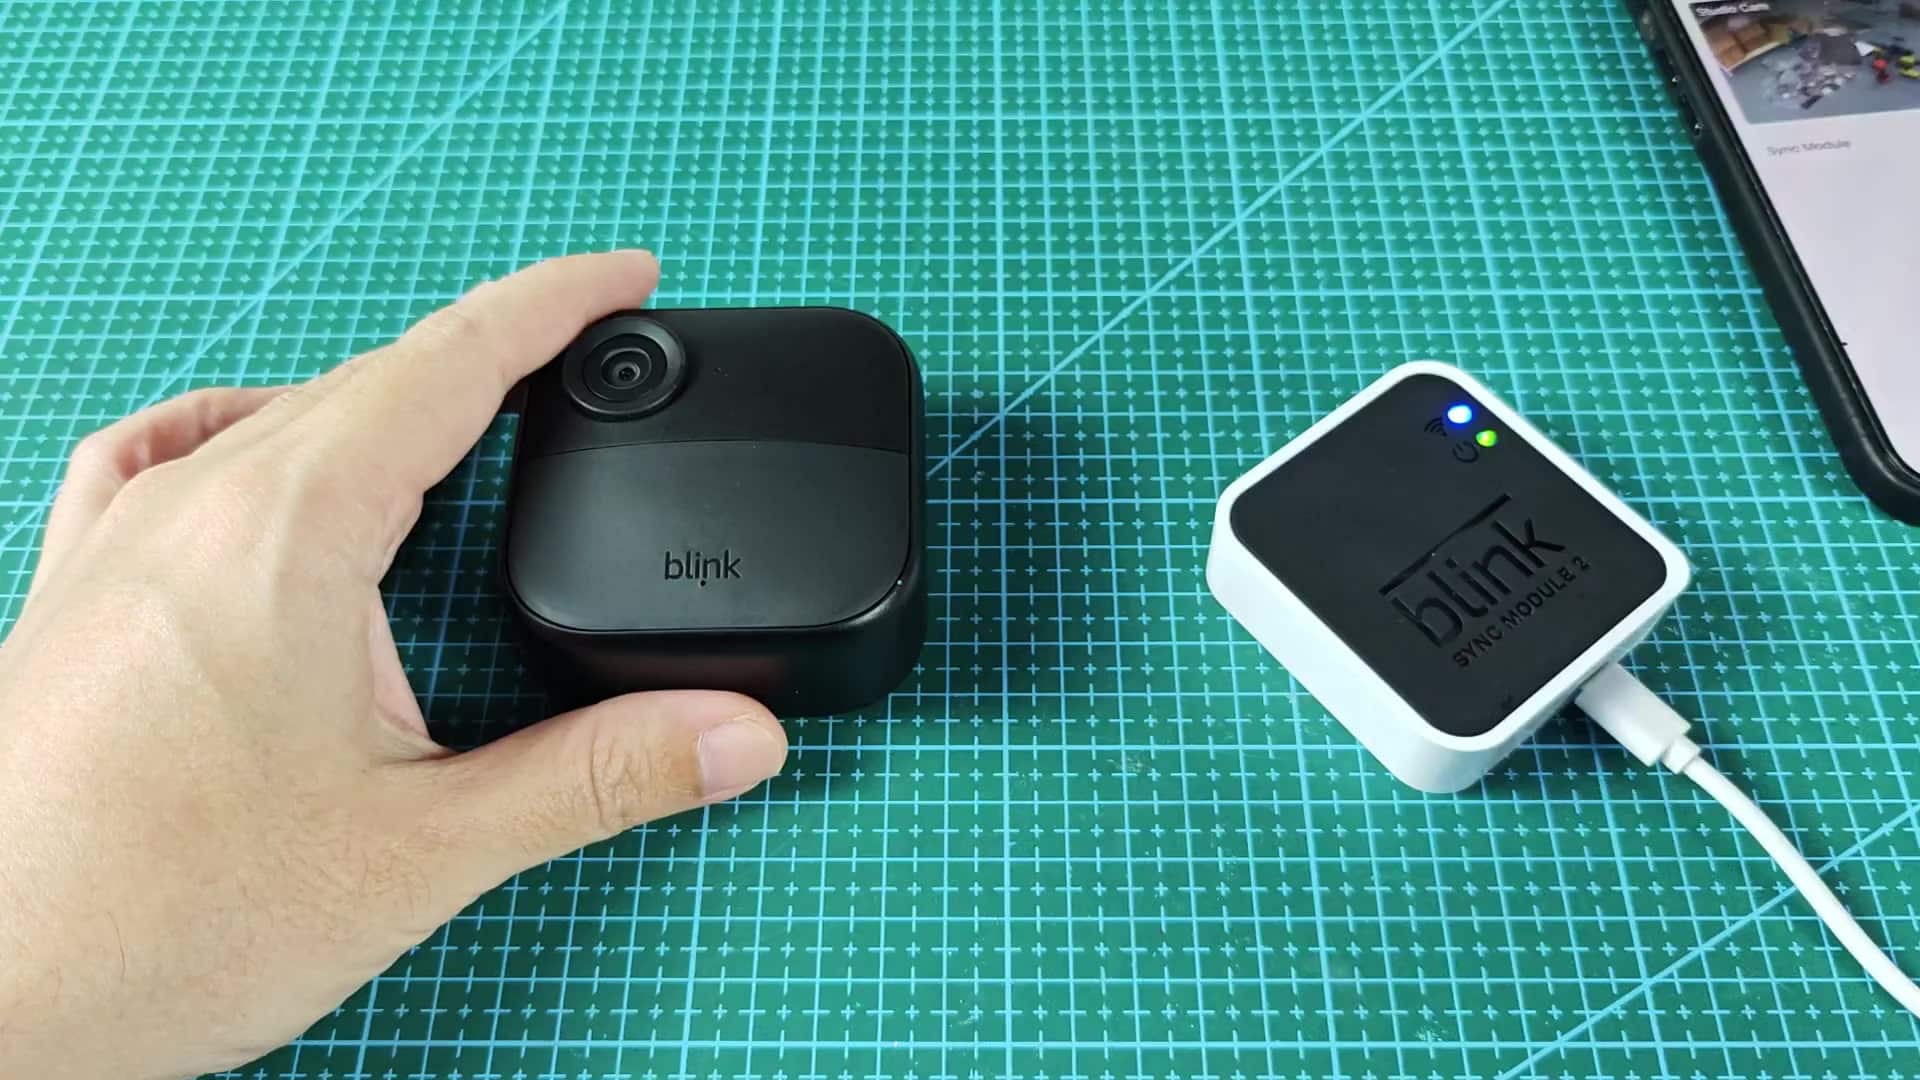
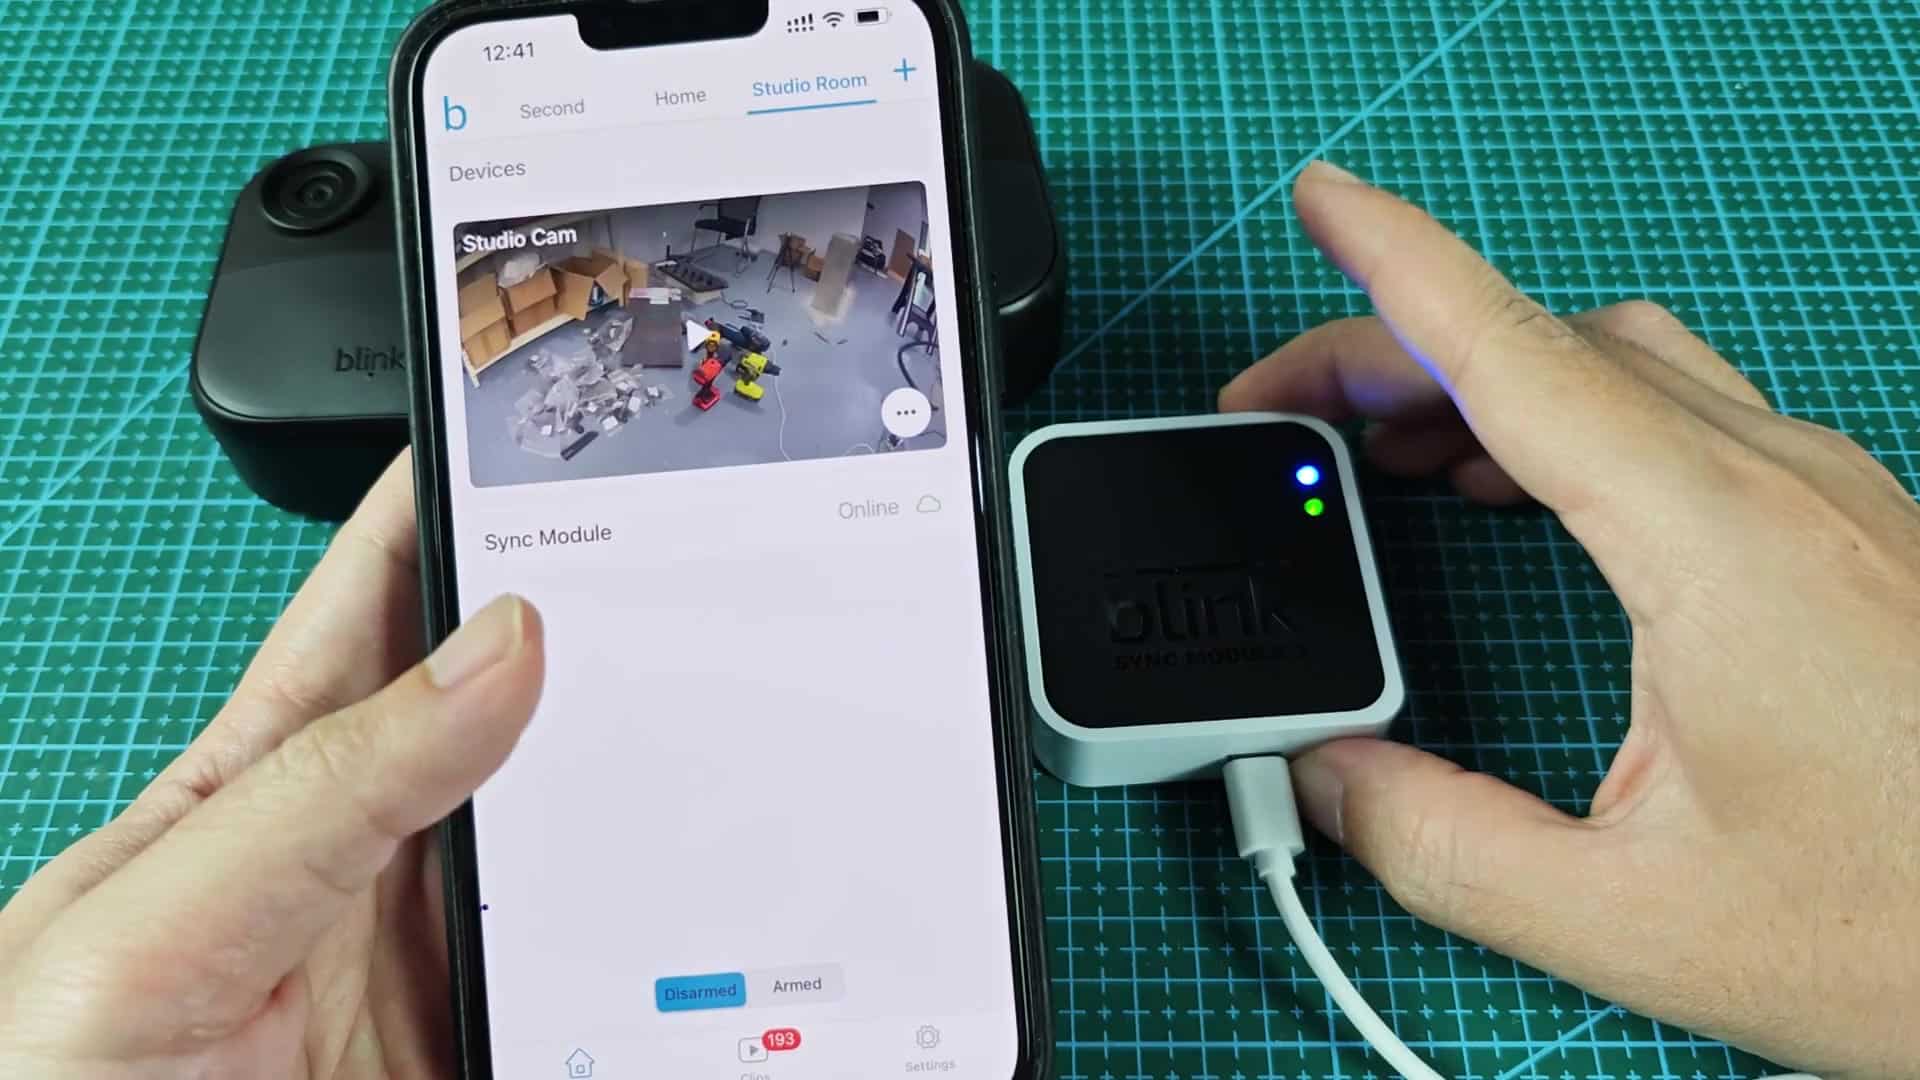
When you open the Blink app on your mobile phone, this is main interface you see. At the top of the screen are thumbnails from all of your cameras, with an additional list item for your Sync Module appearing below them. When you tap it, you’ll be taken to the device’s settings page where you’ll confirm that module is indeed online. From here you’ll also find settings for managing local storage and firmware versions.
Connect to new network
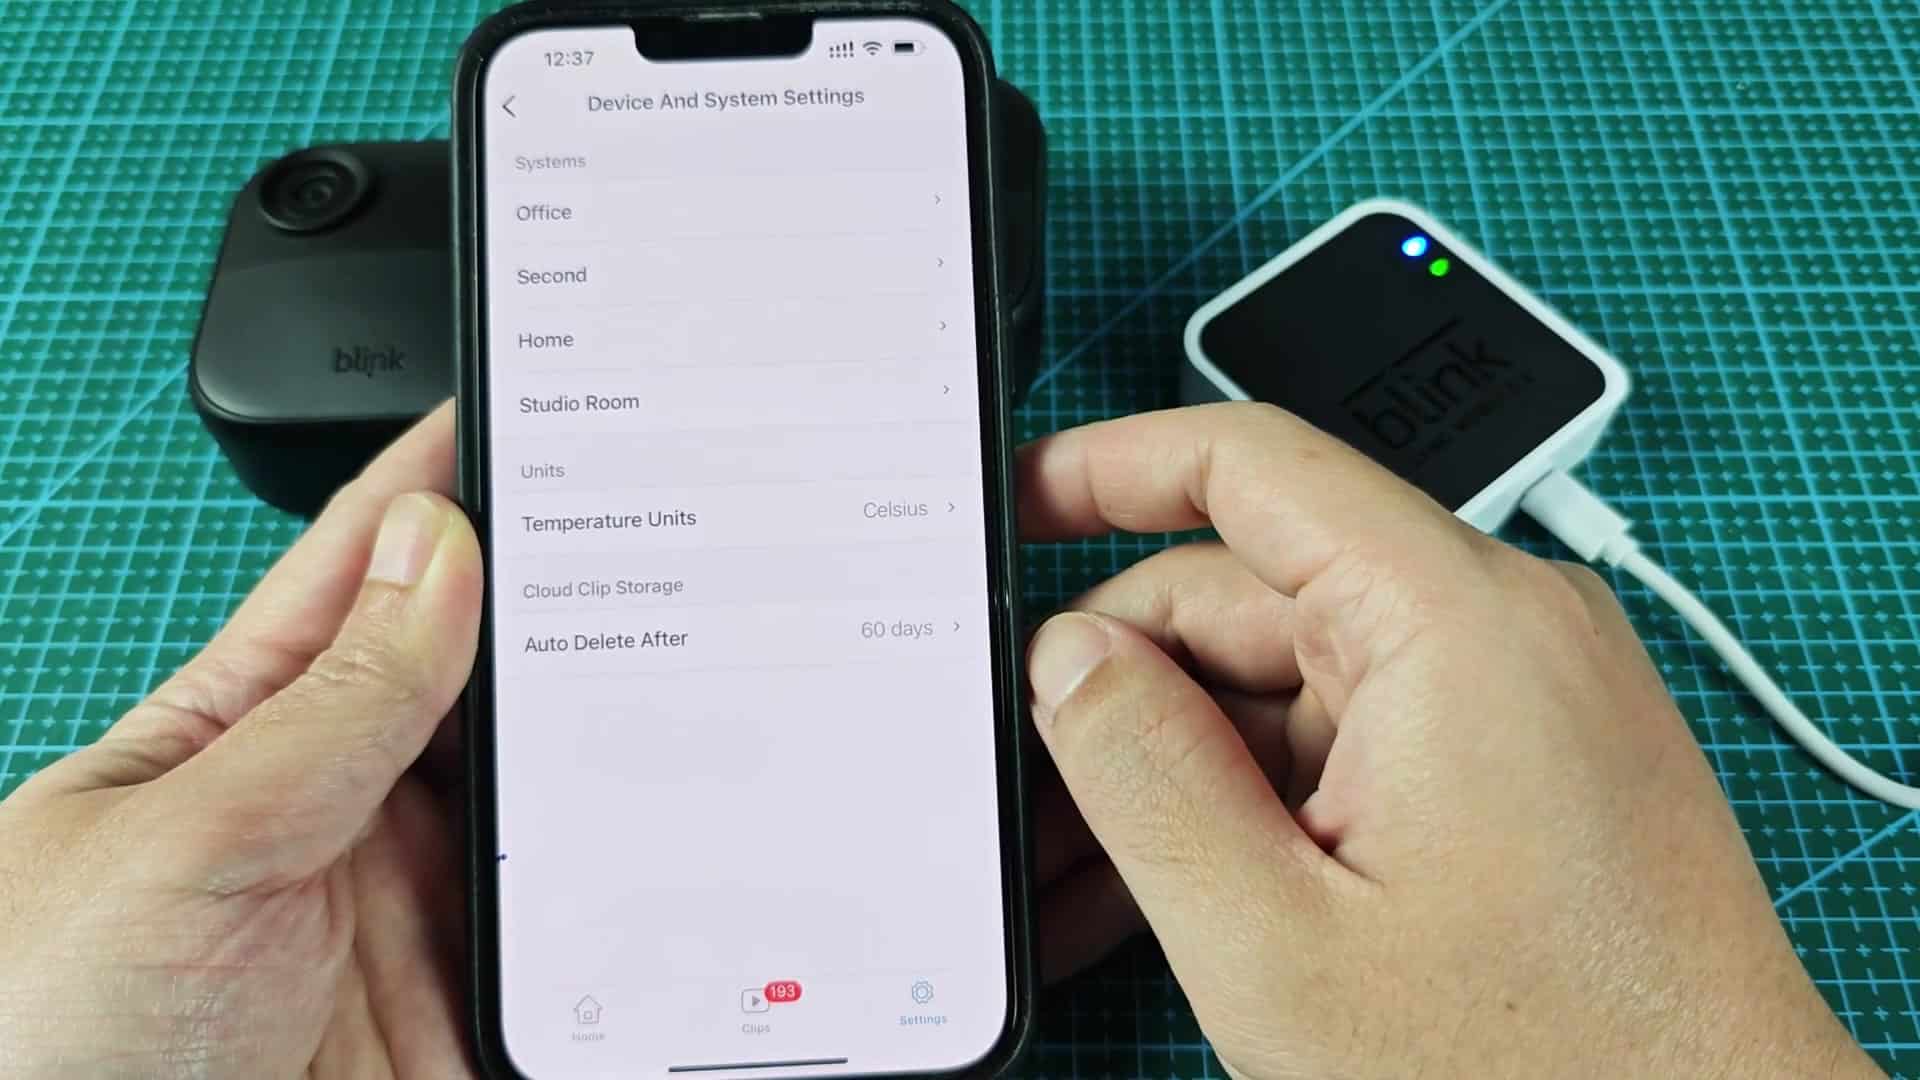
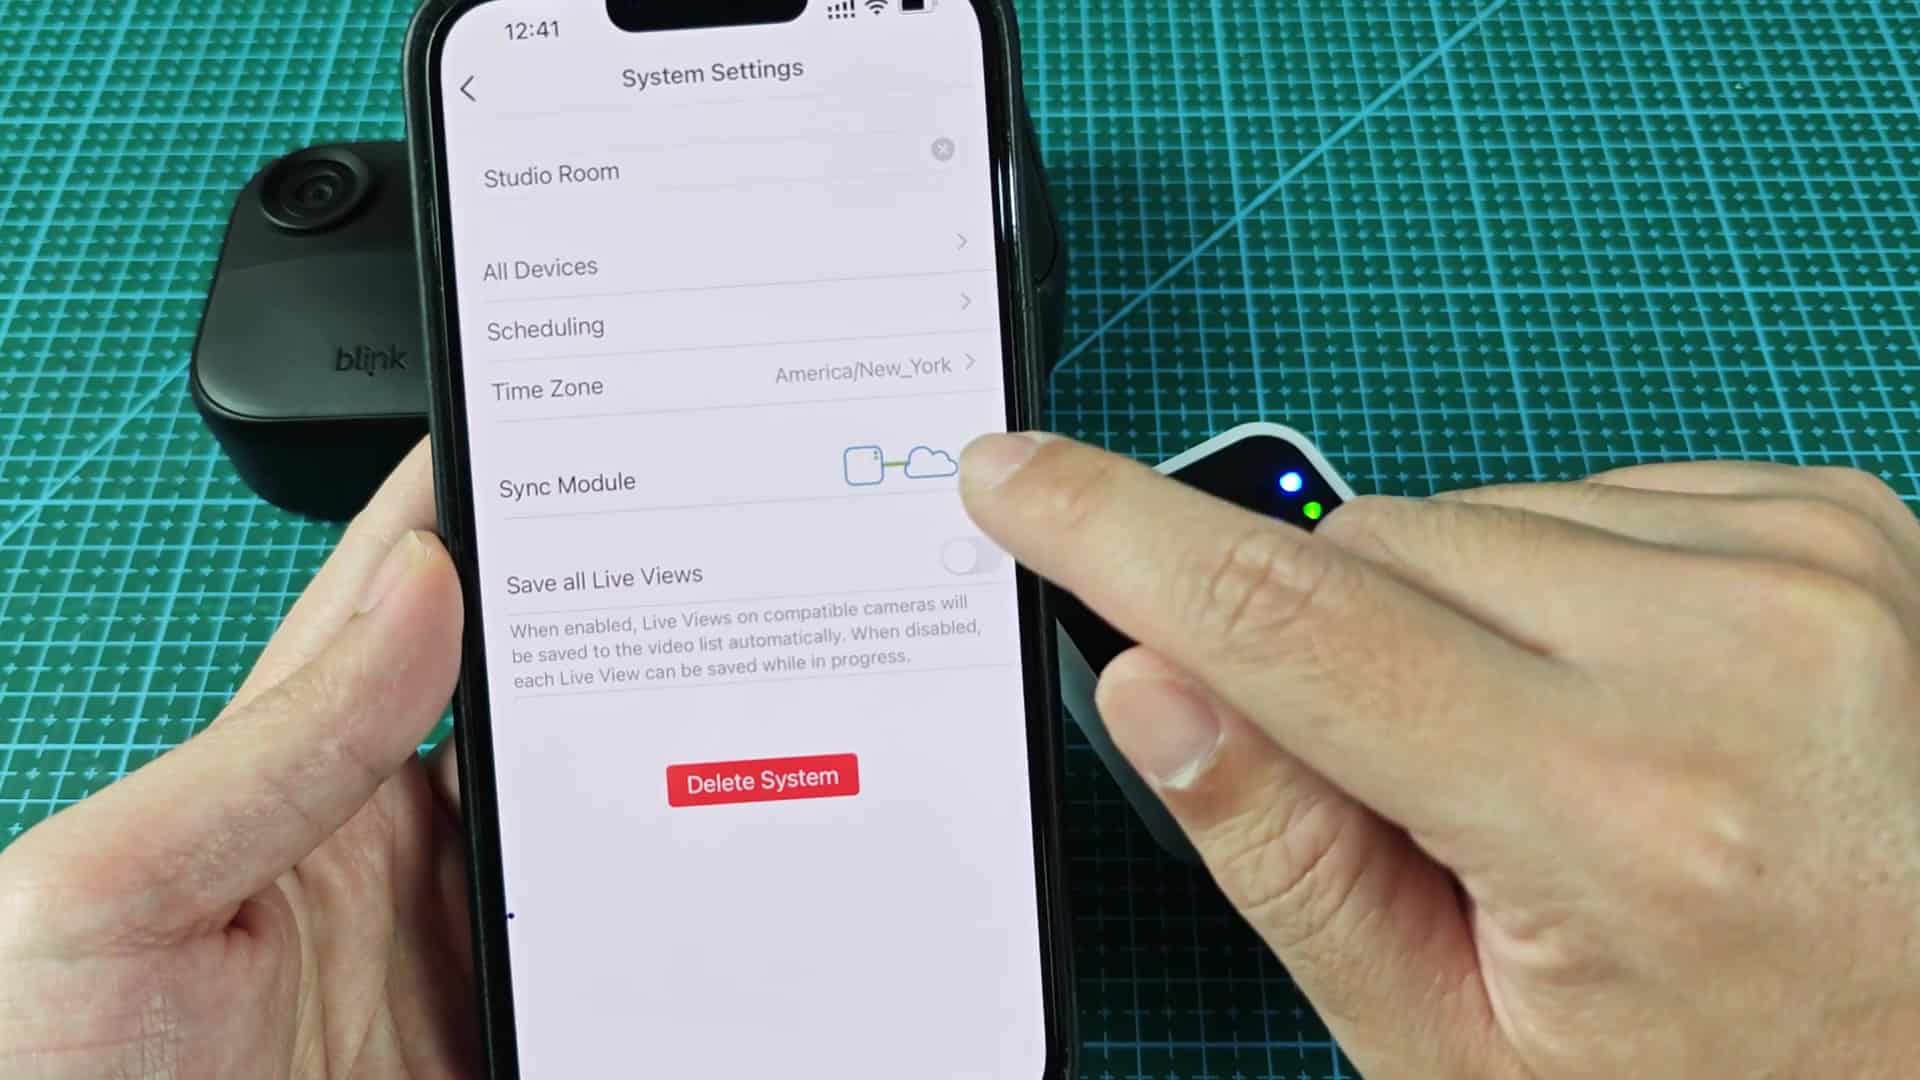
From here, you’ll go back to main menu and then to Device and System Settings. From there you will see a listing of your various systems, such as Studio Room or Home. These system help you jump quickly to the right controls on your devices. You can scroll down below cloud storage preferences, temperature units etc., until you see the right one for your Sync Module.
Inside the Sync Module details, find the settings menu and look for the WiFi options. There’s a nice button to change your network, it says Change Wi-Fi Network clearly enough, and you’ll want to ignore everything else (Delete Sync Module, Get Help). Check the status. If it is online, it means it is connected and stable before you start changing things. You don’t want the device unresponsive during this update business.
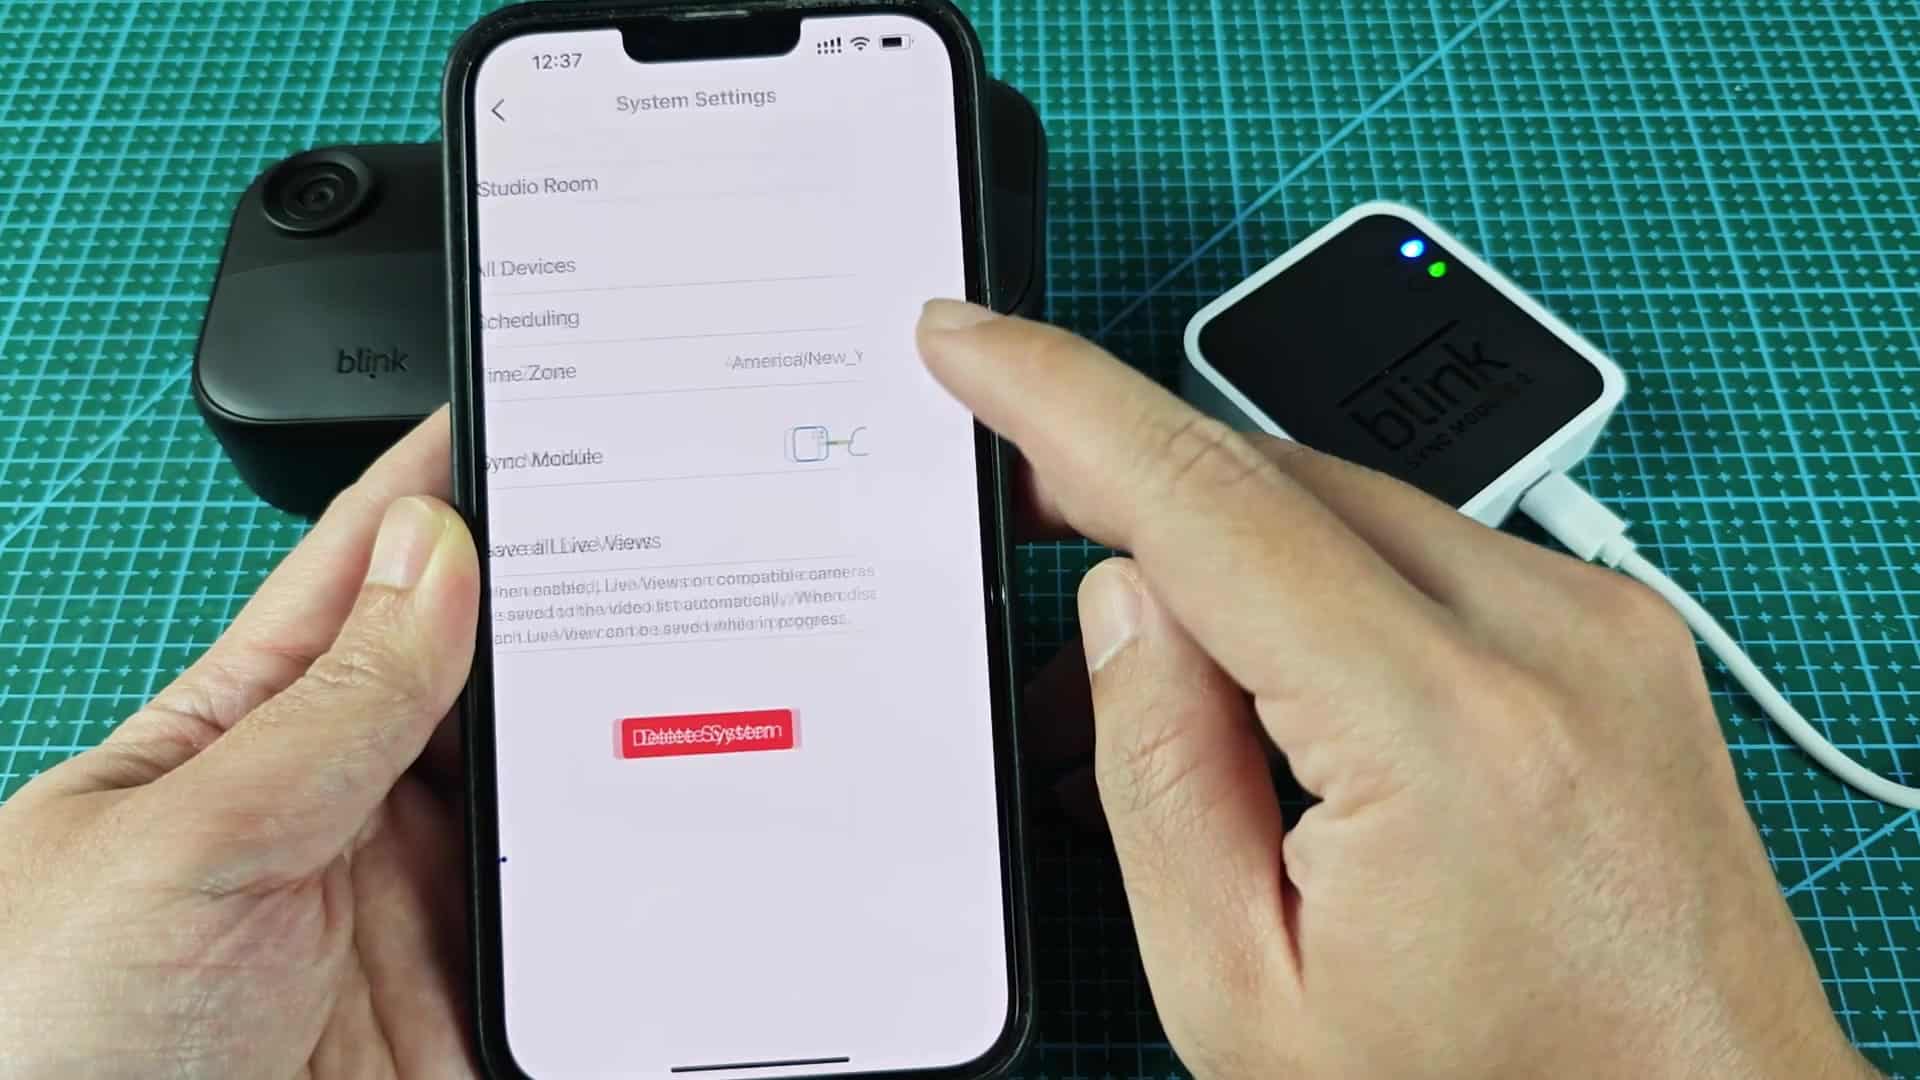
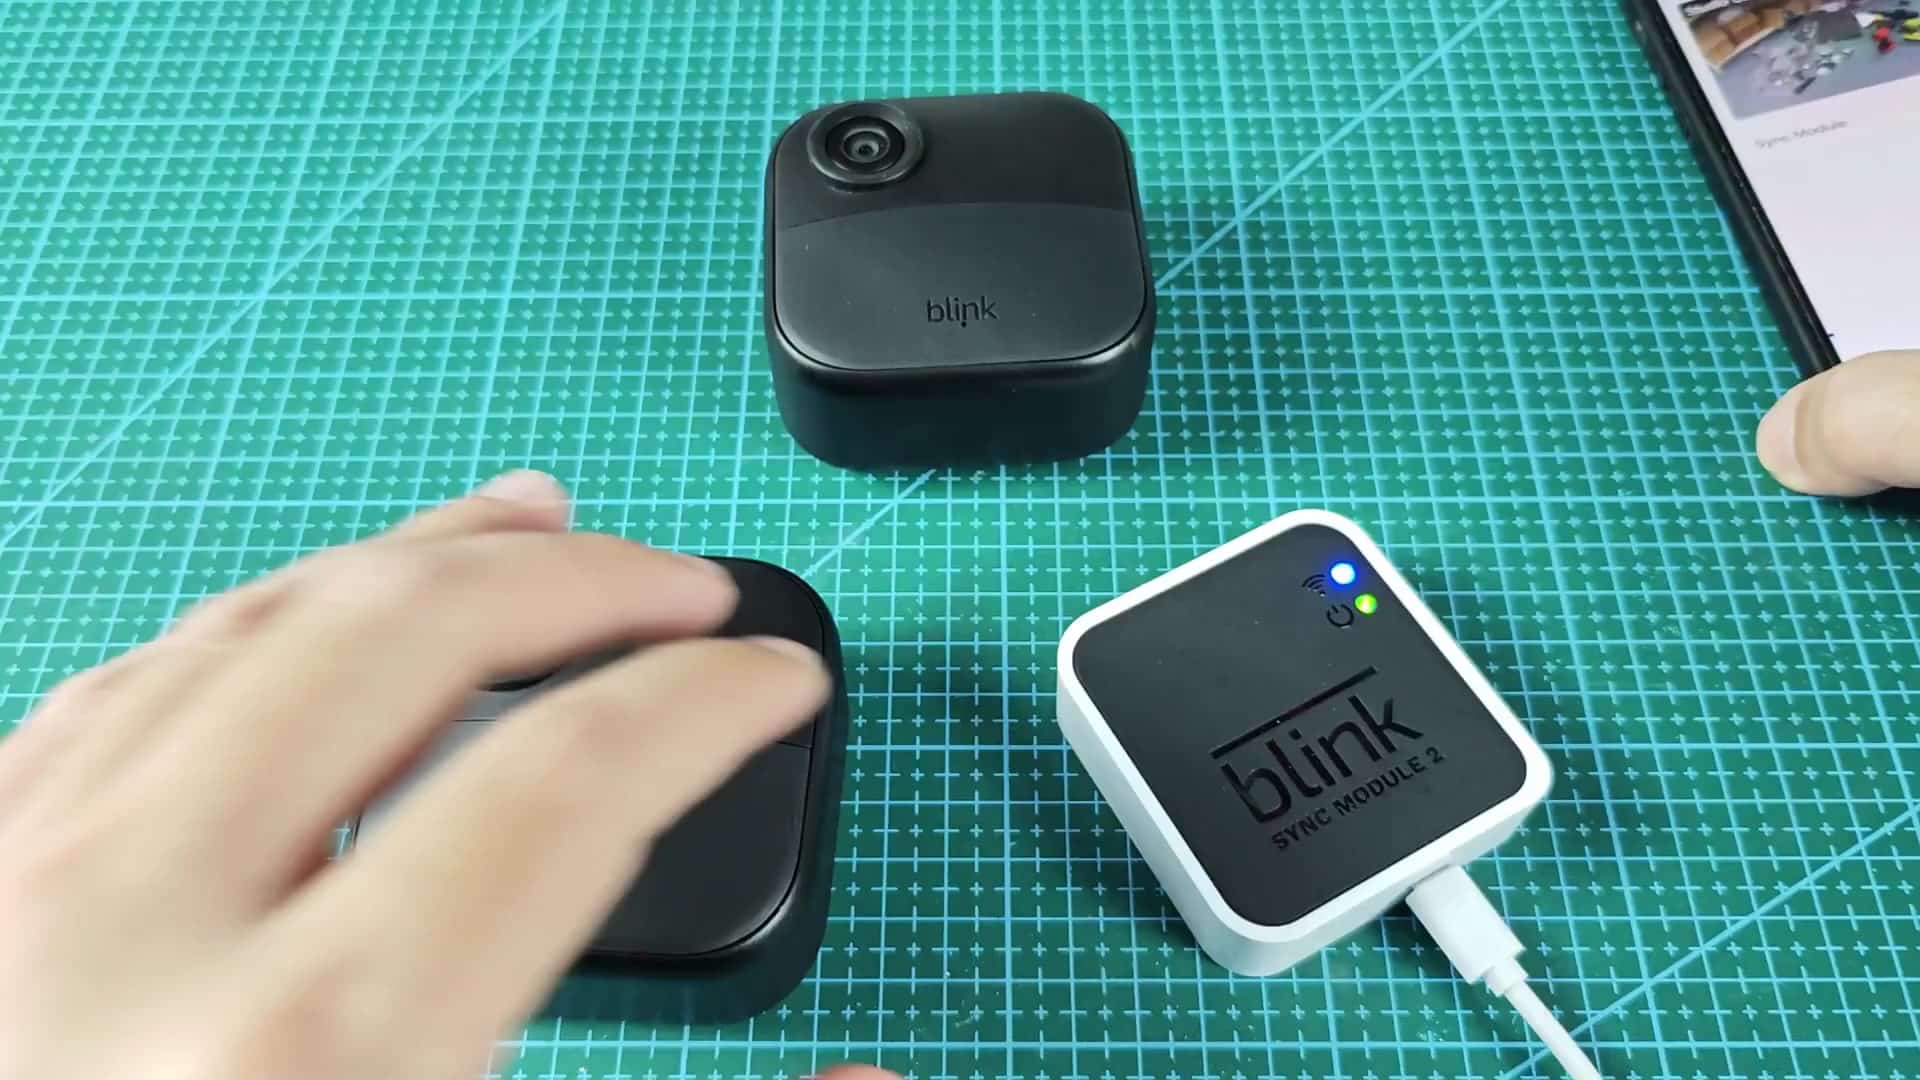
In order to change networks, the module has to be put into pairing mode, typicaly by physically resetting it. You’ll find its model number on the back of the device, along with regulatory IDs that confirm you’re working with the right thing. After reset, the Sync Module will be listening for new WiFi credentials… At which point the app can send it updated info.
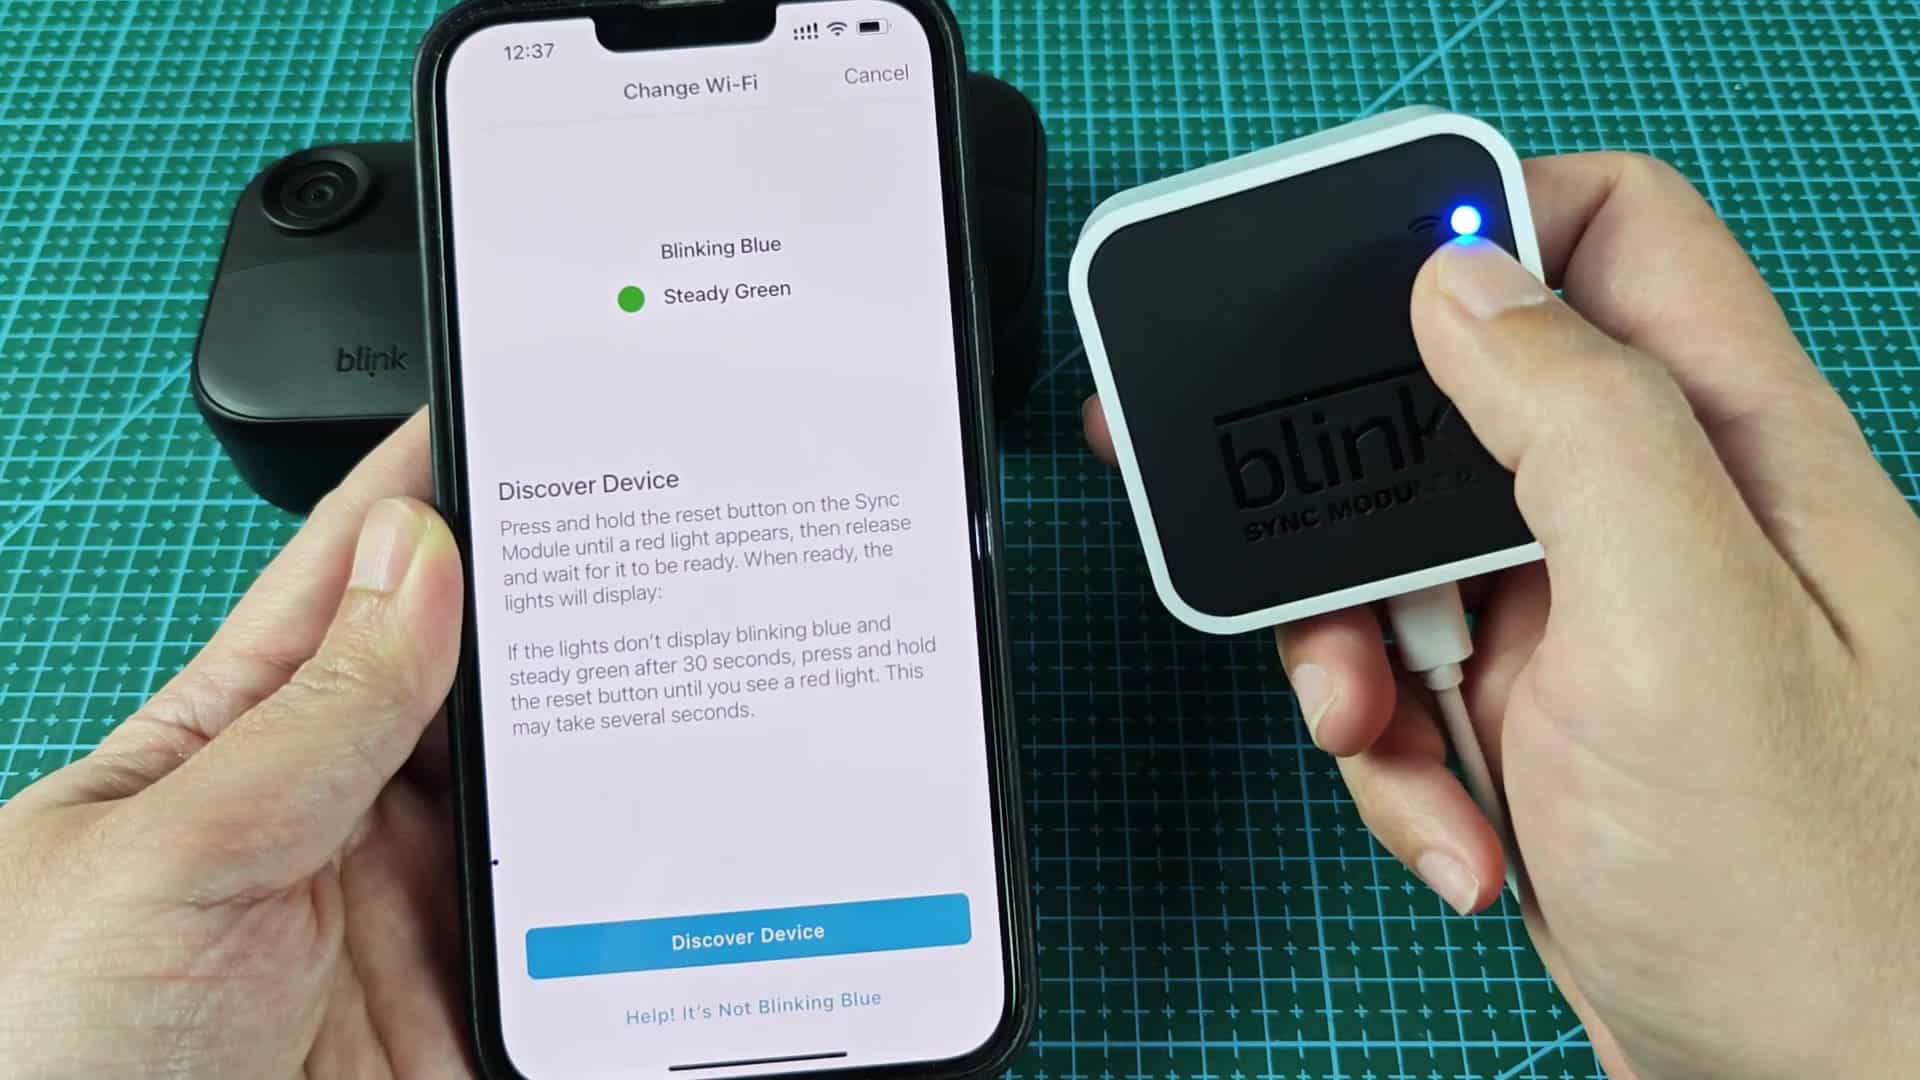
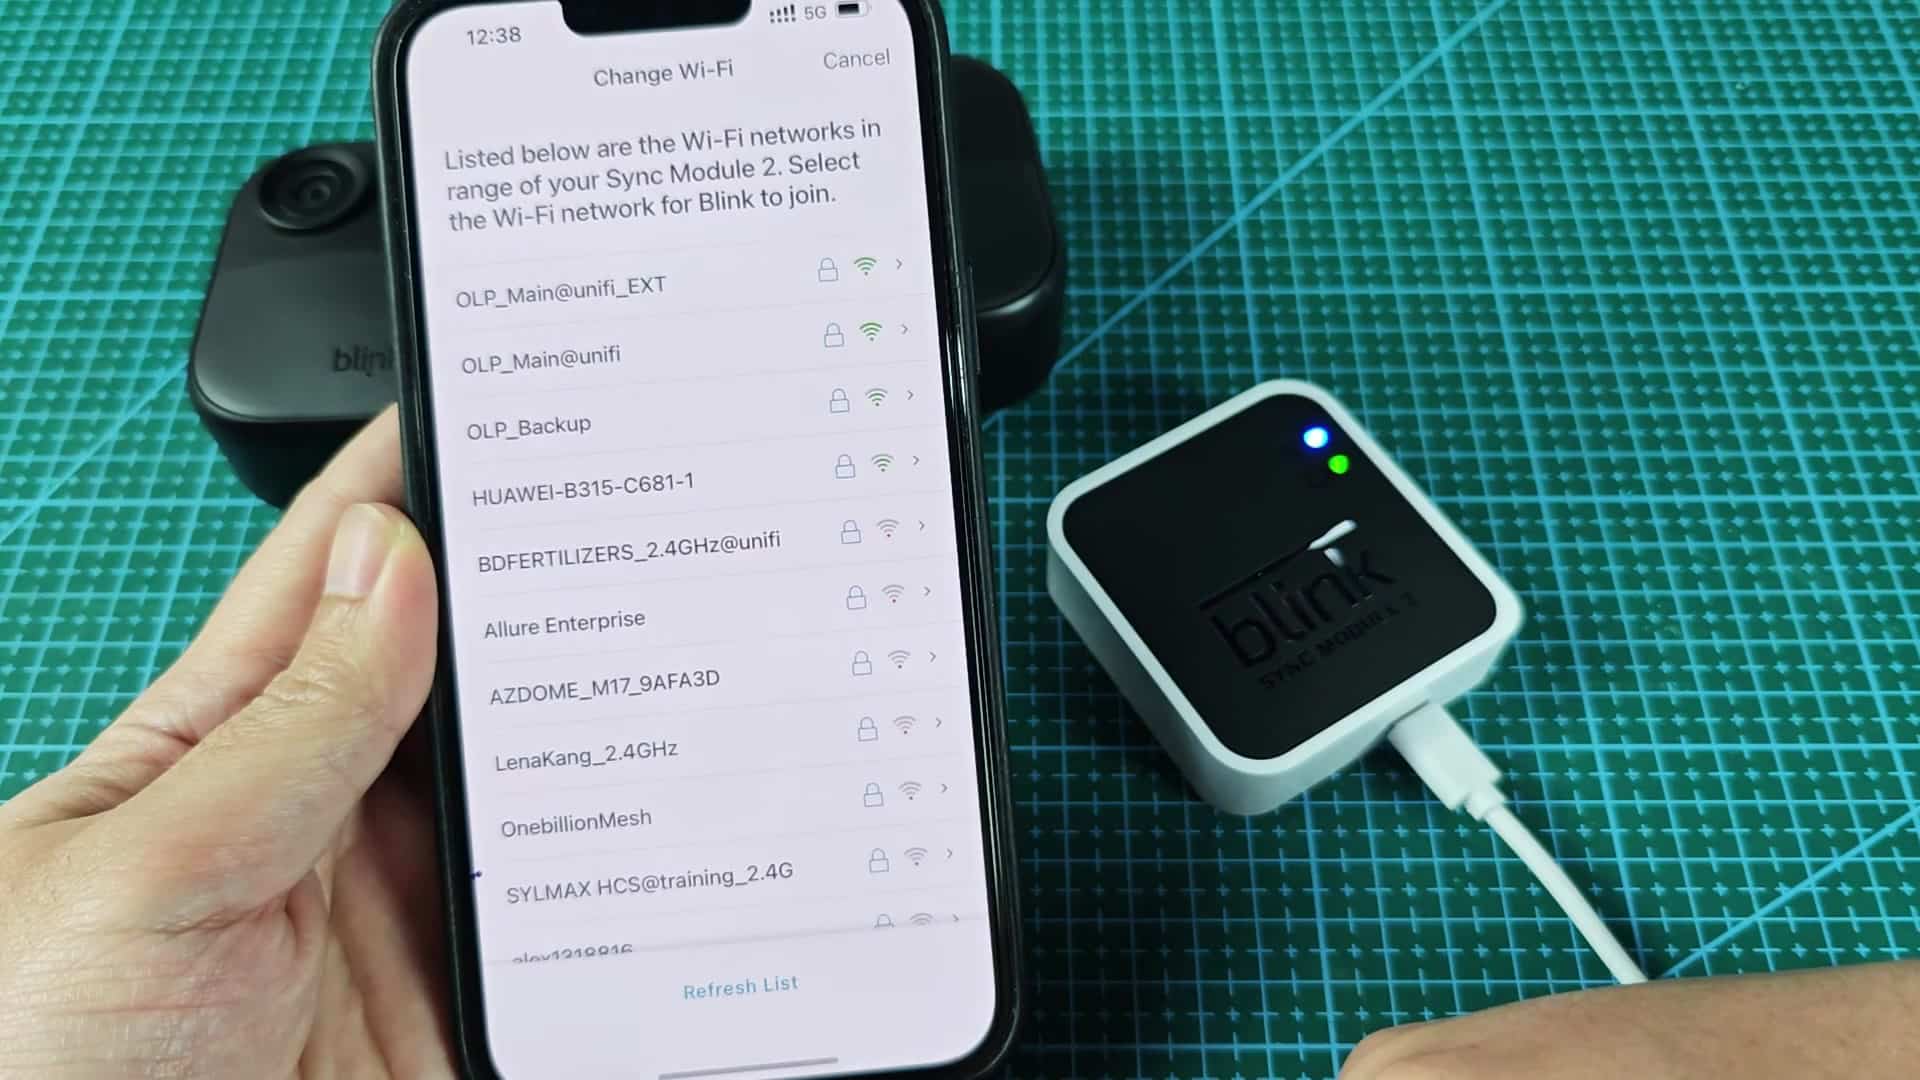
Once back in the app, it shows the list of available networks to select best one for your area. It lists out the SSIDs on the screen and helps you differentiate between your own mesh network versus those from neighbors. The key here is picking the network with strongest signal as this will ensure more reliable performance and less chance of dropped video or missed alerts.
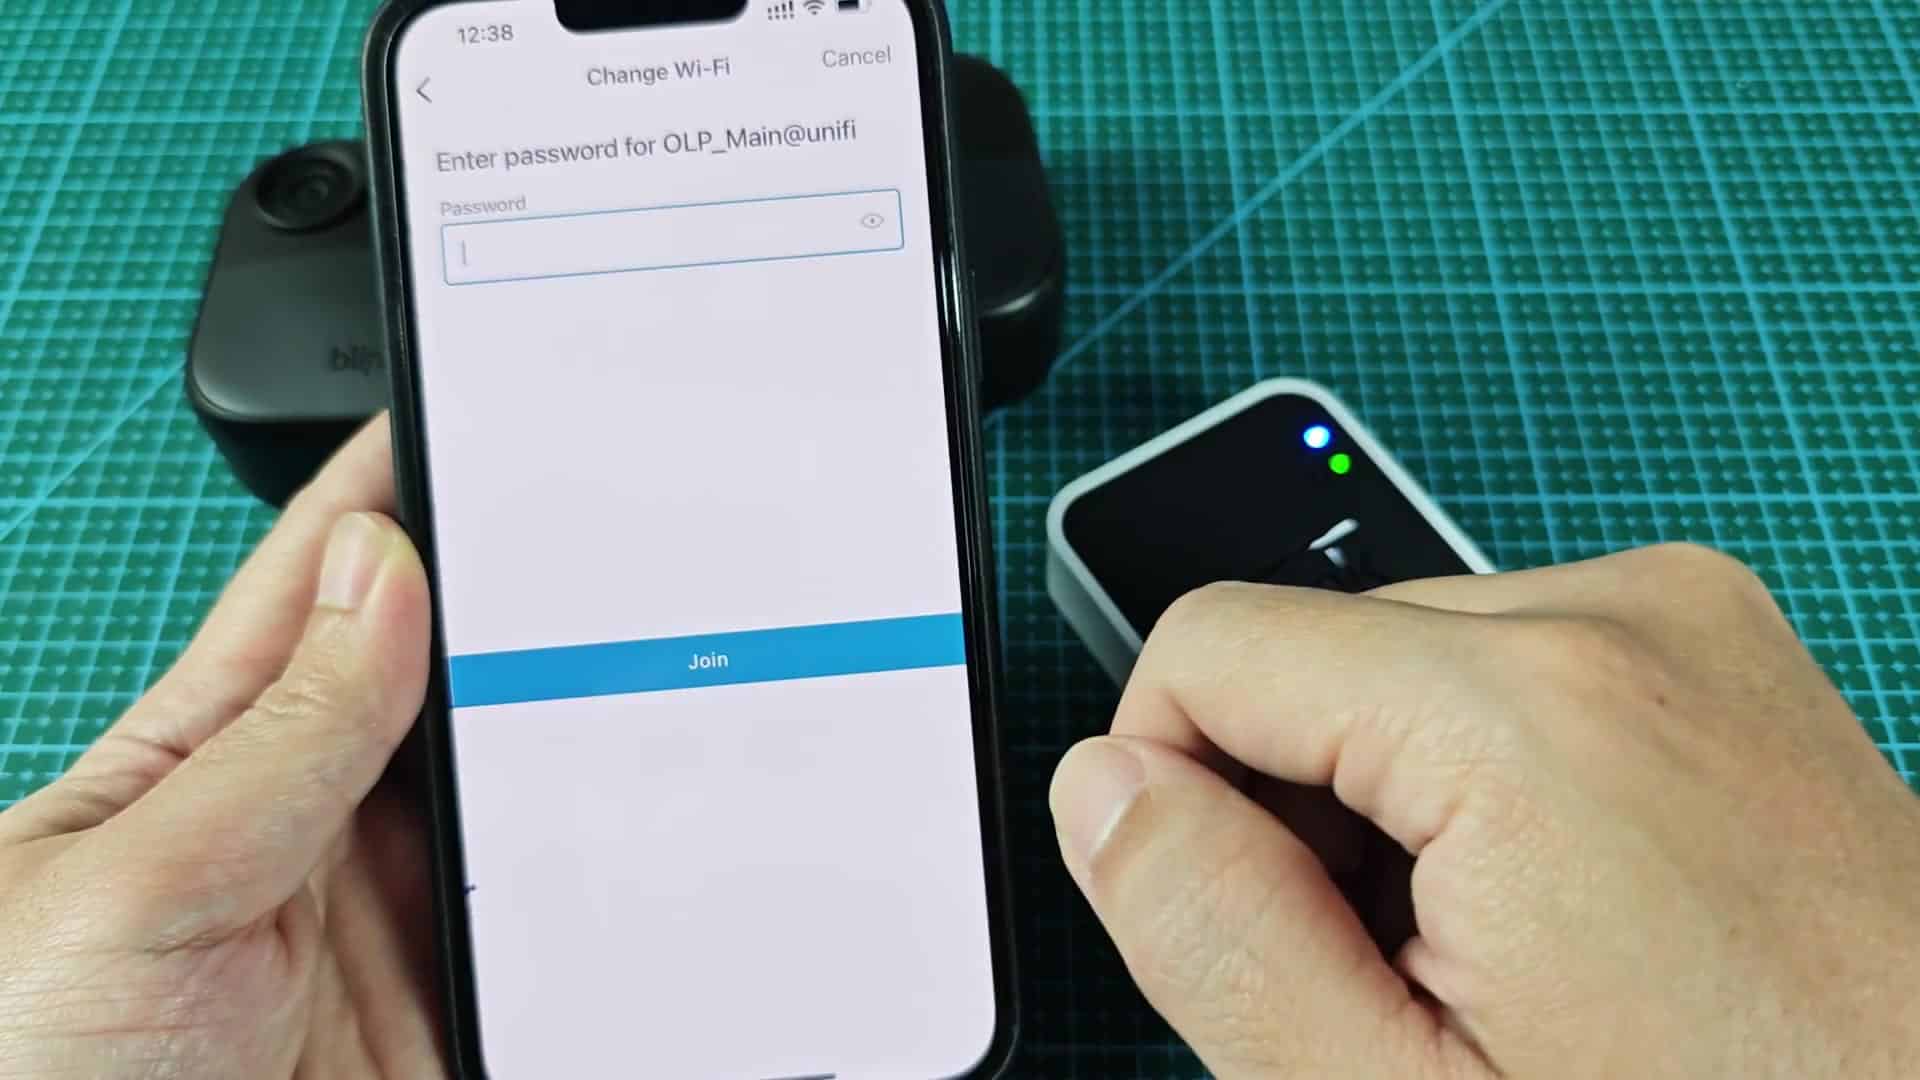
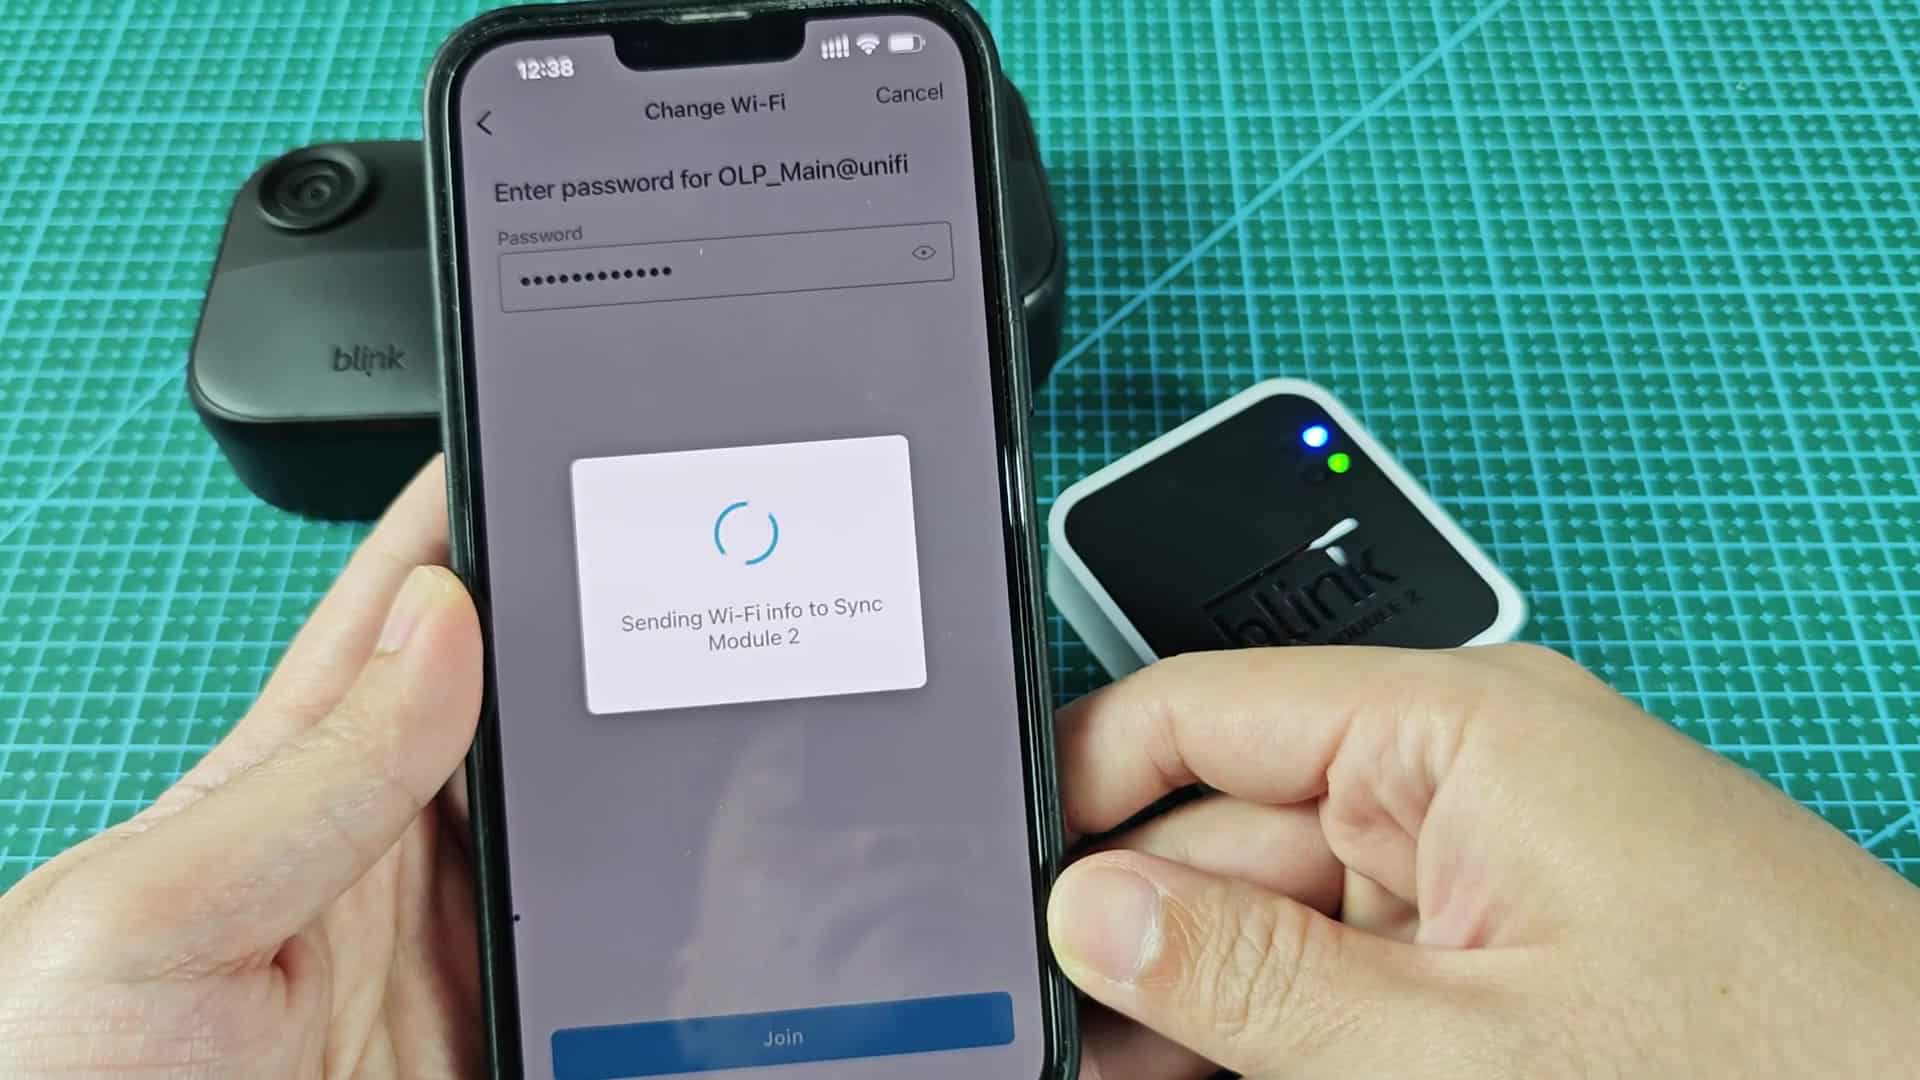
Once you pick your network, it brings up a dialog box where you can type the password. At this point, you’ll see the keyboard pop up beneath the screen. This lets you type out the security code slowly and double-check what you’ve typed before going on. If you put in an invalid password, it will just reject it and won’t save it.
After that, you hit the Join button, which sends the info to the device. You then see a loading popup on your phone saying the app is connecting with the Sync Module 2 over Bluetooth and sending it the WiFi info. It’ll take a couple of seconds to complete the handshake and transfer the data sucessfully. That short delay makes sure it gets everything it needs so the module can get up and running properly.
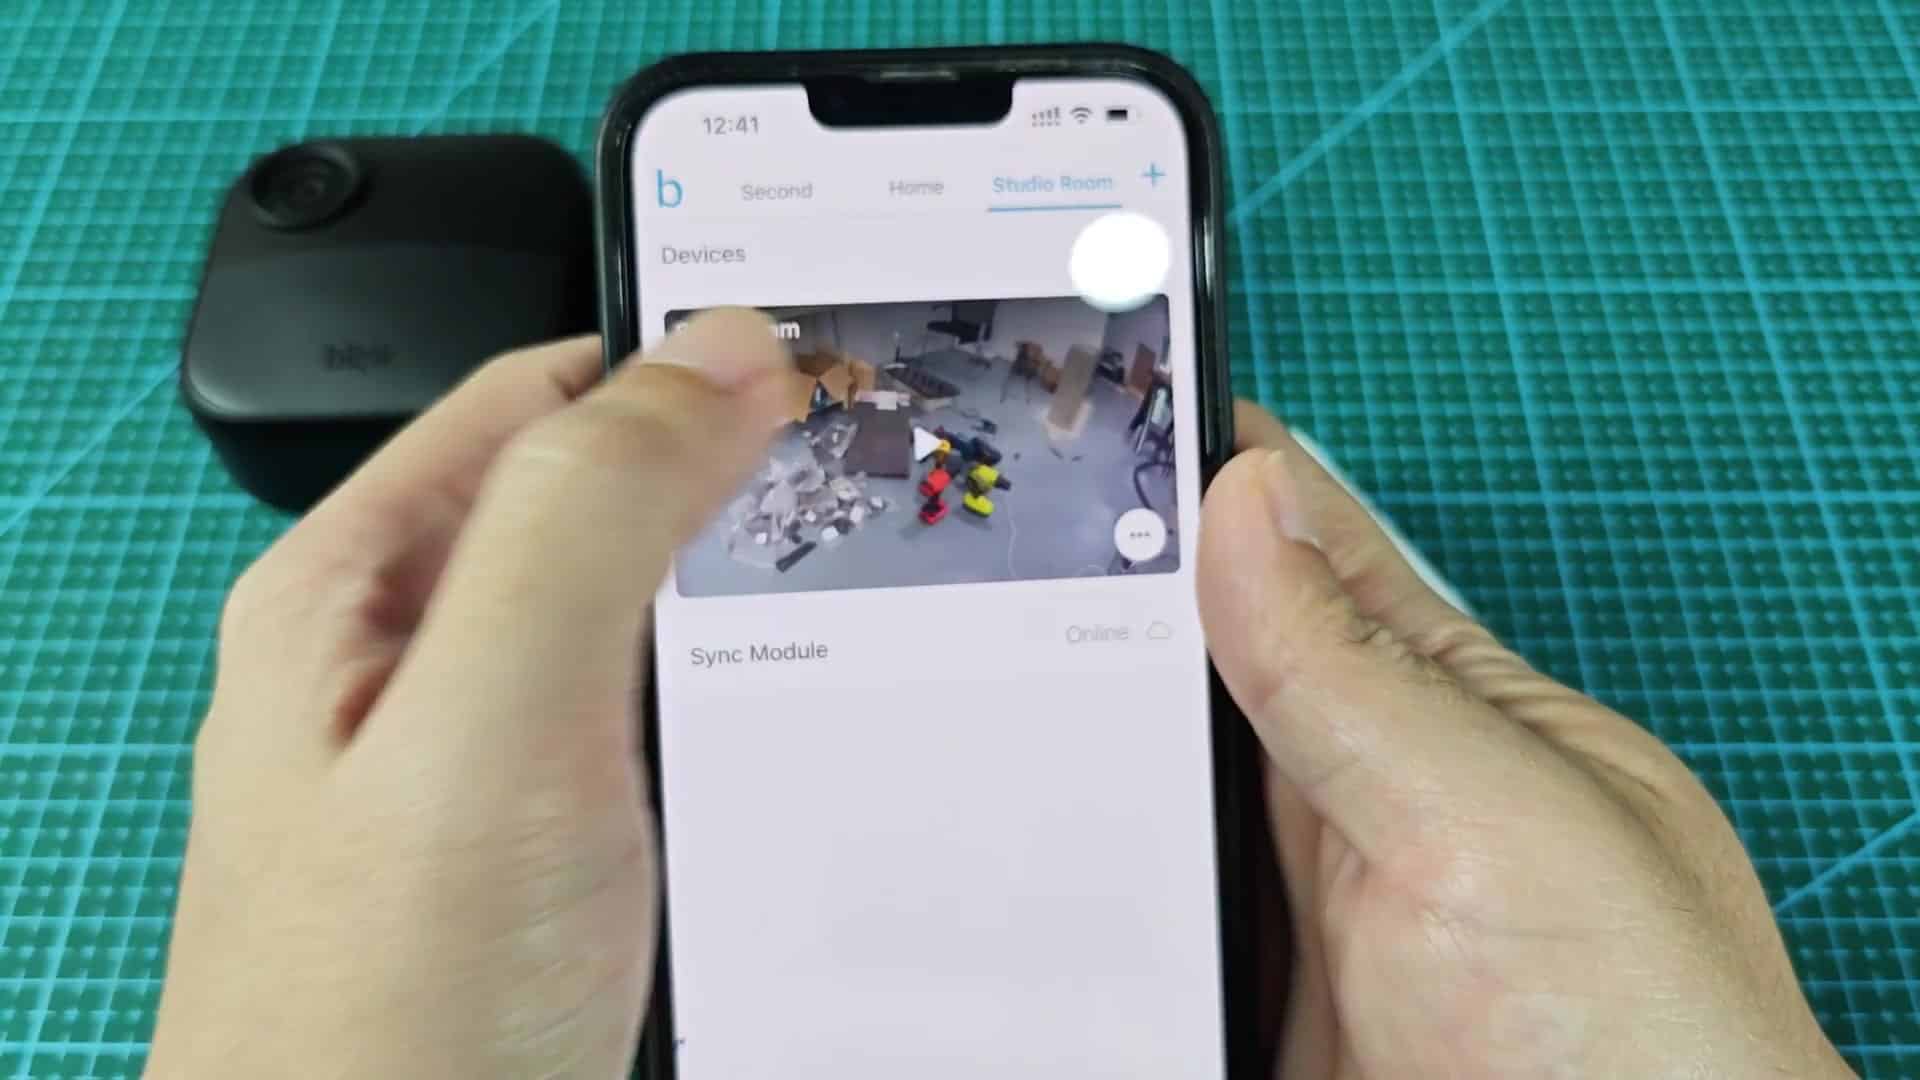
Success! The module reconnected without issue and the app switches back to display the Studio Room system. The camera tile now shows a preview image from your lens. Which tells us that the video feed is live. The Sync Module status is still online, so it appears all systems are go and working correctly. That’s great, the hardware should of accepted the new network settings.
Double-checking the details page again, you see it has the WiFi turned on now. There’s even a record of exactly when the change occurred with the last updated timestamp. Below that, there’s some info about the firmware version and any settings you had stored locally (without losing those settings).
That way, all your preferred security settings stay in place.
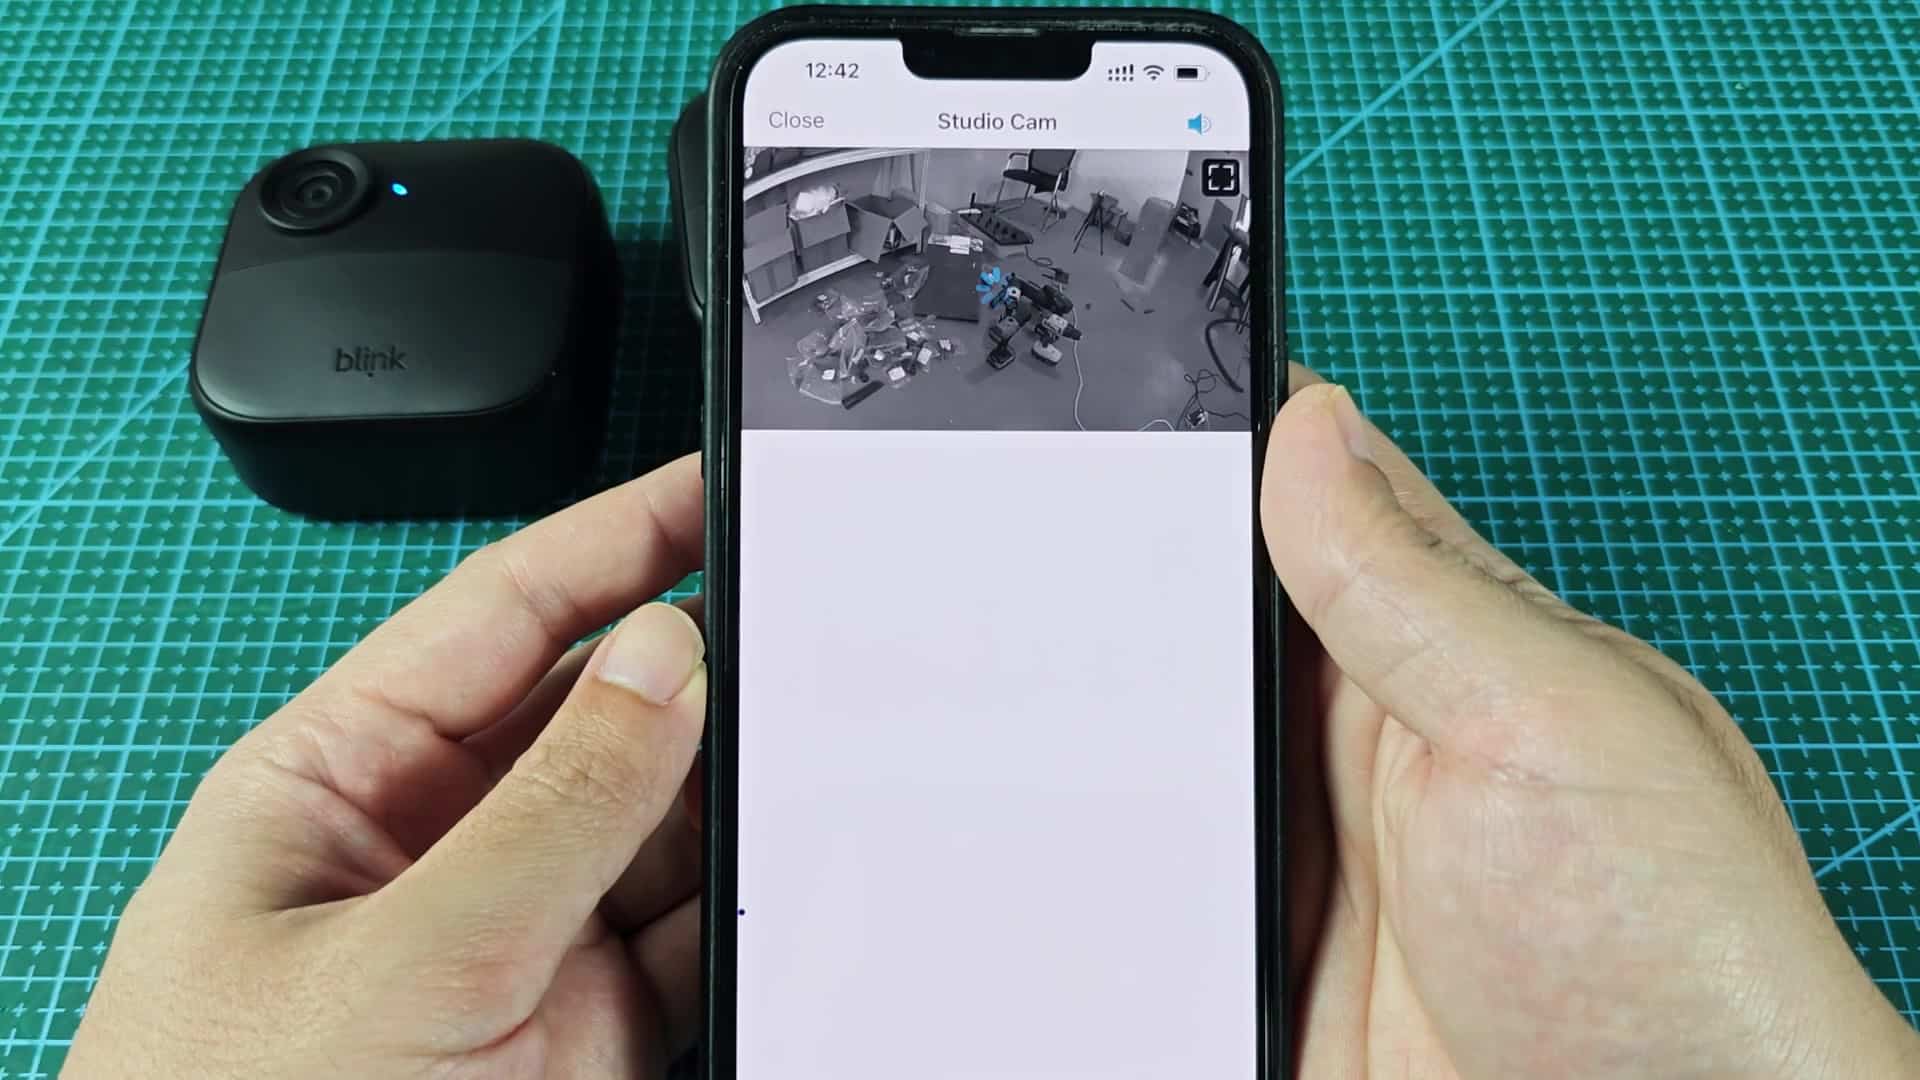
When you first open the live view on the Studio Cam to check its video quality, it initially appears as a black-and-white preview. This is not an error. It will be in night vision mode while the sensor adjusts and determines whether there’s enough light to transition into color mode. Give it a second, though, and the sensor should set itself according to surrounding room’s light levels. This small pause helps ensure that what the camera captures matches real colors.
Then we transition to full color in the video. The time on the screen jumps to current minute. You can see how clear and sharp the picture is. You will be able to stream in high quality using the new WiFi connection.
We’re able to set up and save our clips just fine. Alerts work great too. Everything seems to be working as intended. It’s really simple and fast which means you don’t have to spend a lot of time keeping track of your security system.
Updating the WiFi on the Sync Module 2 automatically updates it across all synced cameras. There’s no more pairing every camera separately. It takes much less time then setting up eight different cameras by hand.
If there’s a problem or a change, only one thing needs updating. The sync module will communicate with the whole network without having to touch a single button on any of your devices. It is a well-oiled machine.