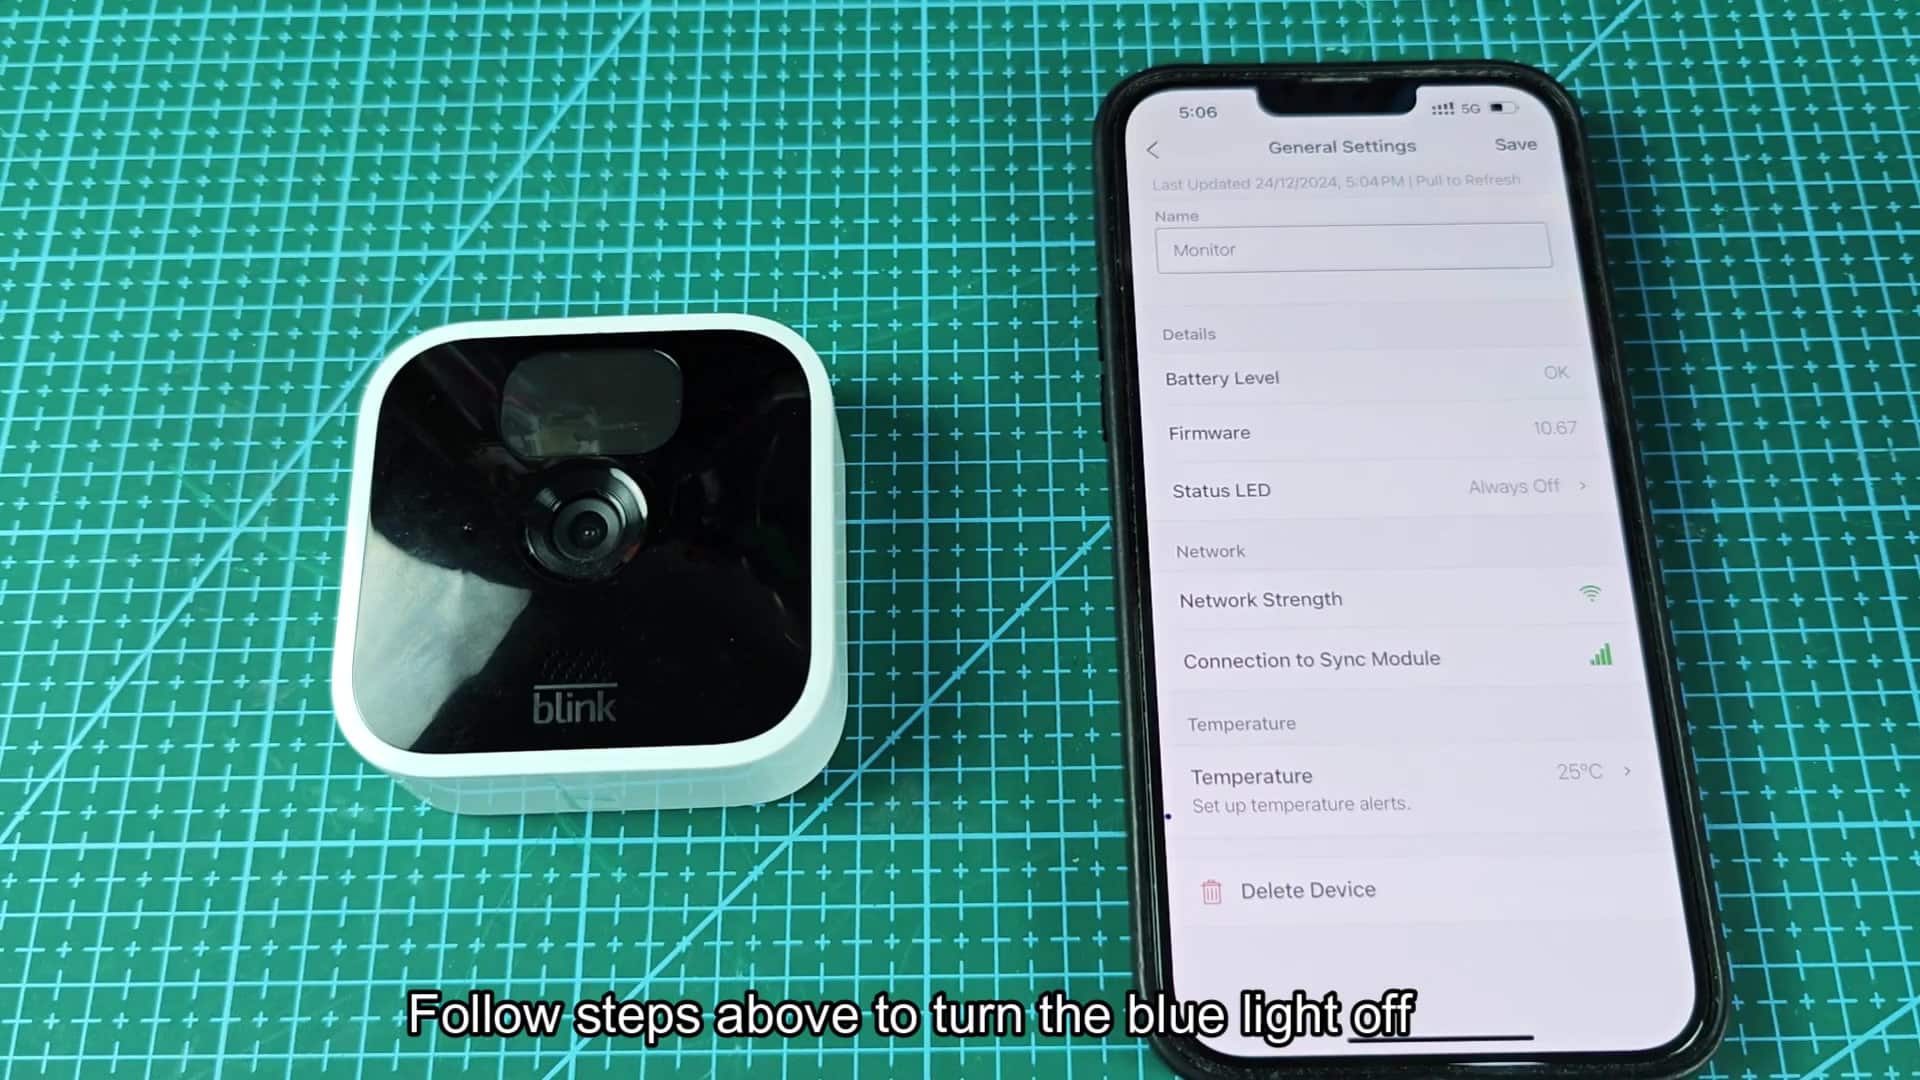
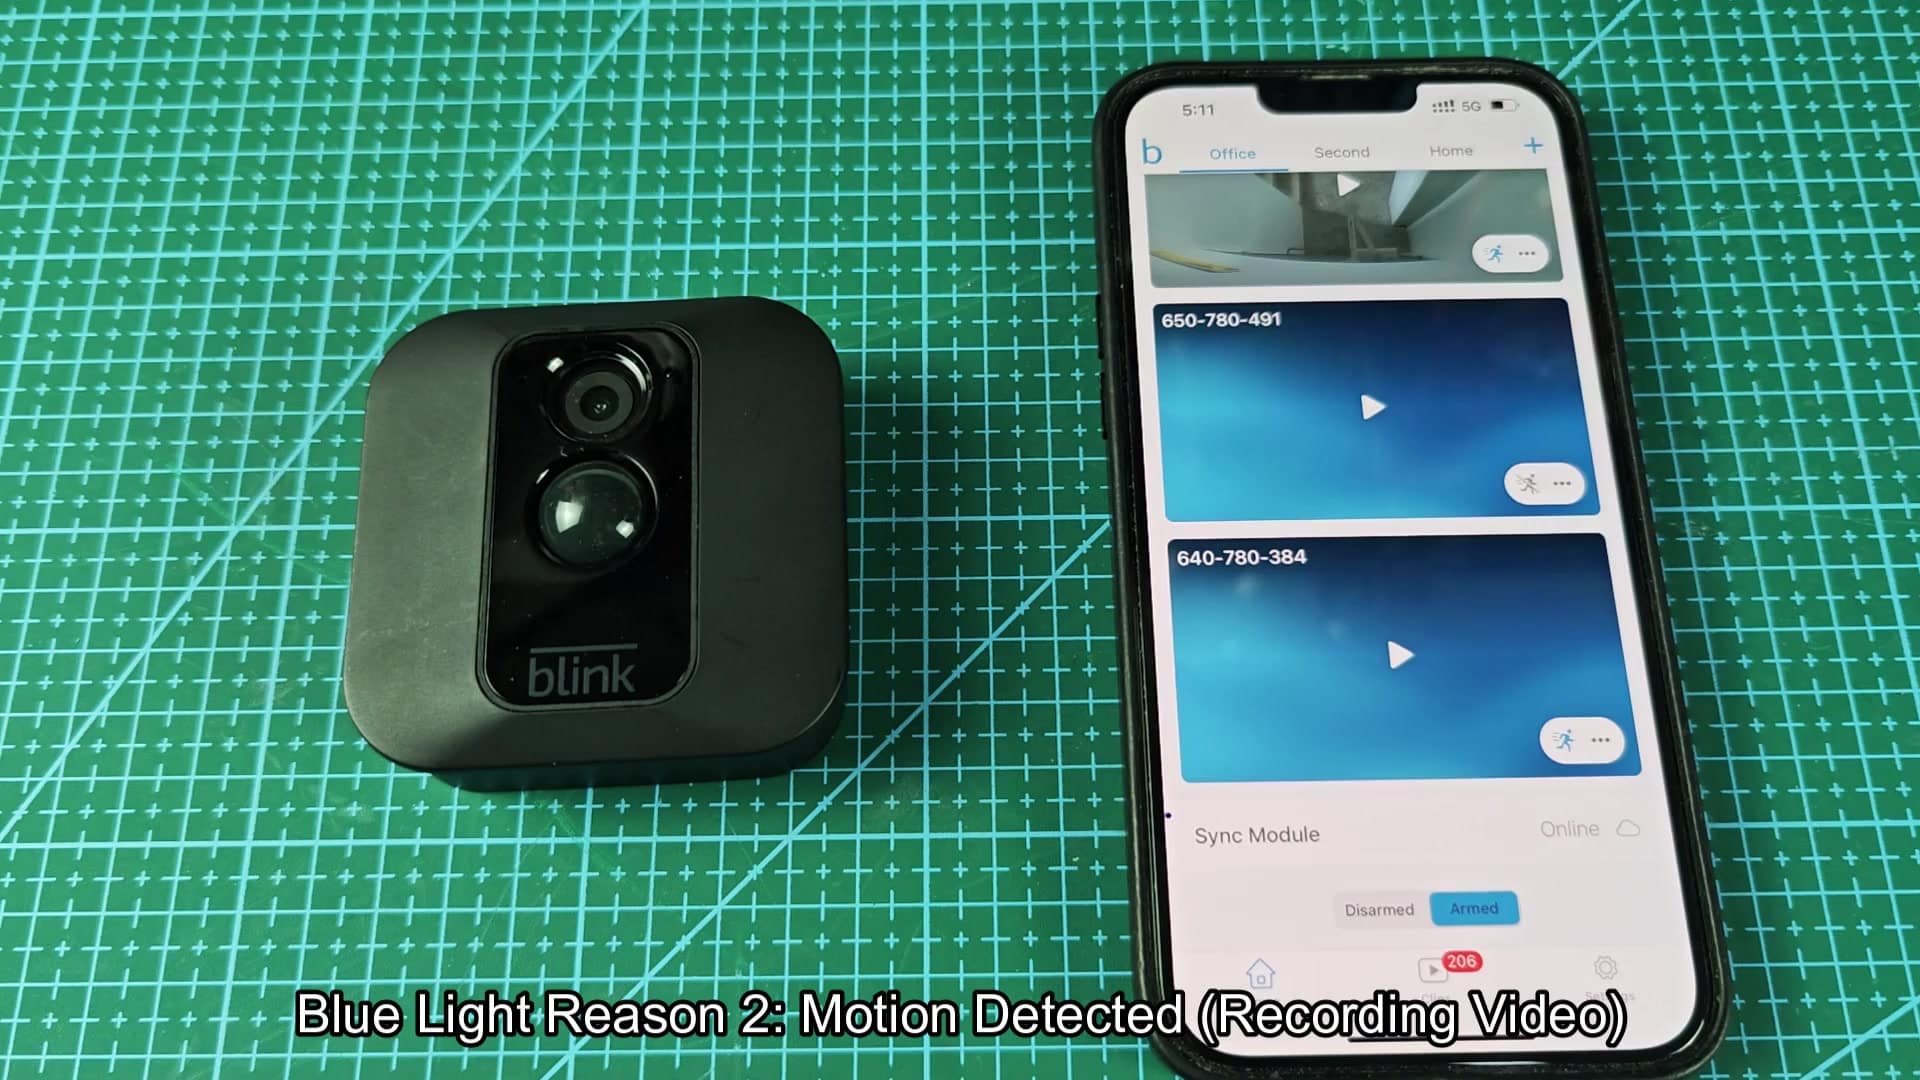
When your Blink camera’s blue light turns on, you may think it’s disconnected, something’s broken or there’s an issue with it. There’s no reason to worry… It’s all good and very much normal. That light let you know when one of two thing happens.
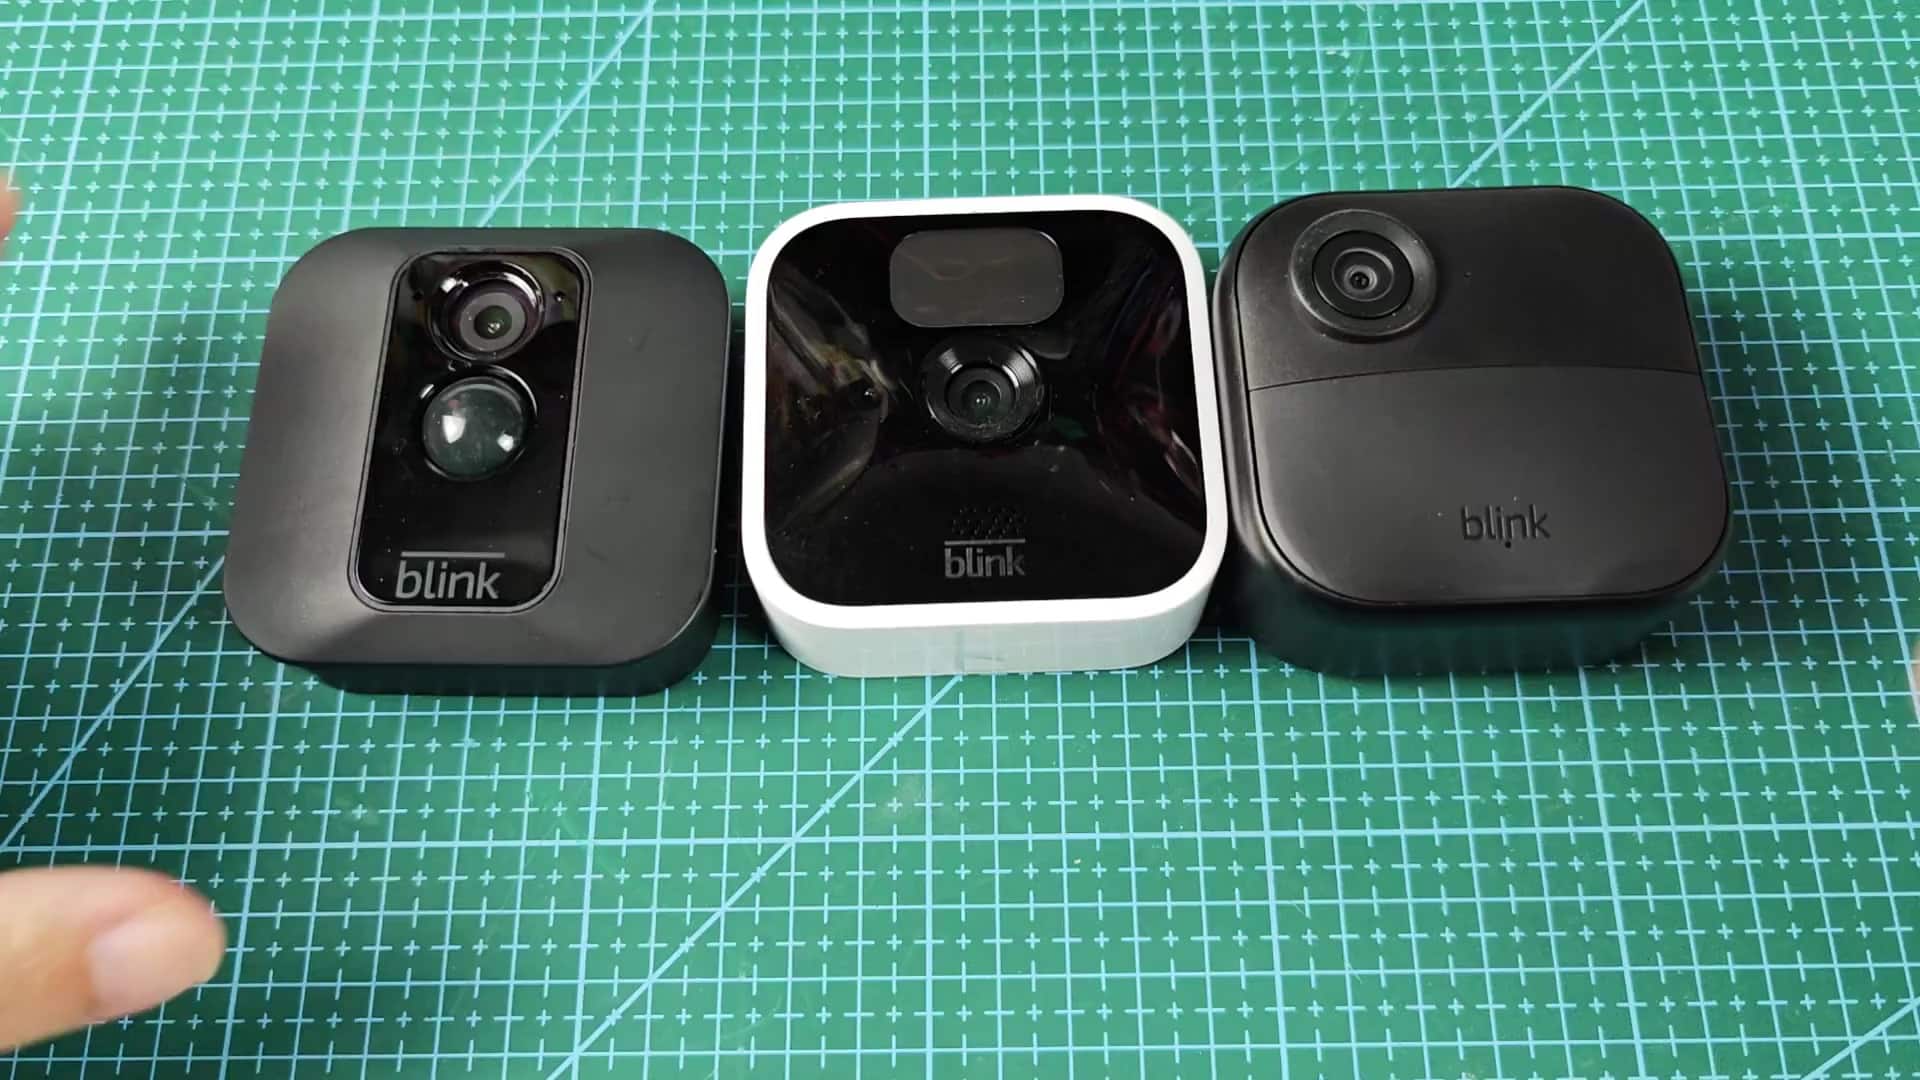
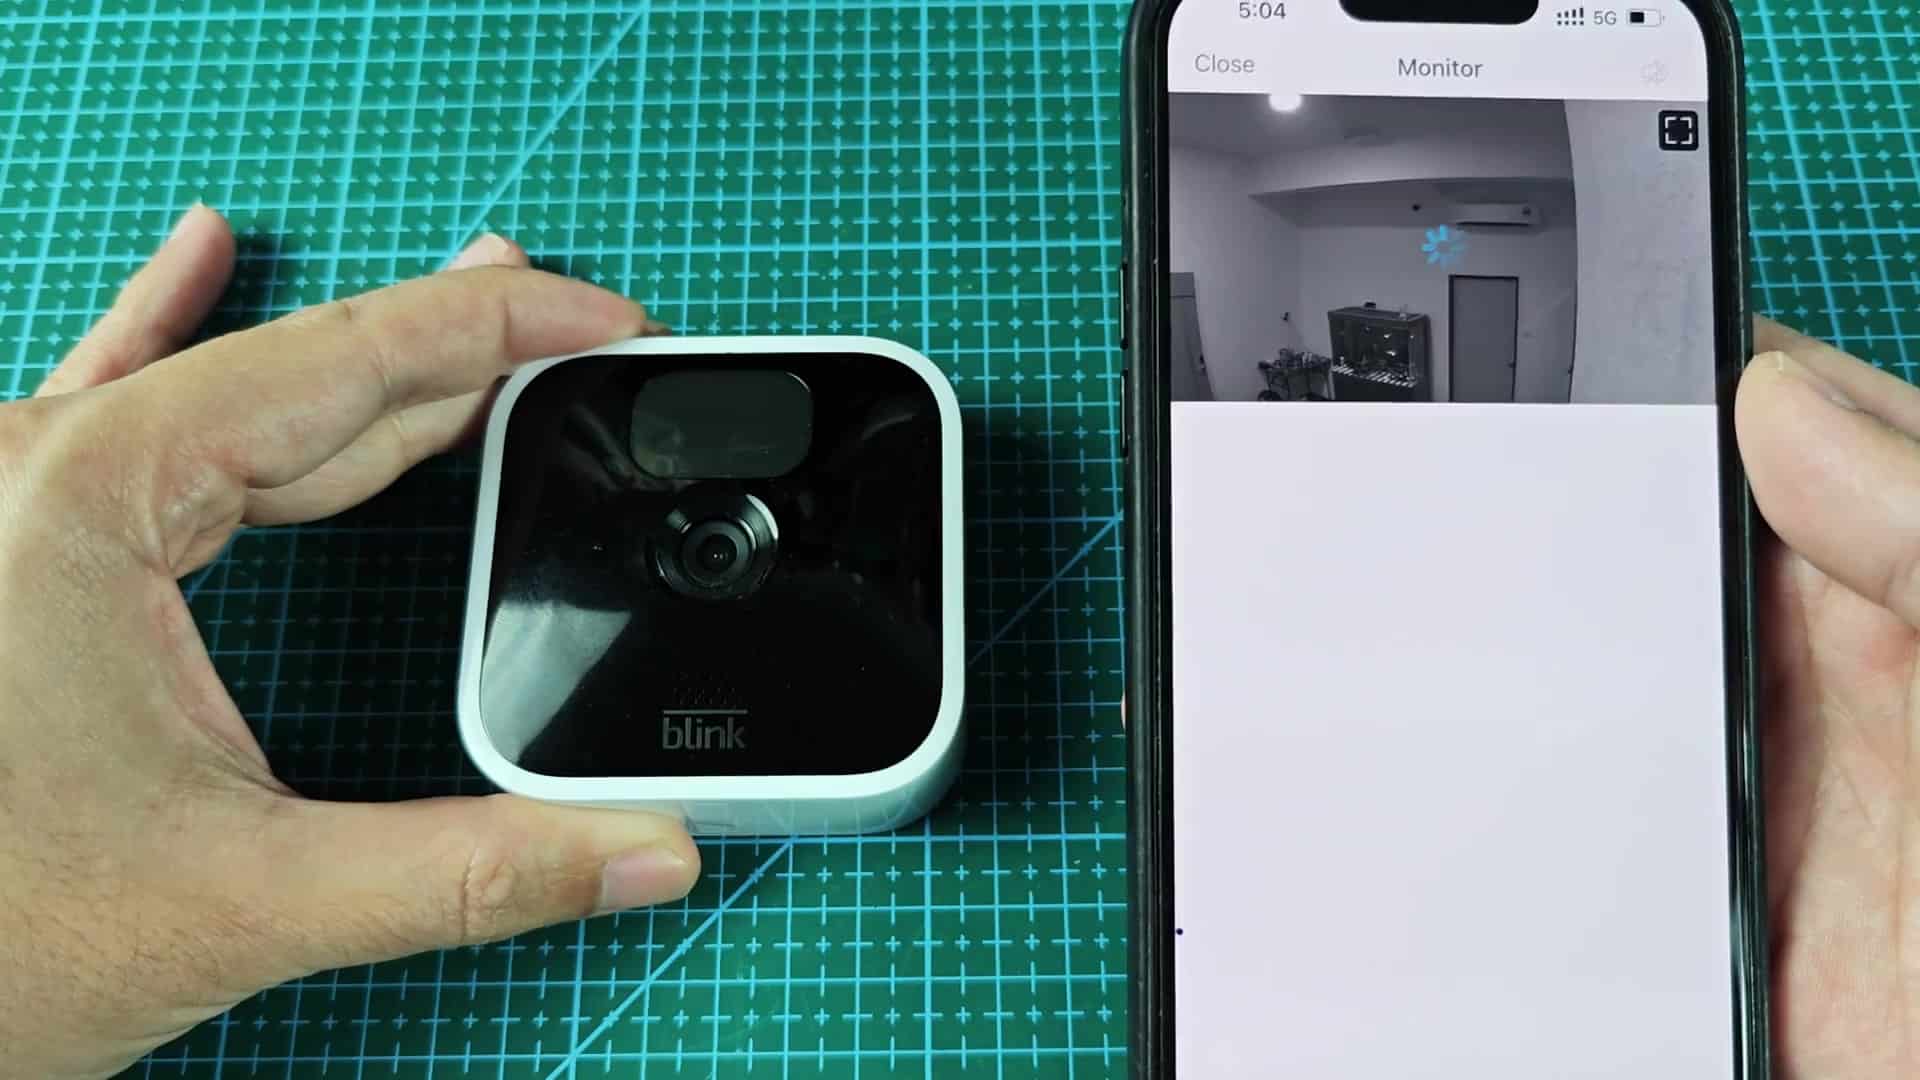
When you open live view from within your app, this is the first time it’ll wake up. And it’s instant. So if you’re checking something out in real time (right now), the camera turn on instantly.
How to Disable the Light
The blue LED lights up on the front of the device letting you know it’s awake and streaming. That’s when it knows you want a video feed and it connects in real time with no lag or delay. This means the device are responding and giving you real-time imagery.
In addition to voice activation, this light can also trigger motion detection. If something move in front of sensor, the camera will begin capturing a clip immediately.
During this process, you’ll notice the same blue light comes on as well, which indicates that it’s recording. This is important for security, if someone walks into the frame, you’d like to be aware of it. In addition to notifications on your phone, the light gives you instant visual feedback. There’s nothing wrong here, mind you. It just works exactly as intended.
If you’d rather not see that bright blue in action, however, there’s an alternative. It might be distracting at night-time, or perhaps you just like things a little tidier? Luckily, it’s pretty straightforward to tweak via the Blink app… No additional tools required. From within its settings, you’re able to toggle light between ‘on’ and ‘off’. It is fully customizable based off how distracted you are and what looks good to you.
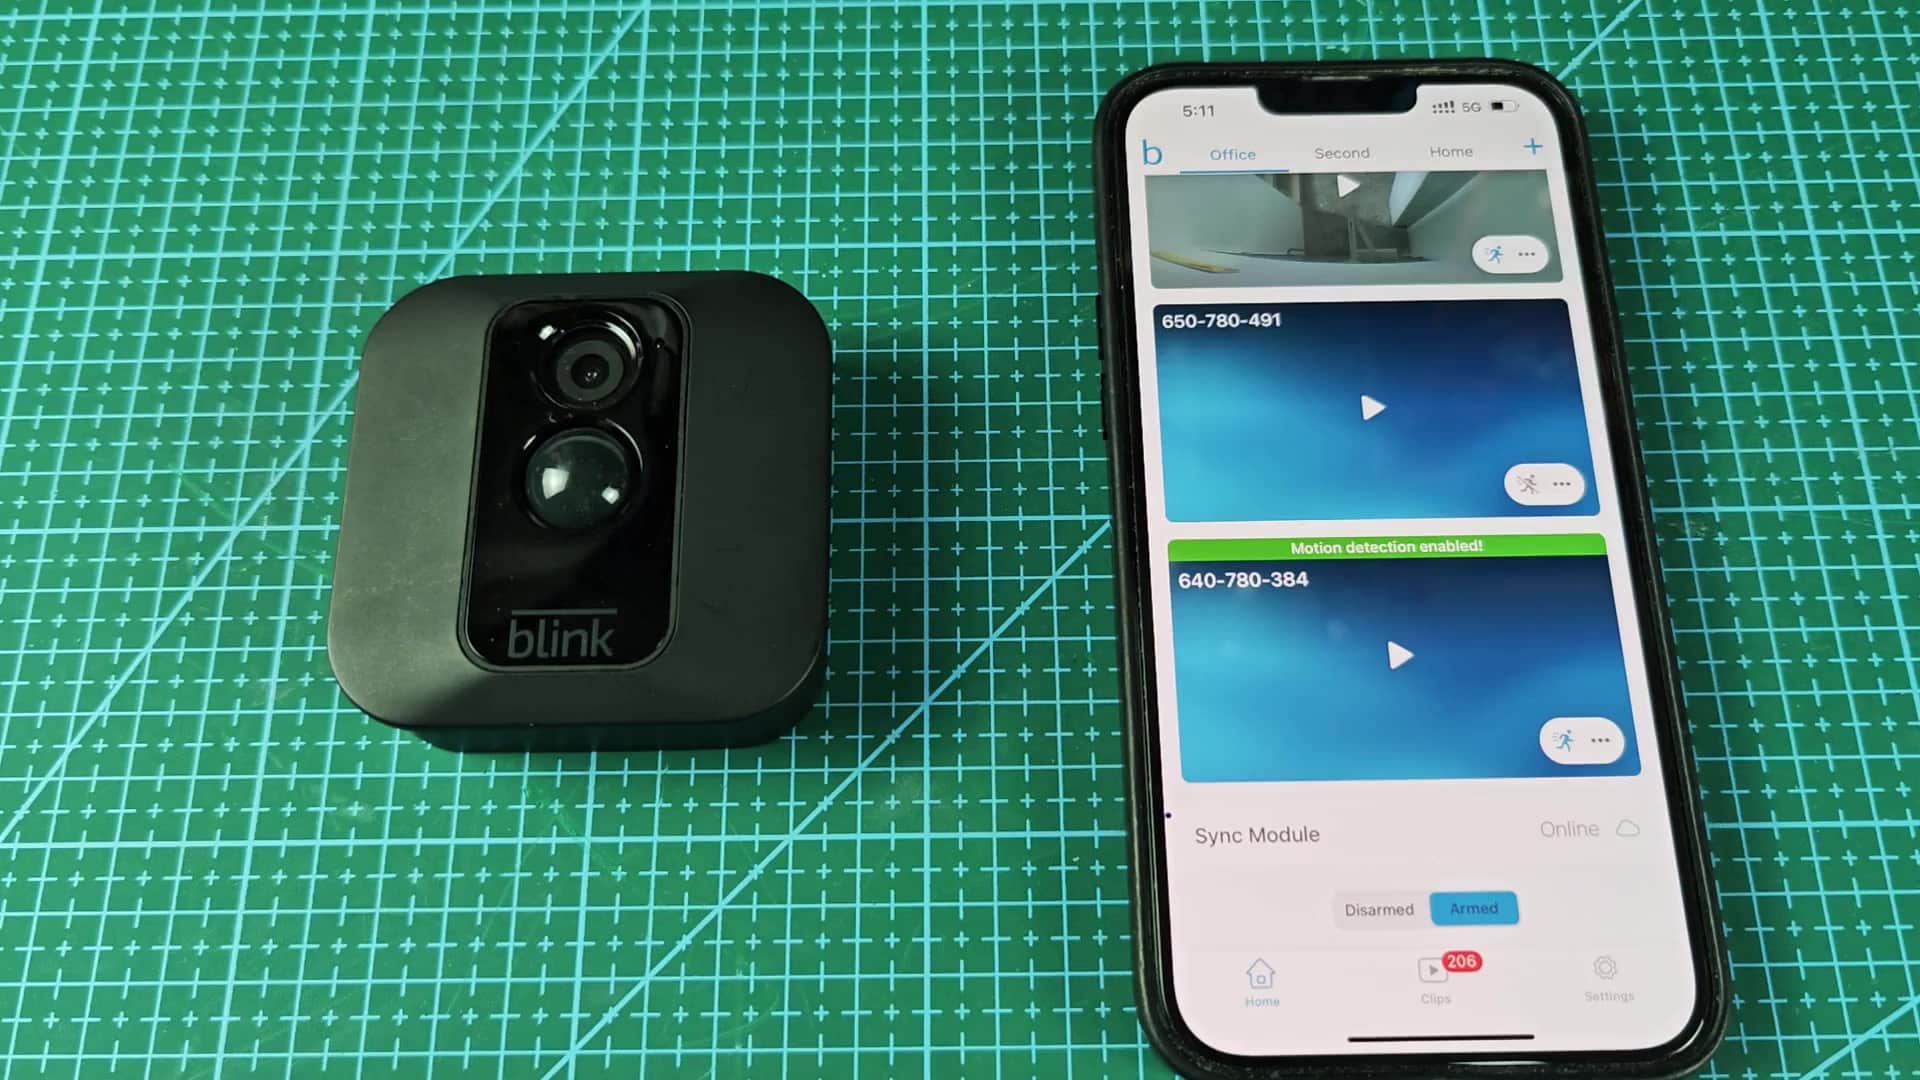
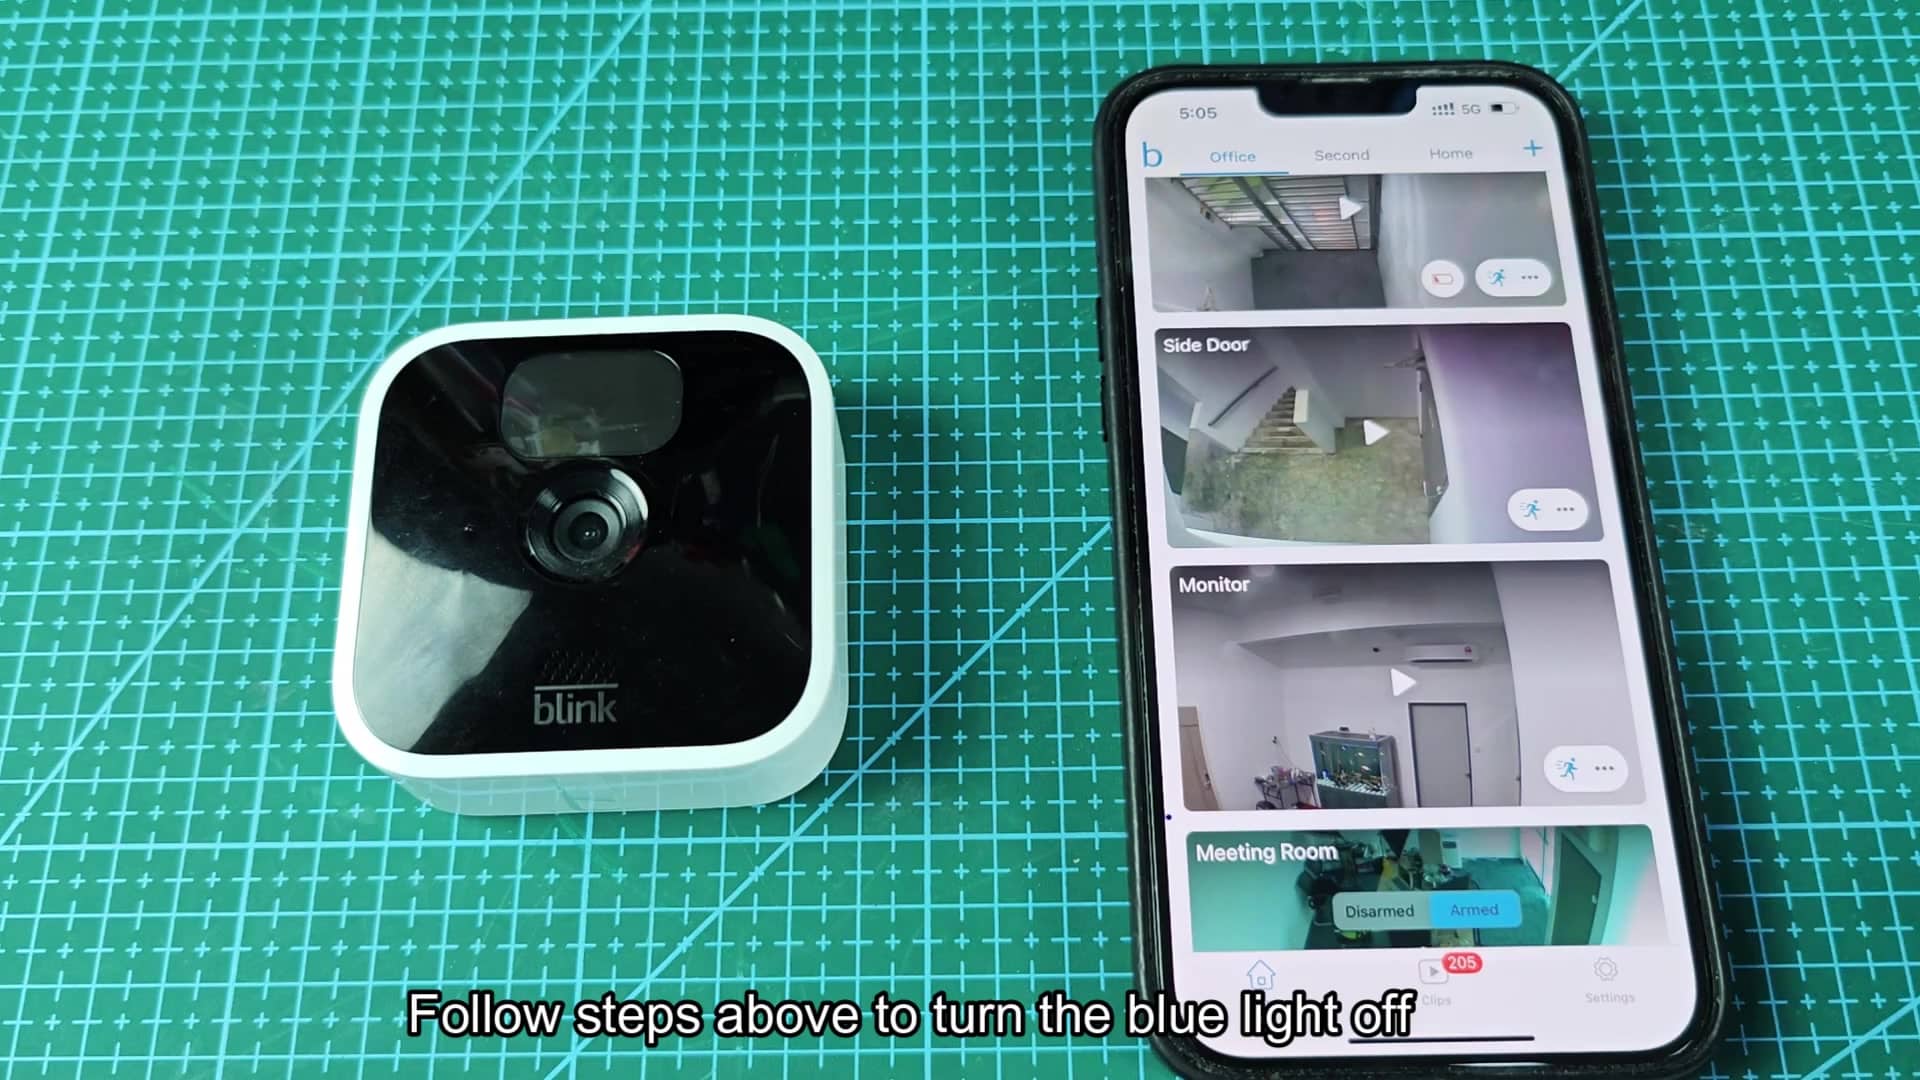
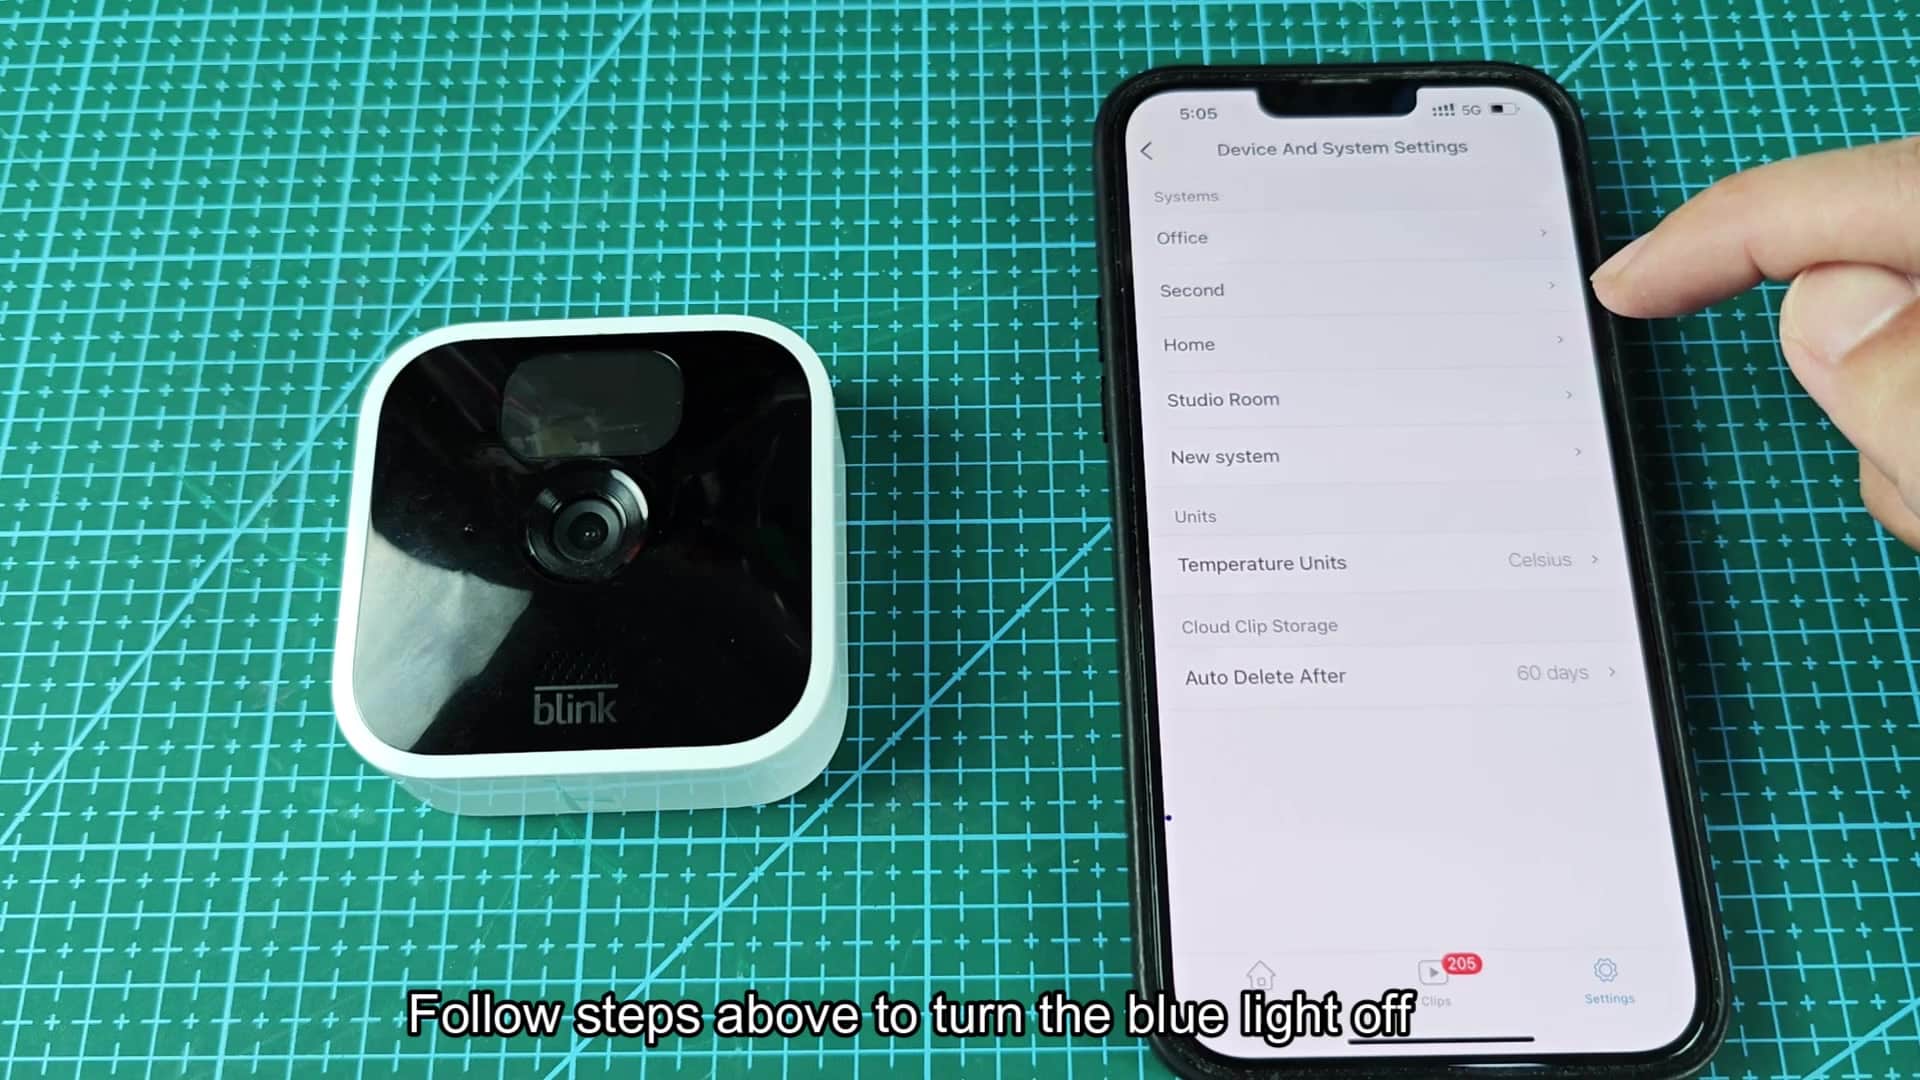
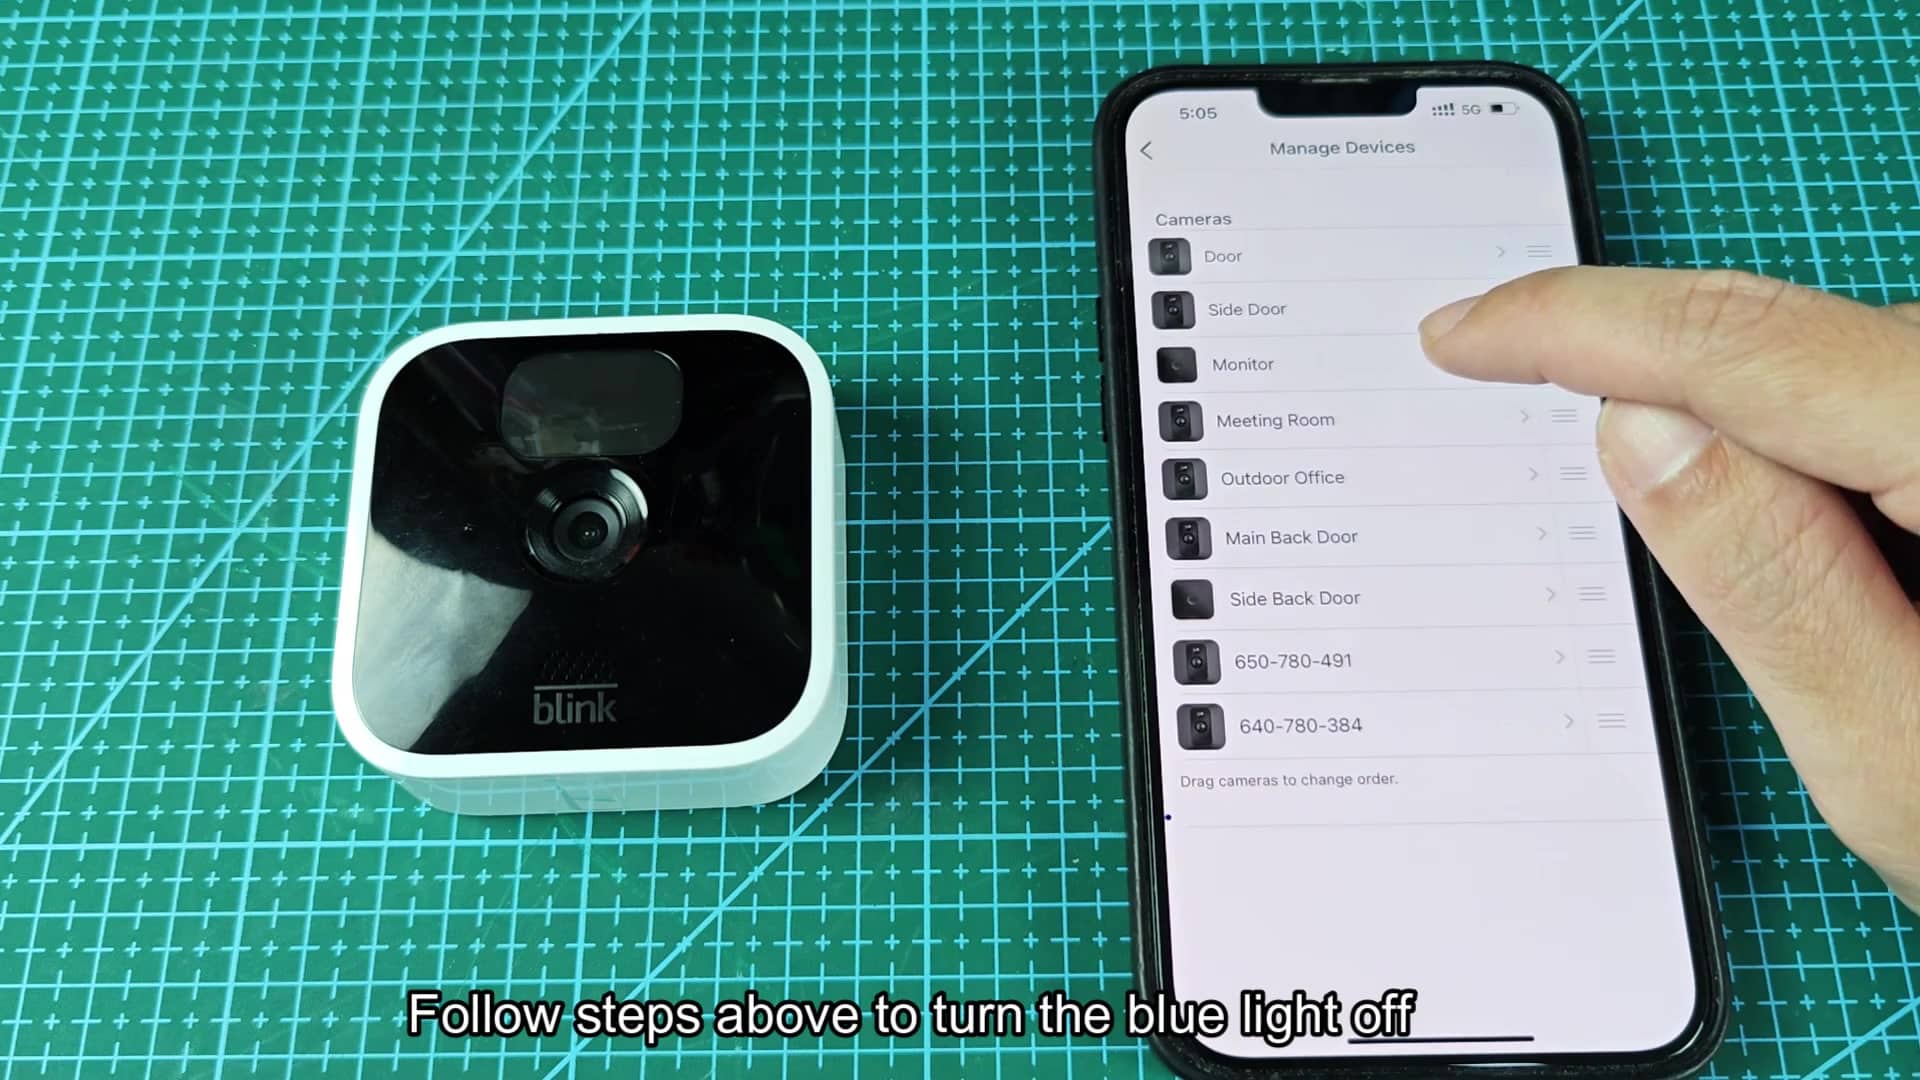
Disabling the light requires a trip into the app, specifically the settings section of the main menu. Scroll down and you’ll see all your device settings is kept here. At the top, you’re looking for your account info; below that, you’ll see several options.
Each of these is an independent system, and you pick the one that corresponds to whatever system your camera was installed on. So again: If you’ve got more than one system throughout your house, be sure you’re picking the right one when prompted; don’t skip this part. That’ll get confusing. Tap away, but only after tapping on the right one, which will be listed in order by the app.
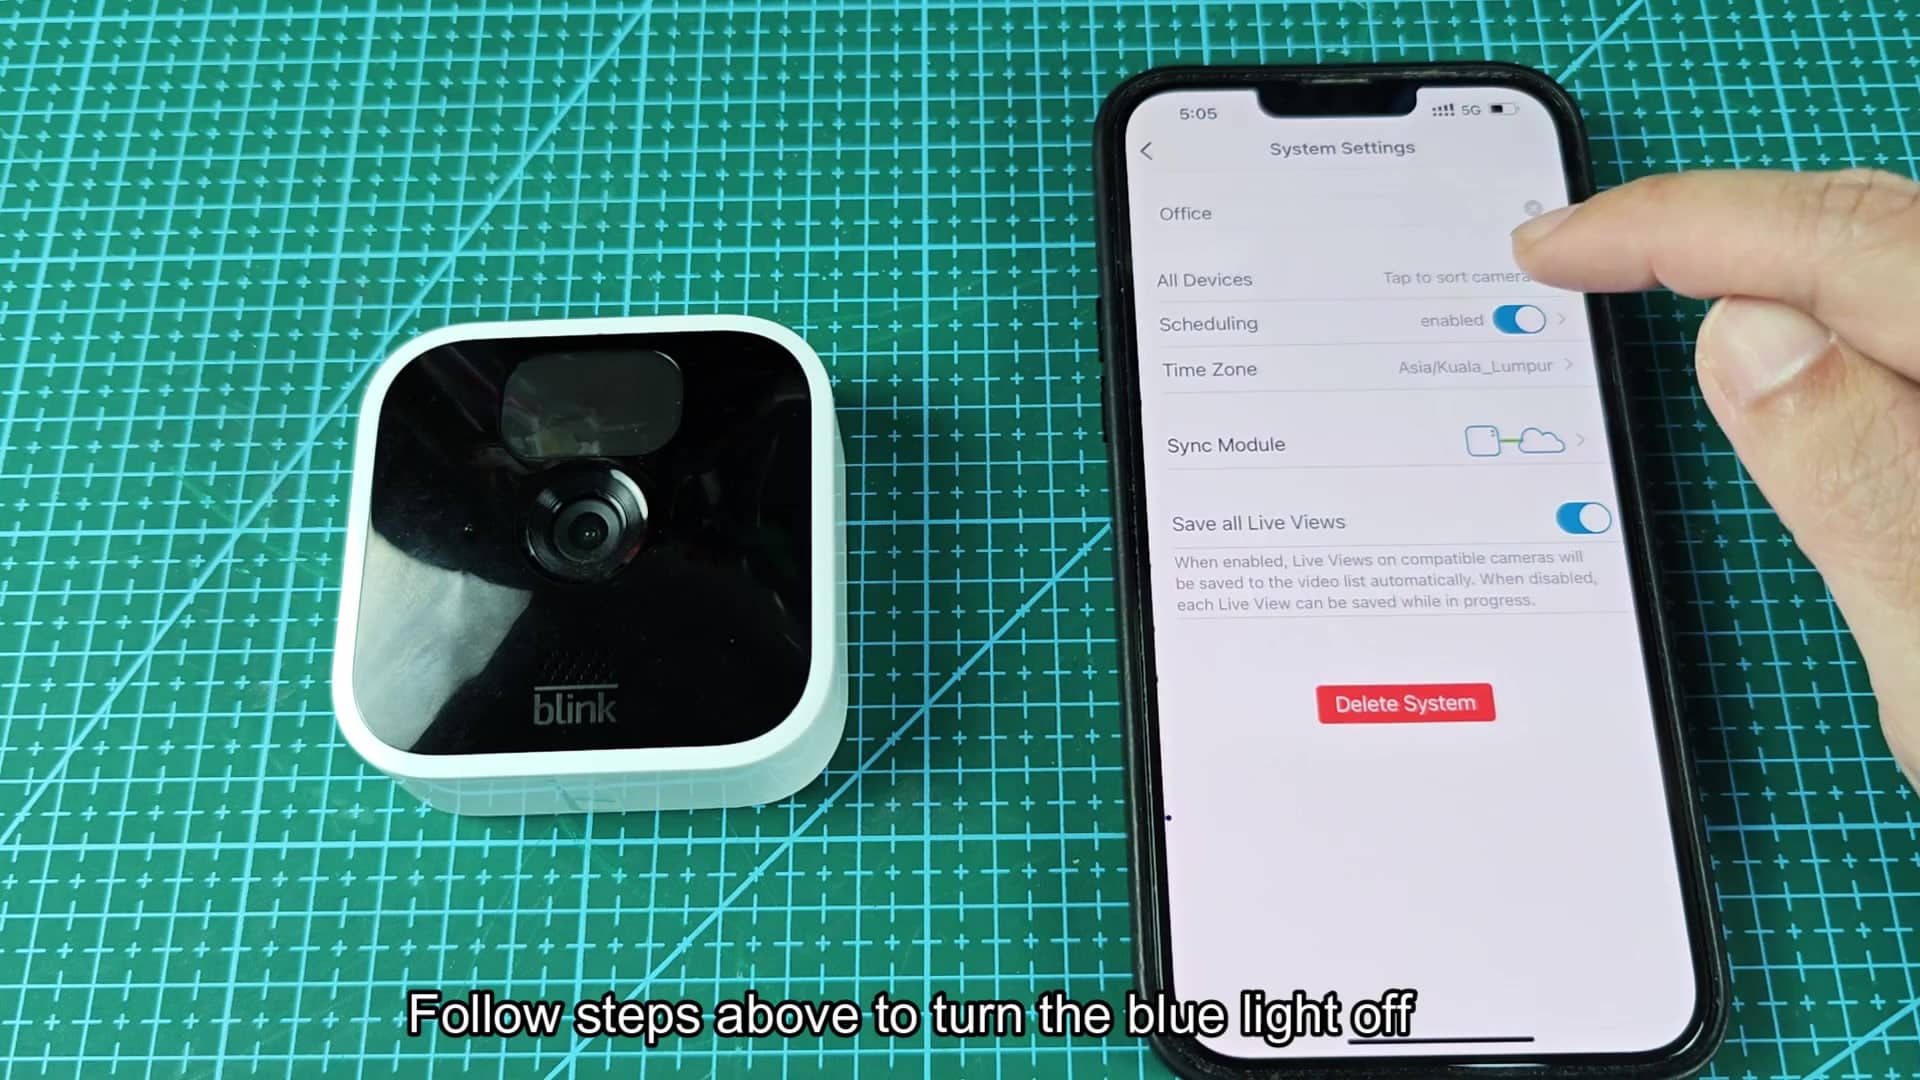
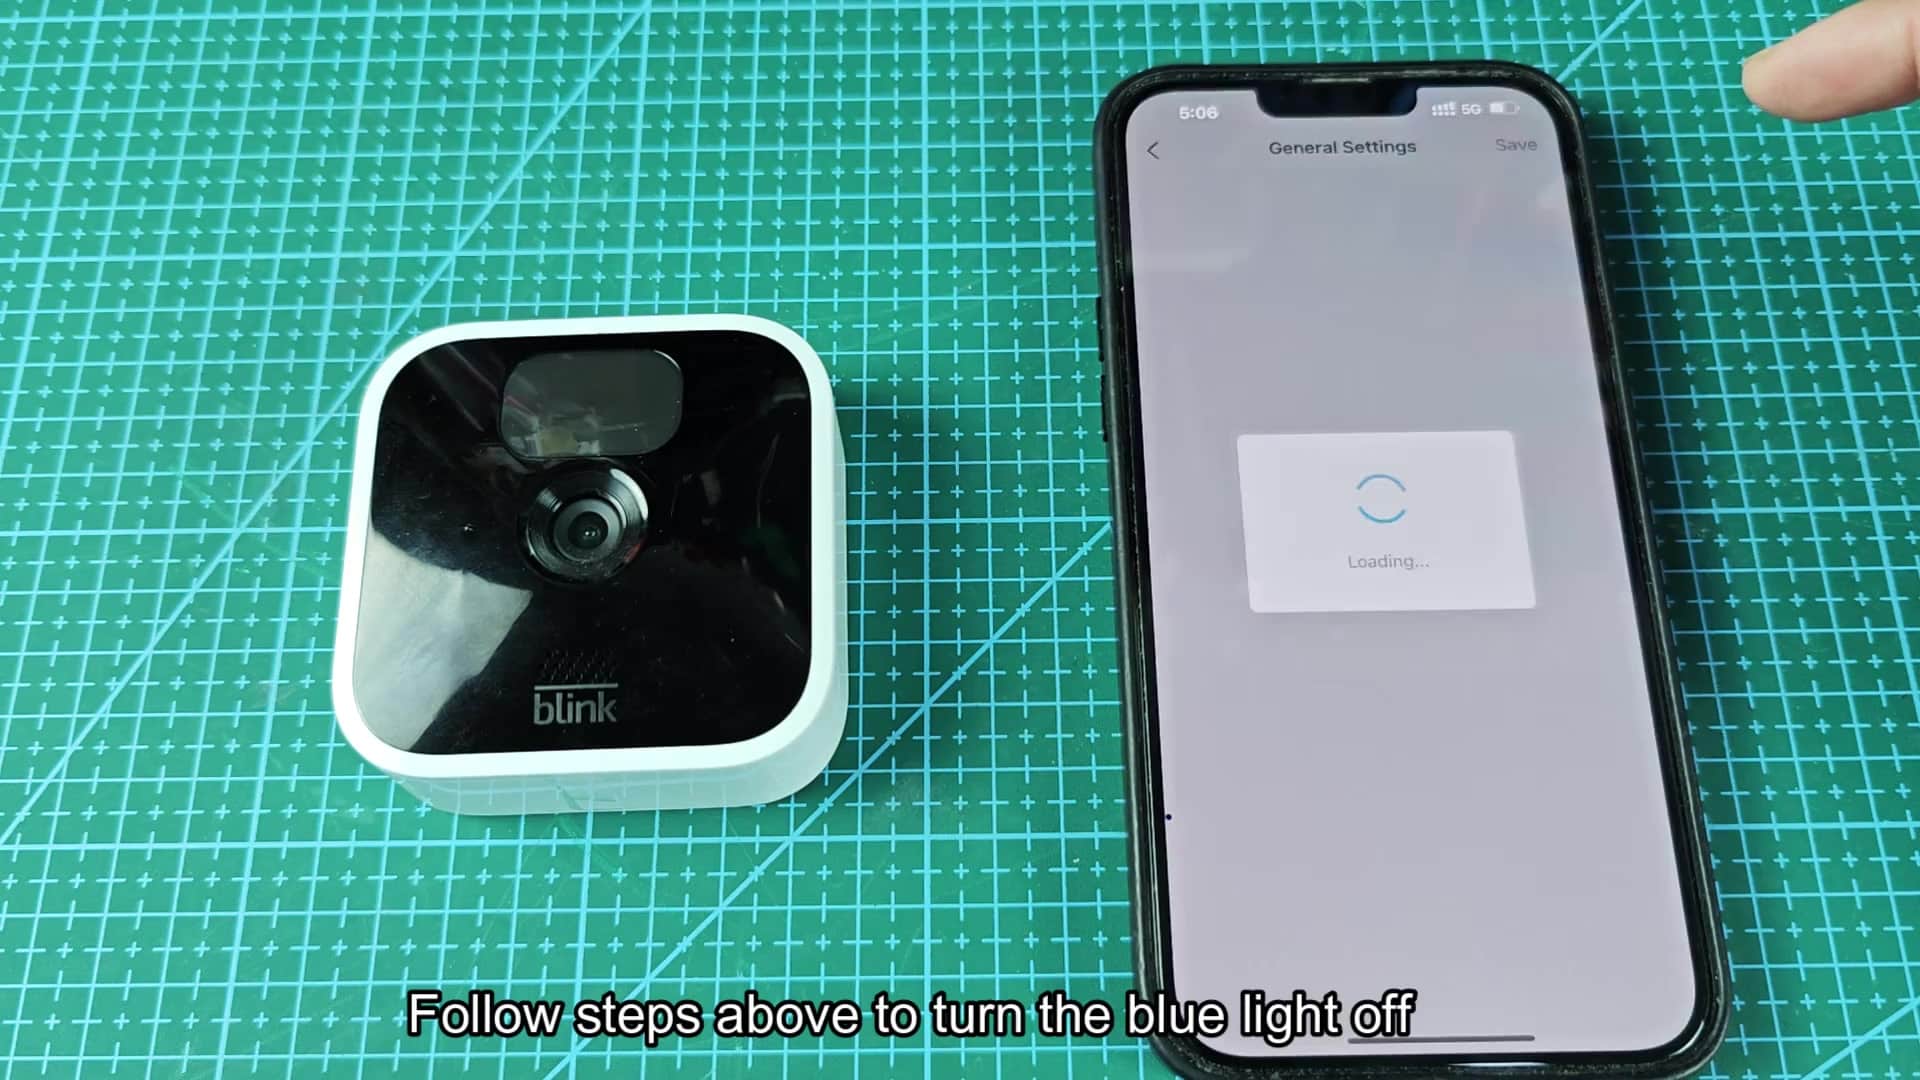
After reaching the system menu, navigate to device settings and continue drilling deeper into individual units. Continue until you reach the camera’s individual controls. That level is where you’ll find small adjustments per-unit.
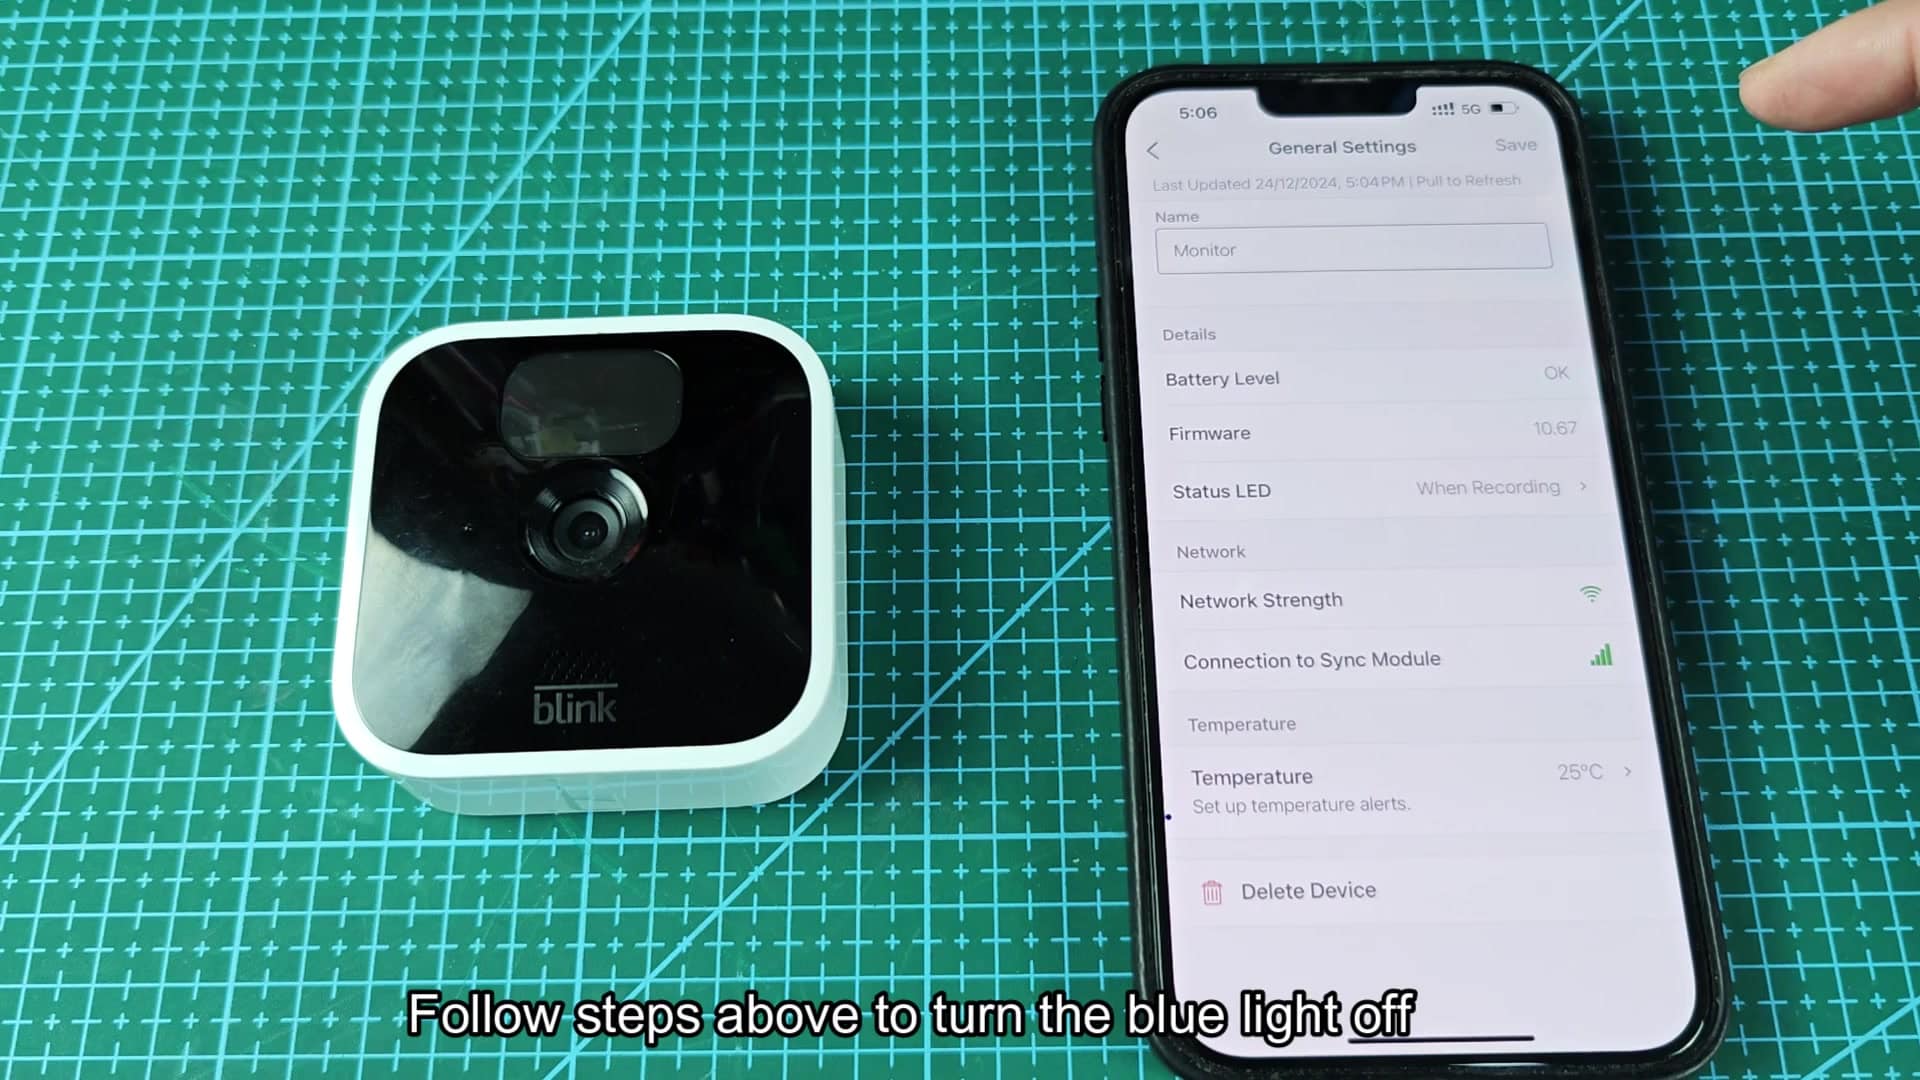
Within the general settings tab, focus only on physical indicators; don’t worry about audio or privacy settings at this time. That will separate your physical characteristics (e.g., LEDs) from your software-based ones.
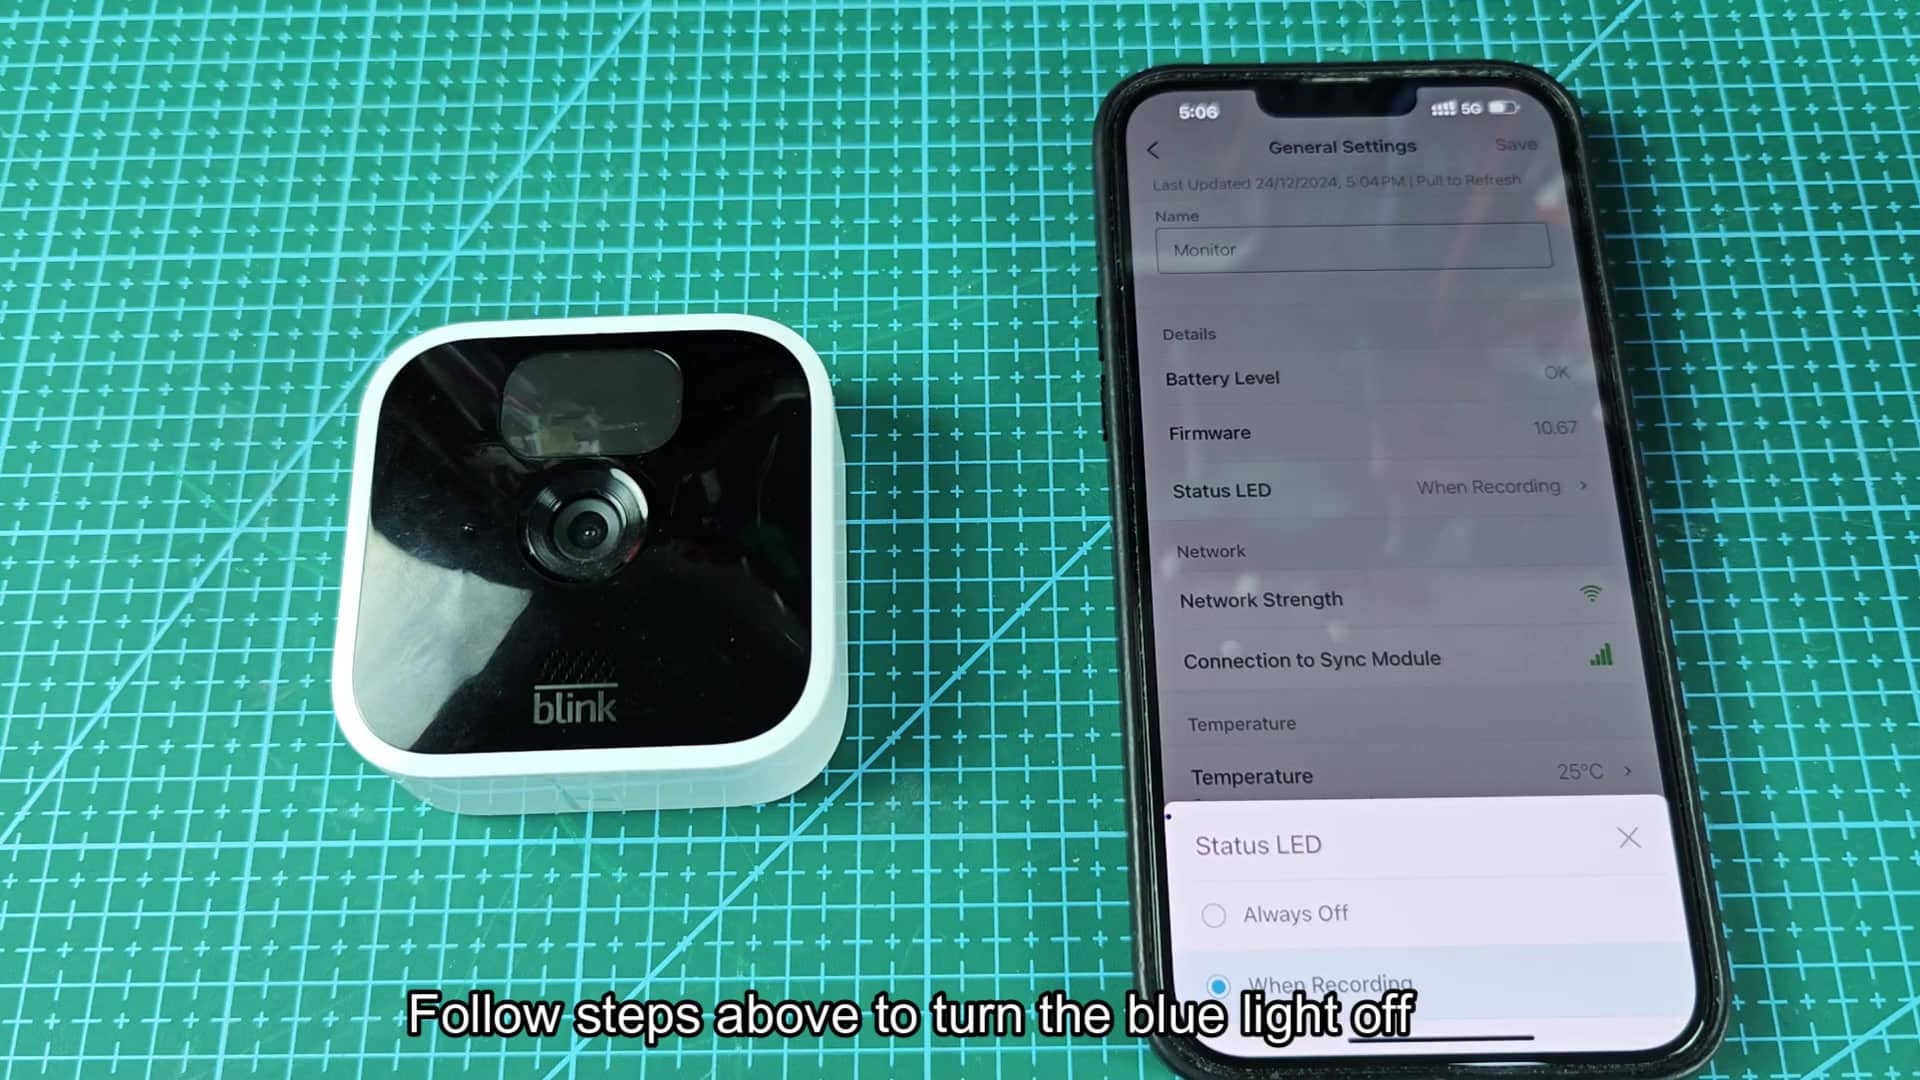
In the same list as firmware details and battery level, look for the Status LED entry. It’s in the same list as battery level and firmware details. Once tapped, you’ll get some additional selections. Tap it again to see more options, as this line item controls the light’s behavior. A drop-down menu should of appear immediately with only a few but useful options. Select “Always Off,” confirm your choice, and save the settings.
There’s no need to restart the device; the app instantly implements the setting. Even if motion initiates a recording, or you’re using live view, the light won’t turn on… It’ll remain black permanently.
Because there’s no distraction, this also keeps things looking cleaner and more discreet, while the feature continues working behind the scenes.
Because you have to rely on app notifications for the lack of light, you’ll have to trust that the system has your back; which is totally okay! The camera are always recording when necessary anyway. You don’t lose anything with the hidden LED.
In fact, it’s better for the looks of your home, as now everything look minimal and uniform. This takes away any unnecessary worries related to the hardware itself.
Blue indicates live view or recording: You’ll never wonder again if your security system is functional when it’s blue, it’s on and doing its thing. If there is no light, the camera is in idle mode (if disabled), which is perfectly fine.
Whether it’s on or off, you can rely on the camera to do its job. Knowing that makes you feel secure and confident. There is no guesswork.