
There is a catch with the Blink system: in order to get rid of your Blink camera, you’ll need to either be the original purchaser or be in control of the account the camera was originally registered under. If someone sold you their system without first unregistering it, then they will retain control over it and you won’t be able to register it with yours, which would lead you into some trouble if someone’s privacy is violated.
The kicker there? Your best bet is to read up on the removal process ahead of time to prevent any headaches.
Steps to remove a device
Next, open the Blink app on your phone and look at the main devices page. There you’ll find the Sync Module and your Studio Cam listed as online. Before you do anything else, verify they’re all talking to each other, you should see a green indicator.
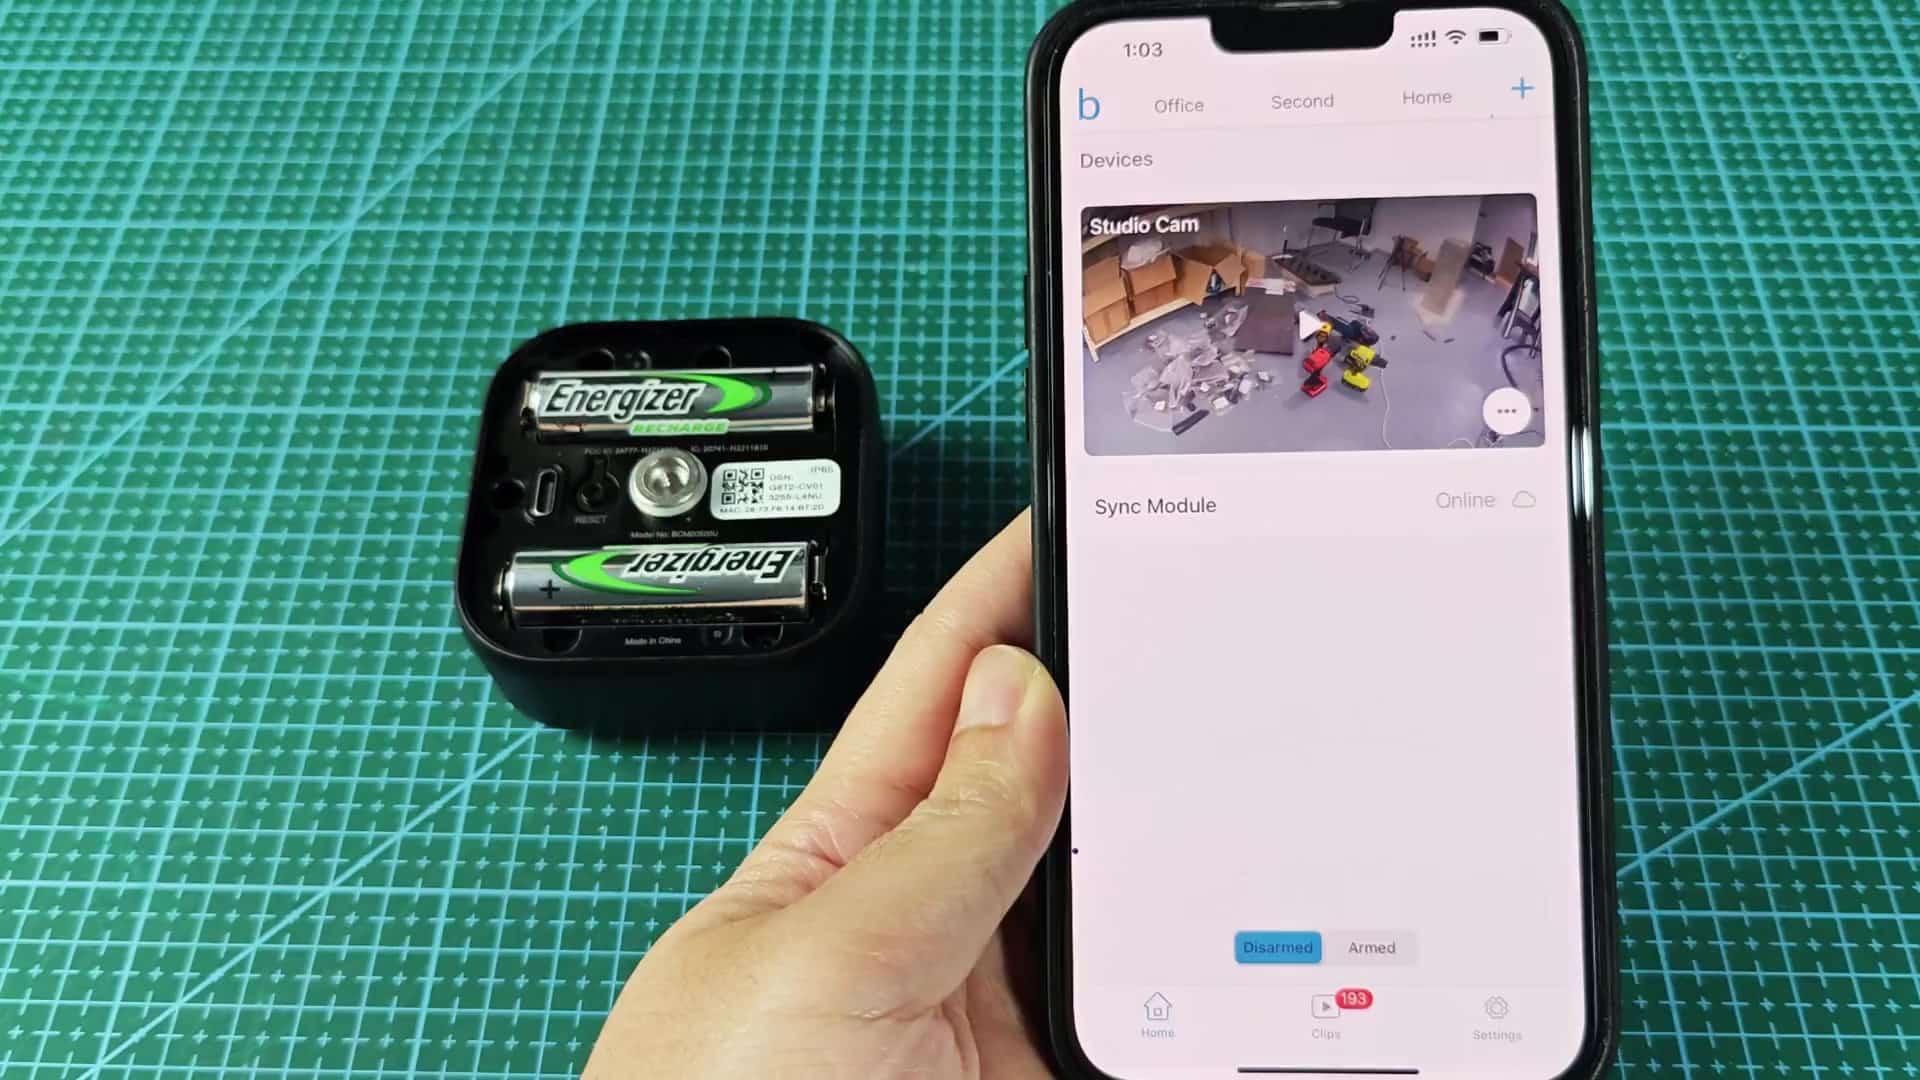
If one or more of them is offline, ensure it has power (battery level) and/or Wi-Fi; you won’t want to remove something if the system isn’t actualy running. Here everything appeared to be go time.
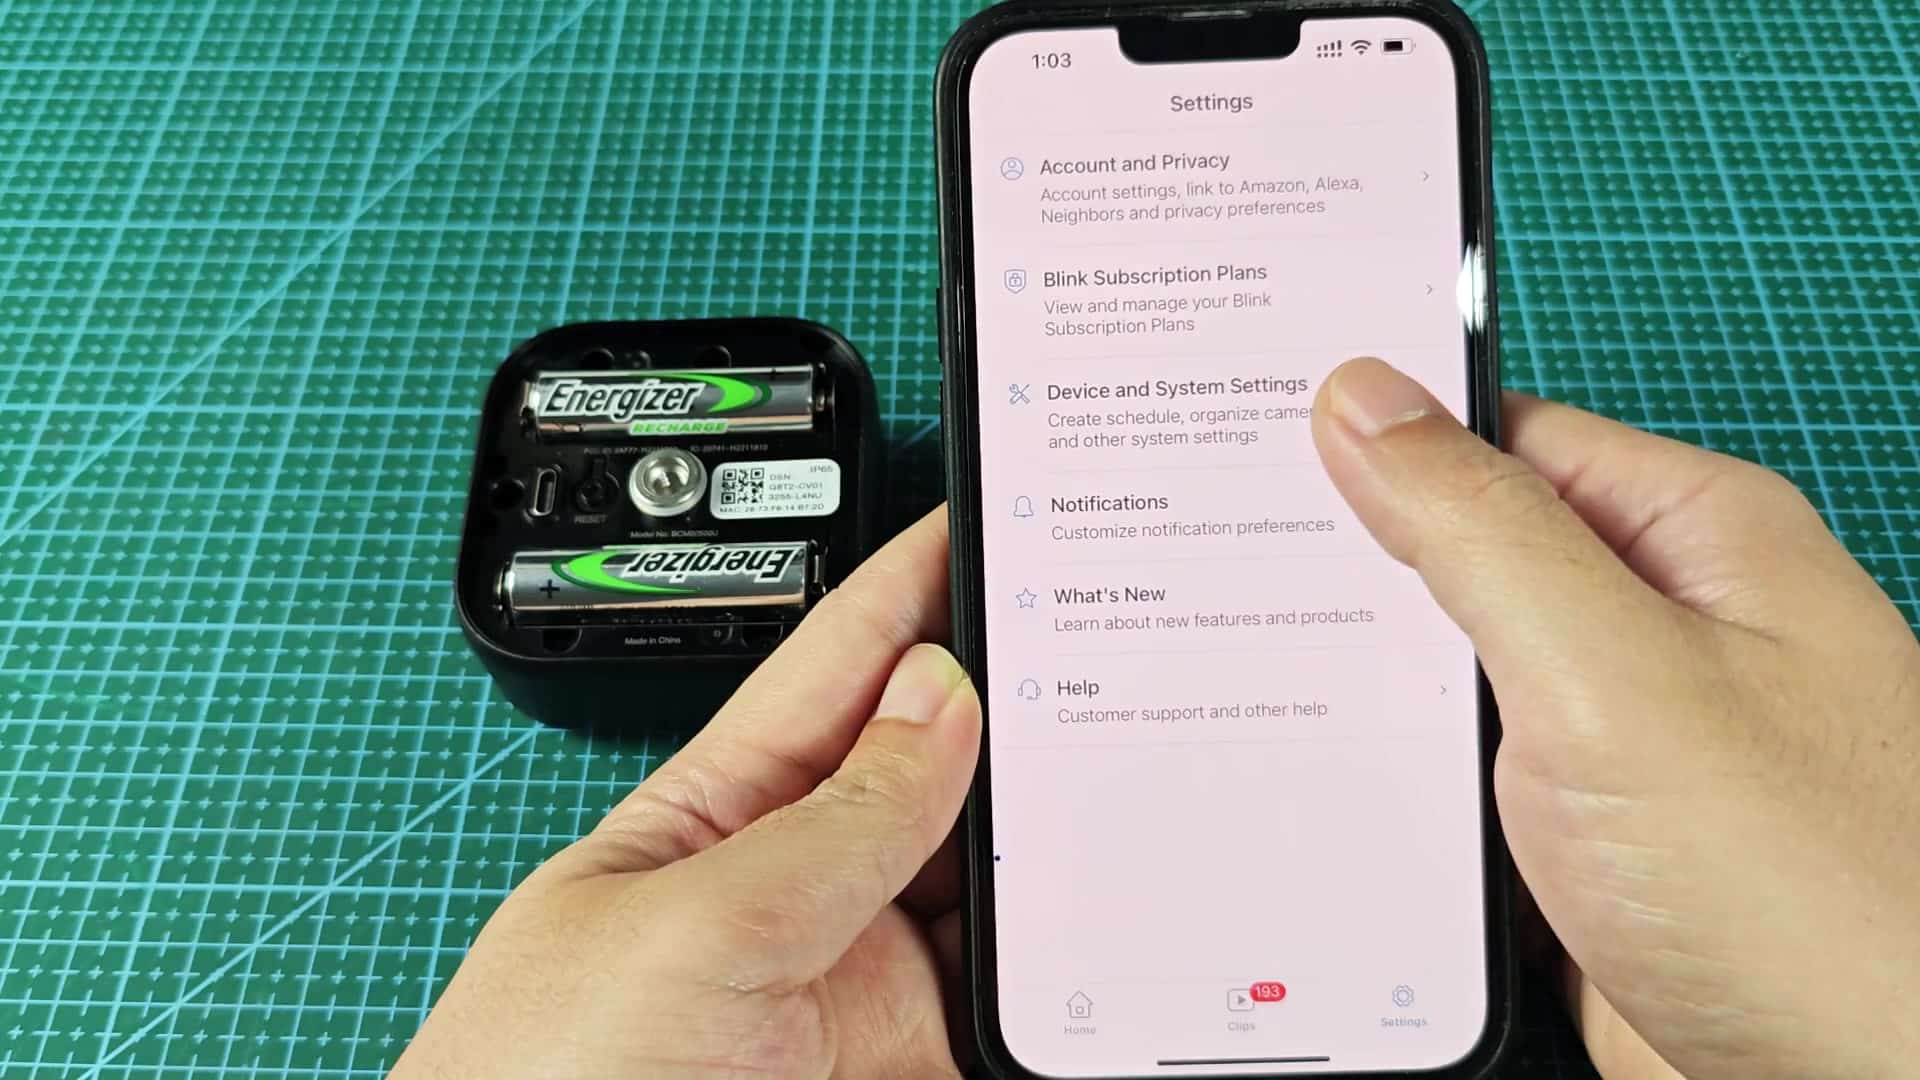
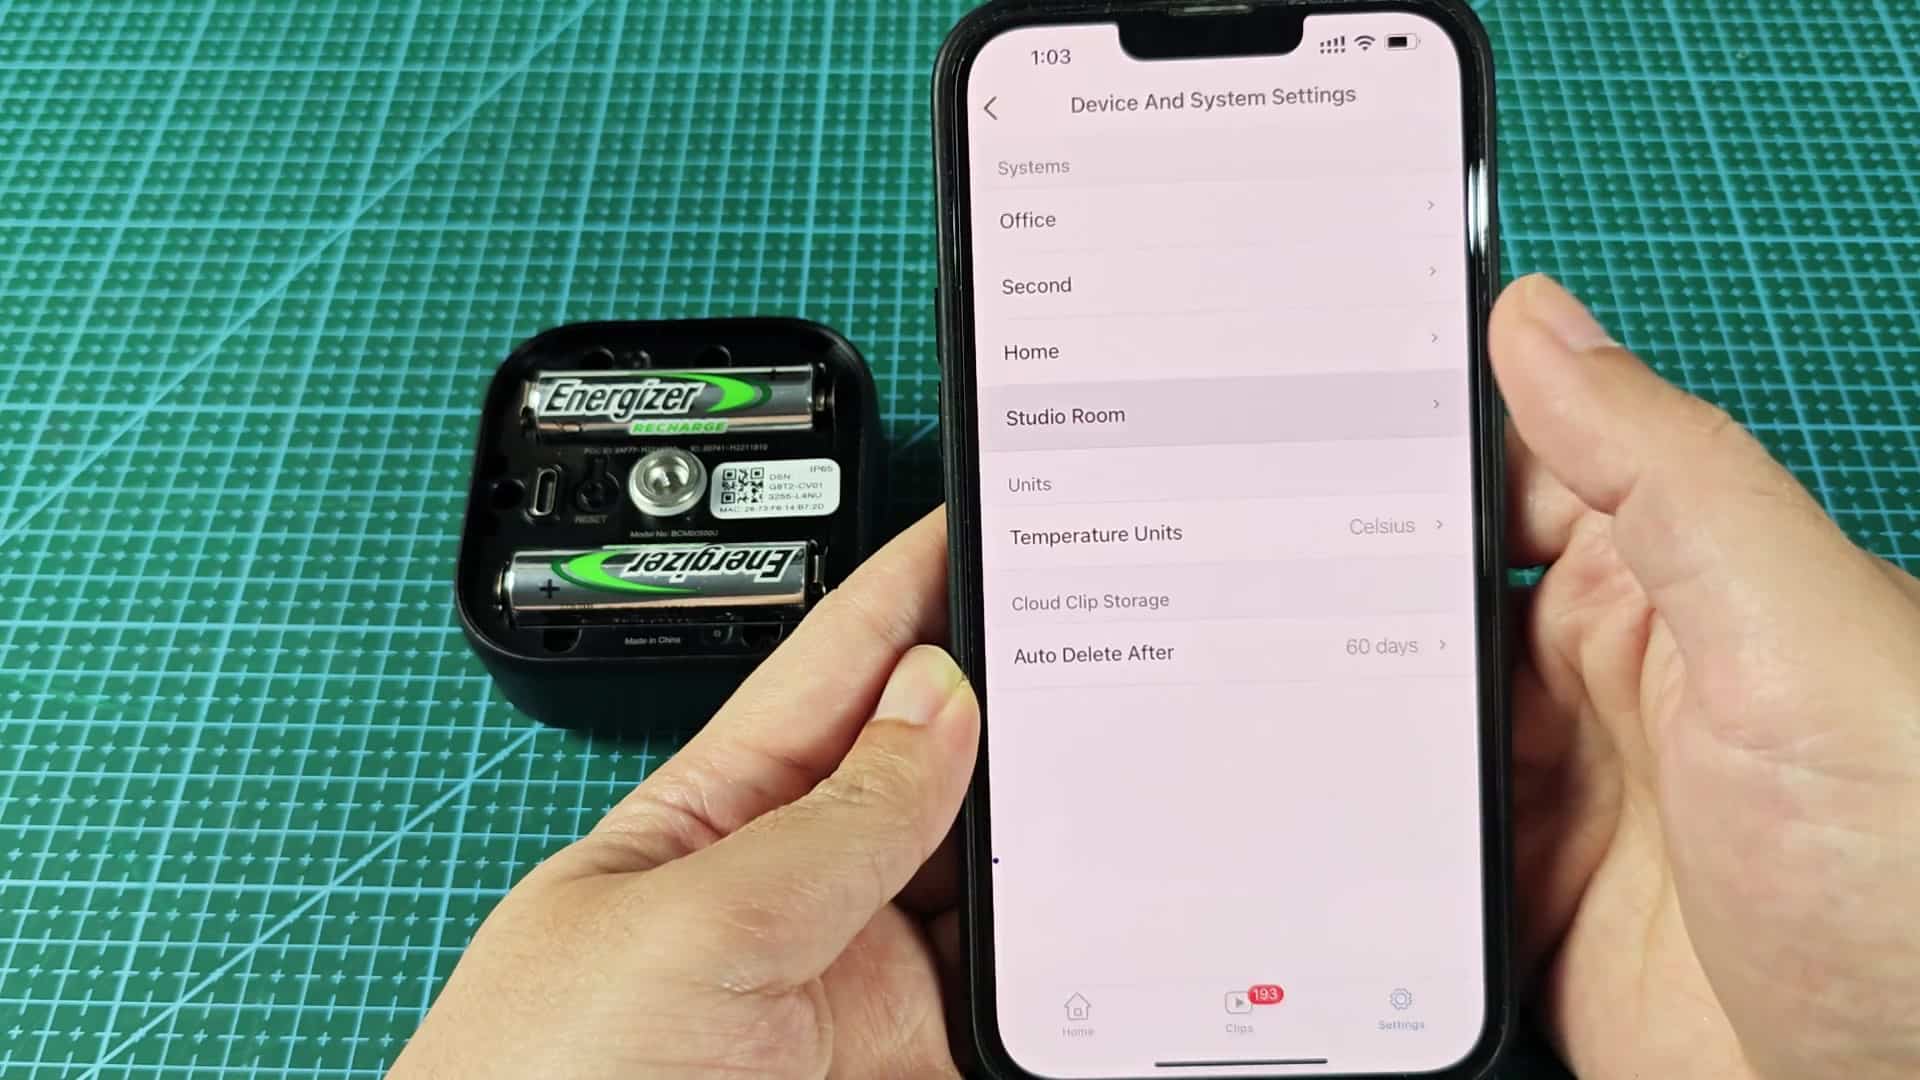
To get started with unregistering, head into the general settings area. From there, go to System and Device Settings to find the right system configuration for your device.
Temperature preference sit in its own Units section; this is separate from hardware removal tools so that when you swap out the hardware, your user preferences will remain intact. To reach the true delete option, you must go further down the menu structure.
Go into System Settings and choose the system containing the camera you wish to delete. Go to the All Devices area (here), each device you have added will be listed, so you can work with each one individually.
If you simply deleted the entire system, you’d lose everything else configured, which isn’t what you’re trying to accomplish. Focus instead on removing only camera itself while leaving the rest of the security network intact.
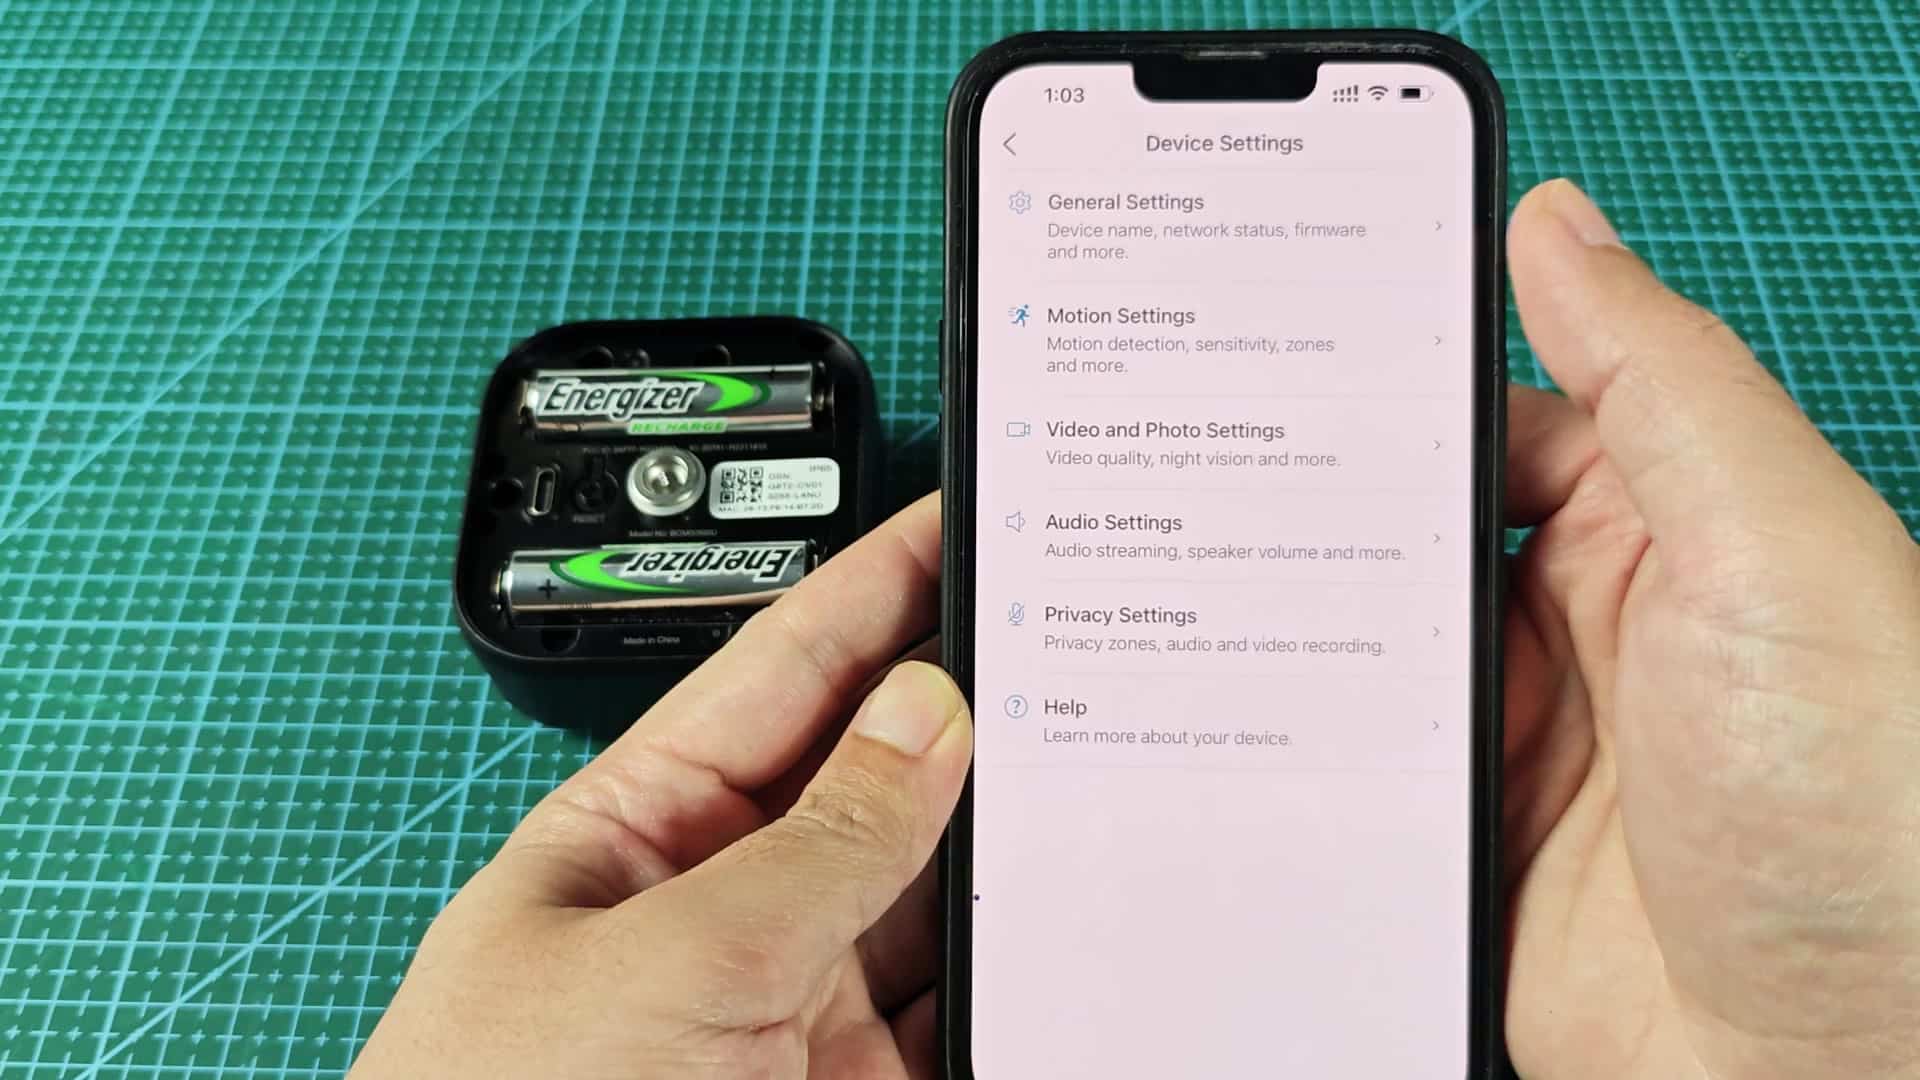
After tapping into the correct camera from that list, you’re taken to another page with all those other settings just for that one camera. There’s nothing here to remove things though; only options like video quality, motion detection and audio controls.
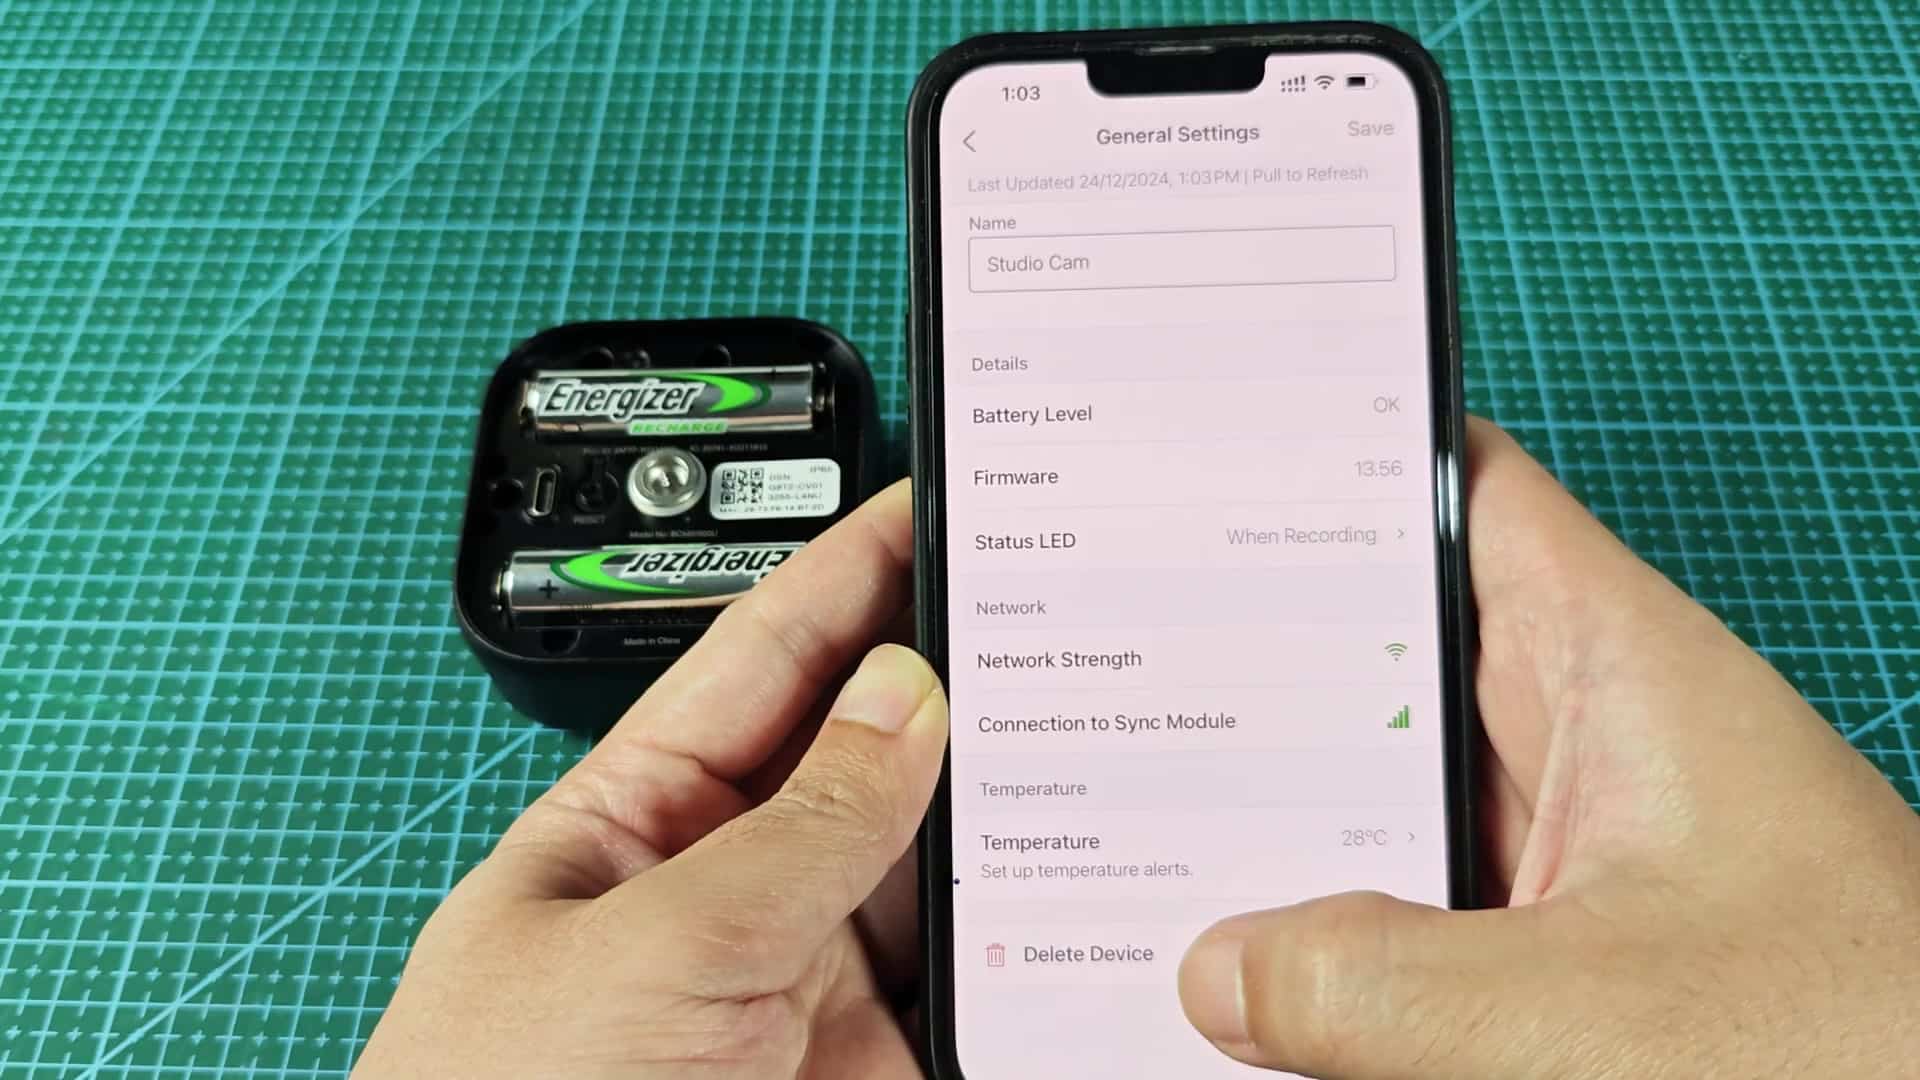
Scroll down below the help section and there up top is general settings tab. That’s where you’ll find account-level stuff, which seems hidden next to other adjustment options, but it’s right there if you want it.
Scroll down the page a bit more. You will see information on how the camera is currently connected to your network (network strength, battery level, etc.). For now, just look for that last button at the very end of the page, below where all those other toggle switches are located.
That one says Delete Device and is set apart from everything else. It will be a clear indicator of the last stop before cutting off the device completely. Click it to continue.
You are instantly prompted with a confirmation pop-up asking whether or not you really do want to delete this device. It warns you’ll lose access to everything associated with it, including any saved settings. This is as it should be, since registering unlinks the device from your account forever.
To confirm, tap on the big red Delete Device button. If you change your mind, there’s still time to cancel… though the screen reloads pretty fast after your confirmation.
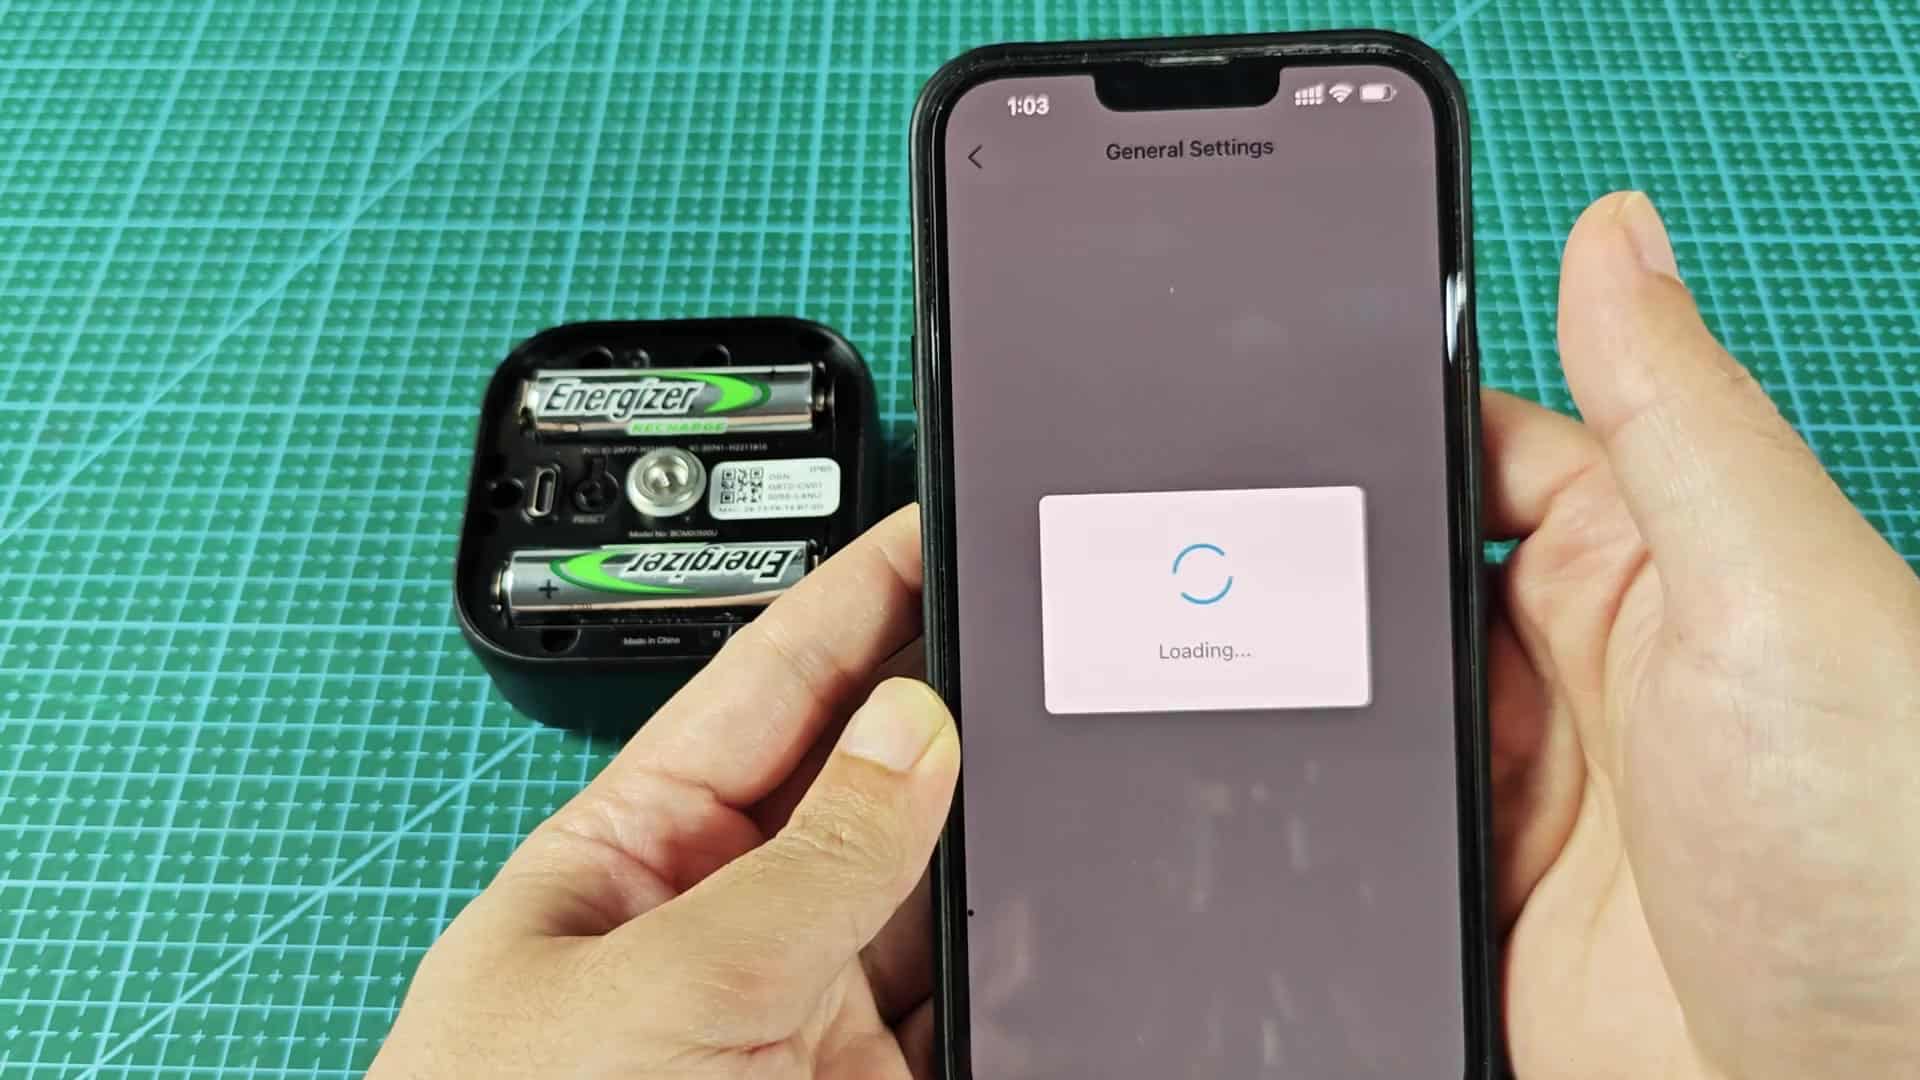
Almost immediately, the camera will drop out of your device list and won’t be viewable in the app, nor linked to your account anymore. That’s full unregistration: at that point the hardware remains an orphaned piece of kit, usable as far as the hardware itself goes, but disconnected and with no account tied to it.
You’d have to re-pair it from scratch, going back to step one if you were to use it later. It is just another stand-alone piece of furnitures on your desk for the time being.
