
When your laptop battery goes kaput, you might want to examine the charger. Before pointing fingers at internal hardware, check the charger. Is the wattage appropriate for the laptop? Do you have the right charger?
In my case, I knew it wasn’t the charger. I had the right power source. It provided enough power. This meant that there was something wrong with the laptop. In this case, the battery had degraded.
Had to go.
Disassembling the Laptop Case
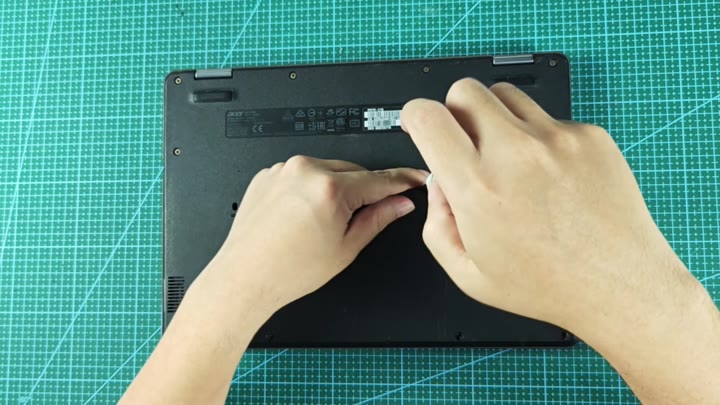
To get to the innards, you have to pry out the bottom panel. Be careful here; it’s well fastened down. Peel back the regulation sticker to make room. That’ll also keep the sticky stuff from messing up the act of prying.
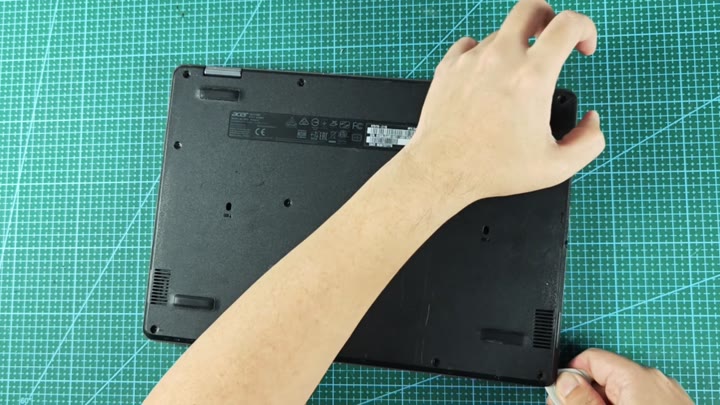
Next, insert something small and pop the case up. The latches holds pretty good. Go all the way around and pop it free of the sides. It pulls right off without scratching anything on the chassis.
And there it is, all the guts exposed.
The battery itself resides right on top of the motherboard. It is connected to it by a thin ribbon cable. To find the connector, look at the middle part of the board.
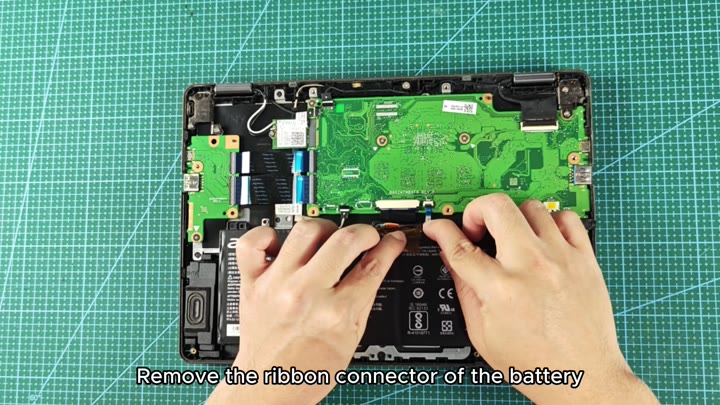
Carefully lift up the latch that holds the connector housing in place. Next, slide the ribbon cable straight outward. With a soft click, the cable comes free.
Now the old battery is electrically isolated. You can remove it safely from the chassis.
You lift it out to inspect the specifications.
Then you lift it out to inspect the specifications.
Get an identical replacement.
So you go looking for a replacement and it has to be an exact match. You check out the label of the old cell and there it is, right in front of your eyes, the voltage and the amp-hour rating. Those is the two key things to note.
Because if you get a battery that doesn’t match, you might mess something up. So you order one just like the old one. And it comes fast and it’s got the same brand name as the old one. And it looks just like the old one too. You put both batteries side by side and it’s a perfect match. Time to install the new battery.
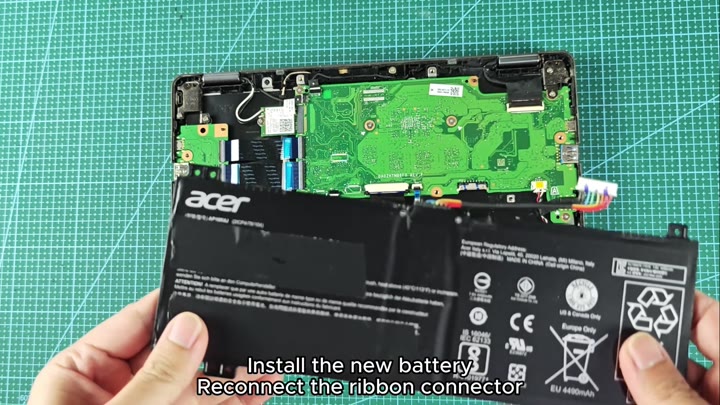
Slide the new battery into its proper spot. It fits perfectly into the chassis. Exactly right. It does not rock or roll.
Now take the ribbon cable and line it up with the connector on the motherboard. You need steady hands here. Slide the cable firmly into the housing. And then snap the latch closed to lock it into place. It is a solid connection. The laptop is electrically complete again.
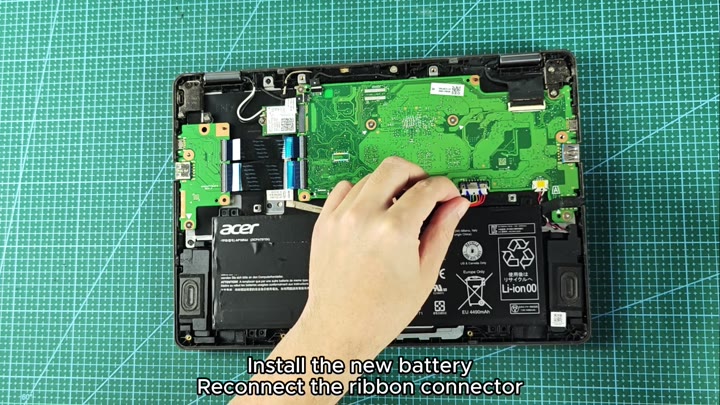
And the hardware exchange was complete.
Then, when you’re finished with the inside, you’re ready to button it all up again. Bring the bottom cover over and line it up with the edge of the chassis. It must be flush.
Press down hard all around the edges. One by one, the clips pop back in place. You can tell it’s sitting right when you hear a series of clicks. Run your finger along the seams to make sure everything is nice and tight. Look at that, just like new. There’s no seam on the outside.
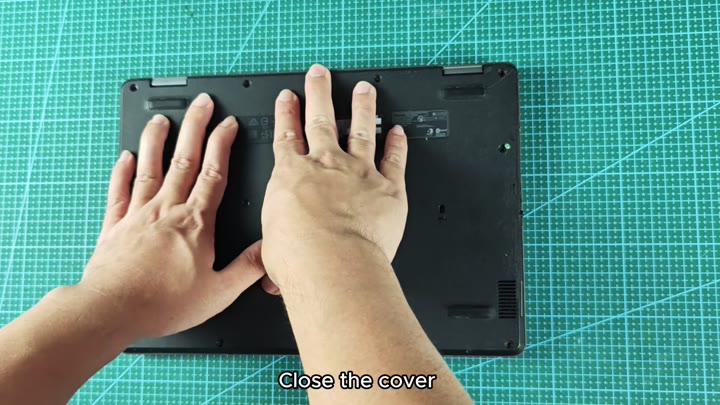
There is not a single gap.
How did this happen? It is simple, really. And you don’t have to be a tech whiz with complex tools for this either. Simply pay some attention to detail and go from there.
Power on your machine to see if it’s working. Battery status says “Full”. Charges like normal. The wear is now gone. Laptop feels as good as new.
Thanks to the battery swap, it came alive. No fancy firmware update required. No drivers has to be installed. All that was needed was a quick hardware replacement. Works like a charm. Worth every second.
