
What’s under the textured black shell? Get out your old Acer Chromebook and take a look.
On the outside it looks okay. The chrome logo sits quietly in the corner. The chrome logo is subtle and there is no guide or manual necessary to figure out how things are laid out inside.
Internal Components Overview
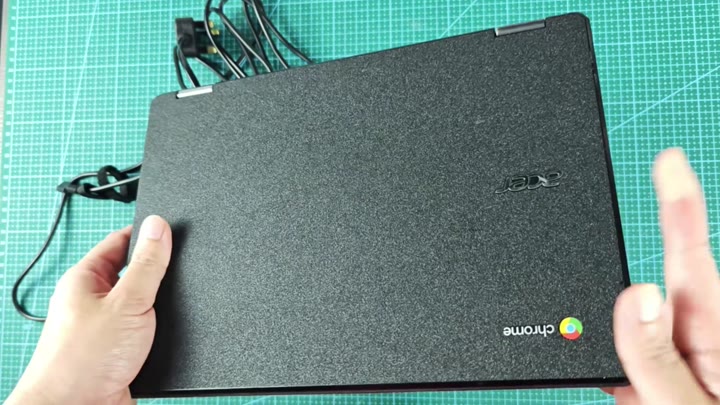
It’s all about curiosity. Turn it upside-down and work on the bottom of the laptop.
The panel is held in with normal screws. It seems like there aren’t any clips or latches holding it down. You’ll need a small screwdriver, starting with the ones around the hinge area.
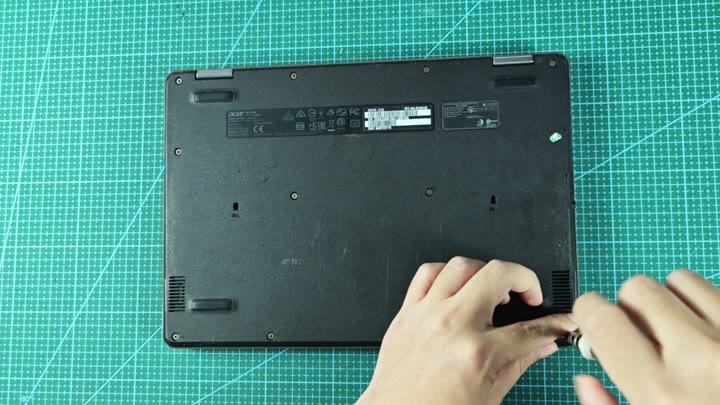
It’s starting to feel like a typical teardown.
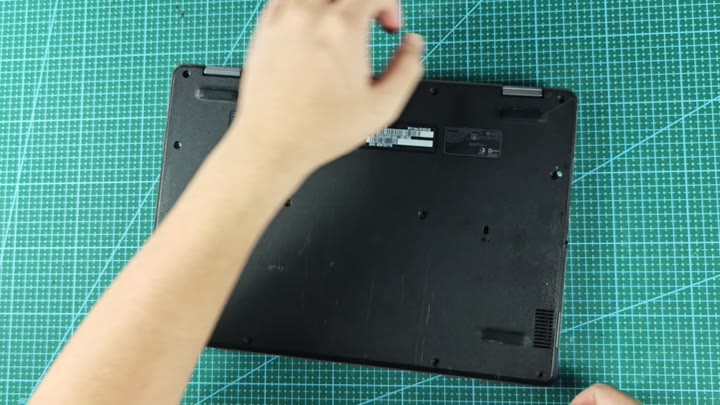
Remove each screw at a time working your way around the perimeter. Once all screws is removed the back panel will remain in place. Next, carefully separate the cover from the main chassis. There’s no resistance and it separates cleanly, revealing the insides.
Open the case to spot the large black battery that takes up most of the space.
If you open the case, you can see there’s one big fat black battery dominating the interior. It has regulatory markings, including RoHS and CE, as well as Li-ion specs.
Beside it rests a green motherboard connected by fine flex cables. It’s all arranged sensibly, as you’d expect with a Chromebook design; small but tidy.
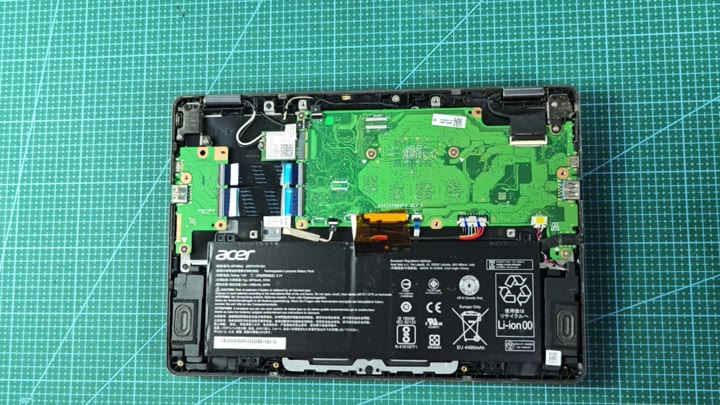
Disconnect the battery first (before doing anything else on the board). Be gentle with ribbon cables; they’re delicate! Gently lift the connectors to ease the strain on the motherboard. Now the power is disconnected from the battery (although the battery stay in place).
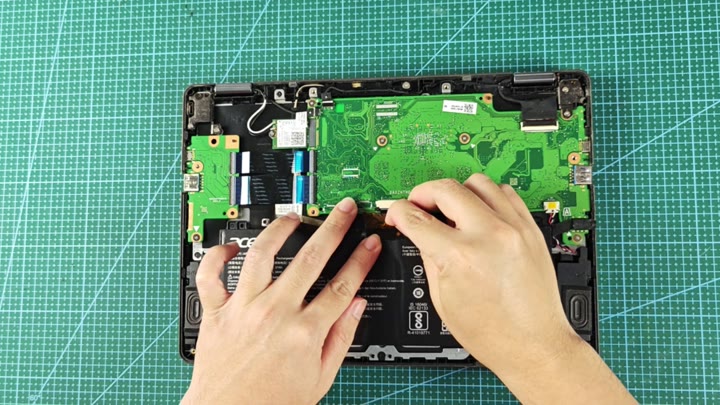
Go ahead.
When you put it all back together, be careful with the placement of the battery in the chassis. As you can see from this image, the text reads “UL” and “recycling,” along with the battery’s claimed 4480mAh capacity. It sits flush next to the other components and has a snug fit into its space. It’s not a matter of forcing anything, the placement is spot-on.
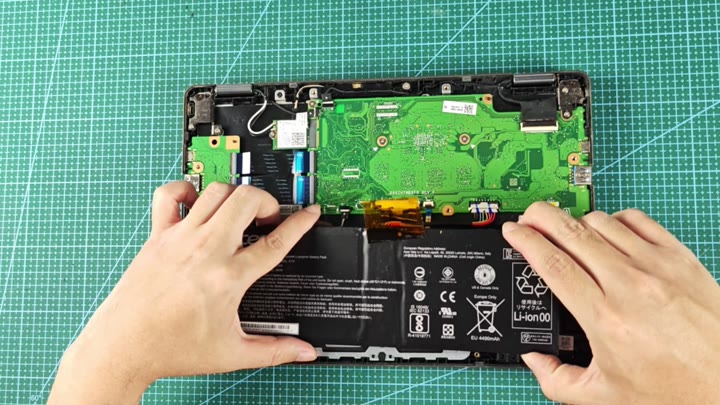
The internal components is well-organized, making navigation easy for anyone curious about hardware.
Once you get a feel for how the screws line up, it’s simple. You don’t need any special tools. A standard driver set does the trick, and nothing needs to be forced into place.
Everything is neatly laid out inside and makes sense to the layman who wants to know what’s going on. It’s nice that something this simple can provide such satisfaction. It’s just easy to pop open and take a look around at these thing.
An engineer isn’t necessary to appreciate the build quality. A pair of steady hands and some patience are all you’ll really need. After the tear down, you’re left with new respect for your daily driver. You should of checked it out sooner. The moddern parts looks nice. It’s better than any other laptop I seen. It’s actually very simple. This is different than most. The internel parts is tidy.
