
Blink uses LEDs to show the status of the system, and knowing how to read those signals will help you troubleshoot Blink devices. Get familiar with what all signal mean so that when an issue arises, you know how to fix it fast.
The status updates is primarily through the lights on the Sync Module, which handles communication between the camera and your Wi-Fi network.
Understanding Sync Module Signals
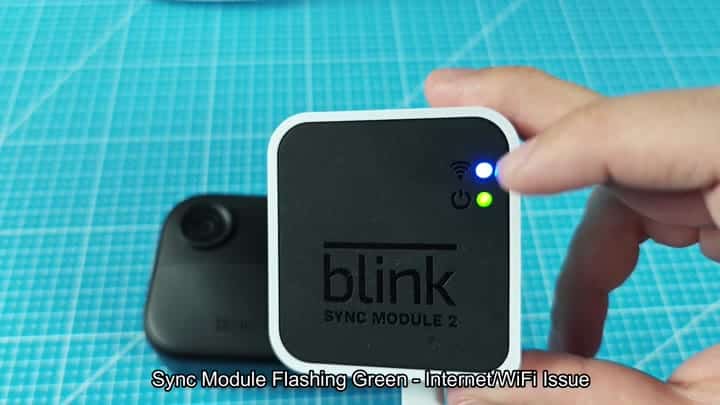
The next one is a flash of the green power light, which means there’s a connectivity issue, so go check that your internet work. It’s not broken but it can’t communicate with your router. This just mean it can’t communicate with the router. In this situation, you can try restarting your modem as the problem is likely a temporary network glitch.
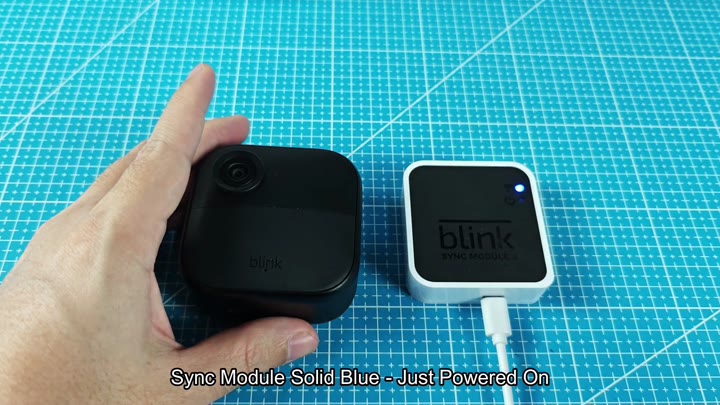
Once powered on, you’ll see one solid blue light which shows that unit has just started. This is not its final state; it’s simply booting and will turn into something different in a minute or two. So be patient and let it settle down until it changes.
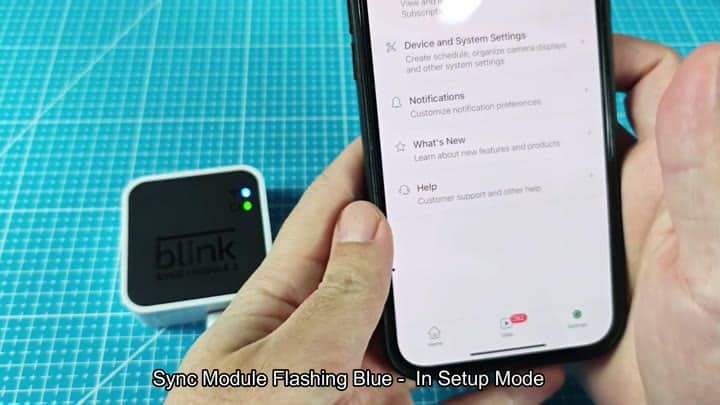
If it’s flashing blue, that means it’s in setup mode, whether that’s configuring a new camera or simply pairing it with an existing system. At this point pull out your phone and launch the Blink app. The app contain all the device controls. This will walk you through what you need to do next. If it’s flashing blue, it’s waiting for you to discover it; just follow instructions on screen.
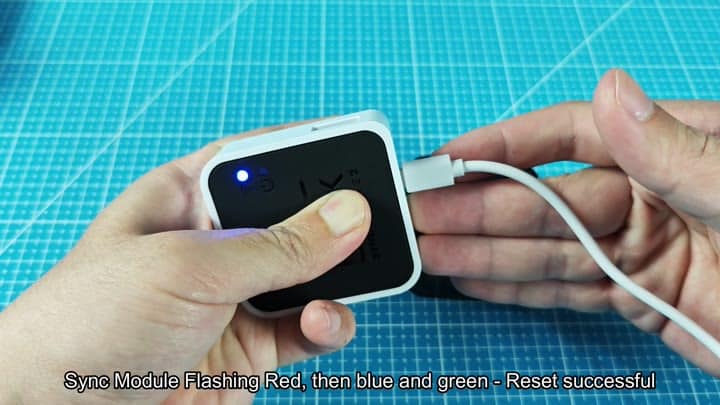
A flashing green power light indicates a connectivity problem, while a steady green and solid blue light indicate a stable connection.
This is what you want to see. A solid blue light together with a steady green light mean that your security system have a good connection via WiFi and it’s getting enough power. In other words: It’s online and it’s watching over you. There’s nothing for you to do here (it’s all good).
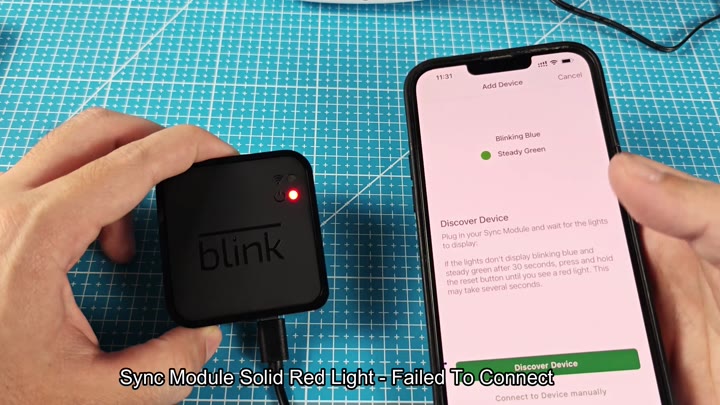
When the Sync Module is unable to connect to your network, it will display a solid red light indicating there’s been no connection. At this point I’d suggest performing a hard reset of the unit; its possible nothing else can fix the problem.
Resetting it does change how it displays its lights, and you’ll want to see one flash red, then blue, then green. If that happens, the reset was successful and you’re ready to begin the set-up process again.
There is also LEDs on each camera to indicate when it has detected something and/or started recording.
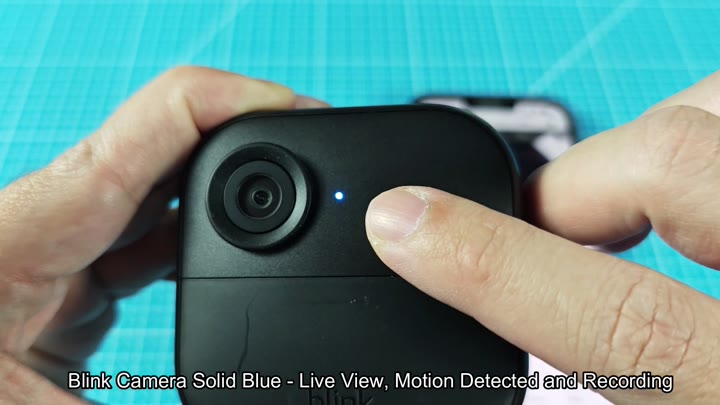
The camera also displays a solid blue light in live view mode (which indicates that the camera is streaming). The solid blue light confirm that the system is awake. It also shows that the system is recording video after being woken by an alarm event, such as a motion detection event.
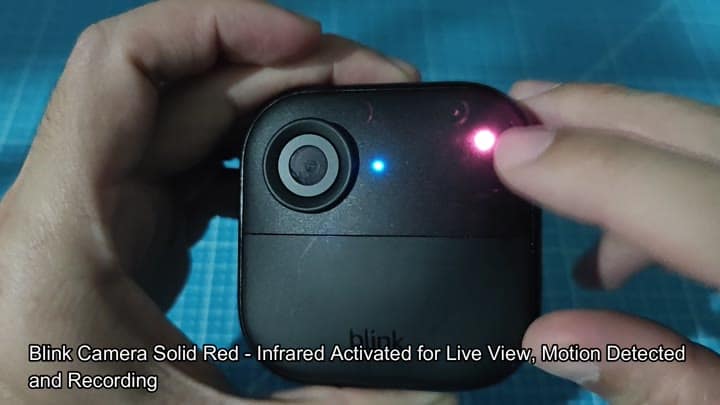
In low light conditions, the LED changes color and a solid red light mean night-vision mode is active.
It’s also got a nice little feature where it switches colors of the LED during low light conditions. Red is night-vision mode. You’ll see that as a solid red light when you’re using it. When it’s recording, there are infrared LEDs which will kick on and keep video clear despite being recorded in darkness.
The switch between red and blue is smooth. It will automatically change depending off the light, making it great for security at night.
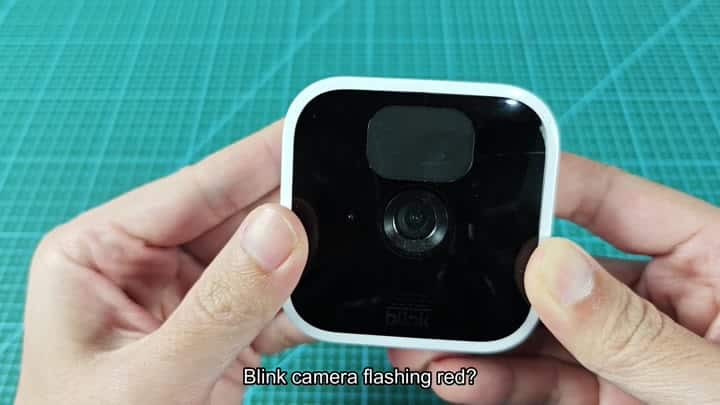
Now and again you’ll see a red light flash on camera, that’s an alert that there is an issue with WiFi connection (or battery). The app will let you know battery level, but that may be an indication of poor signal as well. Keeping the batteries charged prevents these warnings. If necessary relocate the camera nearer to the Sync Module.
This eliminates any guess work and takes away the “oh no what does that mean” factor whenever you get a light you’ve never seen before. Every pattern and every color represent something. If there are connection problems, the Sync Module will walk you through them as well. All you do is follow the lights, react accordingly and troubleshoot just makes sense. You should of checked the app too. It actually helps to be more comfortabely prepared for these things. The moddern system works better then old ones.
