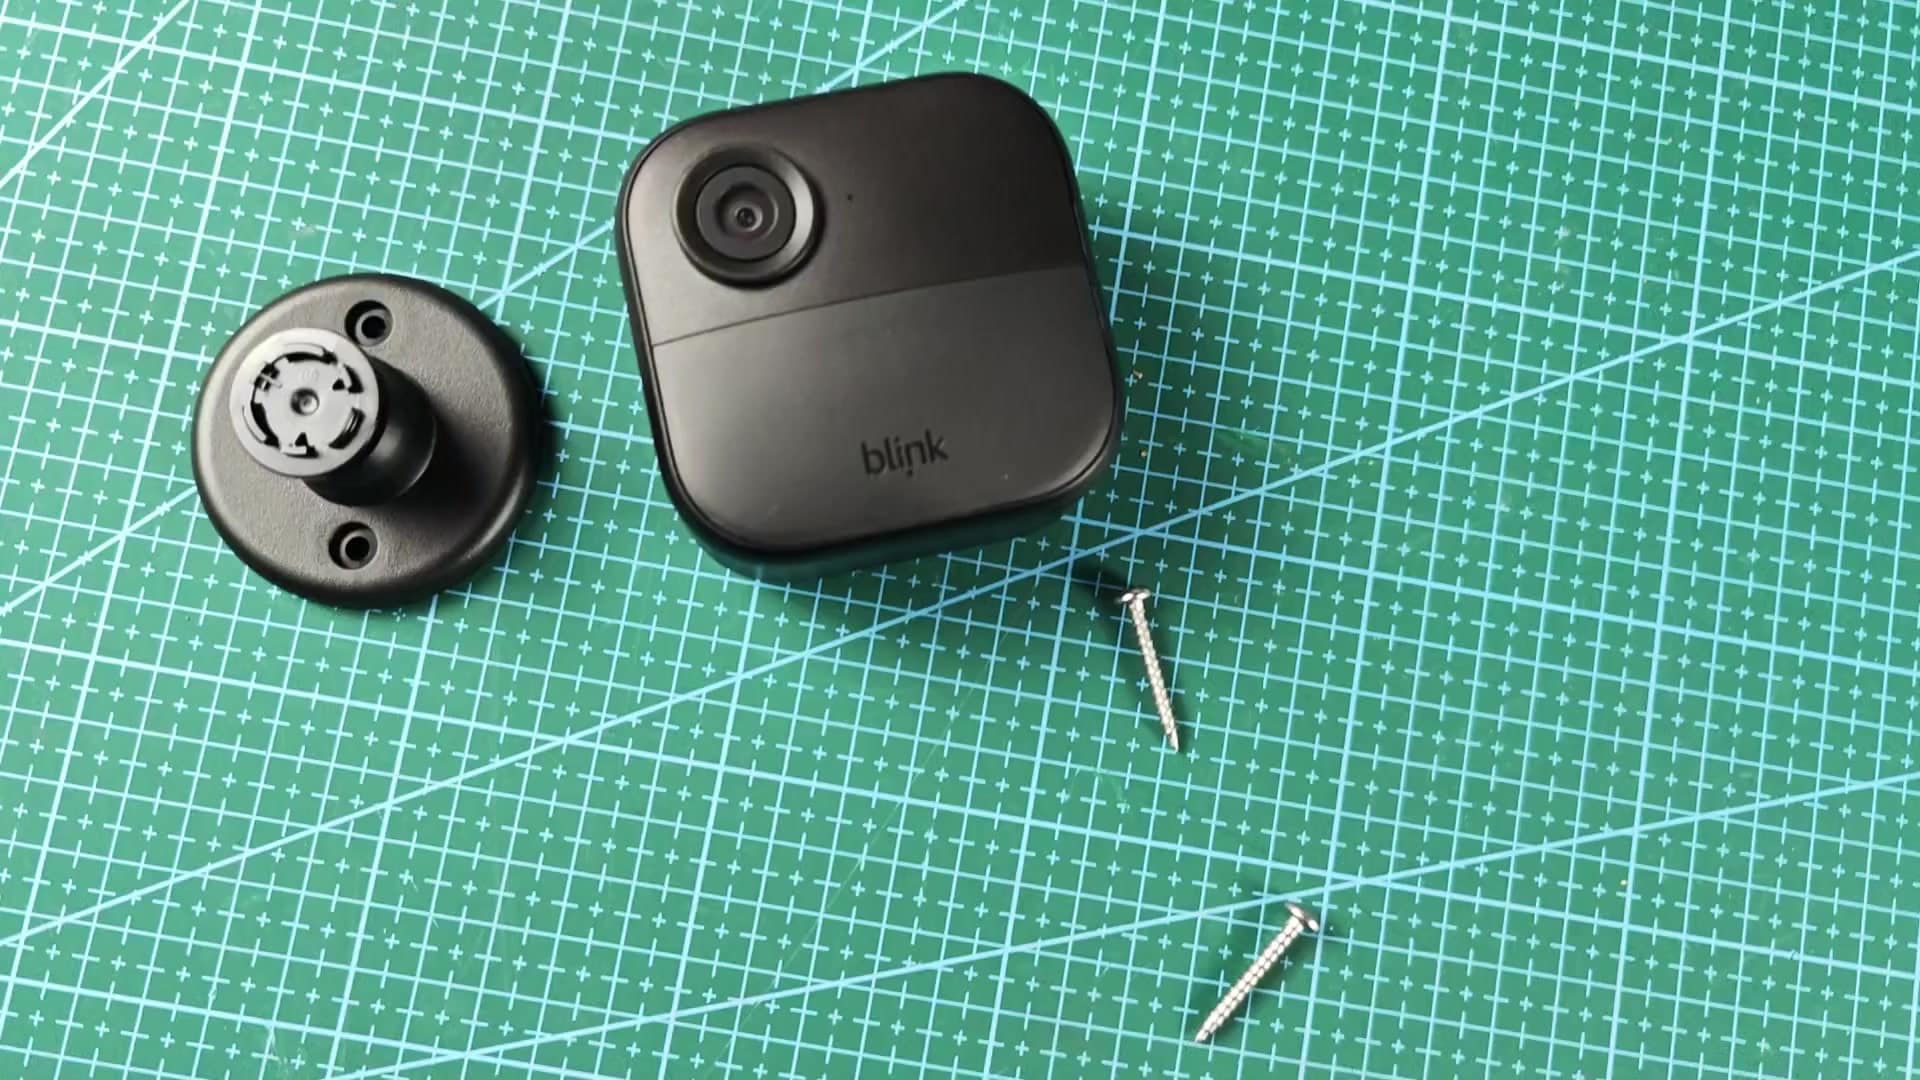
There are no wall plugs in the box with the Blink Outdoor 4 pack. You has to purchase them on top of that.
It’s a minor annoyance that is easy to overcome. Go pick up two anchors for your screw type.
Mounting The Camera Unit
The black mounting base go onto your wall. If you are mounting on concrete, it’s a hard surface and doesn’t take screws as easy as drywall.
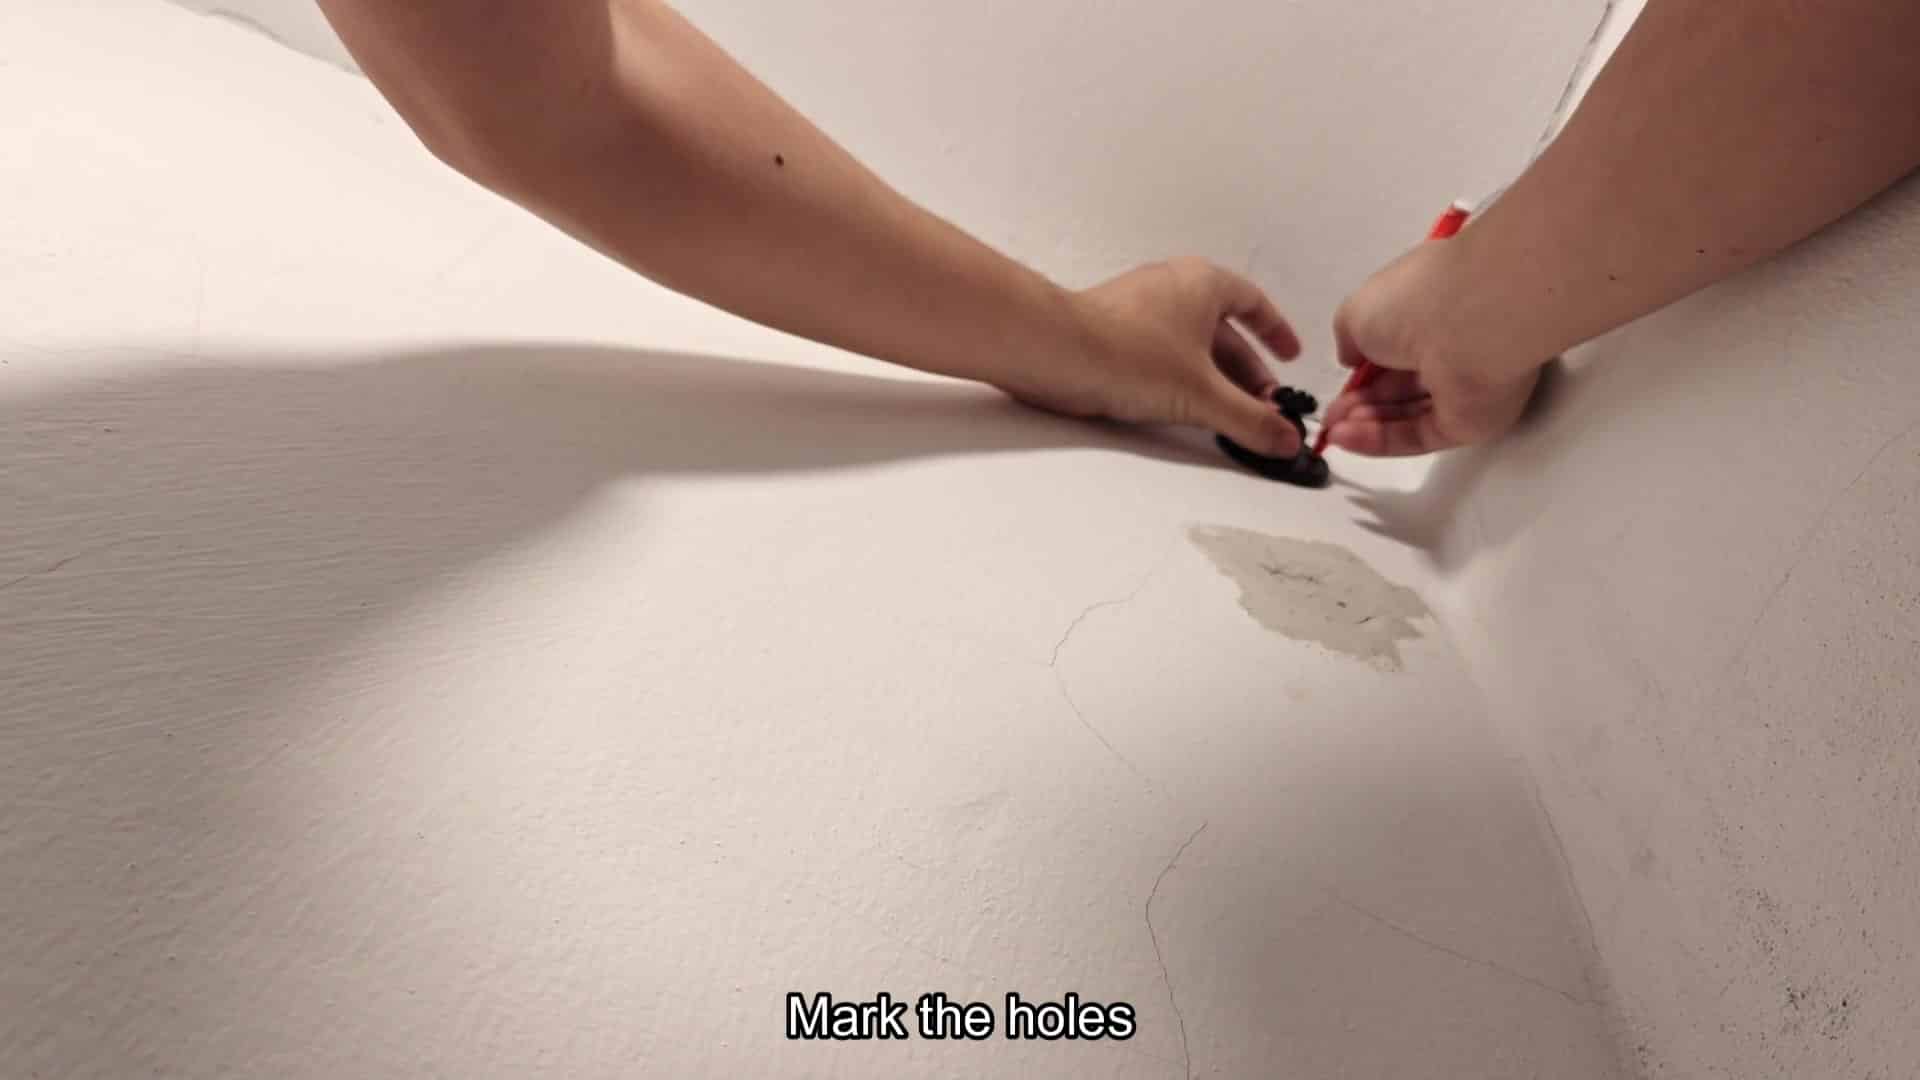
First of all, position the round plate into place against the brick work, you don’t want to miss, so get this part correct before drilling any hole. Position the screw holes in the plastic backplate.
Once satisfied with location, mark it. Using a pencil, pierce the holes. You want there to be two clear dots on concrete from your pencil that you can use as guidance when you begin to drill.
This is important, cause if you miss by even a little bit when you start drilling you’ll see the screws won’t go in right and your camera will end up sitting cockeyed. Check markings again before grabbing for the drill.
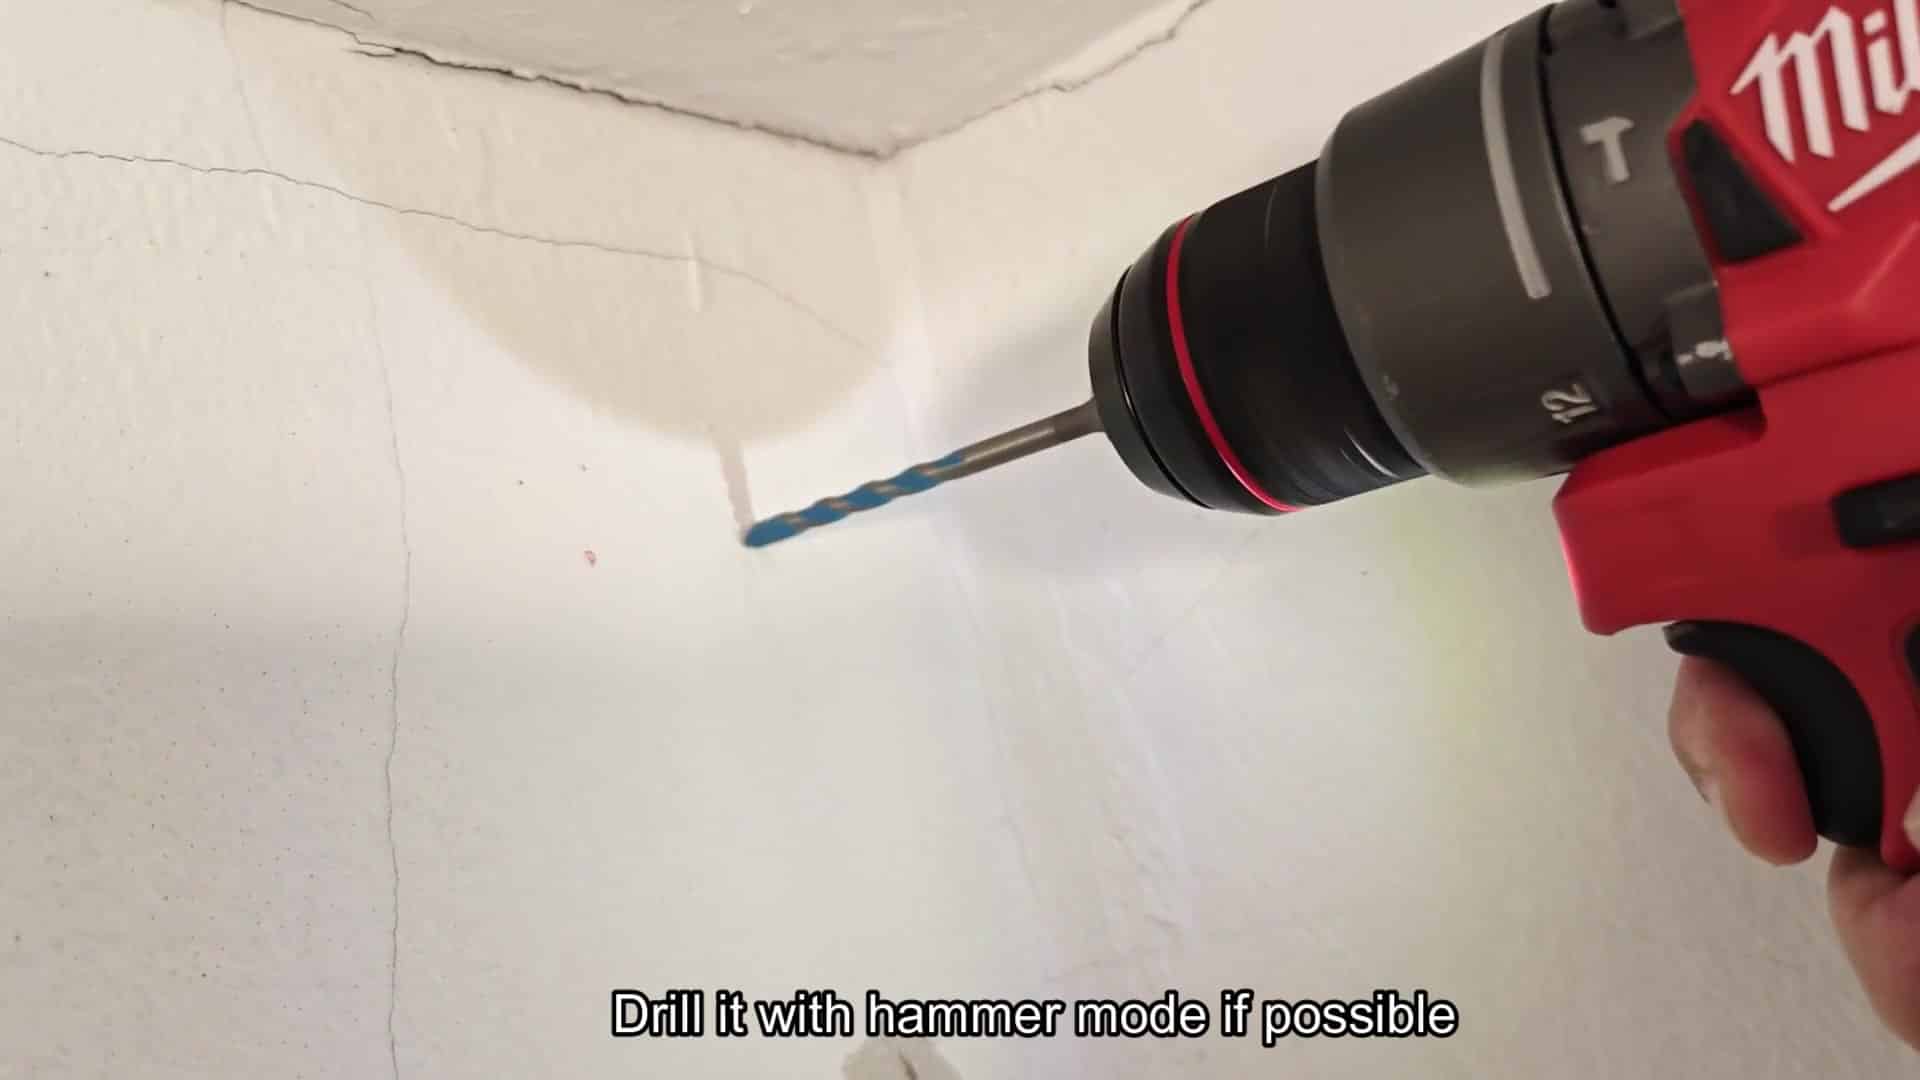
For drilling through concrete you need some serious power. You must of have a hammer mode setting, that’s what drills masonry, rotating plus pulsing with each turn. Without this, it just spins around on surface not biting in.
Put your tool to hammer mode. It vibrates like heck. But works fast. Push the bit up against your first mark, then begin drilling.
You want to go slow here as rushing can cause a crack in concrete around it. This will take time let the tool do the work. Once you have dug your hole deep enough, move on to the next mark.
Repeat the same thing for the second hole. Apply steady pressure and both of the holes should be straight and clean, nothing wobbly. When it has cleared through, it’s satisfying.
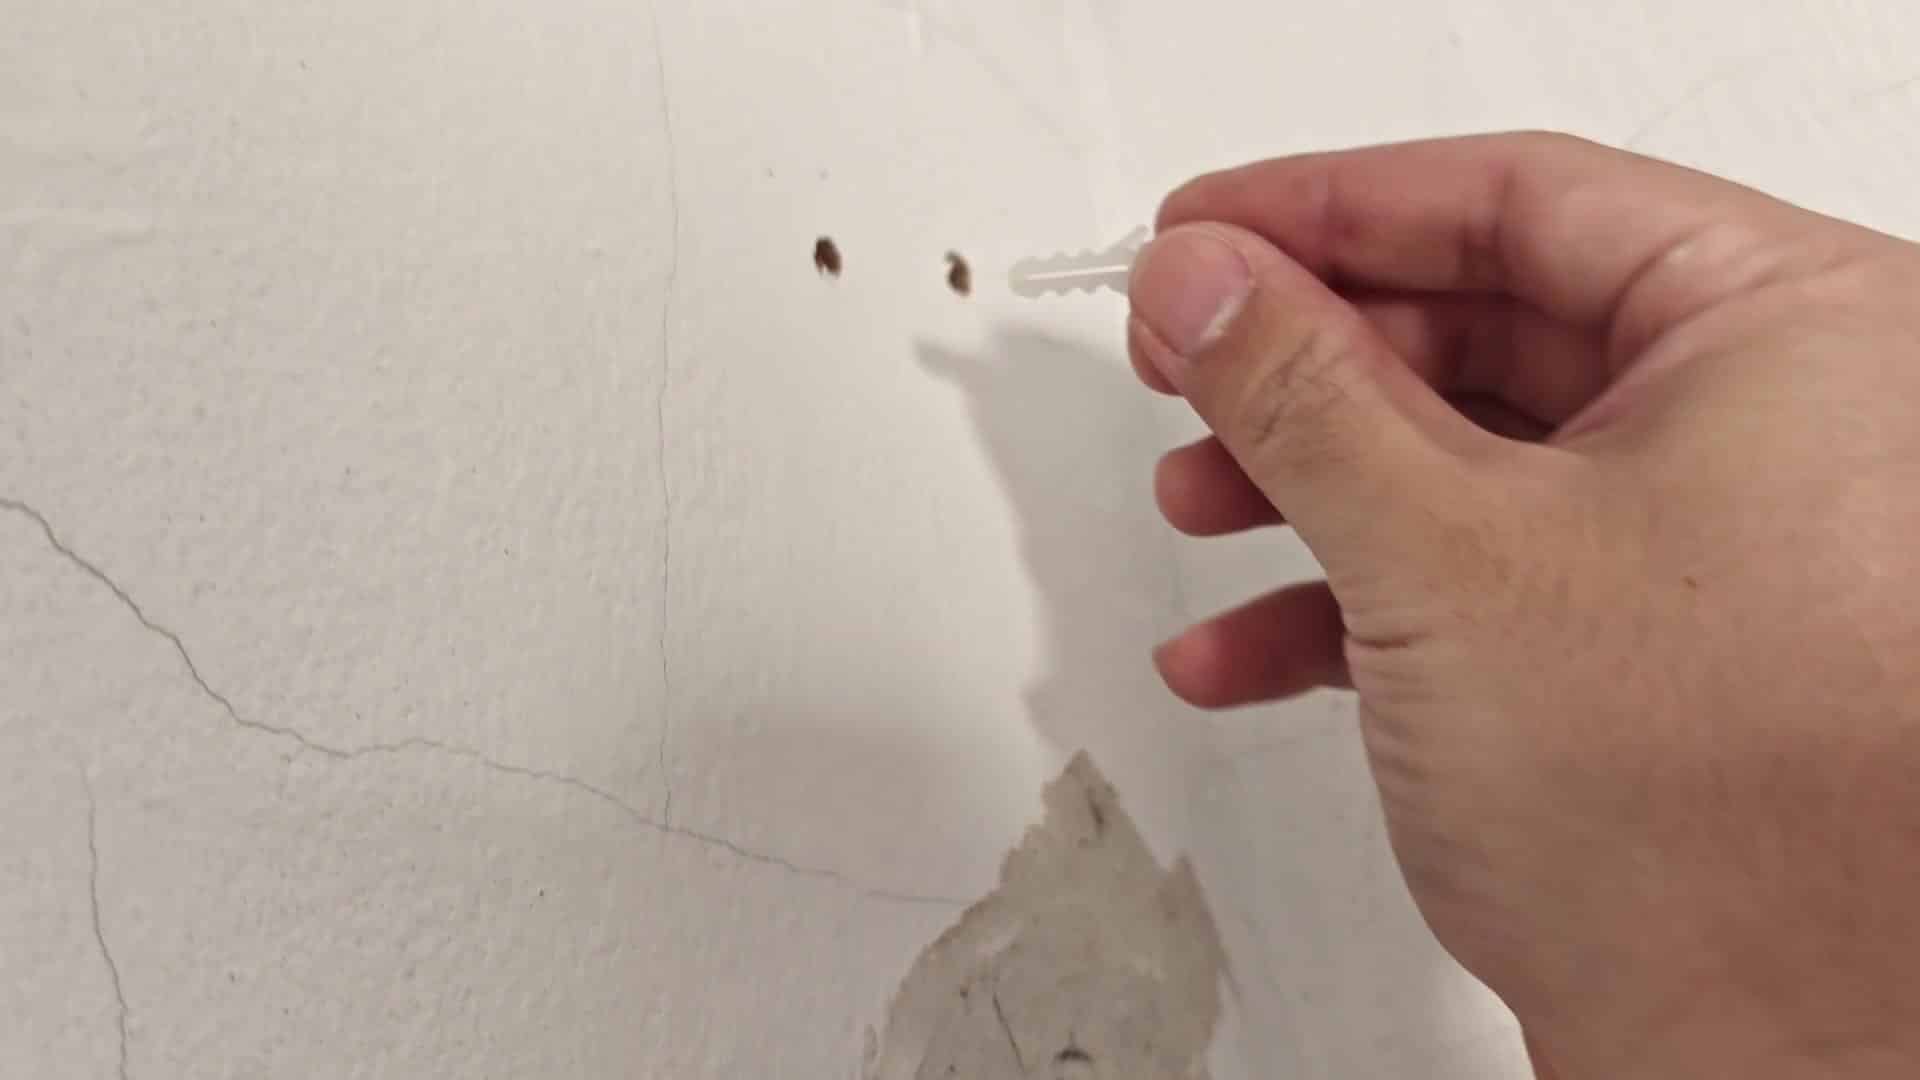
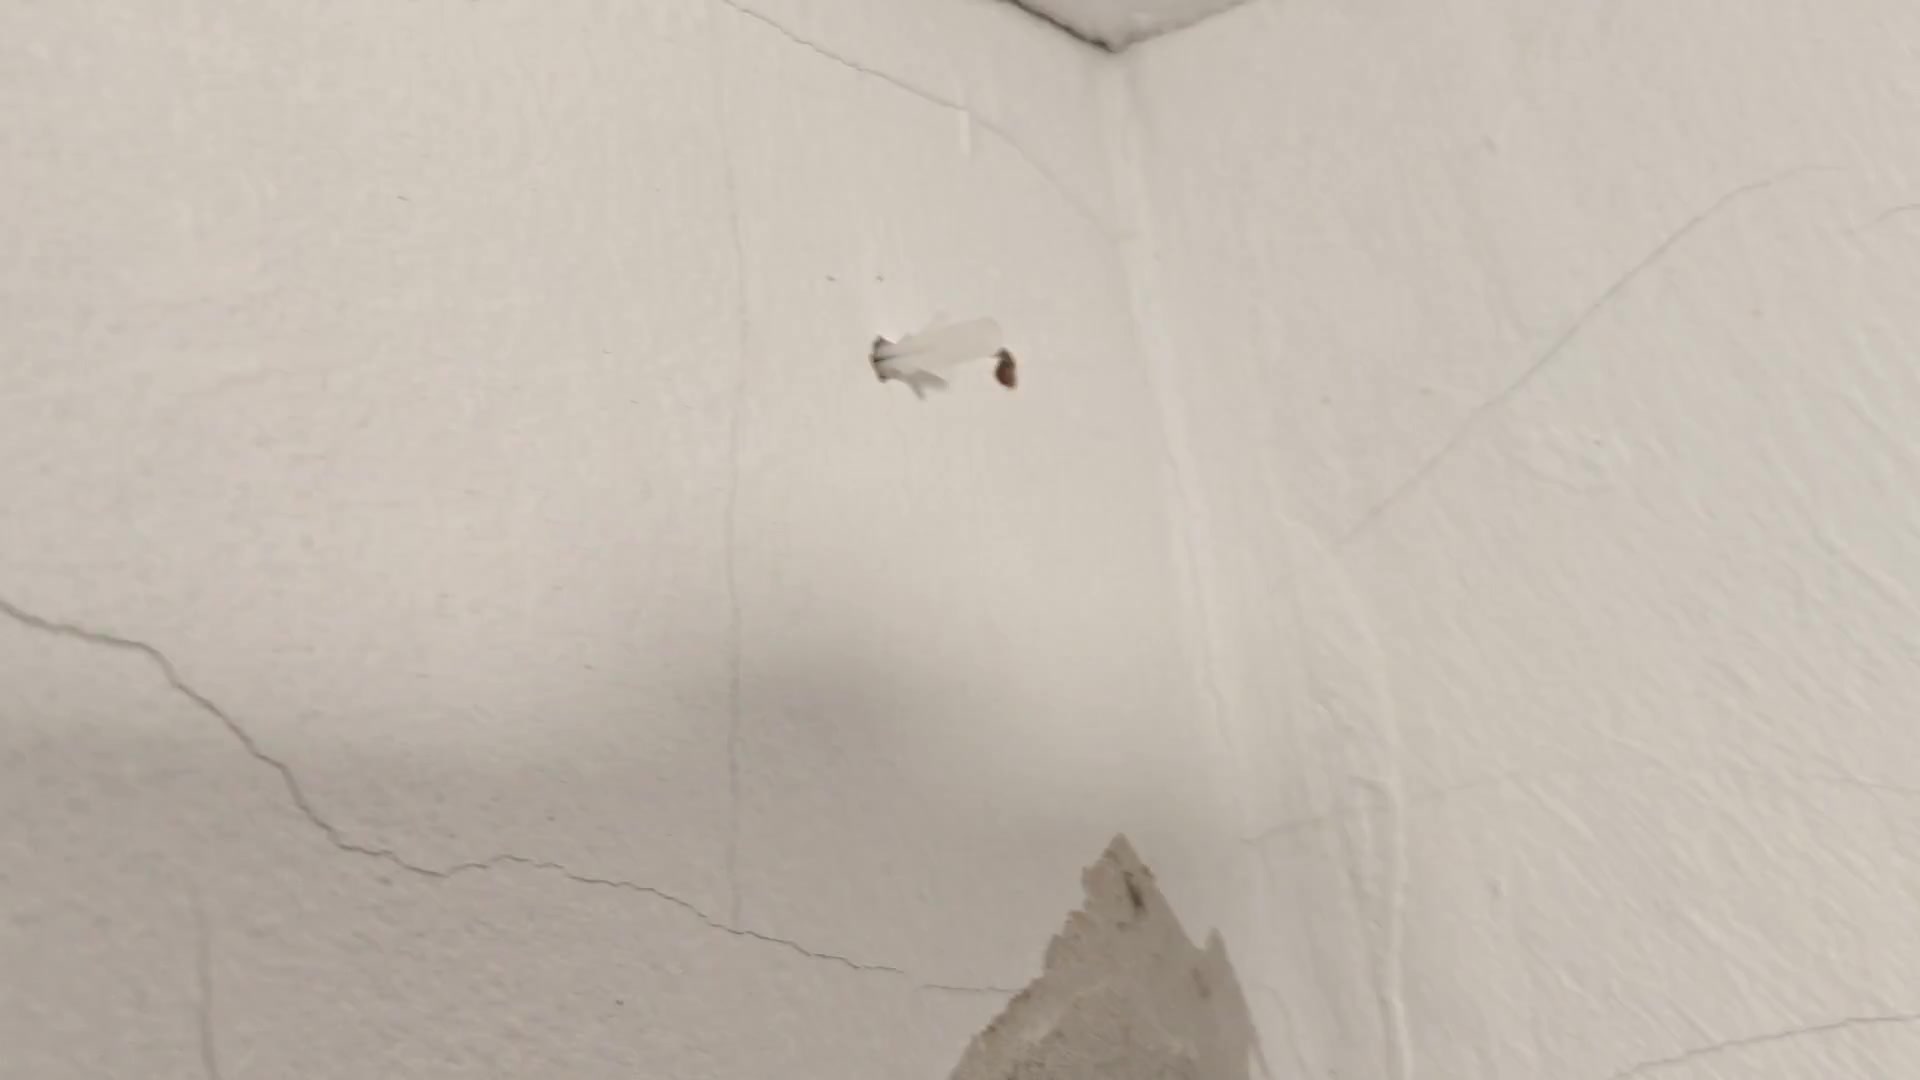
Once holes are drilled, insert white plastic plugs into them. They will supports the weight of your device.
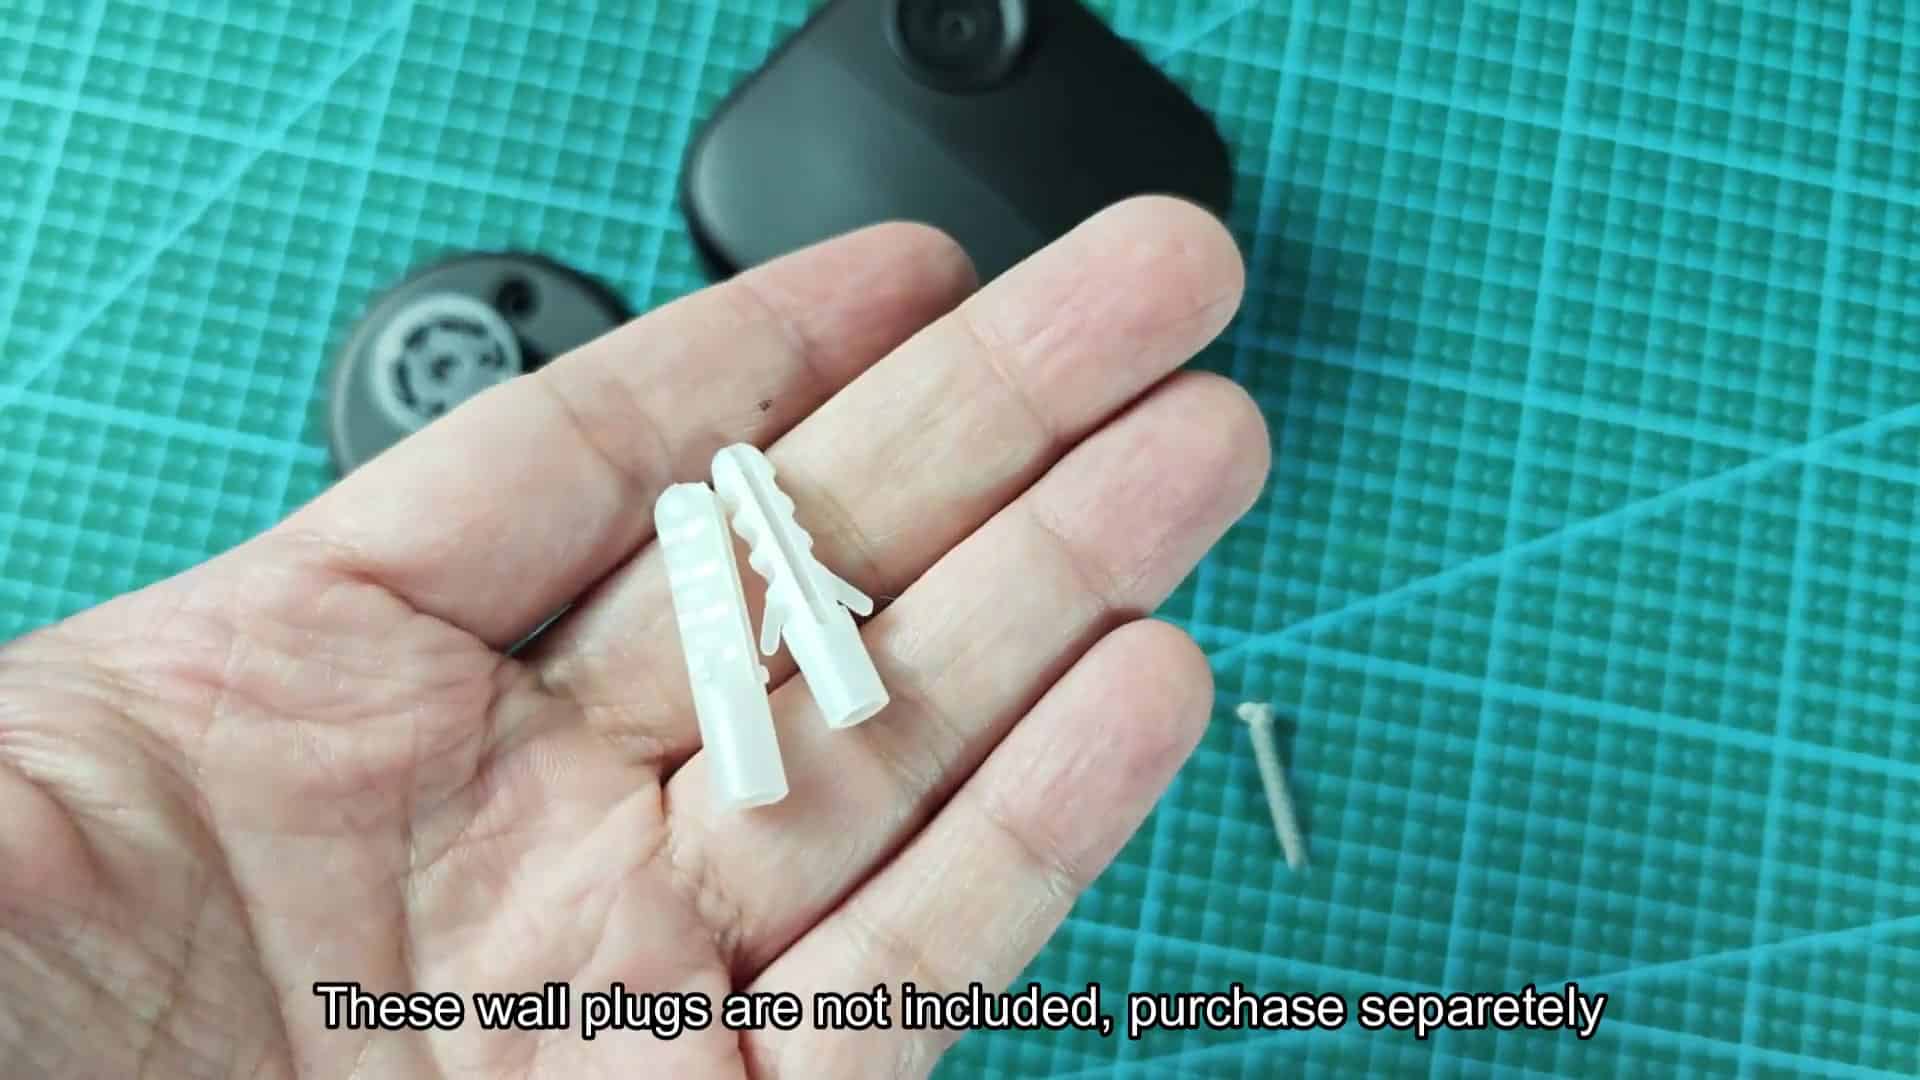
Use a rubber mallet to tap the first plug so it’s flush with the wall. That way, when you set the mount against the wall, it will sit flat and grip surface better. Do the same thing with the other hole.
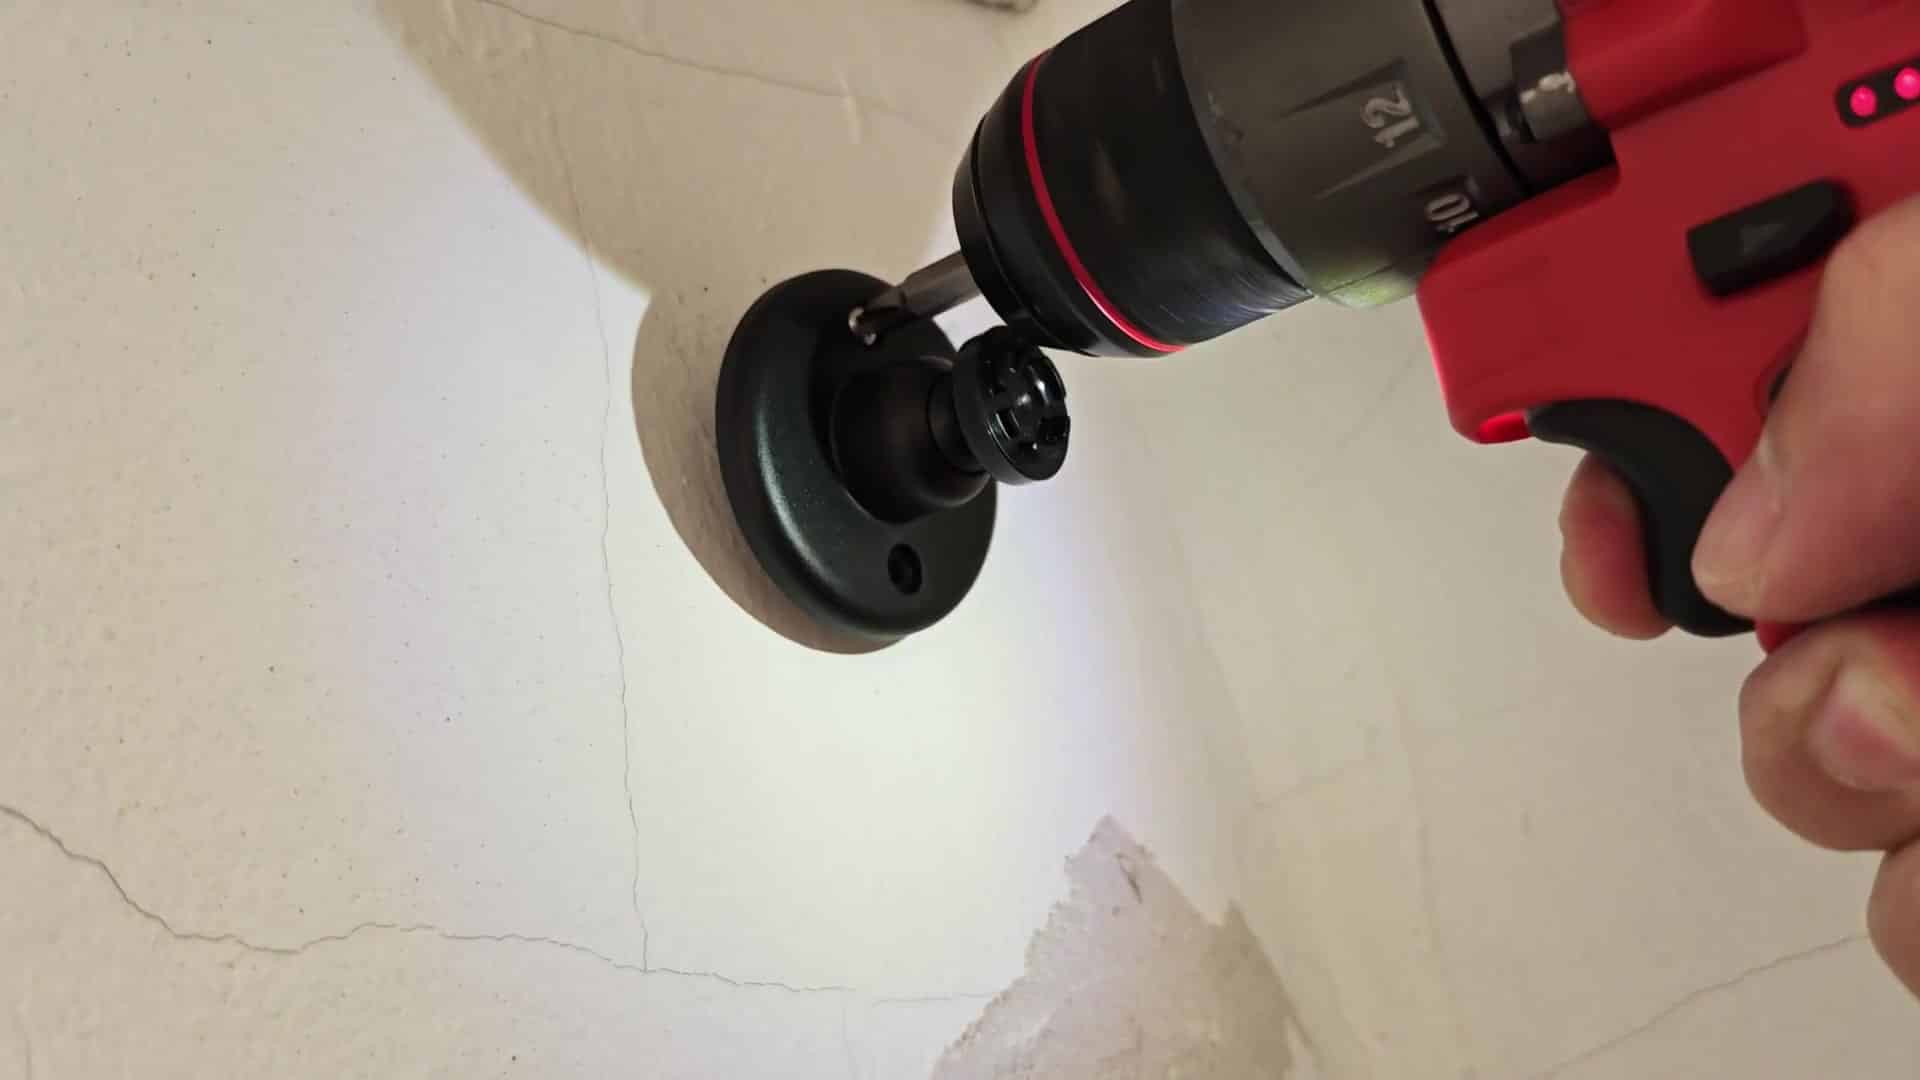
Line up the mounting plate with the anchors. First screw in by hand so you don’t strip out the threads on plastic plugs. Once turned enough, use your drill driver to get the screws tight. A loose camera mount is not something you want outdoors.
Now that it’s all mounted to the concrete secureley with no shifting or wiggle, let’s check out the top. This has a ball joint and gives you flexibility to point your lens around without having to pick up the entire plate.
Just make sure everything seems solid at this point. Whew! That was the tricky bit. Now we can go get our camera set up.
The small black Blink Outdoor 4 unit slide onto the ball joint mount. It clicks into place nicely. Holding it in place feels good; there is no looseness at all.
That’s your assurance that this won’t blow off in windy weather or shake loose over time. It is a nice, simple, but effective mounting system.
Because you want to cover your target area well, positioning is equally important than mounting. Twist the ball joint and adjust the angle of the camera lens.
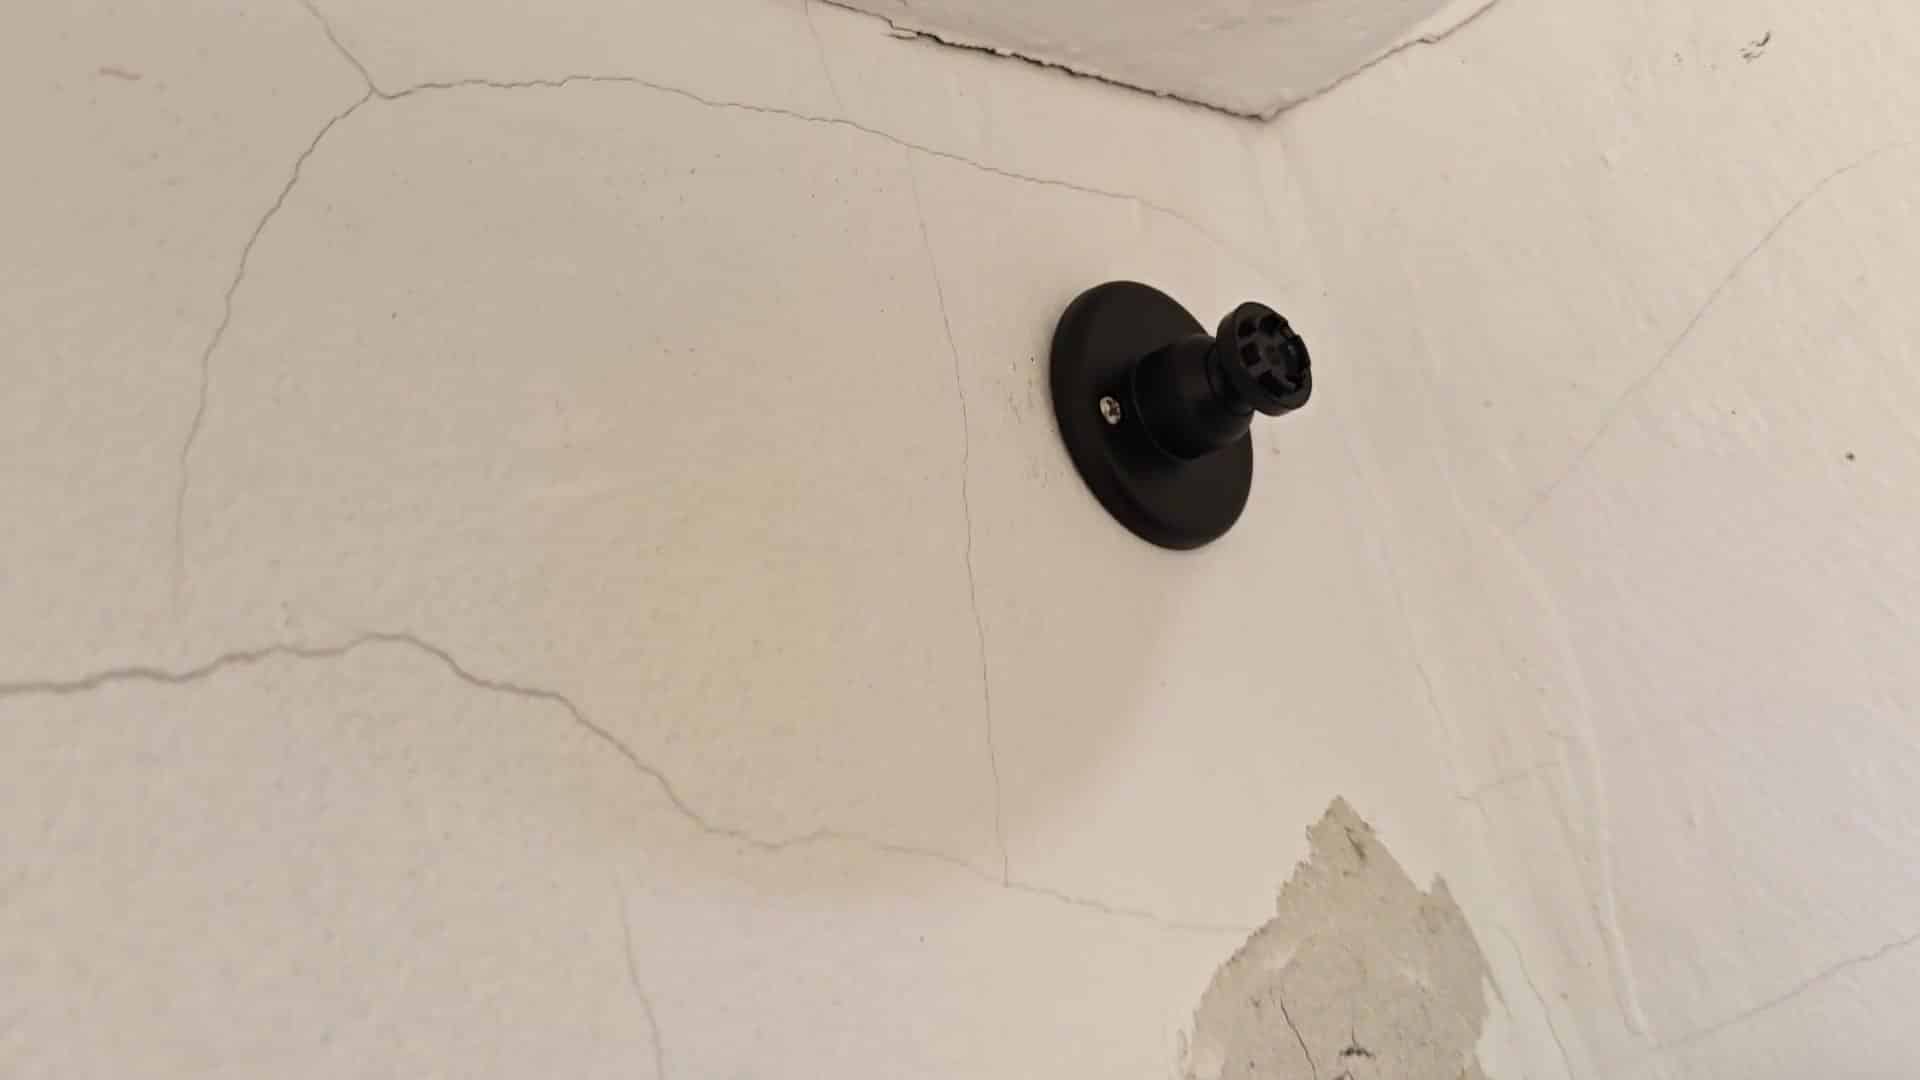
For outside views, tilting the camera lens down just a bit is typically best so that you’re getting faces instead of foreheads. A few tweaks will get you in the right spot, but it’s worth it.
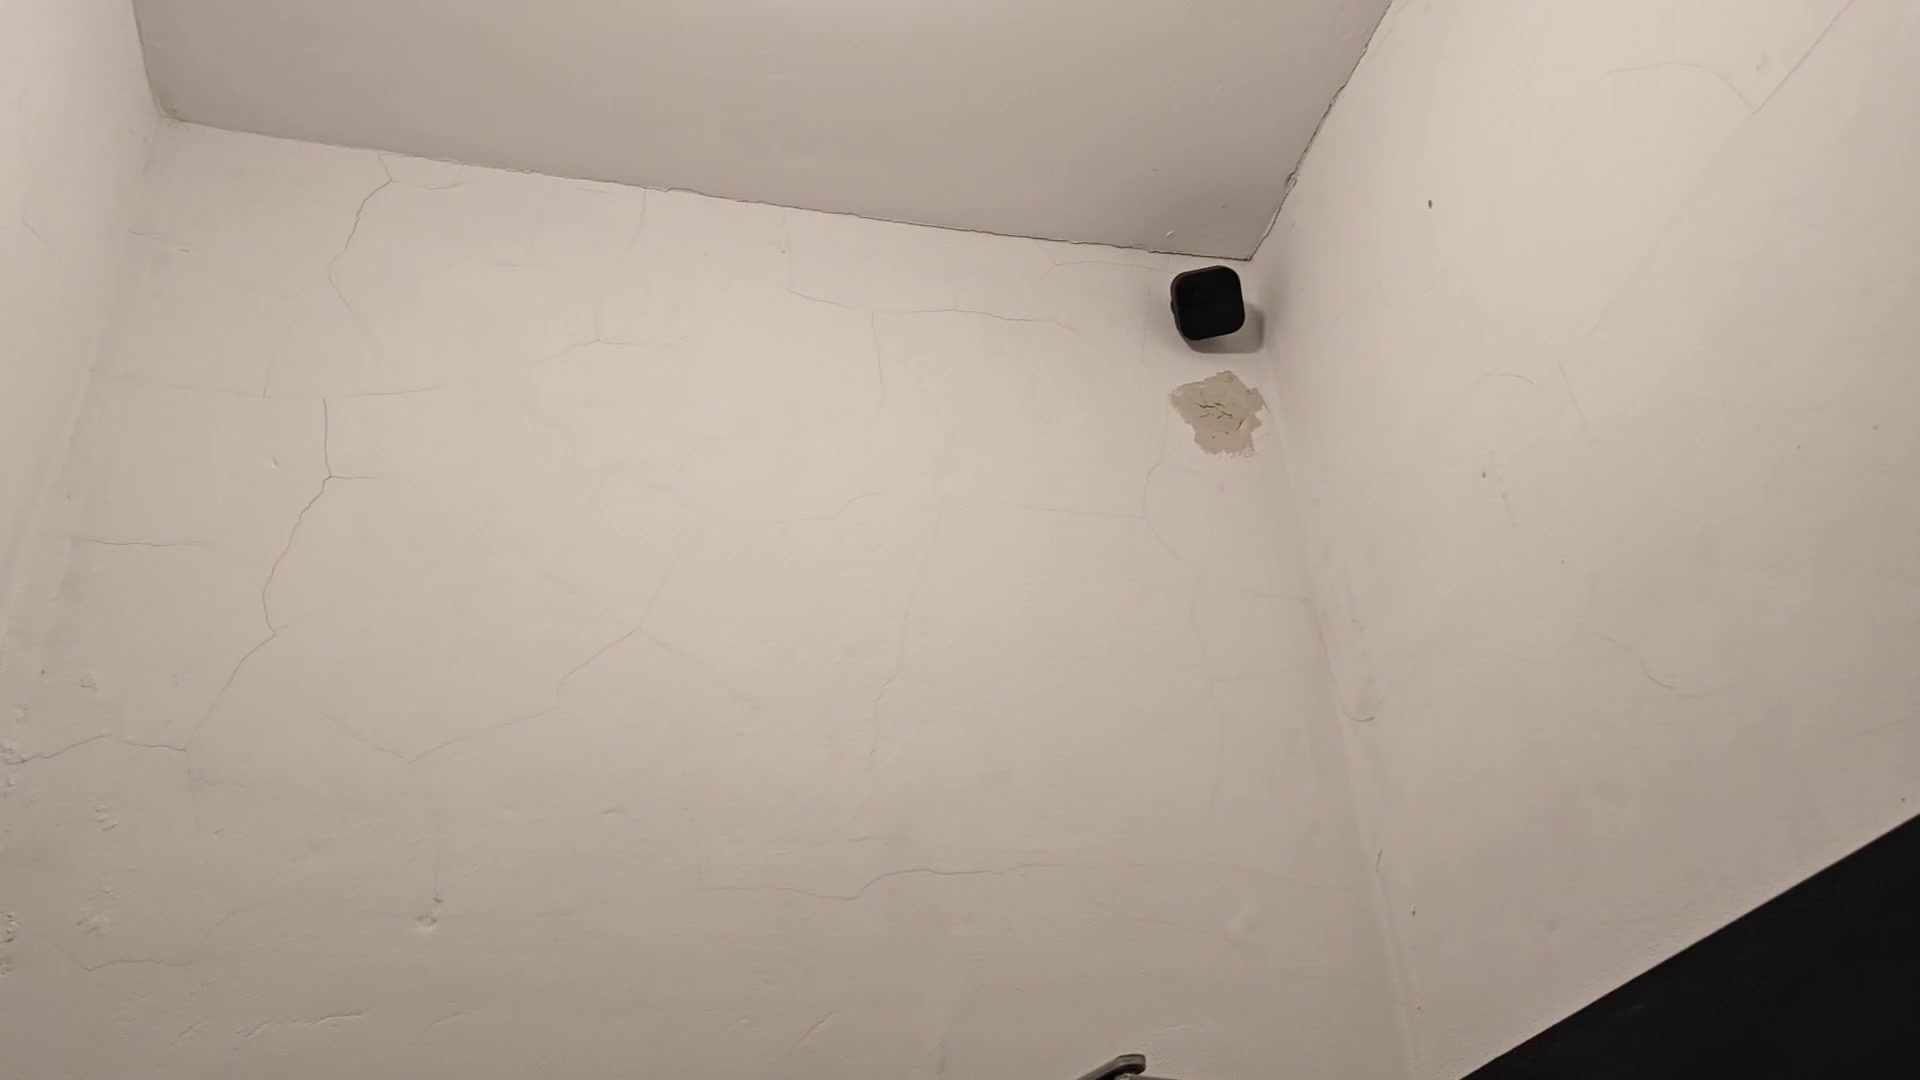
Finally, the camera is positioned up high on the corner of the ceiling. It’s out of reach but provides a wide field of view.
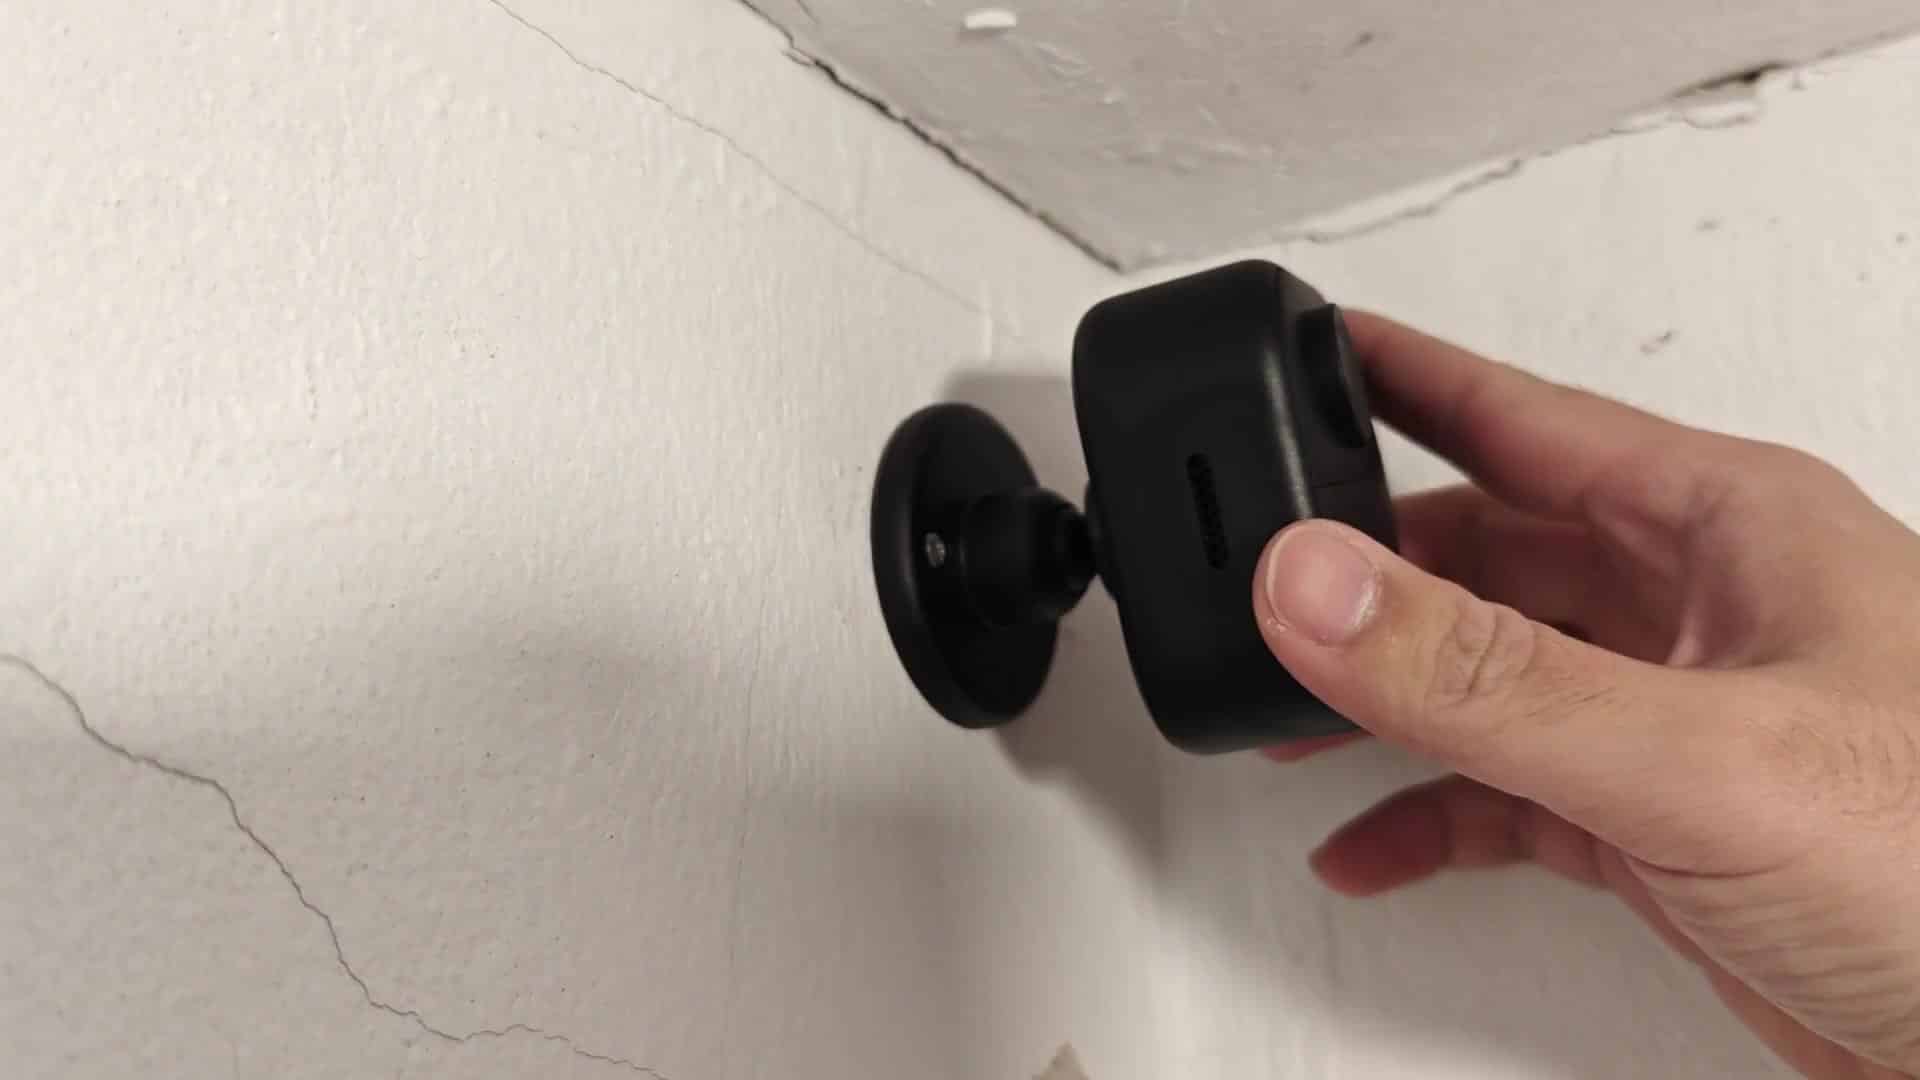
The final look is nice and clean. There’s no hardware to speak of. It is just a sleek black device that blends into the shadows of the concrete wall. There’s no hardware to speak of. Just a sleek black device that blends into the shadows of the concrete wall. And that finishes off the look.