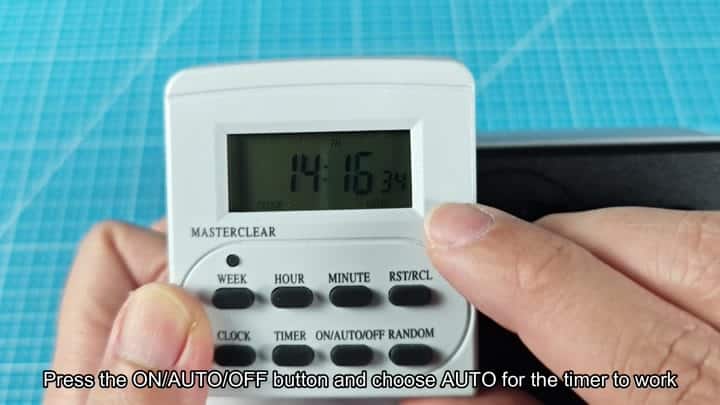
To set the clock, you’ll need to change how you do it: instead of tapping the Clock button, you’ll need to press and hold it.
To set the clock, you have to press and hold the Clock button instead of just tapping it.
Programming the Timer Schedule
To do this, you press the Week key to enter the day. While still pressing the Clock button, tap the numbers for the day you want until they stops flickering.
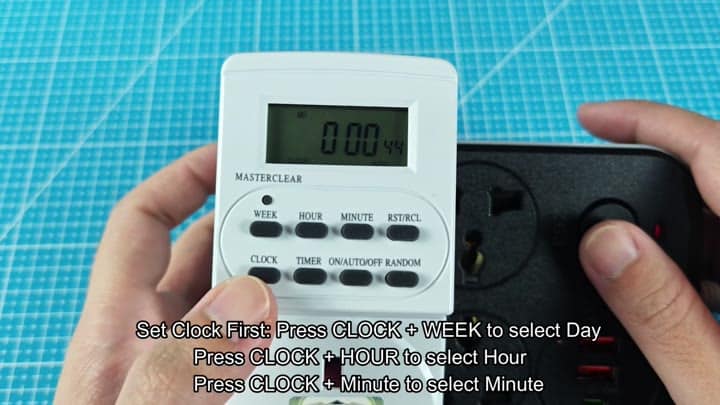
Then you release Clock, adjust the hours using the Hour key, and repeat for minutes.
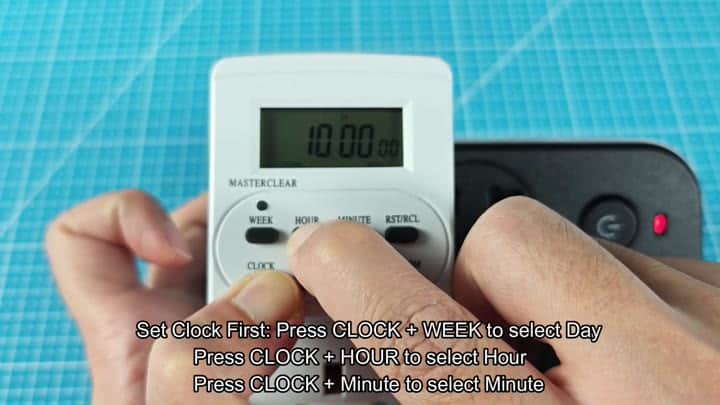
Set the minutes by pressing the Minute key and continuing to hold the Clock button as you adjust it to match the time on your wall clock.
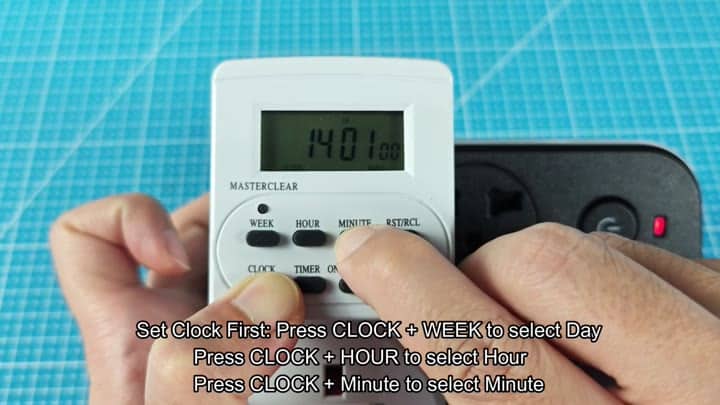
Be sure to hold down the first button during the entire process as letting up on it causes you to have to start over from scratch. Once everything looks right (day, hour, etc.) you let go of the button and set your clock.
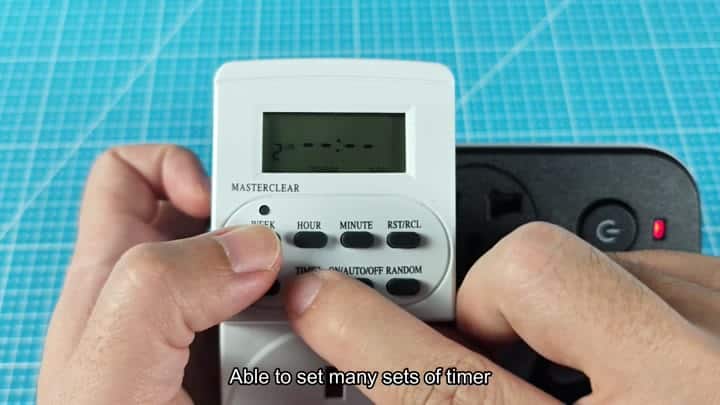
Next, you hit the Timer button again to go into programming mode which, as you might imagine, takes a little bit longer to program than just turning on or off automatically.
You use the Week button to select the days of the week you want the light to turn on, then you hit OK when you’re done and the screen switches over with an indication it’s waiting for your input.
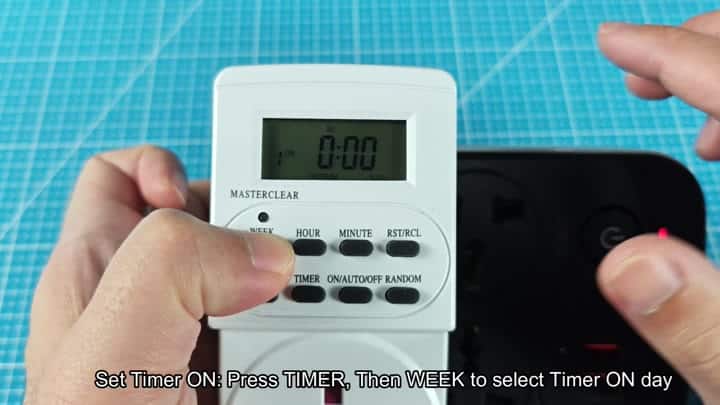
Next up: you set the hour, then press the minute button to lock that setting for when the device kicks on.
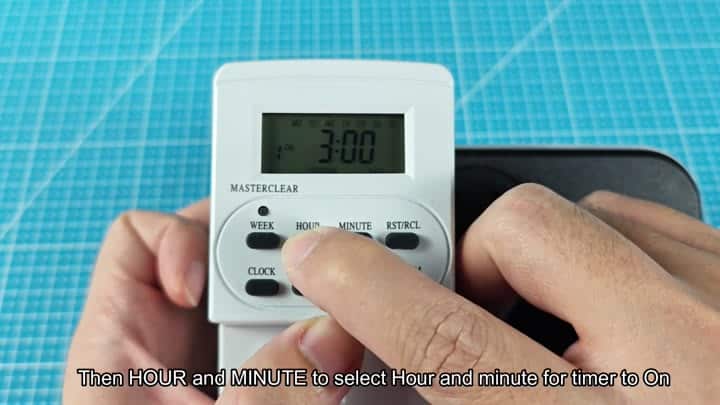
Then you hit Timer one more time to turn off the screen and set your ON timer. Tap Week, tap Hour, then tap Minute to start setting your time off. Repeat this sequence for the time that you want to deactivate.
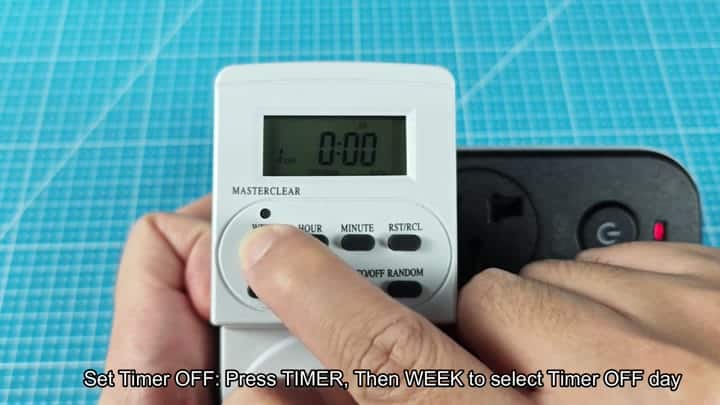
Press. Adjust it. Confirm.
After a while, it’s really that simple. The interface is quite easy to get used to after getting the rhythm of things down.
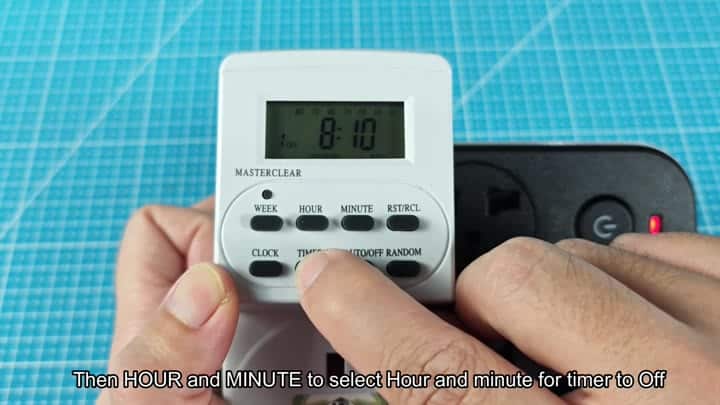
Once you have specified the ON time and the OFF time, the schedule has been programmed.
Now however, since it’s still in standby mode, it won’t turn on. To instruct the device to use the program you’ve created, you find the ON/AUTO/OFF button. Pressing that button cycles through the three options until the AUTO light illuminates, at which point the switch knows to run the schedule rather than remaining either on or off continuously.
This is the final step, and the clock runs in the background while the timer waits for the programmed times.
The timer waits for the programmed times and that’s when the clock starts running (and it does run in the background). This is the last step.
The buttons have a trick to them. You have to press and hold the Clock button while tapping the others, which can be challenging initially. But once you figure out how to do it, it’s fairly rapid since the screen shows you what you’re doing.
It doesn’t require a manual, just patient experimentation on your part to get various schedules set up using the thing itself. It takes awhile, but it’s repeatable and works, it gets every single one of your schedules right.
Since all that matters is the time, you can’t mess around with setting the time because if it’s wrong, the timer isn’t realy doing anything for you. Once you’ve got it set, double check the time before you go.
Without AUTO mode activated, the timer won’t follow the schedule. Once engaged, the switch remains in whatever position you have it until you change it again yourself.
When you want it on, press the Auto button and let the digital timer do its thing. It works like a champ and is ready for the long haul. Don’t switch it anymore; just leave it on and let the digital timer run.