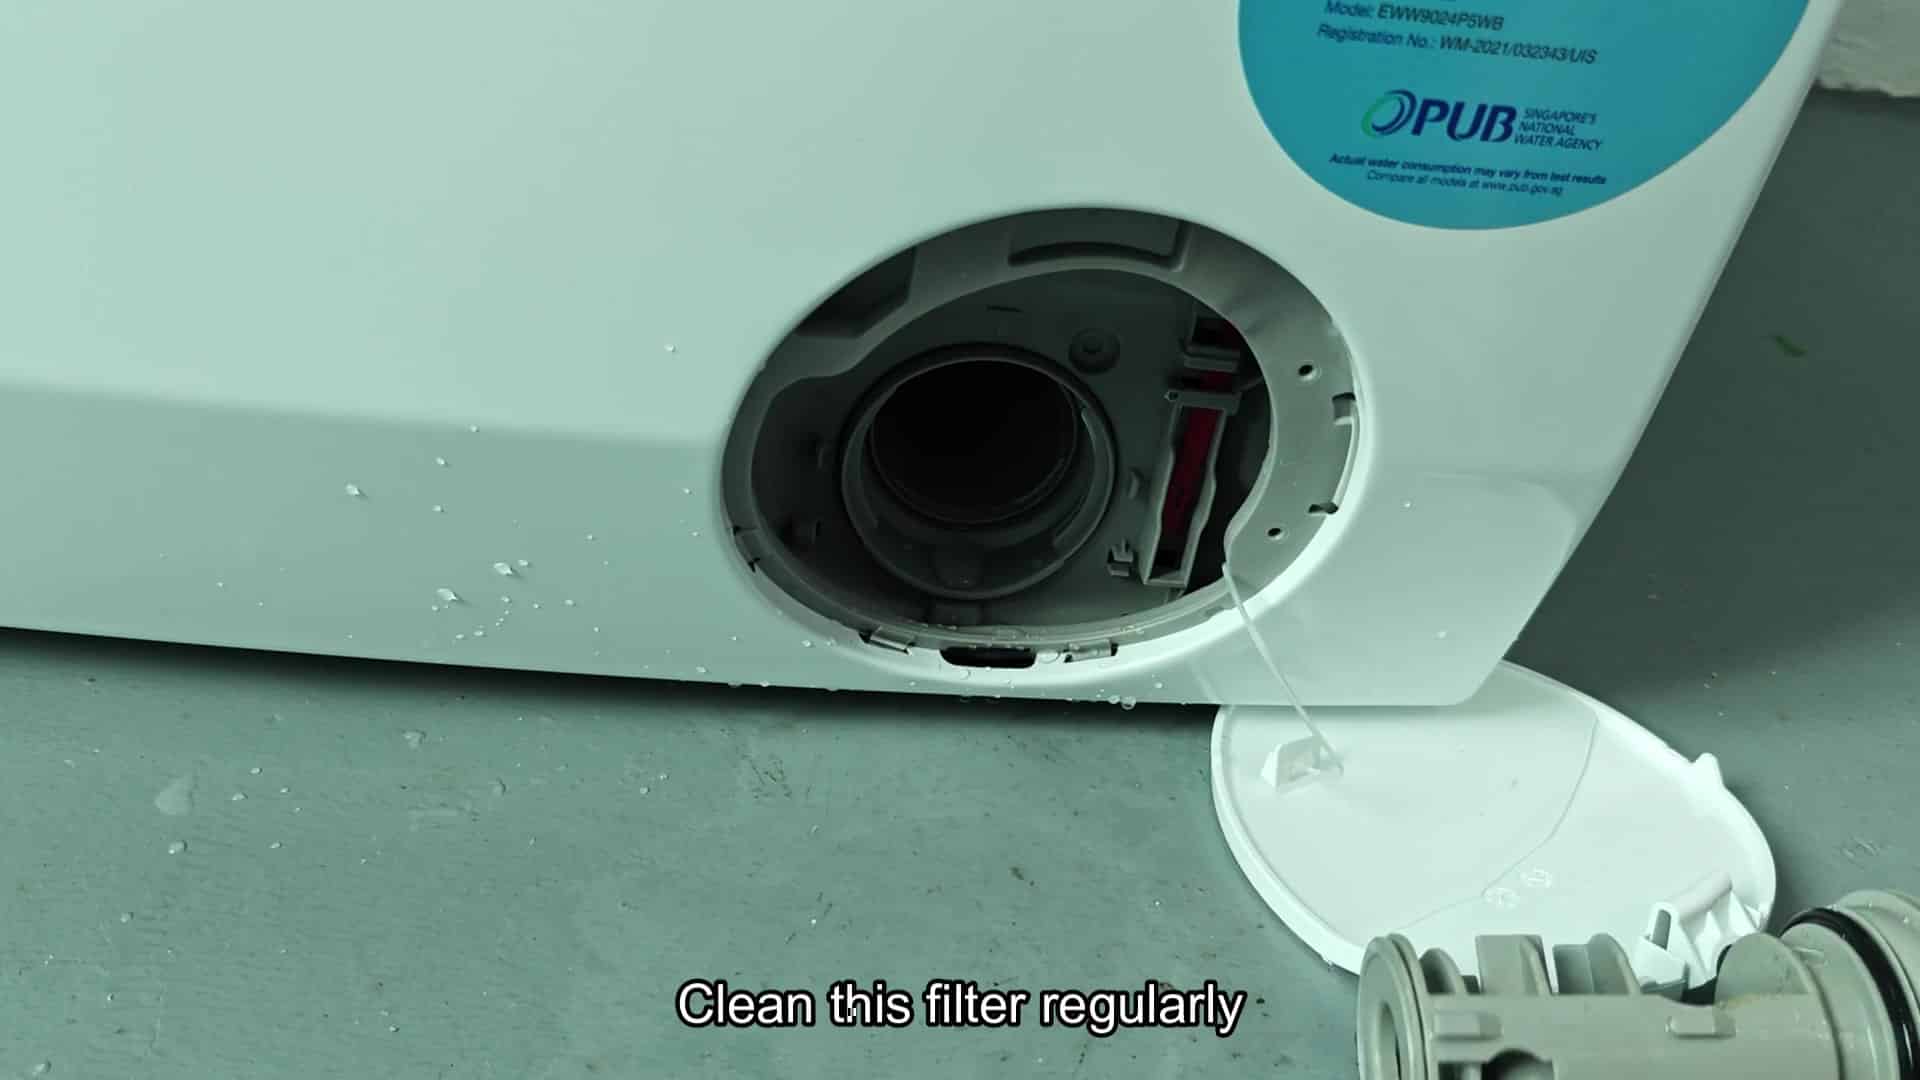
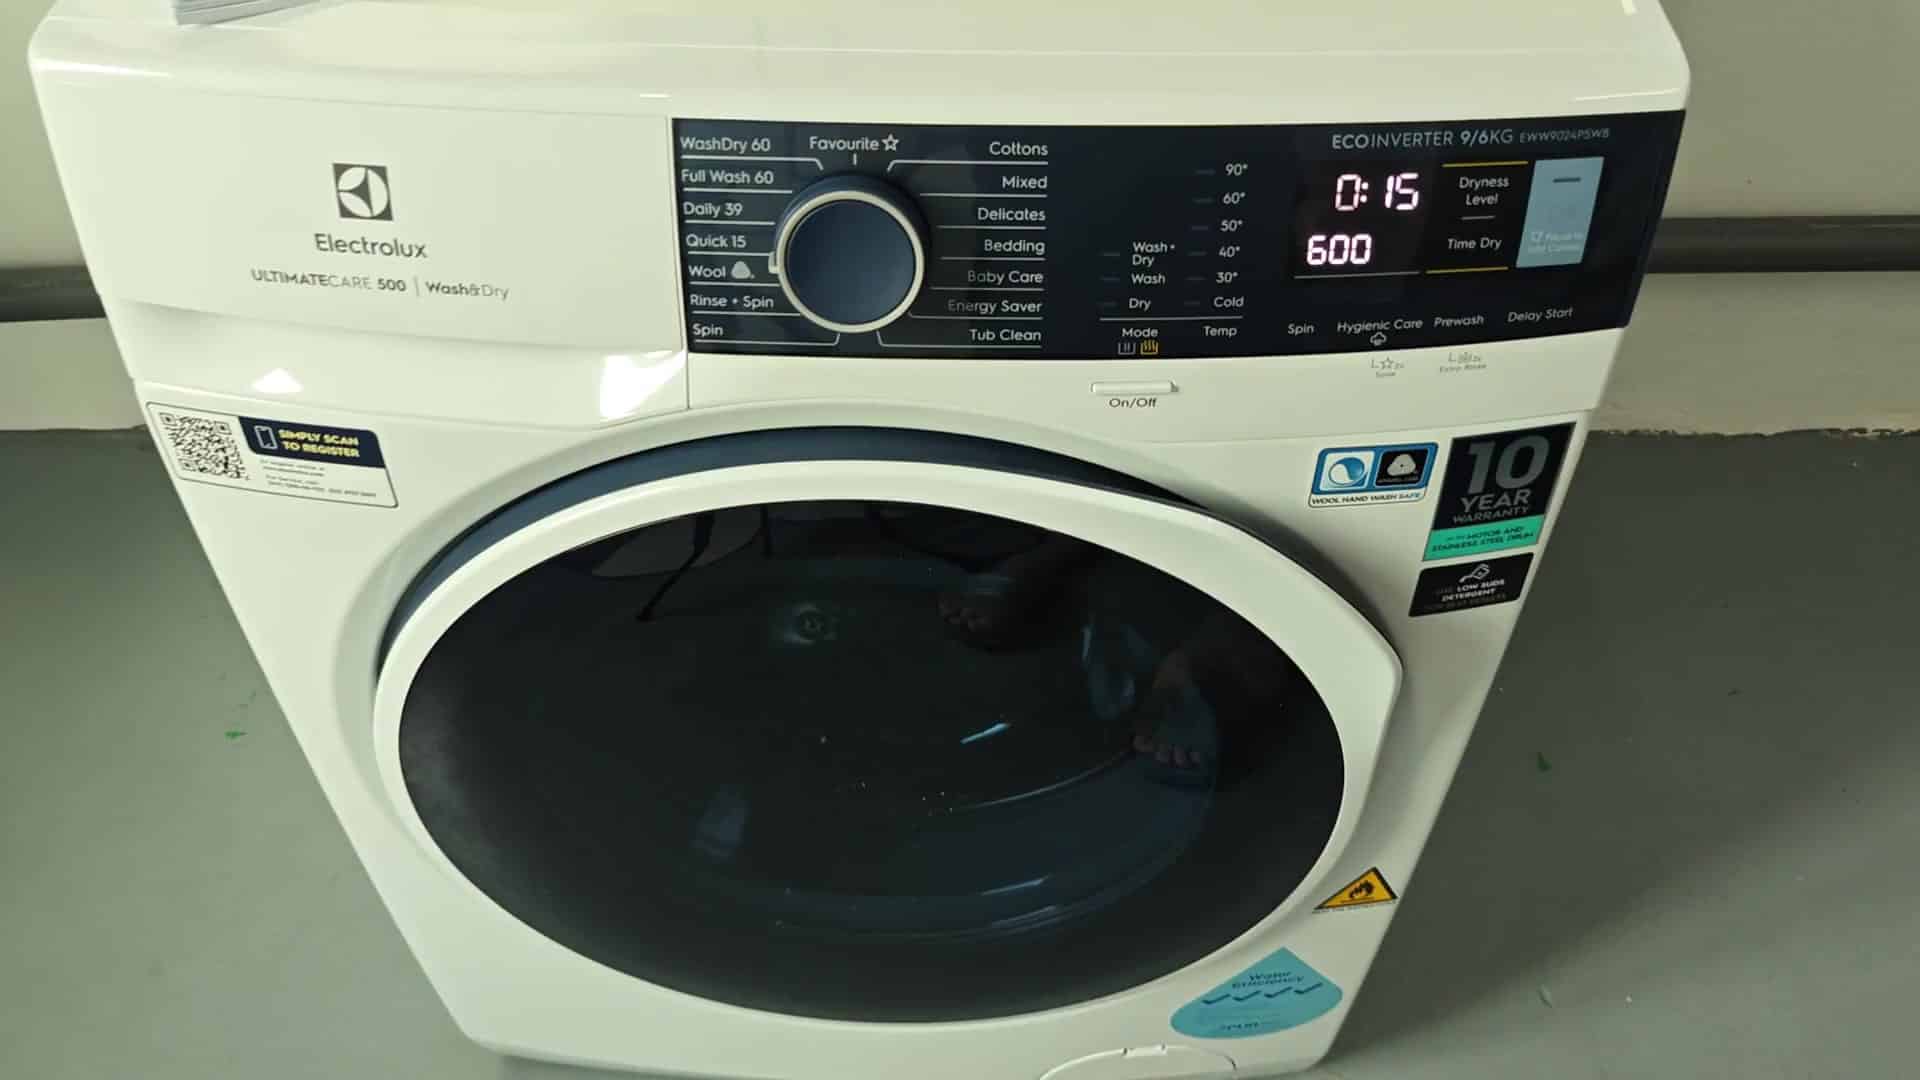
The drain filter is on the Electrolux front load washer. I know what you’re thinking: “How do I get into one of those washers? Don’t they seal them so there’s no way in for cleaning?” Nope.
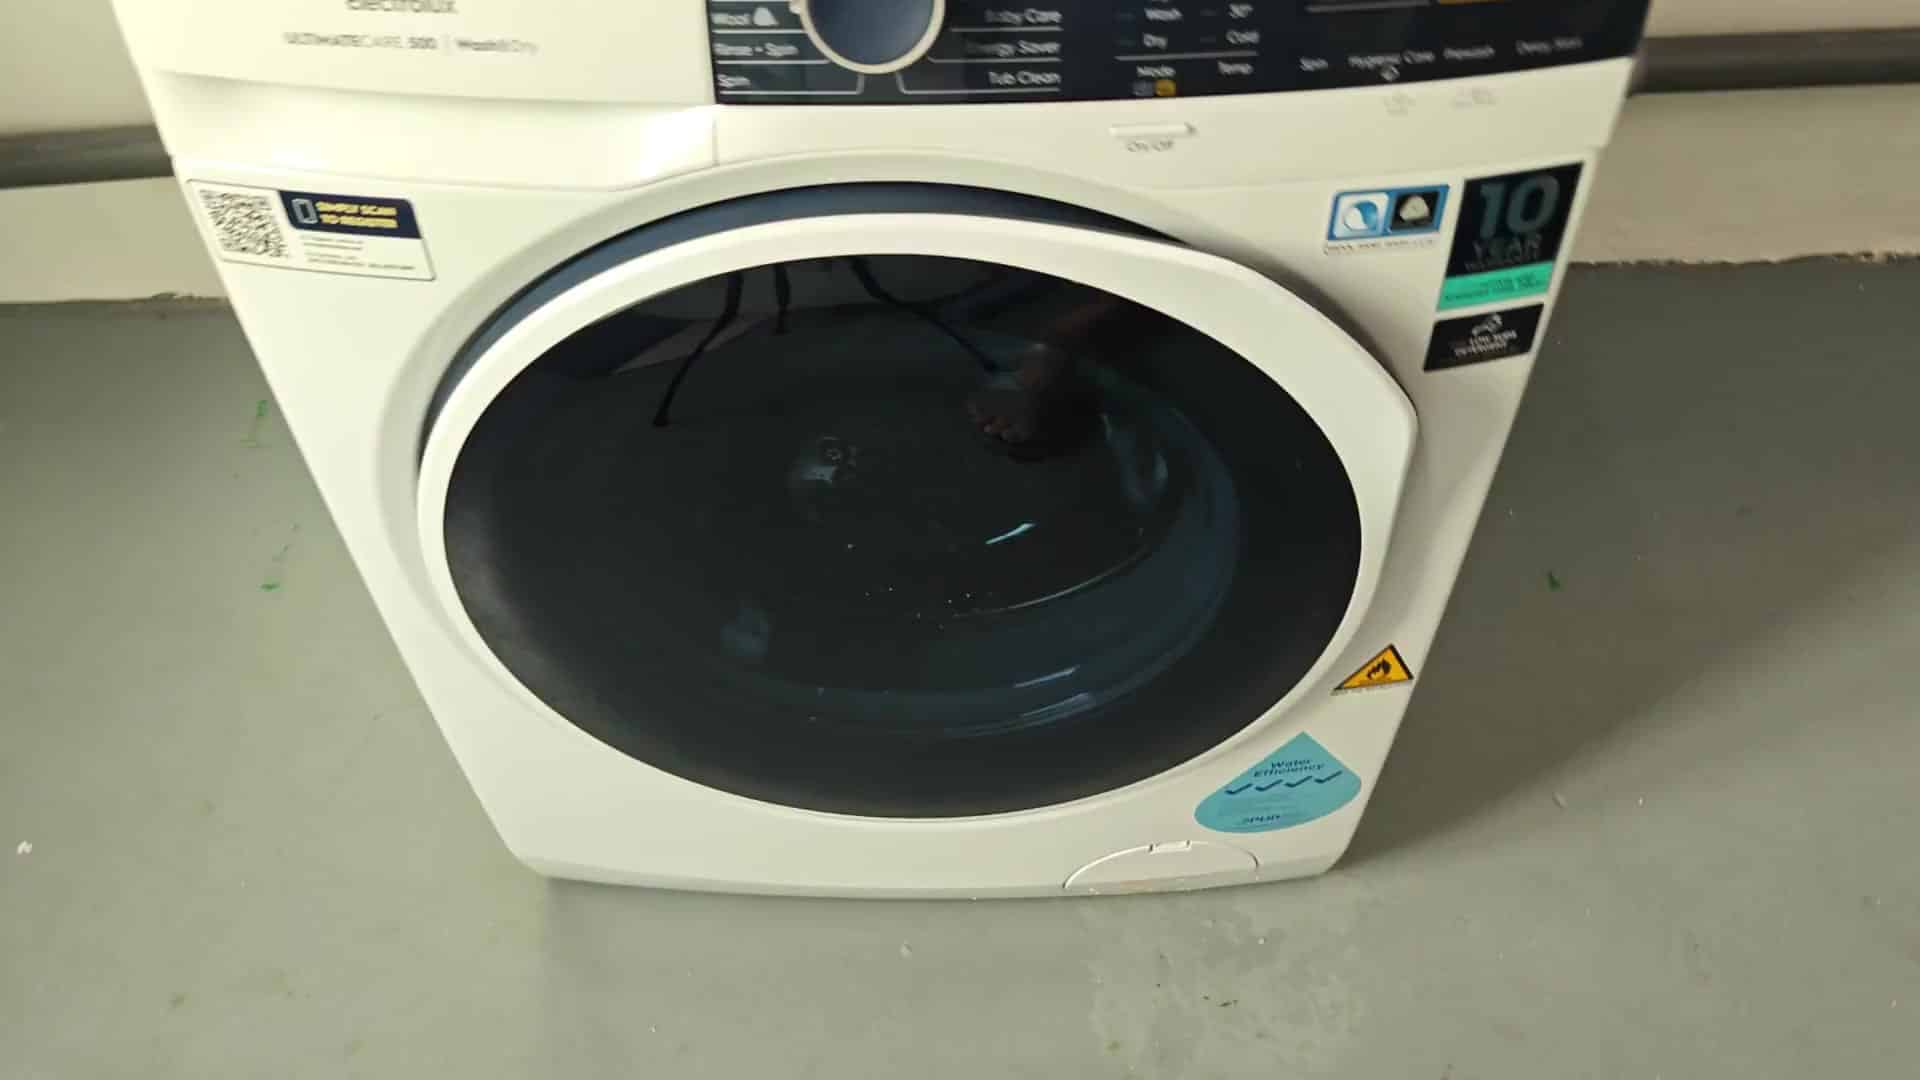
This little guy is completely ignored by most. They just assume water dissapears magically somewhere in the pipes. Paying attention to it will ensure your machine continue functioning well.
Removing The Drain Filter Assembly
To find the filter, simply look for the little cover at the bottom front of the washer. It’s located behind that. This place it out of the way when not in use.
To view it correctly, you’ll want to get down on your knees. It’s not in plain sight, so make sure you look well.
Removing it requires no tools. There is actualy a little resistance when you first try to remove it but that can trick you into thinking it is stuck. It’s just designed so you can gets your fingers under it and just pop it off with your fingers.
It comes right out easily and won’t harm the case of the appliance. Getting it on an angle isn’t bad either once you begin.
The real filter assembly hides behind that little door. The way it appears, it’s sort of a socket with a little plug or cap stuck in it. Turn the drain filter anti-clockwise to loosen. Anti-clockwise is the standard direction for loosening most threaded plumbing pieces. Take your time and don’t be surprised when you do.
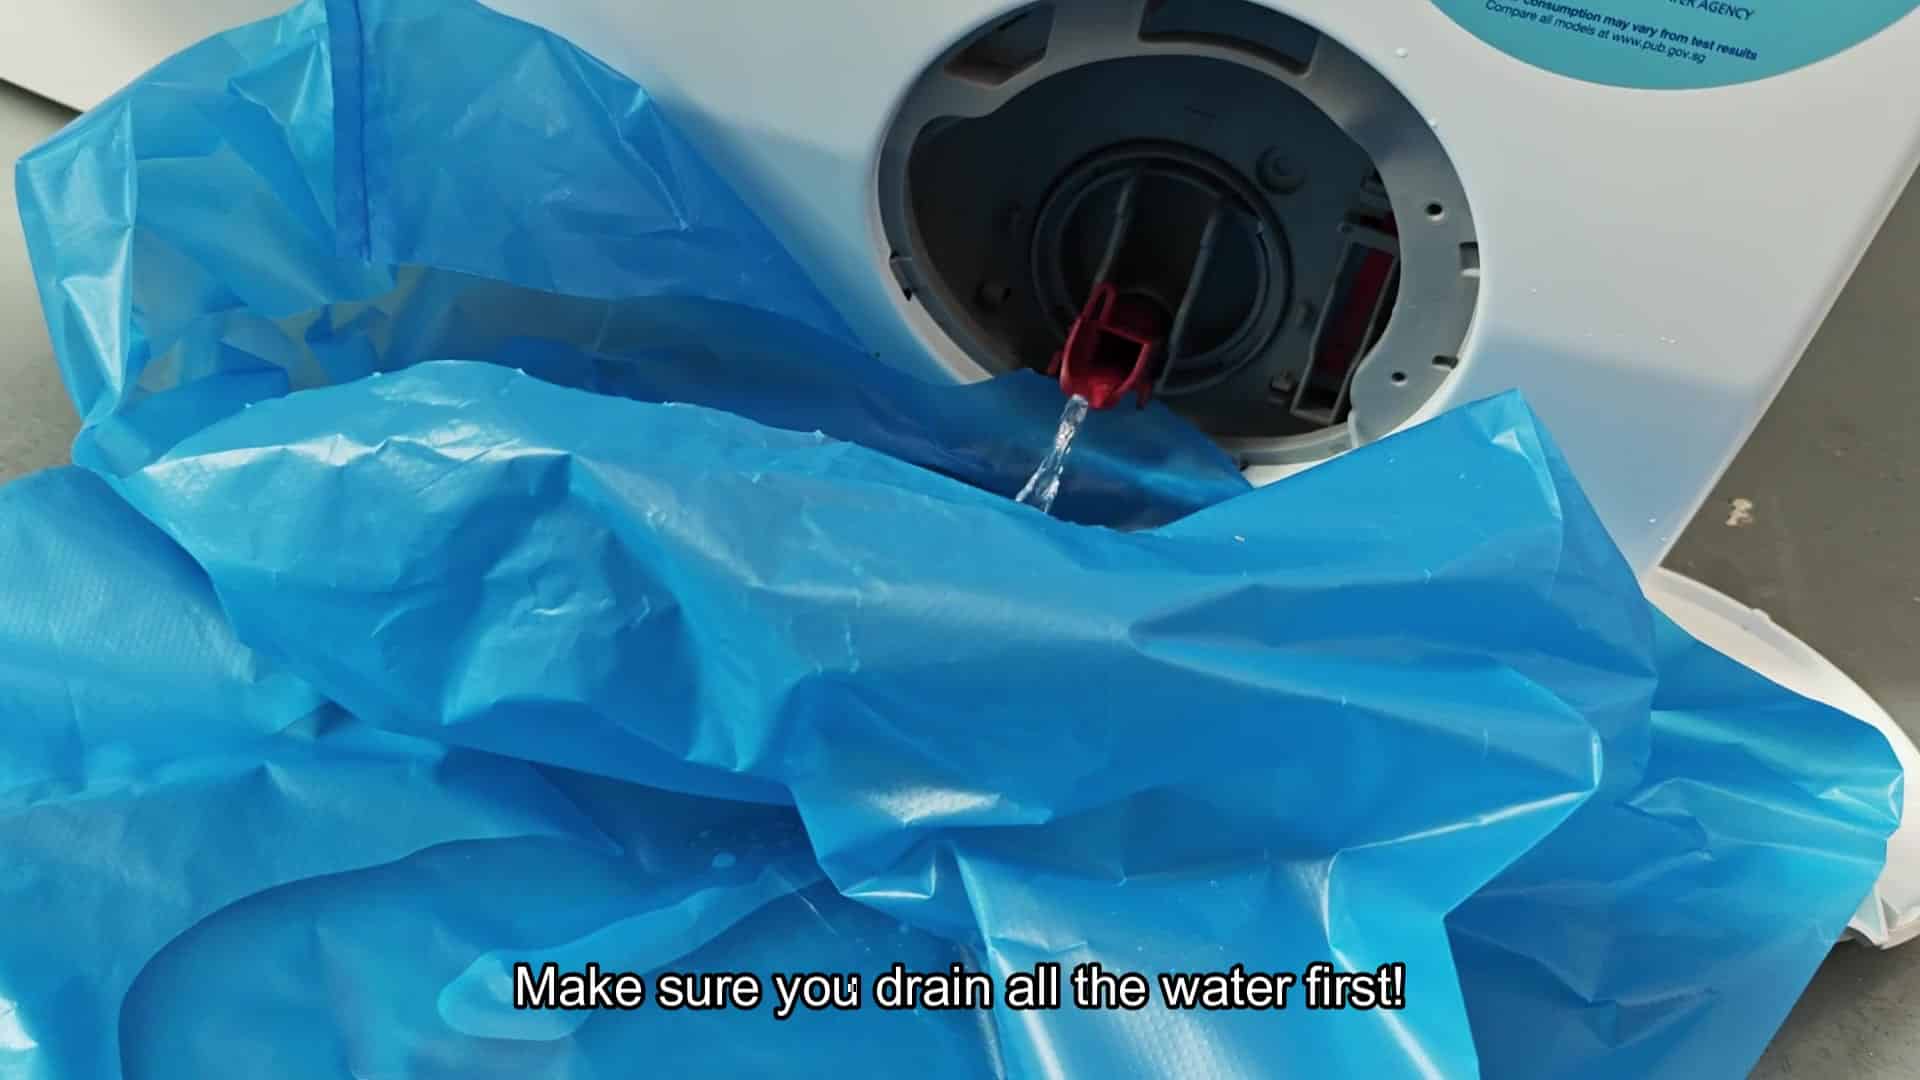
However, there may still be water in the housing. Have a shallow tray or towel handy before completely unscrewing it. When you give it a good twist, water spits out and is best allowed to spill into something rather than onto your carpet. It’s not only a mess but can also cause damage to your floor.
After that, filter will simply pull right out. It’s a gray plastic cage with a rubber O-ring. When screwed into place, this rubber O-ring help seal up the opening to prevent leaks.
Check for lint/debris on the inside of the mesh. Over time, coins, hair etc., tend to accumulate here. Check it carefuly.
It is also a relatively painless part to clean. Simply wash with some water and the gunk will rinse off. Because of its plastic cage construction, it’s easy for dirt to fall out.
Just remember to clean around the rubber seal as well. If you don’t wipe it down correctly, it may trap other small bits that affects how it works.
Once clean, putting it back on is equally easy. Simply line the filter up with hole and turn clockwise to tighten. You don’t want to go crazy tight or you risk damaging the threads. Snug it down and call it good. We’re trying to avoid a leak the next time we run a load of laundry.
Lastly, slide the little cover back on to conceal the filter again. Keep it clean and well maintained like this, and your washing machine will run more efficienty. This avoids any potential clogging that might cause a longer drain cycle. You’ll appreciate a better performing washer after caring for it like this.
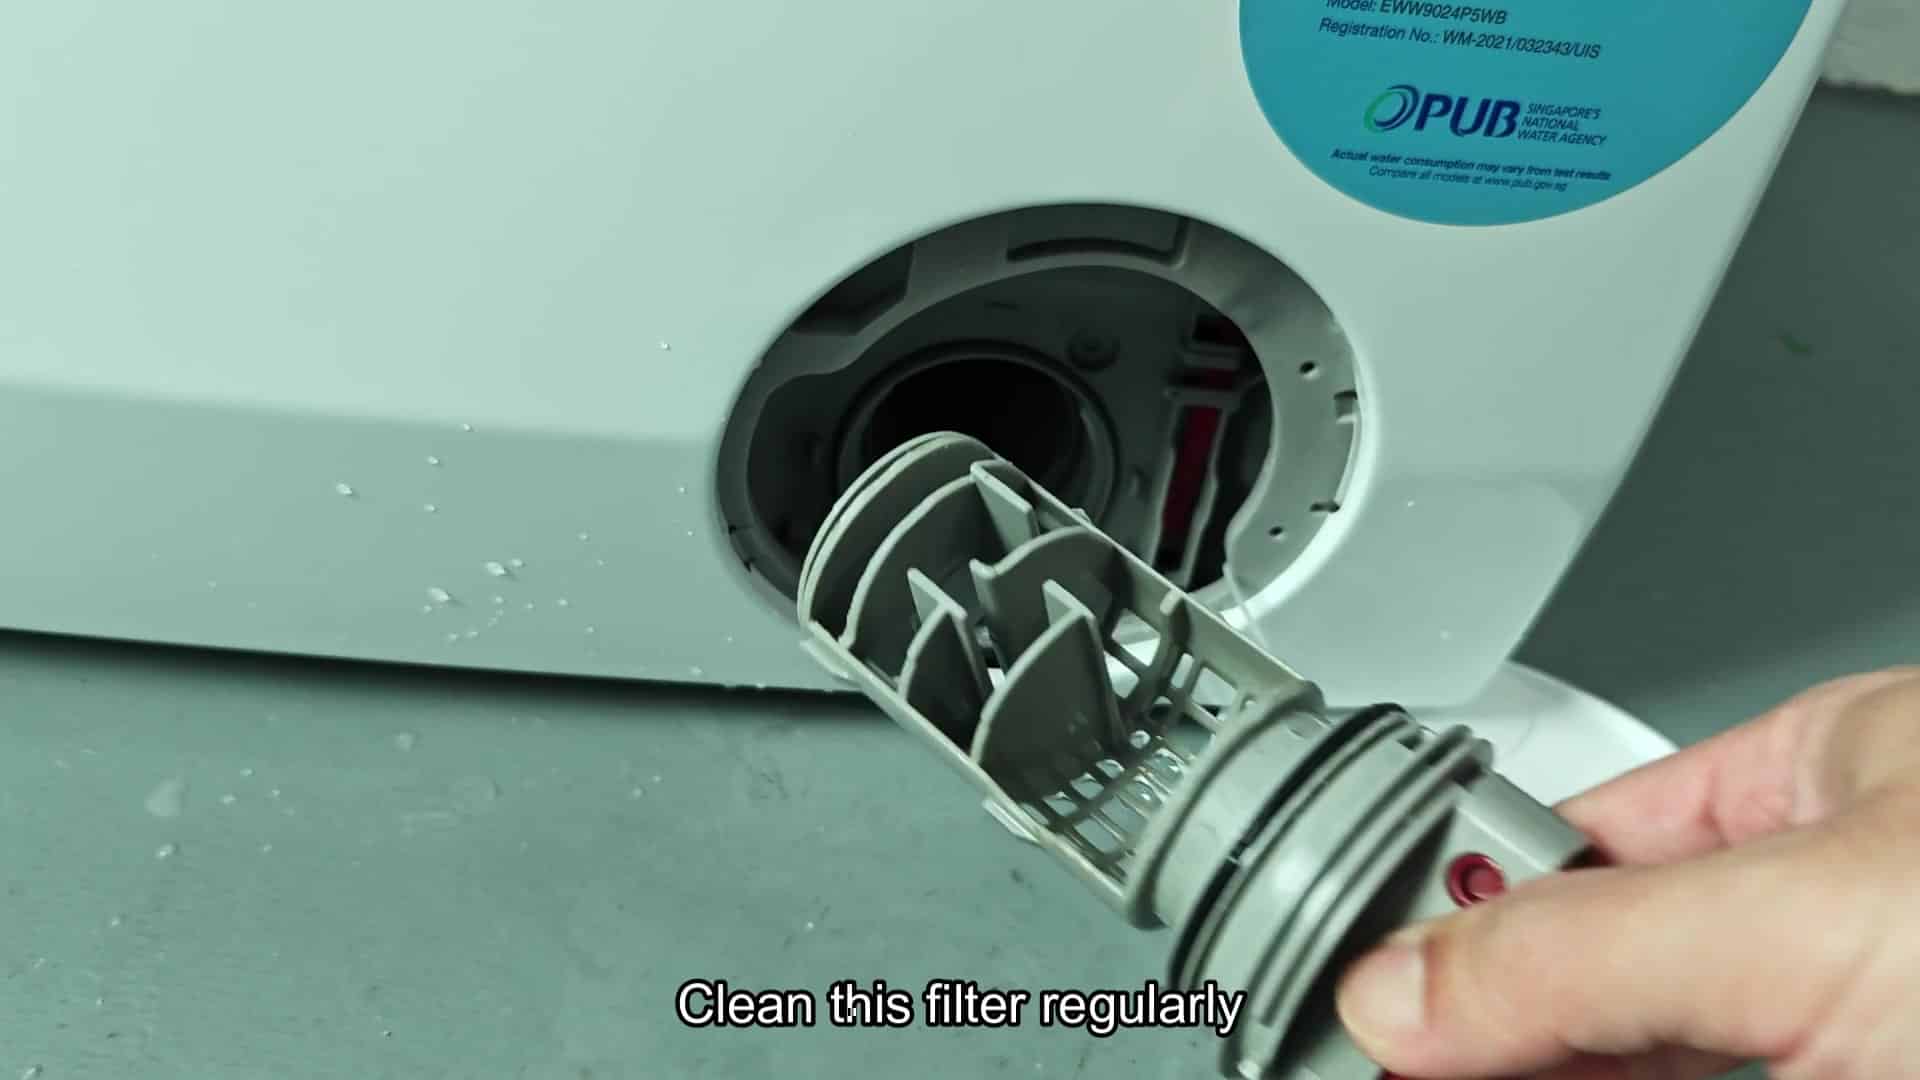
This has always been something you just totally skipped over. Time to start checking it periodically (every few months or so).
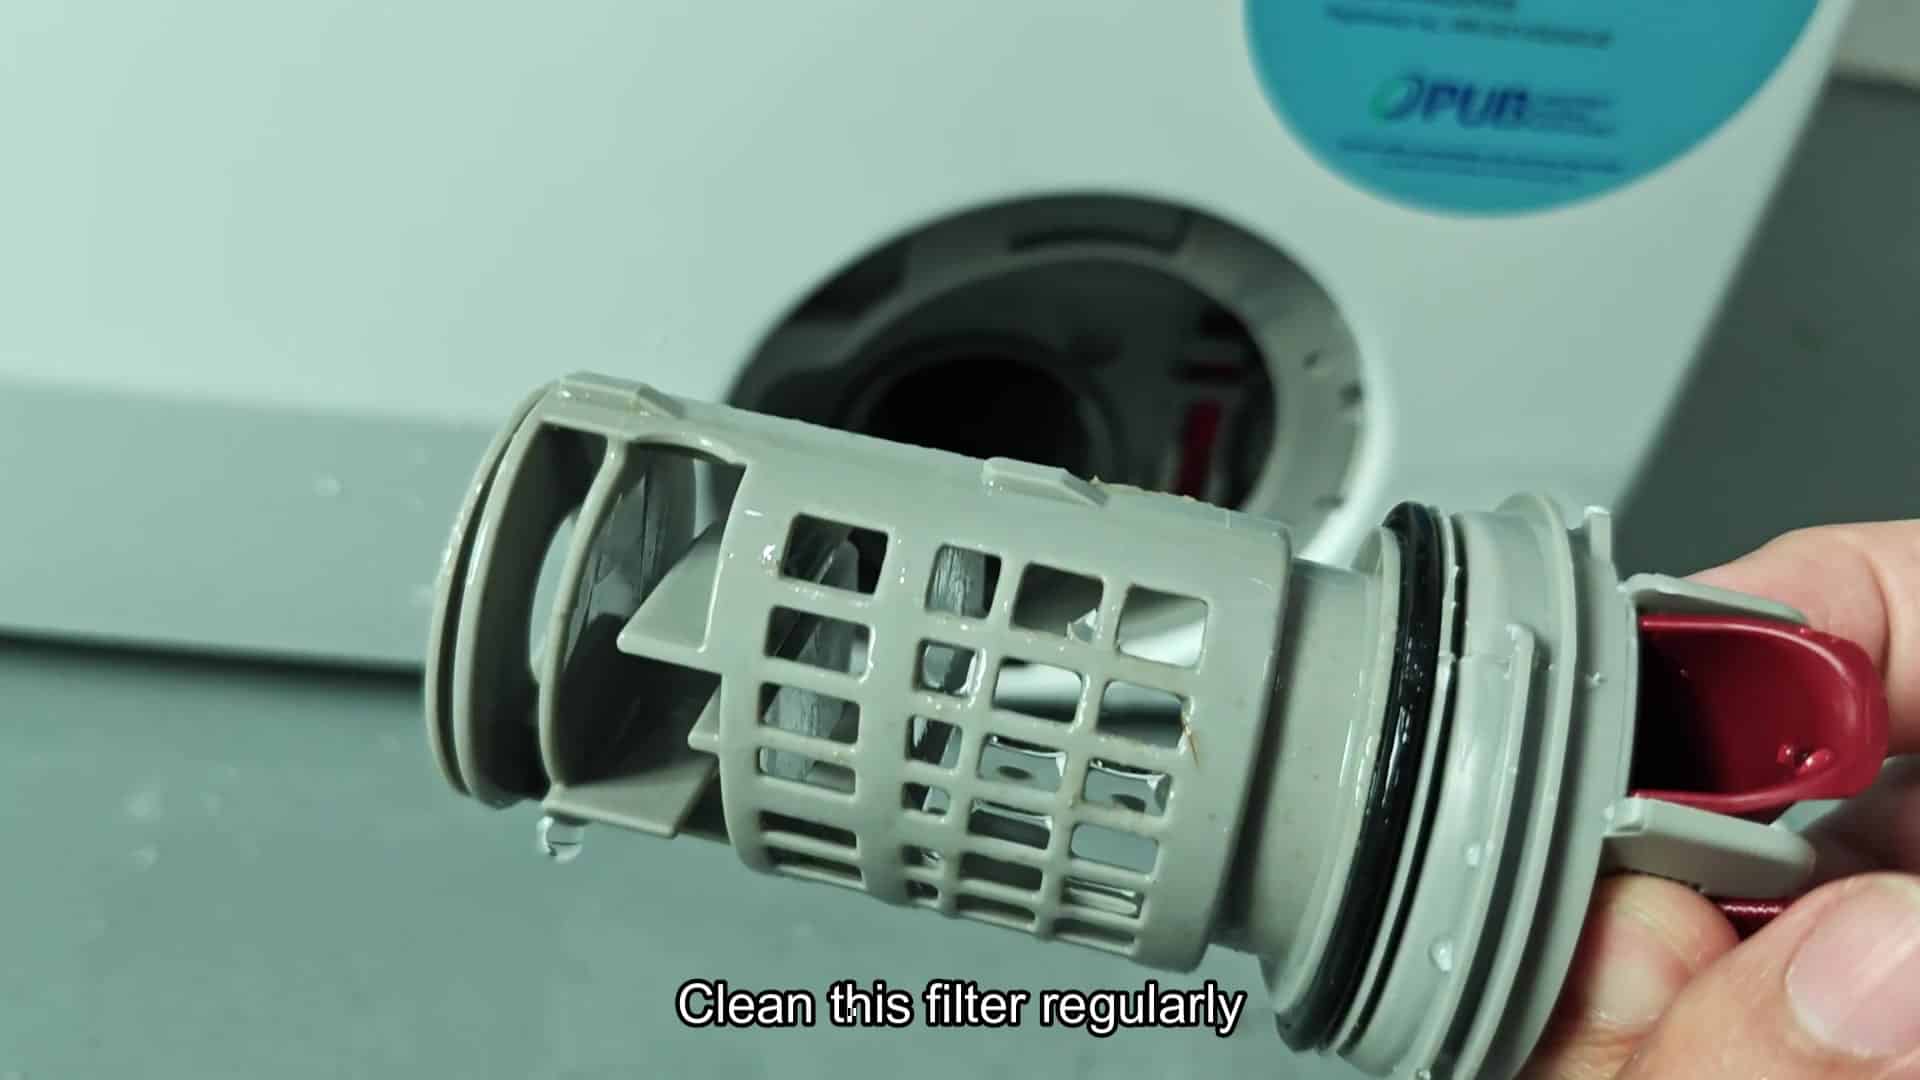
The little things makes a huge difference. Monitor your drain filter for maximum performance. Do this and it will extend the life of your appliance.