
If you have an Electrolux washer and you’re seeing a puddle under it then it’s no big deal: It just means that something has come loose or failed inside and is causing water to pool up on the floor. Dig in there and see what you find, most times one of these six common problems will turn out to be it.
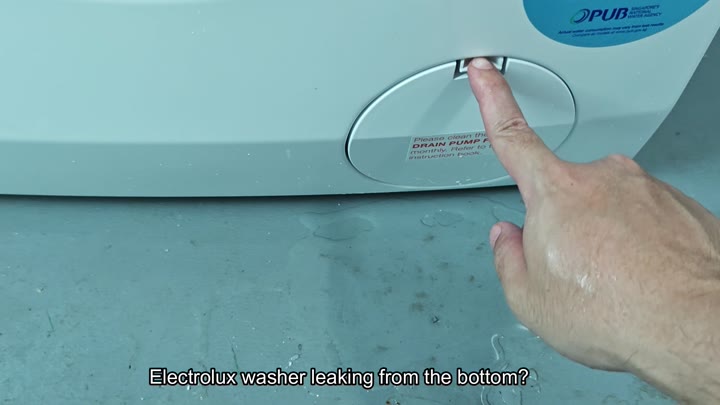
Walk it through and find out what is cause this.
One of the first places to look would be front lower panel as it has a circular access point for the drain pump filter located right at the bottom. If you look closely you’ll see the filter housing is a bit loose and unless this connection is snug, water can leaks out during the spin cycle.
Inspect Internal Components and Seals
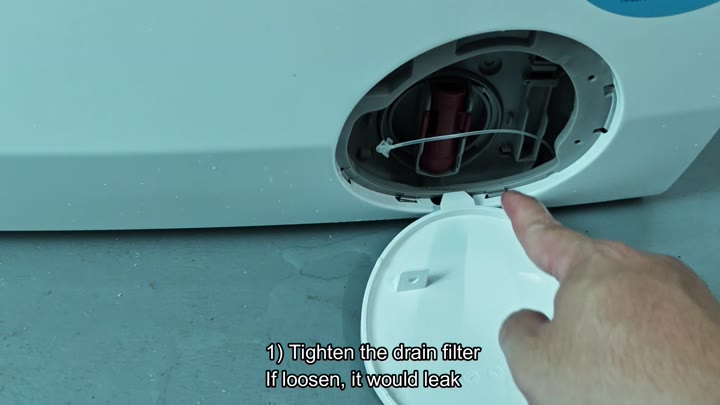
Then you’ll want to make sure it’s nice and tight by giving it a good turn.
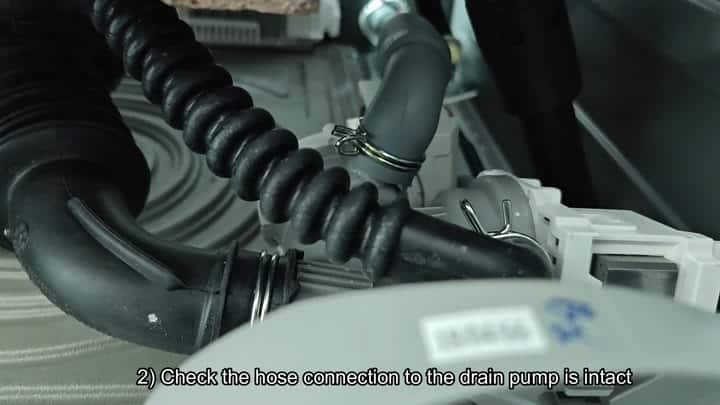
The other thing to look at are the black corrugated hoses attached to the white plastic part of the pump. Those could also be cracked or come off. It’s easy enough to just take a quick glance at those to see if they’re connected properly, just ensure that all of them is snugly snapped into position.
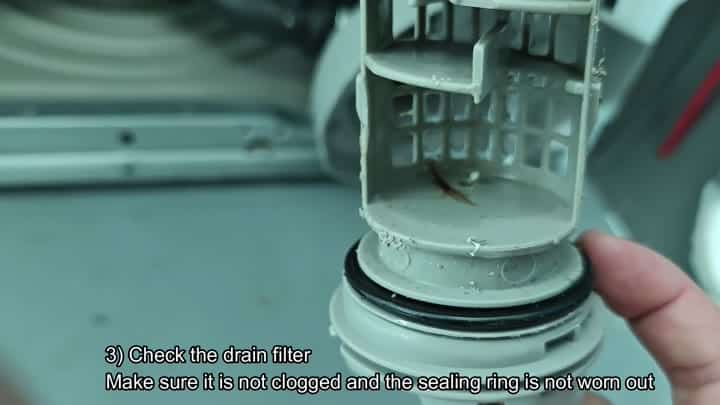
Then remove the drain filter and examine it carefully. It’s likely full of debris and lint. Also note whether the black rubber sealing ring surrounding it appear worn. A weakened seal won’t withstand water pressure. Clean off the gunk and test the rubber sealing ring for tears; if the seal is weak, water will go right past it.
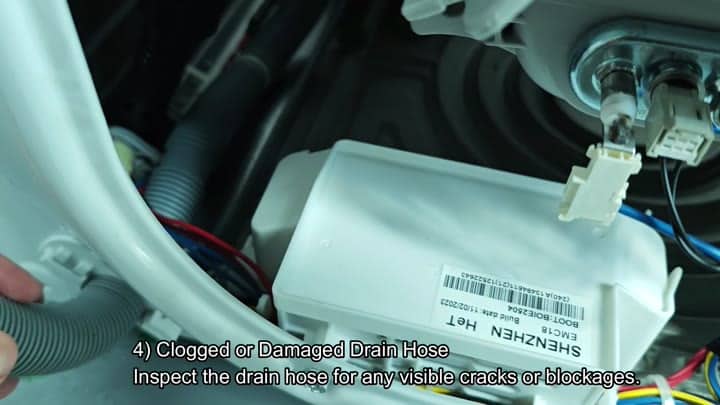
Also examine the main drain hose itself, a gray corrugated tube connected to the machine and leading to the drain stand. Sometimes coins (or even hair) gets trapped in there and cause water to back up and leak out under the machine. Hold it up and inspect it for blockages or cracks. You should of be able to clear any obvious obstructions, and if the hose looks OK otherwise, you’re good.
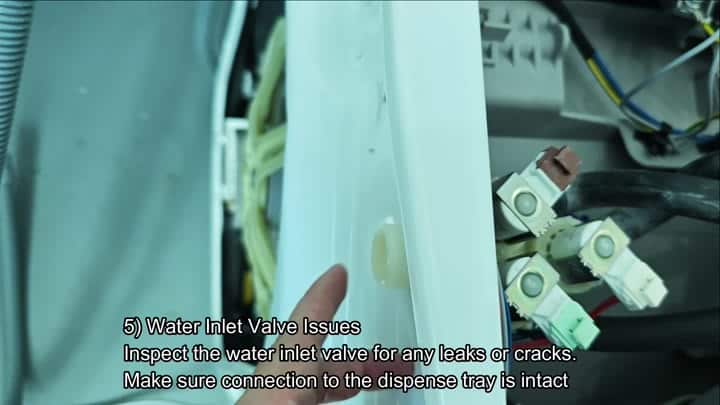
Now let’s move toward the water inlet area. There is a small fitting located near the dispensing tray area. This is the valve that brings the water into the cabinet. Be sure to examine it closely for leaks or cracks. Also, check this area if your connection to the tray is loose, as the water will leak out on bottom of the cabinet. Just in case, give it a good tightening.
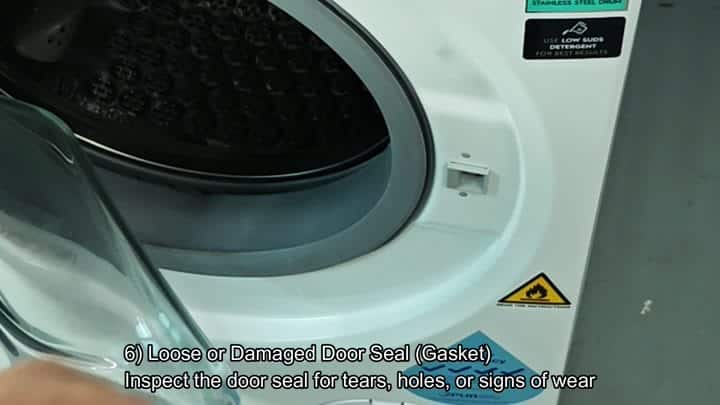
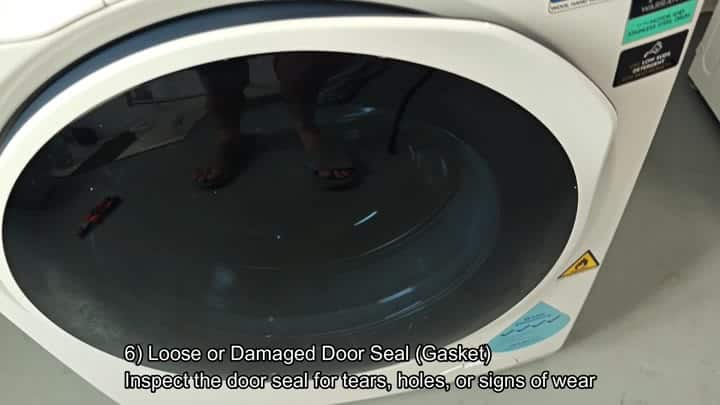
Door seal… Finally, pull back the rubber gasket that surrounds the opening of your drum. It’s one of the first places where the seal starts tearing up and growing mold. Inspect the lip of this seal for any signs of wear or holes.
If you can see through the rubber at all, then it’s time to replace the seal. Water escapes when agitated, so a compromised seal will ruin an otherwise dry load.
While annoying, water leaks are generally easy to repair. Checking these six places can typically fix a leaky washer and save you from calling in a tech. Looking carefully can also save you a service call. Always check the obvious first. Now your washer will run dry below and it pays to look at the basics first.
This checklist helps prevent your laundry room from flooding because parts wear out over time. Most leaks can be prevented through regular upkeep, so don’t take a little drip for granted! You know what happens…it’s just going to get worse.
Check the seals and hoses now. Takes a couple of minutes. Your floor will thank you.
